30 Dollar Tree Fall Craft Ideas

The crisp air and golden light of fall invite cozy creativity into your home. With simple supplies from Dollar Tree, you can make heartfelt decorations that reflect the season’s warmth without stretching your budget.
Each craft here uses affordable, accessible materials and delivers real results. These are not filler projects but thoughtful, doable ideas that bring charm to your space or make meaningful gifts.
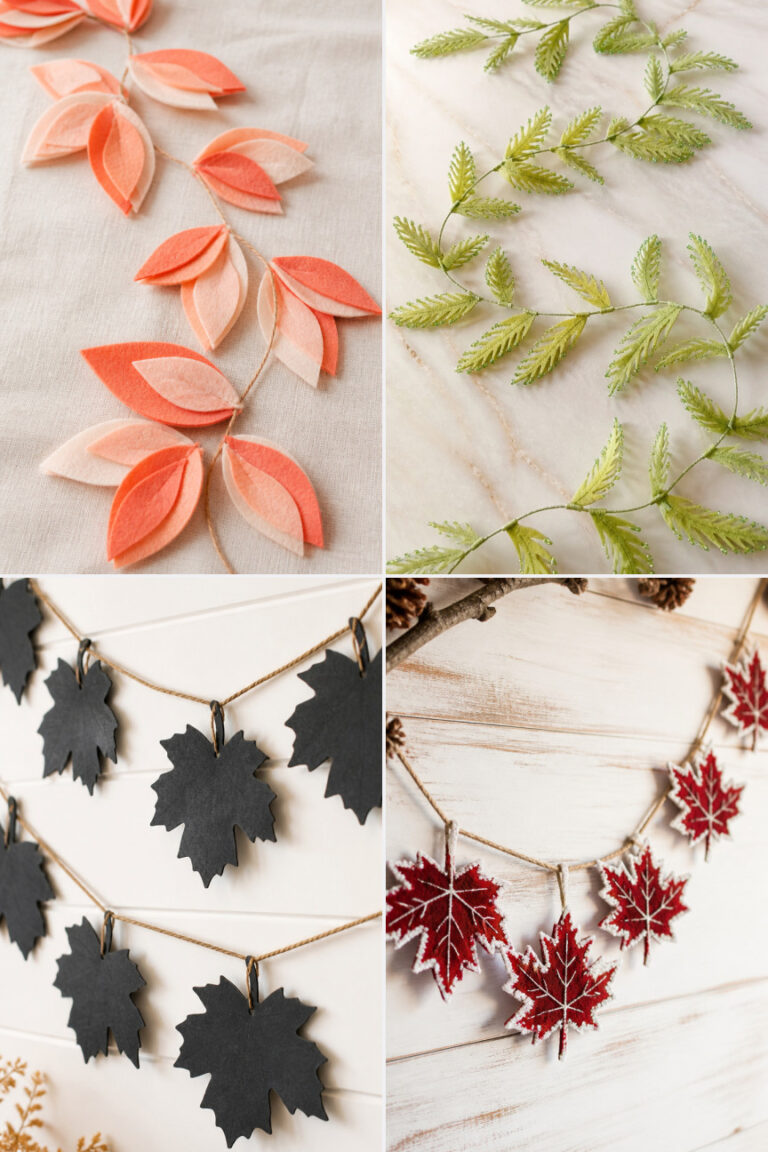
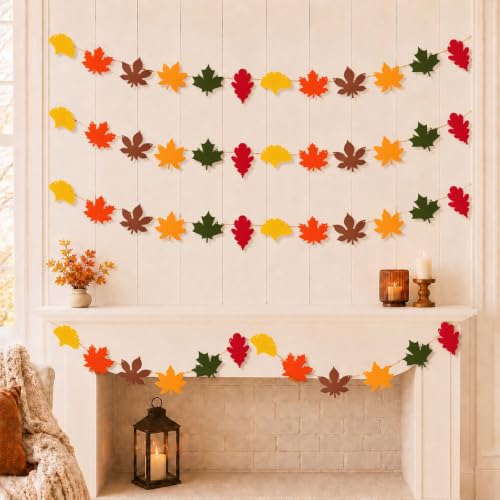
1. Felt Leaf Garland
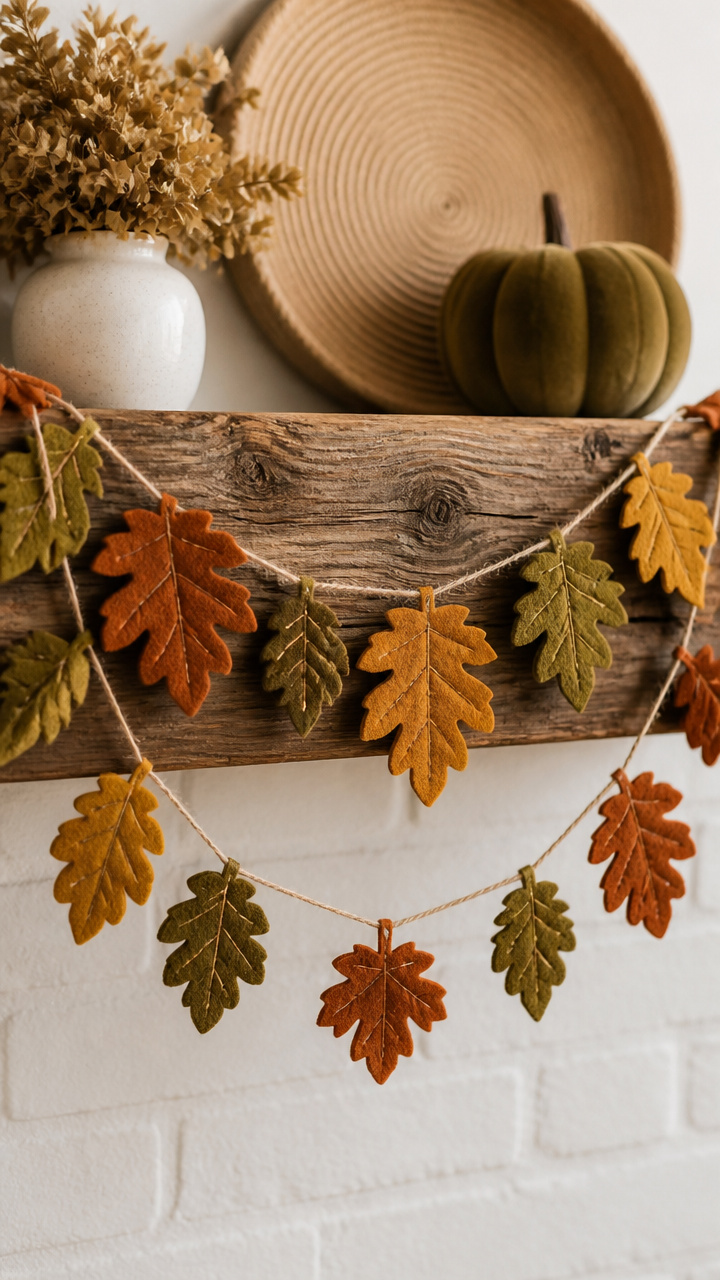
Soft felt leaves strung together create a gentle banner perfect for mantels or doorways. The mix of rust, mustard, and olive gives it an earthy, handcrafted look.
Materials Needed
- Rust felt sheet
- Mustard felt sheet
- Olive felt sheet
- Scissors
- Hole punch
- Jute twine, 3 feet
How to Make It
- Draw six leaf shapes freehand onto each felt sheet, varying the sizes slightly.
- Cut out all 18 leaves carefully with scissors, following the curves smoothly.
- Punch one hole at the base of each leaf using the hole punch.
- Thread jute twine through each leaf, tying a small knot between them to keep spacing even.


2. Mini Mason Jar Pumpkins
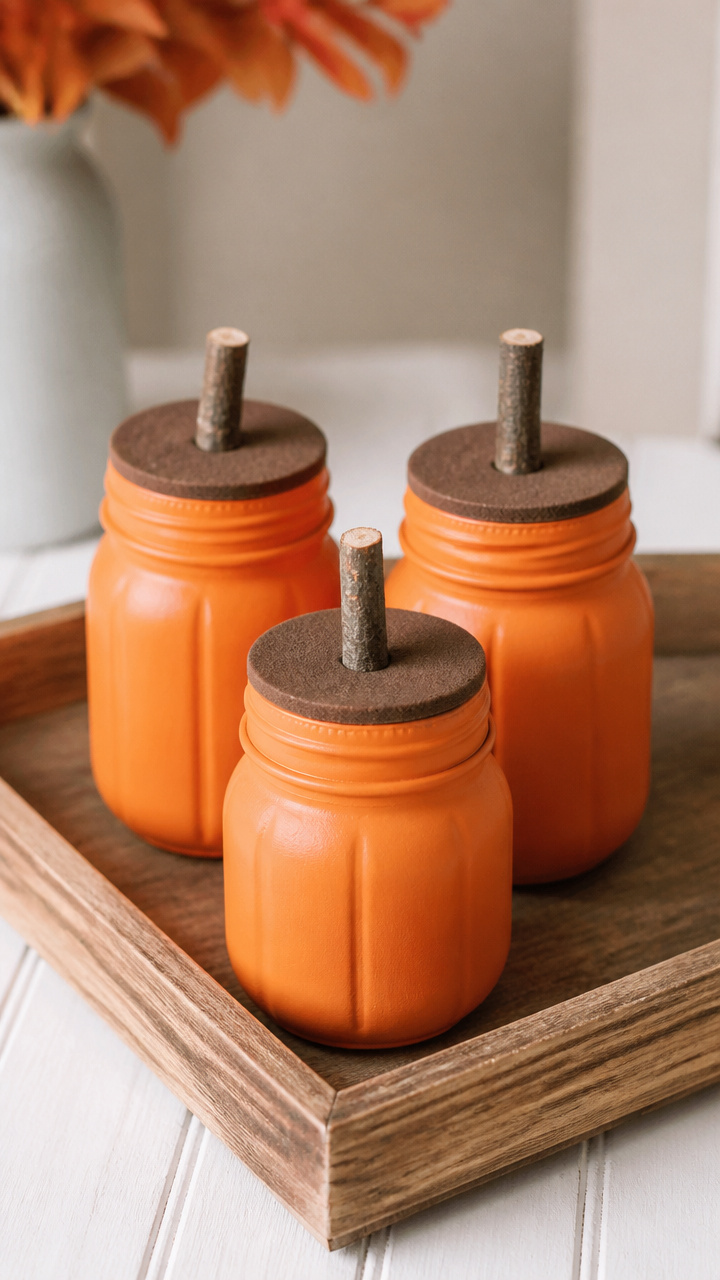
Tiny jars become adorable pumpkins with painted orange bodies and twig stems. They’re sweet grouped on a windowsill or as table markers.
Materials Needed
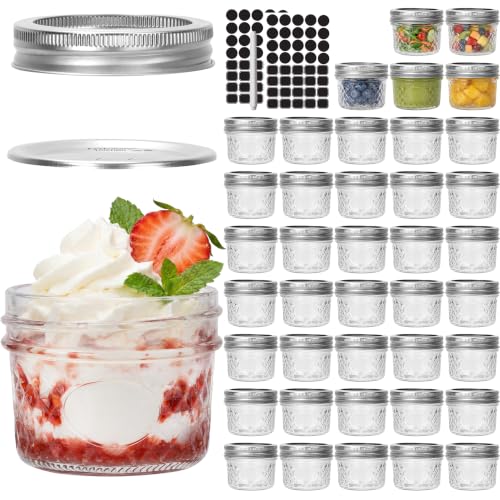
- Three 4-ounce clear mason jars
- Orange acrylic paint
- Paintbrush, size 6
- Small twigs, 3 pieces, each 2 inches long
- Hot glue gun
- Brown craft foam sheet
How to Make It
- Paint the outside of each jar completely with orange acrylic paint, covering evenly.
- Let jars dry flat for 30 minutes, then add a second coat if needed.
- Cut three small rectangles from brown foam to wrap around each jar rim.
- Glue a twig upright to each lid with hot glue, then screw jars closed.


3. Plaid Paper Napkin Coasters
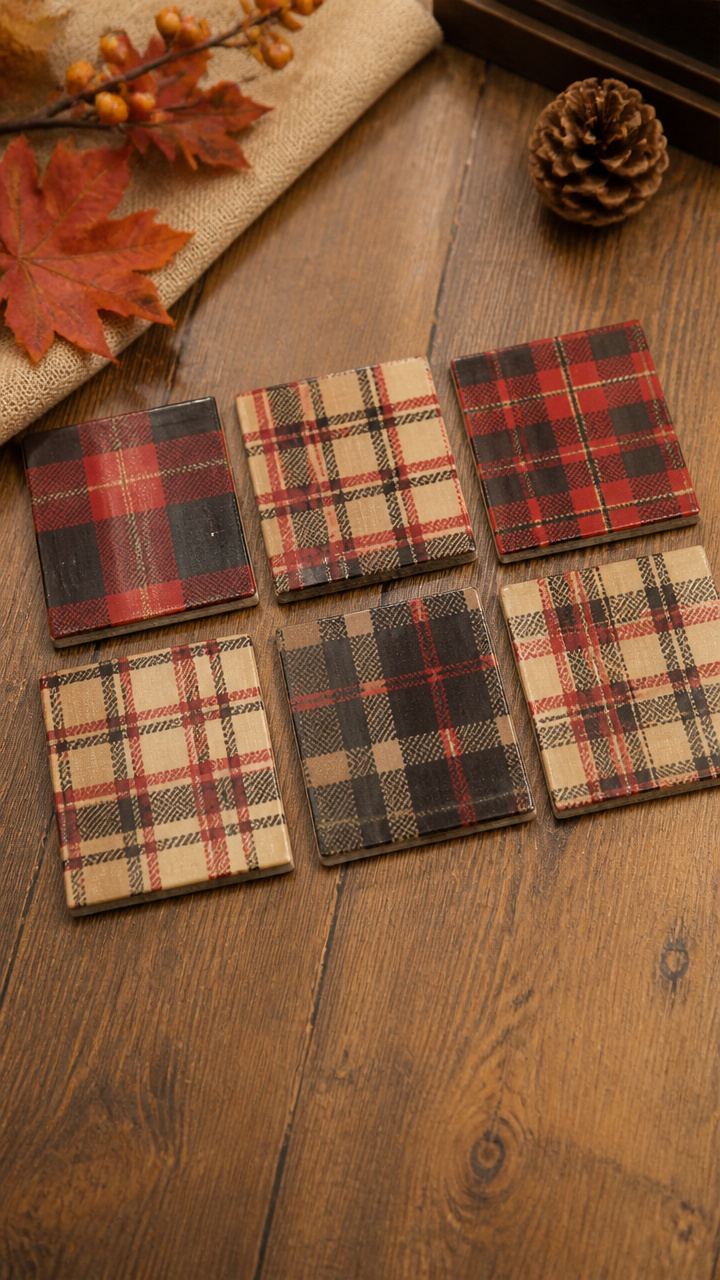
Stiffened plaid napkins turn into rustic coasters that protect surfaces while adding cabin-style charm. They dry quickly and wipe clean.
Materials Needed
- Set of 6 plaid paper napkins, 1-ply
- Mod Podge
- Foam brush, 1 inch
- Cereal box cardboard
- Scissors
- Clear acrylic sealer spray
How to Make It
- Cut cardboard into six 4-inch squares using scissors and a ruler for straight edges.
- Brush Mod Podge evenly over one cardboard square, then lay a napkin on top, smoothing gently.
- Let dry for 45 minutes, then brush another layer of Mod Podge over the top.
- Spray both sides with acrylic sealer and let cure for 2 hours before use.


4. Pinecone Owls
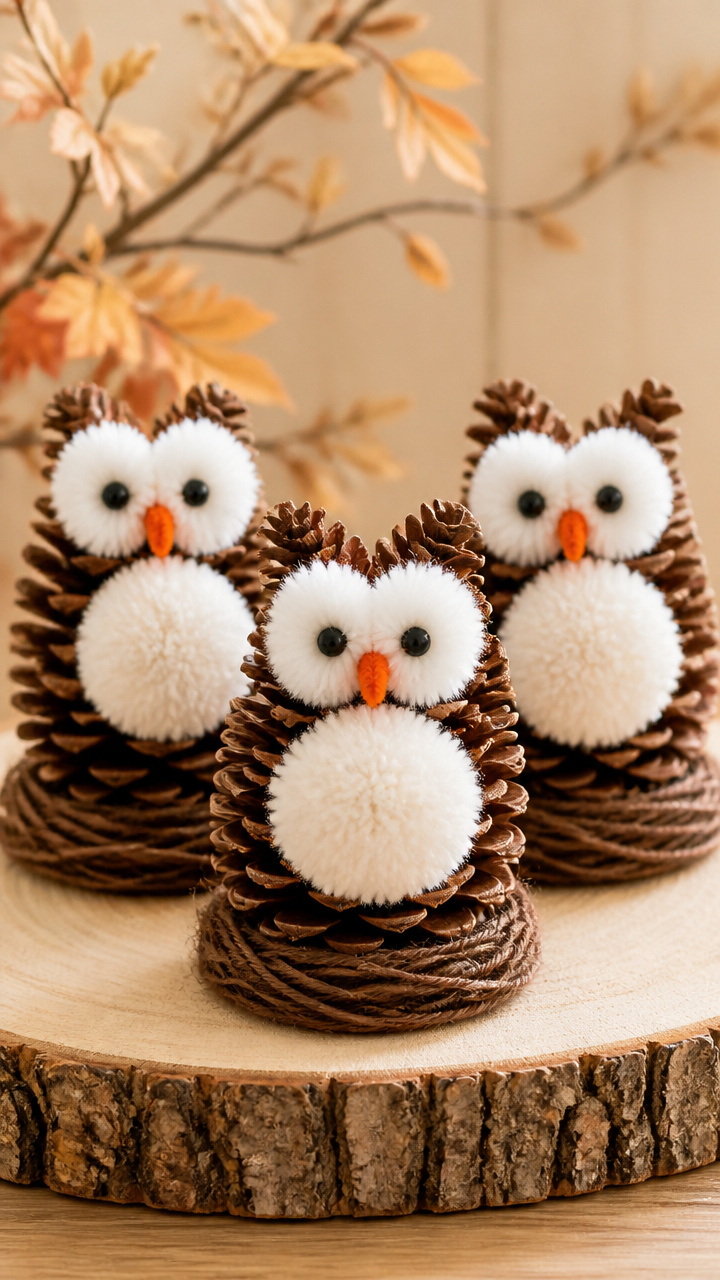
Whimsical owls made from pinecones and pom poms bring woodland character to shelves. Their bright eyes and tiny beaks make them instantly lovable.
Materials Needed
- Three medium pinecones
- White pom poms, 1 inch, 6 pieces
- Black craft paint pen
- Orange pipe cleaners, 3 pieces
- Hot glue gun
- Brown yarn, 1 foot
How to Make It
- Glue two white pom poms side by side near the top of each pinecone for eyes.
- Use the black paint pen to draw pupils on each pom pom, letting them dry in 2 minutes.
- Cut orange pipe cleaners into thirds and bend one piece into a triangle beak, gluing it below the eyes.
- Wrap a short piece of brown yarn around the pinecone neck area and glue in place for feather detail.


5. Chalkboard Painted Wood Slices
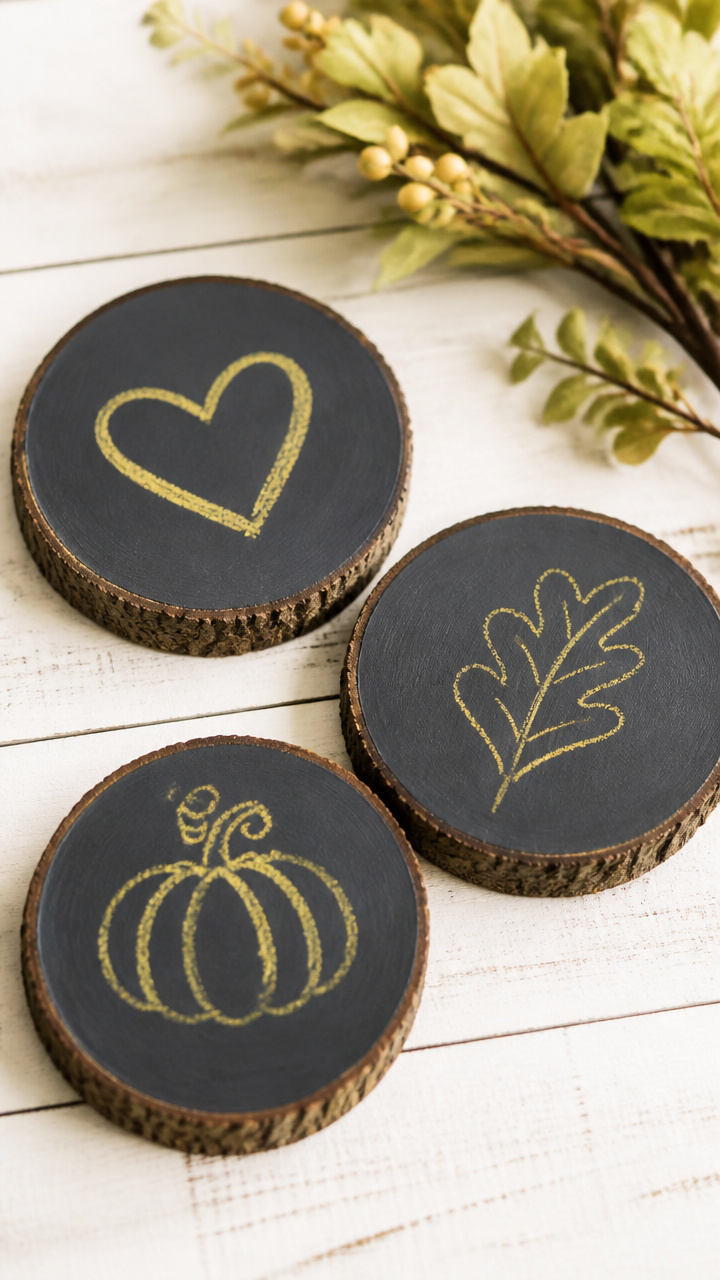
Natural wood slices with chalkboard tops let you write seasonal messages that change daily. Their bark edges keep the forest feel alive.
Materials Needed
- Three round wood slices, 4 inches wide, with bark
- Chalkboard paint
- Paintbrush, size 4
- Fine sandpaper
- Yellow chalk
How to Make It
- Lightly sand the top surface of each wood slice with sandpaper until smooth.
- Apply one even coat of chalkboard paint to the face, brushing from center outward.
- Let dry for 1 hour, then lightly sand again and apply a second coat.
- After 2 hours of drying, rub chalk sideways across the surface to prime it for writing.


6. Flannel Shirt Pumpkin
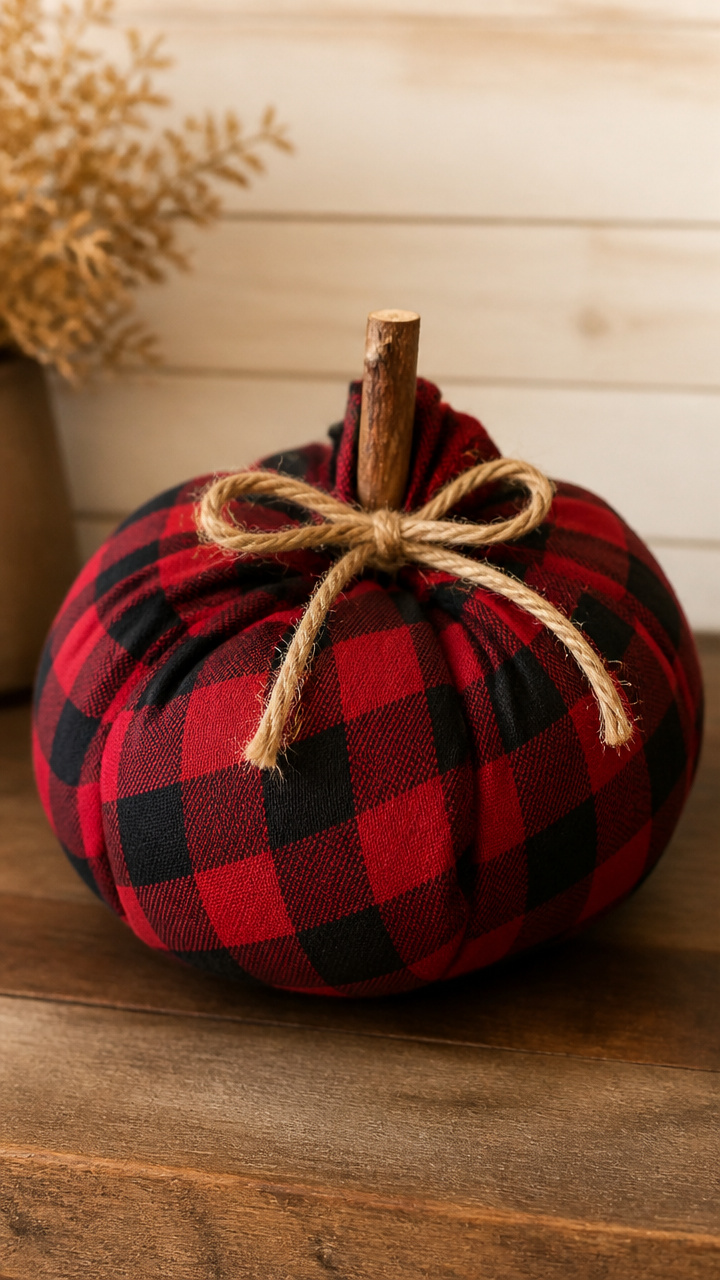
A bunched flannel square stuffed like a pillow becomes a no-carve pumpkin alternative. It sits well on stairs or entry tables.
Materials Needed
- One red and black plaid flannel shirt
- Polyester stuffing, 1 cup
- Twine, 6 inches
- Needle
- Scissors
How to Make It
- Cut a 7-inch circle from the flannel shirt using scissors and a plate as a guide.
- Sew a running stitch around the edge with needle and thread, pulling tightly to gather.
- Fill the gathered pouch with polyester stuffing until firm but not overstuffed.
- Tie the twine around the gathered top to secure and form a stem-like finish.


7. Maple Seed Wreath
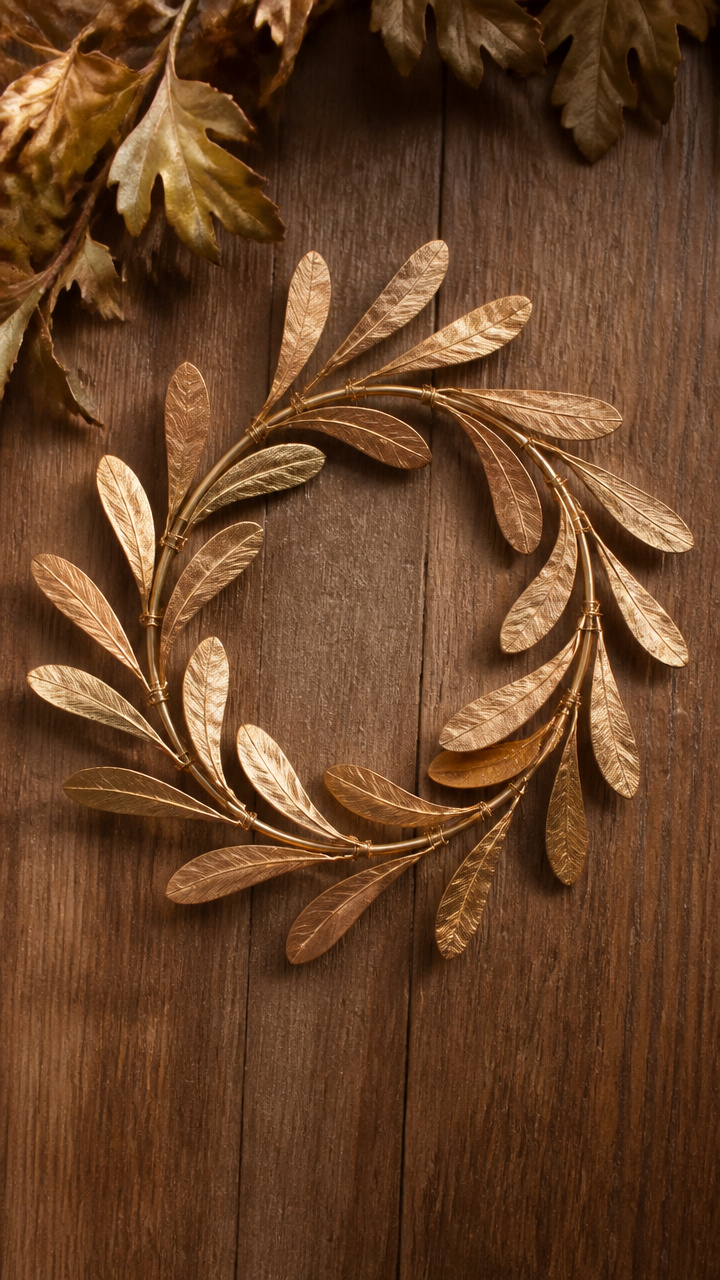
Real maple seeds wired into a spiral shape form a delicate natural wreath. It catches light beautifully near a window.
Materials Needed
- 25 dried maple seeds (helicopters)
- Gold wire, 24 gauge, 3 feet
- Wire cutters
- Circular embroidery hoop, 6 inches
How to Make It
- Trim each maple seed stem to 1 inch using wire cutters for uniformity.
- Wrap gold wire around the base of one seed and attach it to the hoop, leaving a tail.
- Continue wiring seeds close together in a spiral, wrapping each to the hoop and overlapping slightly.
- Trim excess wire and tuck the end after completing the full circle.


8. Apple Cinnamon Candle
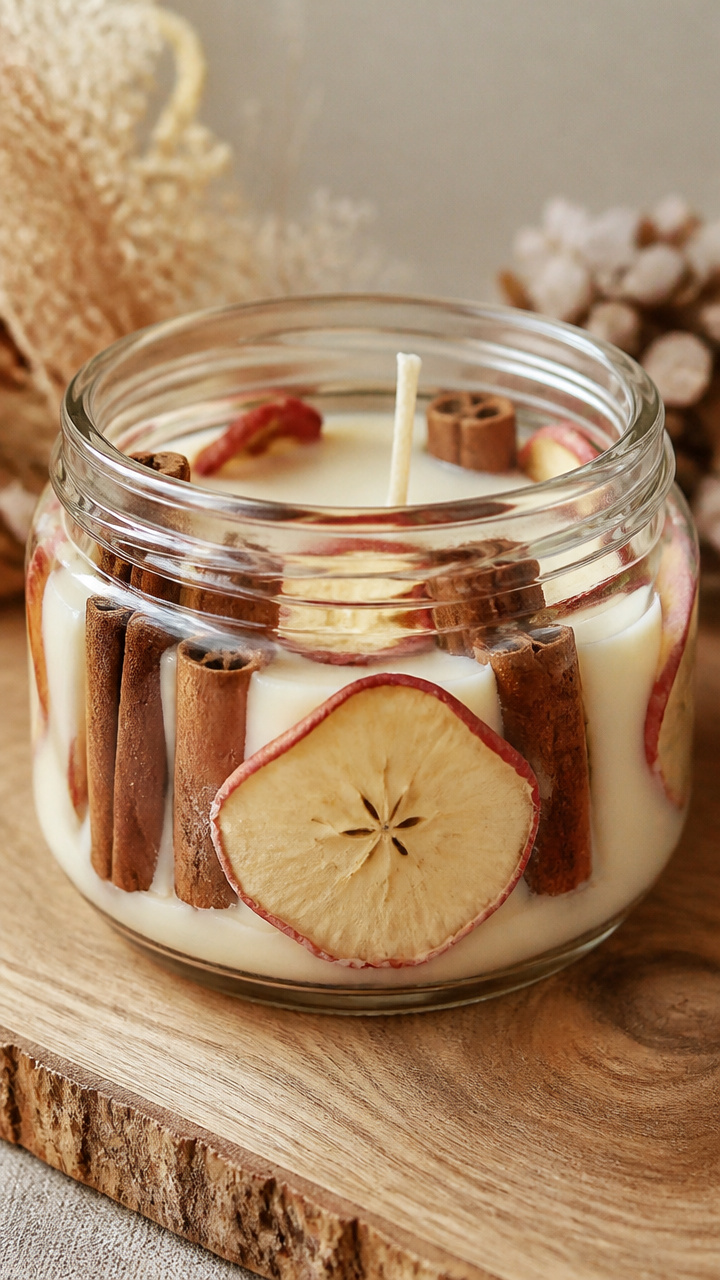
A glass jar candle scented with real apple and cinnamon sticks fills your kitchen with harvest warmth. The visible ingredients add charm.
Materials Needed
- One 8-ounce clear glass jar with lid
- Soy wax flakes, 6 ounces
- Wick, pre-tabbed
- Cinnamon sticks, 3 small
- Dried apple slices, 4 pieces
- Double boiler
How to Make It
- Melt soy wax flakes in a double boiler over medium heat, stirring every 2 minutes.
- Place the wick in the jar center and hold upright with a pencil across the top.
- Pour melted wax slowly into the jar, stopping halfway to arrange apple slices and cinnamon sticks against the glass.
- Fill to the top and let cool undisturbed for 4 hours before trimming the wick.


9. Burlap Banner with Stenciled Letters
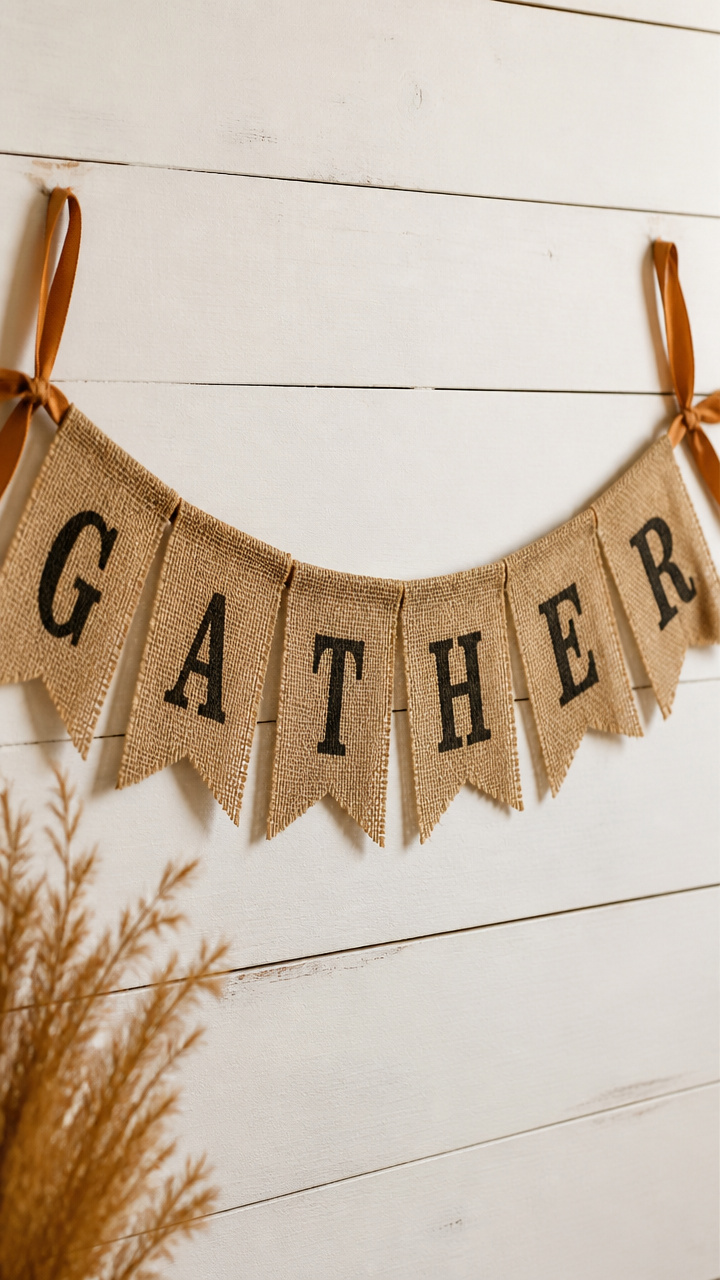
A stitched burlap flag with fall words like “Harvest” or “Gather” hangs proudly on fences or walls. The frayed edges give it vintage soul.
Materials Needed
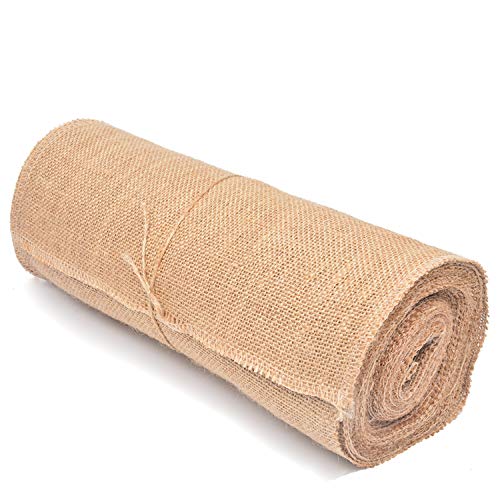
- Burlap roll, 12×18 inches
- Fall letter stencil set
- Black fabric paint
- Stencil brush
- Scissors
- Ribbon, 24 inches
How to Make It
- Cut burlap into five 4×5 inch pennants using scissors and a ruler.
- Line up the stencil on the first pennant and dab black fabric paint with the brush.
- Lift the stencil straight up to avoid smudging, then repeat for all pennants.
- Punch holes in each corner and thread ribbon through to connect them in sequence.


10. Clothespin Turkeys
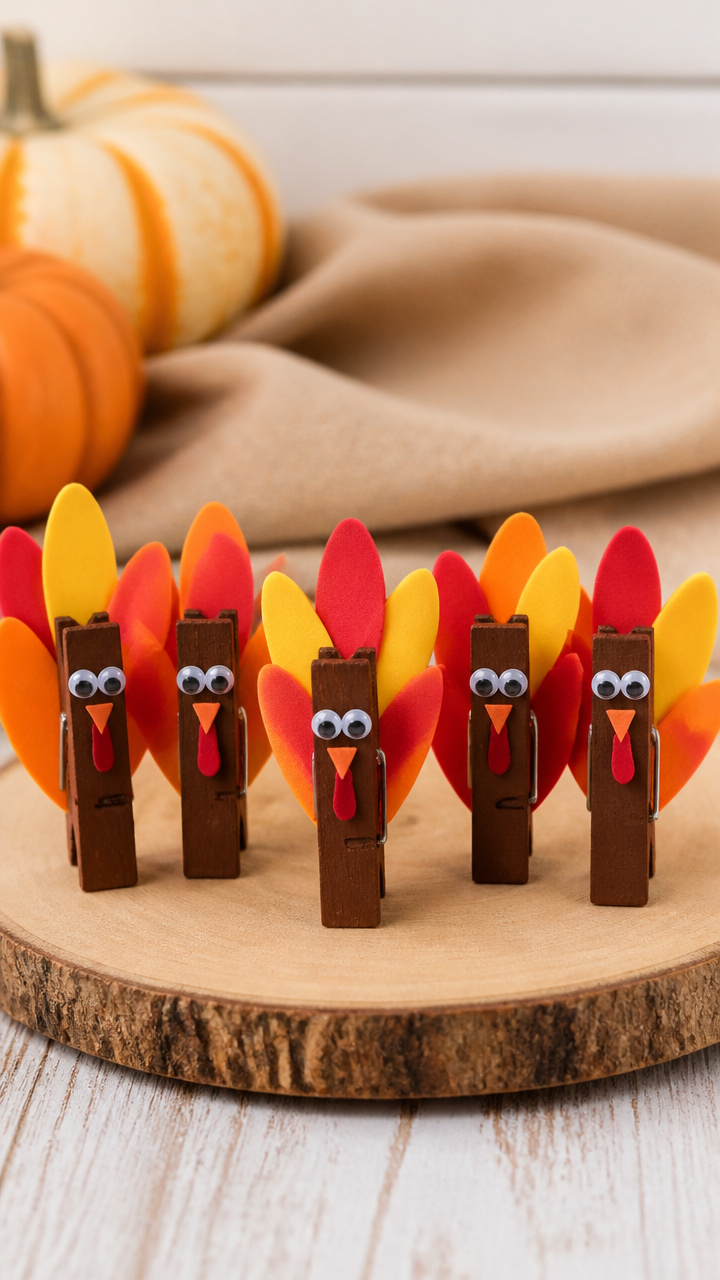
Wooden clothespins become silly turkeys with feather fanned tails and painted faces. They’re fun tucked into napkin rings or gift toppers.
Materials Needed
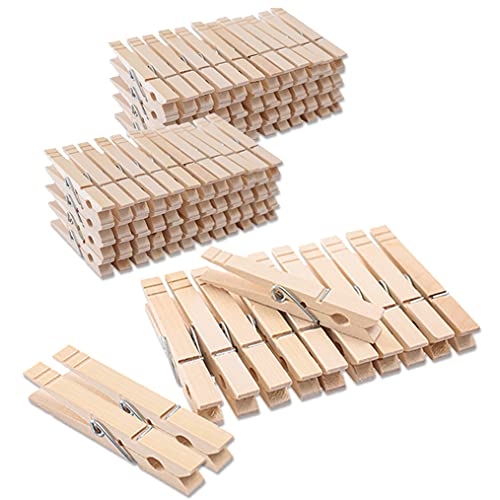
- Five wooden clothespins
- Red, yellow, and orange craft foam sheets
- Googly eyes, 10 mm, 5 pairs
- Craft glue
- Paintbrush
- Brown acrylic paint
How to Make It
- Paint each clothespin body brown and let dry for 20 minutes on a paper plate.
- Cut five feather shapes from each foam color and layer them into a fan.
- Glue the fan to the inside of the clothespin pinch point, pressing firmly.
- Glue on googly eyes and a small yellow foam triangle under the head for the beak.


11. Pumpkin Spice Soap Bars
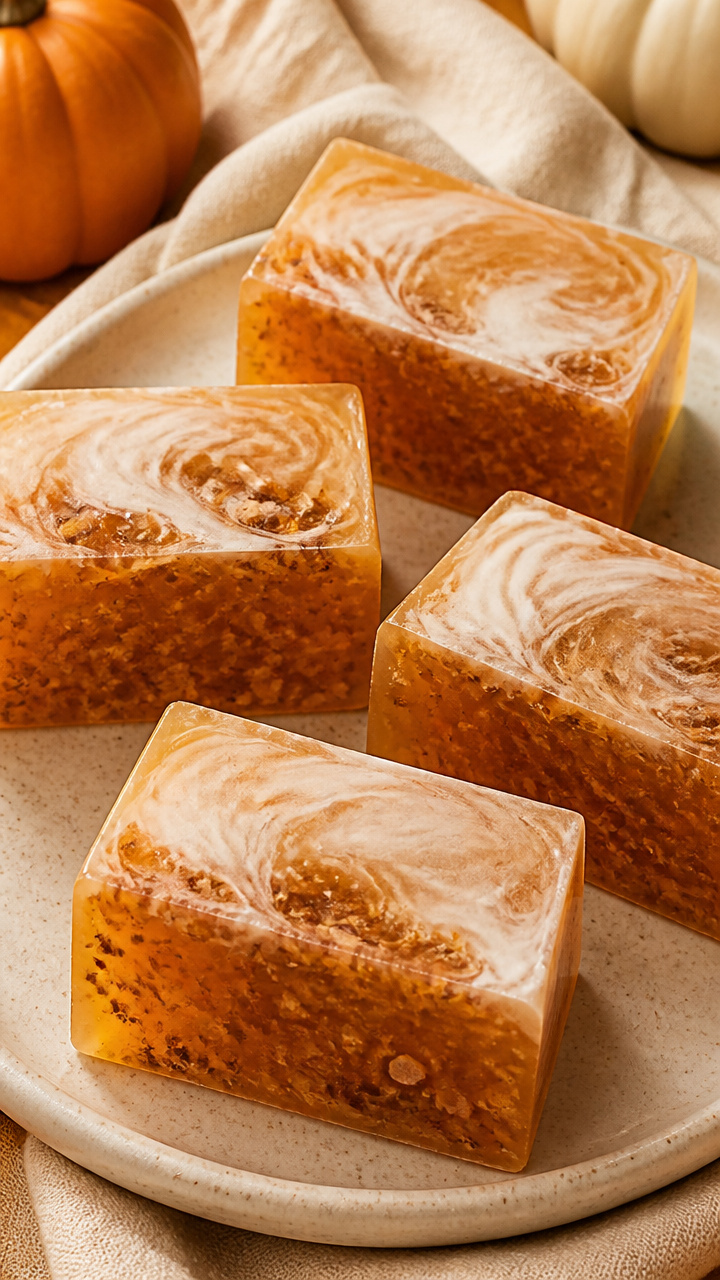
Plain glycerin soap turns into spiced fall treats with color, scent, and crushed cinnamon graham crackers. They lather richly and smell like dessert.
Materials Needed
- Clear glycerin soap base, 12 ounces
- Pumpkin spice fragrance oil, 1 teaspoon
- Orange soap dye, 5 drops
- Cinnamon graham crackers, 2 squares, crushed
- Silicone mold, 4-cavity loaf shape
- Double boiler
How to Make It
- Chop glycerin soap into cubes and melt in a double boiler over low heat.
- Stir in pumpkin spice oil and orange dye once fully melted, mixing for 30 seconds.
- Sprinkle crushed graham crackers into each mold cavity, dividing evenly.
- Pour soap mixture over the crackers and let harden for 3 hours before unmolding.


12. Autumn Button Tree
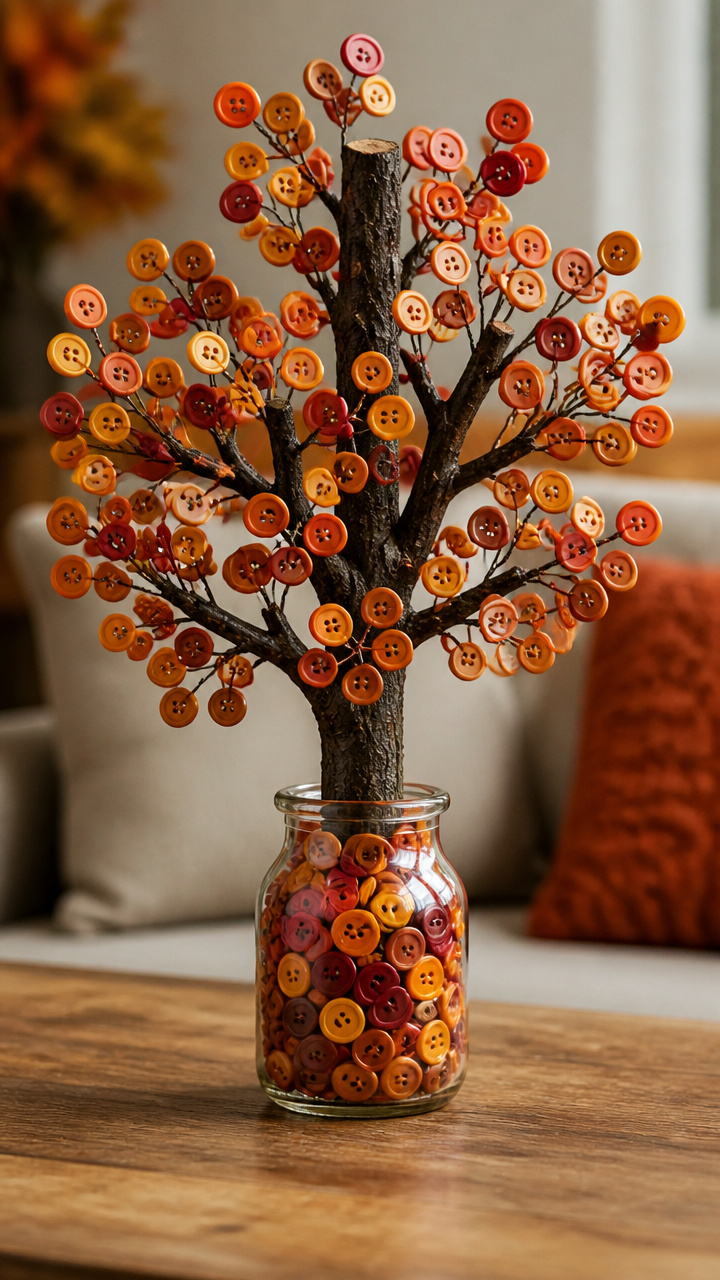
A stark branch in a bottle holds colorful buttons as leaves, creating a tabletop sculpture full of texture and hue. It needs no watering.
Materials Needed
- One thick tree branch, 10 inches tall
- Glass bottle, 6 inches tall
- Assorted fall-colored buttons, 50 pieces
- Floral wire, 22 gauge
- Wire cutters
- Hot glue gun
How to Make It
- Place the branch in the bottle to check stability, trimming the base if needed.
- Cut 1-inch lengths of floral wire and twist one around each button shank.
- Bend the wire end into a hook and attach to a branch fork, twisting to secure.
- Continue adding wired buttons until the branch looks full, using hot glue only for loose wires.


13. Paper Bag Cornucopia
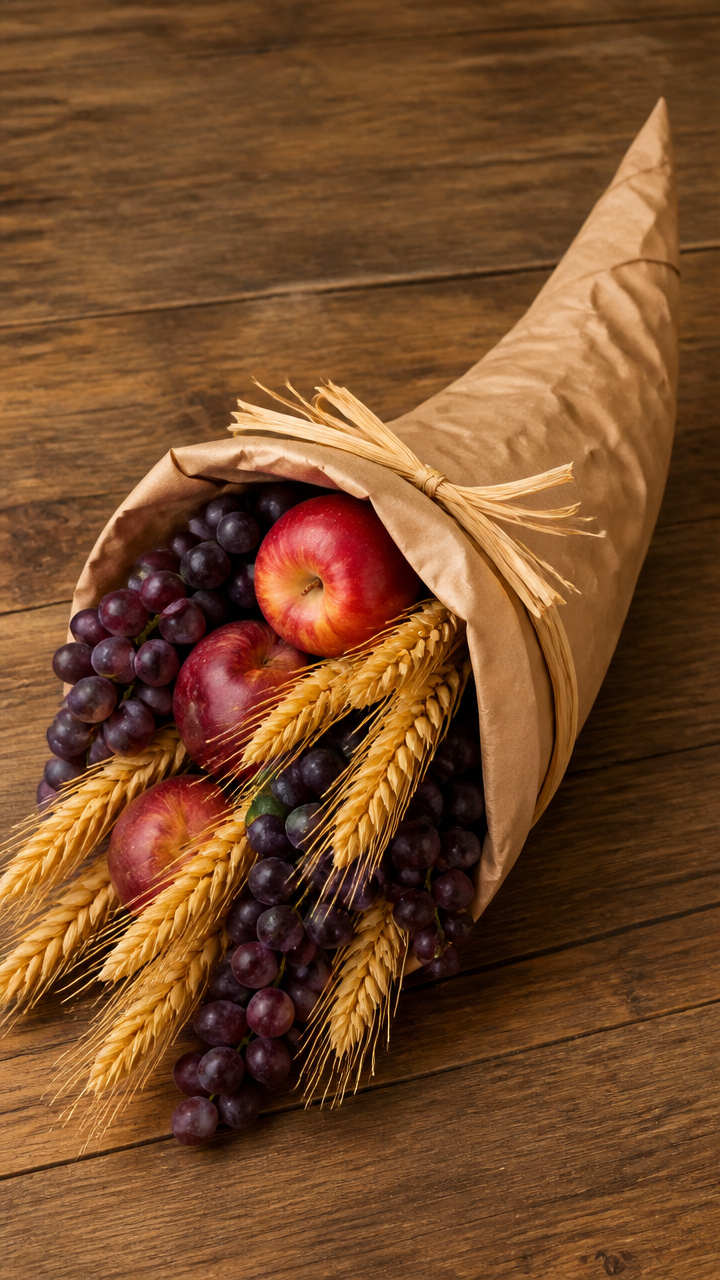
A lunch bag folded and glued into a horn shape overflows with faux fruit and wheat. It’s a classic centerpiece made simple.
Materials Needed
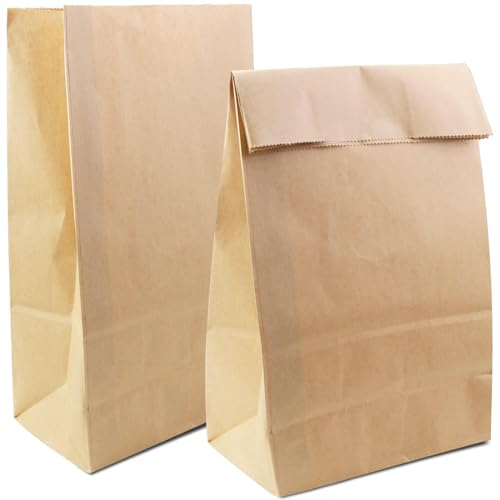
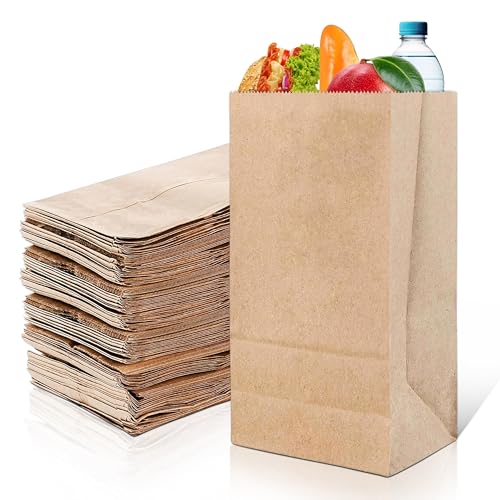
- Brown paper lunch bag, large
- Hot glue gun
- Faux grapes, 1 cluster
- Faux apples, 3 small
- Silk wheat stalks, 2 bundles
- Raffia, 12 inches
How to Make It
- Fold the bottom corners of the bag inward to meet at the center, forming a cone shape.
- Glue the seams along both sides to hold the cone, letting dry for 2 minutes.
- Turn the top edge down slightly to create a cuff and glue in place.
- Arrange fruit and wheat inside and tie raffia around the neck for decoration.

14. Washi Tape Vase
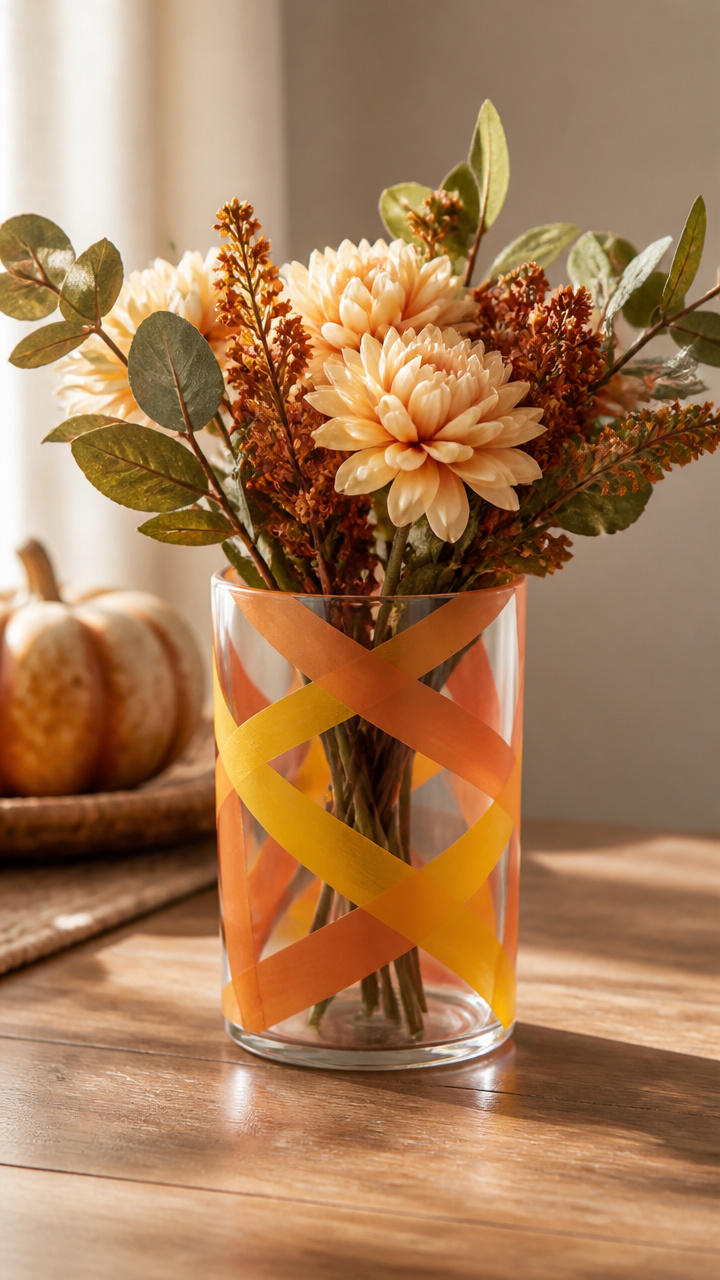
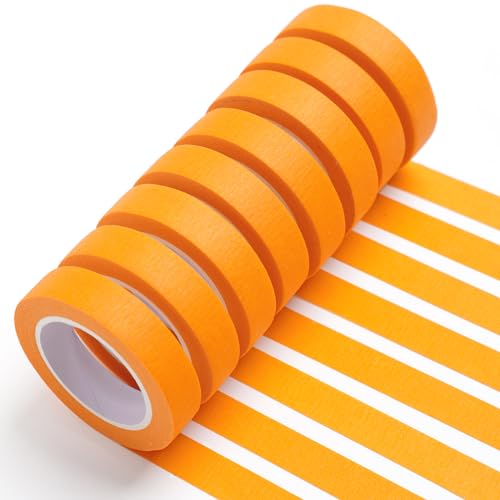
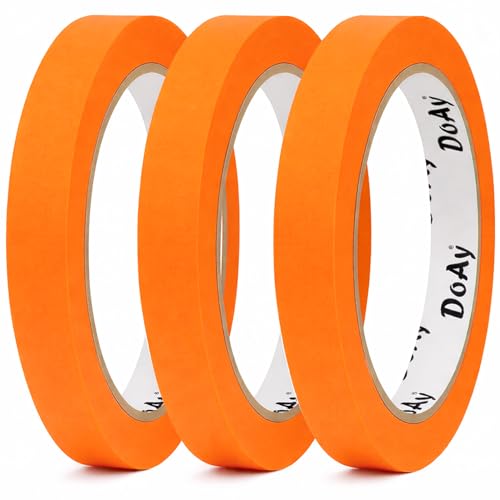
Plain glass vases gain geometric fall patterns with crisscrossed washi tape. The design is removable, so you can switch styles later.
Materials Needed
- Clear glass vase, 5 inches tall
- Burnt orange washi tape, 0.5 inch wide
- Mustard yellow washi tape, 0.5 inch wide
- Scissors
- Ruler
How to Make It
- Measure and mark vertical lines 1 inch apart around the vase with a light pencil dot.
- Cut 6-inch lengths of both tape colors and press them diagonally across the vase, crossing at the marks.
- Overlap tape slightly where they intersect, smoothing with your fingertip to avoid bubbles.
- Trim ends neatly with scissors for a clean border at the top and bottom.

15. Fabric Scrap Pumpkins
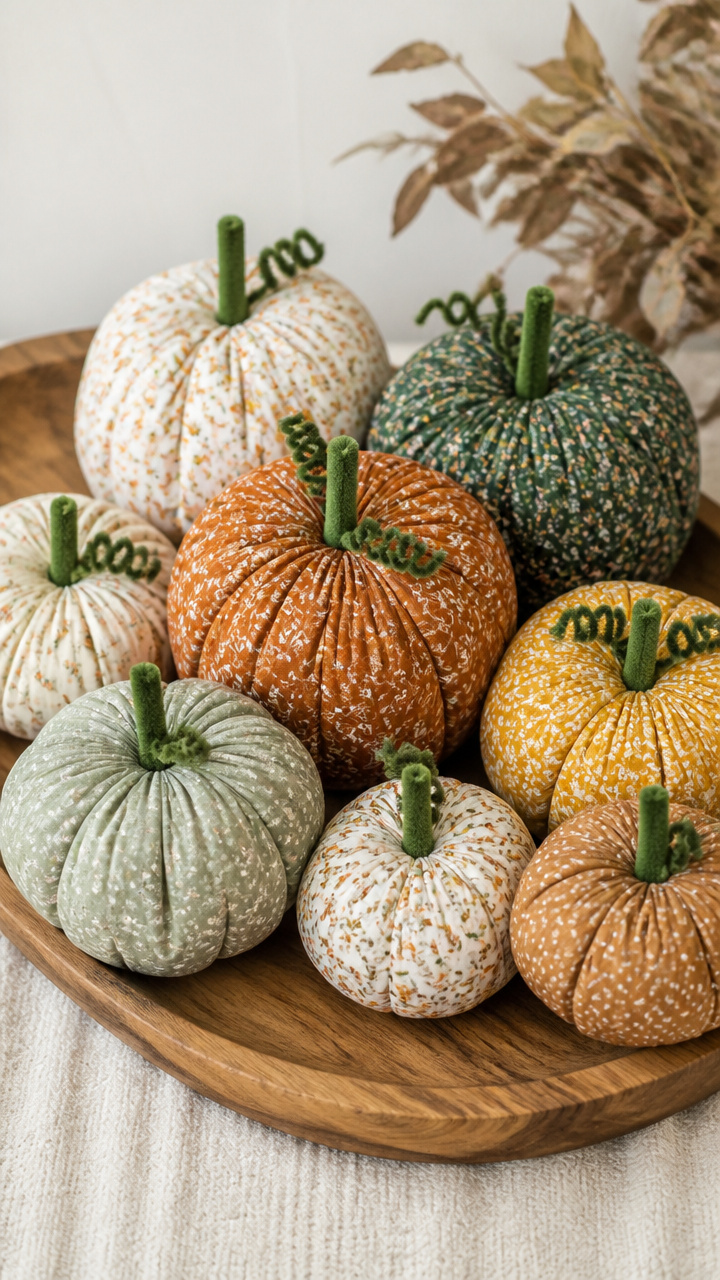
Leftover quilting cotton rolled and tied creates soft pumpkins in varied prints. They nestle well in baskets or tiered trays.
Materials Needed
- Scraps of quilting cotton, 5 pieces, each 6×8 inches
- Green chenille stems, 3 pieces
- Needle
- All-purpose thread
- Scissors
How to Make It
- Roll each fabric scrap diagonally from one corner into a tight tube.
- Stitch through the end with a few backstitches to secure the roll.
- Pinch the center of the roll to gather it into segments, like a pumpkin.
- Wrap a chenille stem around the pinched center and twist tightly at the back to hold shape.


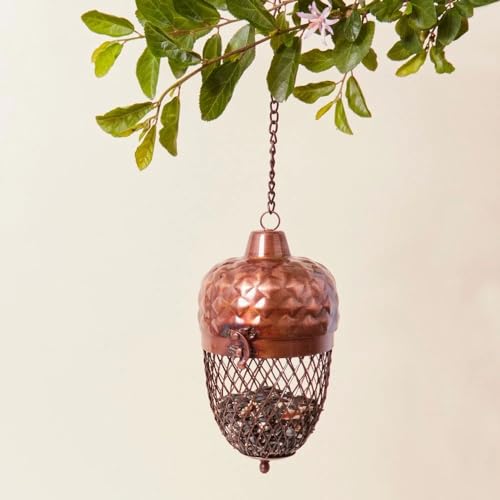
16. Acorn Cap Bird Feeders
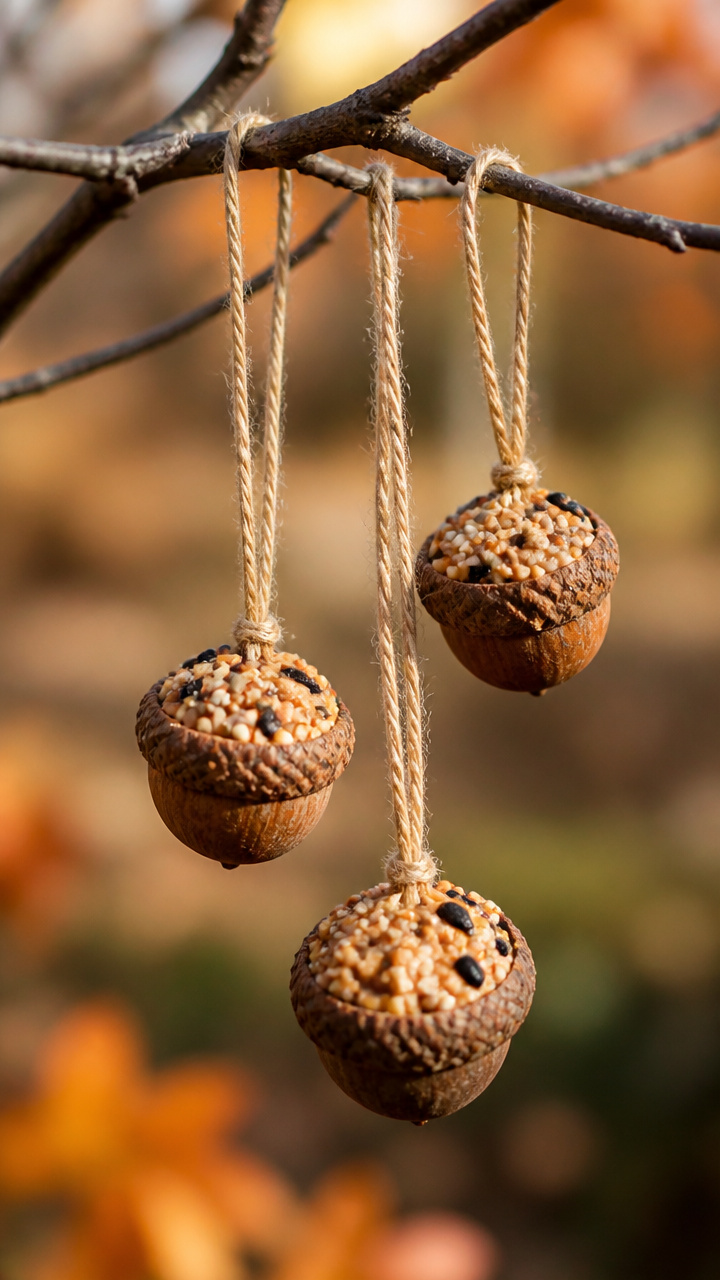
Discarded acorn caps filled with peanut butter and birdseed attract chickadees and nuthatches. Hang them from low branches with care.
Materials Needed
- 10 large acorn caps, cleaned
- Natural peanut butter
- Birdseed mix, 1/2 cup
- Twine, 10 pieces, each 4 inches
- Butter knife
How to Make It
- Press a 1/2 inch piece of twine into the inside base of each acorn cap.
- Spread peanut butter inside each cap using the butter knife, filling nearly to the top.
- Roll the open end in birdseed to coat the sticky surface completely.
- Let dry on wax paper for 1 hour before hanging near a window feeder spot.


17. Cardstock Paper Pumpkins
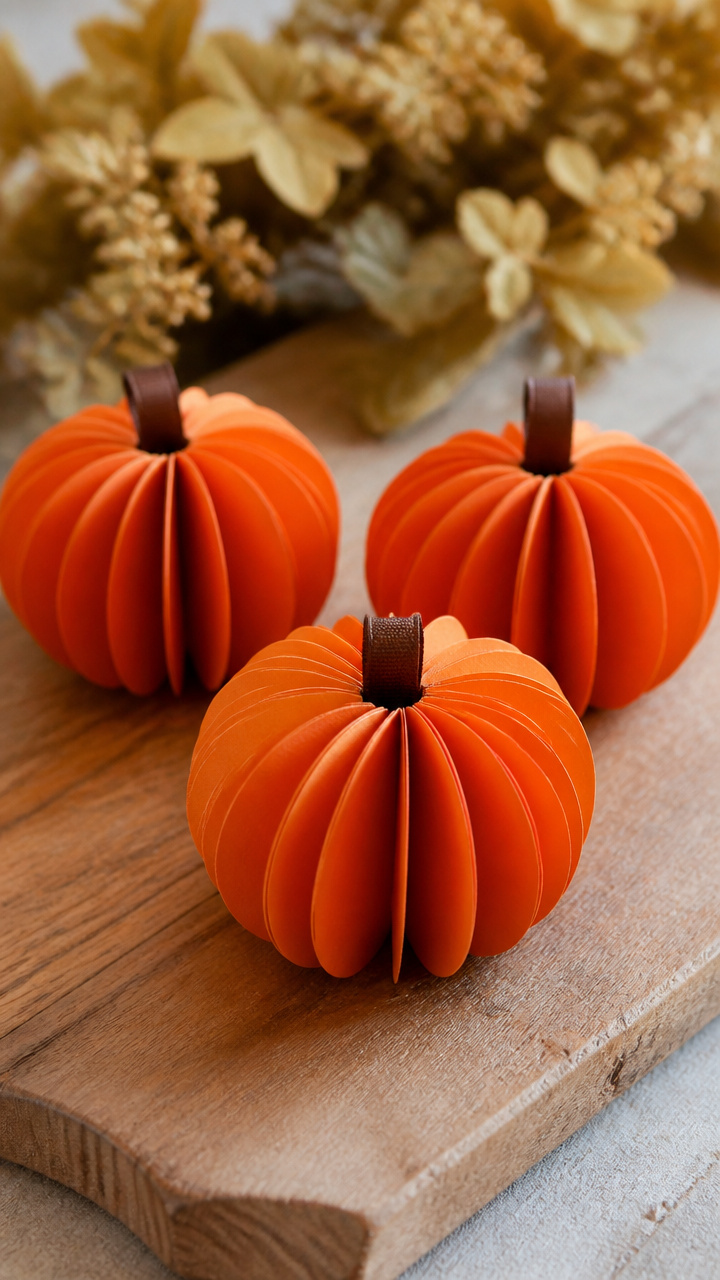
Layered circles of orange cardstock form dimensional pumpkins with ribbed texture. A ribbon stem finishes each one simply.
Materials Needed
- Orange A4 cardstock, 5 sheets
- Circle punch, 3 inch
- White glue
- Ruler
- Black marker
- Brown ribbon, 1/4 inch wide, 10 inches
How to Make It
- Punch 25 circles from the cardstock using the circle punch.
- Draw a small circle in the center of every other circle with the black marker.
- Glue circles together offsetting the centers slightly to create ripple layers.
- Cut a 2-inch piece of ribbon and glue it upright at the top center for the stem.
18. Twig Picture Frame
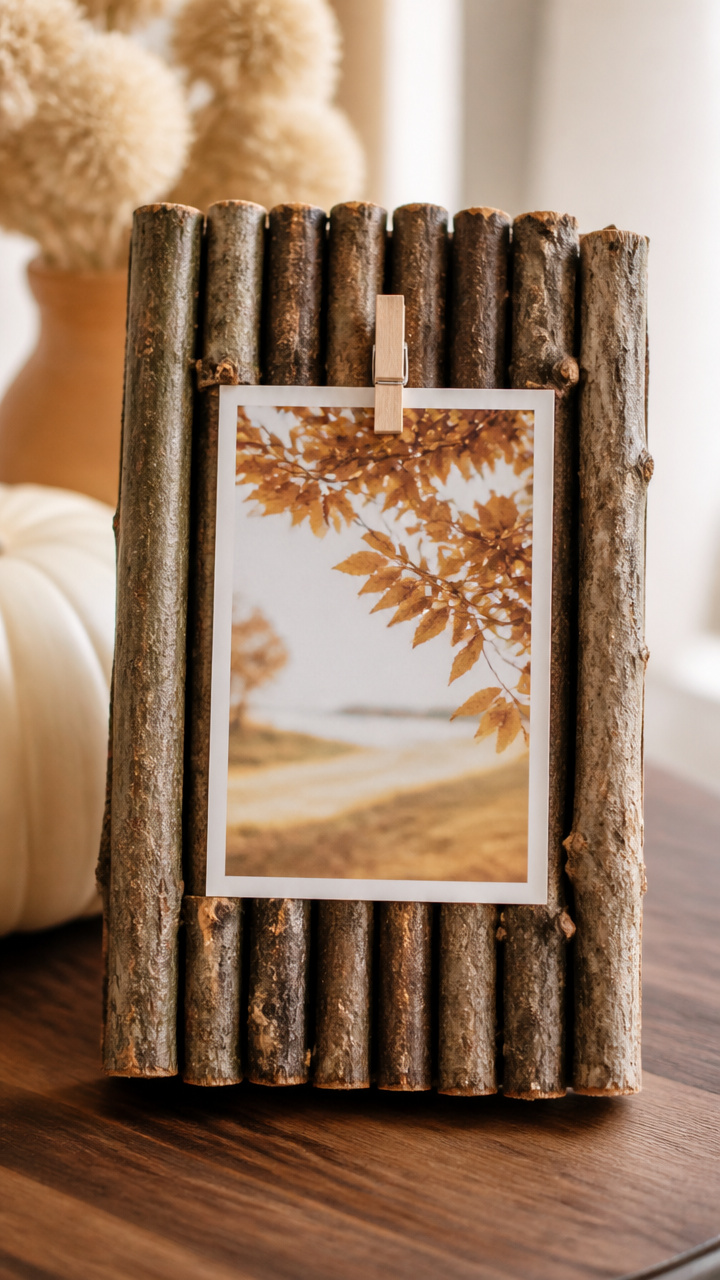
A rectangle of twigs glued edge-to-edge surrounds a favorite photo with rustic grace. It stands well on a shelf or desk.
Materials Needed
- Twigs, 16 pieces, each 3 inches long
- Mini clothespin frame, 3×4 inches
- Hot glue gun
- Scissors
- Family photo, 3×4 inches
How to Make It
- Lay the frame face down and begin gluing twigs vertically along the outer edge.
- Fit each twig snugly against the last, trimming length with scissors if needed.
- Continue around all four sides, building a complete border with no gaps.
- Slide the photo behind the clips and display upright.


19. Cinnamon Stick Bouquet
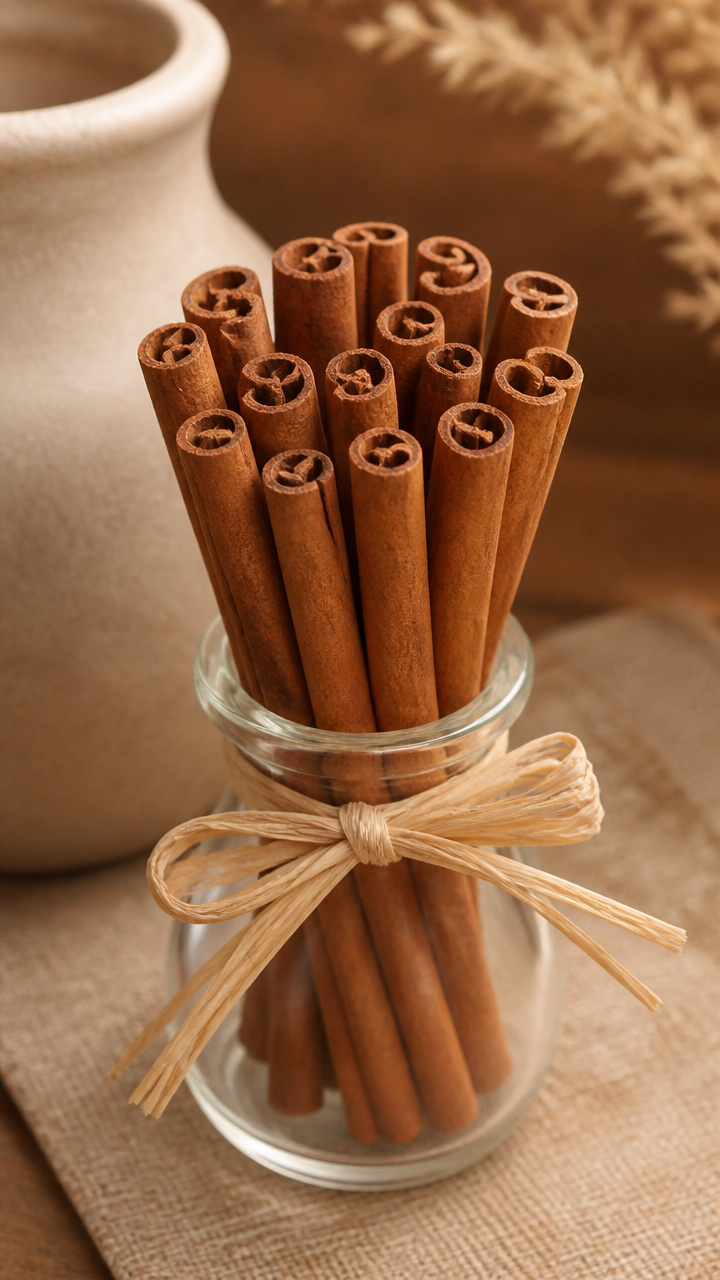
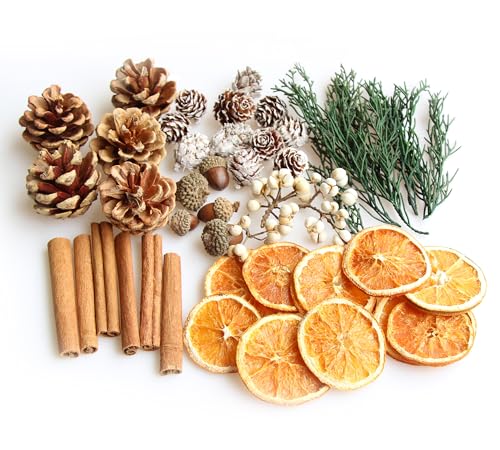
Tied bundles of cinnamon sticks release warm spice into the air and look elegant in a small vase. No watering required.
Materials Needed
- Cinnamon sticks, 15 pieces
- Raffia, 18 inches
- Small glass bottle
- Hot glue gun
How to Make It
- Group five cinnamon sticks together and align their ends evenly.
- Wrap raffia around the bundle 2 inches from the bottom and tie a secure knot.
- Repeat to make three identical bundles.
- Arrange all three in the bottle and add a dot of hot glue at the base to stabilize.


20. Leaf Print Notecards
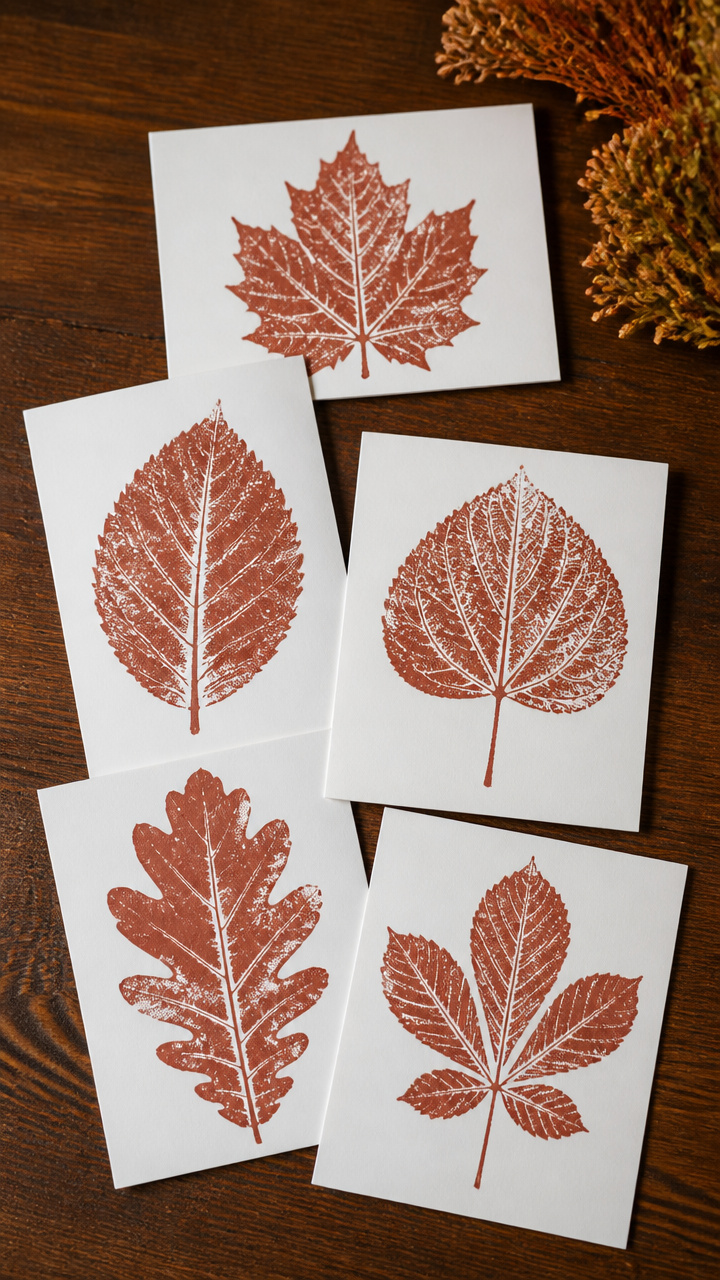
Real leaves pressed with paint create unique stationery with organic patterns. Each card carries the veins and shape of autumn foliage.
Materials Needed
- White index cards, 5 pieces
- Flat leaves, 5 large, smooth
- Rusty red acrylic paint
- Paint tray
- Brayer
- Pencil
How to Make It
- Lay a leaf underside up on the paint tray and roll rusty red paint across it with the brayer.
- Press the painted side firmly onto an index card, holding flat for 5 seconds.
- Lift straight off to reveal the print, avoiding any sliding motion.
- Use a pencil to write a message beneath each print once fully dry.


21. Yarn-Wrapped Gourds
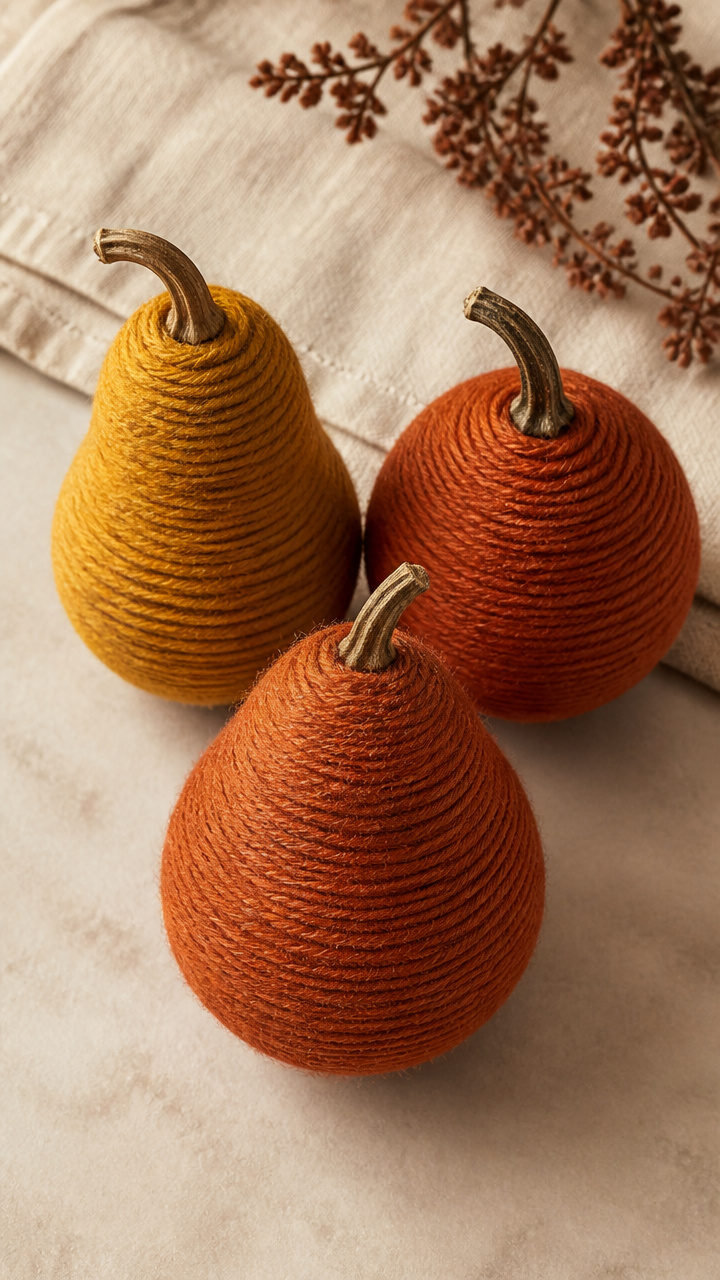
Hard-shell gourds wrapped tightly in wool yarn become textural decor pieces. The rich mustard and rust tones echo fall fields.
Materials Needed
- Three small hard gourds
- Mustard wool yarn
- Rust wool yarn
- Tacky glue
- Scissors
How to Make It
- Put a dot of tacky glue on the bottom of a gourd and press the yarn end to it.
- Wrap the yarn tightly around the gourd, spiraling upward with no gaps.
- Add a drop of glue every inch to secure the yarn if it slips.
- Cut the end and glue it down when reaching the top opposite the start.


22. Pressed Flower Bookmarks
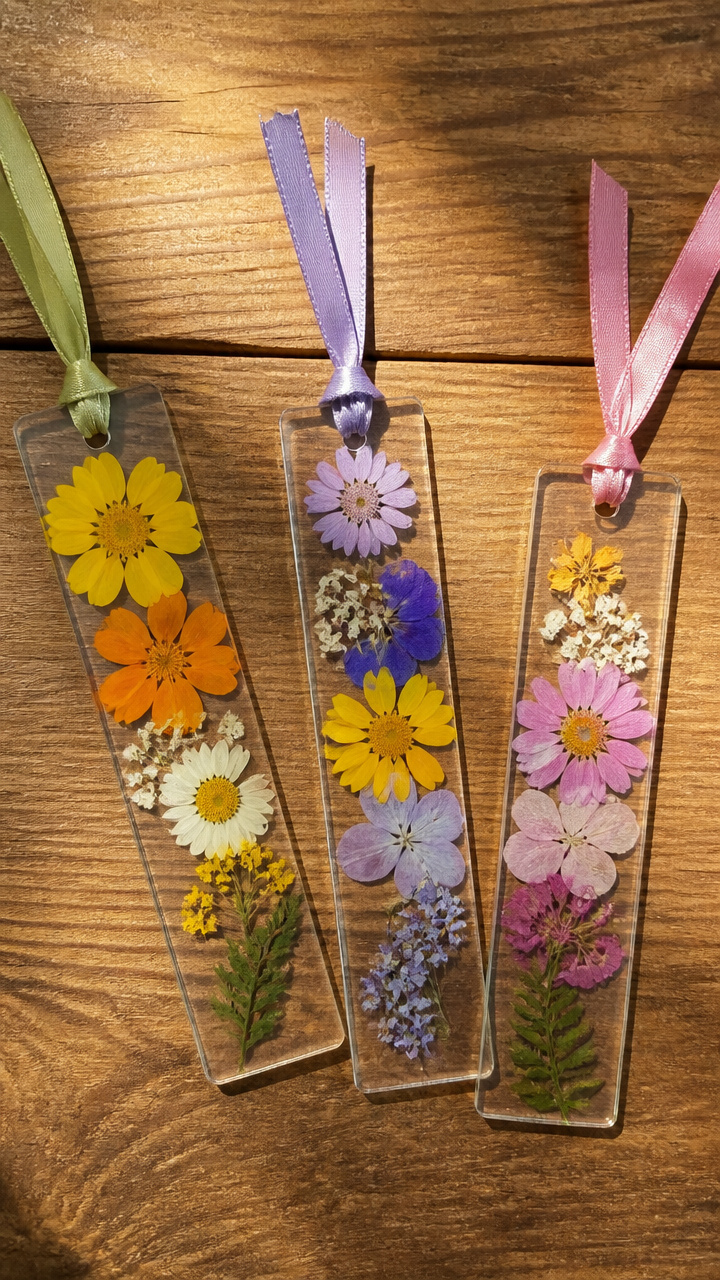
Delicate flowers sealed in contact paper make durable bookmarks with a garden touch. They slide easily between pages without damage.
Materials Needed
- Fresh small flowers, 5 stems
- Heavy books
- Contact paper roll, 12 inches wide
- Scissors
- Hole punch
- Ribbon, 6 inches
How to Make It
- Place flowers face down between two sheets of parchment paper and press under heavy books for 48 hours.
- Cut a 2×6 inch rectangle of contact paper and peel the backing halfway.
- Center the pressed flowers on the sticky side and smooth the rest of the paper over.
- Trim around the edges, punch a hole at the top, and thread ribbon through.


23. Pumpkin Patch Tray
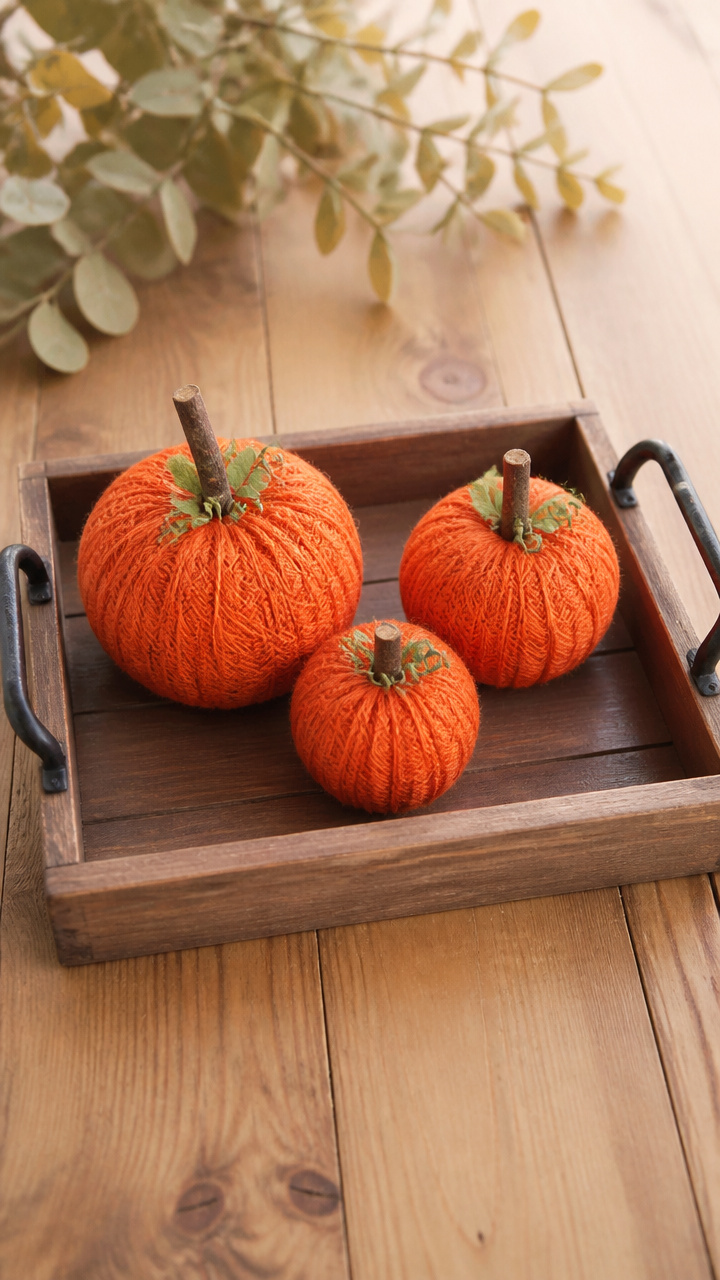
A wooden tray holds three handmade pumpkins made from balloons and yarn. It serves as both decor and a catch-all.
Materials Needed
- Wooden tray, 8×6 inches
- Small balloon, 3 inches
- Orange yarn
- White glue
- Water
- Scissors
How to Make It
- Mix equal parts white glue and water in a bowl to make a sticky solution.
- Inflate one balloon to grapefruit size and tie it securely.
- Dip yarn into the glue mixture, run fingers along it to remove excess, and wrap tightly around the balloon.
- Let dry for 6 hours, pop the balloon, and place all three pumpkins in the tray.


24. Fabric Leaf Ornaments
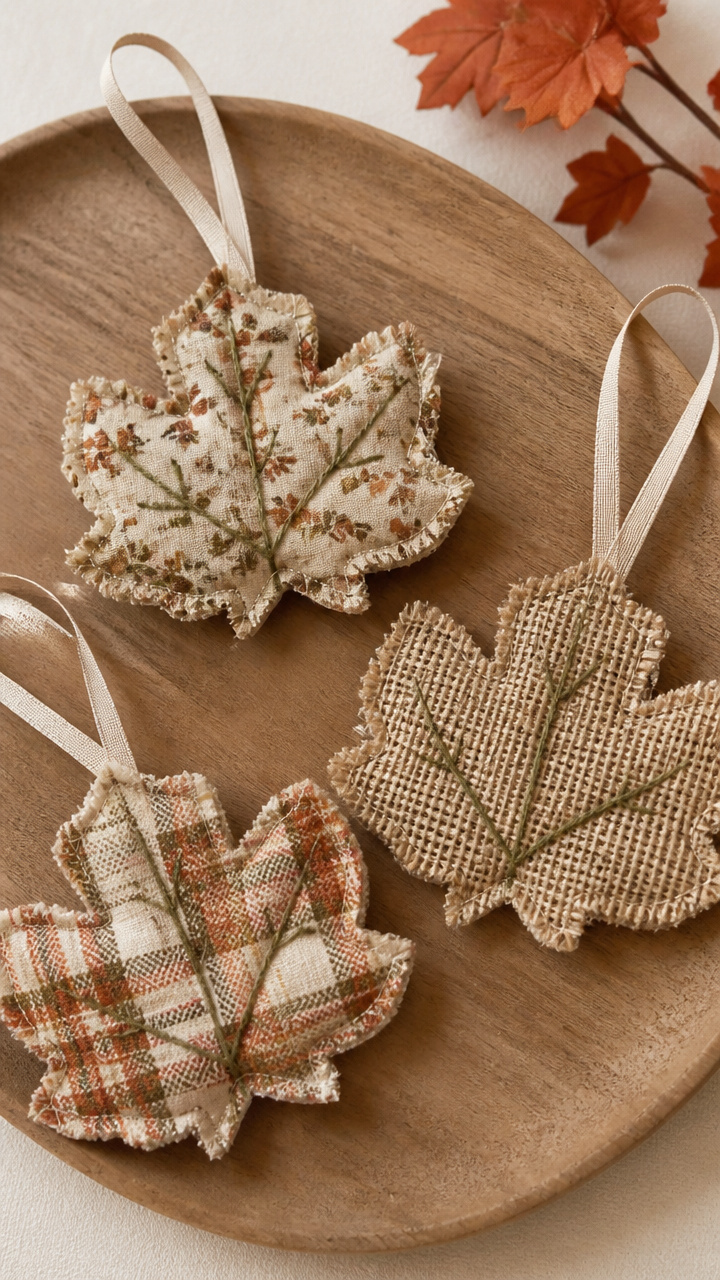
Calico and burlap leaves with embroidered veins hang from ribbon on any tree or hook. Their homespun texture feels authentically seasonal.
Materials Needed
- Calico fabric scrap
- Burlap scrap
- Leaves template, printed
- Embroidery needle
- Green thread
- Ribbon, 10 inches
- Scissors
- Pins
How to Make It
- Pin the template to each fabric and cut two leaves from calico and two from burlap.
- Stack one pair right sides together and stitch around the edge with a 1/4 inch seam, leaving a gap.
- Turn right side out and press gently with fingers, then slip-stitch the gap closed.
- Use backstitch with green thread to embroider a center vein, then attach ribbon to the top.


25. Apple Core Wreath
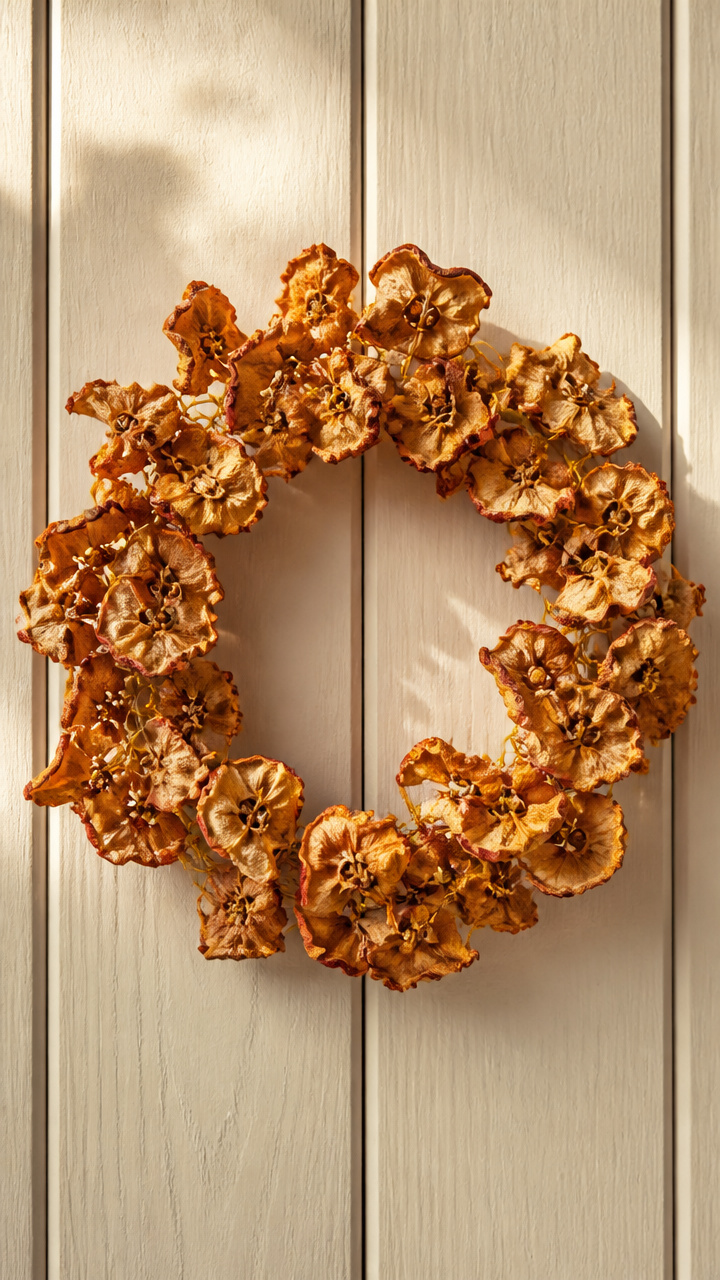
Dried apple cores wired together form a fragrant ring that smells like pie in the making. It shrinks slightly as it dries.
Materials Needed
- 6 apples, cored
- Lemon juice, 2 tablespoons
- Baking sheet
- Parchment paper
- Gold wire, 24 gauge
- Wire cutters
How to Make It
- Slice each apple into 1/4 inch rings and dip in lemon juice to prevent browning.
- Lay rings on a parchment-lined baking sheet and bake at 200°F for 2 hours, flipping once.
- Let cool completely, then drill a small hole in each end of every ring.
- Link ten rings with short gold wire pieces, bending into a circular wreath shape.


26. Button Sunflower
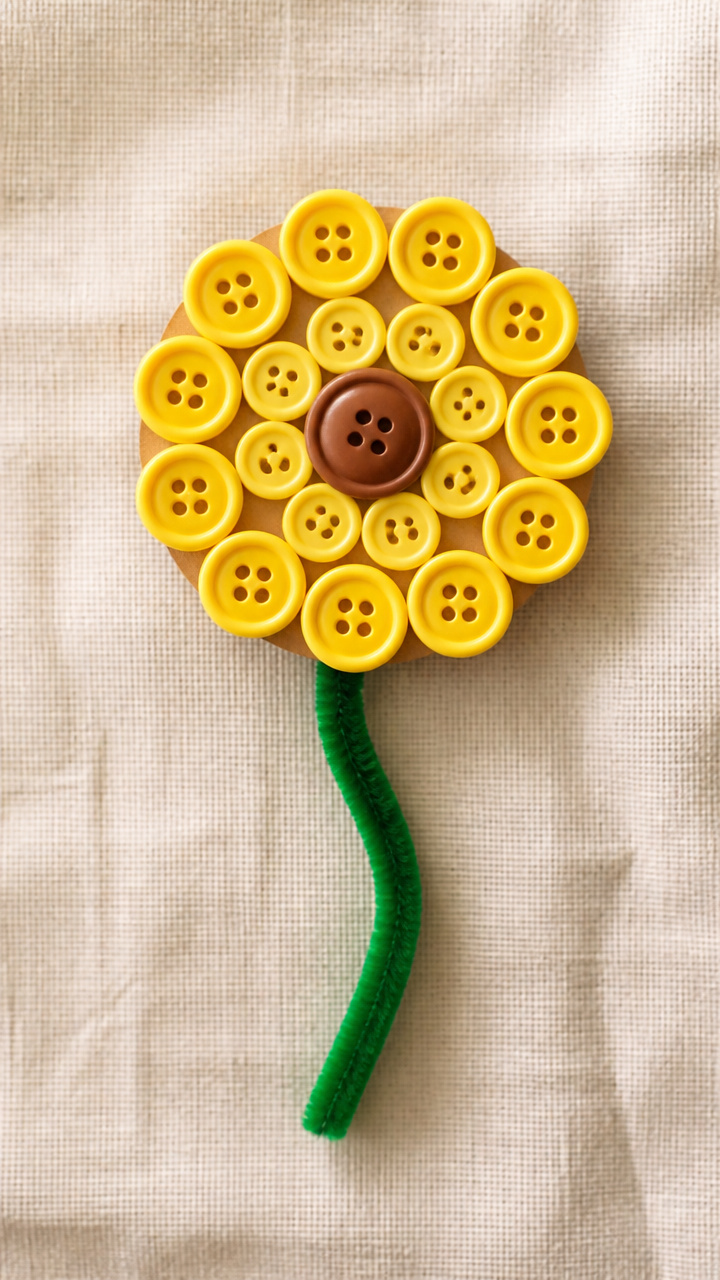
Large yellow buttons layered around a brown center mimic sunflowers down to the seeds. They brighten shadow boxes or greeting cards.
Materials Needed
- One brown button, 1 inch
- Twelve yellow buttons, 3/4 inch
- Six yellow buttons, 1/2 inch
- Fabric glue
- Cardboard circle, 3 inches
- Green pipe cleaner
How to Make It
- Glue the brown button to the center of the cardboard circle and let dry for 5 minutes.
- Arrange the 3/4 inch yellow buttons around the brown center in a ring, gluing each in place.
- Fill the outer ring with 1/2 inch buttons, overlapping slightly for fullness.
- Glue a green pipe cleaner to the back for a stem and let cure for 1 hour.


27. Linen Napkin Sachets
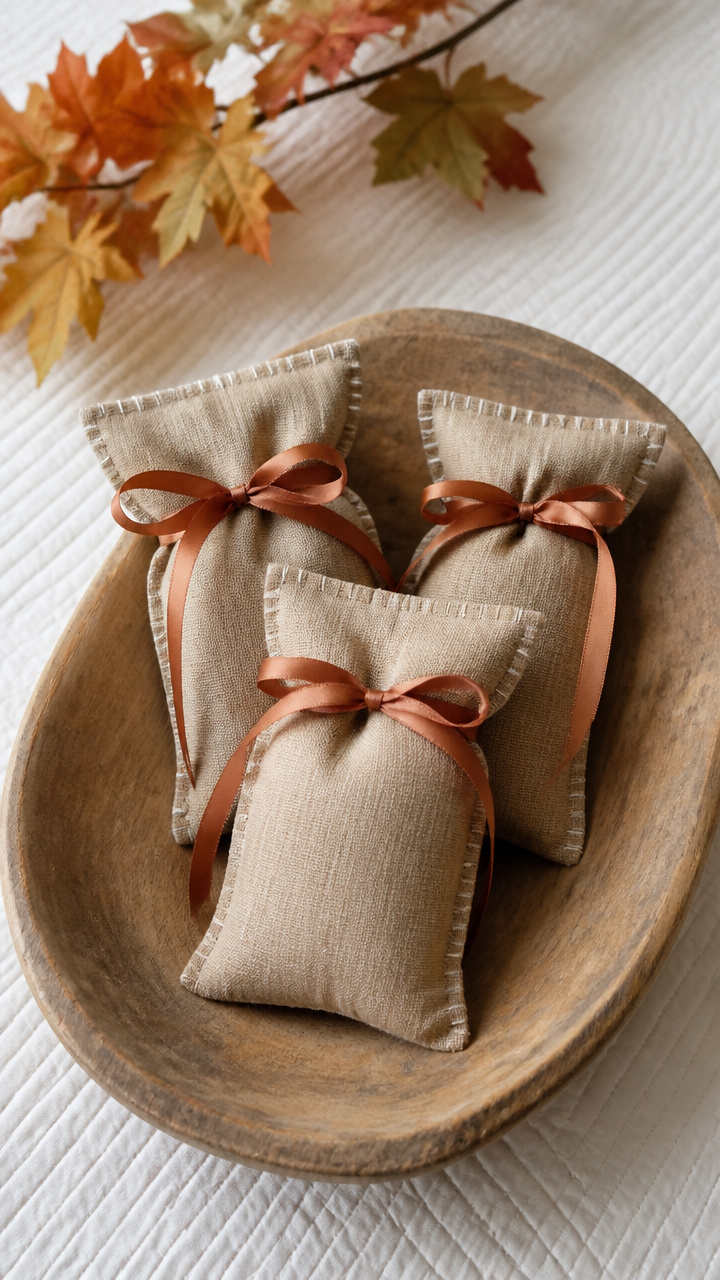
Tiny linen pouches filled with cedar chips keep drawers smelling fresh and repel moths. They’re hidden helpers with quiet purpose.
Materials Needed
- Linen fabric, 6×6 inch square
- Cedar chips, 1/4 cup
- Sewing needle
- White thread
- Scissors
- Ribbon, 8 inches
How to Make It
- Cut the linen into two 3×3 inch squares using scissors and a ruler.
- Place squares right sides together and sew around three edges with a 1/4 inch seam.
- Turn right side out and fill with cedar chips through the open edge.
- Fold the raw edge inward and whipstitch the opening closed, then tie ribbon around the middle.

28. Berry Sprig Centerpiece
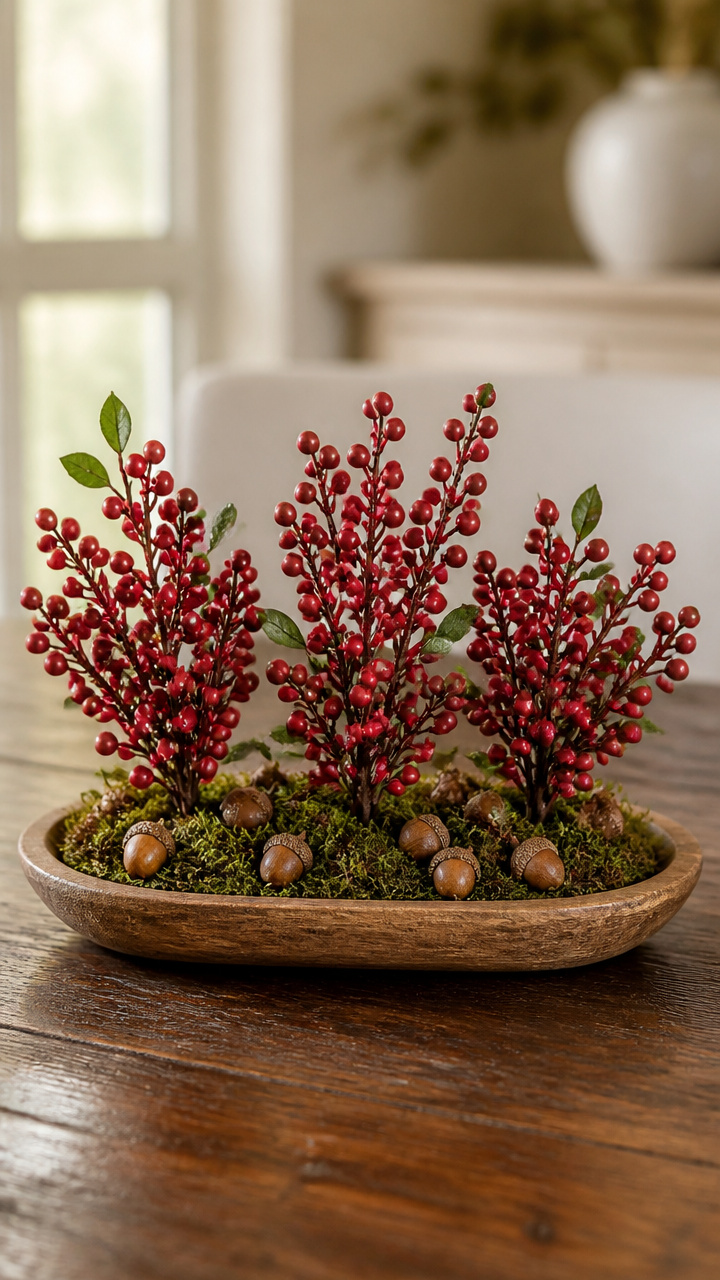
Artificial berry sprigs in a low dish with scattered acorns create a wild harvest feel. It works on coffee tables or dining spots.
Materials Needed
- Three artificial berry sprigs
- Wooden dish, 8 inches long
- Acorns, 15 pieces
- Moss sheet, 4×4 inches
- Scissors
How to Make It
- Cut moss to fit the bottom of the dish using scissors and press it flat.
- Place berry sprigs in the center, angling them slightly for height variation.
- Tuck acorns randomly around the base, partially burying them in the moss.
- Adjust sprig tips to fan outward naturally, completing the woodland look.
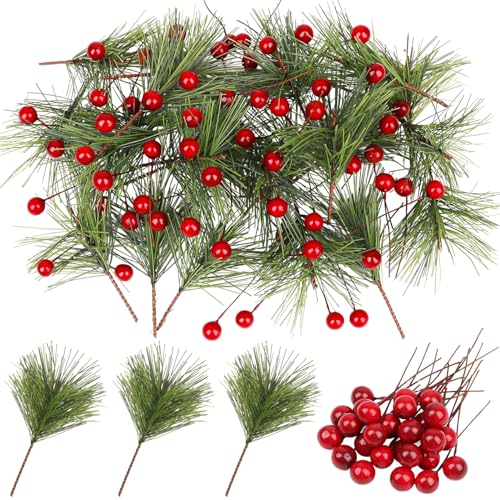


29. Pine Needle Potpourri
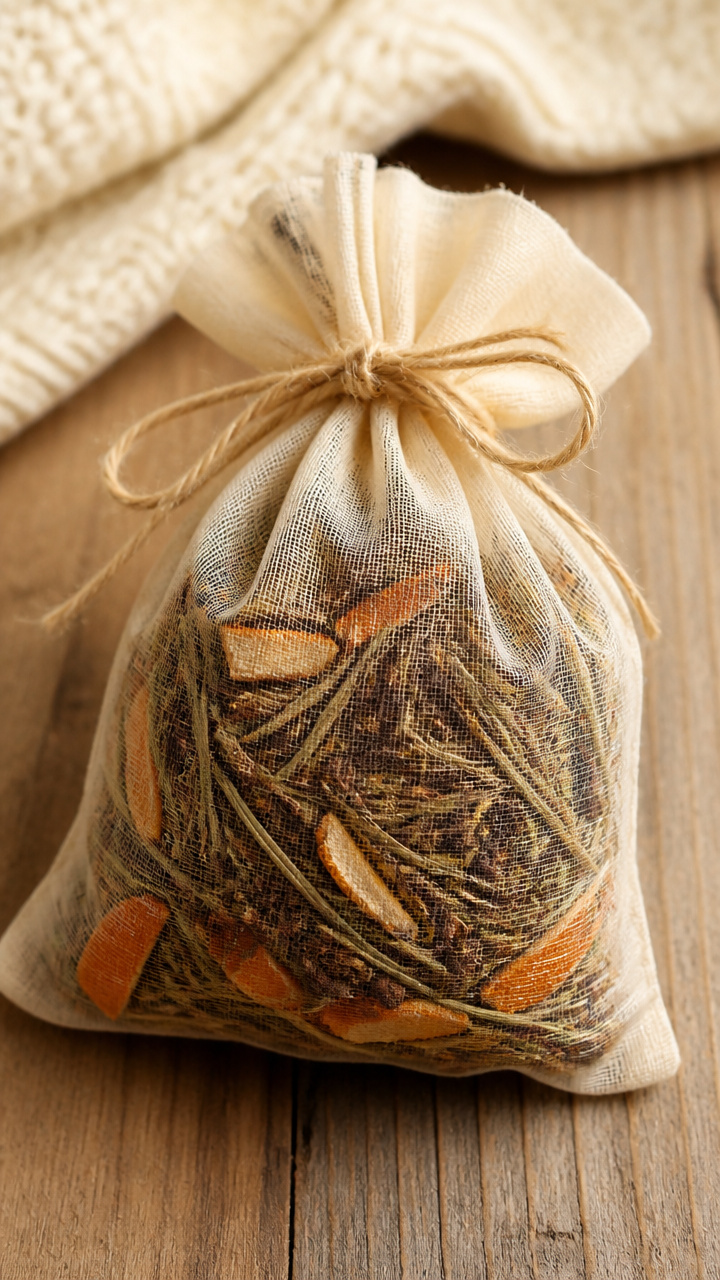
A blend of dried pine needles, cloves, and orange peel simmers gently on the stove. It fills your home with clean, sharp forest notes.
Materials Needed
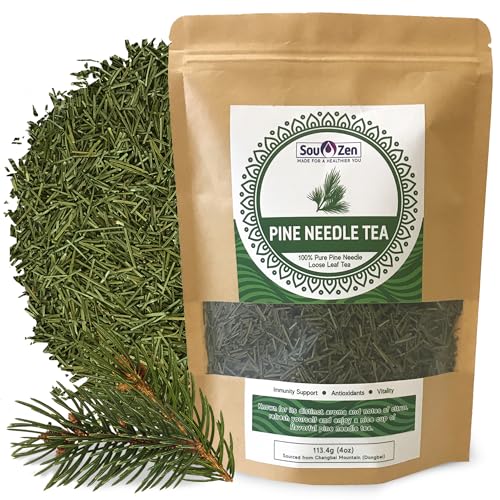
- Dried pine needles, 1 cup
- Whole cloves, 2 tablespoons
- Dried orange peel strips, 1/2 cup
- Small muslin bag
- Twine, 6 inches
How to Make It
- Combine pine needles, cloves, and orange peel in a bowl and mix with hands.
- Spoon the mixture into the muslin bag, filling it loosely.
- Pull the drawstring closed and tie the twine around the top for extra security.
- Place in a simmer pot with water and enjoy the scent for hours.


30. Candlelit Mason Jar Lanterns
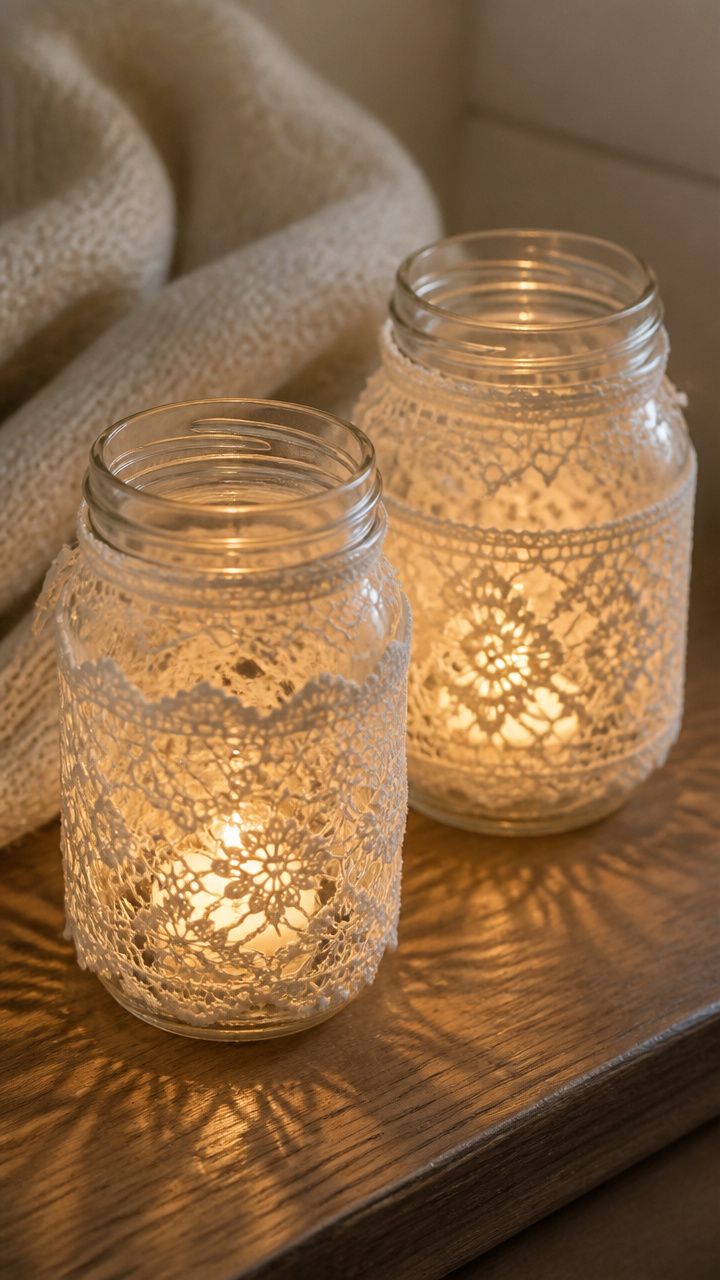
Mason jars wrapped with lace and housing tea lights glow softly on porches or paths. The shadows dance through the pattern at night.
Materials Needed
- Two 8-ounce mason jars
- Lace trim, 12 inches per jar
- Fabric glue
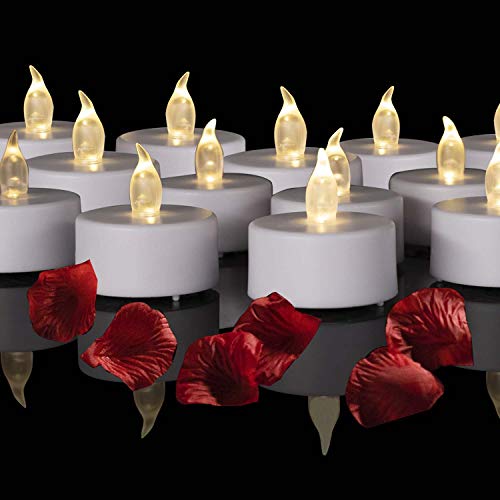
- Battery-operated tea lights, 2
- Scissors
How to Make It
- Cut lace trim to fit around the lower third of each jar, trimming excess with scissors.
- Apply a thin line of fabric glue to the back of the lace and press it to the jar.
- Hold in place for 10 seconds to bond, then let dry for 30 minutes.
- Place one tea light inside each jar and turn on at dusk.


You now have thirty ways to welcome fall with handmade warmth and simplicity. Grab your basket and head to Dollar Tree with this list in hand, knowing each project is within reach and worth the time.