18 Felt Leaf Garland Ideas

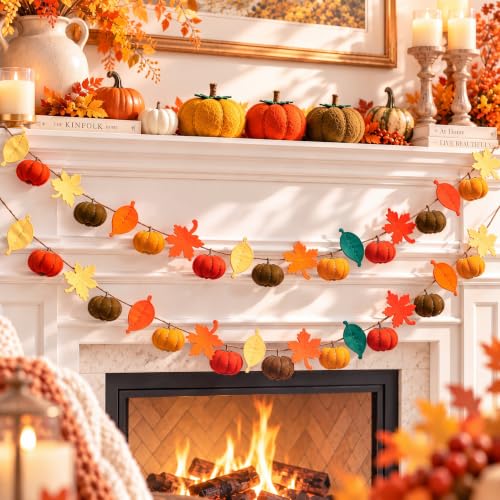
Felt leaf garlands bring soft color and handmade charm to any space. Whether you're decorating for fall, celebrating a birthday, or just adding a quiet detail to your shelves, these projects use simple tools and cozy materials you can find easily.
Each idea stands on its own, with unique shapes, stitches, or ways to hang them. You'll cut, stitch, layer, and string your way through a collection that feels personal and full of texture.
1. Ombre Maple Leaves
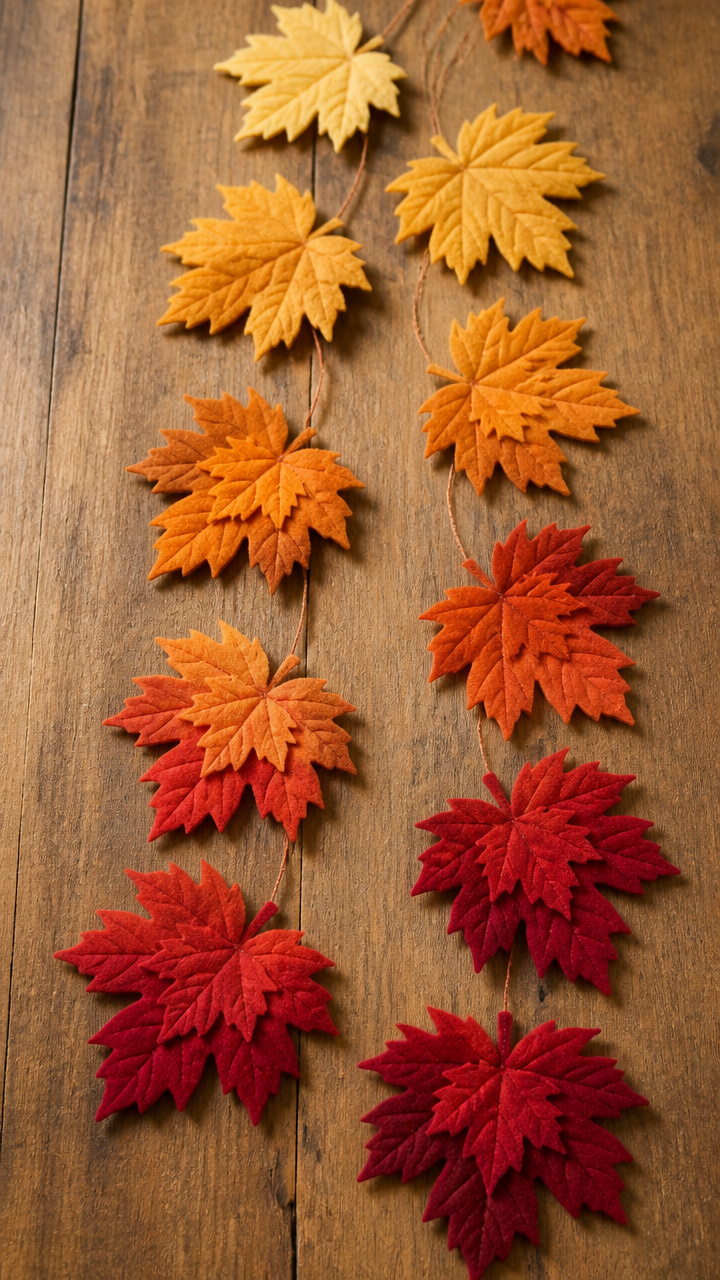
Soft gradients of rust, gold, and crimson flow across these maple leaves, creating depth without paint. The effect comes from carefully chosen felt shades layered at the edges.
Materials Needed
- 3 sheets orange craft felt
- 2 sheets red craft felt
- 1 sheet yellow craft felt
- scissors
- ruler
- pencil
- hot glue gun
- 2-meter jute twine
How to Make It
- Cut 15 leaf shapes measuring 3 inches wide using the orange felt as the base layer.
- From red and yellow felt, cut smaller leaf shapes sized at 2.5 inches and layer them slightly off-center on each orange base using hot glue.
- Tie the jute twine around both ends of the garland, spacing leaves 4 inches apart along the length.


2. Appliquéd Birch Trunk Garland
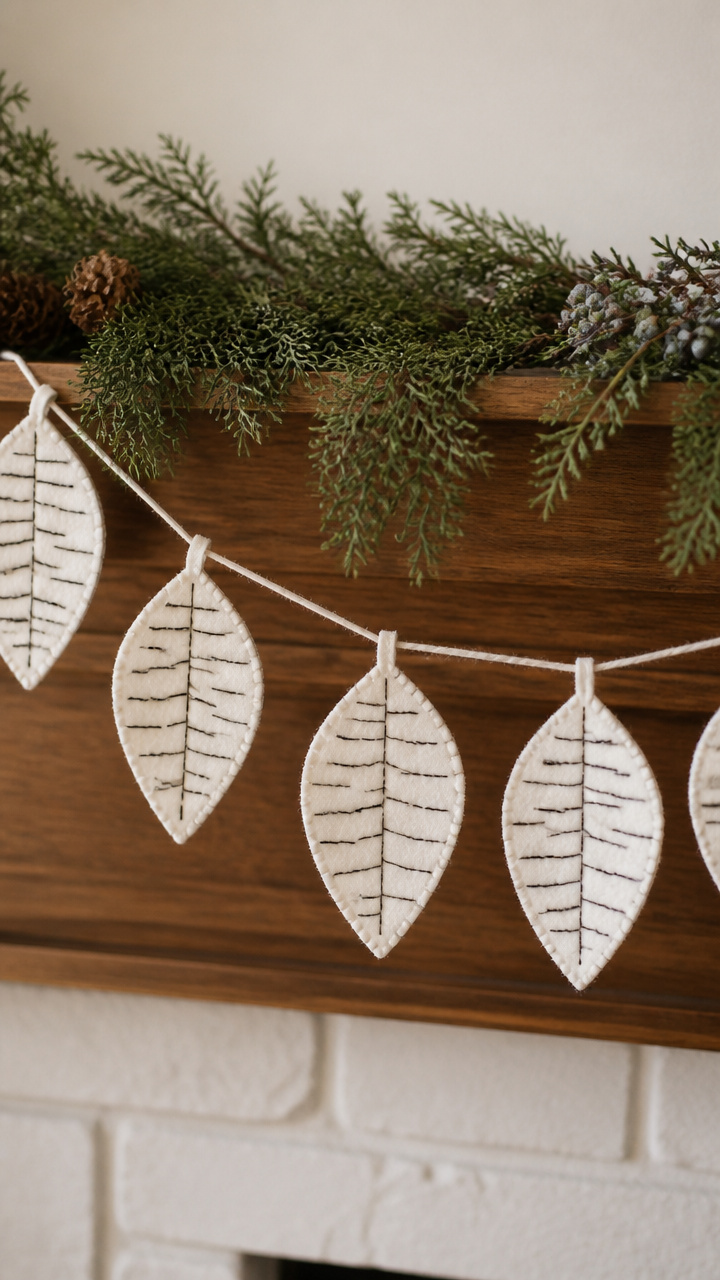
Black-stitched bark lines run down creamy white leaves shaped like birch trunks, giving a woodland feel. Each leaf mimics real tree texture with hand embroidery.
Materials Needed
- 1 sheet white wool-blend felt
- black embroidery floss
- size 7 embroidery needle
- template for 2-inch leaf shape
- fabric scissors
- 1.5-meter cotton baker’s twine
- pencil
How to Make It
- Trace and cut 12 leaf shapes from white felt using the template and pencil.
- Use backstitch with black floss to draw vertical wavy lines on each leaf, varying spacing to mimic bark.
- Punch a small hole at the top of each leaf and thread onto the baker’s twine, spacing 3 inches apart.


3. Laced Elm Silhouettes
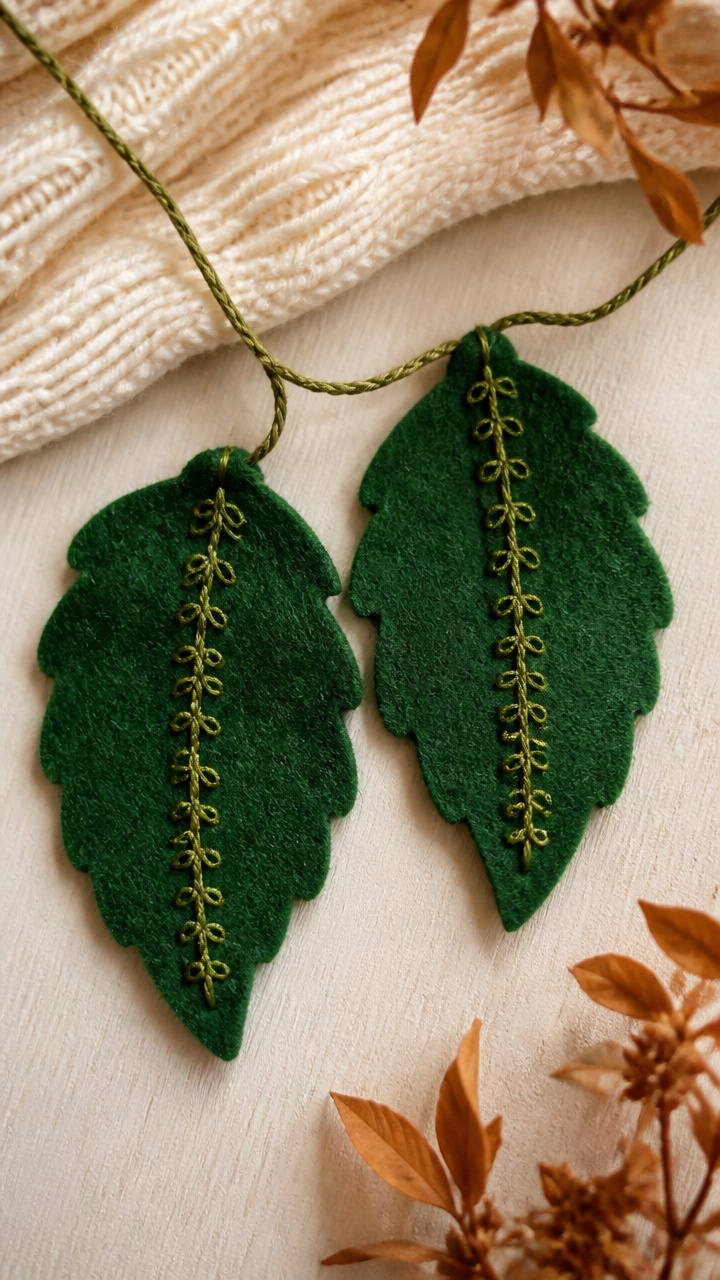
Deep green leaves feature a single lace loop down the center vein, stitched in moss green thread. The contrast adds subtle dimension perfect for rustic mantels.
Materials Needed
- 2 sheets dark green felt
- moss green perle cotton size 8
- tapestry needle
- leaf pattern 4 inches tall
- sharp fabric scissors
- 3-meter linen cord
How to Make It
- Cut 10 leaf shapes from dark green felt using the pattern.
- Run a straight running stitch down the center of each leaf with perle cotton, pulling snug but not tight.
- Knot the linen cord at both ends and slide leaves onto it, positioning the stitched side forward.


4. Button-Stemmed Aspen Chain
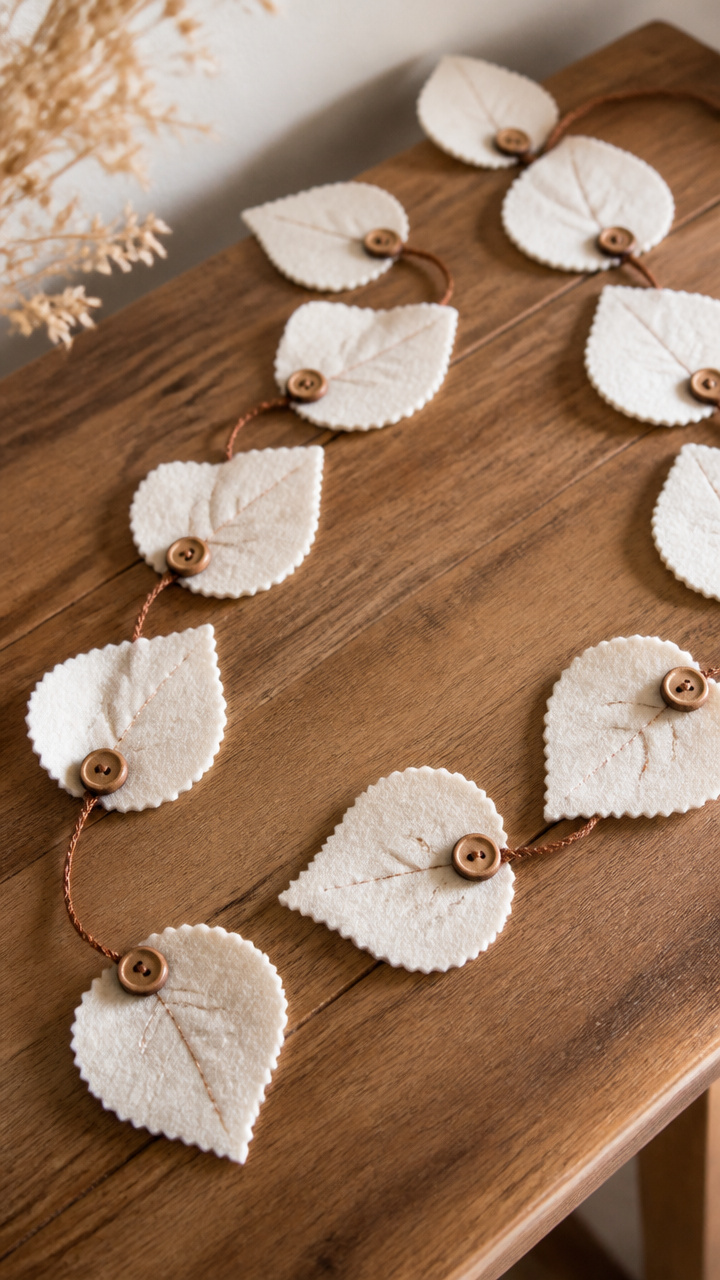
Crisp white leaves dangle from brown stems tipped with tiny wooden buttons. The buttons act as weights and add a playful touch to the swaying design.
Materials Needed
- 1 sheet white craft felt
- brown embroidery floss
- 12 two-hole wooden buttons
- needle
- pattern for 2.5-inch aspen leaf
- scissors
- 1.8-meter hemp cord
How to Make It
- Cut 12 leaf shapes from white felt using the pattern.
- Sew a brown stem from base to tip on each leaf using a split stitch and embroidery floss.
- Thread each button onto the hemp cord, then attach one leaf below each button with a single knot between them.


5. Ruffled Sycamore Strips
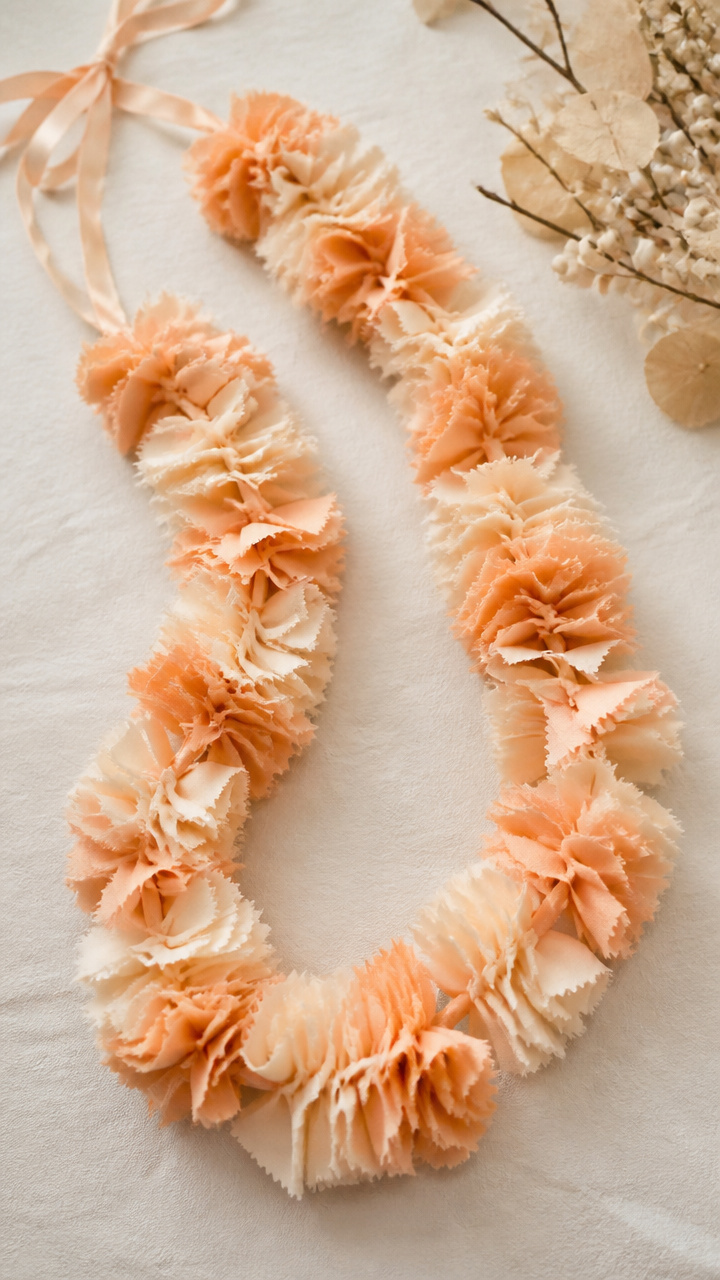
Narrow strips of peach and cream felt are fringed and gathered to form fluffy sycamore clusters. The ruffles give a soft, airy movement.
Materials Needed
- 1 sheet peach felt
- 1 sheet cream felt
- craft scissors
- thin needle
- white thread
- 2.2-meter satin cord
- ruler
How to Make It
- Cut 24 strips of felt, each 6 inches long by 0.5 inches wide, alternating peach and cream.
- Make 0.25-inch cuts every 0.25 inches along one long edge of each strip to create fringe, then gather the uncut end with a running stitch.
- Tie each gathered piece onto the satin cord every 5 inches using the thread, forming loose clusters.
6. Quilted Oak Panels
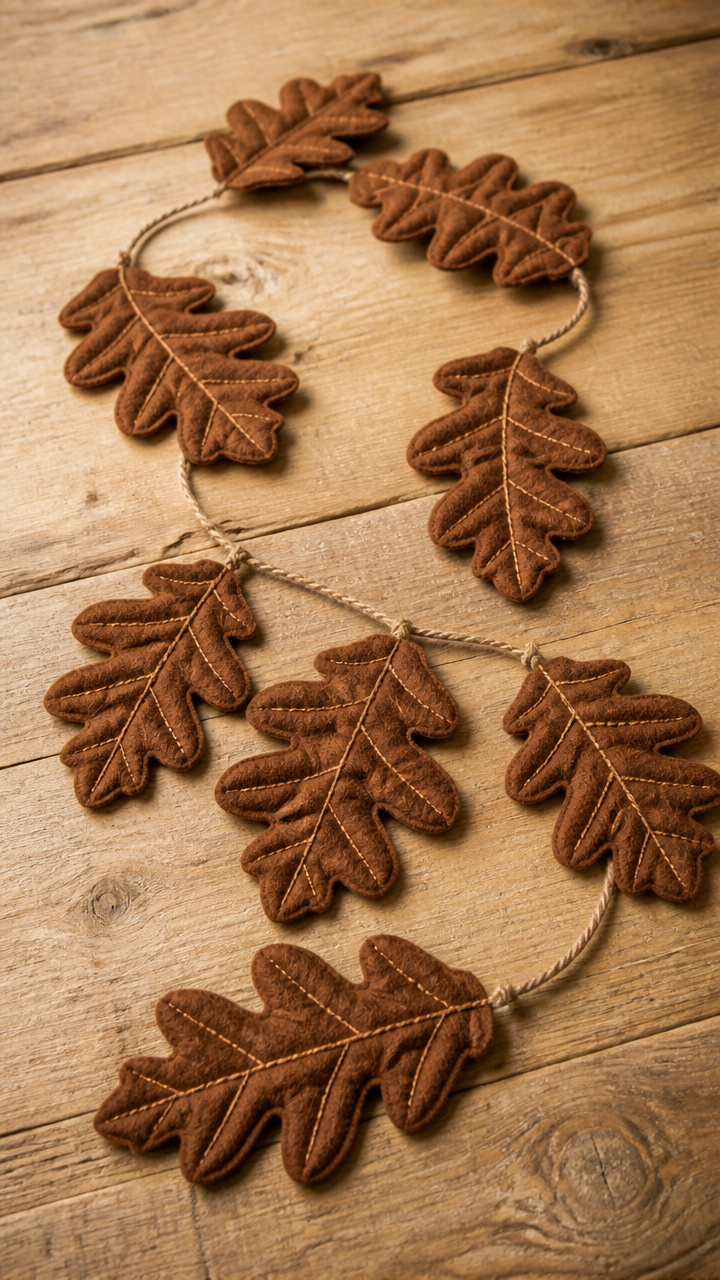
Sturdy oak leaves are built from two layers with quilted veins stitched through both. The raised lines make them ideal for tactile decor.
Materials Needed
- 1 sheet brown craft felt
- tan embroidery floss
- sharp needle
- oak leaf template 3.5 inches wide
- fabric glue
- rotary cutter
- cutting mat
- 1.6-meter braided cotton rope
How to Make It
- Place two oak leaf shapes together and secure edges with fabric glue, leaving the top open.
- Use a blind stitch with tan floss to outline each vein section, pulling gently to create low relief.
- Once dry, punch a hole at the top and string onto the cotton rope, spacing 6 inches apart.


7. Frayed Willow Tails
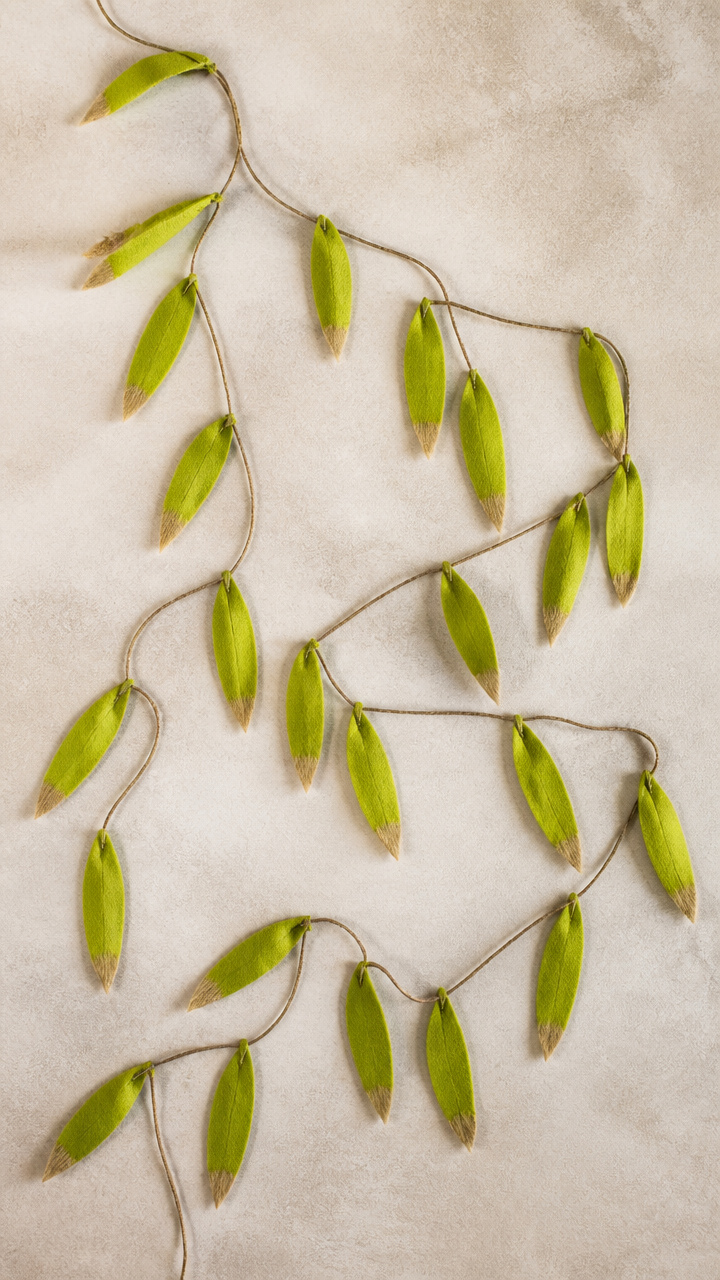
Long willow leaves taper into frayed tips dyed with tea for age. The fraying process gives a naturally weathered look.
Materials Needed
- 2 sheets lime green felt
- strong black tea bag
- small bowl
- scissors
- ruler
- 1.7-meter waxed linen cord
- paper towel
How to Make It
- Cut 14 willow shapes 5 inches long and 0.75 inches wide from lime green felt.
- Dip only the bottom inch of each leaf into cooled tea for 10 seconds, then blot dry with paper towel.
- Snip thin slivers at the dipped ends to fray, then tie each to the linen cord with a double knot.


8. Beaded Fern Fronds
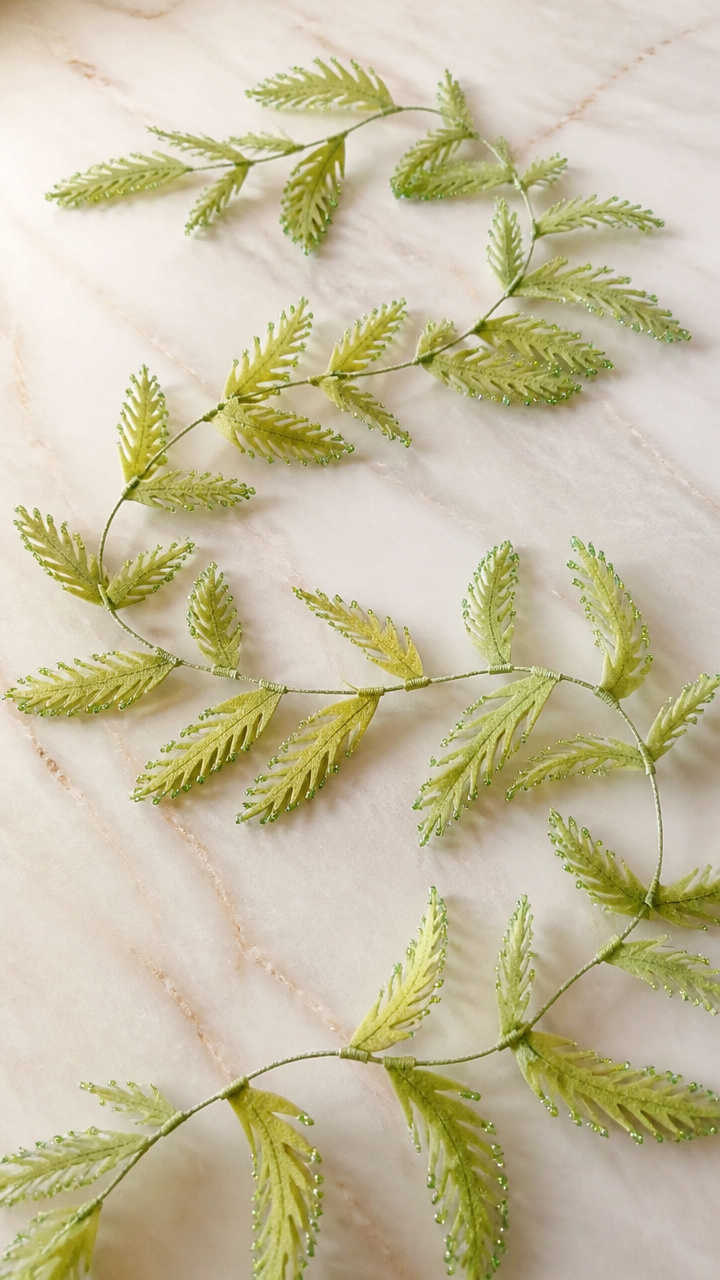
Slender fern fronds end in tiny glass seed beads that catch light. Each bead is hand-wrapped at the tip for a delicate finish.
Materials Needed
- 1 sheet pale green felt
- size 11/0 transparent green seed beads
- beading needle
- nylon beading thread
- fern pattern 4 inches long
- scissors
How to Make It
- Cut 16 frond shapes from pale green felt using the pattern.
- Thread a single bead onto the nylon thread and sew it to the tip of each frond with three anchoring stitches.
- String all fronds onto a 2-meter natural jute line, placing beads facing outward.


9. Patchwork Poplar Blocks
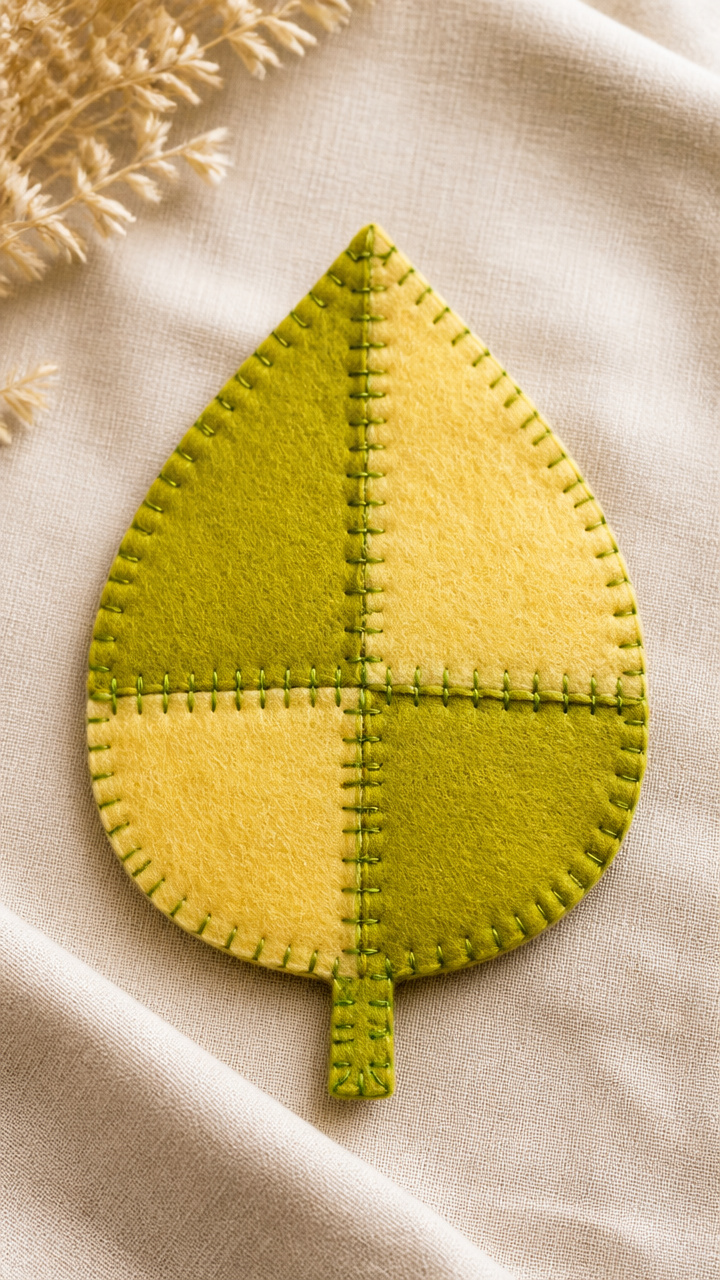
Bright yellow poplar leaves are made from four smaller squares stitched together. The patchwork creates a cheerful, modern look.
Materials Needed
- 1 sheet yellow felt
- 1 sheet chartreuse felt
- 1 sheet pale yellow felt
- fabric scissors
- green thread
- hand-sewing needle
- ruler
- 2-meter cotton tape
How to Make It
- Cut 12 squares each of yellow, chartreuse, and pale yellow felt, 1.5 inches per side.
- Sew four squares together in a grid to form one 3-inch poplar leaf, rotating colors randomly.
- Attach each finished leaf to the cotton tape every 4 inches using a whipstitch along the top edge.


10. Stenciled Ginkgo Rounds
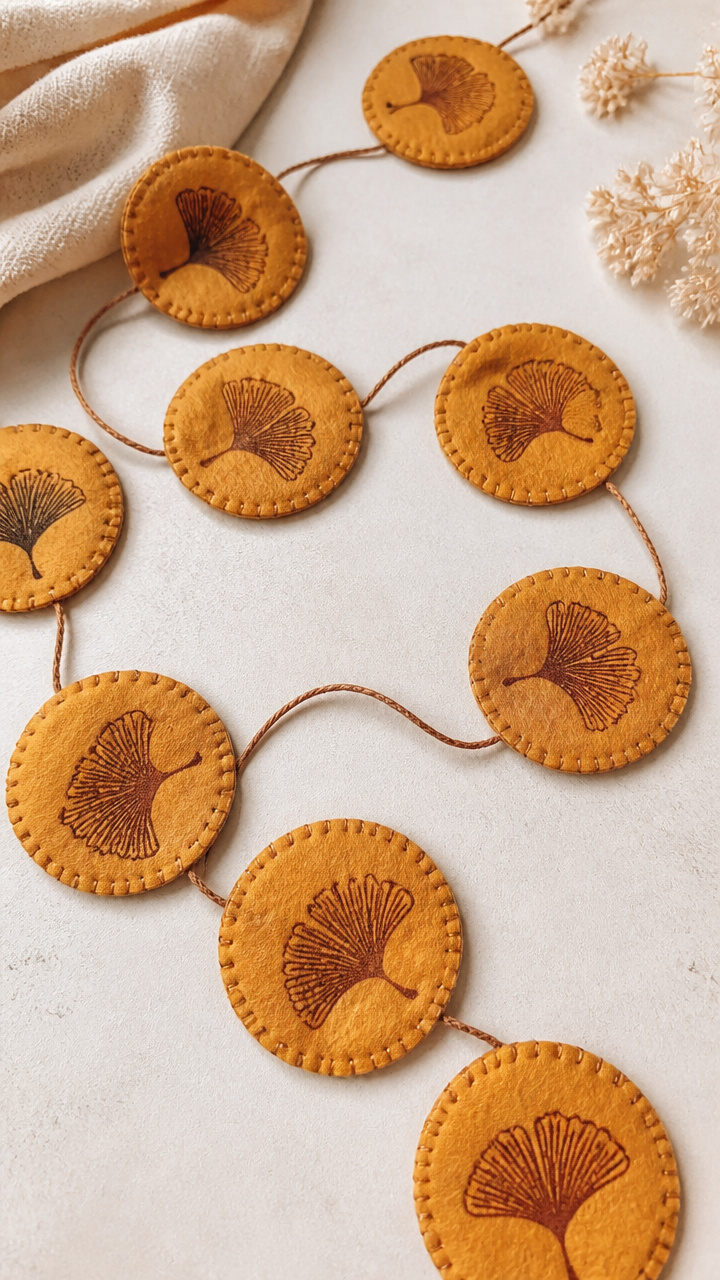
Butter-yellow ginkgo leaves have hand-stenciled veining in warm brown. The stencil ensures crisp, even details on each disc.
Materials Needed
- 1 sheet golden yellow felt
- brown fabric paint
- small foam stencil brush
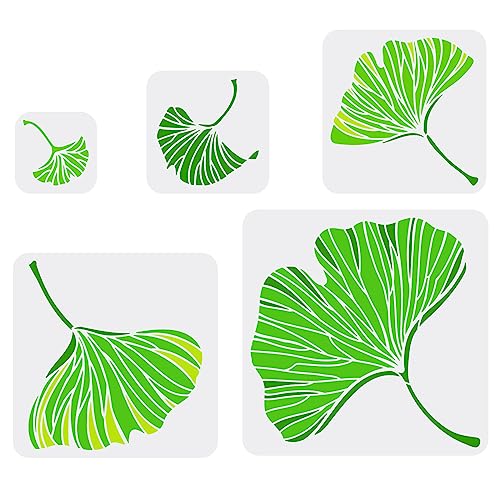
- ginkgo leaf stencil
- cardboard backing
- scissors
- 1.5-meter ribbon
How to Make It
- Cut 10 circles 2.75 inches wide from yellow felt and place on cardboard to prevent bleed.
- Press the stencil firmly and dab brown paint over the veined areas using the foam brush, let dry 20 minutes.
- Slide each painted circle onto the ribbon and space 5 inches apart.


11. Twisted Vine Garland
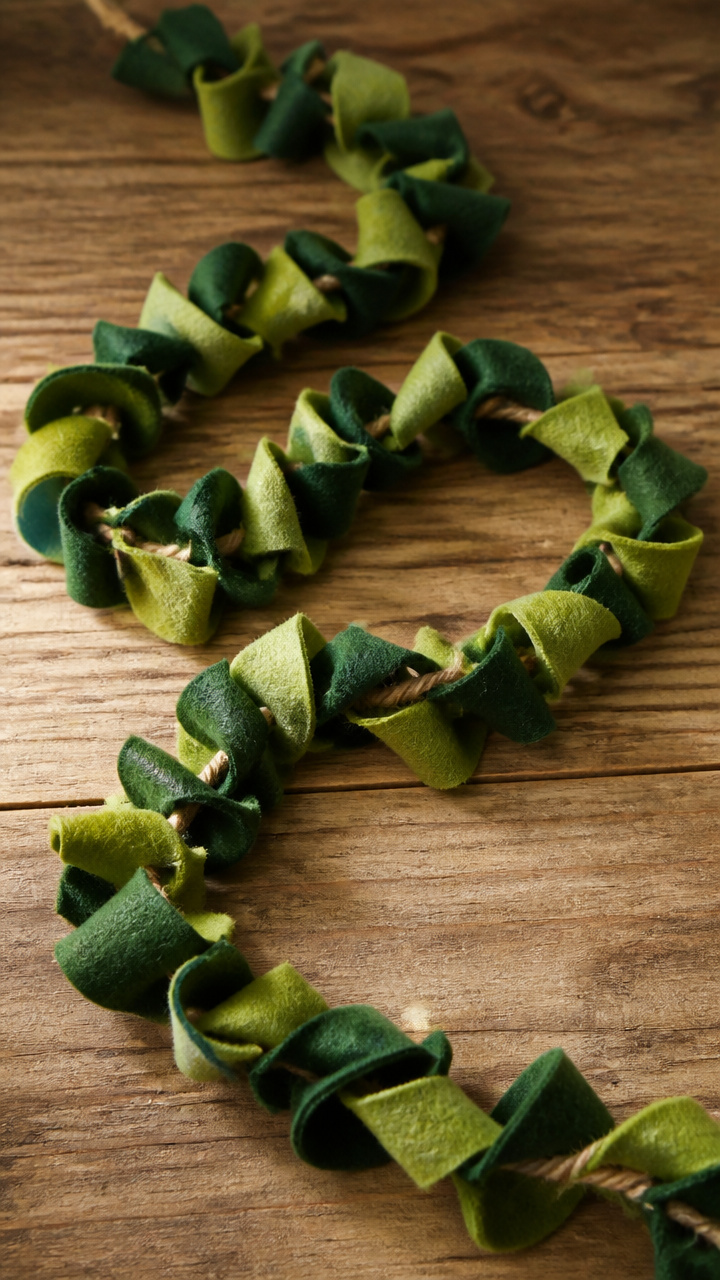
Double-sided felt vines twist as they hang, revealing alternating colors. The construction uses folded centers for natural curl.
Materials Needed
- 1 sheet forest green felt
- 1 sheet olive green felt
- ruler
- scissors
- fabric glue
- 2.5-meter twine
How to Make It
- Cut 20 leaf shapes 3 inches long, pairing one forest and one olive piece per leaf.
- Glue both sides together with a 0.25-inch strip of twine sandwiched at the top center to allow twisting.
- Hang the garland by tying the ends of the central twine to nails, letting leaves spiral freely.


12. Felted Acorn Accents
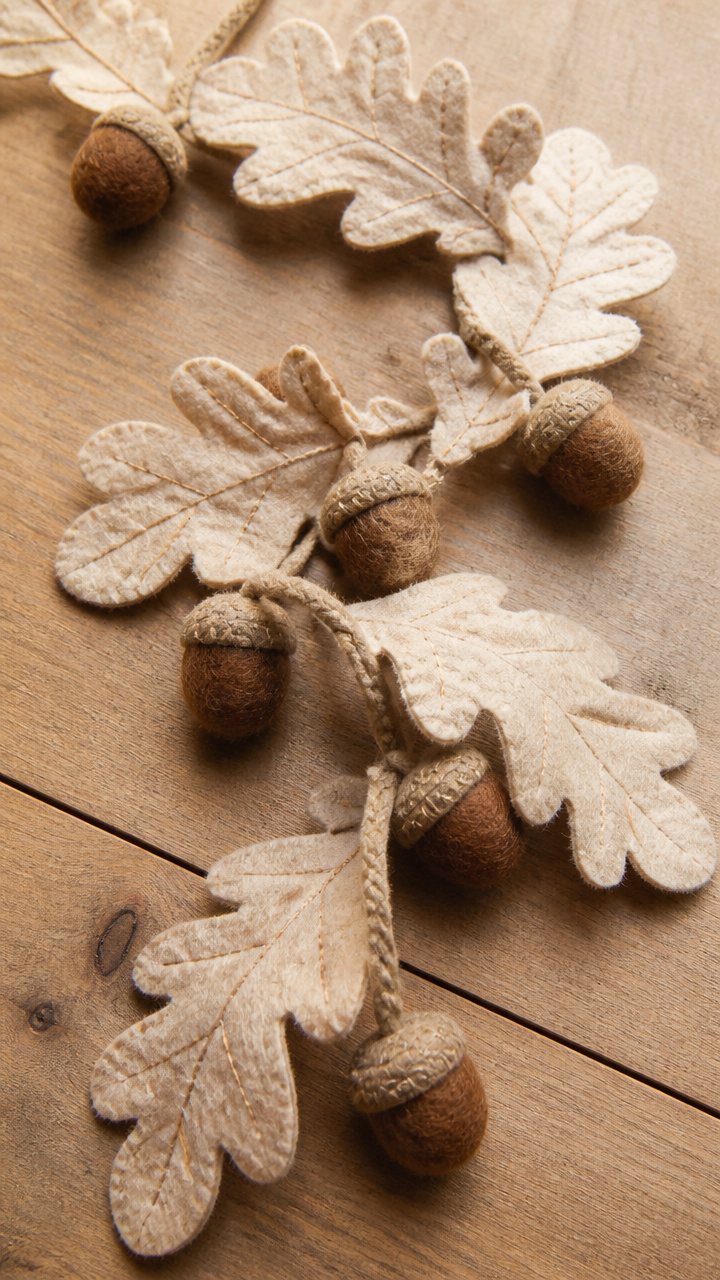
Mini acorns nest beneath broad felt leaves, stitched securely to the underside. The combination adds woodland realism.
Materials Needed
- 1 sheet brown felt
- 1 sheet beige felt
- polyester stuffing
- sharp needle
- tan thread
- scissors
- 2-meter grosgrain ribbon
How to Make It
- Cut 10 large leaf shapes from brown felt and 10 tiny caps from beige felt.
- Stuff each cap lightly and sew it to the underside near the base of each leaf with three stitches.
- Slide leaves onto the grosgrain ribbon, positioning acorns to hang downward.


13. Layered Peach Leaves
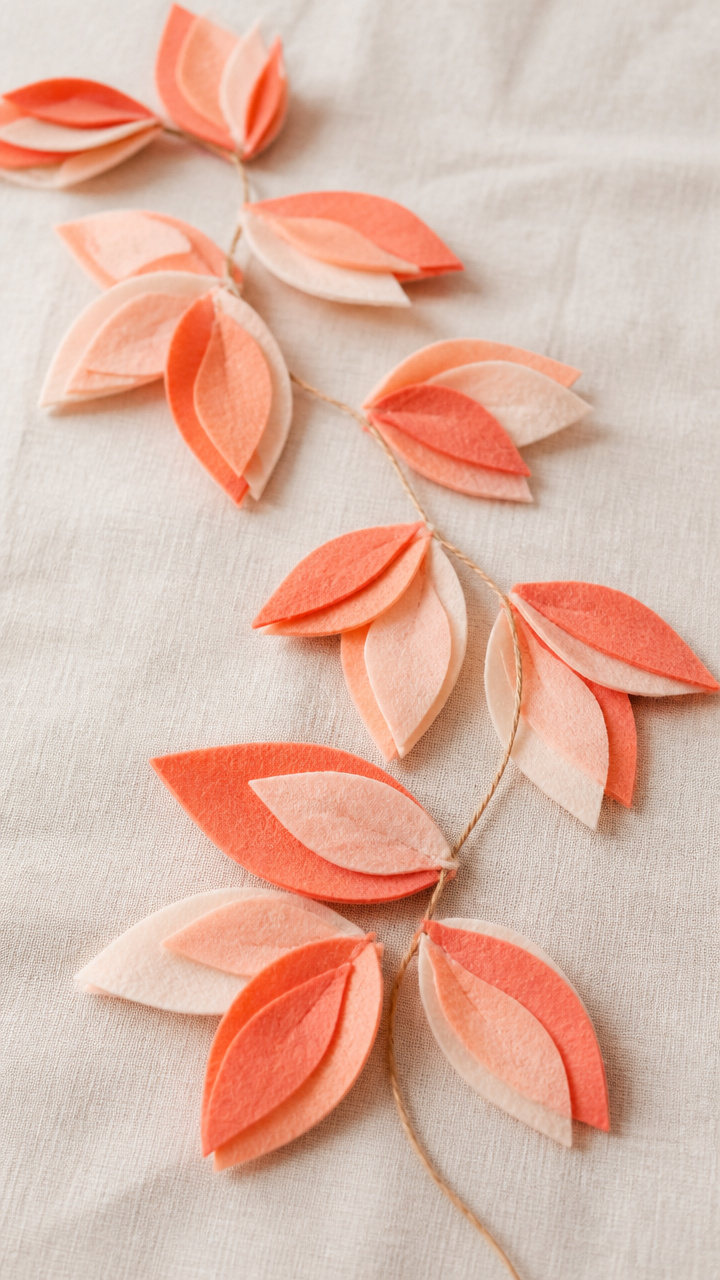
Three graduated shades of pink felt build up each leaf, fading from deep coral to blush. The layers are offset for a blooming effect.
Materials Needed
- 1 sheet coral felt
- 1 sheet peach felt
- 1 sheet blush felt
- fabric scissors
- hot glue gun
- ruler
- 1.9-meter silk cord
How to Make It
- Cut 12 leaf templates at 3 inches, then reduce size by 0.3 inch for each smaller layer.
- Glue the coral base, then stack peach and blush layers slightly off-center to show all colors.
- Attach each multi-layer leaf to the silk cord every 4.5 inches with a dot of hot glue.

14. Herringbone Elm Stitch
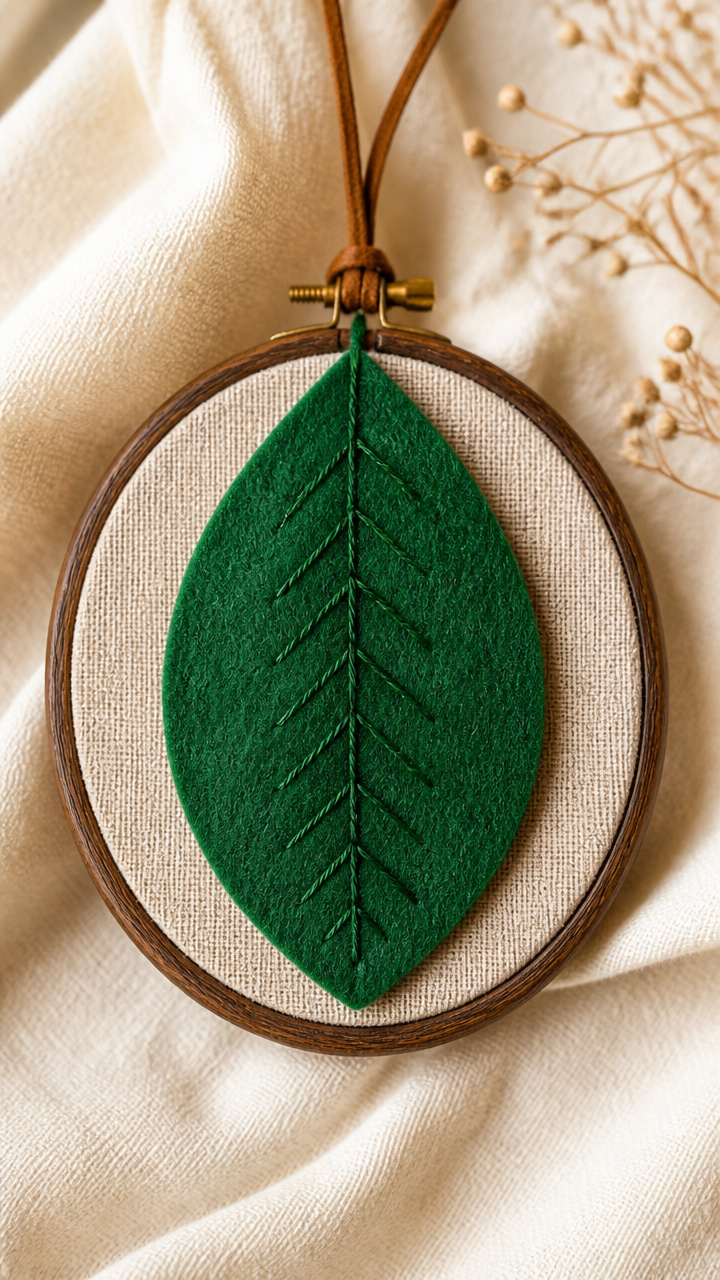
Rich green elm leaves display herringbone embroidery along the central rib. The classic stitch adds timeless texture.
Materials Needed
- 1 sheet emerald felt
- dark green embroidery floss
- embroidery hoop
- size 7 needle
- scissors
- 1.4-meter leather cord
How to Make It
- Cut 14 elm leaves 3.2 inches long from emerald felt.
- Secure one leaf in the hoop and work herringbone stitch down the center using dark green floss.
- After stitching, slide each leaf onto the leather cord, spacing 3.5 inches apart.


15. Chalkboard-Back Sycamores
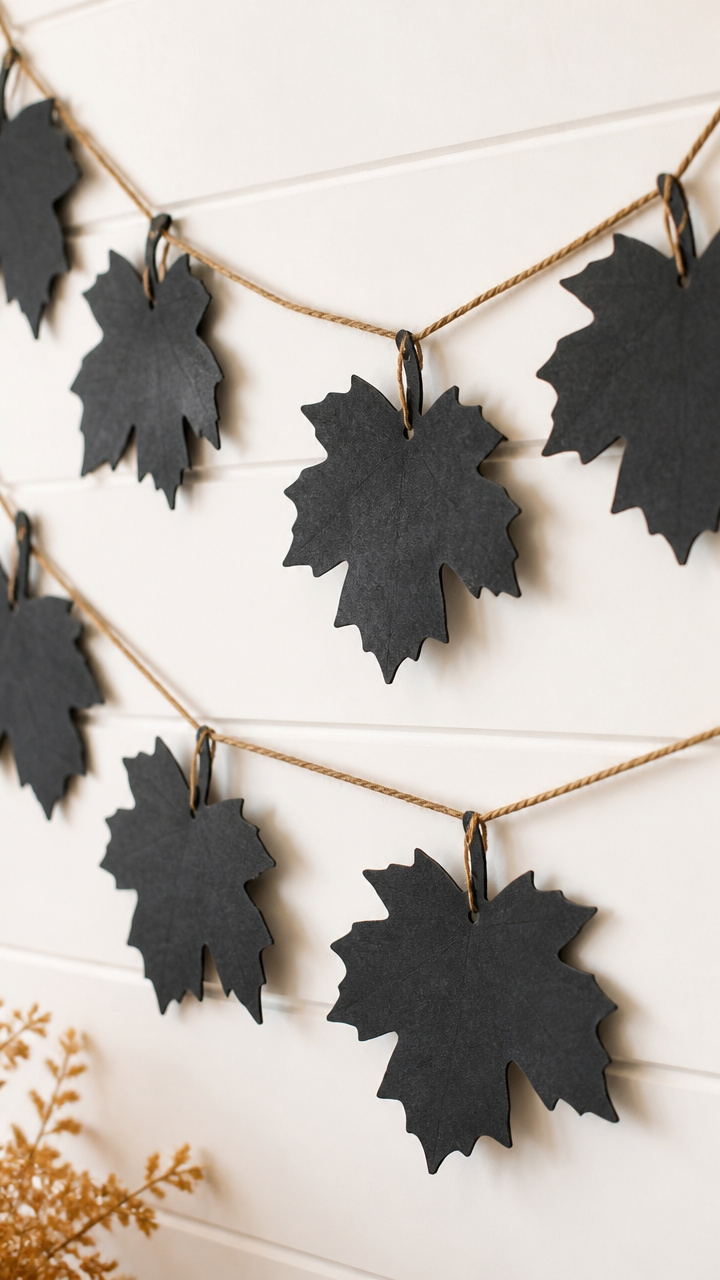
Stiff sycamore leaves have a chalkboard surface on the reverse for writing messages. A sealant keeps the front soft and writable.
Materials Needed
- 1 sheet gray craft felt
- chalkboard paint
- small flat brush
- clear acrylic sealer
- paint tray
- scissors
- 2-meter yarn
How to Make It
- Cut 10 sycamore shapes 3 inches wide and paint the back side with two coats of chalkboard paint, drying 15 minutes between coats.
- Seal the painted side with one coat of acrylic sealer and let dry for 30 minutes.
- Write names or notes with chalk, then tie each leaf to the yarn with green thread at 5-inch intervals.


16. Sun-Faded Tulip Strips
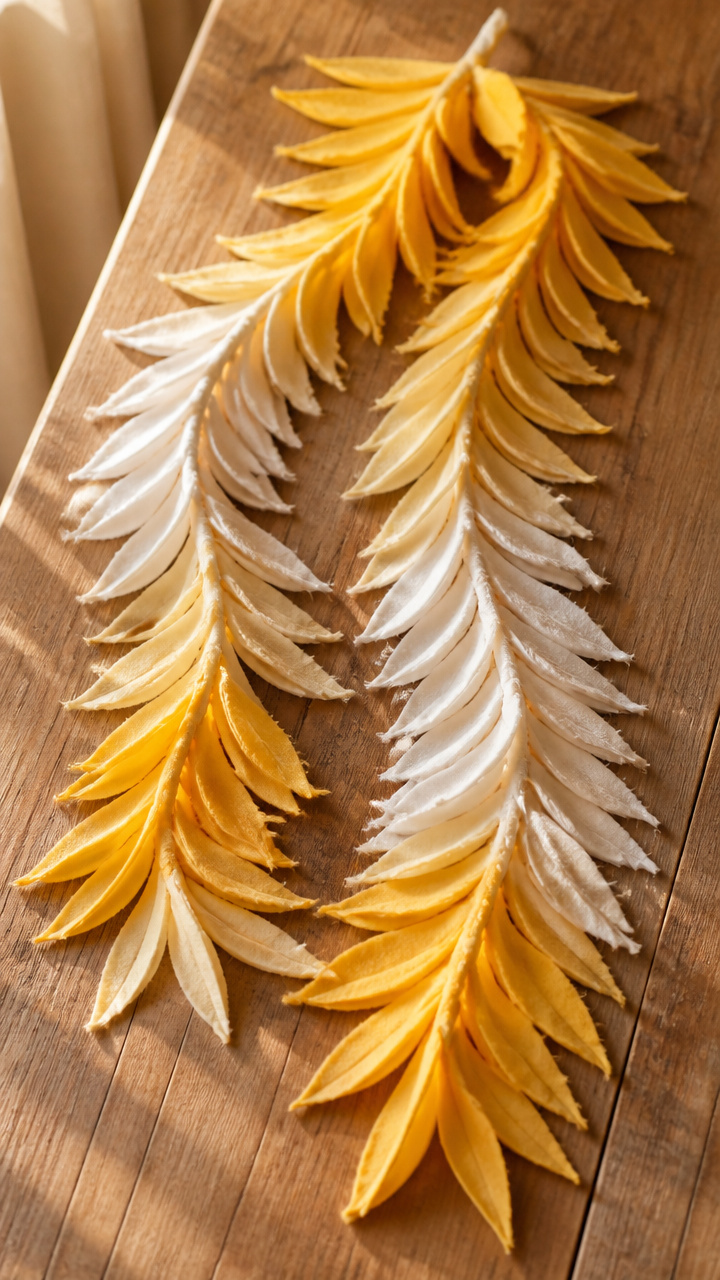
Long tulip tree strips fade from yellow to white using diluted bleach. The gradient mimics sun exposure on real leaves.
Materials Needed
- 1 sheet yellow felt
- household bleach
- small spray bottle
- measuring cup
- gloves
- scissors
- 2.1-meter crochet thread
How to Make It
- Cut 18 strips 5 inches long and 0.6 inches wide from yellow felt.
- Mix 2 parts water to 1 part bleach, spray lightly on one end of each strip, and let sit 8 minutes before rinsing.
- Dry flat overnight, then knot each strip onto the crochet thread, faded ends pointing down.


17. Frosted Maple Edges
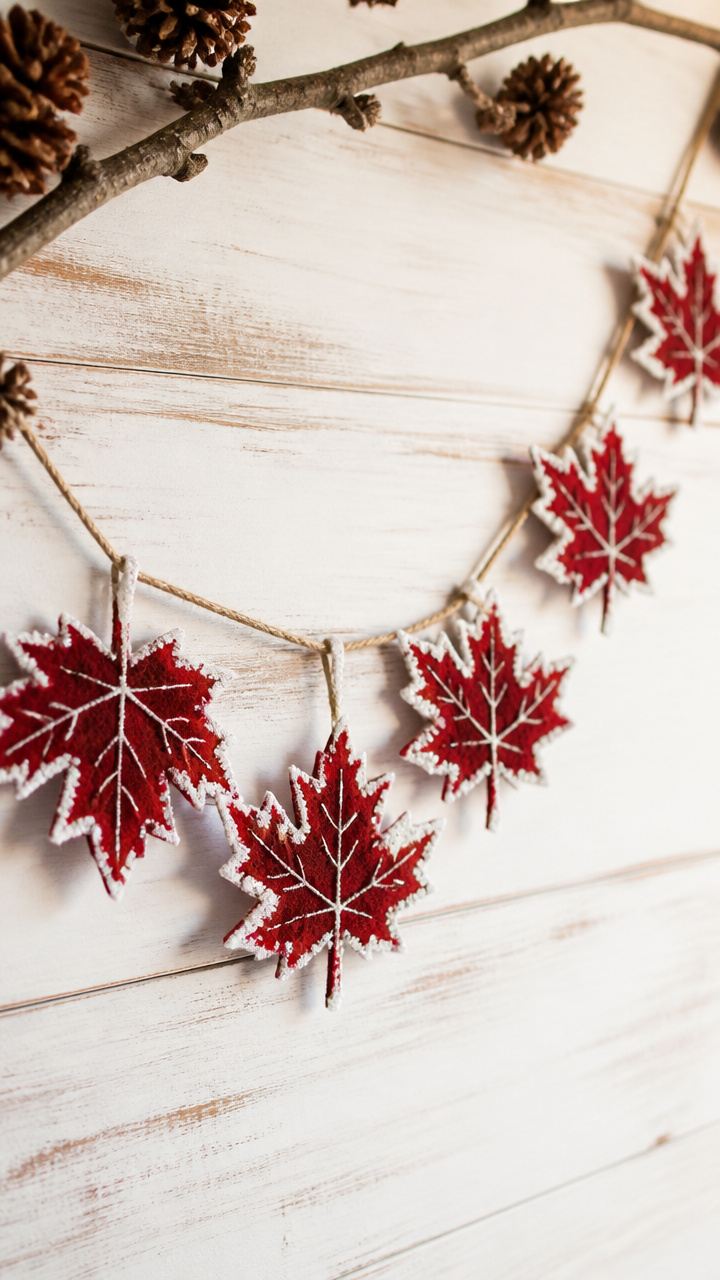
Crimson maple leaves have white-painted tips that look dusted with frost. The paint is brushed only on the outer curves.
Materials Needed
- 1 sheet deep red felt
- white puffy fabric paint
- fine-tipped applicator bottle
- maple leaf pattern
- scissors
- 1.8-meter fishing line
How to Make It
- Cut 13 maple leaves from red felt using the pattern.
- Squeeze a thin line of white puffy paint along the outermost tips and curves, covering about 0.5 inch.
- Let dry completely for 2 hours, then tie each leaf to the fishing line with invisible knots every 4 inches.


18. Metallic Vein Highlights
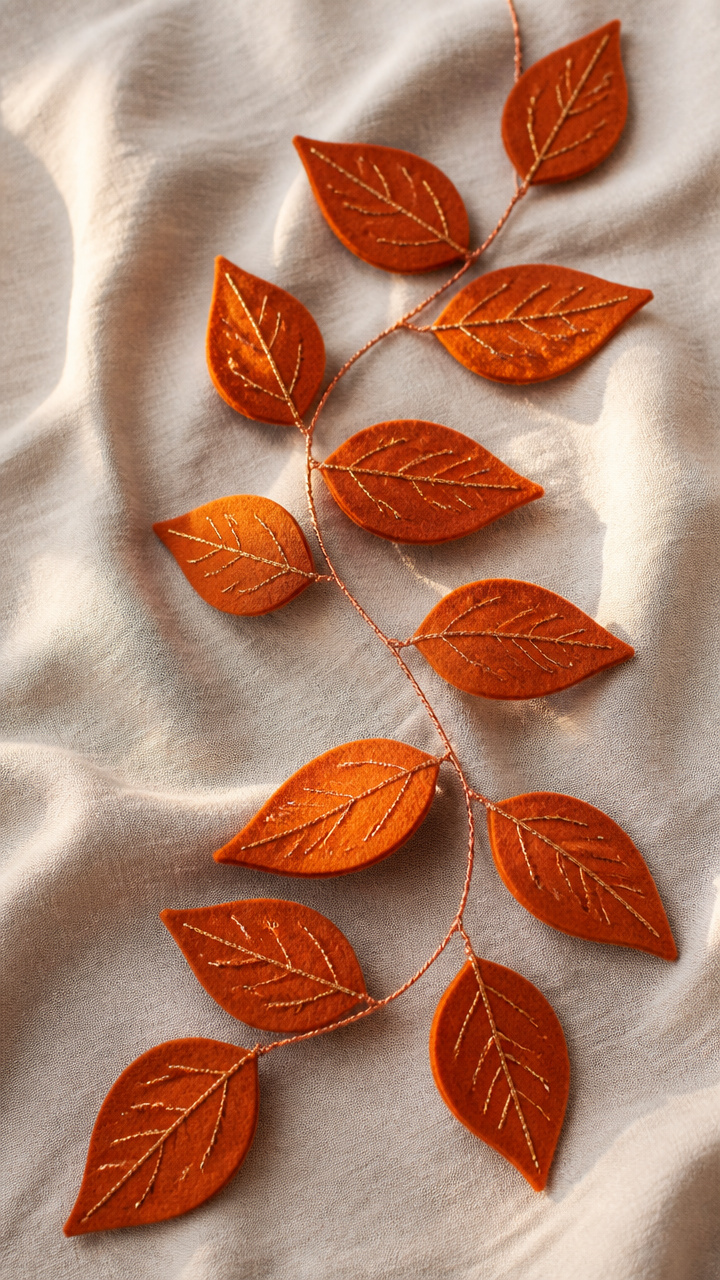
Burnt orange leaves glow with fine gold thread outlining each vein. The metallic thread catches light with every breeze.
Materials Needed
- 1 sheet burnt orange felt
- gold metallic embroidery thread
- size 9 embroidery needle
- vein stencil
- scissors
- 2-meter copper wire
How to Make It
- Cut 11 leaf shapes 3.4 inches wide from burnt orange felt.
- Position the stencil and embroider each vein with gold thread using a stem stitch.
- Twist the top of each leaf around the copper wire, spacing them 5 inches apart along the length.


You’ve got everything you need right here to start crafting something beautiful today. Pick one idea that speaks to you and let your hands do the rest.