18 Autumn Front Door Crafts

The cool air and golden light of autumn invite warmth and welcome to your entryway. A handcrafted touch on your front door does more than catch the eye, it tells everyone who passes that someone thoughtful lives here.
These projects use simple tools and materials you may already have or can find easily. Each one brings texture, color, and seasonal charm in a way that feels personal and heartfelt.
1. Mini Hay Bale Wreath Base
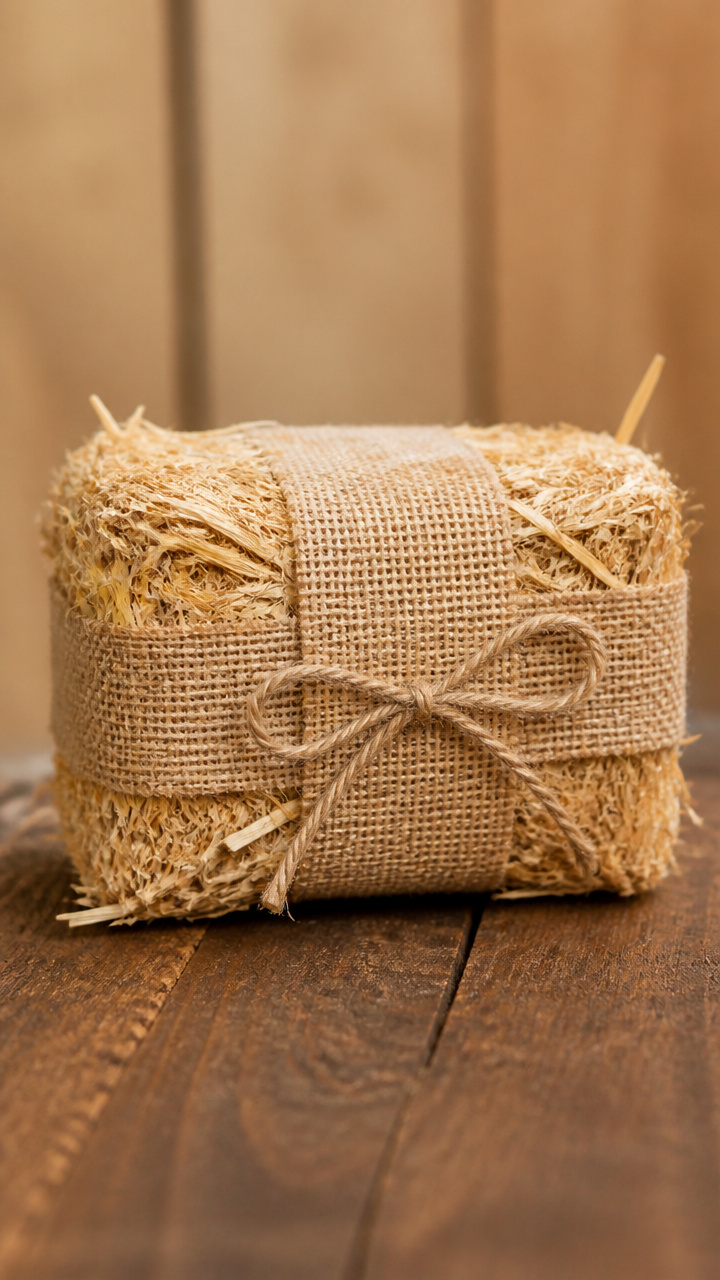
Natural burlap-wrapped hay forms a rustic foundation that holds seasonal accents without fading in sunlight. This base lasts for years if stored dry.
Materials Needed
- Small hay bale, 6 inches tall
- Natural burlap ribbon, 3 inches wide, 2 yards
- Jute twine, 10 feet
- Scissors
- Floral wire, 22 gauge, 12 inches
How to Make It
- Wrap the hay bale tightly with burlap, covering all sides evenly and smoothing out wrinkles as you go.
- Secure the burlap with jute twine tied in a knot at the back, then reinforce with floral wire wrapped around the middle.


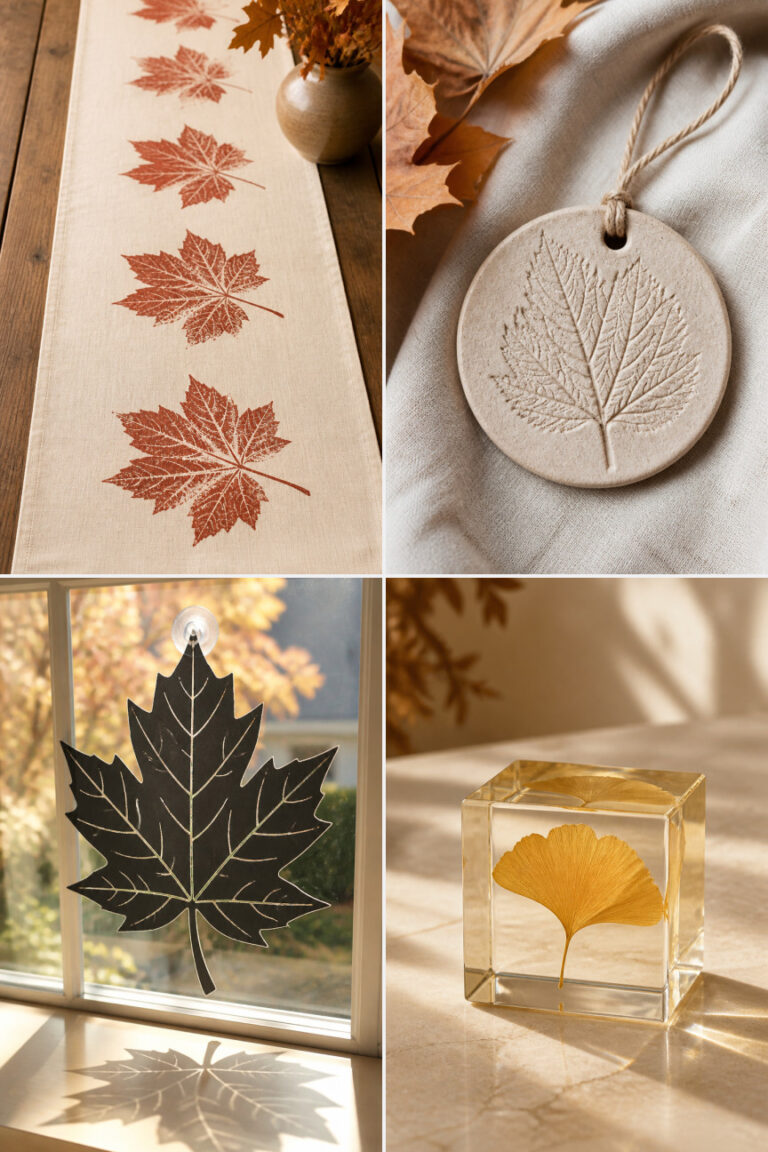
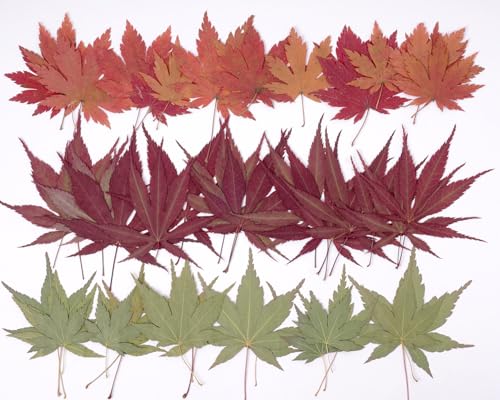
2. Pressed Maple Leaf Garland
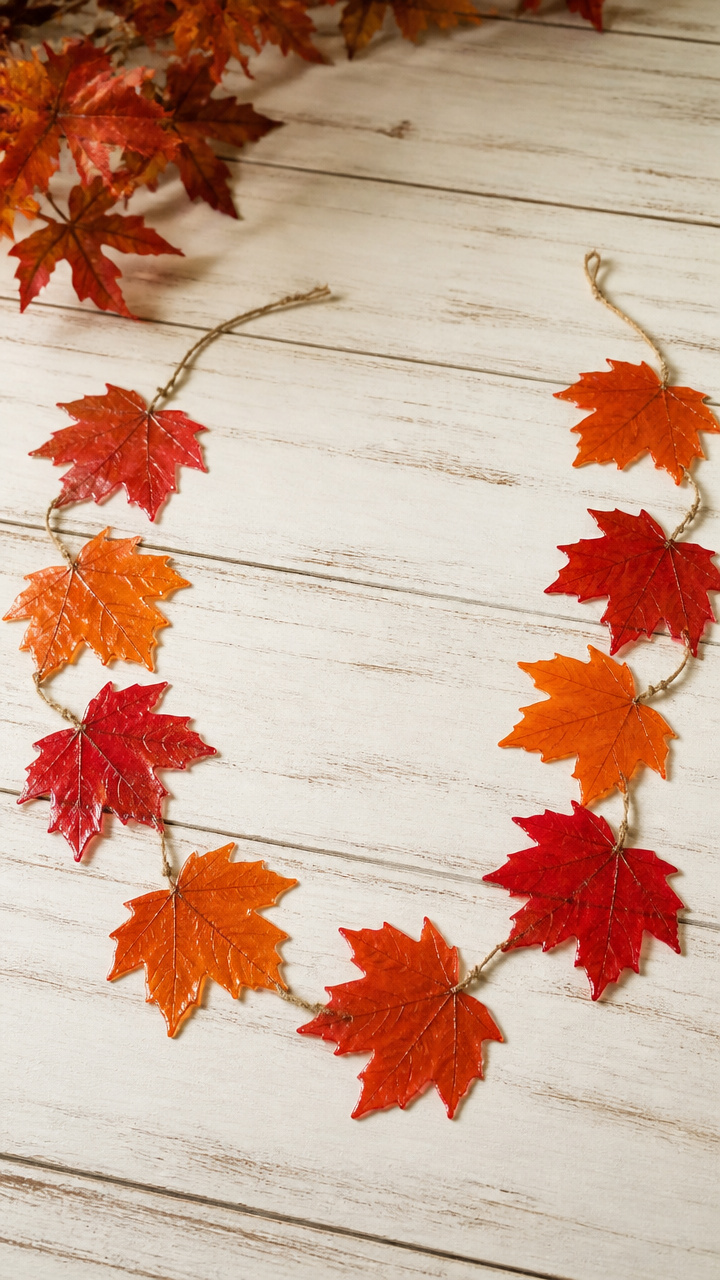
Real maple leaves flattened and sealed create a delicate string of color that sways gently in the breeze. The glossy finish protects them from moisture.
Materials Needed
- 10 red or orange maple leaves, freshly fallen and unblemished
- Wax paper, 12×12 inches, 2 sheets
- Heavy book
- Clear contact paper, 12 inches wide
- Hole punch
- Twine, 5 feet
How to Make It
- Place each leaf between two sheets of wax paper and press inside a heavy book for 48 hours until flat and dry.
- Cut a piece of contact paper slightly larger than each leaf, seal the leaf inside, trim edges, punch a hole in the stem end, then thread onto twine spaced 3 inches apart.


3. Cinnamon Stick Bundles with Twine
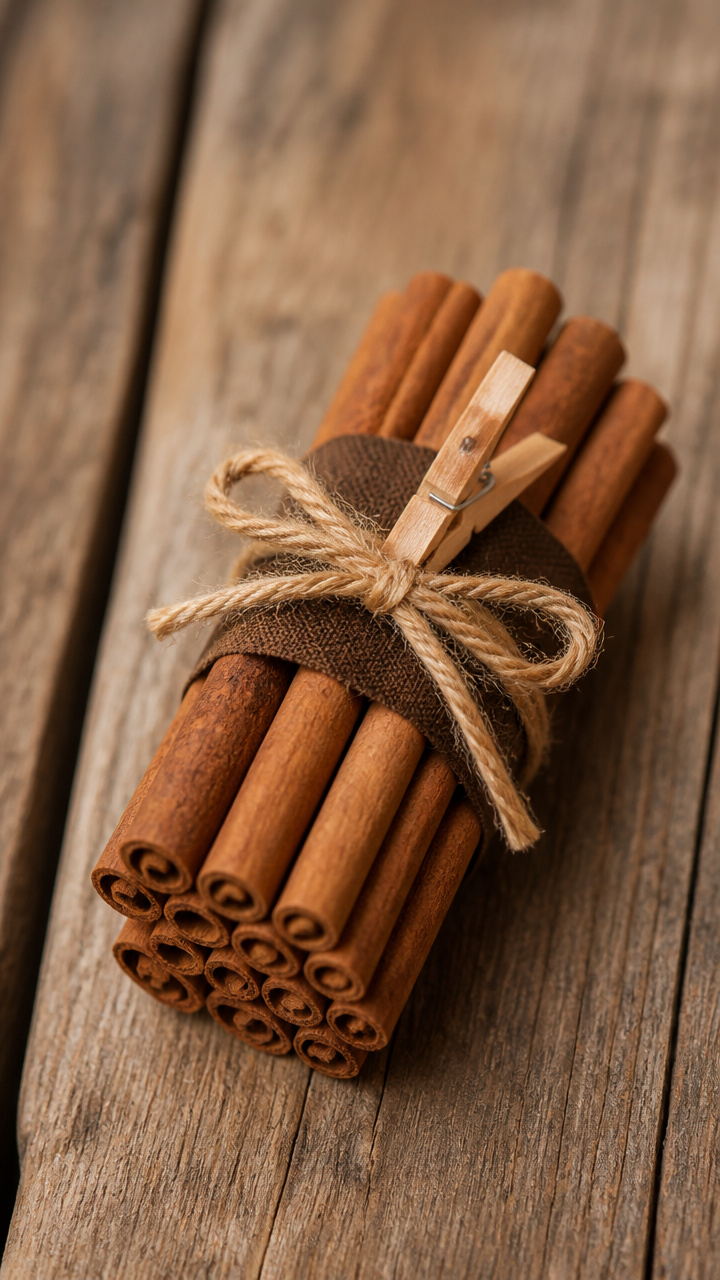
Tightly bound cinnamon sticks release a warm scent every time someone brushes past. Their deep brown tones pair beautifully with fall florals.
Materials Needed
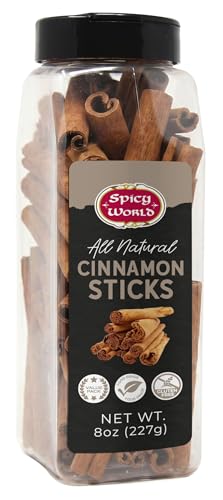
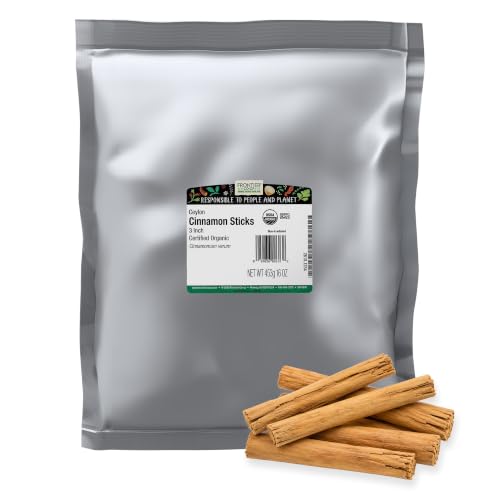
- Cinnamon sticks, 3 inches long, 12 pieces
- Brown linen thread, 18 inches
- Mini clothespin, 1
- Glue dot, 1
How to Make It
- Arrange six cinnamon sticks side by side and wrap linen thread tightly around the center five times, knotting securely at the back.
- Attach a second bundle below using the mini clothespin clipped to the first knot, securing with a glue dot to prevent slipping.

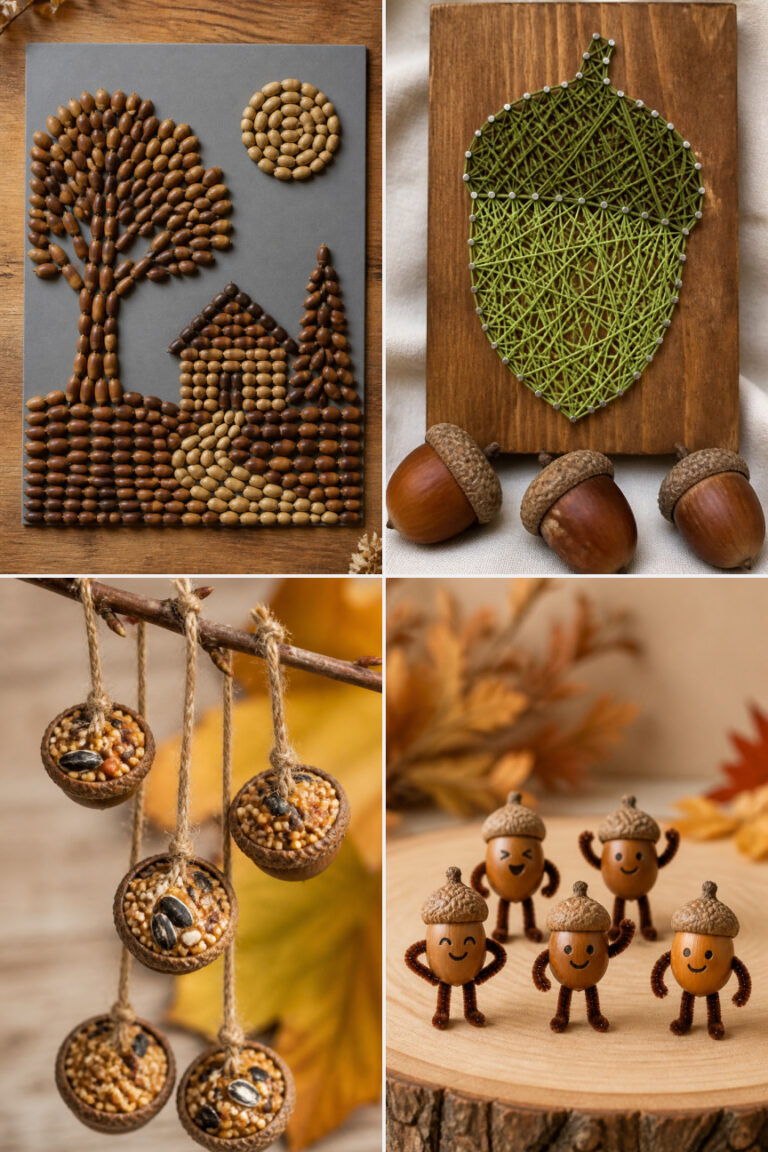
4. Felt Acorn Ornaments
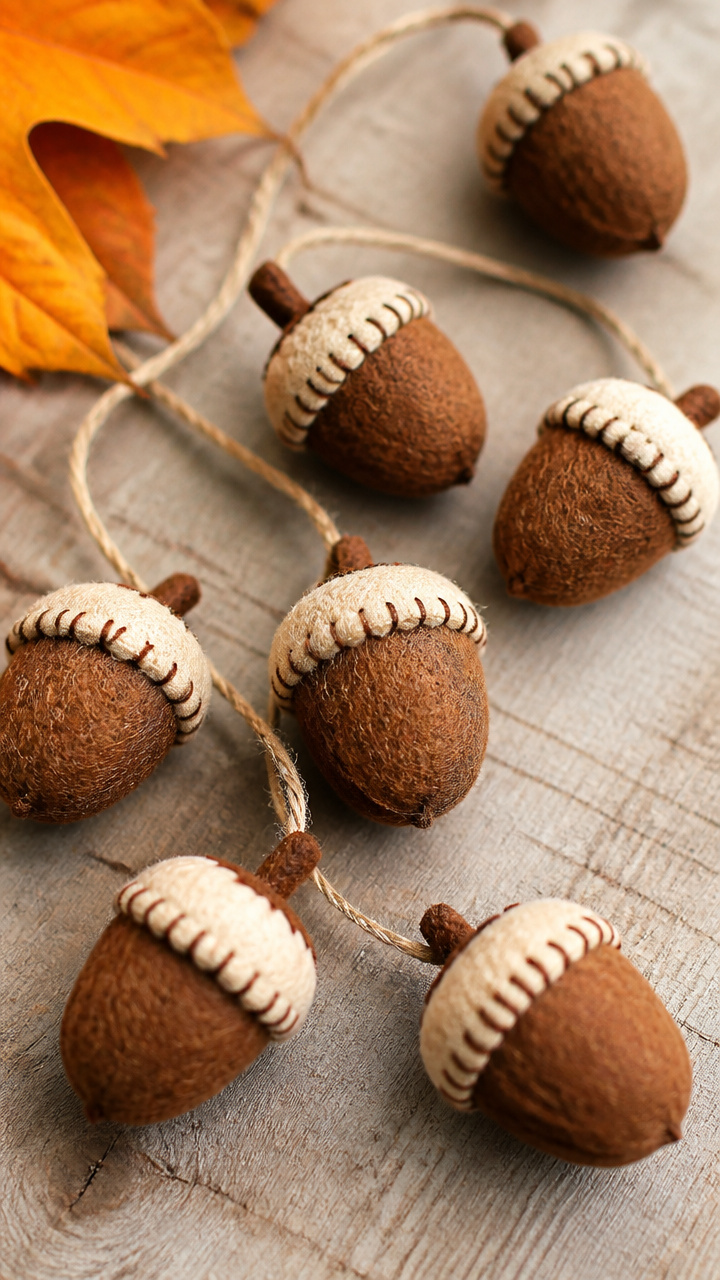
Soft brown felt acorns add whimsy and texture to a wreath or garland. They won’t crack or fade outdoors.
Materials Needed
- Brown felt sheet, 9×12 inches
- Cream felt sheet, 9×12 inches
- Polyester stuffing, 1/4 cup
- Embroidery needle
- Dark brown embroidery floss, 24 inches
- Scissors
- Acorn mold template (2 inch tall)
How to Make It
- Trace and cut two acorn cap shapes from cream felt and one acorn body from brown felt using the template.
- Sew the brown body closed around stuffing with a whip stitch, then sew the cap pieces to the top using a running stitch with dark floss.


5. Chalkboard Paint Pumpkin Sign
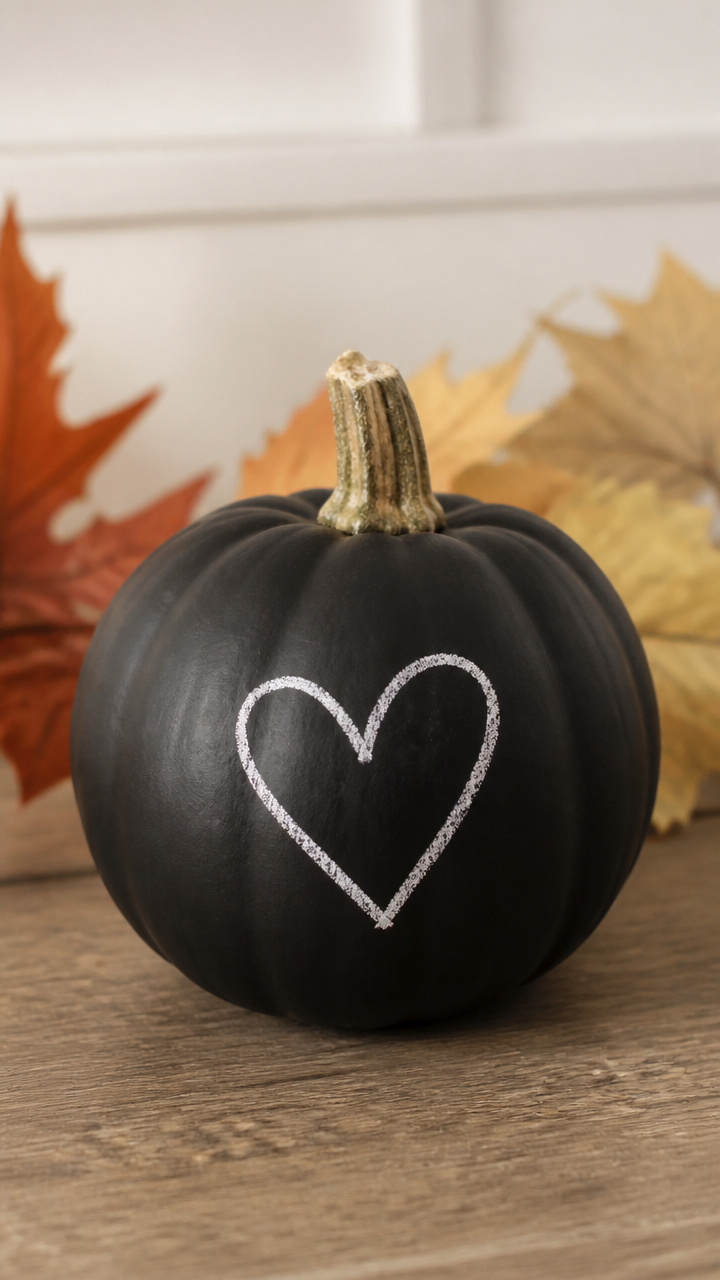
A real pumpkin painted with chalkboard surface lets you change your message weekly. It stays readable through wind and light rain.
Materials Needed
- Small white pumpkin, 4 inches tall
- Black chalkboard paint, 2 oz
- Foam brush, 1 inch
- Chalk, white
- Painter’s tape, 1/2 inch wide, 6 inches
How to Make It
- Clean the pumpkin with a dry cloth and apply painter’s tape around the middle to create a clean line, then paint the top half with one coat of chalkboard paint using the foam brush.
- Let dry for 2 hours, remove tape, cure paint fully for 24 hours, then write your message with chalk.
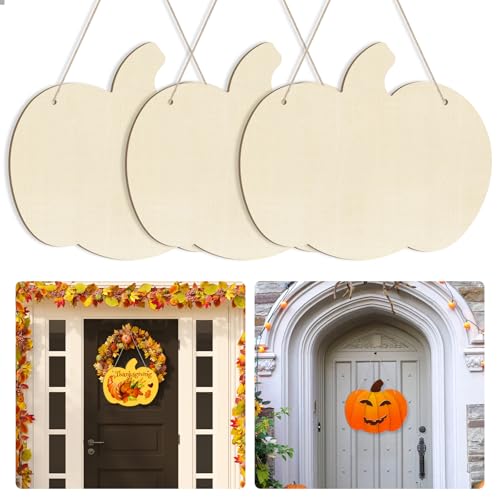


6. Birch Slice Welcome Plaque

A real birch round becomes a permanent welcome sign with crisp lettering. The bark edge adds forest charm.
Materials Needed
- Birch slice, 6 inches diameter, sanded smooth
- Black acrylic paint
- Fine-tipped paintbrush, size 1
- Pencil
- Clear matte sealer spray, 6 oz
How to Make It
- Lightly sketch 'Welcome' in cursive across the center with a pencil, then trace over it with black acrylic paint using steady strokes.
- Let dry for 1 hour, then spray evenly with matte sealer in a well-ventilated area and let cure for 4 hours.



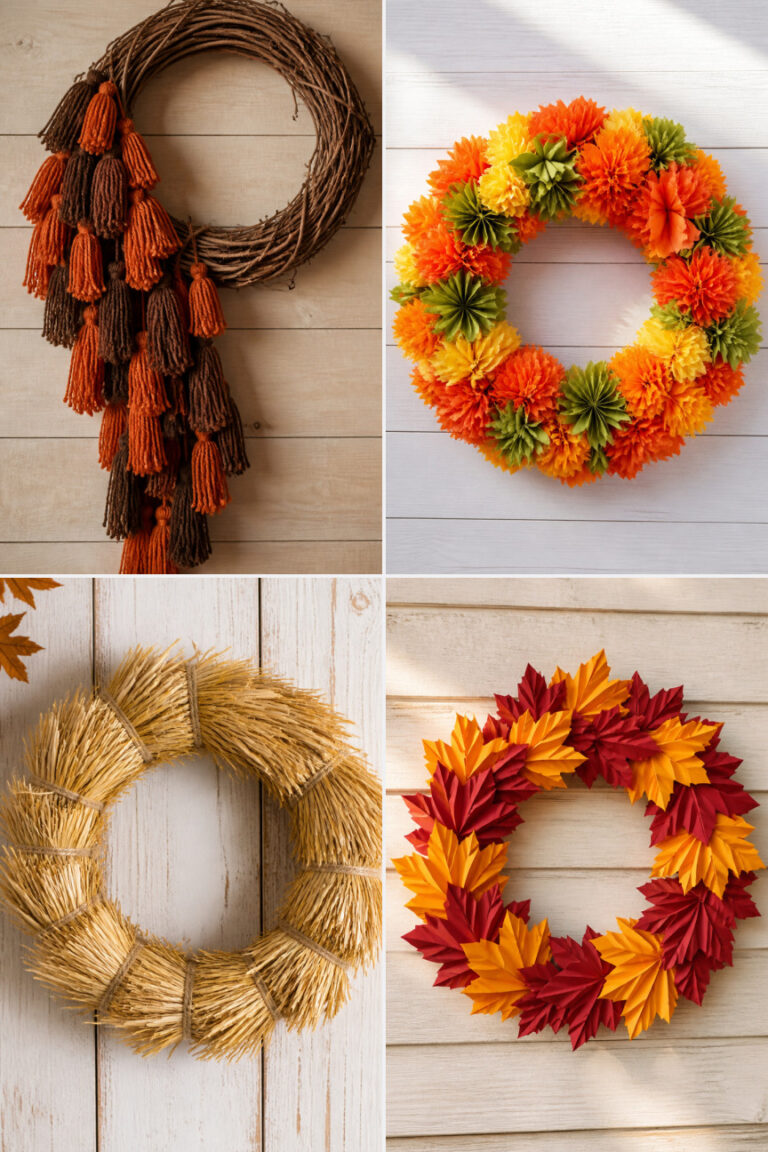
7. Dried Corn Husk Wreath
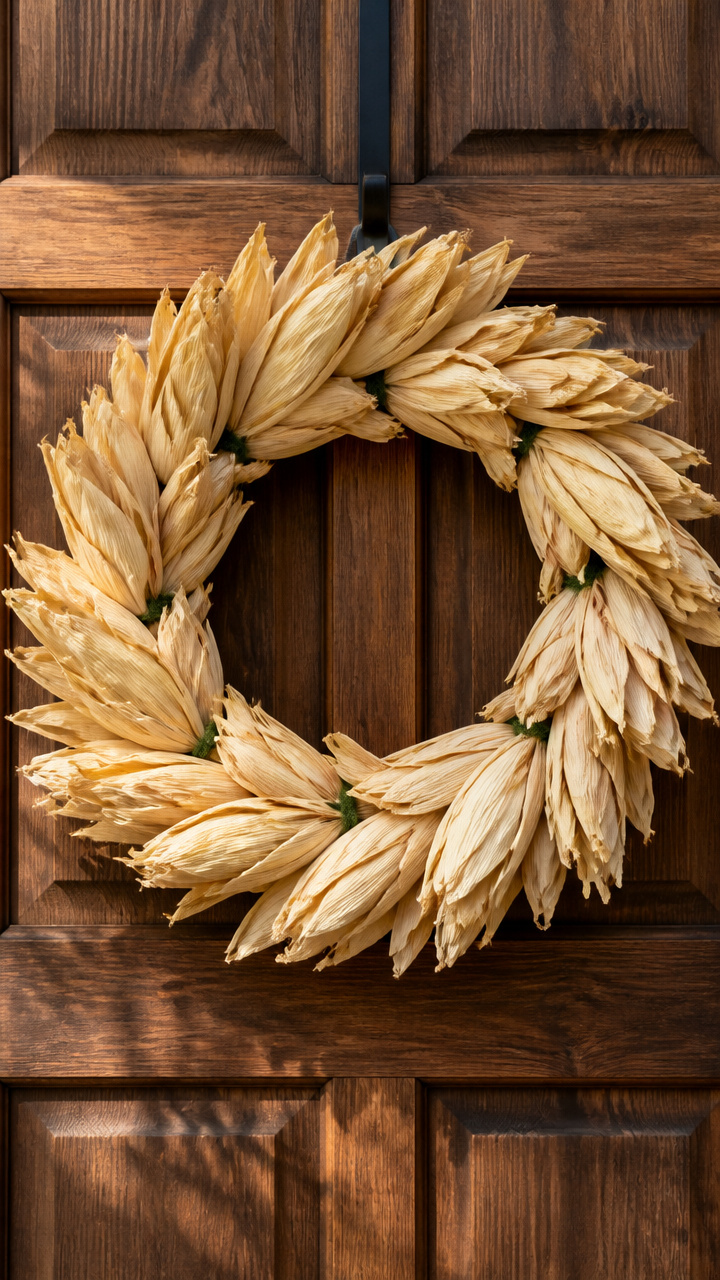
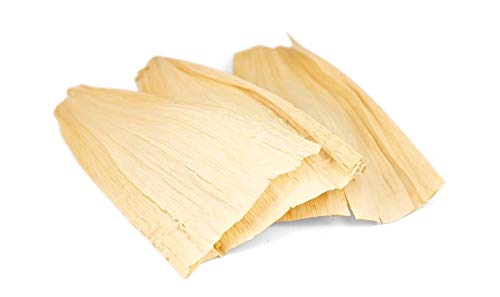
Pale gold corn husks woven into a ring keep their color all season. They feel lightweight but full when hung.
Materials Needed
- Dried corn husks, 12 large
- Wire wreath frame, 10 inches diameter
- Green pipe cleaners, 4
- Spray bottle with water
- Clothespins, 6
How to Make It
- Lightly mist each husk with water and let sit for 10 minutes to soften, then wrap around the wire frame and secure every 2 inches with a pipe cleaner twisted tight.
- Use clothespins to hold overlapping layers in place until dry, about 3 hours, then remove clips.

8. Mini Apple Clothespin Decor
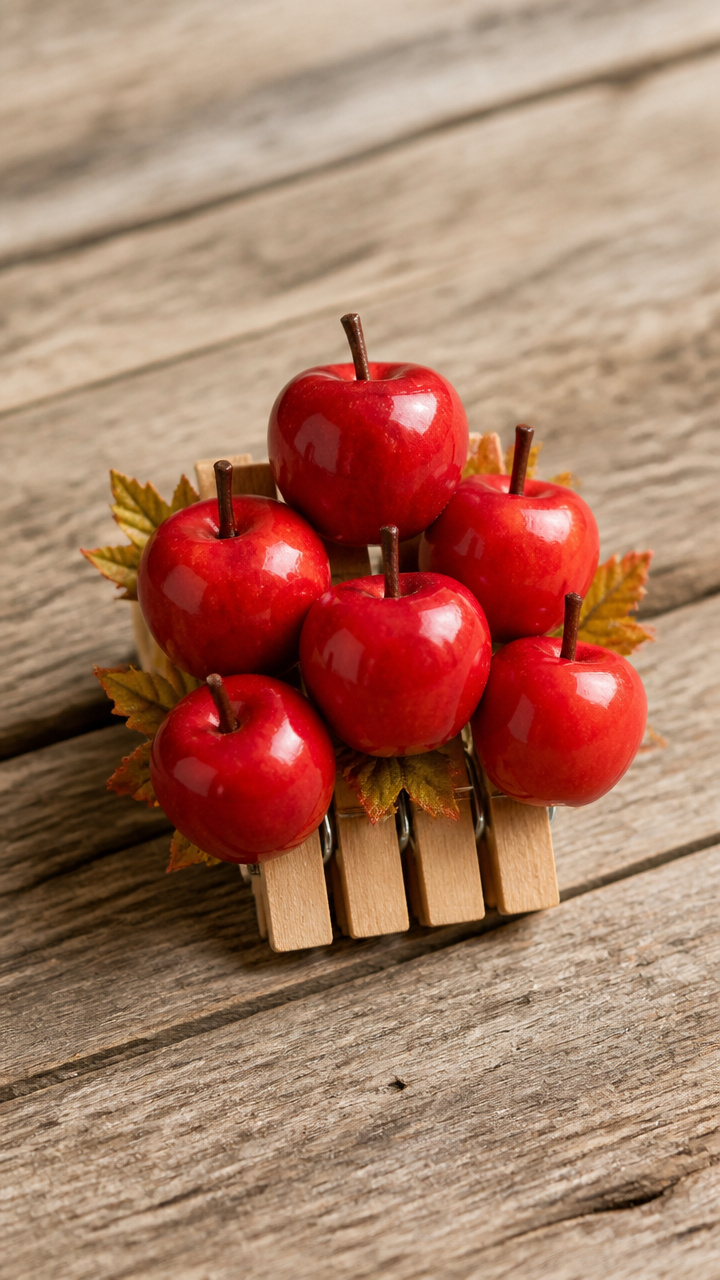
Tiny faux apples clipped to a basket or wreath add instant harvest cheer. The glossy finish looks just like real fruit.
Materials Needed
- Faux apples, 1.5 inches, 6 red
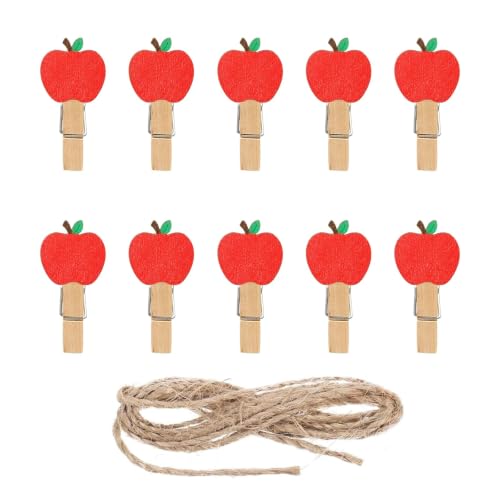
- Mini wooden clothespins, unpainted, 6
- Red acrylic paint, 1 oz
- Small paintbrush
- Hot glue gun with glue stick
How to Make It
- Paint each clothespin red using thin, even coats and let dry for 30 minutes between coats, applying two total.
- Glue one apple to the grip end of each painted clothespin, let set for 5 minutes before clipping to your display.


9. Woven Burlap Door Banner
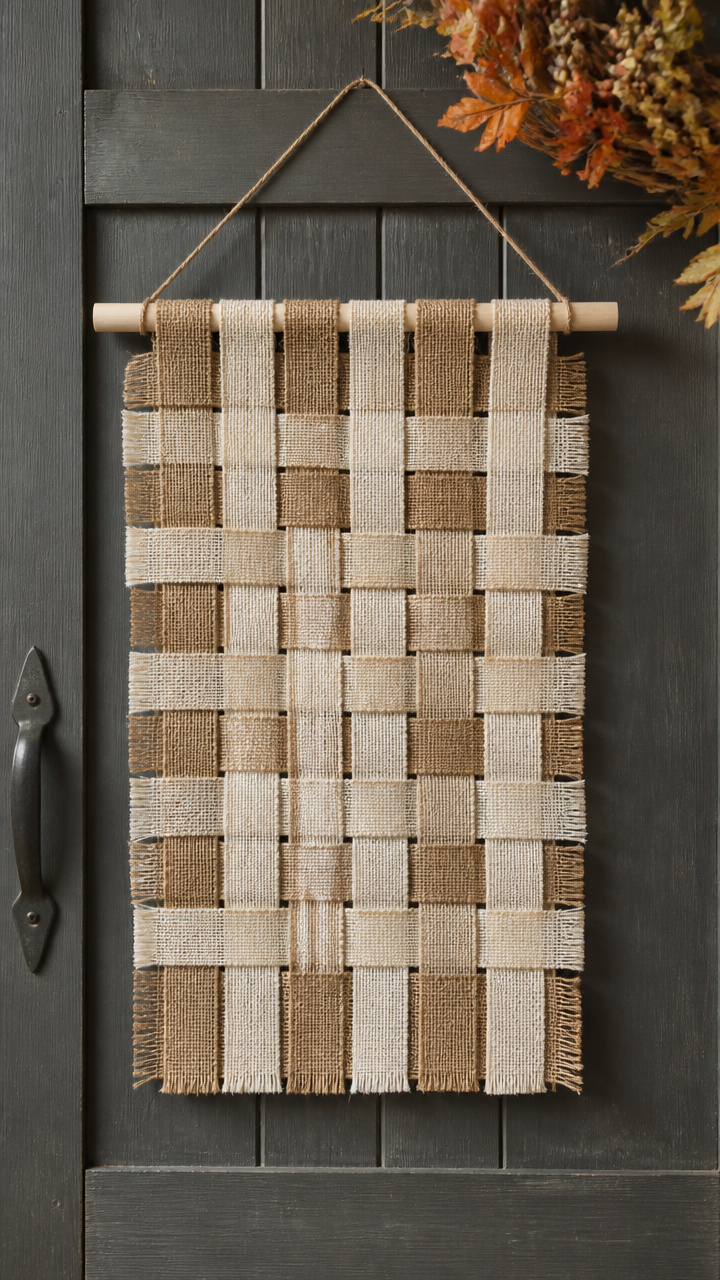
Narrow strips of burlap interlaced on a dowel create a textured banner that flutters softly. Its neutral tone complements any decor.
Materials Needed
- Burlap roll, 12 inches wide, 2 feet
- Wooden dowel, 12 inches long, 1/4 inch thick
- Scissors
- Ruler
- Twine, 12 inches
How to Make It
- Cut the burlap into 10 strips, each 1 inch wide and 14 inches long, then weave them vertically over and under the dowel, alternating pattern every strip.
- Tie twine to each end of the dowel for hanging, leaving a 3 inch loop on each side.


10. Pinecone and Jute Sconce
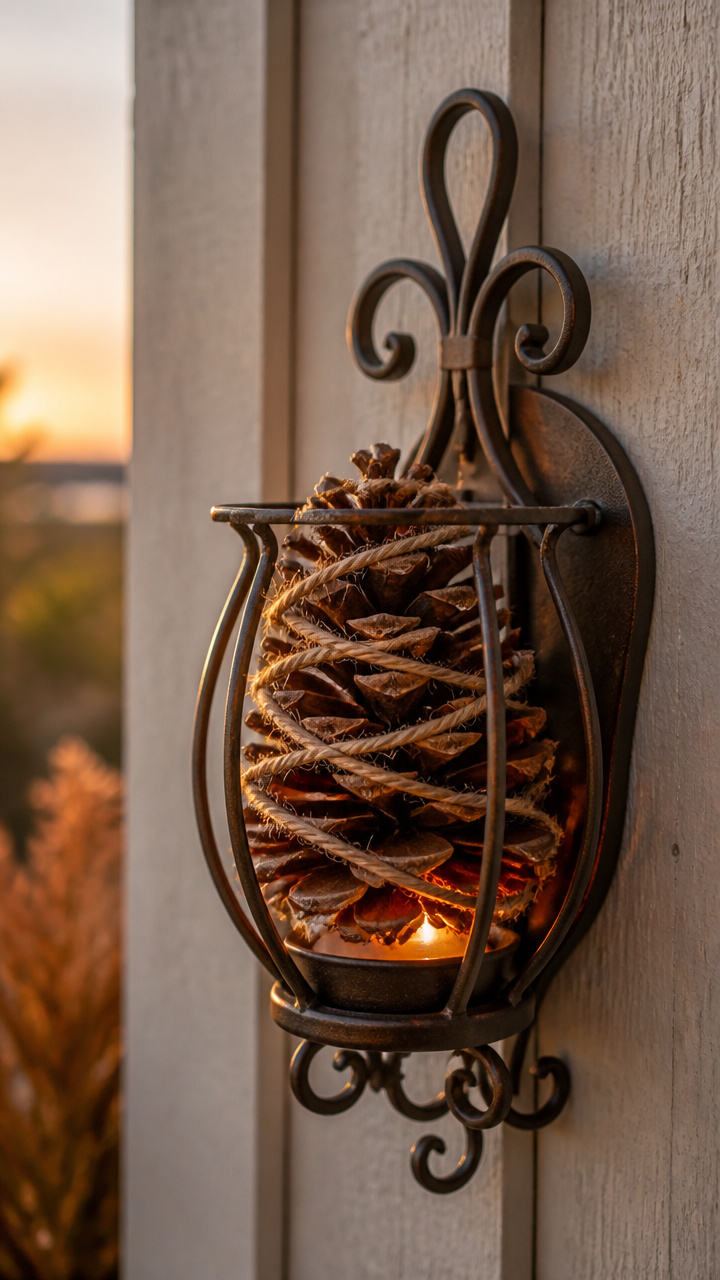
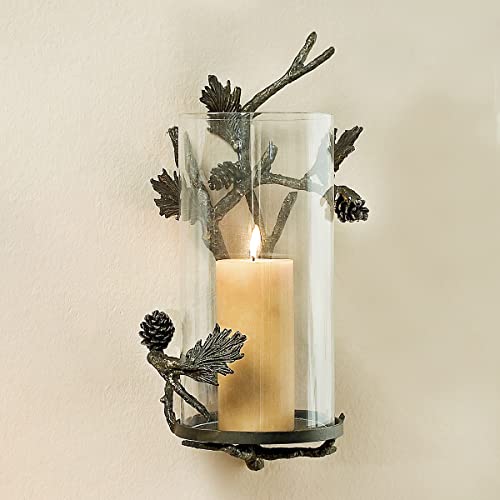
A single large pinecone wrapped with jute sits in a wrought iron holder. It catches light beautifully at dusk.
Materials Needed
- Large open pinecone, 4 inches tall
- Jute string, 3 mm thickness, 3 feet
- Wrought iron wall sconce with cage, 5 inches wide
- Hot glue gun with glue stick
How to Make It
- Starting at the base, wrap jute tightly around the pinecone upward in a spiral, adding a dab of hot glue every inch to hold the string in place.
- Place the wrapped pinecone inside the sconce cage so it rests securely, point side up.


11. Hand-Stitched Denim Leaf Patch
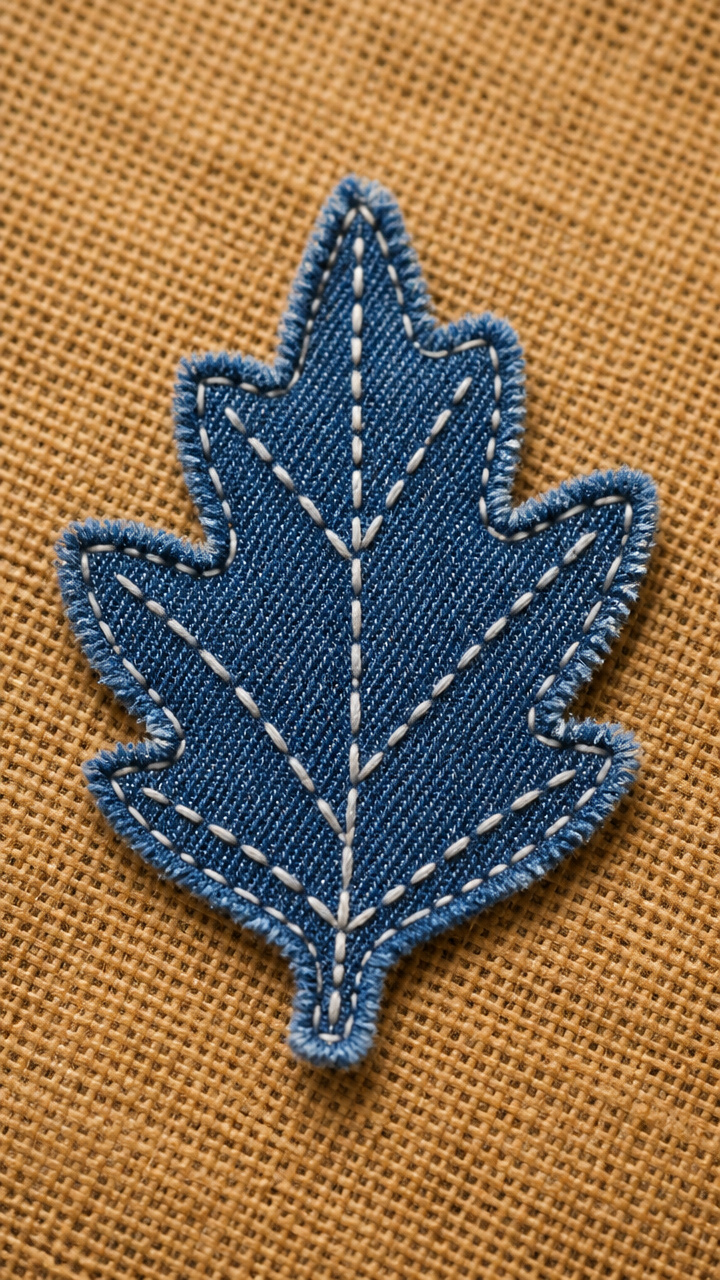
Repurposed blue jeans become a durable leaf patch perfect for attaching to a burlap wreath. The stitching adds vintage character.
Materials Needed
- Old denim shirt or pants
- Leaf template, 3 inches tall
- Fabric scissors
- White embroidery floss, 18 inches
- Embroidery needle
- Straight pin
How to Make It
- Trace the leaf shape onto the inside of the denim and cut it out carefully with fabric scissors.
- Pin the leaf to a corner of your project, then sew around the edge with a whip stitch using white floss, removing the pin as you go.


12. Gourd Lantern Frame
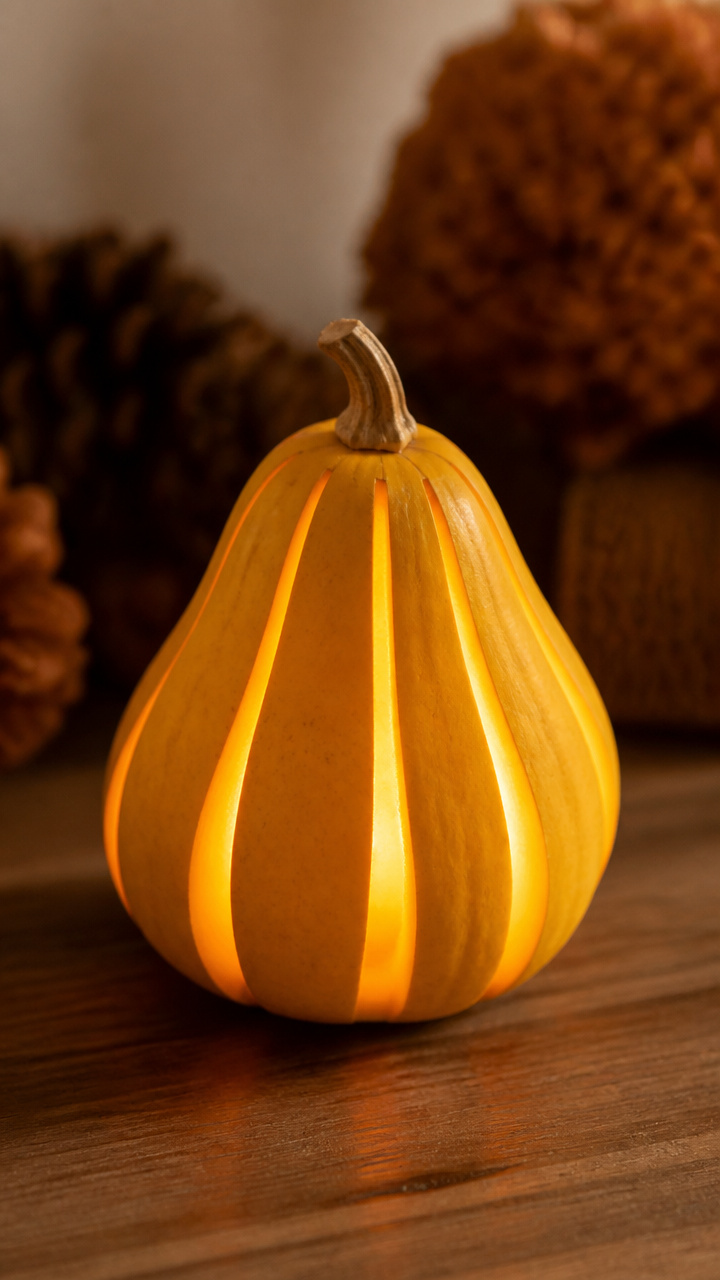
A hollowed gourd cradles a battery tea light, casting soft patterns through its natural ridges. It glows warmly on foggy evenings.
Materials Needed
- Small yellow gourd, 5 inches tall
- Craft knife
- Scoop tool or spoon
- Battery-powered tea light
- Sandpaper, 120 grit
How to Make It
- Cut a 2 inch square window on the front of the gourd using the craft knife, then scoop out all inner pulp until the chamber is empty.
- Smooth sharp edges with sandpaper and place the tea light inside, turning it on at dusk.
13. Maple Seed Pod Mobile
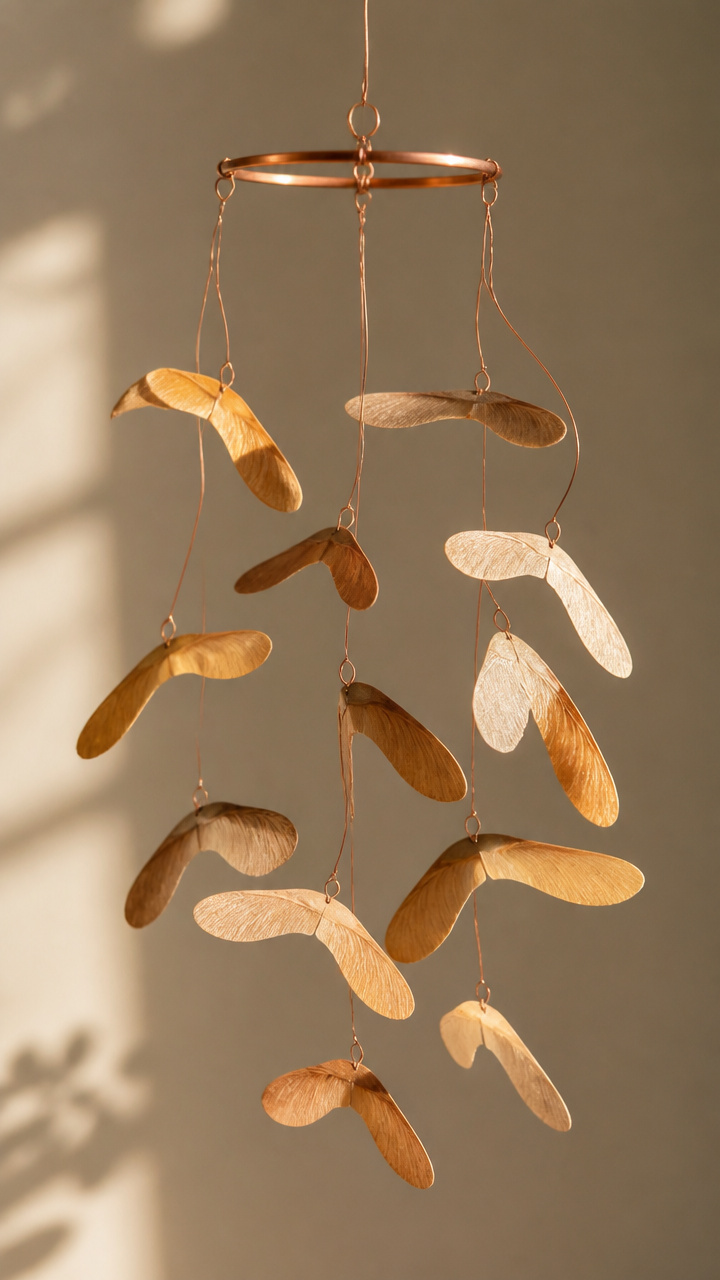
Helicopter seeds wired into a spinning cluster catch wind with a gentle rattle. Their natural twist adds movement to still air.
Materials Needed
- Maple seed pods, 12 pieces
- Thin copper wire, 24 gauge, 36 inches
- Small metal ring, 1 inch diameter
- Wire cutters
- Pliers
How to Make It
- Thread three seed pods onto a 6 inch wire length, bend the ends to form a small hoop at the top and twist the bottom shut with pliers.
- Repeat to make four strands, then twist each strand’s top hoop onto the metal ring spaced evenly, creating a balanced mobile.
14. Olive Wood Slice Coaster Set
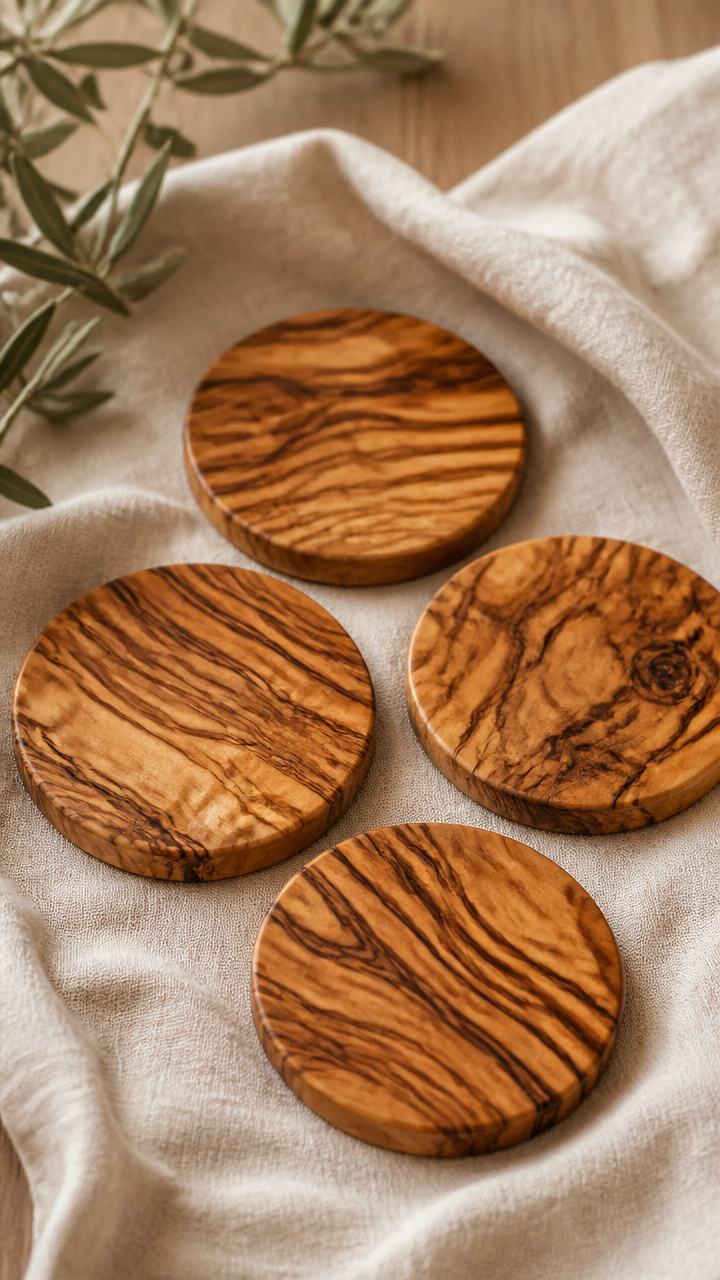
Round olive wood slices sanded smooth serve as elegant coasters beside your door. They protect surfaces while showing grain beauty.
Materials Needed
- Olive wood slices, 4 inches diameter, 4 pieces
- Fine sandpaper, 220 grit
- Food-safe mineral oil, 2 oz
- Lint-free cloth
How to Make It
- Sand each slice lightly on both sides and edges until smooth, wiping away dust with a dry cloth afterward.
- Apply a thin coat of mineral oil with the lint-free cloth, let soak for 20 minutes, then buff off excess.
15. Rustic Twig Picture Hanger
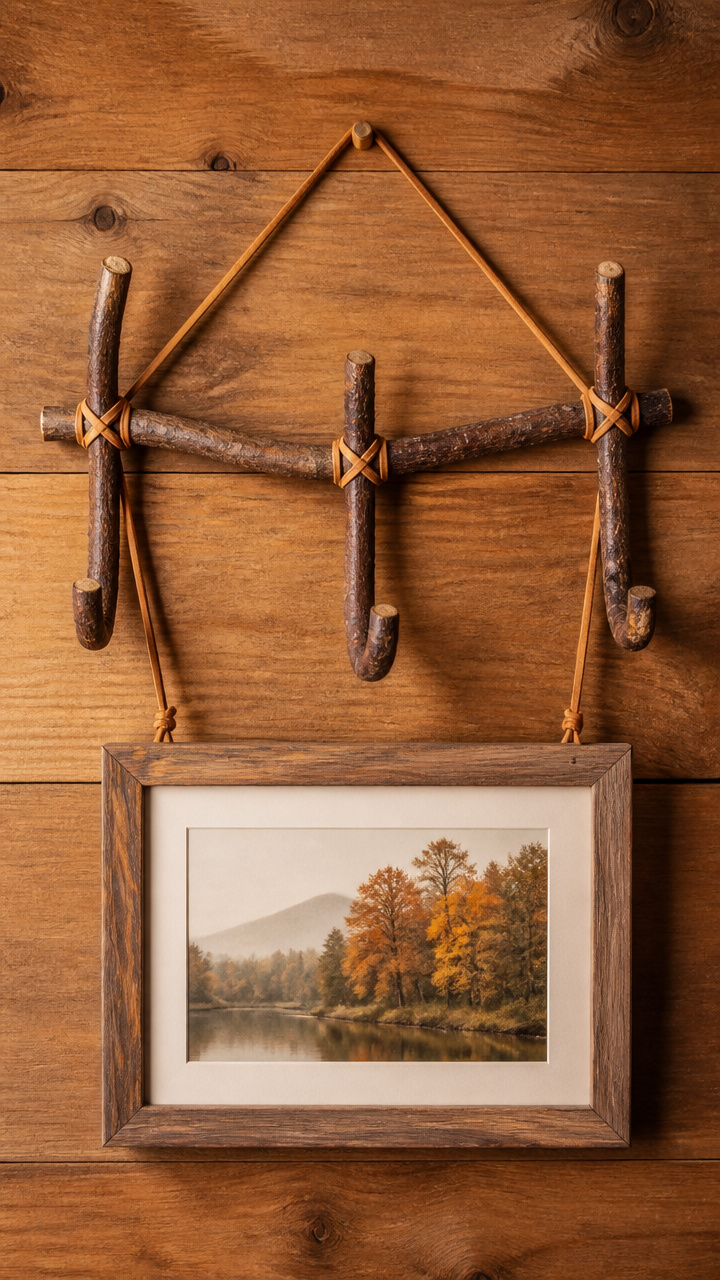
Flexible willow twigs bent into hooks hold lightweight signs or wreaths. Their organic shape blends with autumn foliage.
Materials Needed
- Willow twigs, 8 inches long, 1/4 inch thick, 3 pieces
- Brown leather cord, 1/8 inch thick, 12 inches
- Scissors
- Wood glue
How to Make It
- Bend one twig into a U-shape and tie the ends securely to a vertical support twig using leather cord knotted at both ends.
- Add a drop of wood glue to each knot, let dry for 30 minutes, then attach to your door with a hook.

16. Crayon Wax Leaf Art
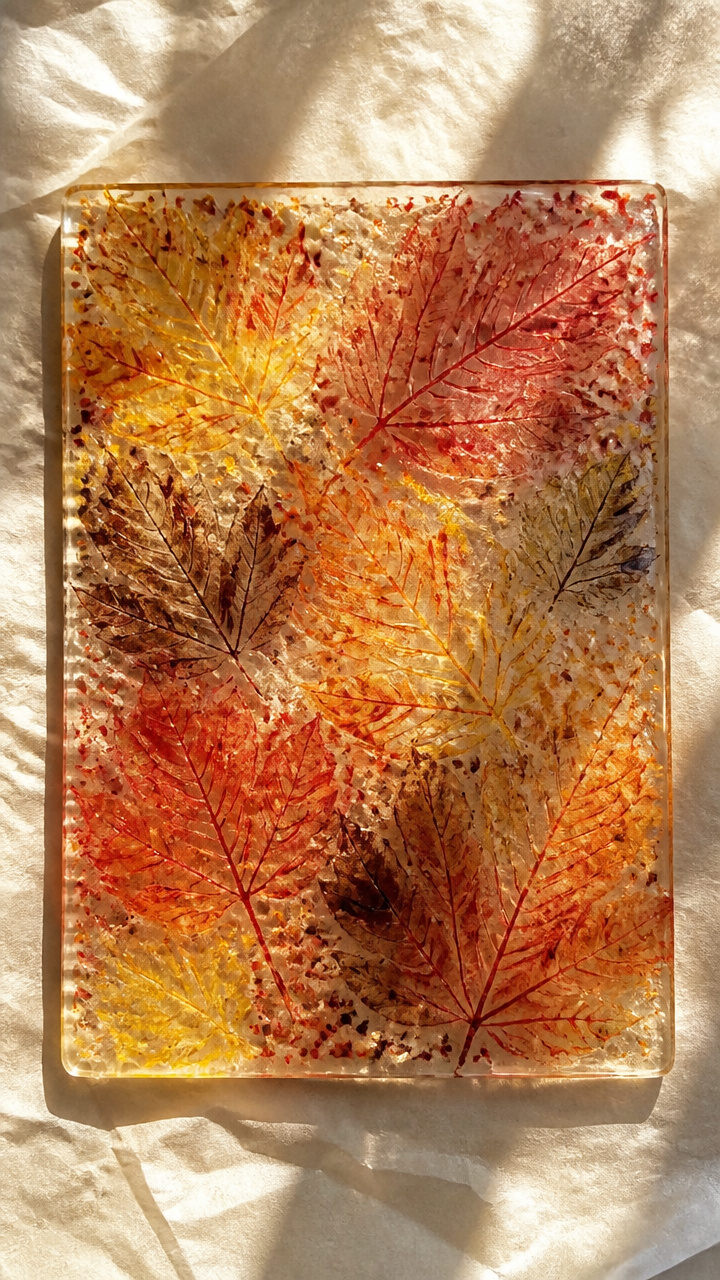
Melted crayon shavings capture leaf veins on parchment paper. The translucent panels shimmer when backlit by daylight.
Materials Needed
- Fall-colored crayons, 4 (red, orange, yellow, brown)
- Parchment paper, 9×12 inches, 2 sheets
- Real leaf, flat and medium size
- Grater
- Iron
- Clothes ironing pad
How to Make It
- Shave crayons finely using the grater, sprinkle shavings inside the leaf outline on one sheet of parchment, then cover with the second sheet.
- Place on the ironing pad and press with a warm iron for 15 seconds until melted, then let cool completely before trimming around the leaf shape.


17. Vintage Book Page Flowers
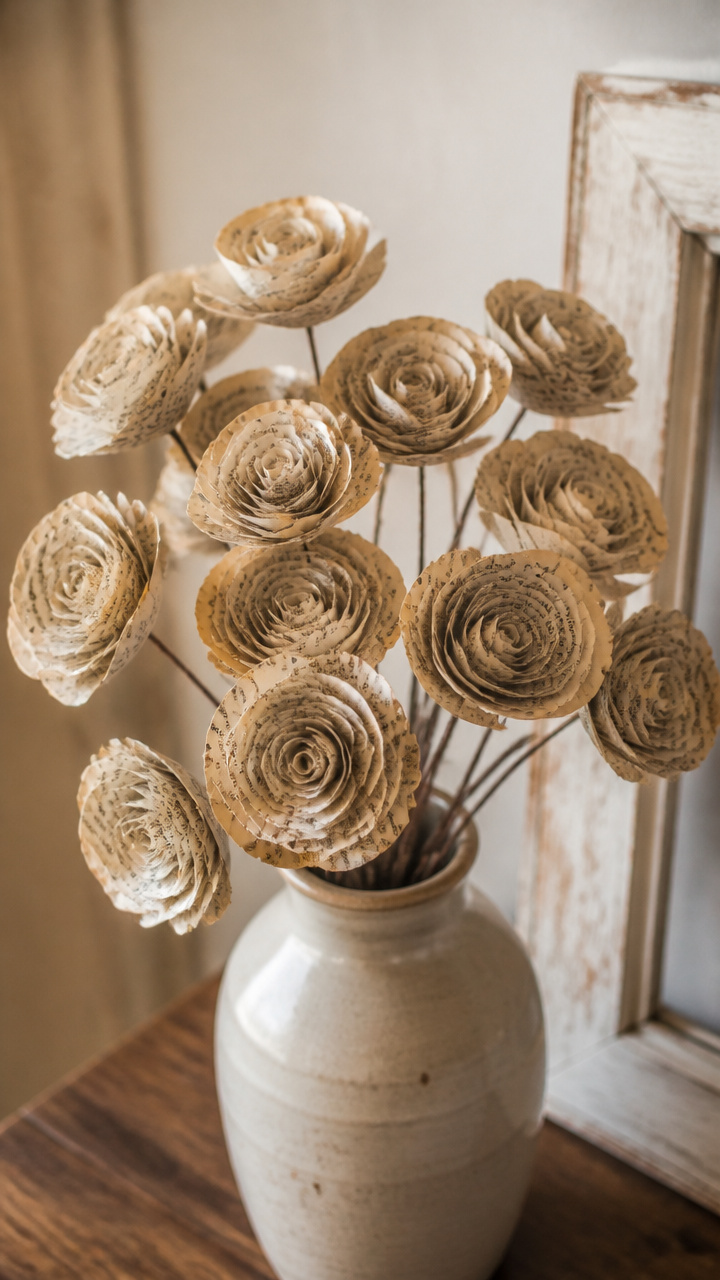
Pages from an old novel folded into rosettes show faded type and age spots. They bring literary charm to any arrangement.
Materials Needed
- Pages from a paperback book, 5
- Pencil
- Glue stick
- Scissors
- Floral wire, 18 inches, 22 gauge
How to Make It
- Cut each page into a 6 inch square, then starting at one corner, roll it tightly into a spiral and unroll slightly to form a flower shape, gluing the outer edge down.
- Wrap floral wire around the base of each flower and twist to secure, leaving a 3 inch stem for inserting into displays.


18. Amber Glass Bottle Luminaries
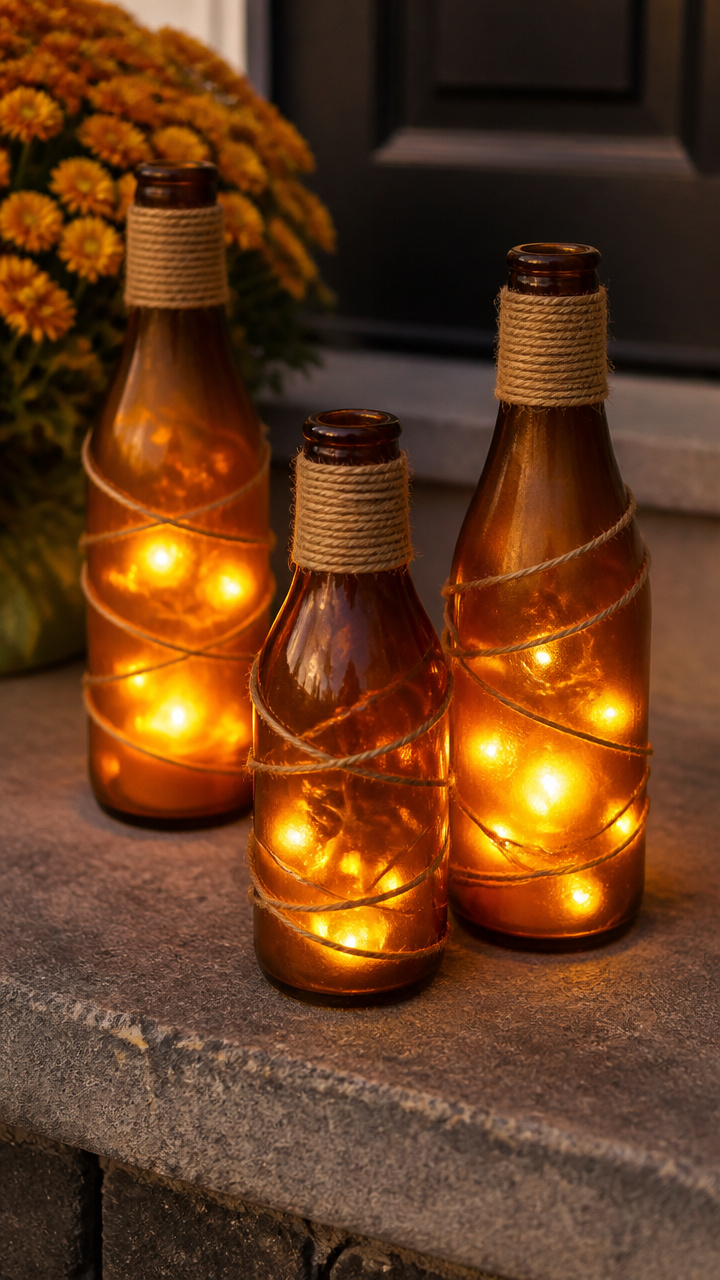
Recycled glass bottles painted with translucent amber hue glow like candlelight. They cast a golden pool on your step.
Materials Needed
- Clear glass bottles with labels removed, 4
- Amber glass paint, 4 oz
- Foam brush, 1 inch
- Twine, 8 inches per bottle
- Battery tea light, 4
How to Make It
- Pour a small amount of amber paint into each bottle, swirl to coat the inside evenly, then pour out excess and let dry upside down for 4 hours.
- Wrap twine around the neck of each bottle and tie a knot, then place a tea light inside and turn on at dusk.


Each of these crafts carries a little piece of the season’s heart. Pick one that speaks to you and let your hands begin.