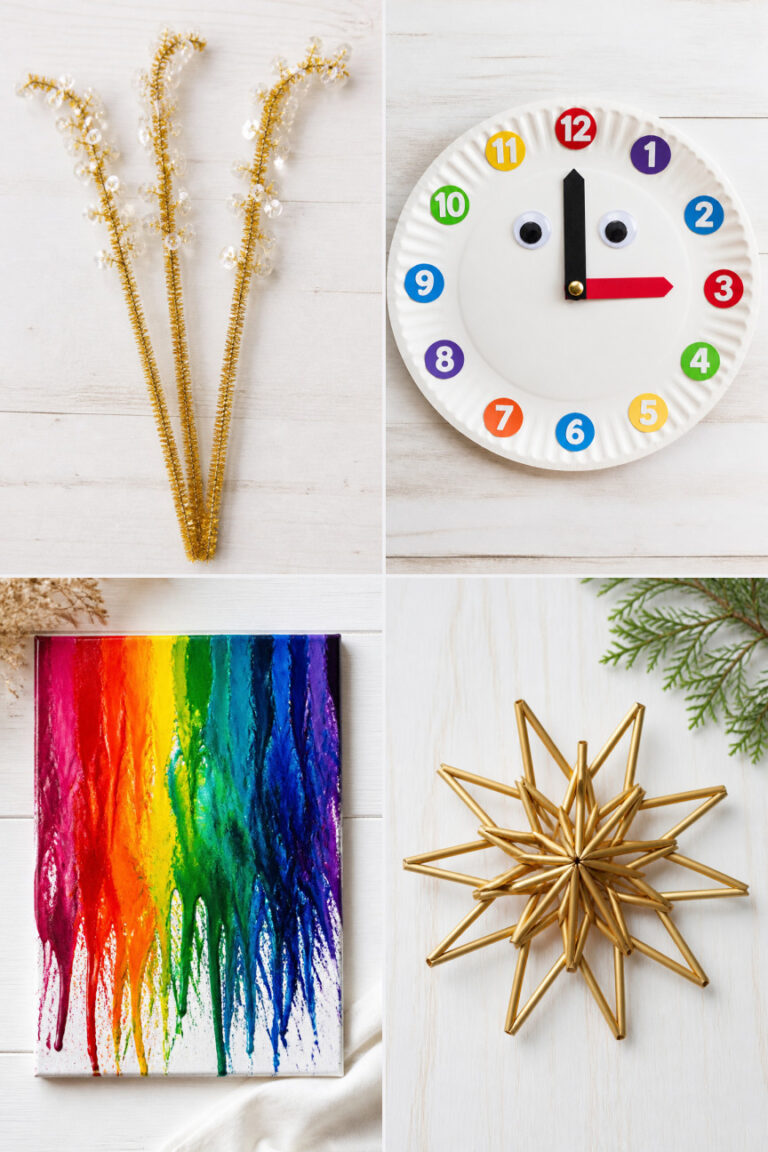
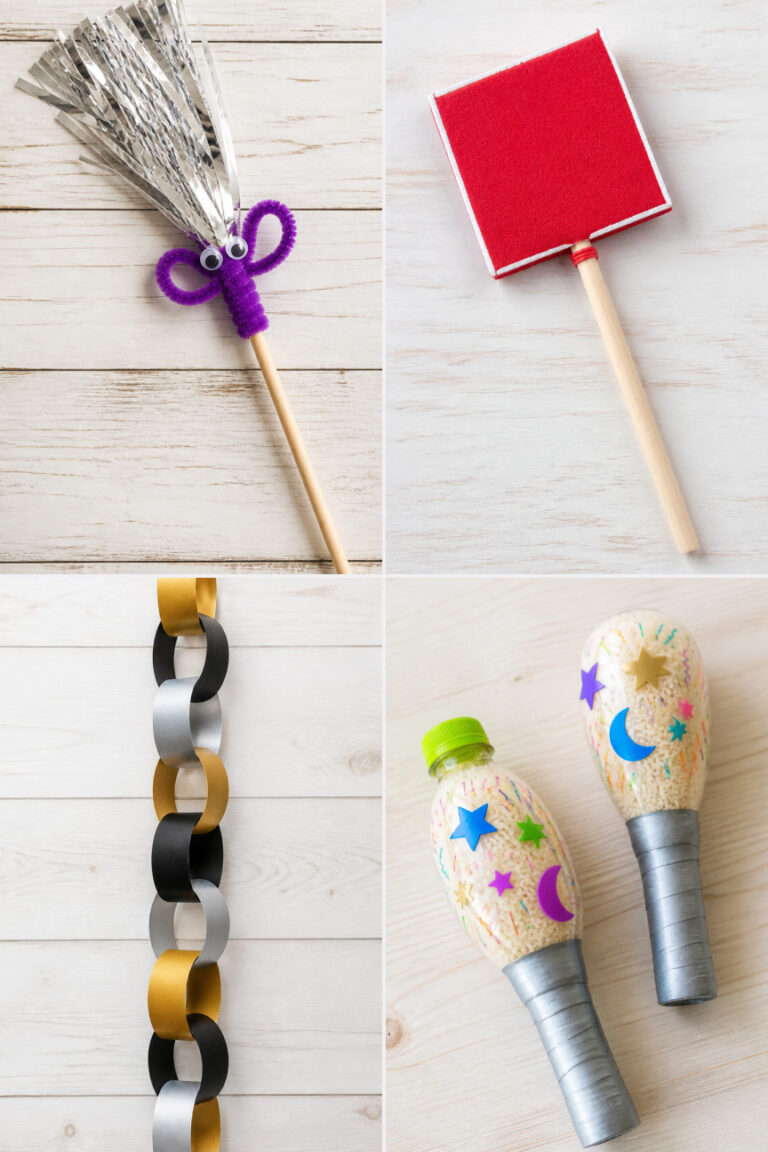
15 Easy New Year DIY Projects for Kids

Glitter spills across the table, scissors snip through bright paper, and laughter bubbles up as tiny hands shape something new. These moments of making are more than just fun — they’re how kids mark time, celebrate change, and create keepsakes that hold joy.
Each project here is designed to be simple enough for small fingers but special enough to display with pride. From shimmering countdowns to handmade noisemakers, these crafts turn excitement into something tangible — and give families a sweet way to welcome what’s next.
1. Glittery Countdown Clock
Easy
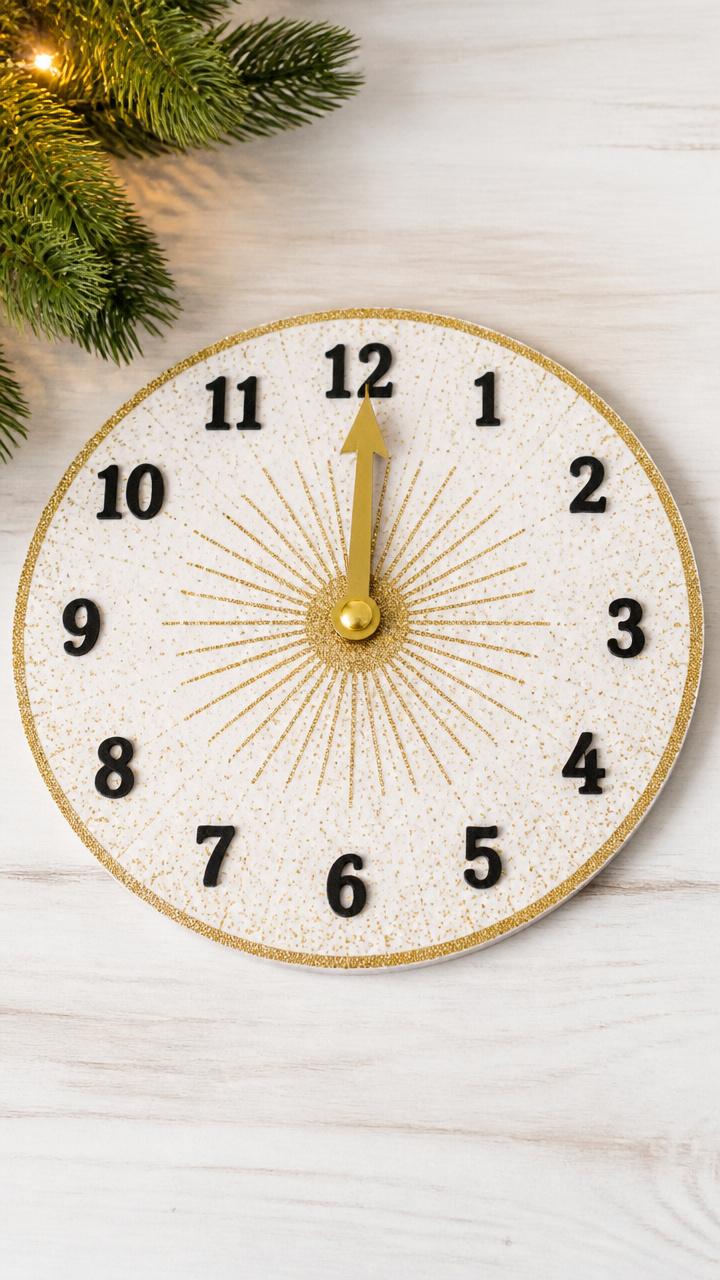
A spinning paper clock with bold numbers counts down the final hours with sparkle and motion. Kids love turning the hand as midnight draws near.
Materials Needed
- 12-inch white foam board
- Gold glitter glue
- Black fine-tip marker
- 1 brass fastener
- Scissors
- Ruler
- Pencil
How to Make It
- Draw a 10-inch circle on the foam board using the ruler and pencil. Cut it out with scissors.
- Use the black marker to write numbers 1 through 12 evenly around the edge like a clock face.
- Trace and cut a long triangle for the hour hand and a short triangle for the minute hand from leftover foam board.
- Apply gold glitter glue along the edges of both hands and let dry for 20 minutes.
- Attach both hands to the center of the clock with the brass fastener, twisting it at the back to secure.


2. Tissue Paper Fireworks Banner
Easy
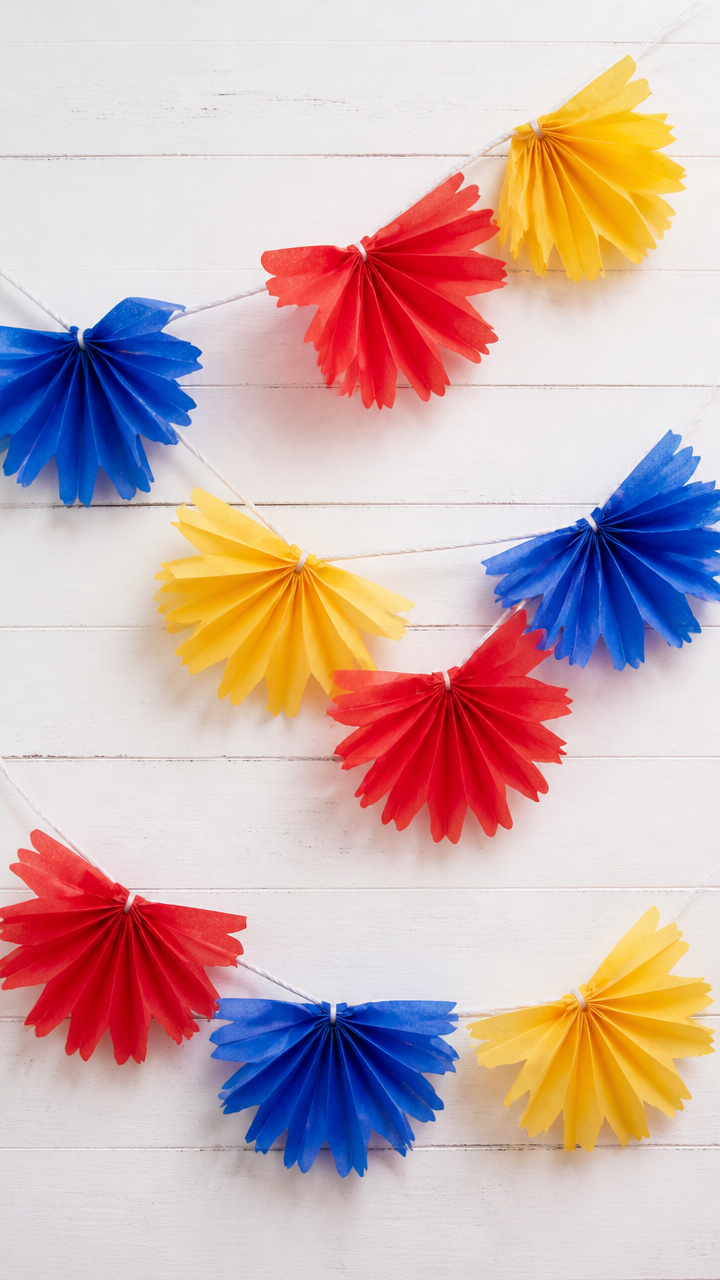
Bursts of colorful tissue paper fan out like fireworks on a string, fluttering above a party table or bedroom wall.
Materials Needed
- 6 sheets red tissue paper
- 6 sheets blue tissue paper
- 6 sheets yellow tissue paper
- White craft string, 6 feet
- Clothespins
- Scissors
- Glue stick
How to Make It
- Stack one sheet each of red, blue, and yellow tissue paper and fold them accordion-style into 2-inch pleats.
- Cut the folded stack in half crosswise so you have two smaller stacks.
- Fan open each end of a pleated stack and pinch the center tightly. Secure it with a clothespin.
- Glue the clothespin to the string every 8 inches, alternating colors.
- Repeat until the string holds six fireworks bursts, then hang with tape or clips.


3. New Year Photo Frame
Easy
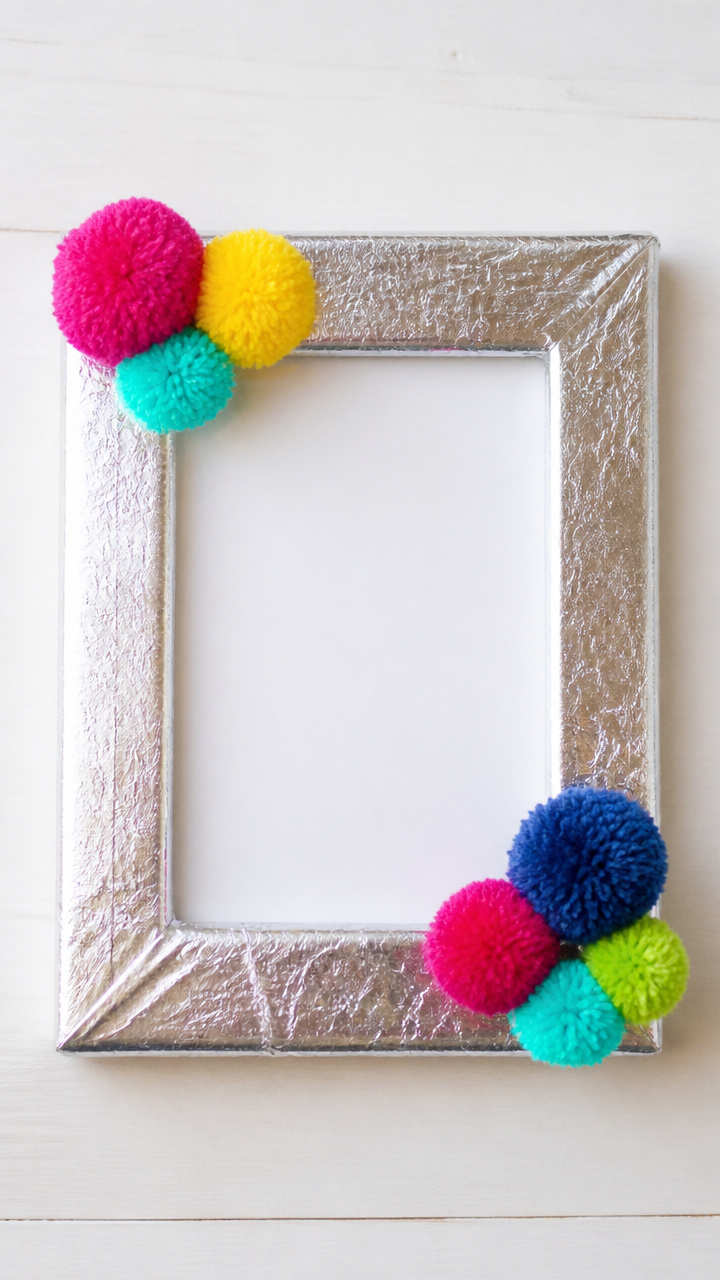
A chunky cardboard frame wrapped in foil and dotted with pom-poms holds a favorite picture from the year or a selfie taken at the celebration.
Materials Needed
- 8×10-inch cardboard photo frame
- Silver metallic duct tape
- 10 multicolor yarn pom-poms
- Hot glue gun and glue sticks
- Scissors
How to Make It
- Wrap the front edges of the frame completely with silver duct tape, smoothing as you go.
- Turn the frame over and use the hot glue gun to attach pom-poms evenly around the outer corners and sides.
- Let the glue cool for 2 minutes, then slide in a printed photo before hanging with a nail or adhesive strip.


4. Pipe Cleaner Noise Makers
Easy
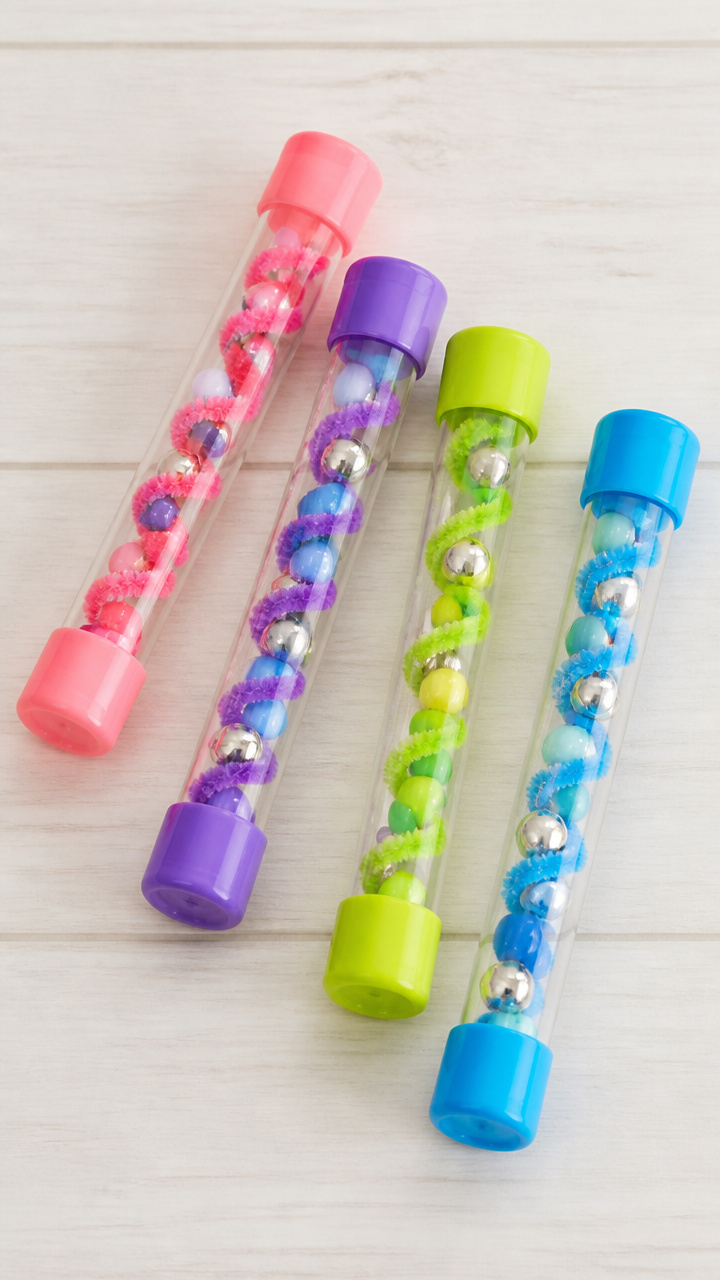
Bright coiled tubes rattle when shaken, giving kids their own festive sound effect for the final countdown.
Materials Needed
- 6 jingle bells
- 6 wide plastic straws
- 12 chenille stems (pipe cleaners)
- Pony beads, 36 total
- Scissors
How to Make It
- Slide one jingle bell and six pony beads into a plastic straw.
- Twist one end of a chenille stem around the top of the straw to seal it shut.
- Twist another chenille stem around the opposite end, sealing it while leaving a loop handle.
- Fluff the twisted ends outward like spirals for grip and decoration.
- Repeat to make five more noise makers in different color combinations.


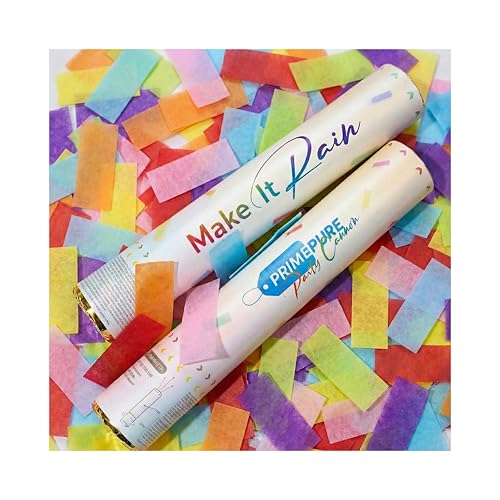
5. Confetti Popper Hats
Easy
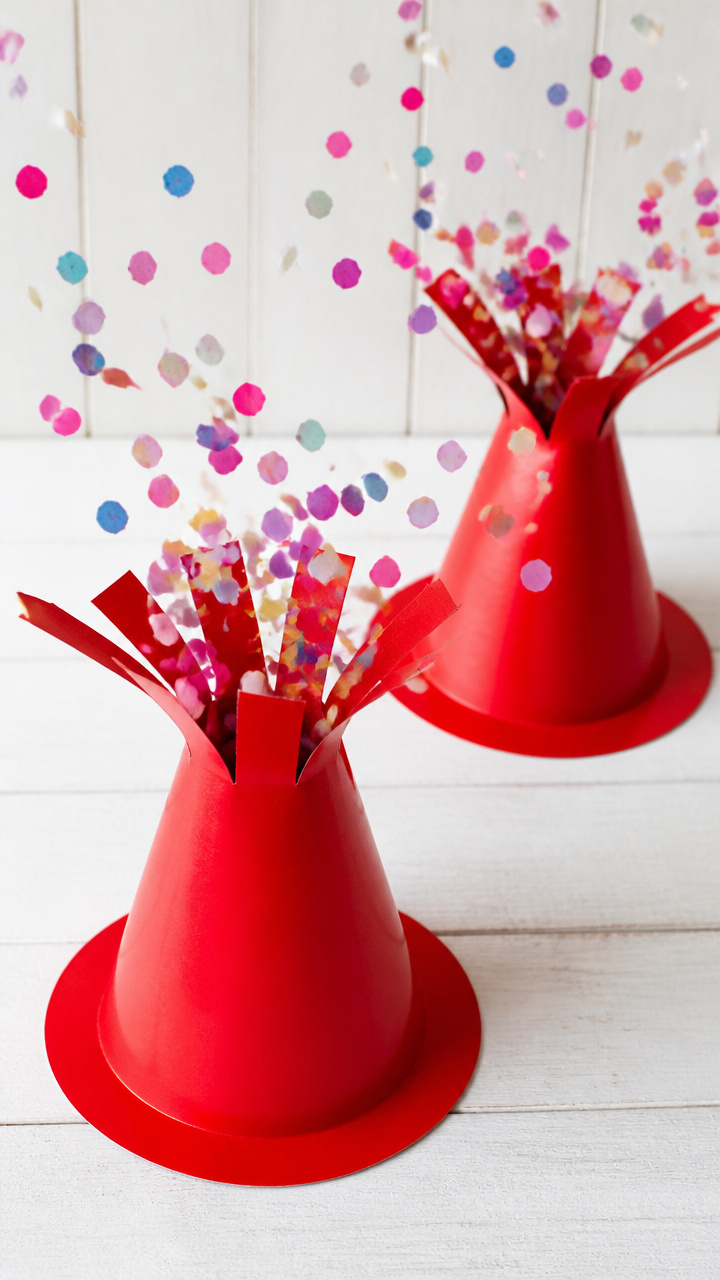
Simple paper hats burst with confetti when popped open, combining headwear and celebration in one surprise.
Materials Needed
- Red construction paper, 9×12-inch, 6 sheets
- Glue stick
- 1/4 cup biodegradable confetti
- Double-sided tape
- Scissors
- Pencil
How to Make It
- Roll one sheet of construction paper into a cone shape and glue the seam. Let dry 1 minute.
- Fill the tip of the cone with one tablespoon of confetti.
- Fold the wide end inward by 1 inch and press to crease, forming a flat rim.
- Use double-sided tape to seal the rim shut, trapping the confetti inside.
- Repeat for five more hats, storing them upright until ready to pop.

![Confetti Sky [6 Pack] Confetti Poppers Cannon | Multicolor Biodegradable | Confetti Cannon for Wedding Celebration, Birthday Confetti , Pranks, Graduation, Christmas Eve and New Year's Eve Celebration](https://m.media-amazon.com/images/I/51aEr9px9nL._SL500_.jpg)
6. Handprint Time Capsule Tags
Easy
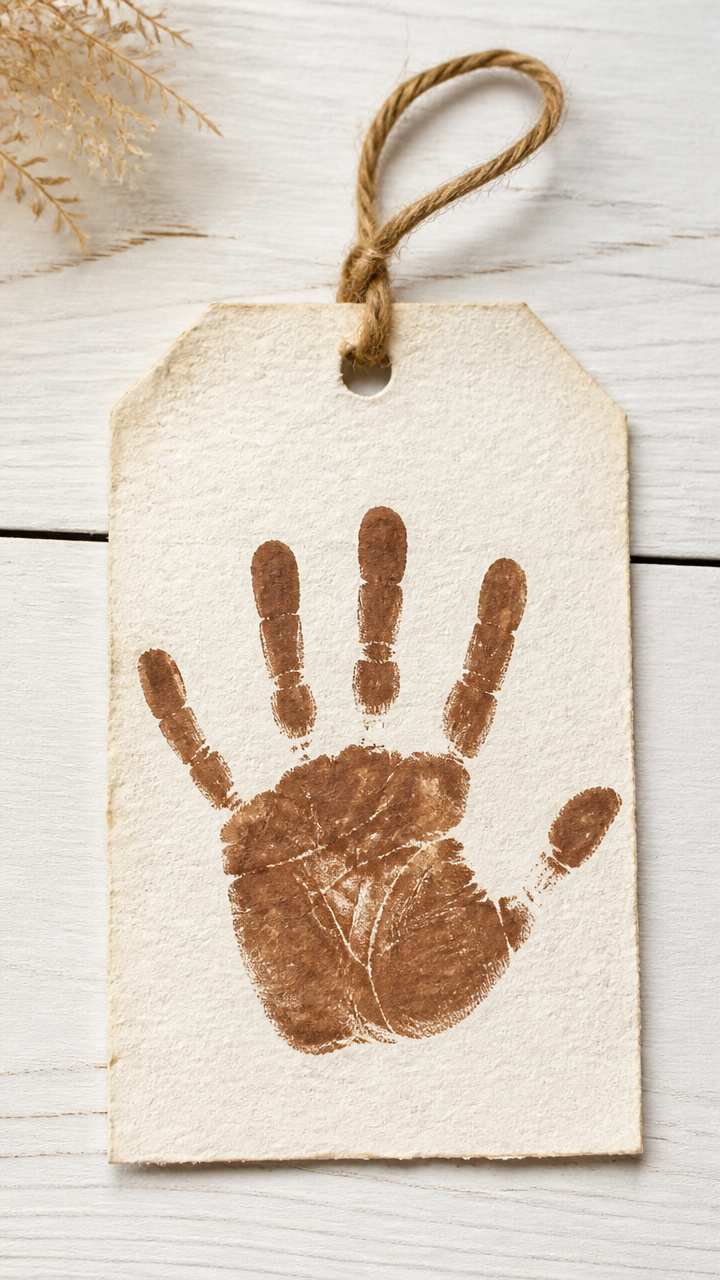
A child’s painted handprint becomes a dated tag tied to a sealed jar of notes, drawings, and trinkets saved for next year.
Materials Needed
- White cardstock, 5×7-inch, 6 sheets
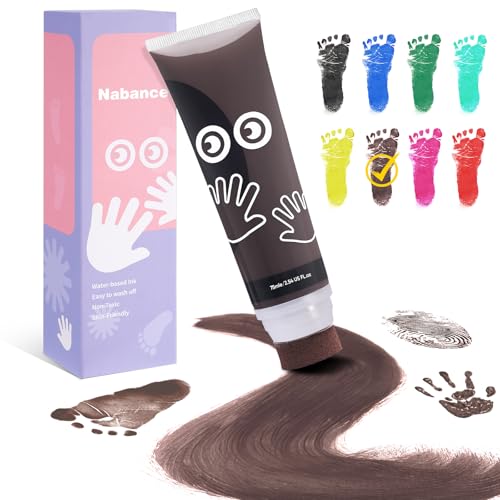
- Washable brown paint
- Paintbrush
- Hole punch
- Twine, 12 inches per tag
- Scissors
- Black marker
How to Make It
- Brush washable brown paint evenly over the palm and fingers of one hand.
- Press the painted hand firmly onto a cardstock rectangle and lift straight off.
- Let the print dry for 15 minutes, then write 'Open Next Year' and the current date under the print with the black marker.
- Punch a hole in the top corner and thread twine through to make a hanger.
- Tie the tag to a mason jar filled with notes and small items from today.


7. Foil Balloon Numbers
Easy
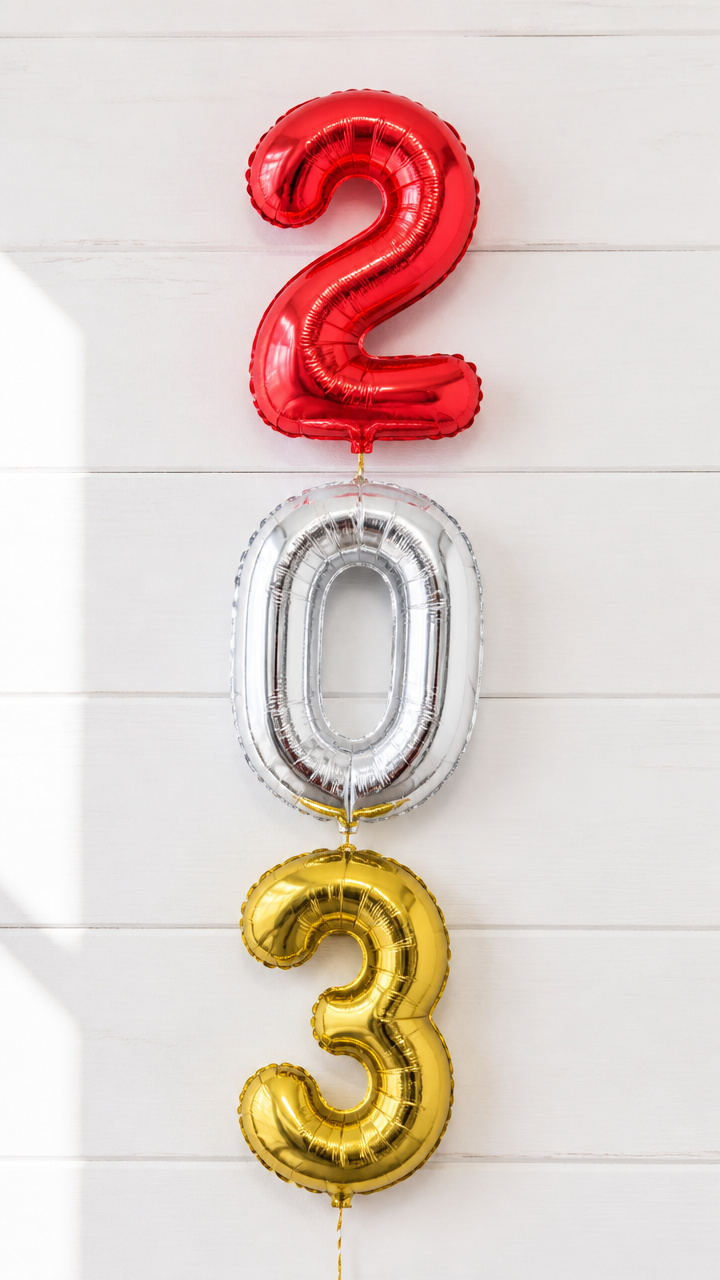
Glossy inflated numbers catch the light and spell out the coming year in bold floating digits.
Materials Needed
- Number 2 foil balloon
- Number 0 foil balloon
- Number 3 foil balloon
- Double-sided sticky dots, 6
- String, 3 feet
- Scissors
How to Make It
- Inflate each foil balloon according to package instructions and seal the tabs closed.
- Attach two sticky dots to the back of each balloon near the knot.
- Press the balloons onto a wall in order — 2, 0, 3 — spacing them evenly.
- Alternatively, tie a string through each knot and hang them in a line across a room.


8. Crayon Melting Art
Moderate
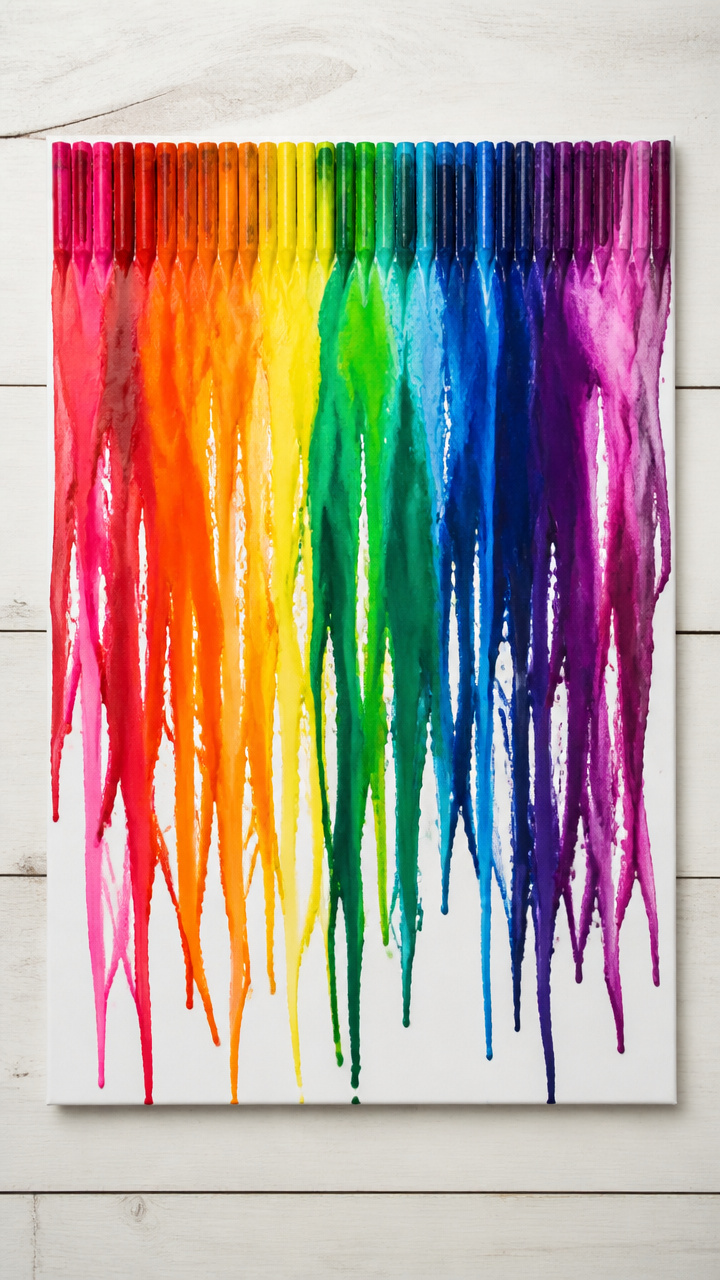
Dripping crayons on thick paper create wild, colorful streaks that look like a joyful explosion of the year’s energy.
Materials Needed
- White A3 watercolor paper
- 10 old crayons, peeled
- Hairdryer
- Cardboard box lid
- Tape
- Pencil
How to Make It
- Tape the paper vertically inside the cardboard box lid to catch wax drips.
- Break crayons into small pieces and place them at the top edge of the paper.
- Hold the hairdryer 6 inches from the crayons and heat slowly until wax begins to melt and drip downward.
- Move the dryer gently from side to side to control flow, letting colors blend naturally.
- Turn off the dryer and let the artwork cool completely before removing from the box.


9. Paper Plate Clock Wands
Easy
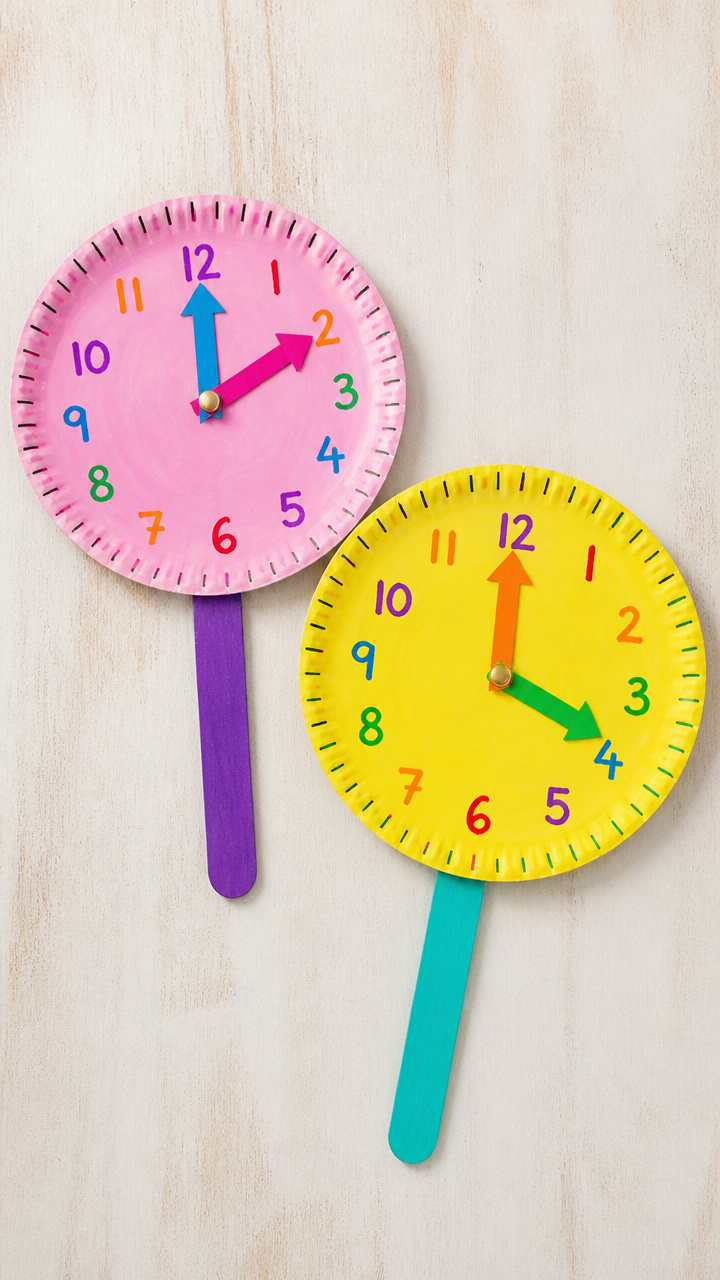
Round wands with movable hands help kids act out the countdown, blending pretend play with learning.
Materials Needed
- 6 paper plates
- Brass fasteners, 6
- Colored markers
- Scissors
- Pencil
- Craft sticks, 6
How to Make It
- Draw a clock face on each paper plate with colored markers, adding numbers 1 through 12.
- Cut a thin arrow for the hour hand and a shorter one for the minute hand from scrap paper.
- Poke a hole in the center of each plate and both hands using the pencil tip.
- Attach the hands together over the plate with a brass fastener, securing at the back.
- Tape one end of a craft stick to the back of each plate to form a wand handle.


10. Yarn Ball Noisemakers
Easy
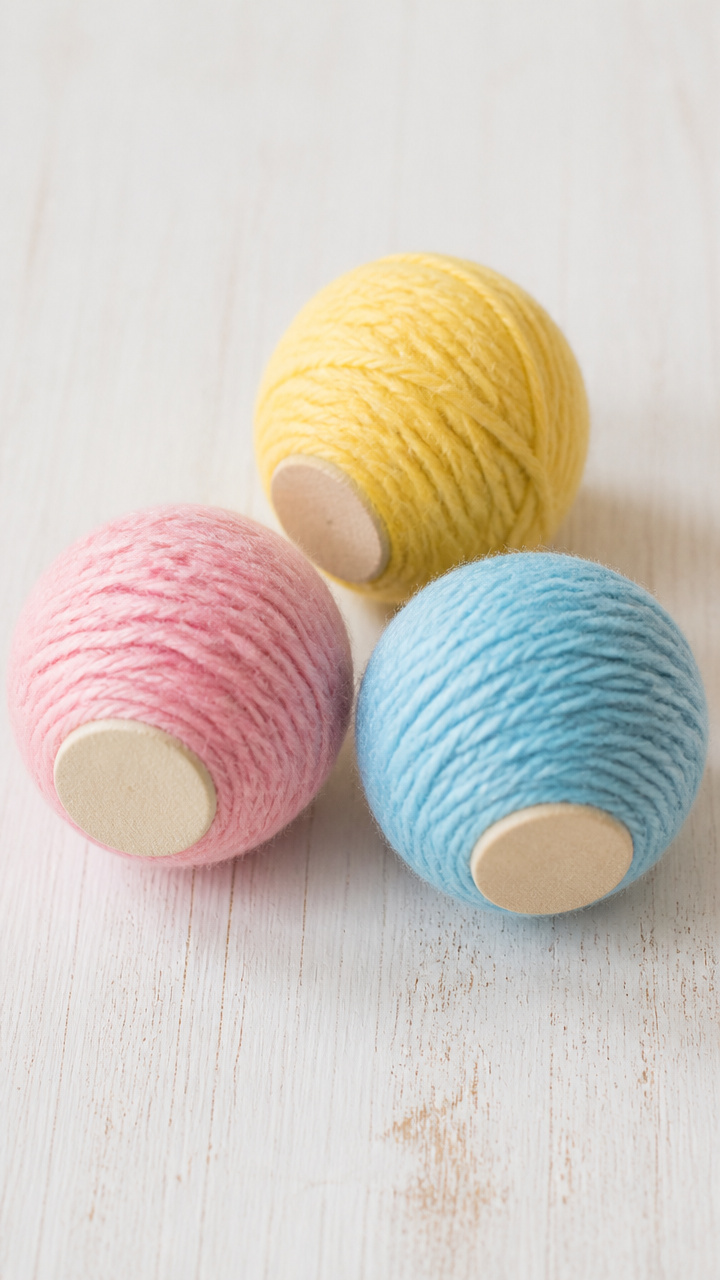
Soft pastel balls filled with rice rattle gently when tossed, perfect for little ones who want in on the fun without loud booms.
Materials Needed
- 6 small yarn bobbins
- White school glue
- Bamboo skewer
- Funnel
- 1/2 cup uncooked rice
- Pastel yarn, 3 colors
How to Make It
- Wrap yarn tightly around a bamboo skewer 50 times, then slide it off carefully.
- Tie one end of a new yarn strand around the middle of the coil and knot securely.
- Cut the loops at both ends and fluff into a ball.
- Use a funnel to pour one tablespoon of rice into the center of each ball as you fluff.
- Continue wrapping and gluing layers of yarn around the rice core until fully enclosed and firm.

11. Sticker Resolution Tree
Easy
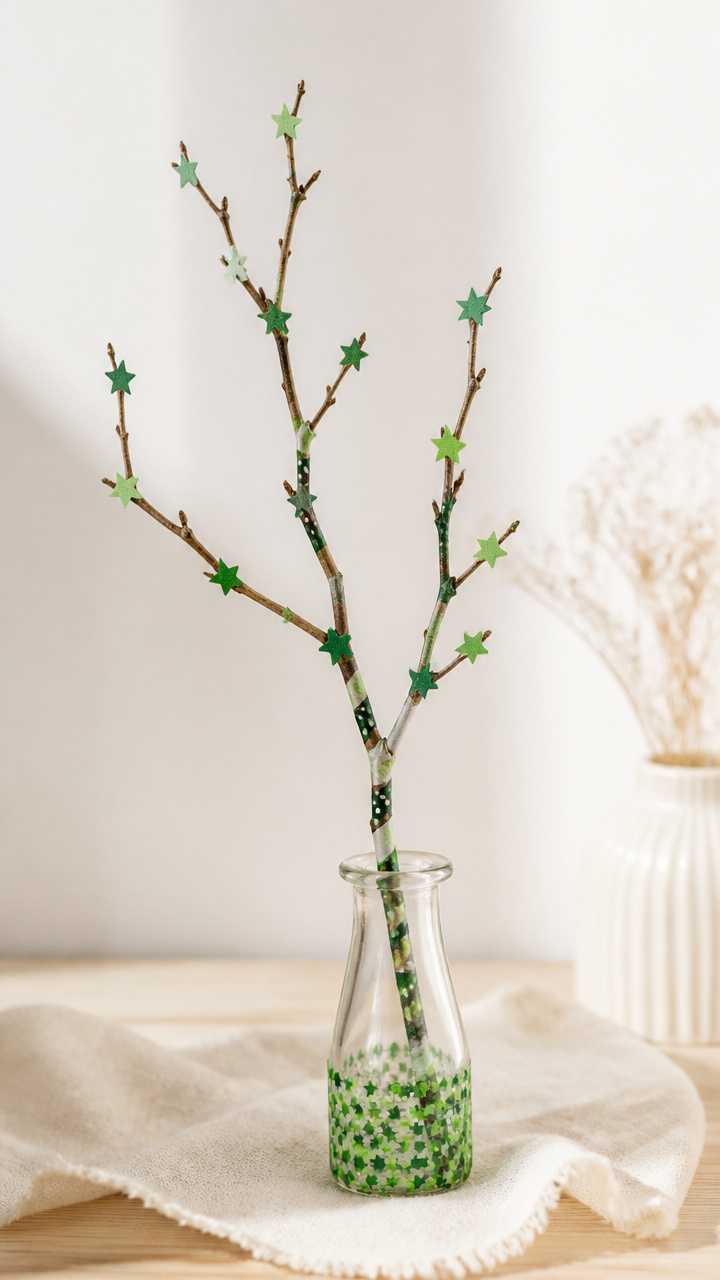
A bare branch in a jar fills with colorful stickers each time a child achieves a small goal, growing greener with every win.
Materials Needed
- Small glass vase
- Twig, 8 inches tall
- Green star stickers, 20
- Washi tape
How to Make It
- Place the twig upright in the vase and secure the base with washi tape if needed.
- Set the vase on a shelf or desk where it's easy to reach.
- Each time a child completes a task or shows kindness, add one green star sticker to a branch.
- Watch the tree fill up over days or weeks, celebrating progress step by step.


12. Foam Number Stamps
Easy

Chunky foam numerals pressed in paint leave crisp prints on cards, banners, or wrapping paper.
Materials Needed
- Self-adhesive foam sheets: red, gold, silver
- Scissors
- Acrylic paint: black, 4 oz
- Paint tray
- Sponge brush
- White drawing paper
How to Make It
- Cut large number 2, 0, and 7 shapes from the foam sheets, each about 3 inches tall.
- Peel the backing and stick each number onto a flat block or sturdy cardboard square.
- Pour black acrylic paint into the tray and roll the sponge brush in it evenly.
- Press the foam side into the paint, then stamp firmly onto paper, lifting straight up.
- Clean the stamp with a damp cloth between uses and let prints dry 10 minutes.
13. Ribbon Countdown Streamers
Easy
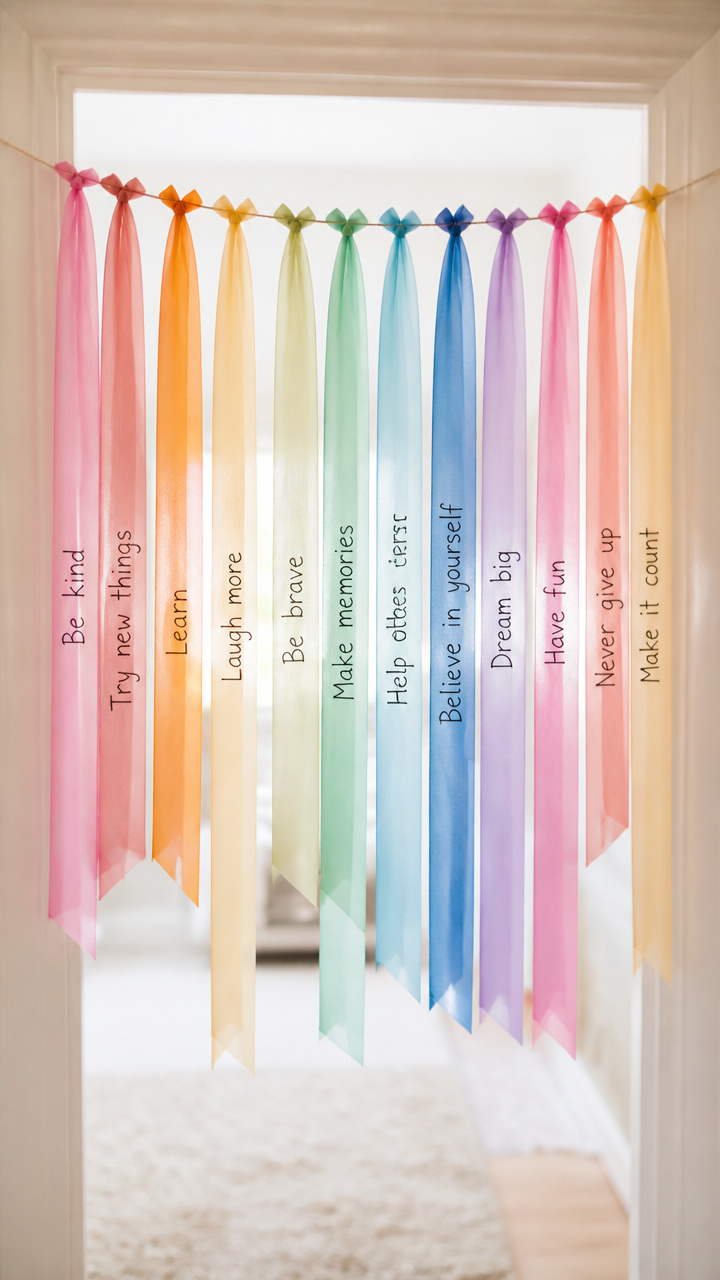
Long ribbons marked with wishes flutter from a doorway, each pulled down as a day passes until the big night.
Materials Needed
- 12 yards sheer ribbon, 1/2-inch wide, assorted colors
- Fine-tip permanent markers, 3 colors
- Clothesline, 4 feet
- Clothespins, 12
- Scissors
How to Make It
- Cut the ribbon into 12 lengths of 1 yard each.
- Write one wish or happy thought on each ribbon with a marker, such as 'Try something new' or 'Tell someone I love them'.
- Clip one end of each ribbon to the clothesline with a clothespin, spacing them evenly.
- Hang the line across a hallway or playroom doorframe.
- Each day, remove one ribbon and read its message before bedtime.


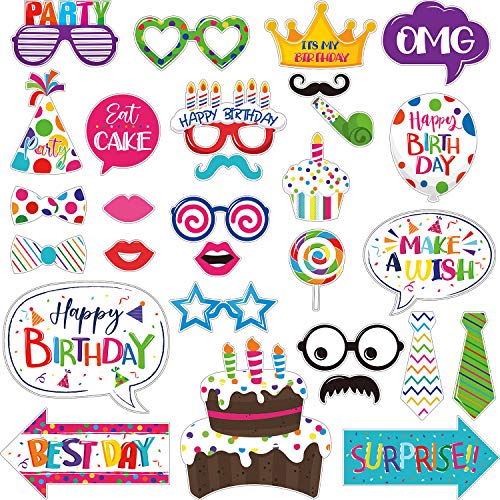
14. Photo Booth Props Stick
Easy
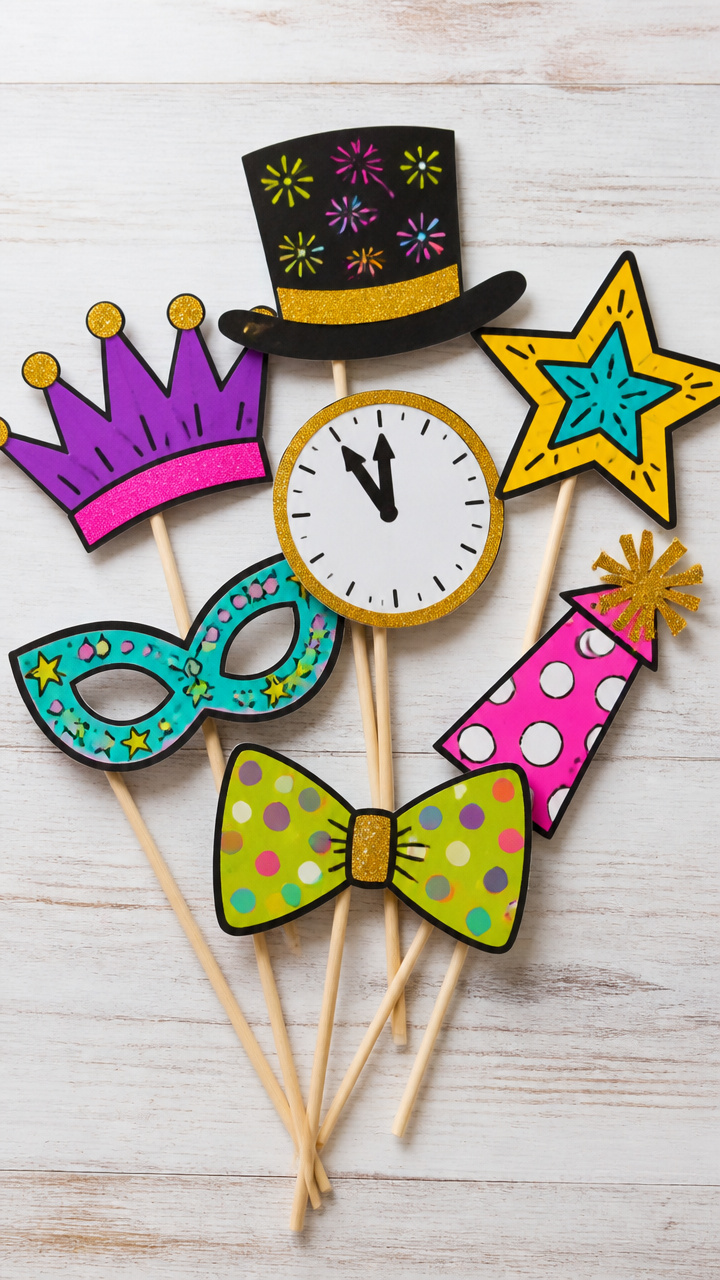
A bundle of silly signs on sticks gives kids instant costumes for memory-making snapshots.
Materials Needed
- 6 craft sticks
- White cardstock, 5×7-inch, 6 sheets
- Colored markers
- Glue stick
- Scissors
- Double-sided tape
How to Make It
- Draw and cut out speech bubbles, stars, and glasses shapes from the cardstock.
- Write fun phrases like 'Happy Now!' or 'Best Year Ever' inside each bubble with markers.
- Color the stars with silver and gold, and make glasses with rainbow lenses.
- Glue one flat side of a craft stick to the back of each prop.
- Let dry for 5 minutes, then bundle them together with a rubber band for easy grabbing.


15. Glitter Jar Calm Down Bottles
Easy
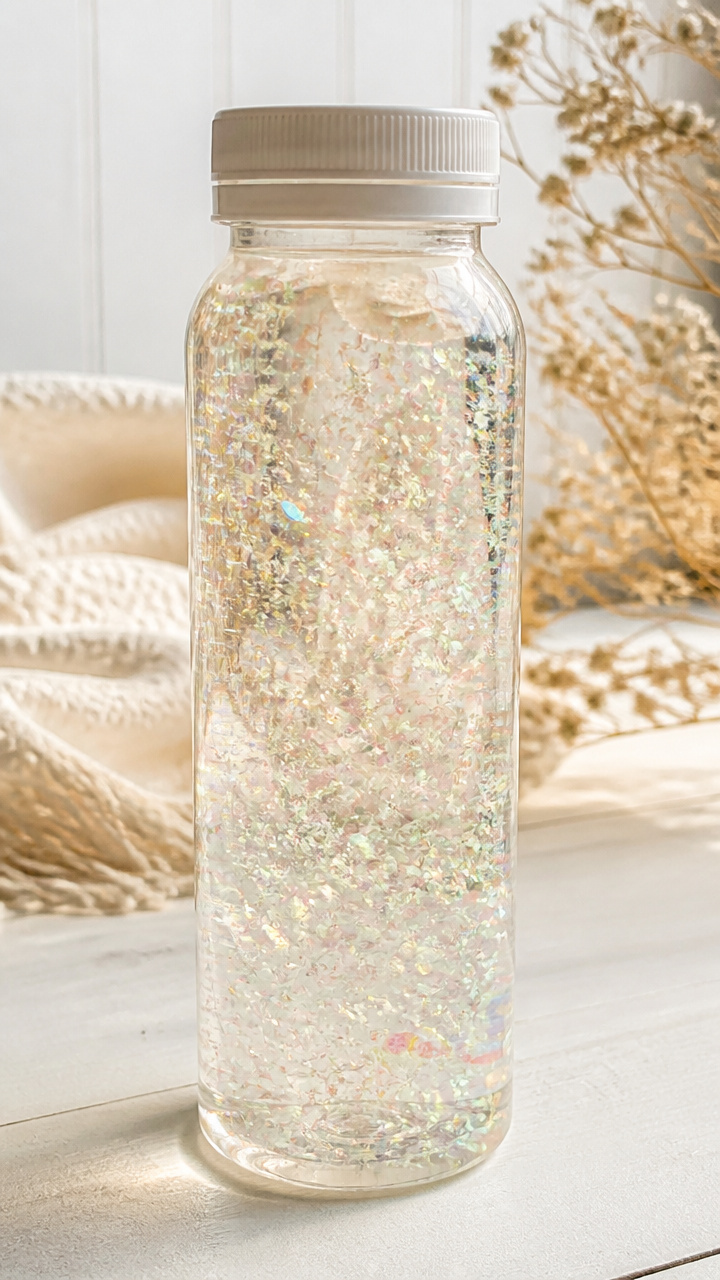
Swirling glitter in a sealed bottle helps kids pause and breathe, turning excitement into quiet focus.
Materials Needed
- 6 clear plastic bottles with screw tops, 8 oz
- Warm water, 6 cups
- Clear school glue, 3/4 cup
- Fine iridescent glitter, 3 tablespoons
- Funnel
- Permanent marker
How to Make It
- Use the funnel to pour warm water into each bottle, filling 3/4 full.
- Add 1 tablespoon of glue and 1/2 teaspoon of glitter to each bottle.
- Screw the cap on tight and shake well for 30 seconds until mixed.
- Label each bottle with a name or number using the permanent marker.
- Turn upside down and watch the glitter swirl slowly like snowfall when shaken.
Grab a pair of scissors, pull out the glue, and let the making begin. These projects are meant to be joyful, not perfect — so laugh through the mess and cherish the moments.