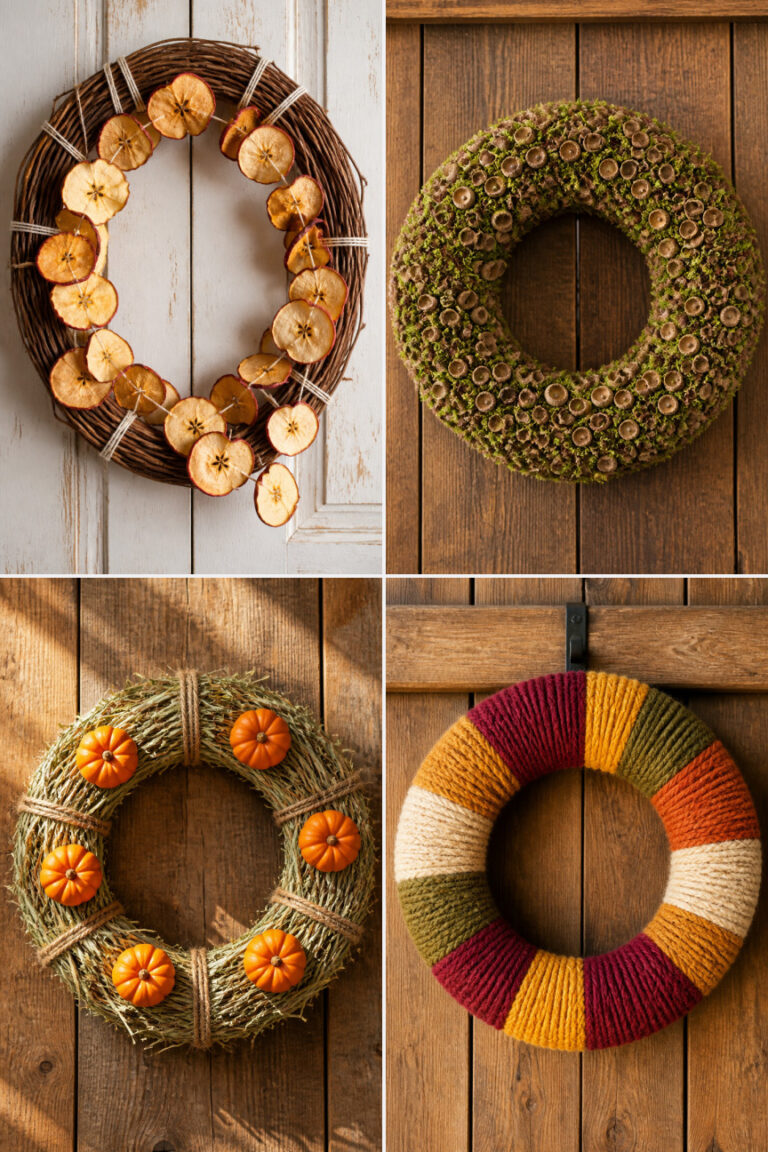
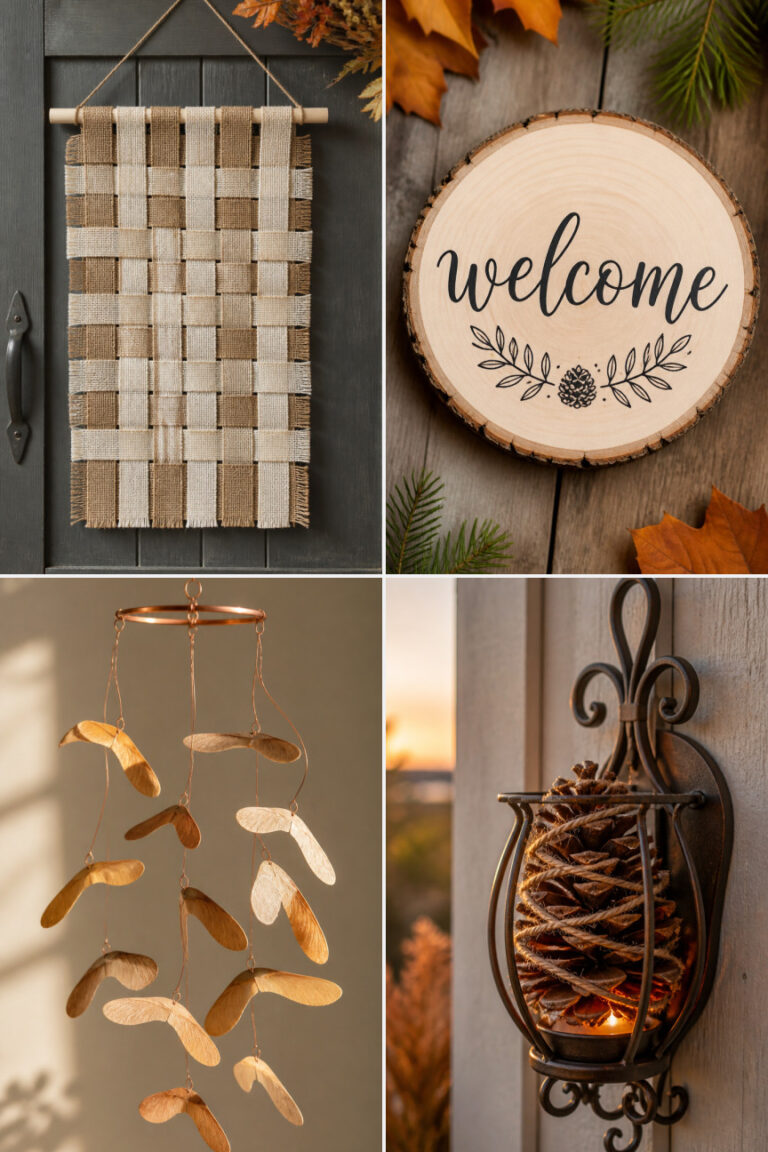
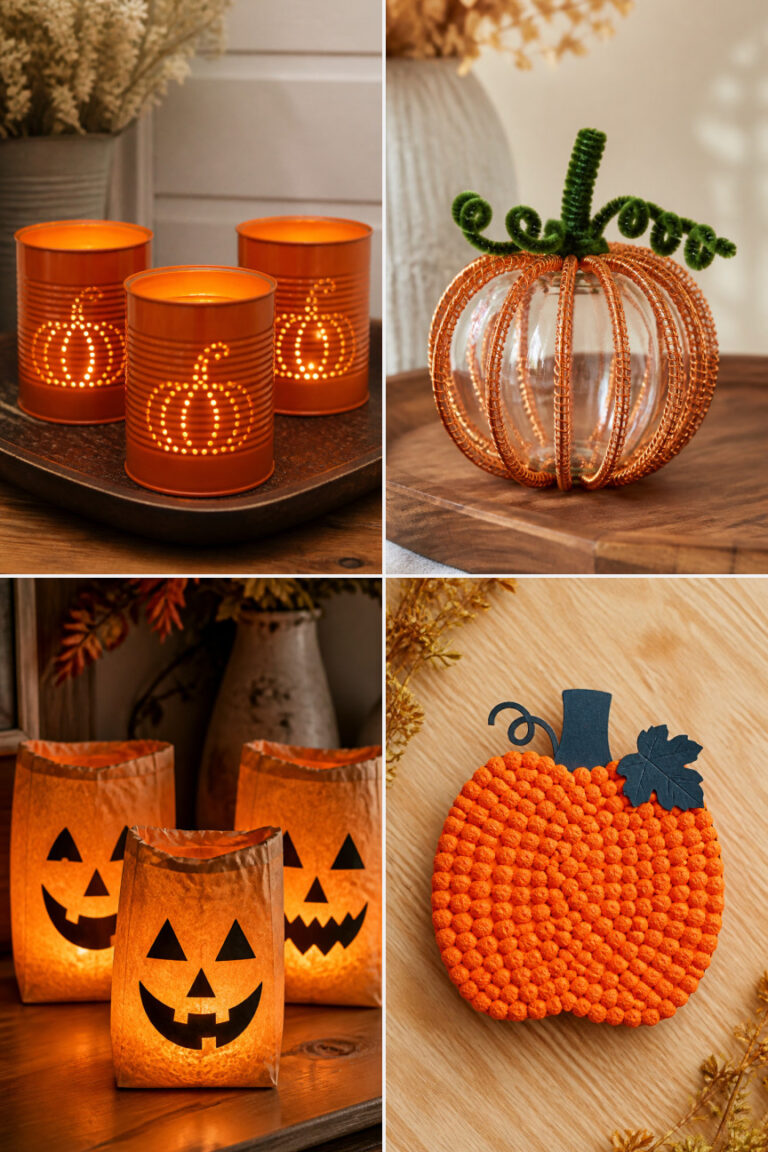
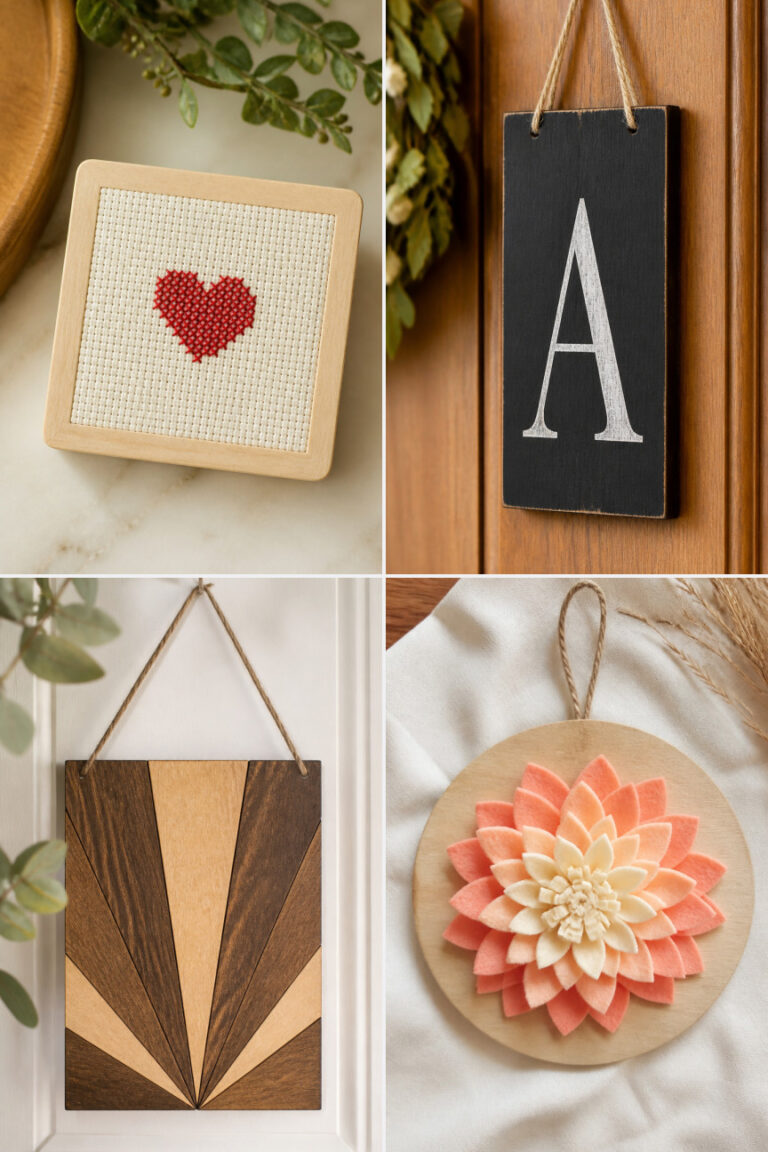
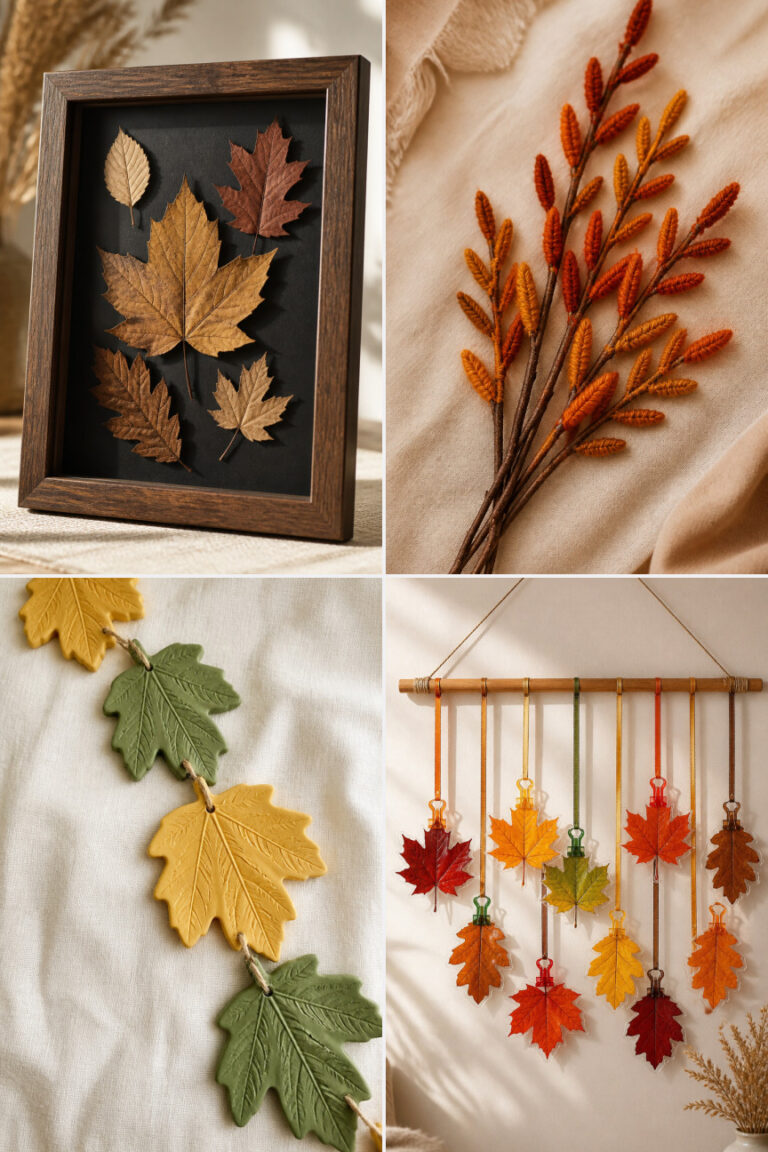
15 Farmhouse Fall Wreath Ideas

The air turns crisp and the light softens, bringing a quiet charm to your porch or kitchen wall. A handmade wreath adds warmth and welcome, stitching together the season with textures you choose and colors that feel like home.
Each of these wreaths is built for real hands and real homes. You don’t need a studio or fancy tools, just a few honest materials and a little time.
1. Burlap Ribbon Grapevine Wreath
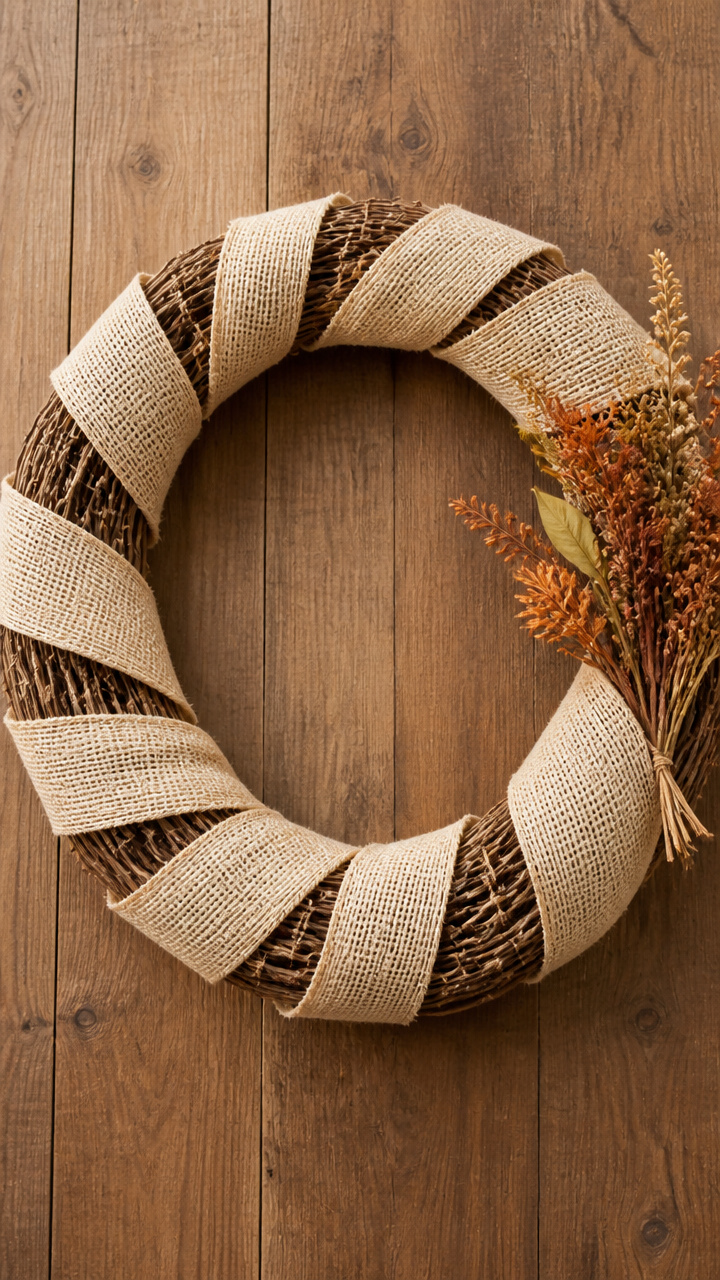
Soft burlap strips wrapped around a natural grapevine base create a textured, breathable fall piece that ages beautifully over seasons. The loose weave catches light and shadow like old linen at a windowsill.
Materials Needed
- 18-inch plain grapevine wreath base
- 3 rolls 4-inch-wide natural burlap ribbon
- Scissors
- Hot glue gun
- 4-inch lengths of floral wire (6 pieces)
How to Make It
- Cut the burlap ribbon into 12-inch strips, totaling 36 pieces.
- Fold each strip in half and loop it through the grapevine using the folded end, then pull the tails through the loop to secure like a lark’s head knot.
- Space each knot about 1 inch apart, working in rows from the outer edge inward until the entire front and sides are covered.
- Use a dab of hot glue on the back of each knot if needed for extra hold, and tuck stray ends under neighboring folds.


2. Dried Corn Husk Wreath
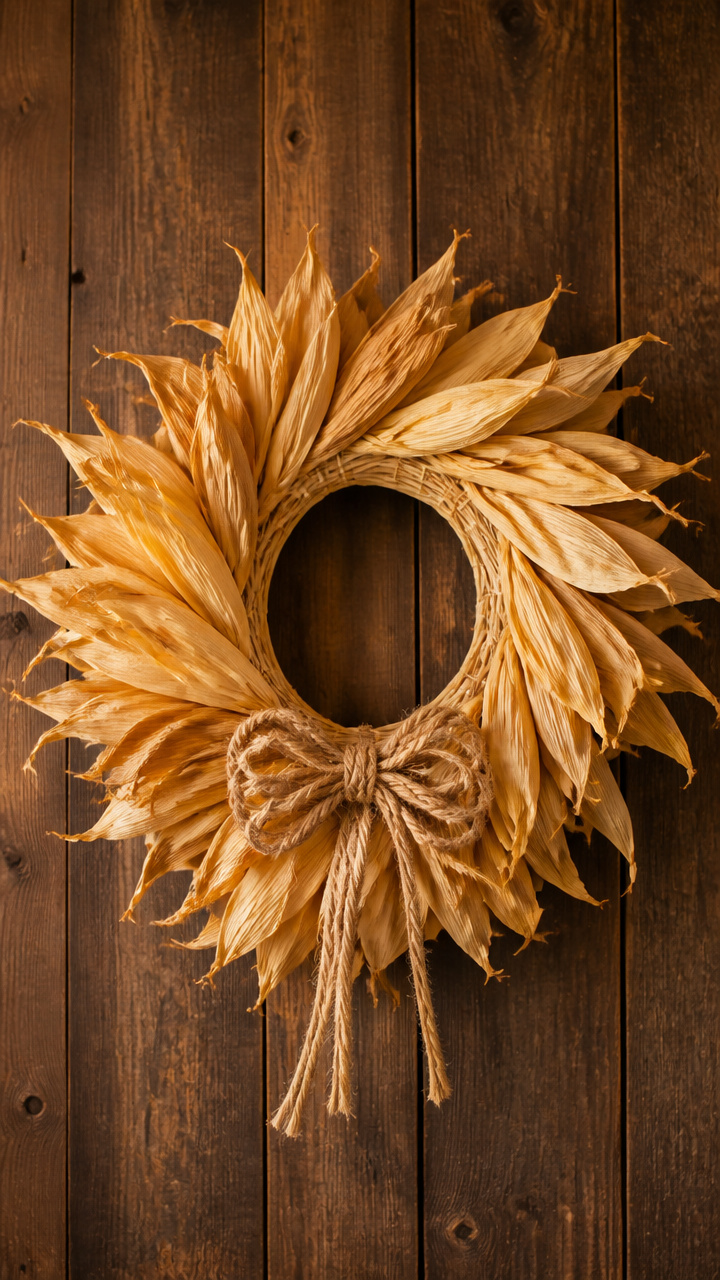
Golden corn husks layered over a straw ring echo harvest fields and country kitchens. Their papery texture holds color without fading fast and feels light as breath on glass.
Materials Needed
- 14-inch straw wreath base
- 20 dried corn husks
- Utility knife
- Hot glue gun
- Tan cotton twine (1 yard)
How to Make It
- Soak the corn husks in warm water for 15 minutes to make them pliable.
- Pat dry and cut each husk into three vertical strips using the utility knife.
- Starting at the bottom edge of the wreath, glue the narrow end of one strip to the back of the straw base and wrap it tightly around the form.
- Overlap each new strip over the previous one by half, gluing every 2 inches, until the entire wreath is covered; tie twine in a bow at the bottom.


3. Mini Pumpkin Vine Wreath
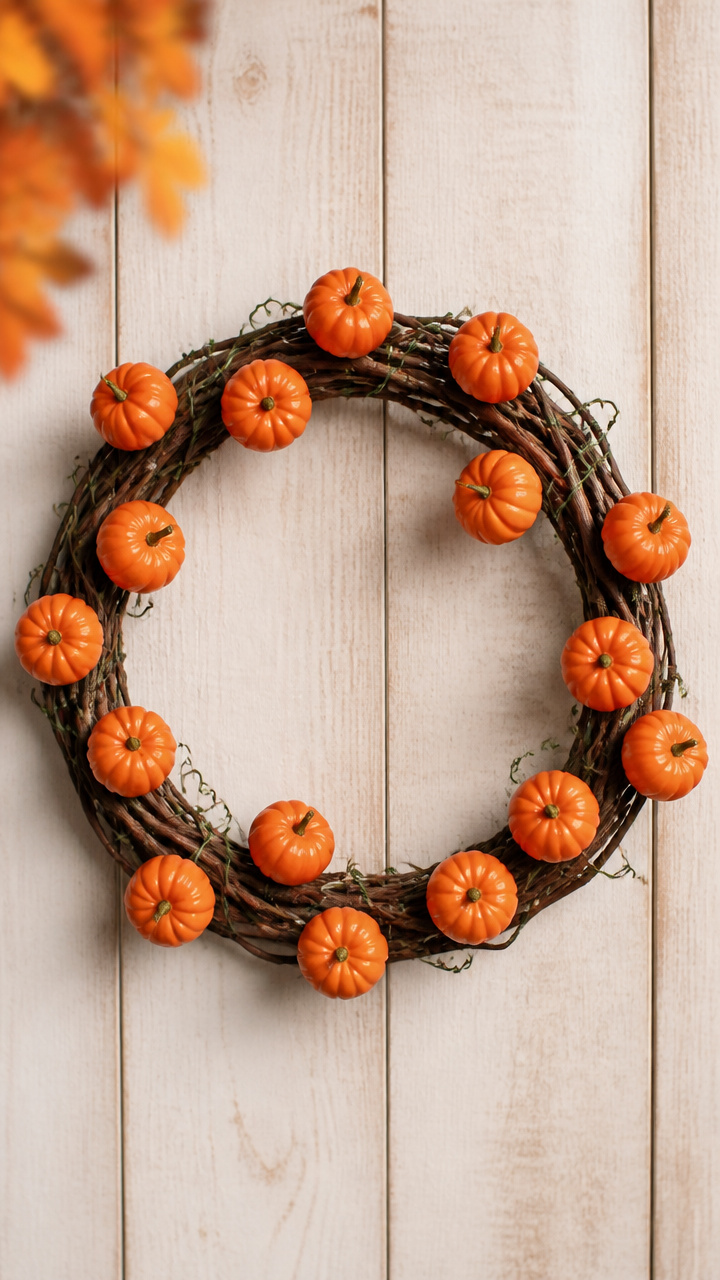
Tiny faux pumpkins nestled in flexible vine stems give the look of a climbing plant caught mid-grow. This wreath feels alive, like something peeking through a garden fence.
Materials Needed
- 12-inch flexible willow vine wreath frame
- 18 miniature orange foam pumpkins (1.5-inch diameter)
- Wire cutters
- 22-gauge green floral wire
- Floral snips
How to Make It
- Cut 9 lengths of floral wire, each 6 inches long.
- Poke two small holes in the top and bottom of each pumpkin using the wire cutters.
- Thread a wire piece through each pumpkin to form a U-shape anchor, then twist the ends around the vine frame to attach.
- Space the pumpkins evenly along the outer and inner edges of the vine, bending vines slightly to cradle each one.


4. Chalk-Painted Twig Wreath
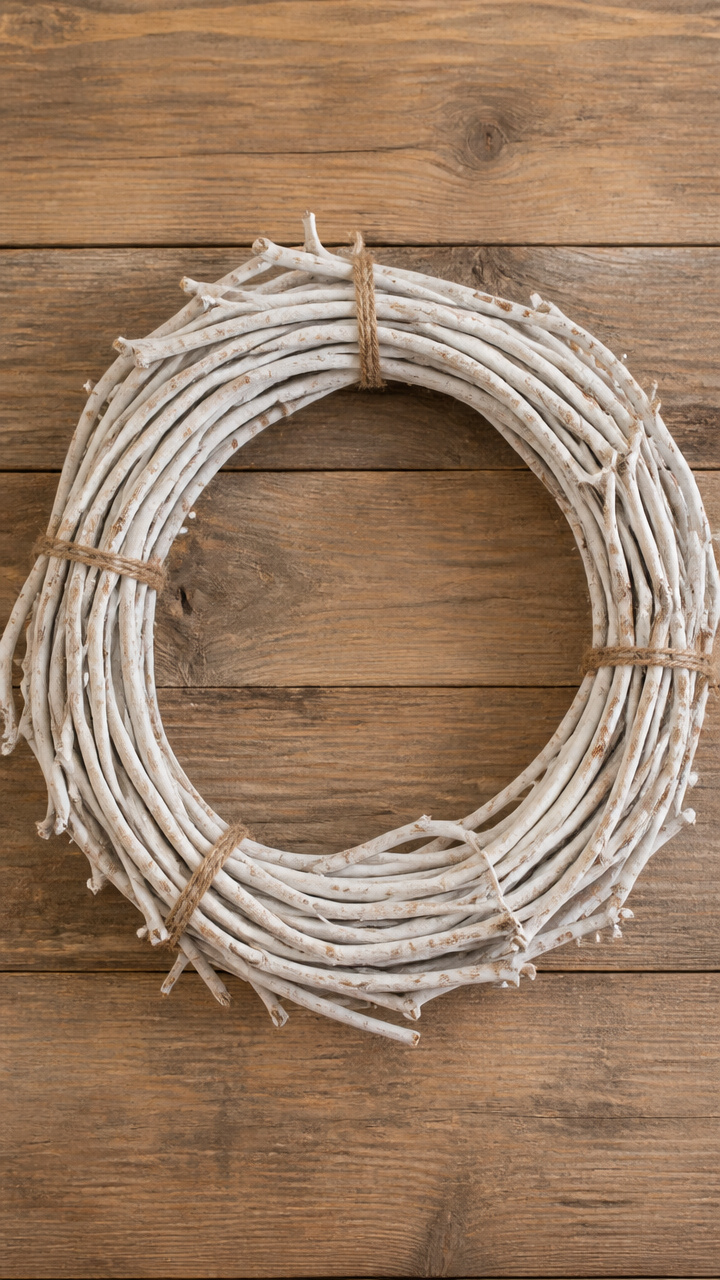
Twigs gathered from your yard get a wash of chalky white paint and become a rustic halo with quiet elegance. It's simple but never plain, like an old cupboard painted by hand.
Materials Needed
- 25 clean birch or maple twigs (6–8 inches long, pencil thickness)
- 12-inch metal wreath frame with double rings
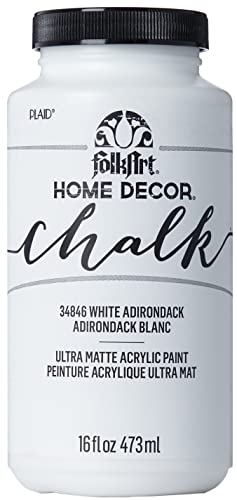
- White chalk paint (4 oz)
- Small paintbrush
- Jute string (3 feet)
- Hot glue gun
How to Make It
- Lay the twigs flat and brush each with a thin coat of chalk paint, covering completely; let dry for 30 minutes.
- Arrange five twigs evenly around the outer ring of the frame and secure each end with a dot of hot glue.
- Repeat on the inner ring with another five, offsetting the gaps from the outer layer.
- Weave remaining twigs between the fixed ones, tying intersections with jute string knotted at the back.


5. Plaid Fabric Scrap Wreath
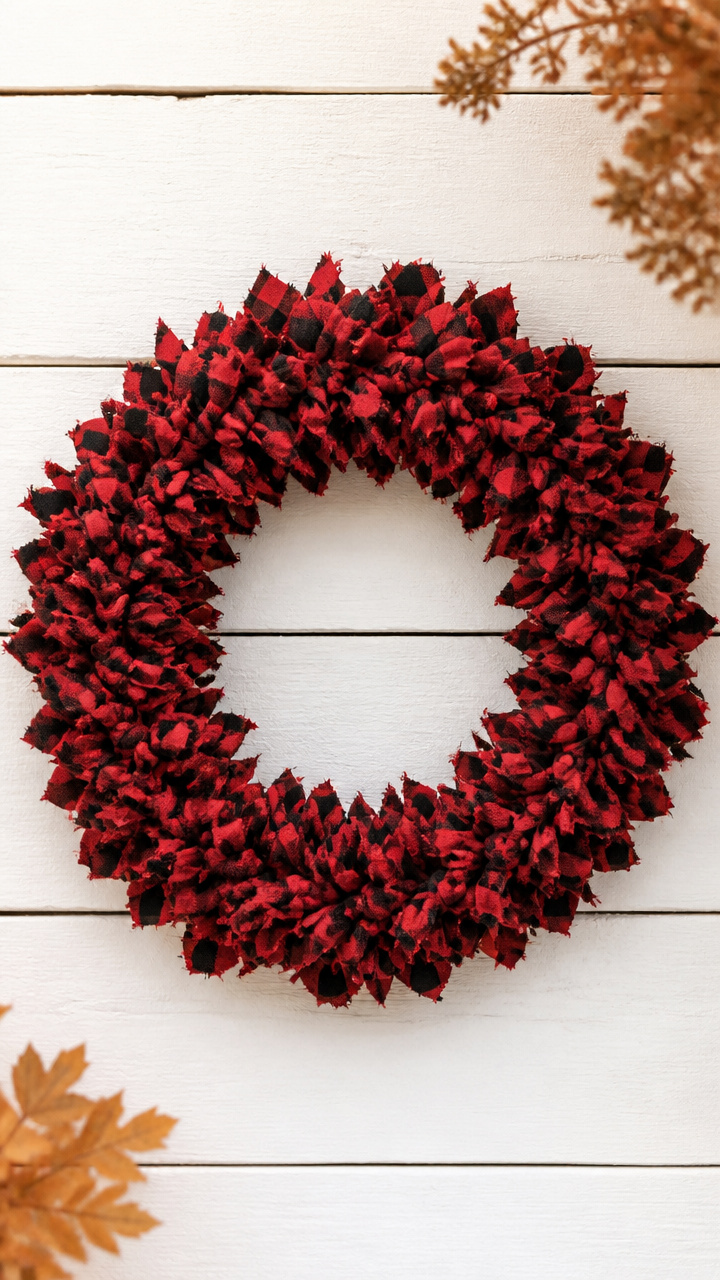
Scraps of worn flannel shirts or quilting cotton tied in plaids bring cozy cabin energy to your door. Each knot carries memory, like laundry on a line in October.
Materials Needed
- 16-inch polystyrene wreath form
- 1.5 yards red-and-black plaid cotton fabric
- Scissors
- Ruler
- Straight pins
How to Make It
- Cut the fabric into 24 strips, each 1 inch wide and 10 inches long.
- Take one strip, fold it in half, and loop it around the wreath form, pulling the ends through the loop to knot securely.
- Place knots 0.75 inches apart all around the form, alternating directions slightly for fullness.
- Use straight pins to secure any loose ends underneath and trim stray threads.


6. Pressed Oak Leaf Wreath
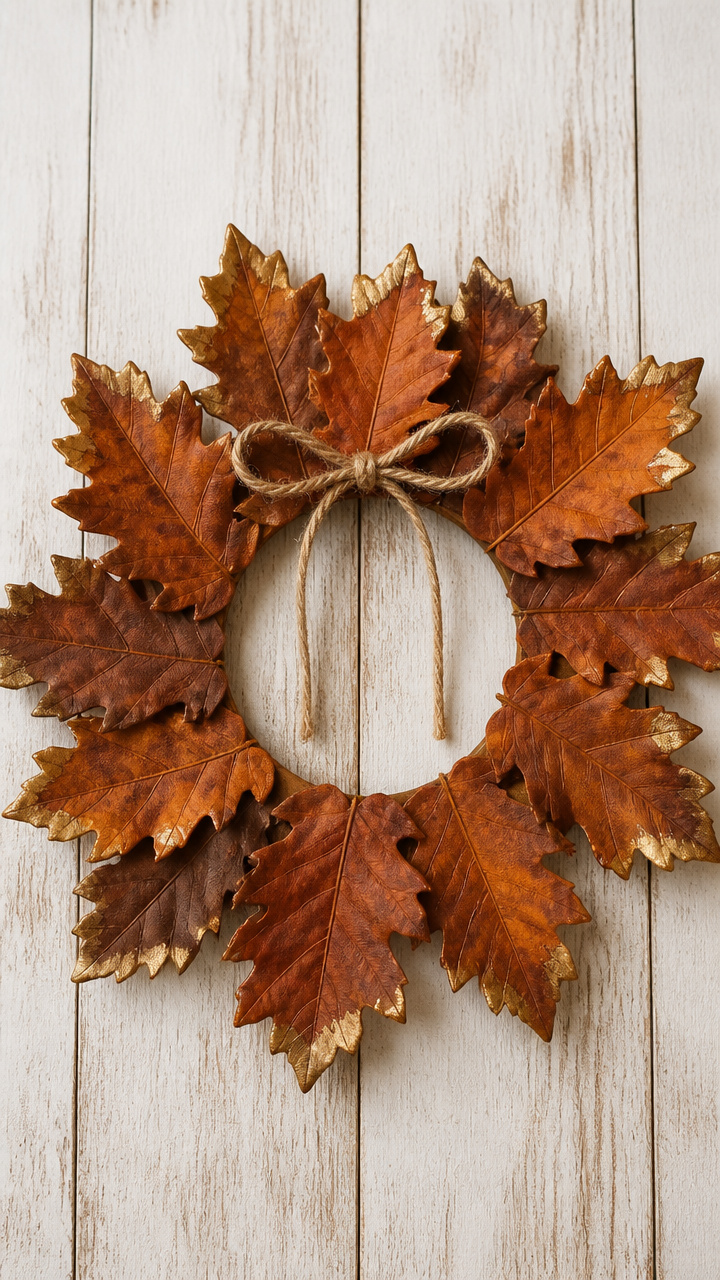
Real oak leaves flattened and sealed keep their deep lobes and rich tones without crumbling. They catch the low sun like stained glass in a barn window.
Materials Needed
- 12 pressed oak leaves
- 10-inch foam wreath base
- Mod Podge matte finish (2 oz)
- Small foam brush
- Gold-tipped fine-tip paint pen
- Twine (6 inches)
How to Make It
- Brush a thin layer of Mod Podge on the back of each leaf and press gently onto the foam base, spacing evenly.
- Let dry for 20 minutes, then seal the front with another coat of Mod Podge; cure for 2 hours.
- Use the gold paint pen to trace one vein on each leaf, adding subtle shine.
- Tie twine into a small loop and glue to the back for hanging.

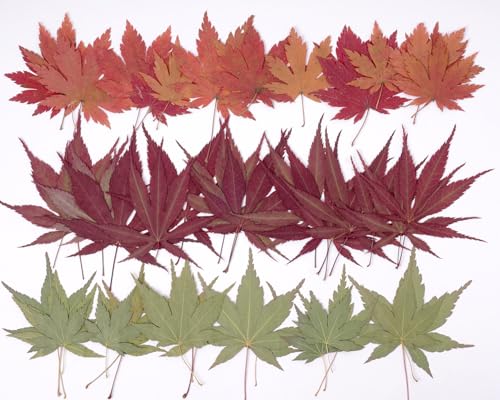

7. Copper Wire Grapevine Accent
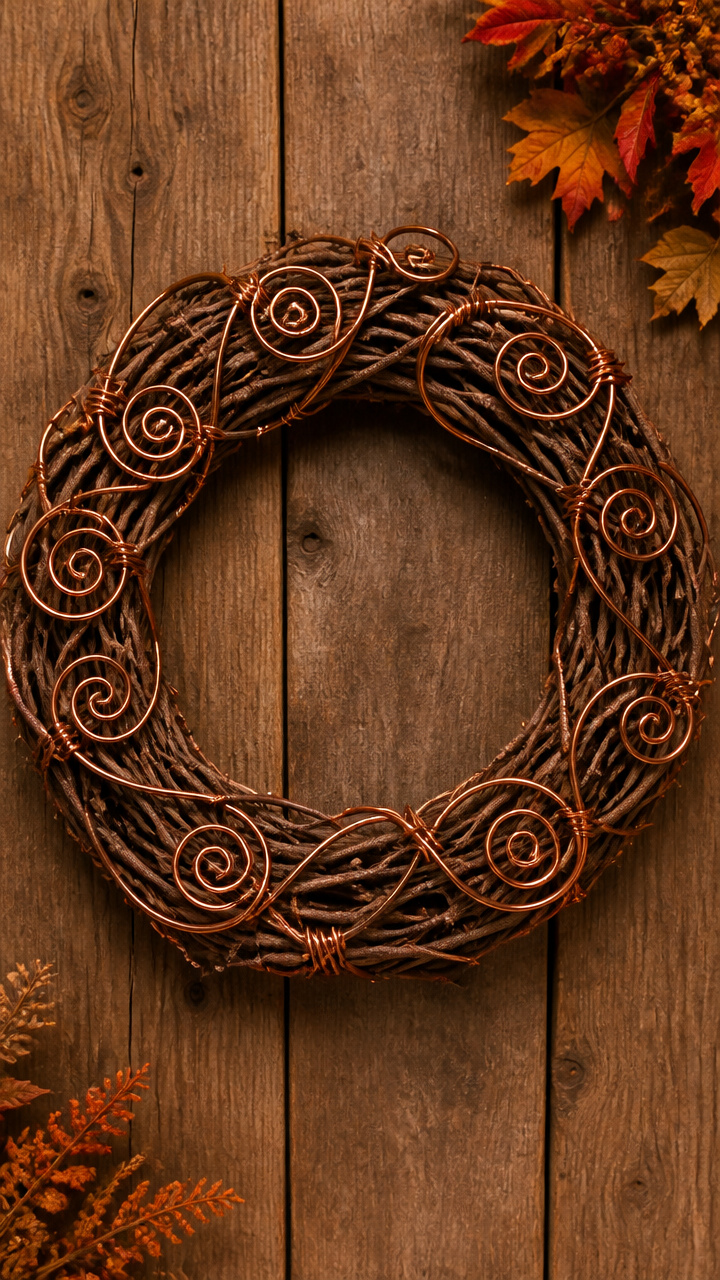
Thin copper wire spirals through a grapevine ring, catching light and adding warmth like embers in a stove. It’s subtle but never dull.
Materials Needed
- 14-inch natural grapevine wreath
- 20 feet 20-gauge copper wire
- Wire cutters
- Round-nose pliers
- Work gloves
How to Make It
- Use the round-nose pliers to curl one end of the wire into a tight spiral.
- Weave the wire through the grapevine randomly, looping it around thick branches every 3 inches to hold.
- Create four larger spirals along the outer edge using the pliers, spacing them evenly.
- Trim the end with wire cutters and tuck it under a vine; wear gloves to avoid finger marks on copper.


8. Faux Berry Sprig Wreath
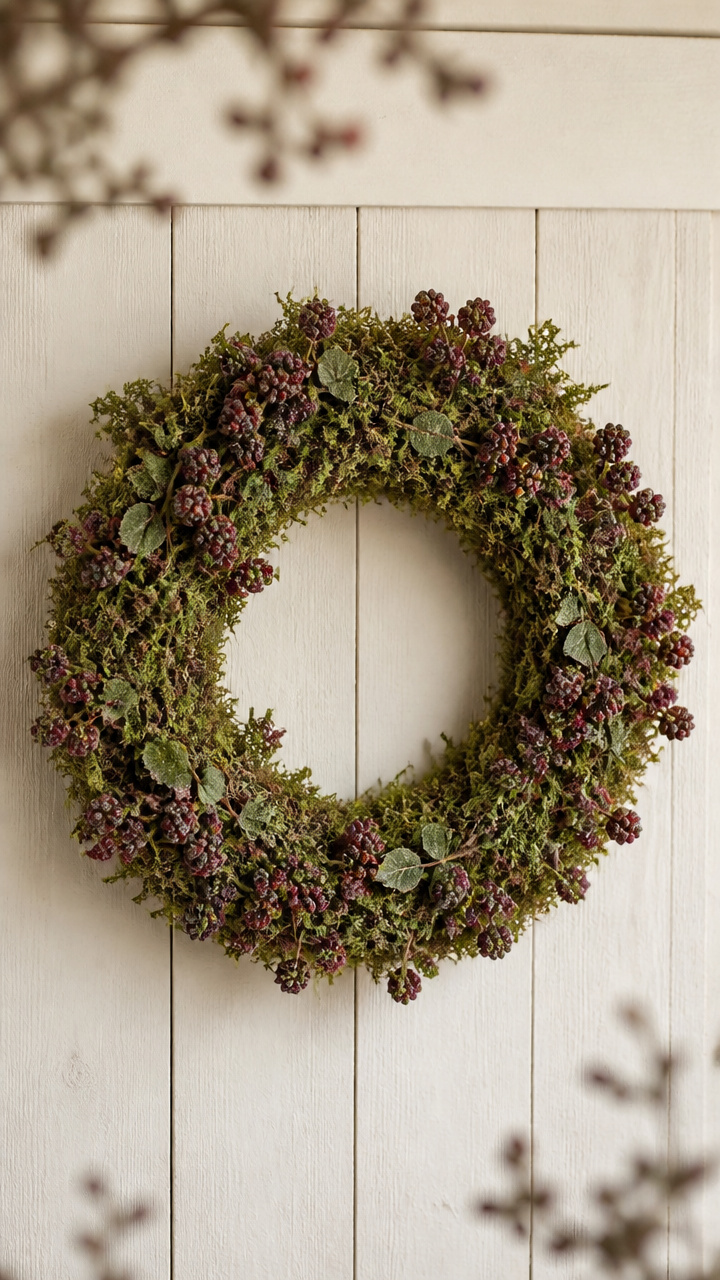
Deep burgundy berry clusters tucked into a moss base mimic wild brambles after frost. They add color without overwhelming, like berries on a windowsill jar.
Materials Needed
- 12-inch preserved moss wreath base
- 10 faux blackberry sprigs (6 inches long)
- Floral wire (18 gauge, 1 foot)
- Floral snips
- Green pipe cleaners (4)
How to Make It
- Cut each sprig from its stem using floral snips, leaving a 1-inch plastic base.
- Wrap floral wire around the base of each sprig and twist tightly to secure to the moss ring.
- Angle the sprigs outward and space them evenly around the top half of the wreath.
- Weave pipe cleaners through gaps in the moss and twist around the back to reinforce shape.


9. Linen Napkin Folded Wreath
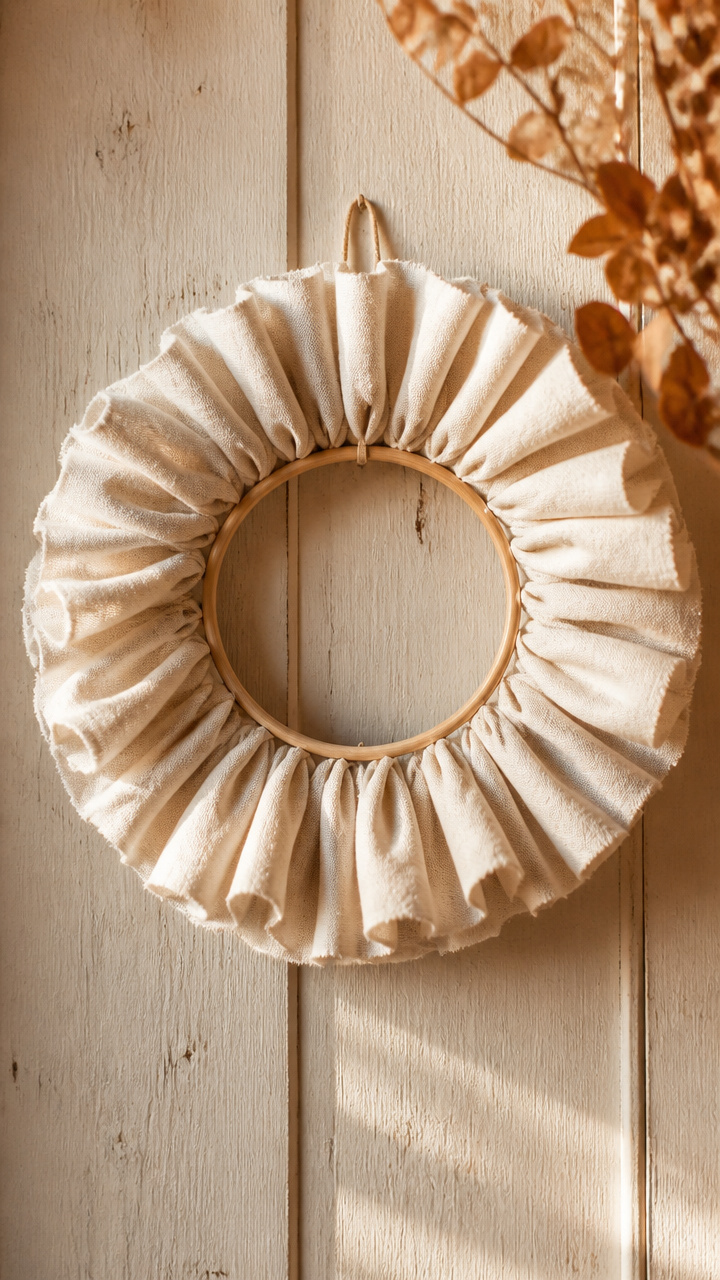
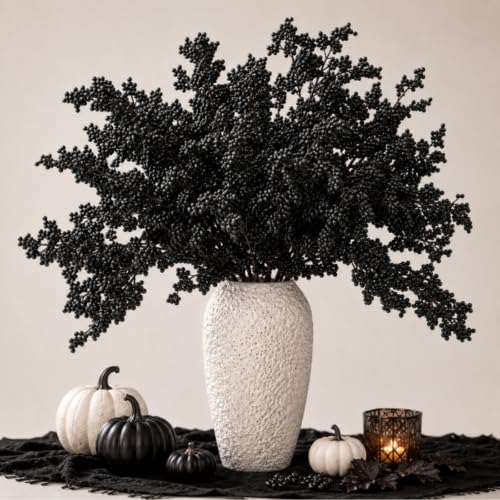
Vintage-style linen napkins folded into fans and wired in a circle give soft volume and heirloom charm. They flutter slightly in a draft, like pages turning.
Materials Needed
- 4 white vintage-style linen napkins (12×12 inches)
- 10-inch embroidery hoop
- Fabric scissors
- Clothespins (8)
- Brown thread (1 yard)
How to Make It
- Fold each napkin diagonally into a triangle, then accordion-fold from the long edge into 1.5-inch pleats.
- Pinch the center of each fan and tie tightly with thread to secure.
- Open the embroidery hoop and lay one fan inside, securing it between the inner and outer rings at the top.
- Add the remaining fans clockwise, overlapping slightly and using clothespins to hold until closed tight.


10. Wheat Stem Bundle Wreath
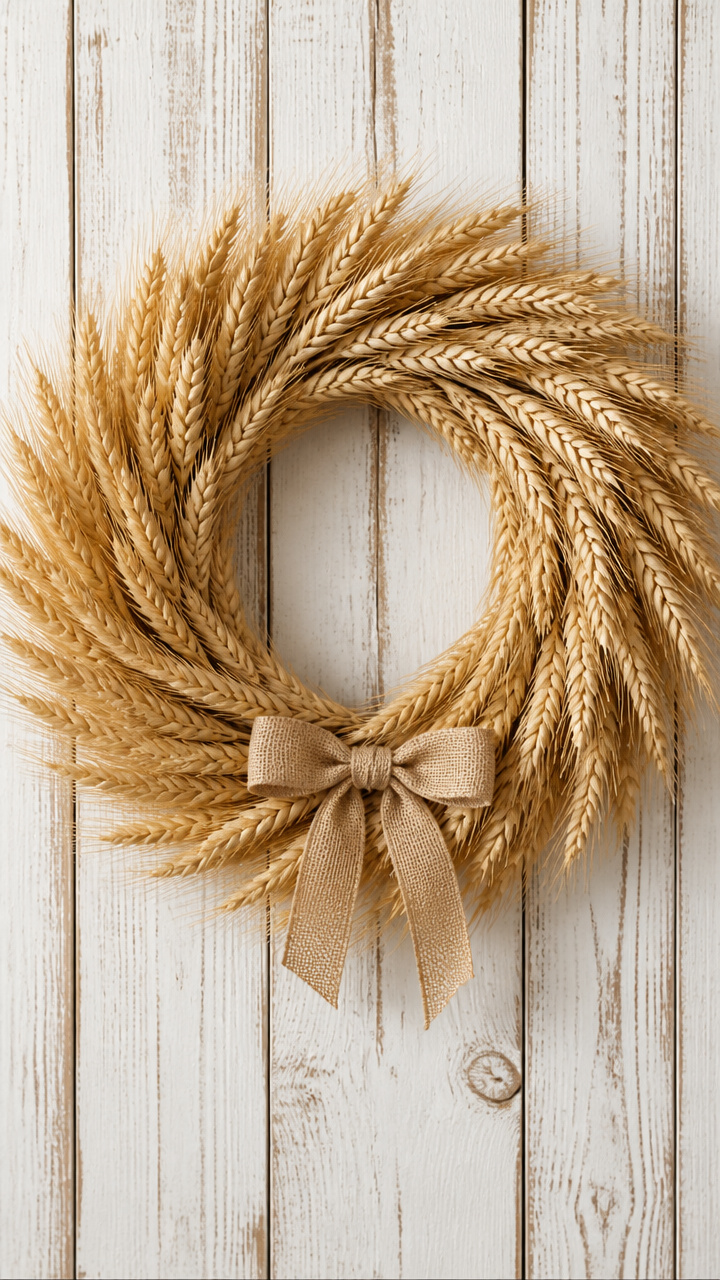
Natural wheat stalks bound in small bundles radiate from a central ring like sun rays at dawn. They smell faintly earthy and sway with grace.
Materials Needed
- 18 natural wheat stems
- 6-inch metal ring (from hardware store)
- Jute string (2 feet)
- Scissors
- Floral tape (green)
How to Make It
- Divide the wheat stems into six groups of three.
- Wrap jute string around the base of each bundle, 1 inch from the bottom, and knot securely.
- Attach each bundle to the metal ring by twisting the jute around the ring and tying at the back.
- Wrap floral tape over each knot to hide string and blend with stems.


11. Chalkboard Paint Frame Wreath
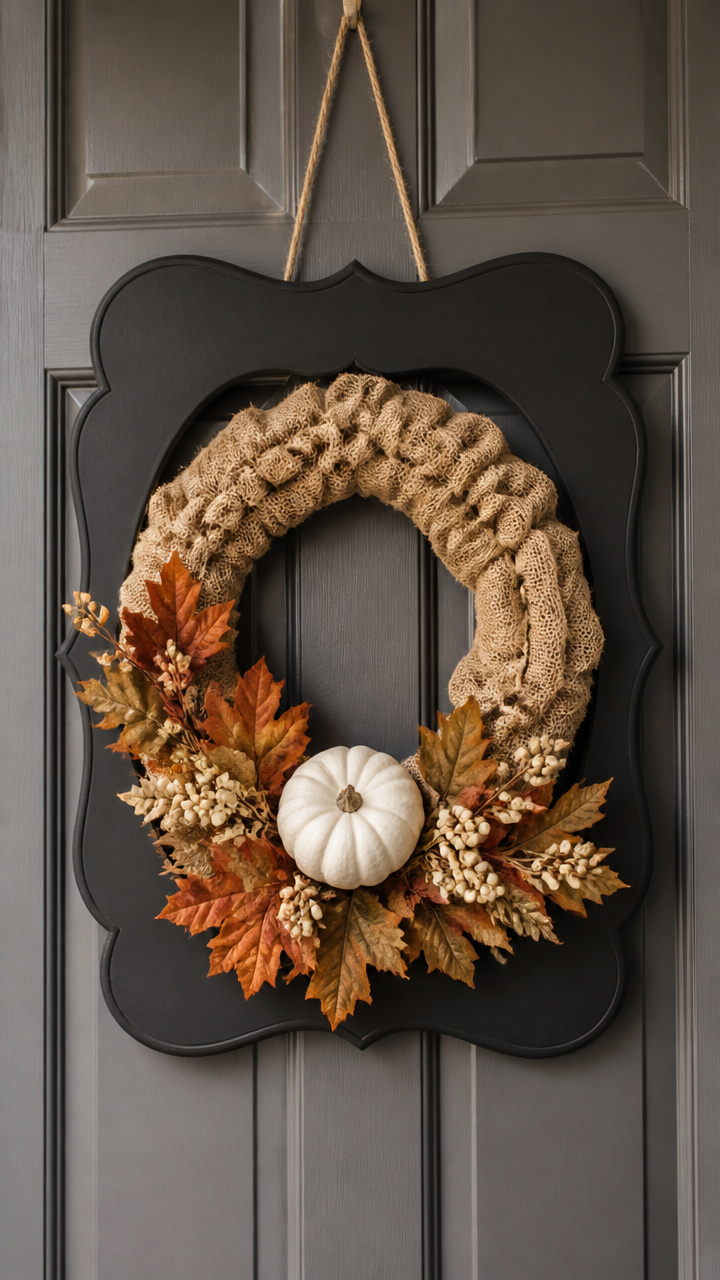
A wooden embroidery hoop painted with chalkboard paint becomes a changeable message ring perfect for seasonal notes. It’s useful and sweet, like a note on the fridge.
Materials Needed
- 8-inch wooden embroidery hoop
- Black chalkboard paint (2 oz)
- Foam brush
- Chalk stick (white)
- Ribbon (18 inches, burlap)
- Sandpaper (220 grit)
How to Make It
- Lightly sand the front face of the outer hoop ring and wipe clean.
- Apply one even coat of chalkboard paint with the foam brush; let dry 1 hour.
- Write “Hello Autumn” or a short phrase with the chalk stick.
- Tie the burlap ribbon to the bottom of the hoop in a bow for hanging.


12. Cinnamon Stick Circle Wreath
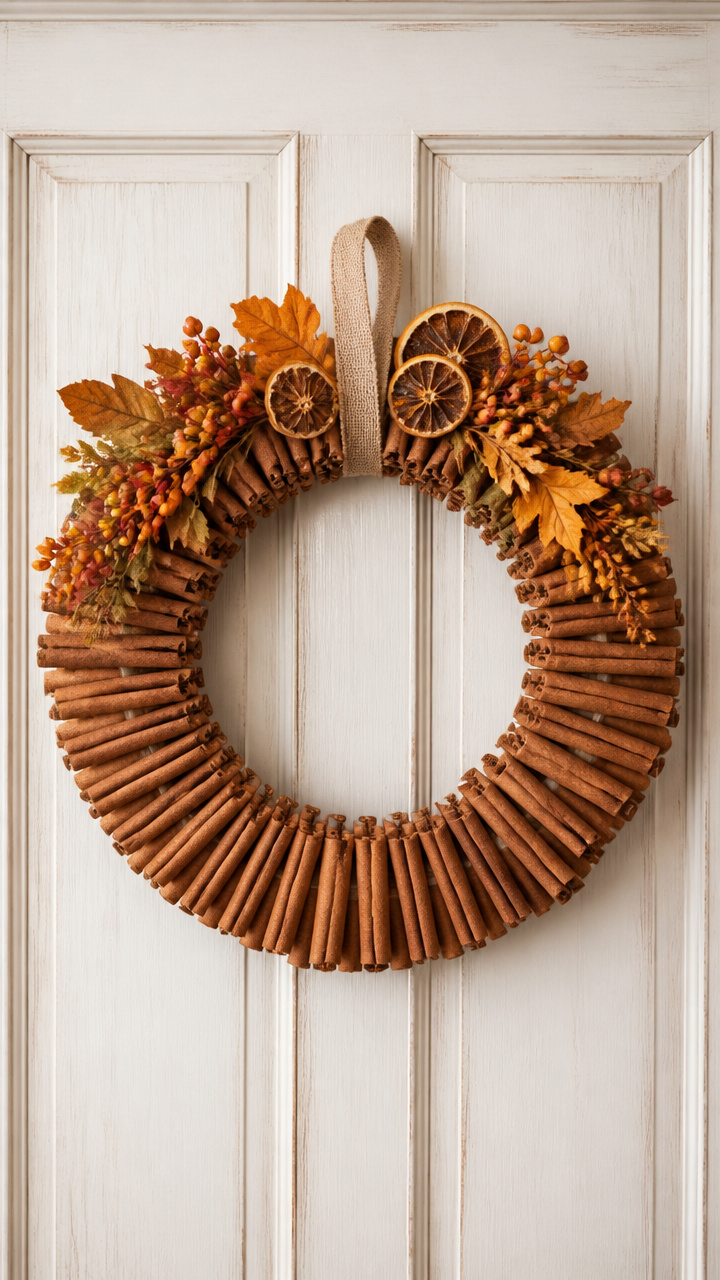
Whole cinnamon sticks glued in a tight ring release a gentle spice scent and rich brown tone. It smells like apples baking and feels substantial in your hand.
Materials Needed
- 24 whole cinnamon sticks (3 inches long)
- 10-inch foam wreath base
- Hot glue gun
- Aluminum foil
- Ruler
How to Make It
- Lay the foam base on foil to protect surfaces.
- Apply a dime-sized dollop of hot glue to the flat side of one cinnamon stick and press it vertically onto the outer edge of the foam.
- Place the next stick flush against the first, continuing around the outer rim until full.
- Repeat on the inner rim, then fill the center row with shortened sticks cut to fit with scissors.


13. Slate Tile Mini Wreath
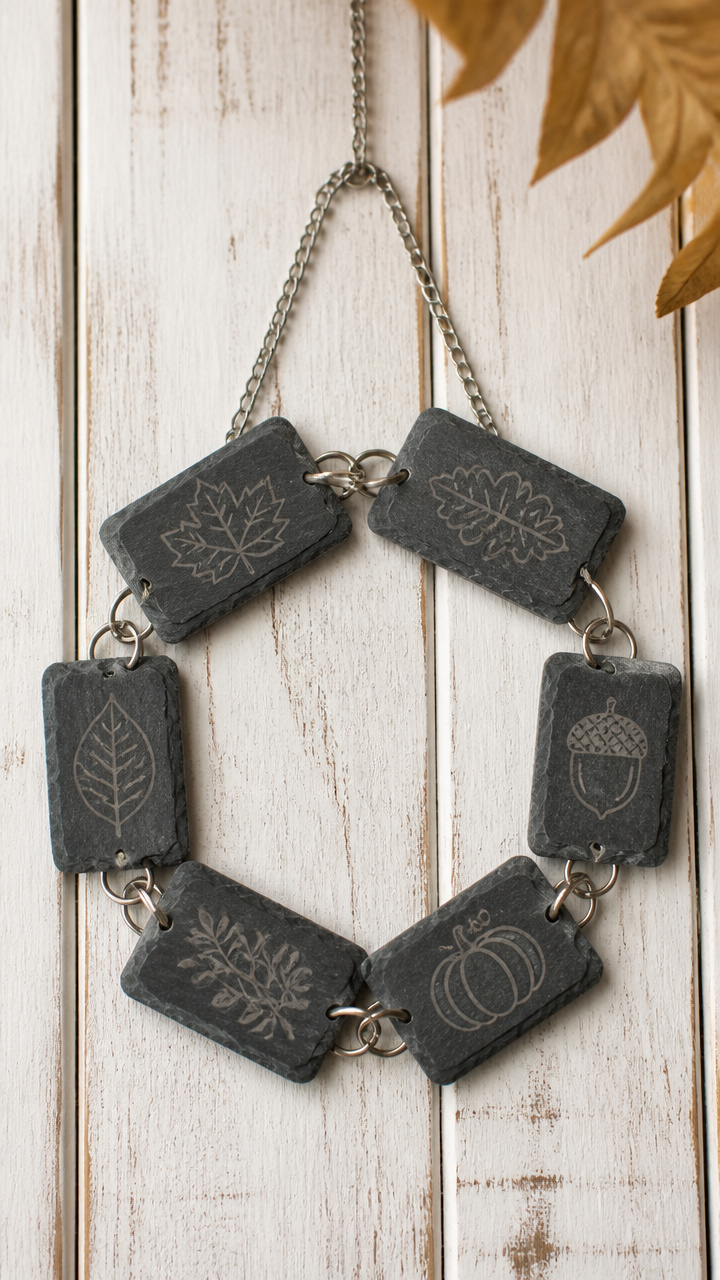
Small slate tiles strung on wire with engraved fall words make a cool, lasting accent for covered porches. Their weight gives them dignity, like old stone signs.
Materials Needed
- 6 slate tiles (2×1 inch, pre-drilled)
- Stainless steel jump rings (6, 1/2 inch)
- Silver chain (12 inches)
- Letter stamp set (small block font)
- Hammer
How to Make It
- Place one tile on a hard surface and align a stamp for one word: “Fall”, “Harvest”, etc.
- Tap the stamp firmly with the hammer to imprint each tile; repeat for all six.
- Open each jump ring with pliers and thread through a tile hole and a link of chain.
- Close the jump ring and space tiles evenly along the chain, forming a circle when joined.
14. Knitted Yarn Wrapped Wreath
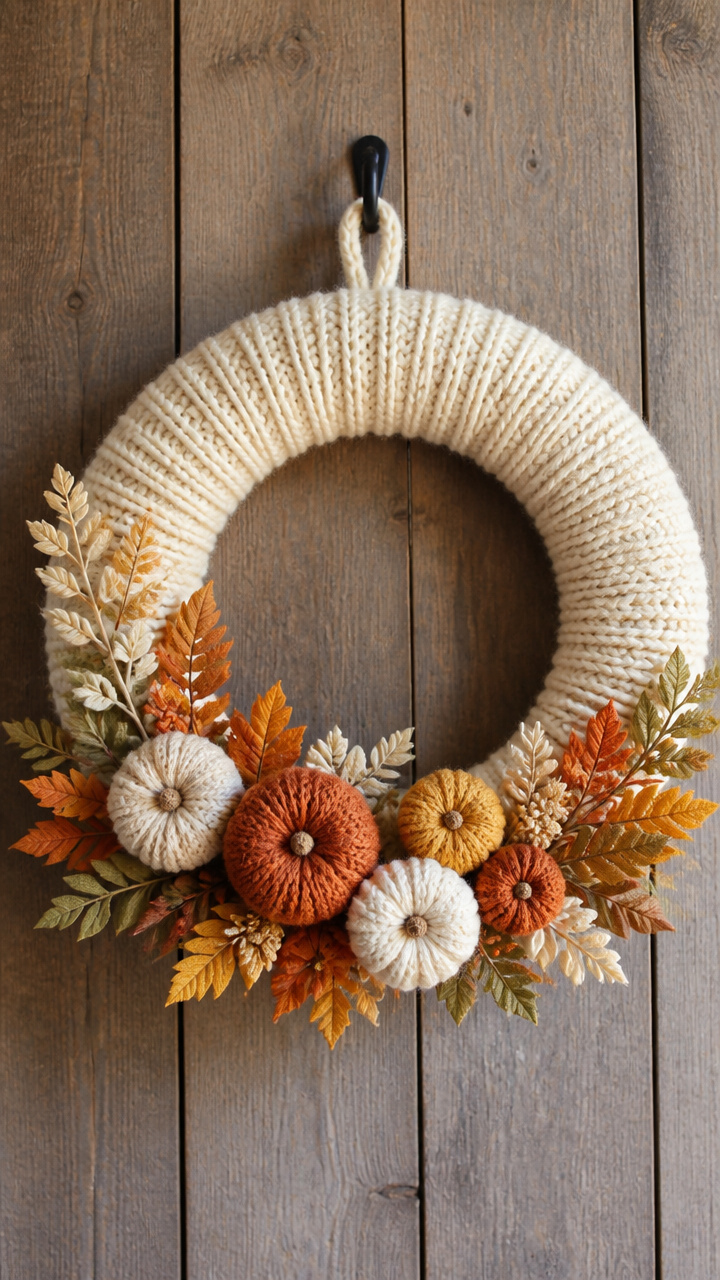
Chunky oatmeal-colored yarn wound tightly around a foam ring feels soft and inviting, like a sweater fresh from the closet. It casts no shadow but holds warmth.
Materials Needed
- 12-inch pink foam wreath base
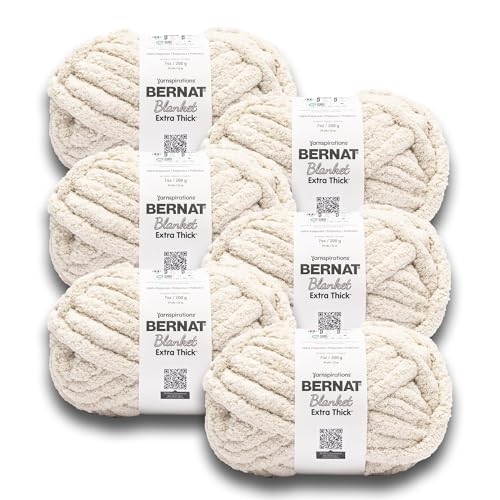
- Oatmeal bulky knitting yarn (150 yards)
- Scissors
- Hairpin clip
How to Make It
- Tie the yarn end to the top of the foam base with a double knot.
- Wrap the yarn snugly around the ring, moving downward in a spiral with no gaps.
- Secure every 6 inches with a tiny dot of hot glue if needed to prevent slipping.
- When complete, cut the end and tie it to the starting knot; use the hairpin clip to hold tassels if desired.


15. Vintage Book Page Wreath
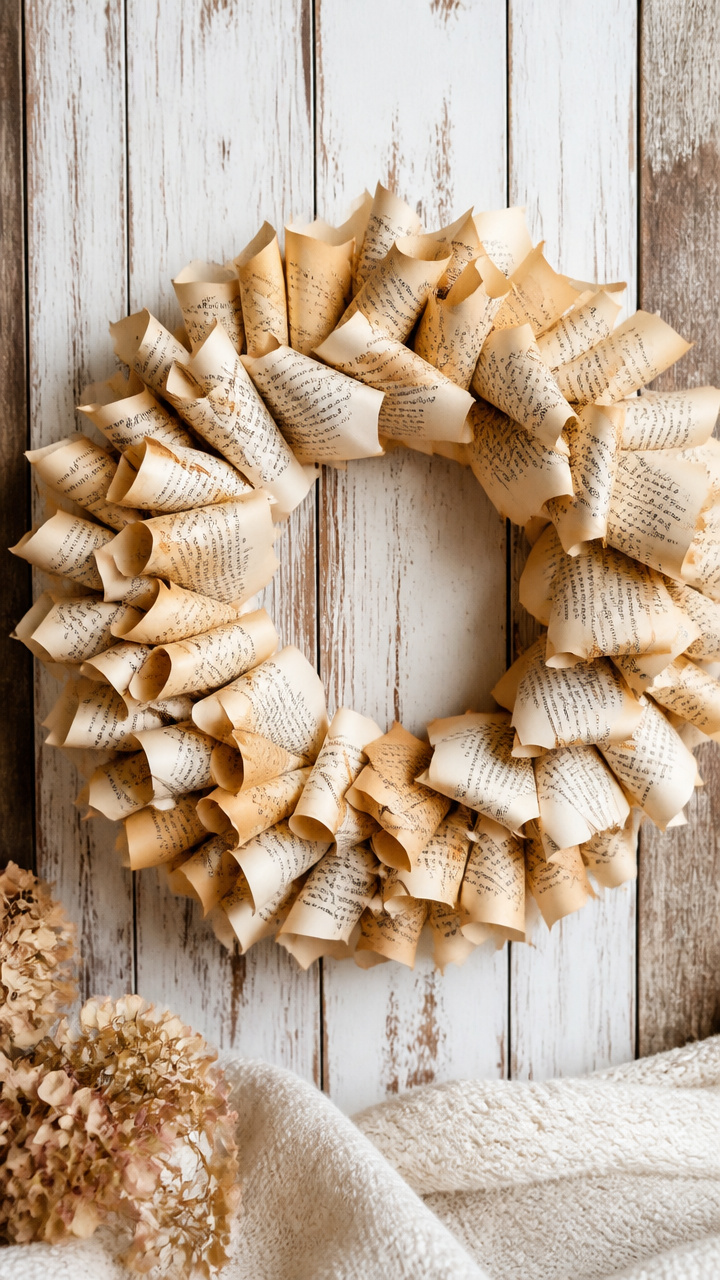
Pages from an old novel twisted into scrolls and glued to a base create a literary fall accent with soft curls and yellowed edges. It whispers stories with every turn.
Materials Needed
- 10-inch Styrofoam wreath
- 15 pages from a discarded book (8.5×11 inches)
- White school glue
- Popsicle stick
- Clothesline clip
How to Make It
- Cut each page into 1-inch-wide vertical strips.
- Start at one end and roll each strip tightly around a pencil, then slide off and glue the end with school glue using the popsicle stick.
- Let coils dry for 10 minutes, then apply more glue to the flat side and press onto the foam base.
- Cover the entire form in overlapping coils, clamp with the clothesline clip while drying for 2 hours.


You’ve got everything you need right where you are. Grab a pair of scissors, open that drawer of scraps, and begin with just one knot, one leaf, one wrap.