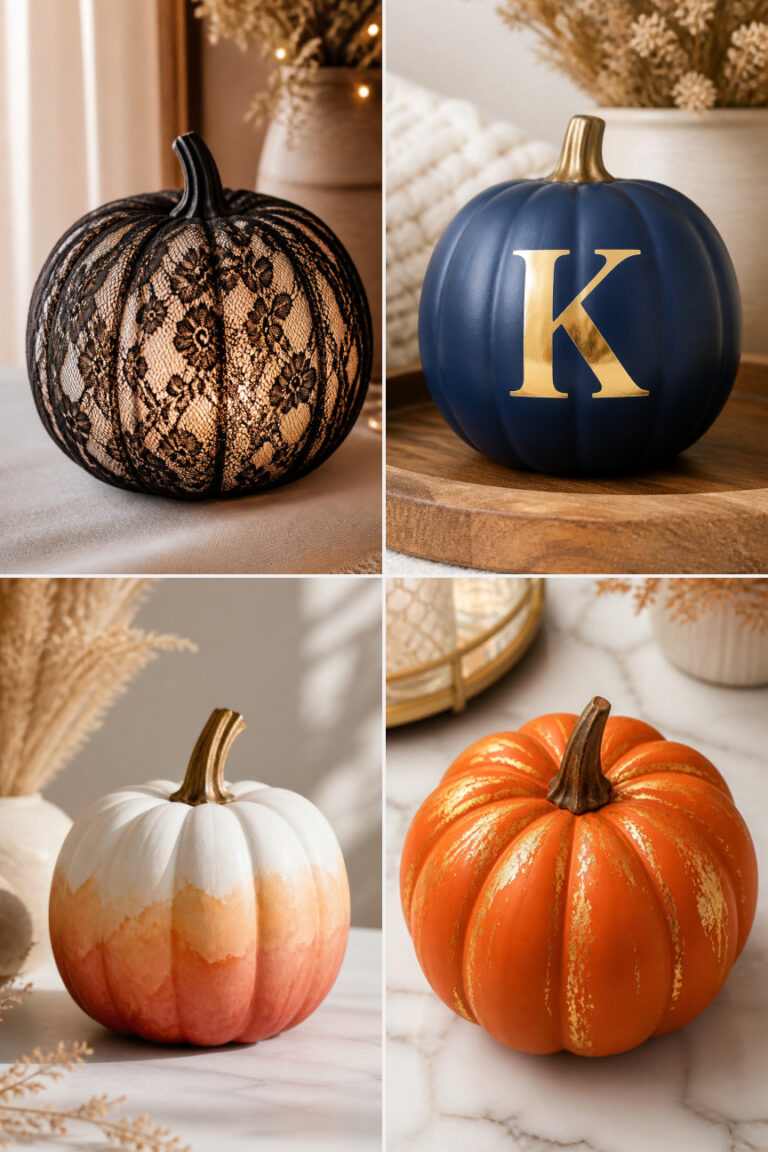
25 Dollar Store Pumpkin Crafts

Pumpkins don’t have to be carved to shine. With a few simple supplies from your local dollar store, you can create charming seasonal pieces that bring warmth to your home. These crafts use affordable, accessible materials and deliver big on personality and charm.
Each project is designed to be doable in an afternoon, using exact tools and techniques so you never guess what comes next. From cozy decor to playful gifts, these ideas celebrate fall with creativity and care.
1. Glittered Mini Pumpkins
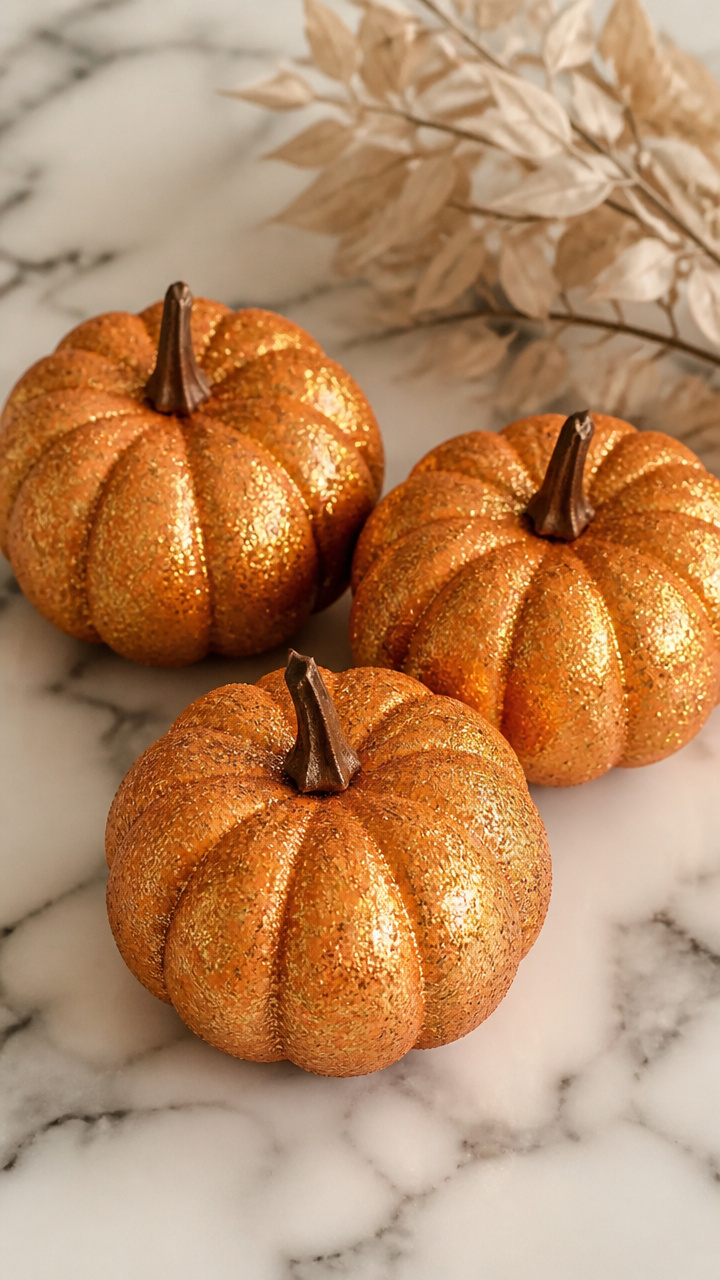
Shimmering mini pumpkins add sparkle to mantels or centerpieces. The fine glitter catches light beautifully and stays put with the right glue.
Materials Needed
- 3 foam mini pumpkins, orange
- White school glue
- Fine gold glitter
- Small plastic bowl
- Paintbrush, 1/2 inch
How to Make It
- Pour glitter into the plastic bowl. Spread it evenly across the bottom.
- Use the paintbrush to coat one foam pumpkin completely with school glue.
- Roll the glued pumpkin in the glitter until fully covered. Shake off excess.
- Set aside for 20 minutes to dry. Repeat for remaining pumpkins.


2. Twine-Wrapped Pumpkin Vase
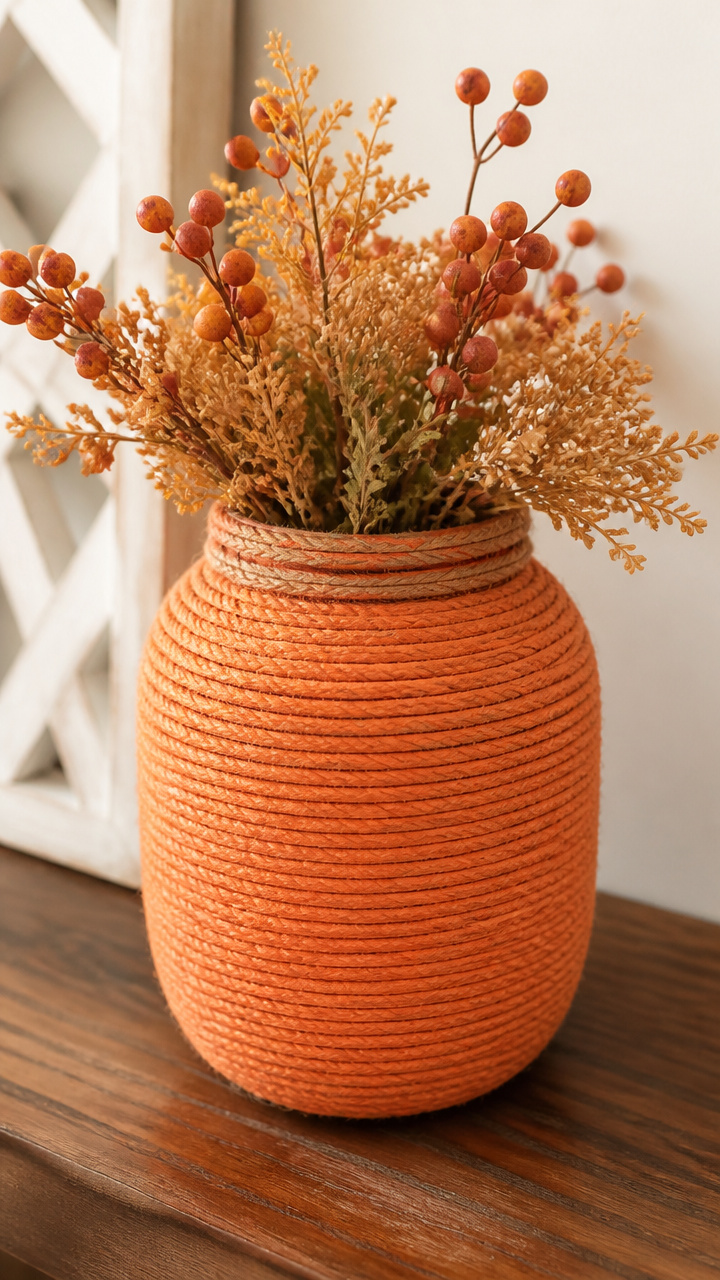
A clear glass jar becomes a rustic pumpkin-shaped vase wrapped in twine. It holds real or faux stems and brings texture to any table.
Materials Needed
- 1 empty glass jelly jar, 8 oz
- Natural jute twine, 50 yards
- Hot glue gun and glue sticks
- Orange acrylic paint
- Foam brush, 1 inch
How to Make It
- Paint the outside of the jar with orange acrylic paint using the foam brush. Let dry for 30 minutes.
- Apply a small dot of hot glue near the base of the jar. Press the end of the twine into it.
- Wrap the twine tightly around the jar, adding a dot of glue every inch to secure. Overlap slightly as you go.
- When you reach the neck, cut the twine and glue the end down. Let cool 5 minutes.
3. Pumpkin Salt Dough Ornaments
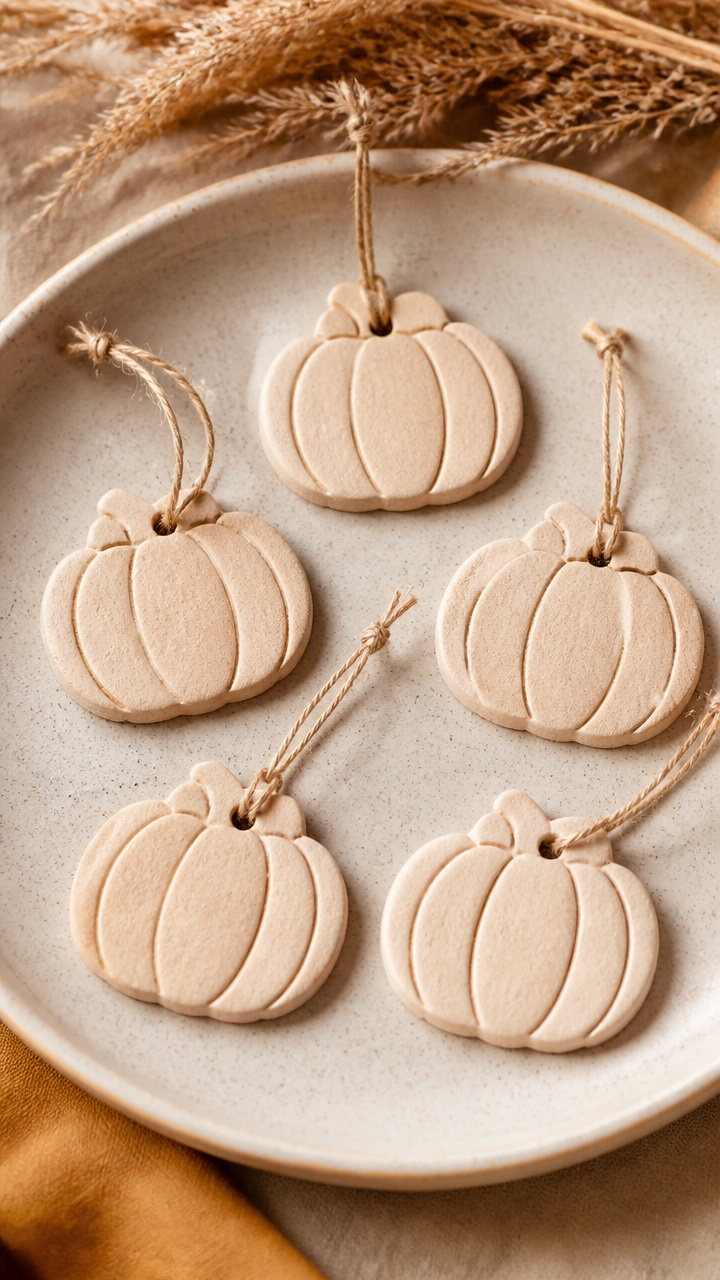
Soft beige salt dough shapes bake firm and hold crisp details. These lightweight ornaments hang easily on any tree or string.
Materials Needed
- 2 cups all-purpose flour
- 1 cup table salt
- 1 cup water
- Pumpkin-shaped cookie cutter, 2 inch
- Baking sheet
- Parchment paper
- Hole punch, small
How to Make It
- Mix flour, salt, and water in a bowl until a smooth dough forms. Knead 2 minutes on a floured surface.
- Roll dough to 1/4 inch thick. Cut out 6 pumpkin shapes with the cookie cutter.
- Use the hole punch to make a top hole in each. Place on parchment-lined baking sheet.
- Bake at 250°F for 2 hours. Cool completely before handling.


4. Chalkboard Paint Pumpkins
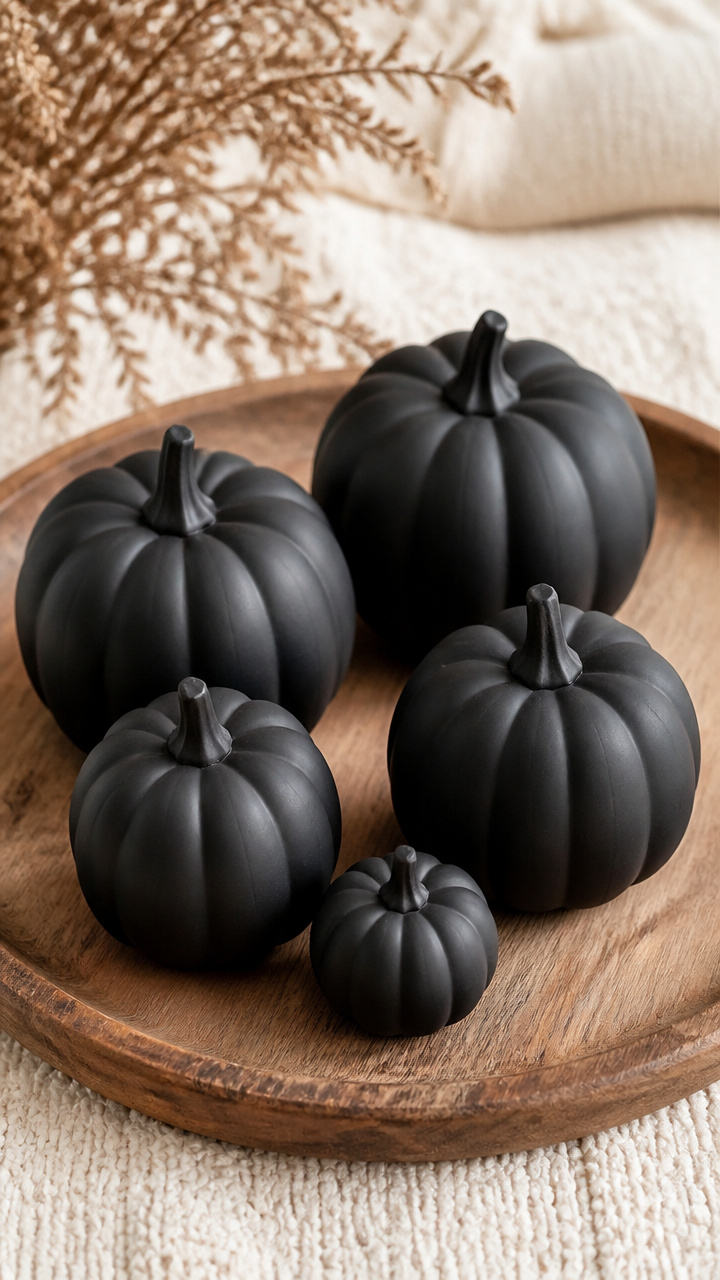
Matte black mini pumpkins double as changeable message holders. Use chalk to write names, quotes, or seasonal greetings.
Materials Needed
- 3 ceramic mini pumpkins, white
- Black chalkboard paint, 4 oz
- Foam brush, 1 inch
- White chalk stick
- Paper plate
How to Make It
- Place each pumpkin on a paper plate. Brush a thin, even coat of chalkboard paint over the surface.
- Let dry 1 hour. Apply a second coat. Wait 2 hours before curing.
- Rub the side of the chalk stick over the painted area to cure the surface.
- Write messages with chalk. Wipe clean with a dry cloth when ready to change.


5. Felt Leaf Pumpkin Accents
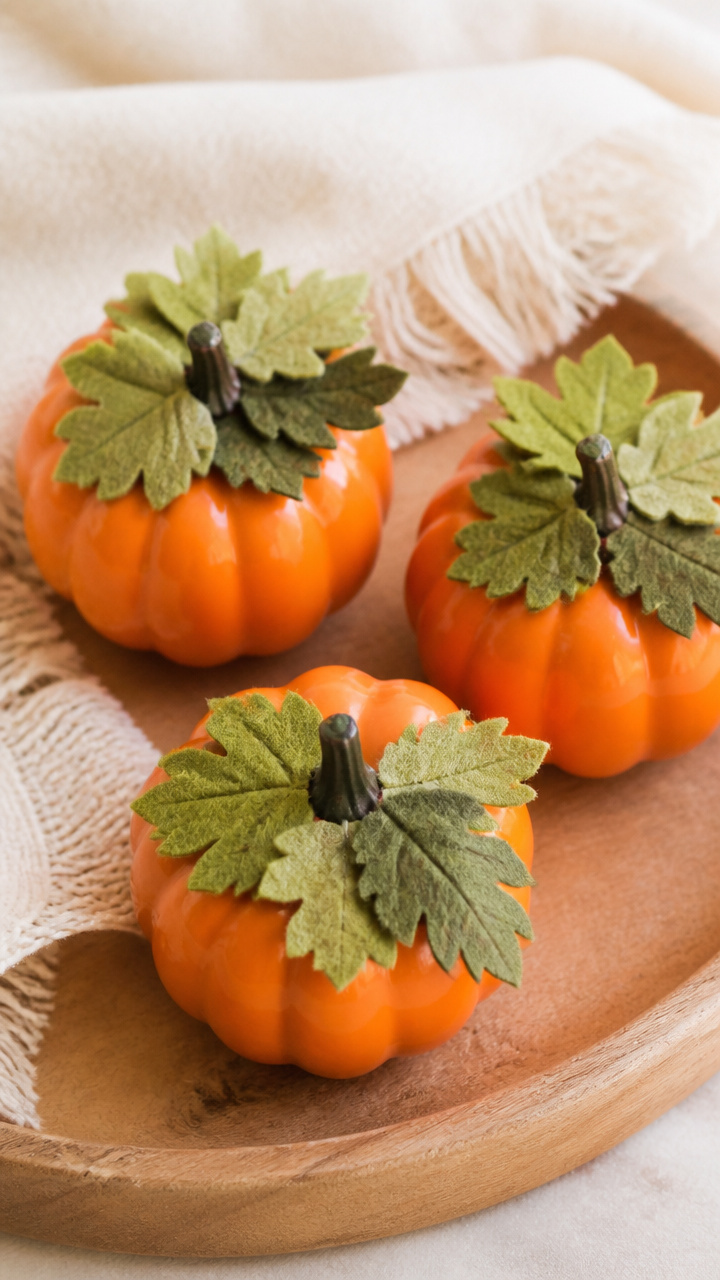
Tiny felt leaves layered at the stem give plain pumpkins a natural lift. The soft fabric adds depth without weight.
Materials Needed
- 3 plastic mini pumpkins, orange
- Green craft felt sheet, 9×12 inch
- Scissors
- Hot glue gun and glue sticks
- Leaf-shaped stencil, small
How to Make It
- Trace the leaf stencil onto the felt 9 times. Cut out each shape.
- Stack three leaves slightly offset to form a cluster. Glue layers together at the base.
- Apply a dab of hot glue to the back of each cluster. Attach to the top stem area of a pumpkin.
- Repeat for remaining pumpkins. Let all glue cool for 5 minutes.


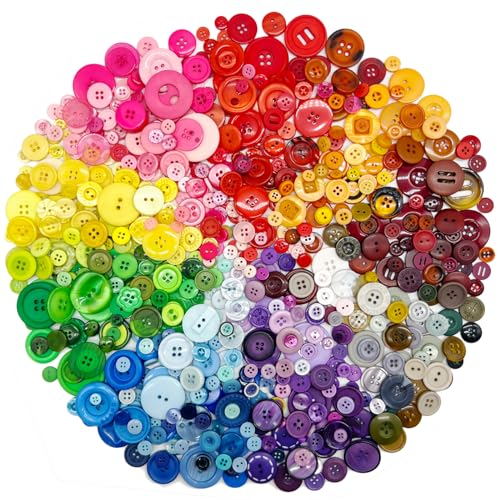
6. Pumpkin Button Garden
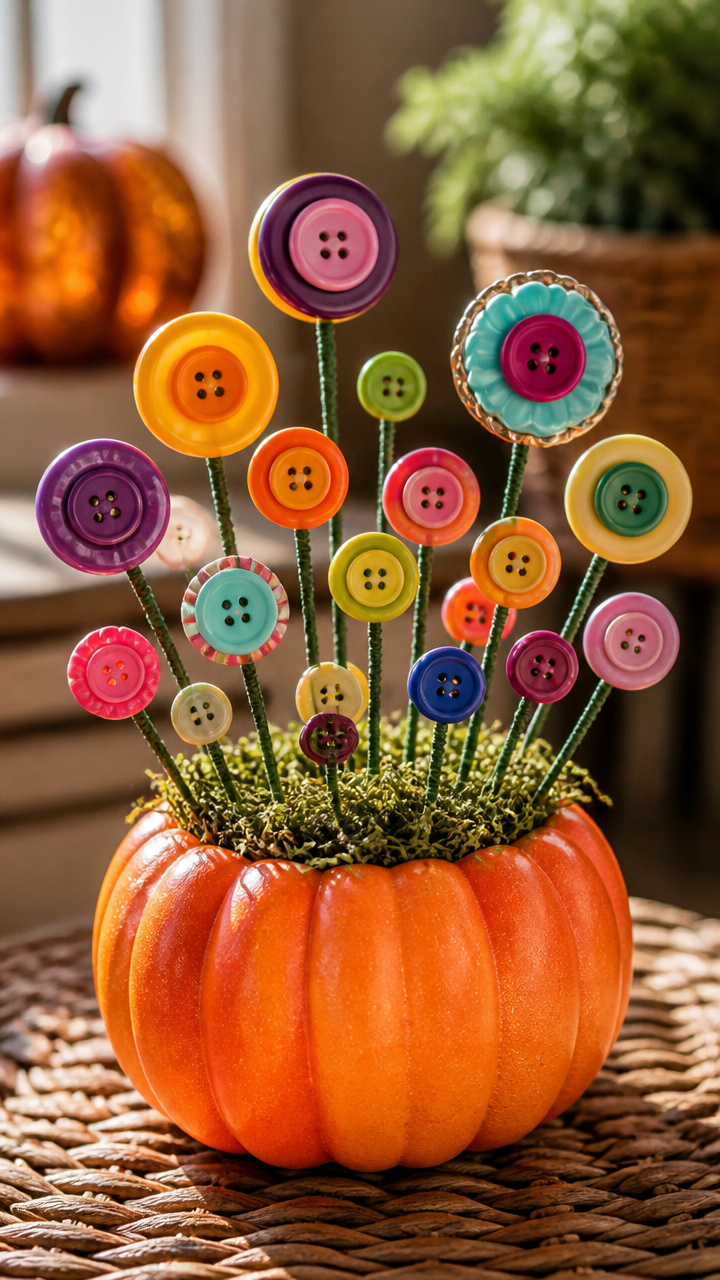
A foam pumpkin sprouts colorful buttons like a whimsical garden. Each button is wired to stay upright and catch the eye.
Materials Needed
- 1 large foam pumpkin, orange
- 18 assorted buttons, various sizes
- 24 gauge floral wire, 12 inches
- Wire cutters
- Needle-nose pliers
How to Make It
- Cut 12-inch wires in half with wire cutters. You will need one per button.
- Thread a wire through two holes of a button. Twist ends together at the back to secure.
- Push the straight end of each wired button into the pumpkin surface. Space evenly.
- Bend some wire stems slightly to create height variation. Trim excess if needed.


7. Pumpkin Tin Can Lanterns
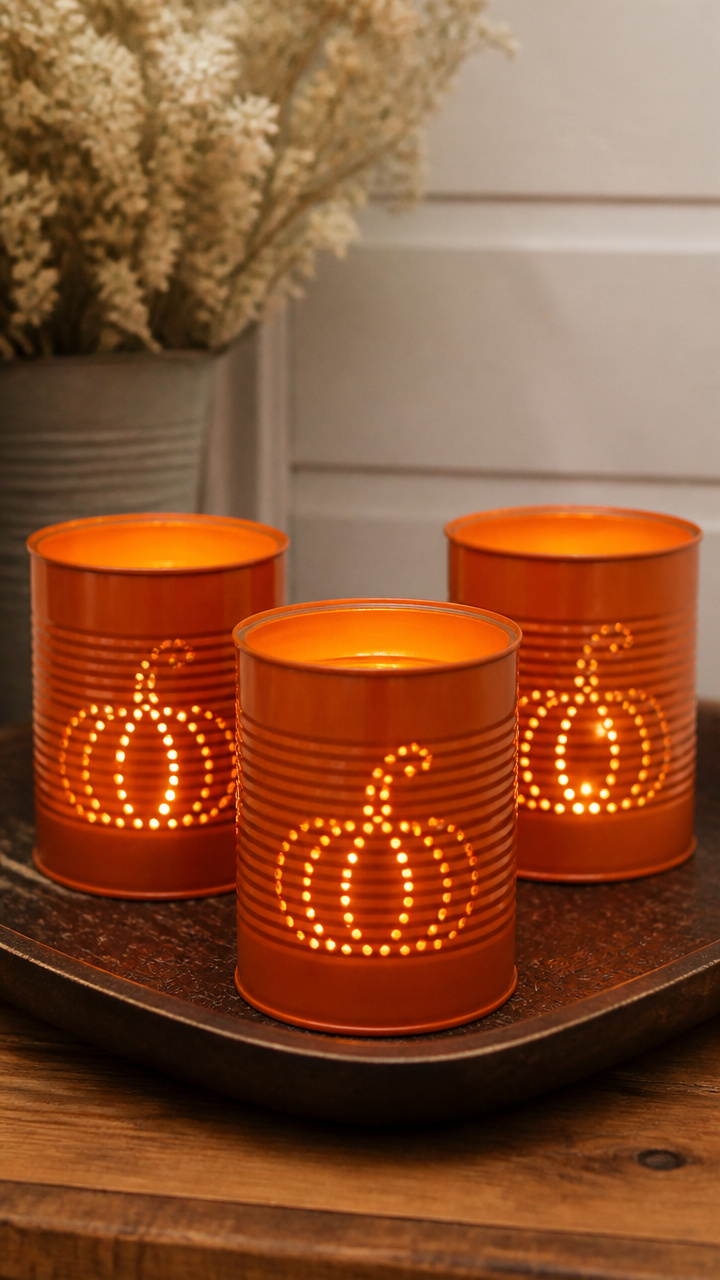
Painted tin cans glow warmly when lit from within. Punched holes form a pumpkin pattern that shines at dusk.
Materials Needed
- 2 empty soup cans, labels removed
- Orange spray paint
- Hammer
- Nail, 3/32 inch
- Tea light, battery-operated
- Work gloves
How to Make It
- Spray paint cans orange. Let dry 1 hour on a protected surface.
- Wear gloves. Hold nail against can where you want a hole. Tap gently with hammer.
- Follow a simple pumpkin face sketch: two eyes, nose, wide grin. Space holes 1/2 inch apart.
- Place tea light inside. Turn on at night to see the glowing design.


8. Pom-Pom Pumpkin Kids' Craft
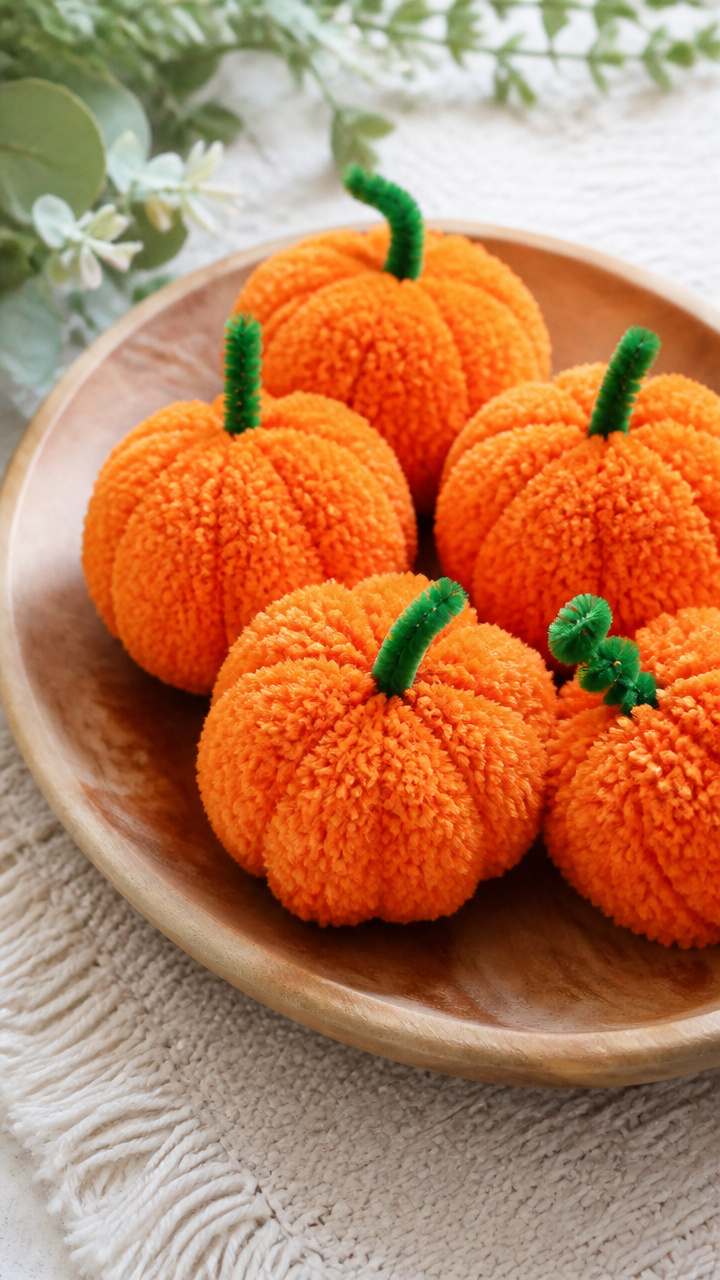
Bright yarn pom-poms become silly little pumpkins perfect for kids. They hang from strings or sit in bowls.
Materials Needed
- 6 orange yarn skeins, medium weight
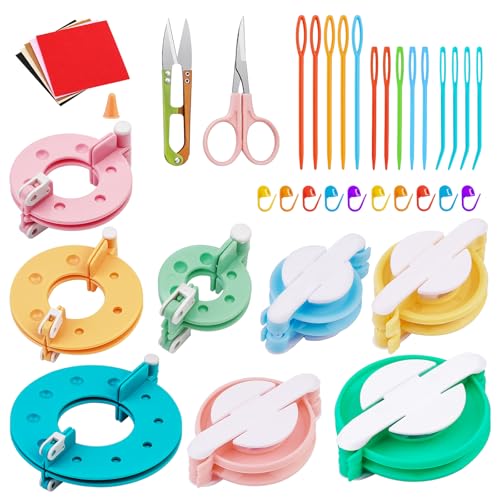
- Pom-pom maker, small
- Green pipe cleaners, 6
- Scissors
- Glue dots, pack of 50
How to Make It
- Open both rings of the pom-pom maker. Wrap yarn evenly around one side until full. Repeat on other side.
- Cut along the edge between the rings. Tie tightly between the two halves with a separate piece of yarn.
- Close and remove pom-pom. Trim ends to round shape. Make 6 total.
- Fold a pipe cleaner in half. Use a glue dot to attach the fold to the top of each pom-pom for a stem.


9. Pumpkin Clothespin Wreath Base
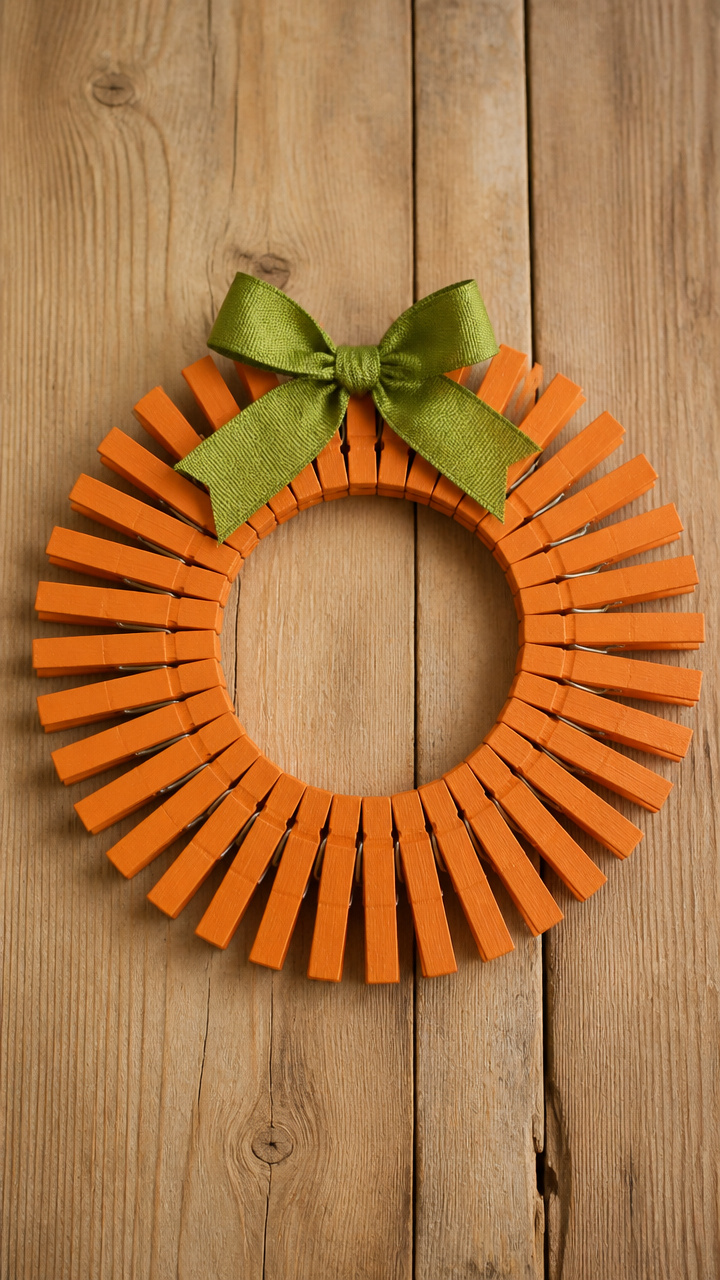
Wooden clothespins clip together into a full wreath frame. Painted orange, they mimic pumpkin slices in a ring.
Materials Needed
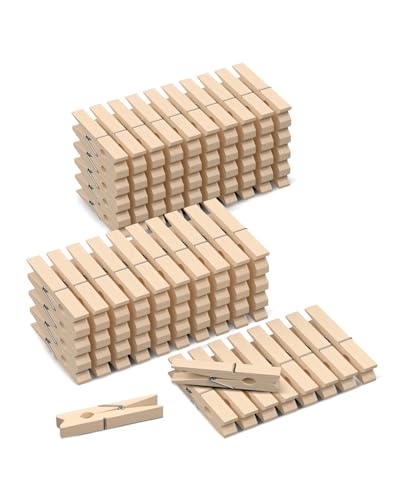
- 18 wooden clothespins, unpainted
- Orange acrylic paint
- Paintbrush, 1/2 inch
- Hot glue gun and glue sticks
- Ribbon, 1/4 inch wide, 24 inches
How to Make It
- Paint both sides of each clothespin with orange acrylic paint. Let dry 30 minutes.
- Open each clothespin. Clip the flat end of one into the groove of another to link them.
- Continue linking until all 18 are in a circle. Overlap slightly at the end to close the loop.
- Glue the final connection. Tie ribbon to the top for hanging. Let dry 10 minutes.


10. Crayon Melting Pumpkin Art
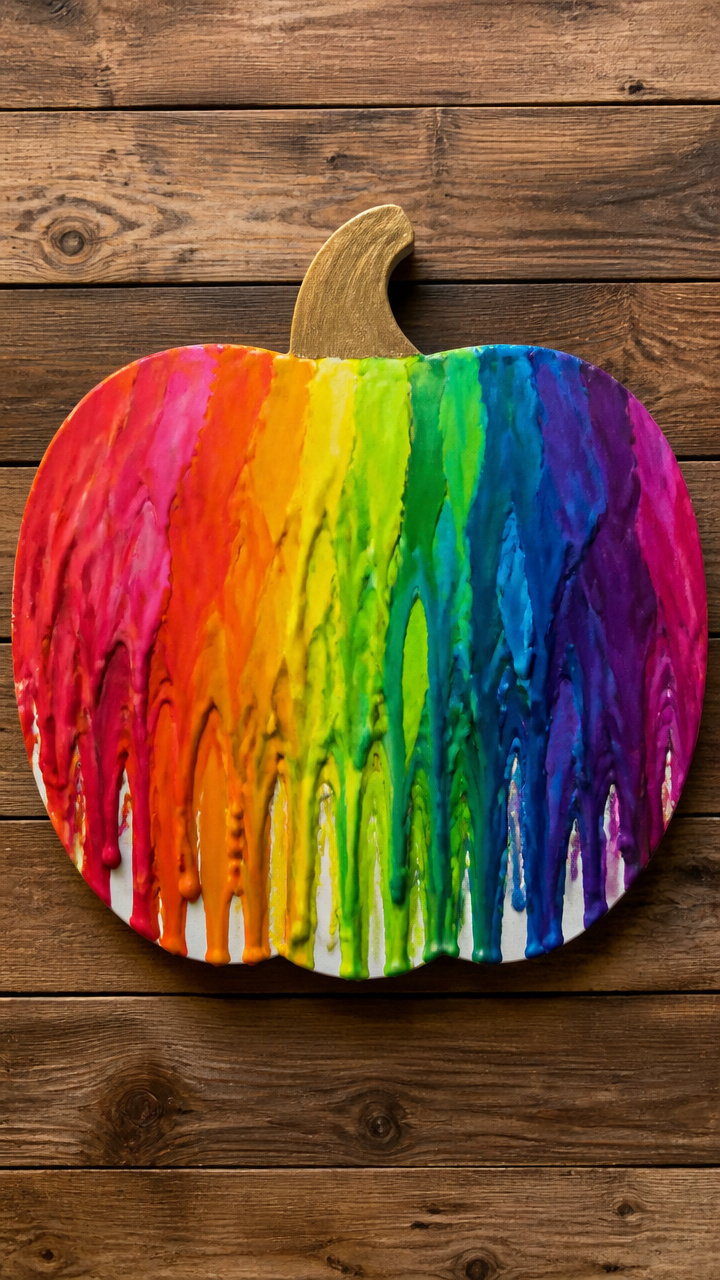
Old crayons melt into rainbow drips on a canvas shaped like a pumpkin. The waxy layers create bold, textured art.
Materials Needed
- Canvas board, 8×10 inch
- Pencil
- Ruler
- 12 orange crayons, peeled
- Hot glue gun
- Hair dryer
How to Make It
- Draw a large pumpkin shape on the canvas with pencil using the ruler for clean lines.
- Use hot glue to outline the pumpkin shape. Press crayons tip-down into the glue line.
- Hold the hair dryer on high heat 6 inches from the top of the crayons. Melt slowly downward.
- Let wax drip within the shape. Stop drying once coverage pleases you. Cool 1 hour.


11. Pumpkin Paper Bag Lanterns
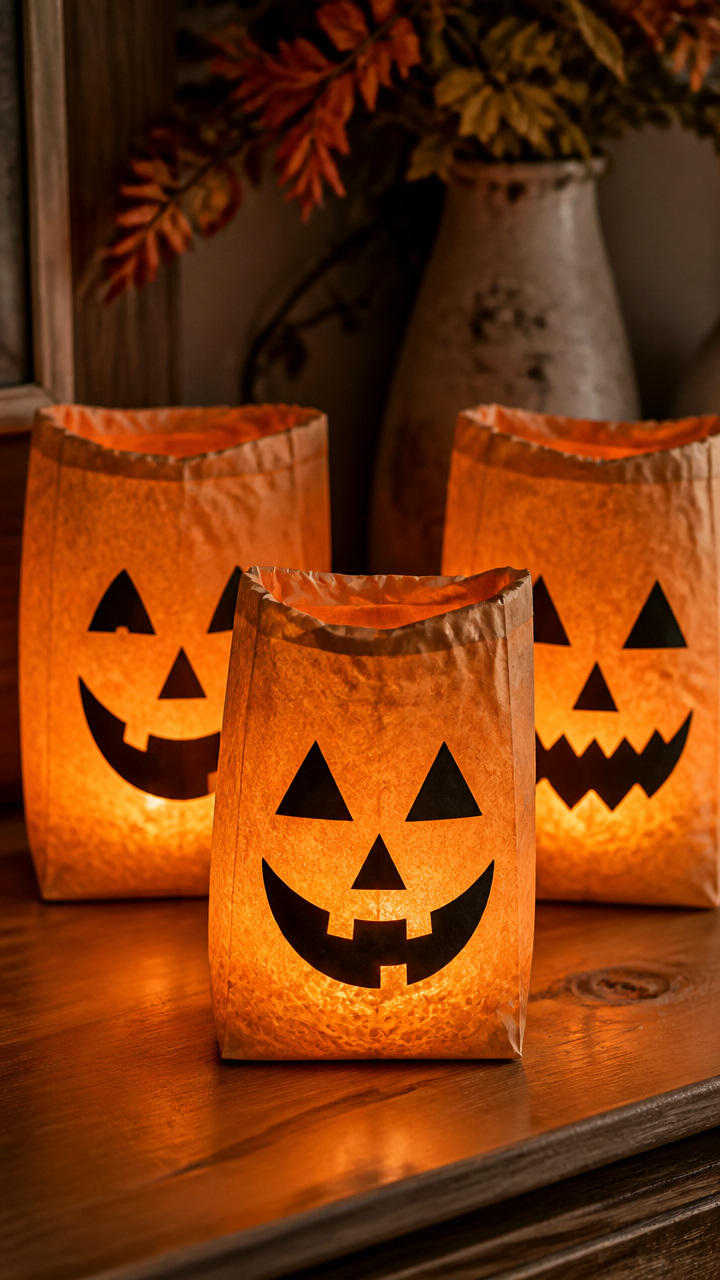
Lunch bags turn into soft-glow luminaries with painted faces. The rice inside keeps them upright.
Materials Needed
- 4 brown paper lunch bags
- Orange tissue paper, 12×18 inch sheet
- White glue
- Paintbrush, 1 inch
- Uncooked rice, 1 cup
- Battery tea light
How to Make It
- Brush glue over the outside of each bag. Smooth tissue paper over it to cover completely.
- Let dry 45 minutes. Draw a simple pumpkin face on each with pencil.
- Cut out the face shapes with scissors. Fold the bottom inch inward to create a base.
- Fill each bag halfway with rice. Place a tea light inside. Turn on at dusk.


12. Pumpkin Seed Mosaic Frame
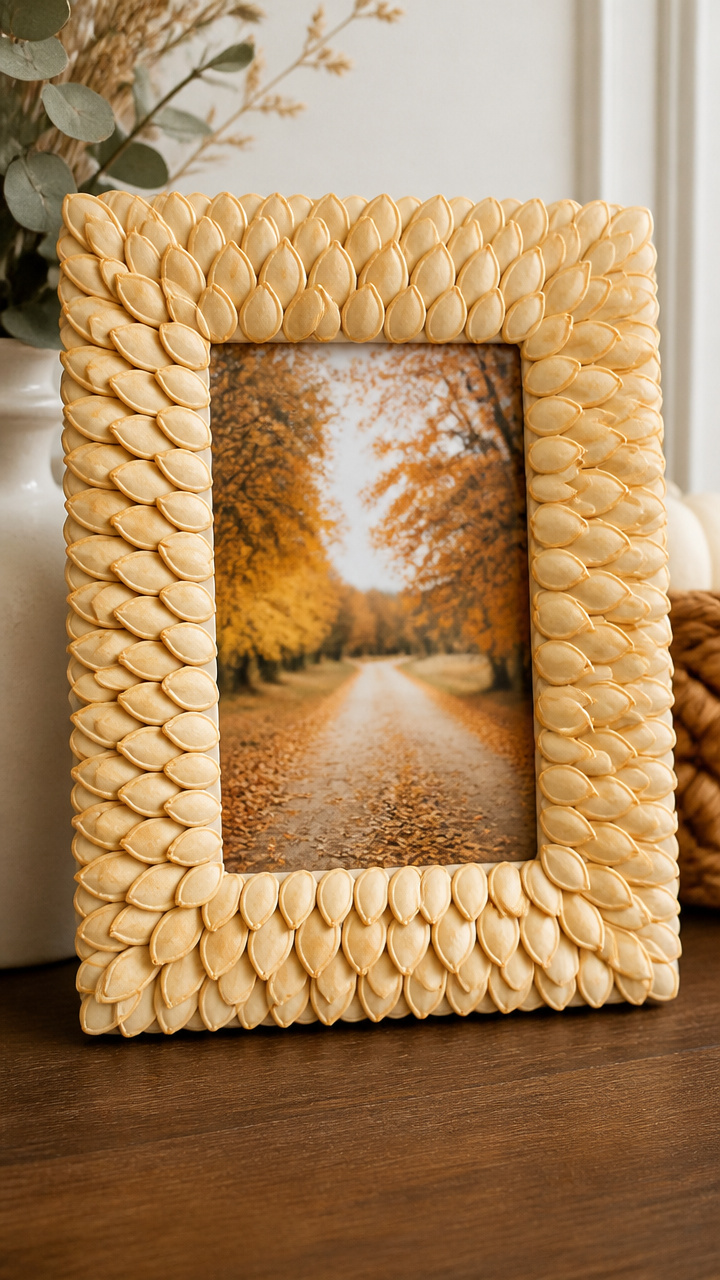
Real pumpkin seeds form a crunchy border around a photo frame. The natural tan tones layer like scales.
Materials Needed
- Wood picture frame, 5×7 inch
- Pumpkin seeds, 1/4 cup, raw
- White craft glue
- Toothpick
- Photo, 5×7 inch
How to Make It
- Lay the frame face down. Apply a thin line of glue along the outer edge of the front rim.
- Use the toothpick to place one seed at a time, point outward, pressing into the glue.
- Overlap seeds slightly as you move around the frame. Fill the entire border.
- Let dry 2 hours. Insert photo. Display upright or hang.


13. Pumpkin Pipe Cleaner Sculptures
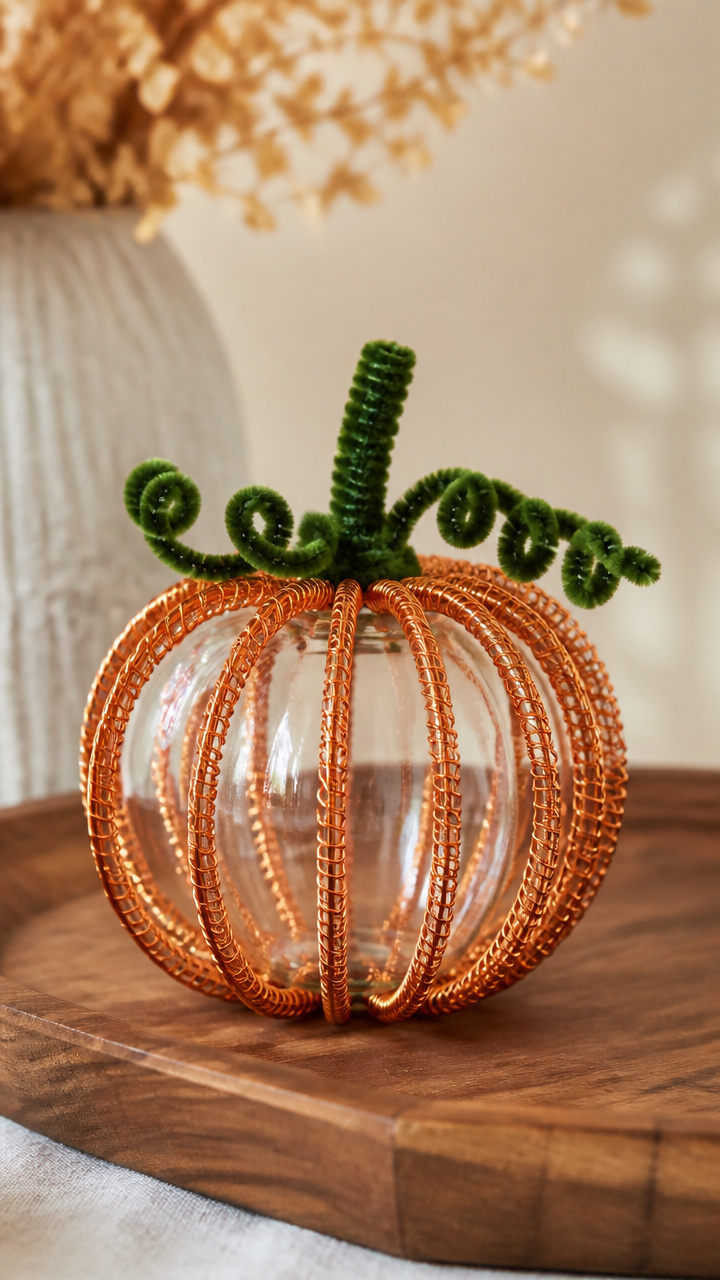
Bent green pipe cleaners curl into playful pumpkin vines. They wrap small jars or stand alone on shelves.
Materials Needed
- 6 green pipe cleaners
- Scissors
- Round-nose pliers
- Small glass spice jar
How to Make It
- Cut each pipe cleaner in half. You will have 12 pieces.
- Use pliers to curl the end of one piece into a tight spiral. Leave the rest straight.
- Wrap one straight end around the neck of the jar. Let the curled end spring outward.
- Repeat with 5 more pieces, spacing evenly. Adjust curls by hand for variation.


14. Pumpkin Sticker Mason Jars
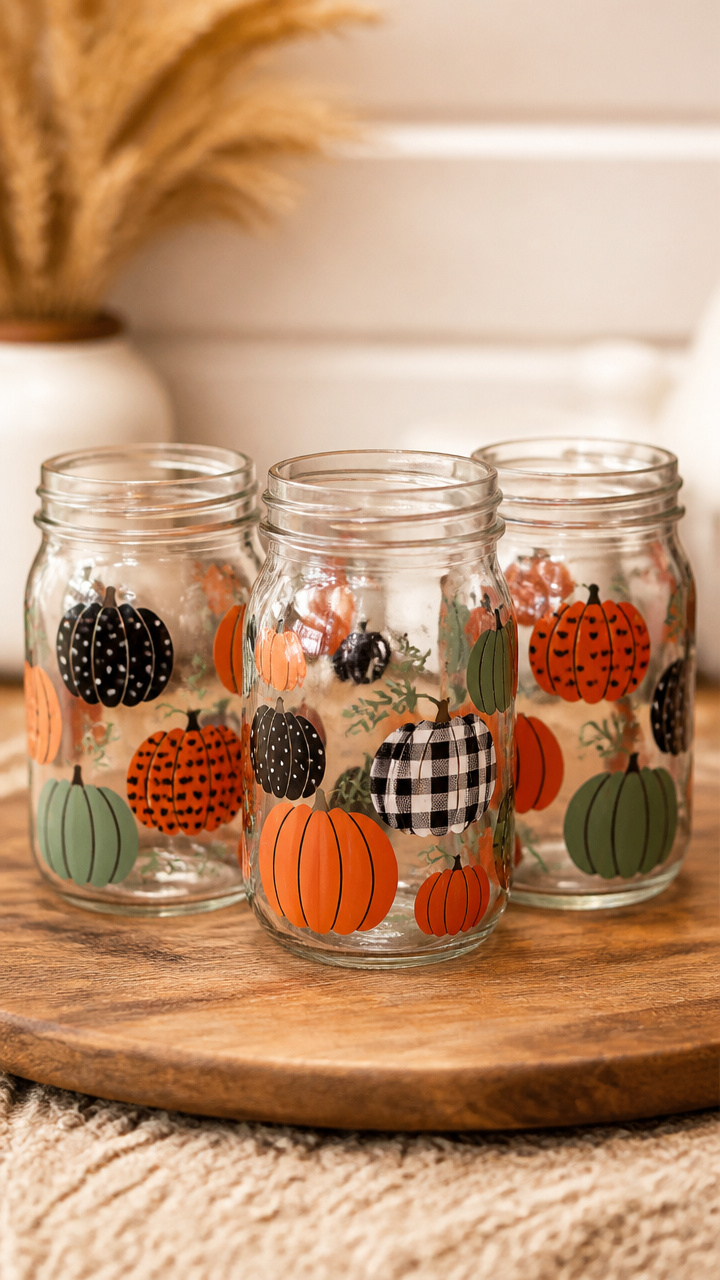
Clear jars get a festive look with die-cut pumpkin stickers. They hold cotton balls or candles on side tables.
Materials Needed
- 3 mason jars, 12 oz
- Pumpkin stickers, 1 sheet, assorted sizes
- Rubbing alcohol
- Cotton ball, 1
How to Make It
- Wipe each jar with rubbing alcohol to remove oils. Let dry 2 minutes.
- Peel a pumpkin sticker and press firmly onto the side of a jar. Smooth out air bubbles.
- Apply 3–4 stickers per jar in a loose cluster. Avoid the base and rim.
- Fill with cotton balls or a tea light. Group together on a tray.


15. Pumpkin Crayon Candle Holders
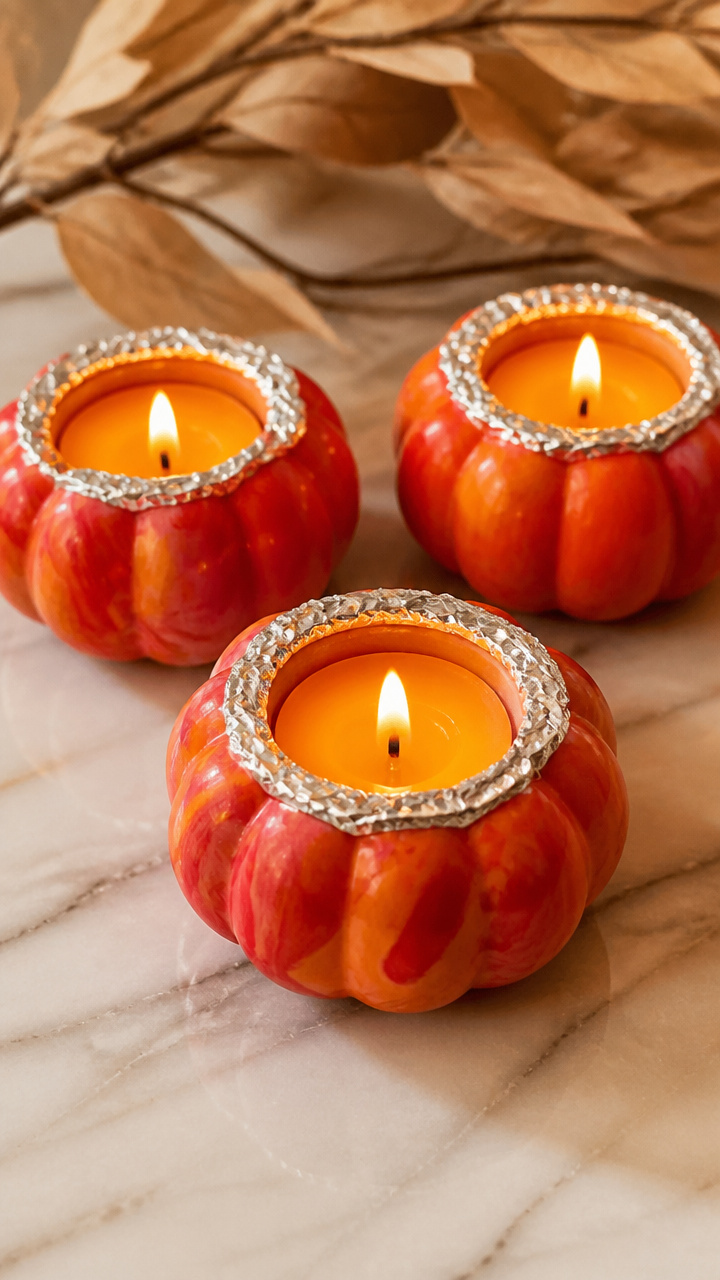
Short crayons melt into hollowed candle cups, forming colorful bases. The heat sets the wax permanently.
Materials Needed
- 3 aluminum muffin cups
- 8 red and orange crayons, peeled
- Knife
- Oven-safe dish
- Birthday candle, 3 inch
How to Make It
- Break crayons into small pieces with the knife. Fill each muffin cup halfway.
- Place cups in an oven-safe dish. Bake at 275°F for 12 minutes until melted.
- Remove and let cool 30 minutes. Push a birthday candle into the center of each.
- Light carefully and place on a heat-safe surface. Never leave unattended.


16. Pumpkin Beaded Garland
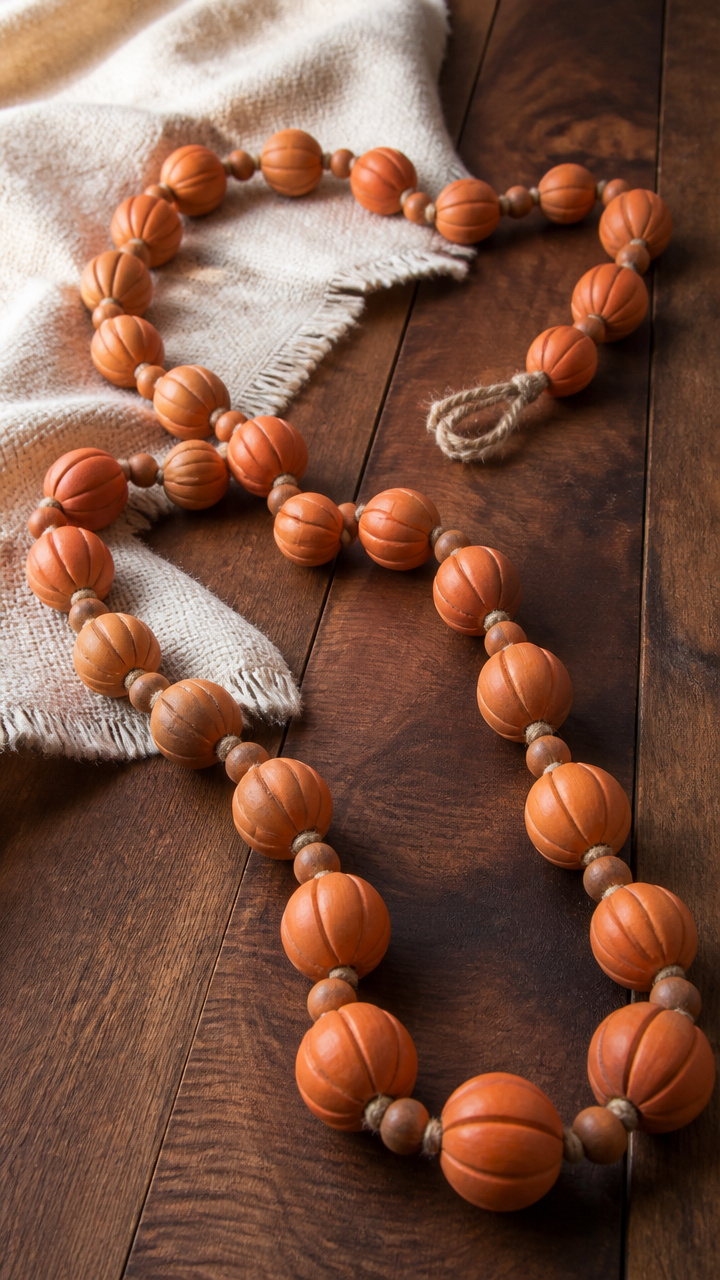
Wooden beads stain orange and string into a bumpy garland. It drapes over mirrors or mantels with rustic charm.
Materials Needed
- 20 round wooden beads, 1/2 inch
- Red food coloring, 1 tsp
- Water, 1/2 cup
- Plastic cup
- Jute string, 3 feet
- Tapestry needle
How to Make It
- Mix food coloring and water in the plastic cup. Stir well.
- Submerge beads in liquid. Soak 45 minutes, stirring once halfway.
- Drain and lay beads on paper towel. Dry 2 hours, turning once.
- Thread beads onto jute string using the needle. Knot ends to secure.


17. Pumpkin Paint Chip Art
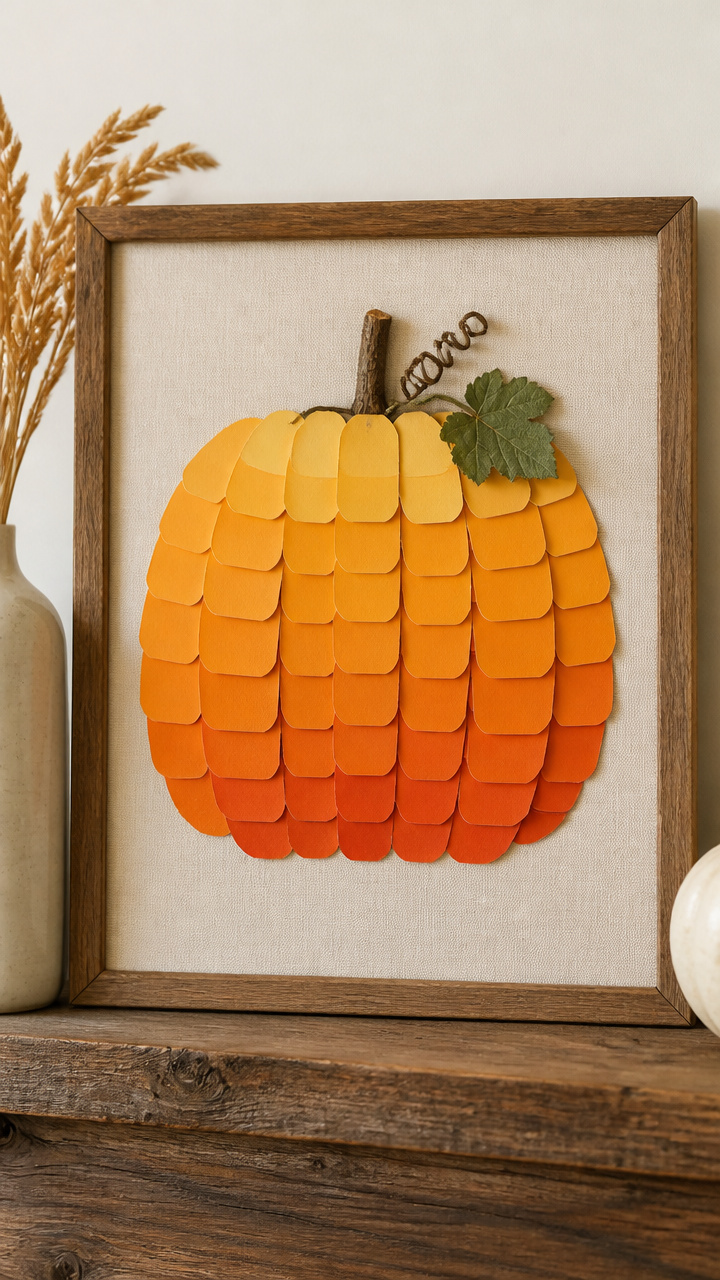
Free paint swatches stack into gradient pumpkin shapes. Taped to a board, they create a modern wall piece.
Materials Needed
- 15 orange and yellow paint chips
- Cardboard, 8×10 inch
- Glue stick
- Scissors
- Pencil
How to Make It
- Sort paint chips from light to dark. Lay them face up in order.
- Draw a pumpkin shape on cardboard. Keep it wide in the middle, narrow at top and bottom.
- Cut each chip in half vertically. Layer them inside the drawn shape, darkest at bottom.
- Glue each piece flat, overlapping slightly. Let dry 20 minutes.


18. Pumpkin Spoon Centerpiece
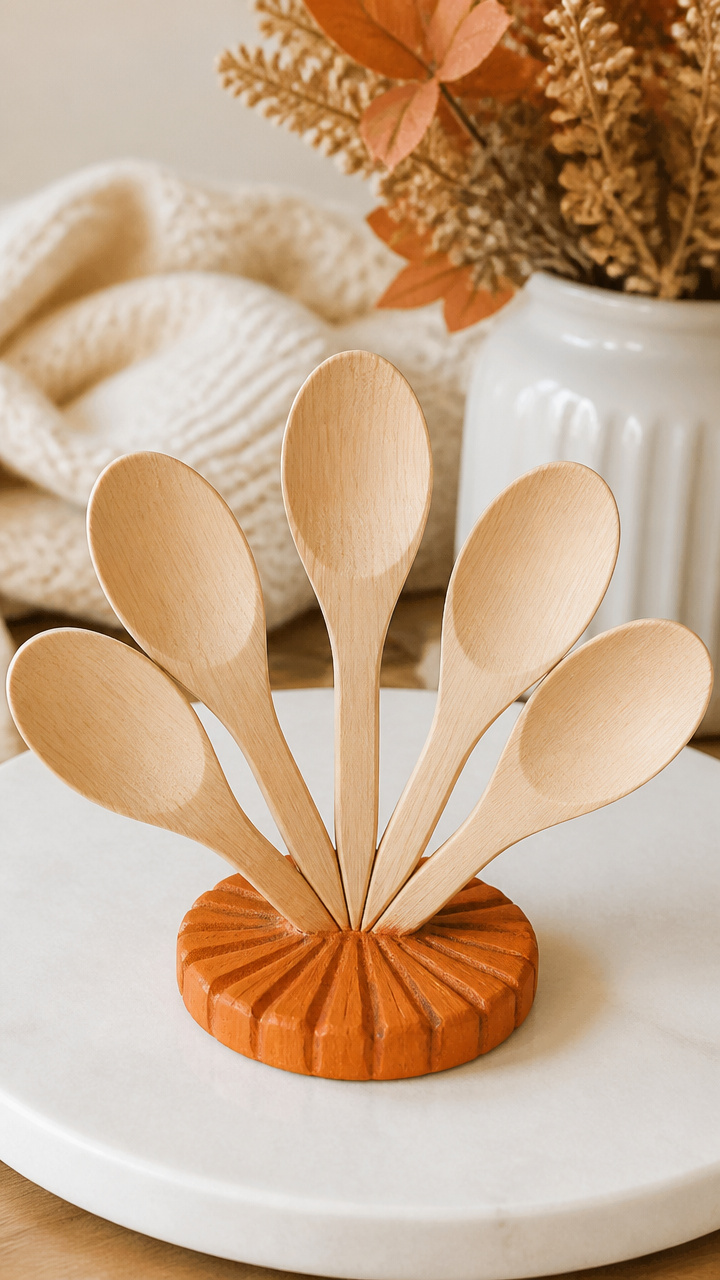
Wooden spoons curve into a pumpkin fan and glue to a base. The rounded bowls mimic pumpkin ridges.
Materials Needed
- 5 wooden spoons
- Hot glue gun and glue sticks
- Circular coaster, 6 inch
- Orange acrylic paint
- Foam brush, 1 inch
How to Make It
- Paint the front and sides of each spoon bowl with orange paint. Let dry 30 minutes.
- Arrange spoons on the coaster with handles pointing outward and bowls overlapping at center.
- Glue each handle to the coaster. Hold 10 seconds per spoon until set.
- Let full piece dry 1 hour before moving.


19. Pumpkin Q-Tip Dot Decor
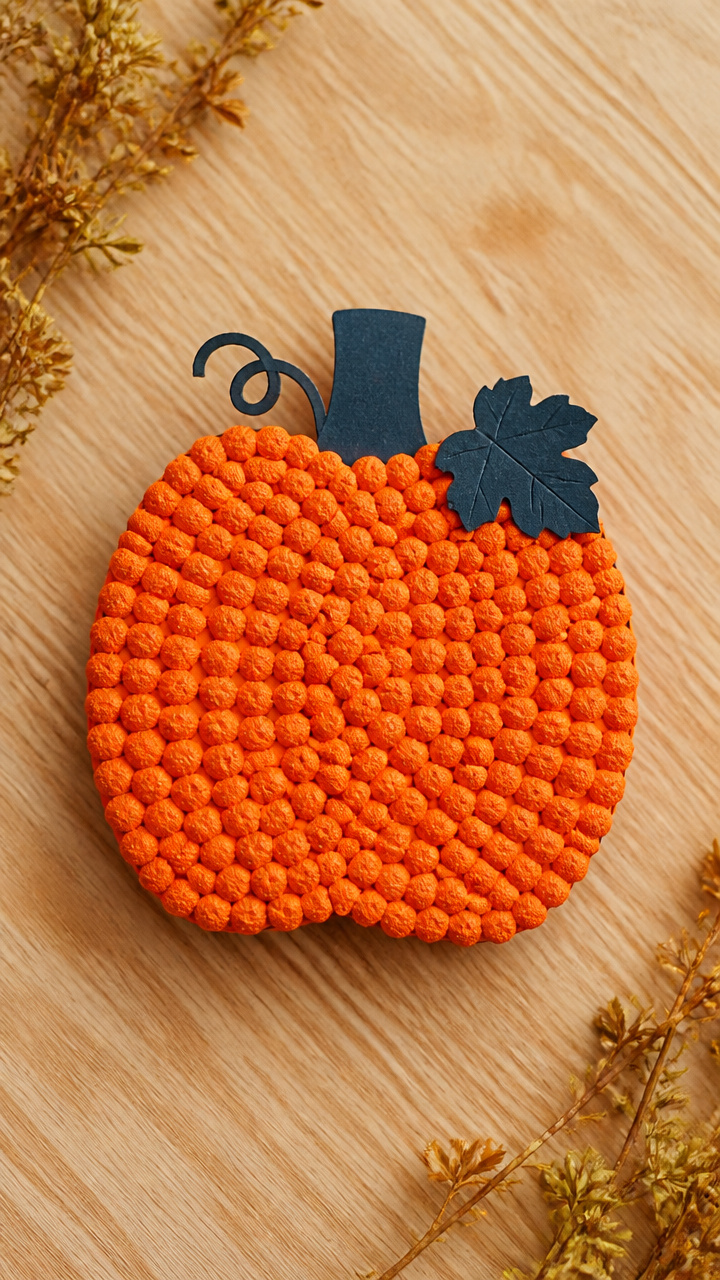
Cotton swabs dipped in paint make perfect round dots on cardboard. The texture mimics a real pumpkin’s skin.
Materials Needed
- Cardboard, 9×12 inch
- Orange tempera paint, 2 tbsp
- Black construction paper, 9×12 inch
- Q-Tips, 20
- Glue stick
How to Make It
- Cut cardboard into a large pumpkin shape with rounded base and indented top.
- Dip one end of a Q-Tip into orange paint. Dot it across the cardboard surface in rows.
- Leave small gaps between dots. Let dry 20 minutes.
- Cut a stem and leaf from black paper. Glue to the top. Let dry 10 minutes.


20. Pumpkin Eraser Carvings
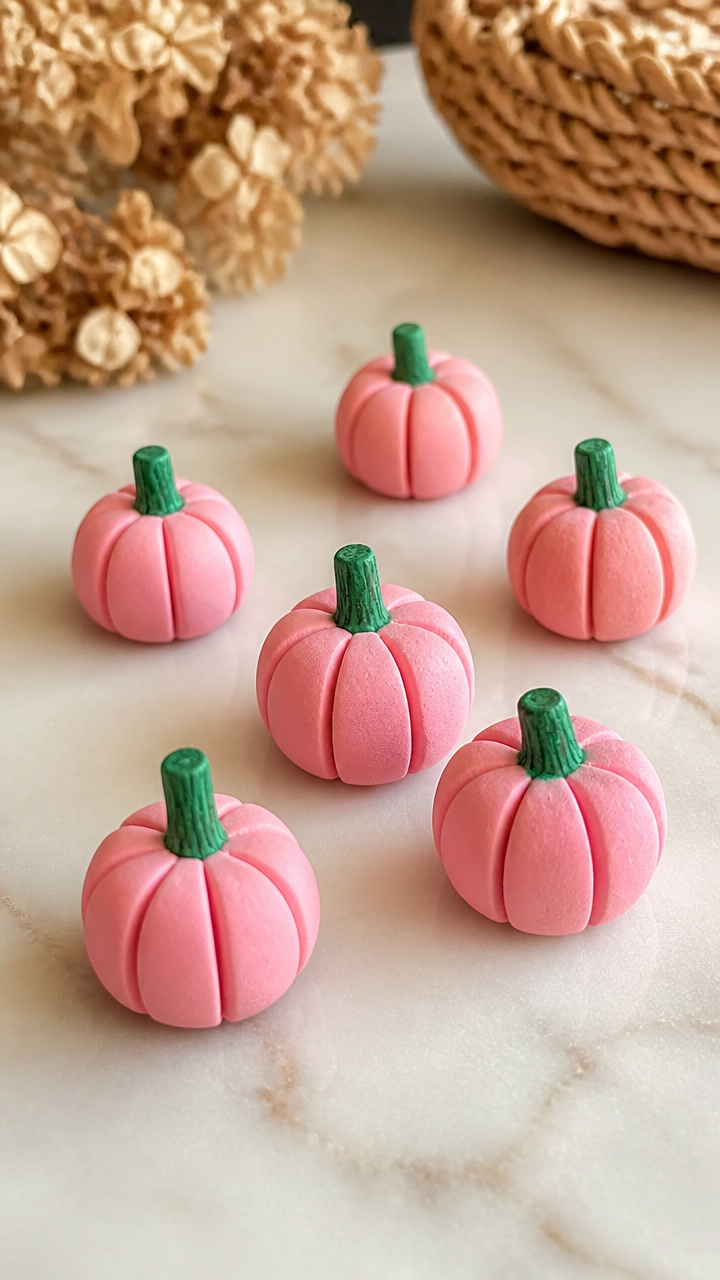
Pink erasers carve into tiny pumpkins with a craft knife. They sit on desks or pinboards as cute accents.
Materials Needed
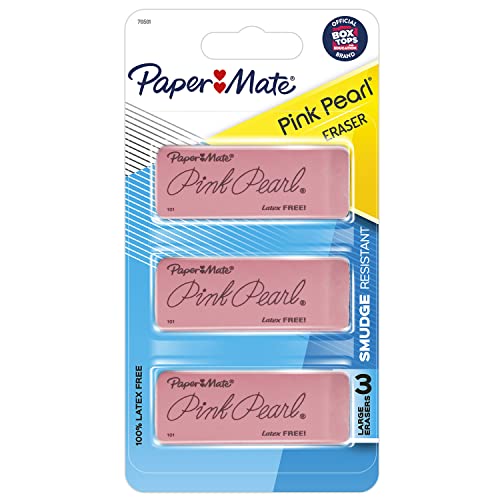
- 3 pink erasers, rectangle
- Craft knife
- Cutting mat
- Pencil
- Green marker
How to Make It
- Draw a simple pumpkin face on one long side of an eraser with pencil.
- Place eraser on cutting mat. Use the craft knife to cut along the lines shallowly.
- Carve out eyes, nose, and mouth with short, careful strokes. Remove small bits.
- Color the top rim with green marker to mimic a stem. Repeat for others.


21. Pumpkin Bubble Wrap Prints
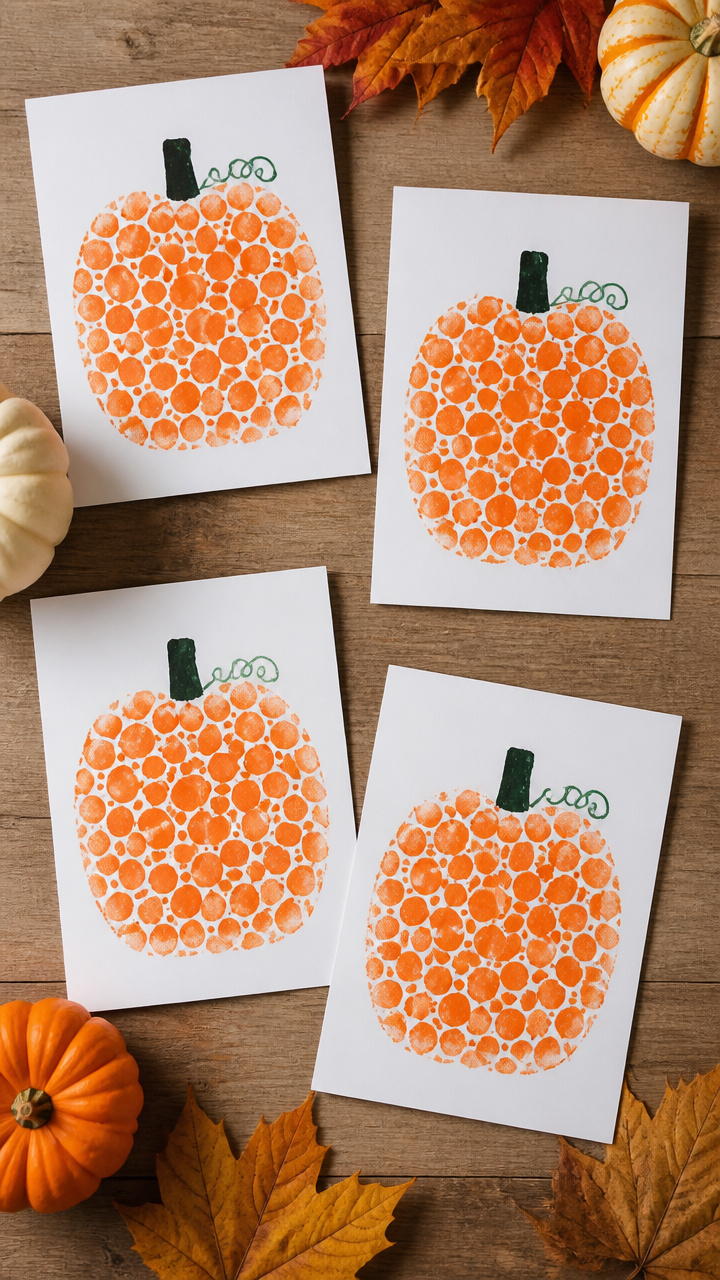
Bubble wrap presses into paint and stamps round textures onto cards. Each print looks like a pumpkin patch.
Materials Needed
- Bubble wrap, small bubble, 6×6 inch
- Orange poster paint, 3 tbsp
- White cardstock, 5×7 inch, 4 sheets
- Foam plate
- Pencil
How to Make It
- Cut bubble wrap into 3-inch squares. You will use one per card.
- Spoon paint onto the foam plate. Roll one bubble square in paint to coat bumps.
- Press the painted side firmly onto a card. Lift straight up to avoid smudging.
- Let dry 15 minutes. Add a green stem with paint-dipped fingertip. Repeat for all.


22. Pumpkin Cork Trivet
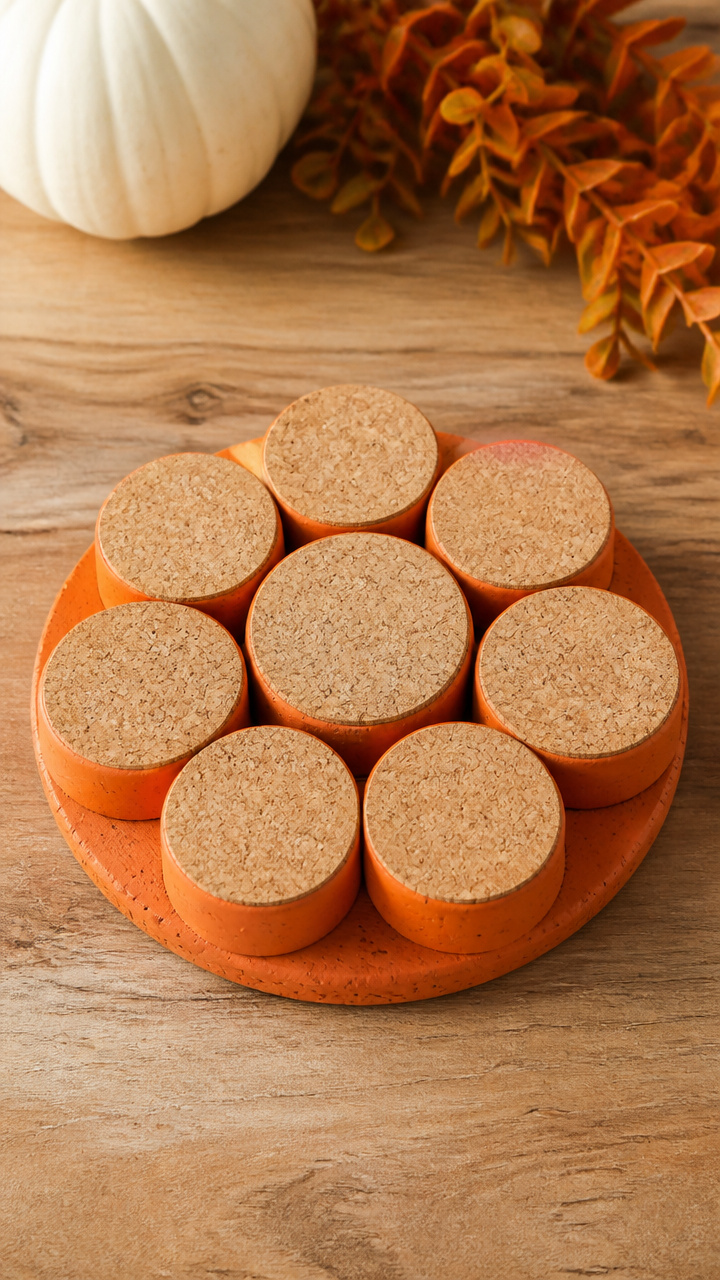
Wine corks slice and glue into a round heat-resistant pad. The natural tan and orange paint mimic pumpkin flesh.
Materials Needed
- 9 wine corks
- Orange acrylic paint
- Foam brush, 1/2 inch
- Hot glue gun
- Circular template, 7 inch
How to Make It
- Slice each cork in half lengthwise with a sharp knife. You will have 18 flat halves.
- Paint the flat side of each half with orange paint. Let dry 30 minutes.
- Arrange pieces around the template with flat sides facing center. Fit like a wheel.
- Glue each piece to its neighbor. Let dry 1 hour before removing template.


23. Pumpkin Rock Paintings
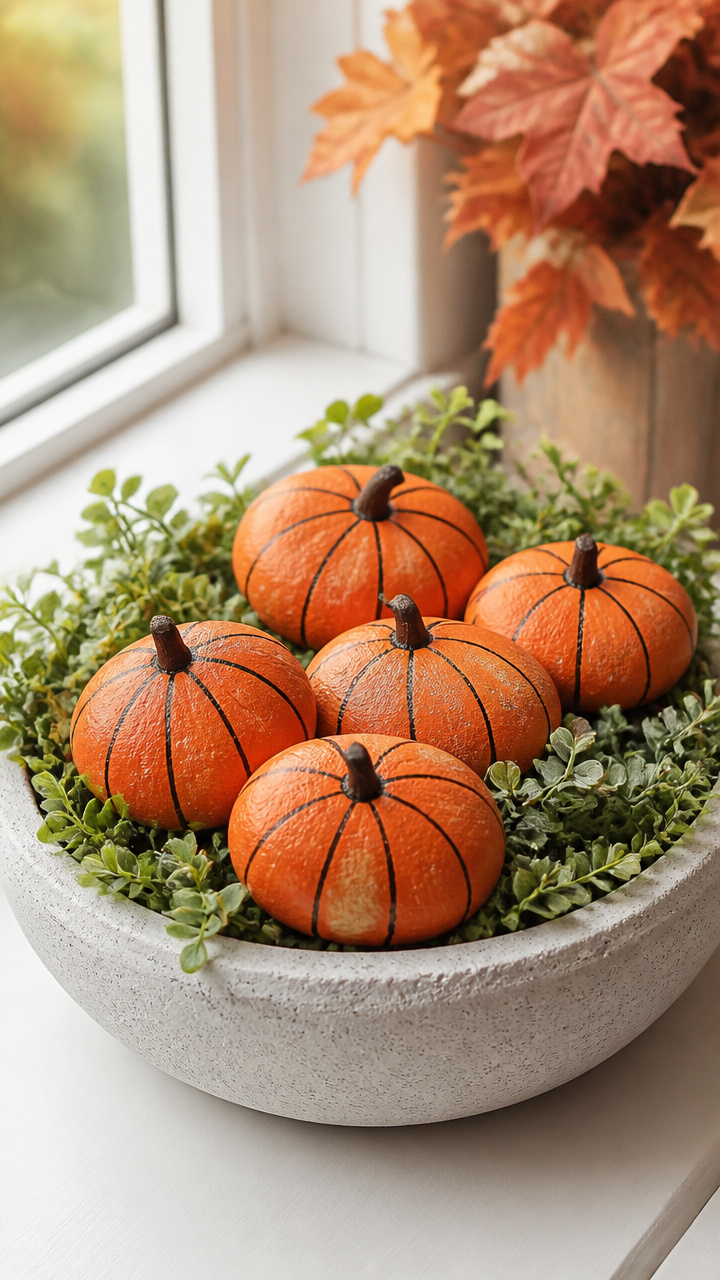
Smooth river rocks become tiny painted pumpkins with black lines. They tuck into planters or windowsills.
Materials Needed
- 6 smooth river rocks, palm-sized
- Orange acrylic paint
- Black paint pen
- Foam brush, 1/2 inch
- Paper plate
How to Make It
- Place rocks on a paper plate. Paint each with orange acrylic using the foam brush.
- Let dry 30 minutes. Turn and paint the other side. Dry another 30 minutes.
- Use the black paint pen to draw 3–4 vertical wavy lines on each rock.
- Add a small green dot at the top for a stem. Let ink dry 10 minutes.


24. Pumpkin Sock Puppet
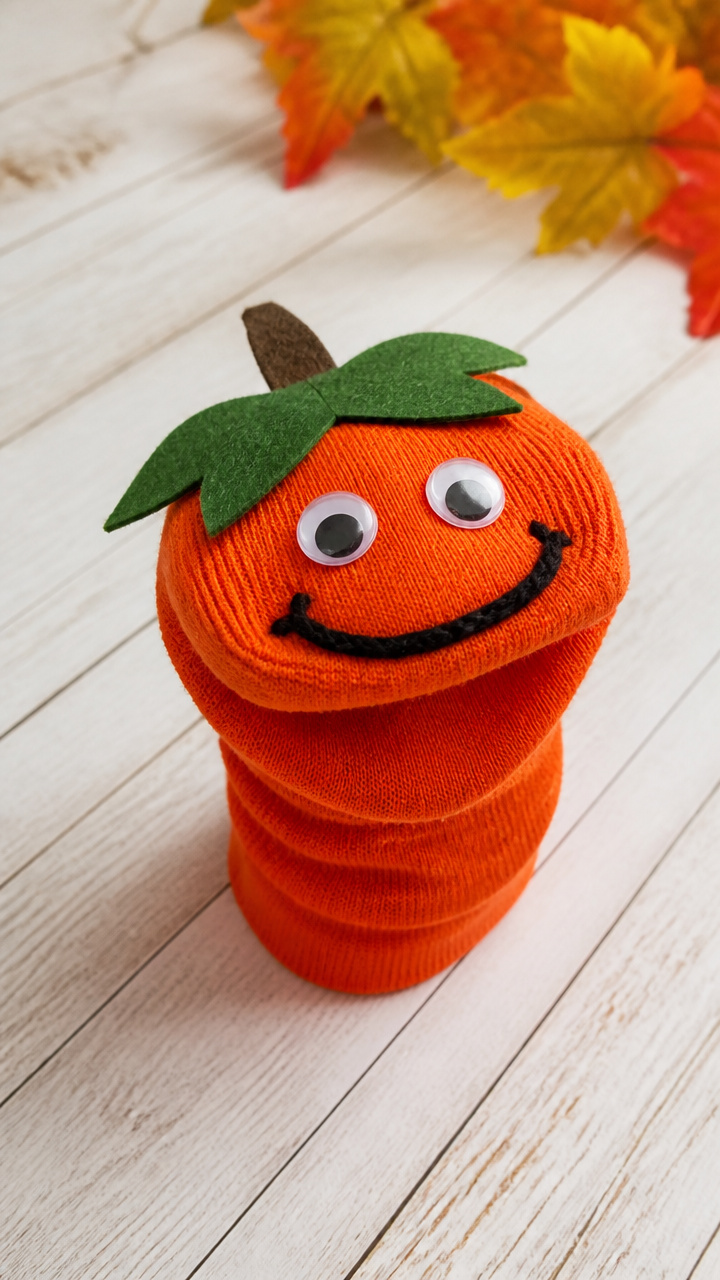
An old sock gains googly eyes and a stitched mouth to become a friendly puppet. Kids love sliding hands inside.
Materials Needed
- 1 orange crew sock
- Googly eyes, 2, 1 inch
- Black yarn, 12 inches
- Needle
- Fabric glue
How to Make It
- Slip the sock over your hand. Position where the heel meets the foot for the mouth.
- Thread the needle with black yarn. Stitch a wide smile just above the heel crease.
- Glue one googly eye to each side of the upper foot. Press firmly for 10 seconds.
- Let glue dry 20 minutes. Slide hand into the heel to play.


25. Pumpkin Cereal Ring Art
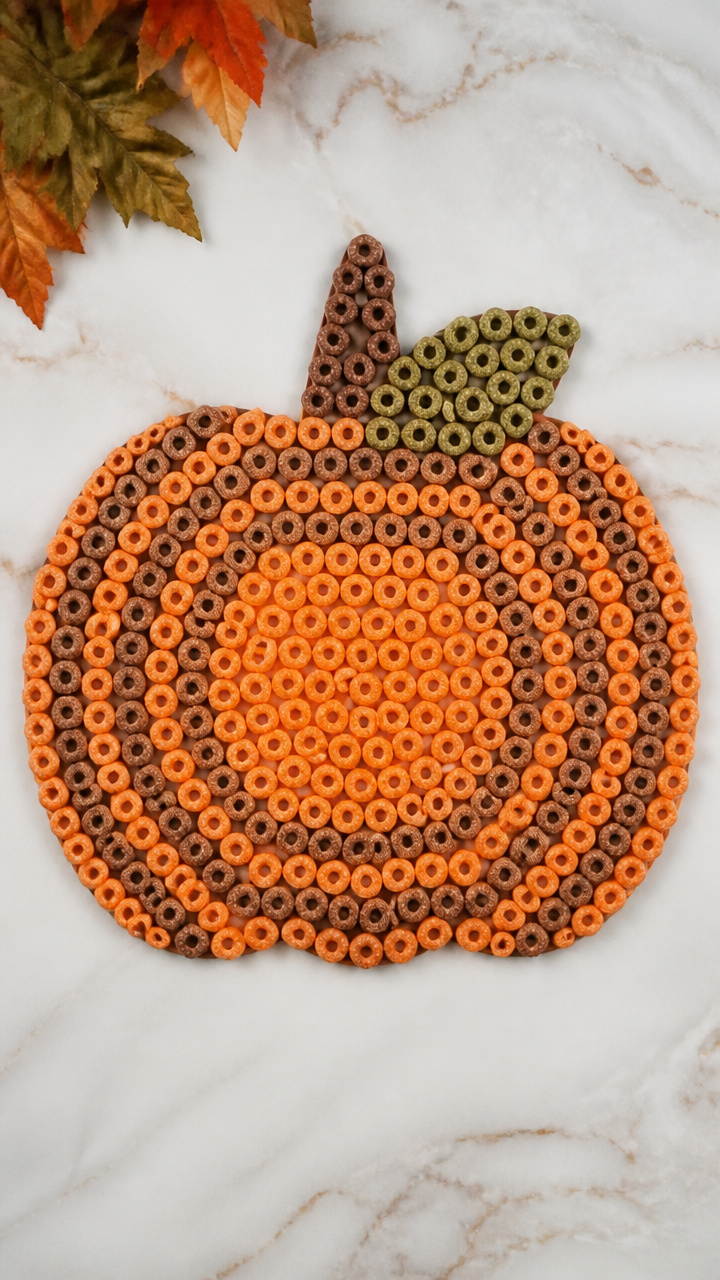
Cheerios-style cereal loops glue into concentric circles on cardboard. The result looks like a pumpkin from above.
Materials Needed
- Cardboard, 6×6 inch
- White glue
- Round cereal, 1/2 cup
- Pencil
- Bottle cap, 1 inch
How to Make It
- Trace the bottle cap in the center of the cardboard. This is the inner circle.
- Draw 3 larger concentric circles around it, each 1 inch apart.
- Apply glue inside the first ring. Press cereal loops side by side to fill it.
- Repeat for each ring. Let dry 2 hours. Display flat or hang with tape.


You’ve got everything you need to start creating right now. Grab a basket and head to the dollar store with this list in hand. These little pumpkins will bring big smiles all season long.