20 Fall Door Hanger Ideas

The air turns crisp, leaves begin to fall, and your front door deserves a seasonal welcome. These handmade hangers bring warmth and charm without needing a long crafting history.
Each idea uses different materials and techniques so you can explore new skills or revisit favorites with a fresh twist. Pick one that matches your style and let the season shine on your doorstep.
1. Burlap Leaf Appliqué Hanger
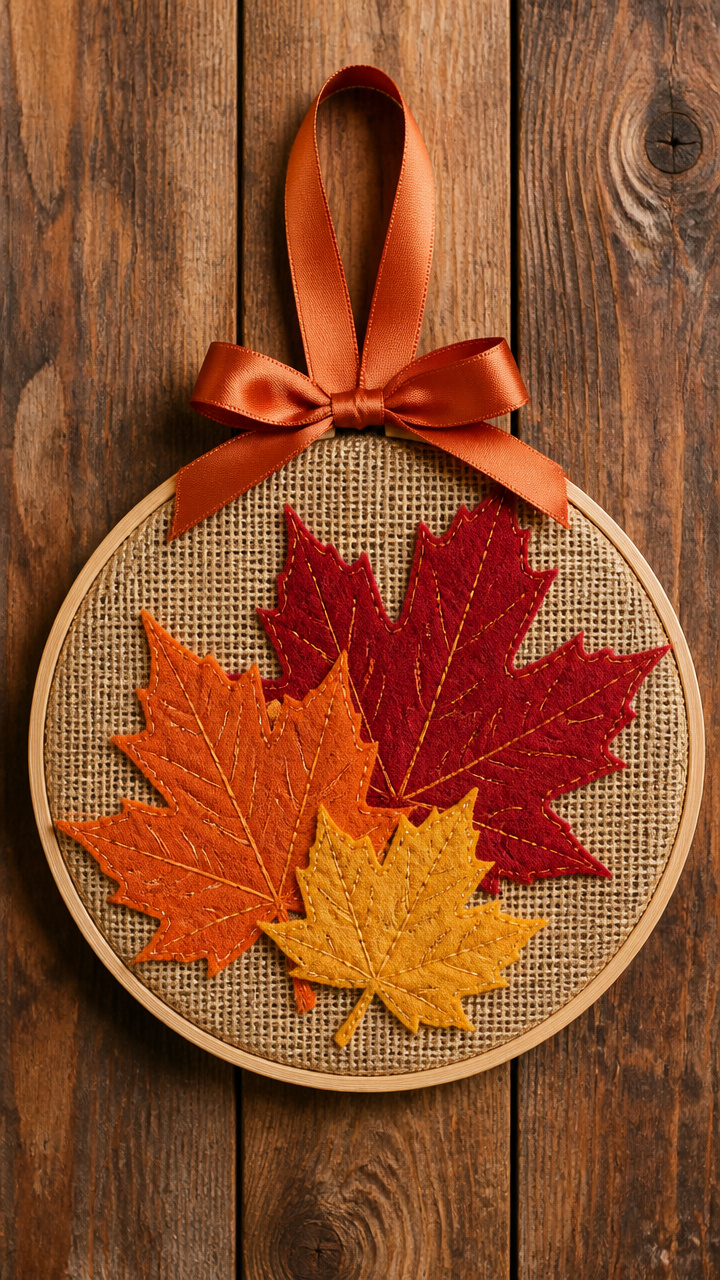
Rough-textured burlap cut into maple leaves adds rustic warmth to any entry. This hanger stands out with layered fabric shapes and earthy stitching.
Materials Needed
- 12-inch wooden embroidery hoop
- 18×24 inch piece of natural burlap
- Scissors
- Hot glue gun with glue sticks
- Three 4-inch felt maple leaves (in red, orange, yellow)
- 6-inch satin ribbon in burnt orange
- Needle and tan thread
How to Make It
- Remove the inner hoop and lay the outer ring flat. Wrap the burlap around it evenly and press the inner hoop down to secure the fabric taut.
- Glue the three felt leaves slightly overlapping near the bottom edge of the hoop, using small dabs of hot glue on the back corners.
- Stitch around each leaf with a whipstitch using the needle and tan thread for extra hold and texture.
- Tie the ribbon into a loop at the top of the hoop for hanging.


2. Mini Pumpkin Stack Hanger
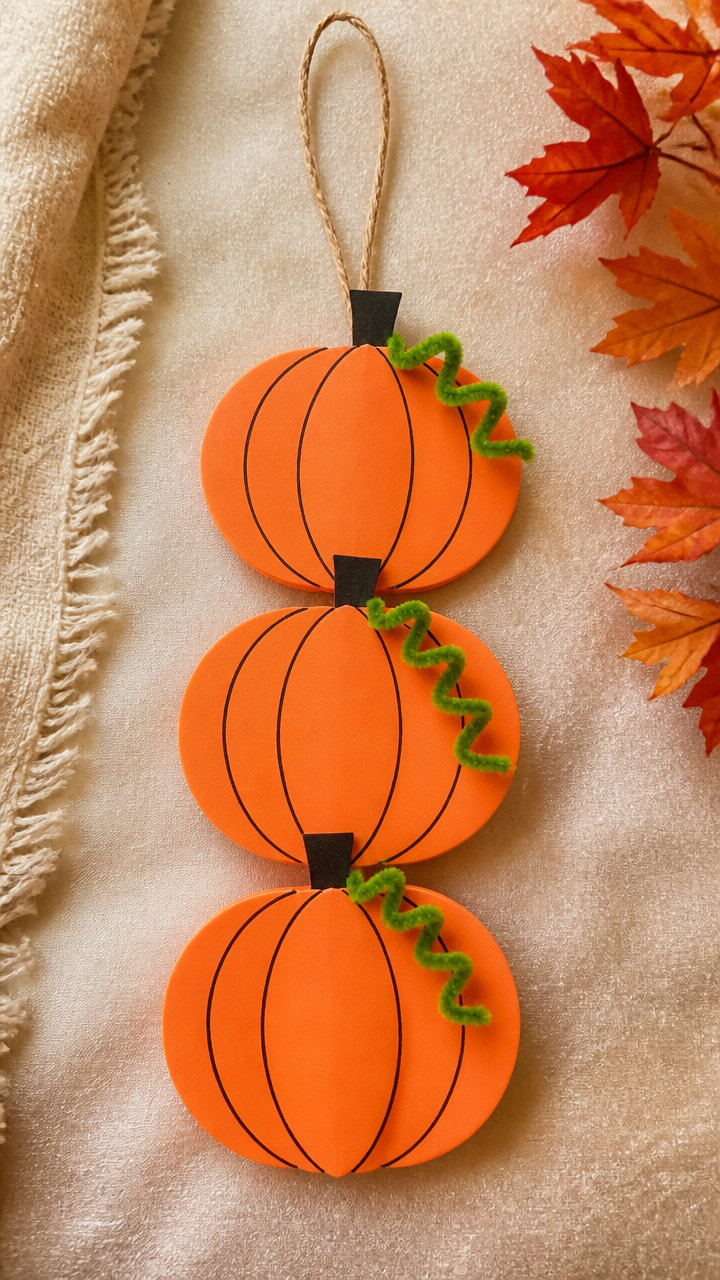
Tiny painted pumpkins stacked like a totem add playful autumn charm. This lightweight hanger uses craft foam for a soft, colorful look.
Materials Needed
- Three craft foam pumpkins (1.5, 2, and 2.5 inches in diameter)
- Orange acrylic paint
- Green pipe cleaner
- Black fine-tip marker
- 6-inch jute cord
- Hot glue gun with glue sticks
- Foam cone base (3 inches tall)
How to Make It
- Paint each foam pumpkin with orange acrylic paint, let dry completely for 20 minutes.
- Draw simple stem lines on top of each pumpkin with the black marker.
- Stack the pumpkins from largest to smallest on the foam cone, gluing each layer with hot glue between them.
- Twist the pipe cleaner around the top pumpkin to form a curly vine and glue in place. Attach the jute cord to the back with glue.



3. Pressed Maple Wreath Hanger
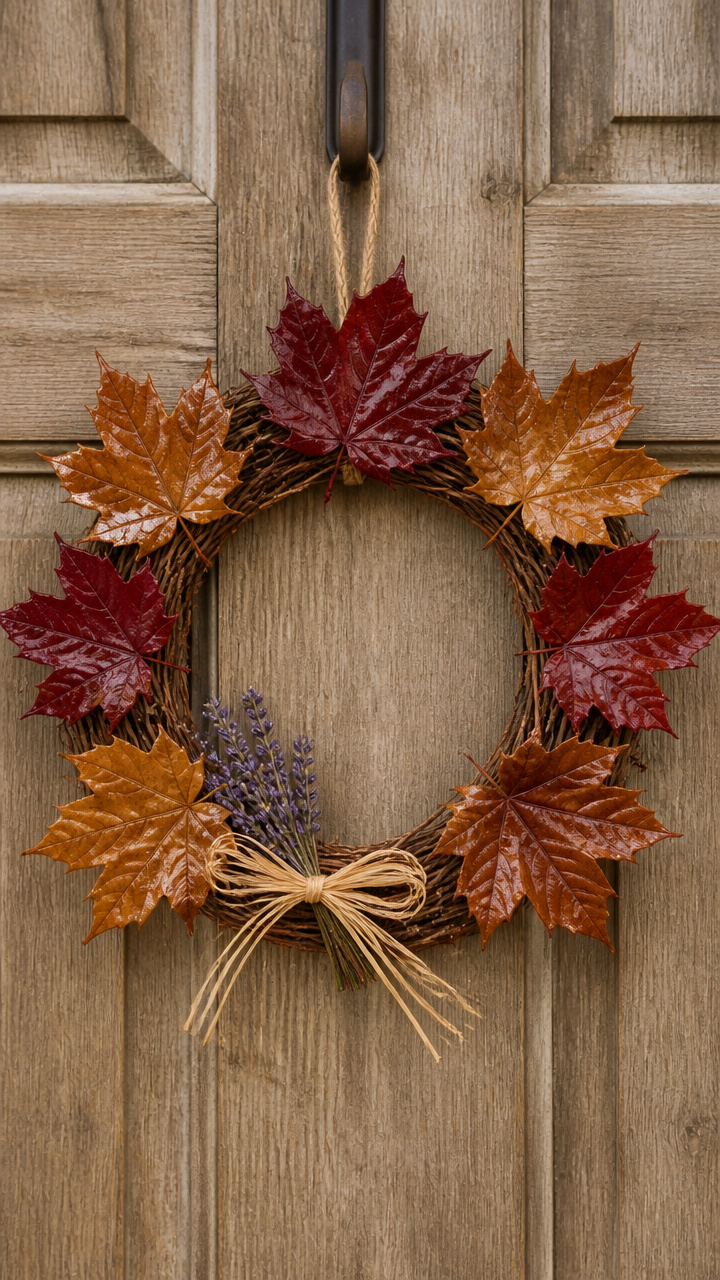
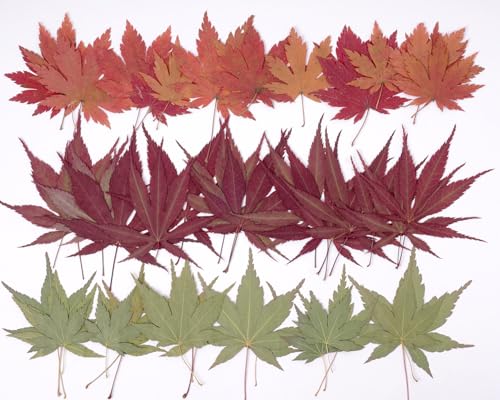
Real dried maple leaves arranged in a circle preserve the season’s fleeting beauty. This delicate hanger uses glycerin-treated leaves for lasting color.
Materials Needed
- Eight pressed maple leaves treated with glycerin
- 9-inch grapevine wreath base
- Floral wire (22 gauge, 12 inches long)
- Wire cutters
- Small sprig of dried lavender
- Raffia (10 inches)
- Craft glue
How to Make It
- Lay the leaves evenly around the front of the grapevine wreath, spacing them like wheel spokes.
- Cut six 2-inch lengths of floral wire and wrap each around a leaf stem and the wreath to secure, twisting tightly at the back.
- Glue the lavender sprig to the bottom center, letting it peek through the leaves.
- Tie raffia into a bow and attach it where the lavender meets the wreath.


4. Chalkboard Paint Sign Hanger
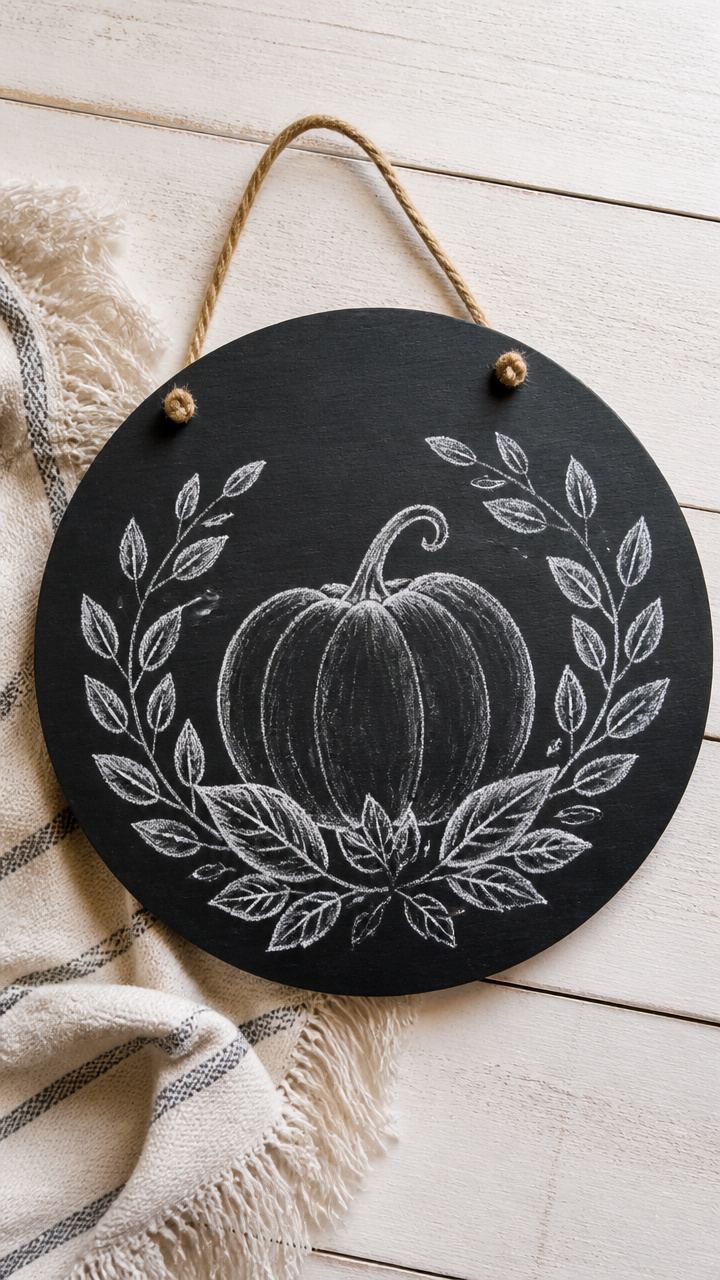
A wooden disc with a hand-lettered seasonal message offers cozy versatility. Change the words anytime with a damp cloth.
Materials Needed
- 6-inch unfinished wood disc
- Black chalkboard paint
- Foam brush (1 inch wide)
- White chalk
- Fine-grit sandpaper
- Twine (8 inches)
- Drill with 1/8-inch bit
How to Make It
- Sand the wood disc lightly until smooth. Wipe away dust with a dry cloth.
- Apply one even coat of chalkboard paint with the foam brush, let dry for 4 hours, then apply a second coat.
- Once fully dry, condition the surface by rubbing chalk sideways across it, then wipe clean with a soft cloth.
- Drill a small hole at the top edge and thread twine through to hang. Write 'Hello Autumn' in cursive with white chalk.


5. Felt Acorn Cluster Hanger
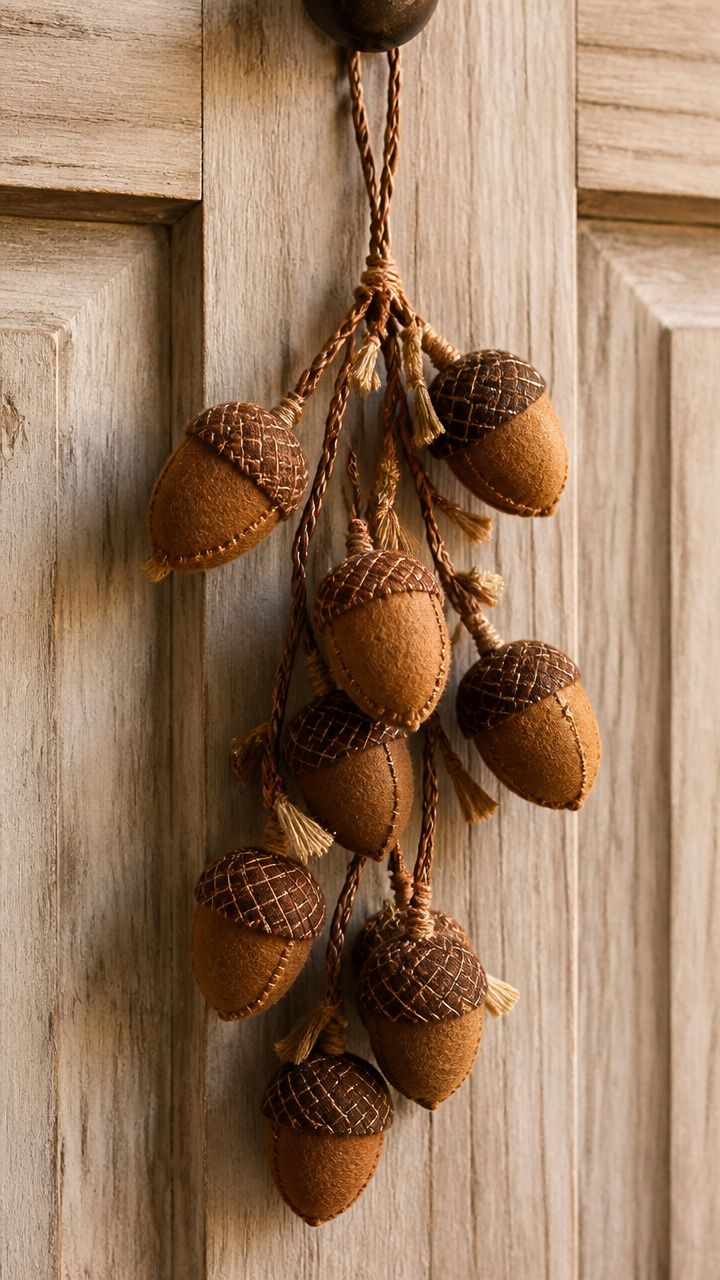
Soft felt acorns with wired caps dangle like woodland treasure. This tactile design brings forest charm to urban porches.
Materials Needed
- Brown felt sheet (9×12 inches)
- Copper wire (20 gauge, 18 inches)
- Polyester stuffing
- Tan embroidery floss
- Scissors
- Needle
- Leather lace (7 inches)
How to Make It
- Cut two acorn cap shapes and one acorn body shape from the felt. The body should be teardrop-shaped and 3 inches tall.
- Sew the acorn body closed with a running stitch using tan embroidery floss, leaving the top open. Stuff lightly with polyester filling.
- Wrap copper wire around the top of the cap, twist the ends together to form a loop, then glue the cap over the stuffed body’s top.
- Repeat to make three acorns. Tie them together at their wire loops with leather lace, arranging them in a cluster.
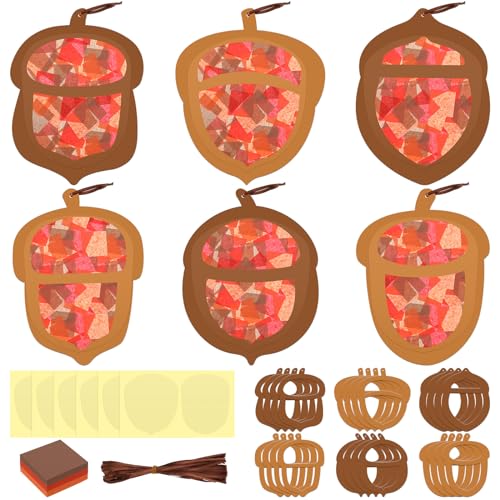


6. Cinnamon Stick Bundle Hanger
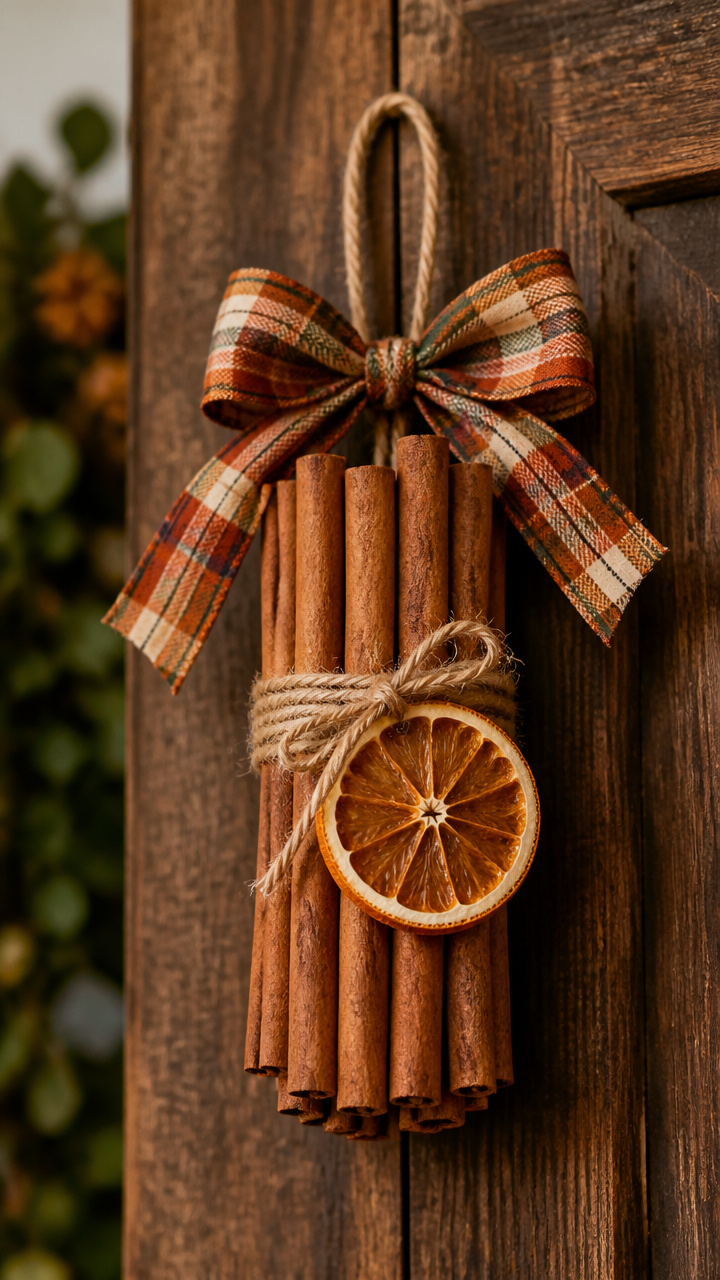
A tight bundle of cinnamon sticks releases a warm scent every time the door opens. This aromatic hanger doubles as a natural air freshener.
Materials Needed
- Twelve whole cinnamon sticks (6 inches long)
- Jute string (24 inches)
- Hot glue gun
- Dried orange slice
- Ribbon (6 inches, plaid flannel)
- Scissors
How to Make It
- Lay the cinnamon sticks side by side into a tight bundle. Wrap jute string around the center and tie a secure knot.
- Add a dot of hot glue under the knot to prevent slipping, then trim excess string.
- Glue the dried orange slice to the front, just below the center tie.
- Tie the flannel ribbon around the bundle above the orange slice to form a small bow and hang from the jute loop.
7. Woven Wool Sweater Hanger
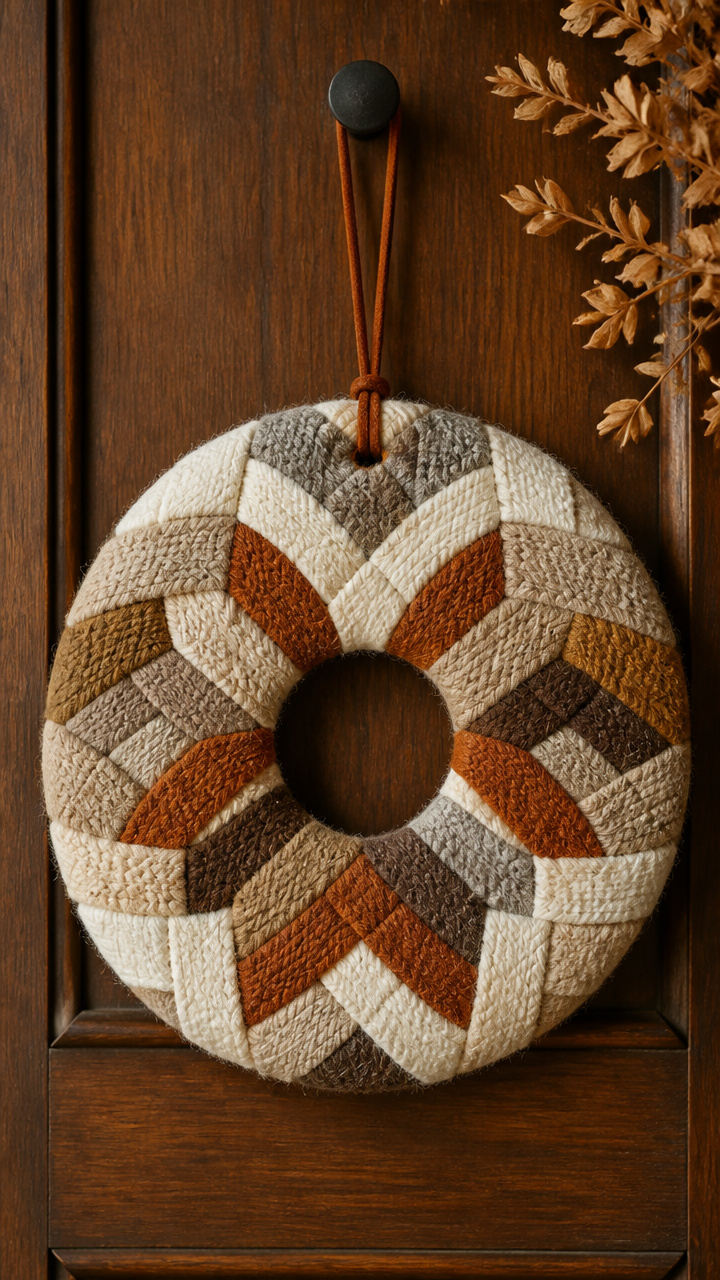
Upcycled wool sweater strips interlace into a cozy geometric shape. This soft hanger stays warm-looking even in chilly weather.
Materials Needed
- Old wool sweater (must be 100% wool, felted)
- Scissors
- Cardboard (6×6 inch square)
- Fabric glue
- Leather cord (9 inches)
- Ruler
- Pencil
How to Make It
- Cut the sweater into 1-inch wide strips, removing seams and collars. You will need eight 6-inch strips.
- Make a weaving frame by cutting slits every inch along two opposite sides of the cardboard square.
- Weave four strips vertically into the slits, then weave four horizontally over and under to create a checkerboard pattern.
- Glue the ends of each strip to the back of the cardboard, remove from frame, and attach the leather cord to the top edge.


8. Wood Slice Monogram Hanger
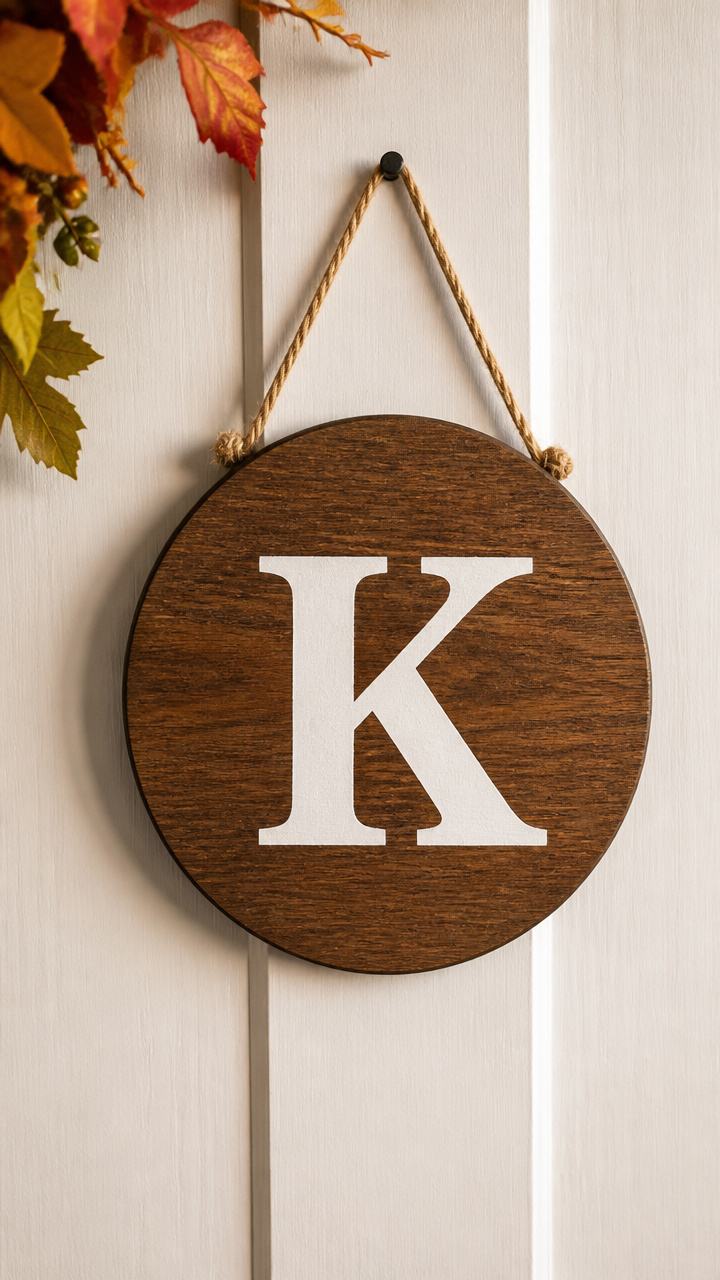
A stained wood slice with a stenciled letter grounds your porch in personal warmth. This sturdy piece ages beautifully outdoors.
Materials Needed
- 5-inch wood slice (sanded, no bark)
- Dark walnut wood stain
- Foam applicator pad
- Letter stencil (3 inches tall)
- White outdoor paint pen
- Clear matte sealant spray
- Sisal rope (10 inches)
How to Make It
- Apply wood stain evenly with the foam pad, following the grain. Let dry for 2 hours on a flat surface.
- Place the stencil in the center and trace the letter carefully with the white paint pen, pressing steadily.
- Let the paint dry for 1 hour, then apply two light coats of sealant spray, waiting 15 minutes between coats.
- Tie sisal rope through a pre-drilled hole at the top for hanging.


9. Plaid Fabric Pocket Hanger
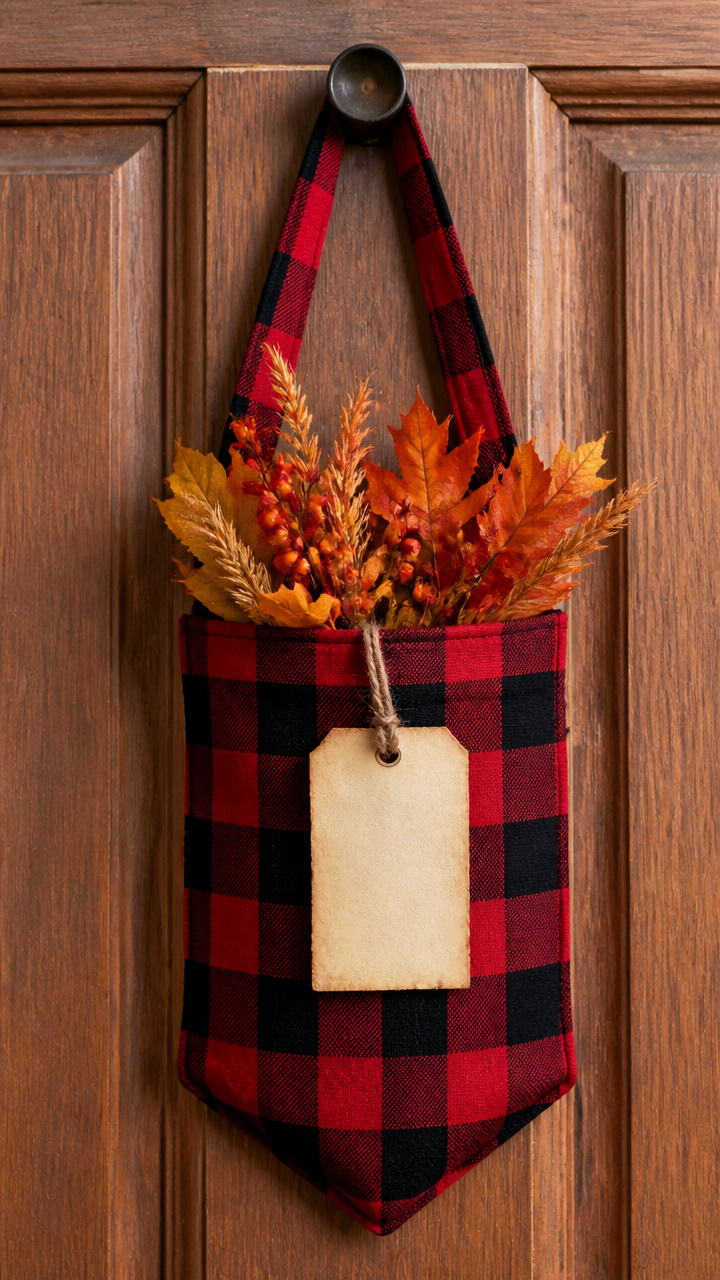
A stitched pocket holds a seasonal card or mini bouquet. This functional hanger combines country style with everyday use.
Materials Needed
- Red and black plaid cotton fabric (8×10 inches)
- Matching thread
- Sewing machine
- Iron
- Scissors
- Parchment tag (3×4 inches)
- Twine (6 inches)
How to Make It
- Cut two identical 5×6 inch rectangles from the plaid fabric. Place right sides together and pin the edges.
- Sew around three sides with a 1/4-inch seam allowance, backstitching at start and end. Turn right side out and press flat.
- Fold the top edge down 1 inch to form a clean hem and stitch close to the edge all around.
- Slide the parchment tag into the pocket and tie twine through the top corners to hang.


10. Gilded Pinecone Hanger
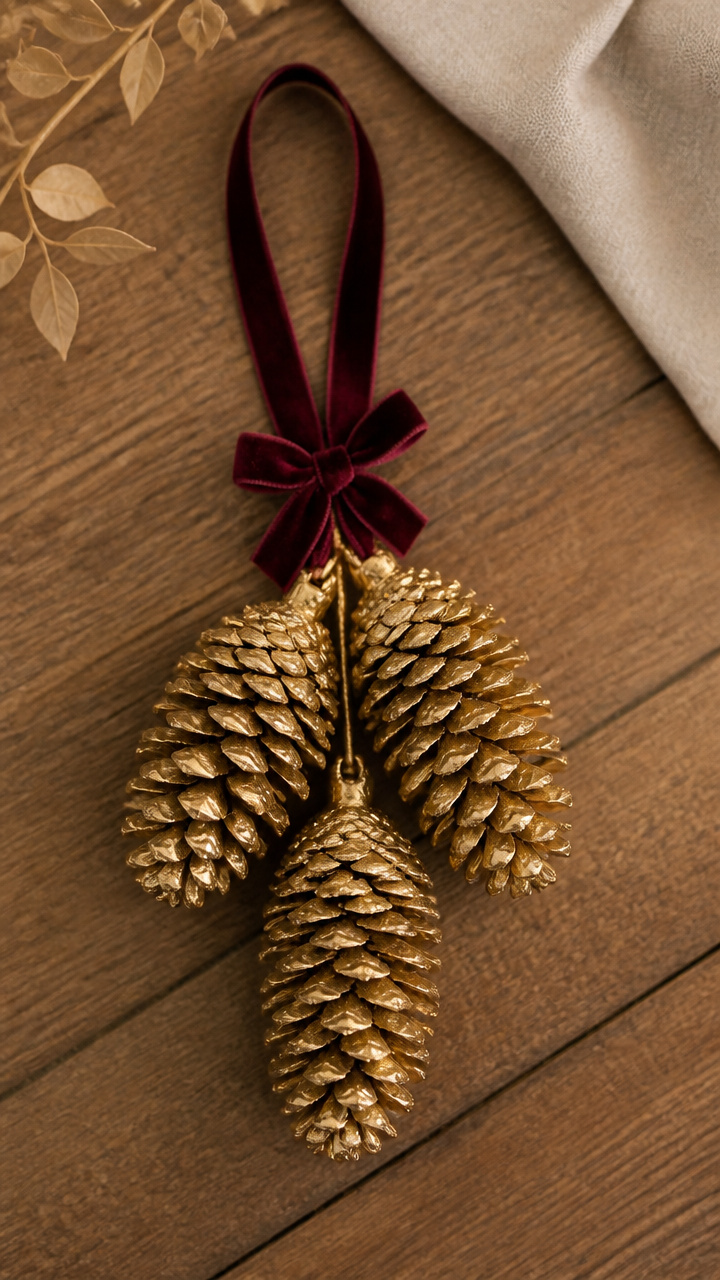
Pinecones dipped in gold paint catch the low autumn light. This elegant hanger blends nature and sparkle without looking flashy.
Materials Needed
- Three medium pinecones
- Gold metallic acrylic paint
- Paintbrush (1/2 inch flat)
- Paper plate
- Hot glue gun
- Ribbon (7 inches, velvet burgundy)
- Fishing line (12 inches)
How to Make It
- Place a small amount of gold paint on the paper plate. Brush the tips of the outer scales only, letting the base stay brown.
- Set each pinecone aside on wax paper to dry completely for 1 hour.
- Glue the three pinecones together at their bases into a triangle shape, allowing space between them.
- Thread fishing line through the top pinecone and tie securely. Attach the ribbon to the line with a knot.


11. Apple Cider Scented Sachet
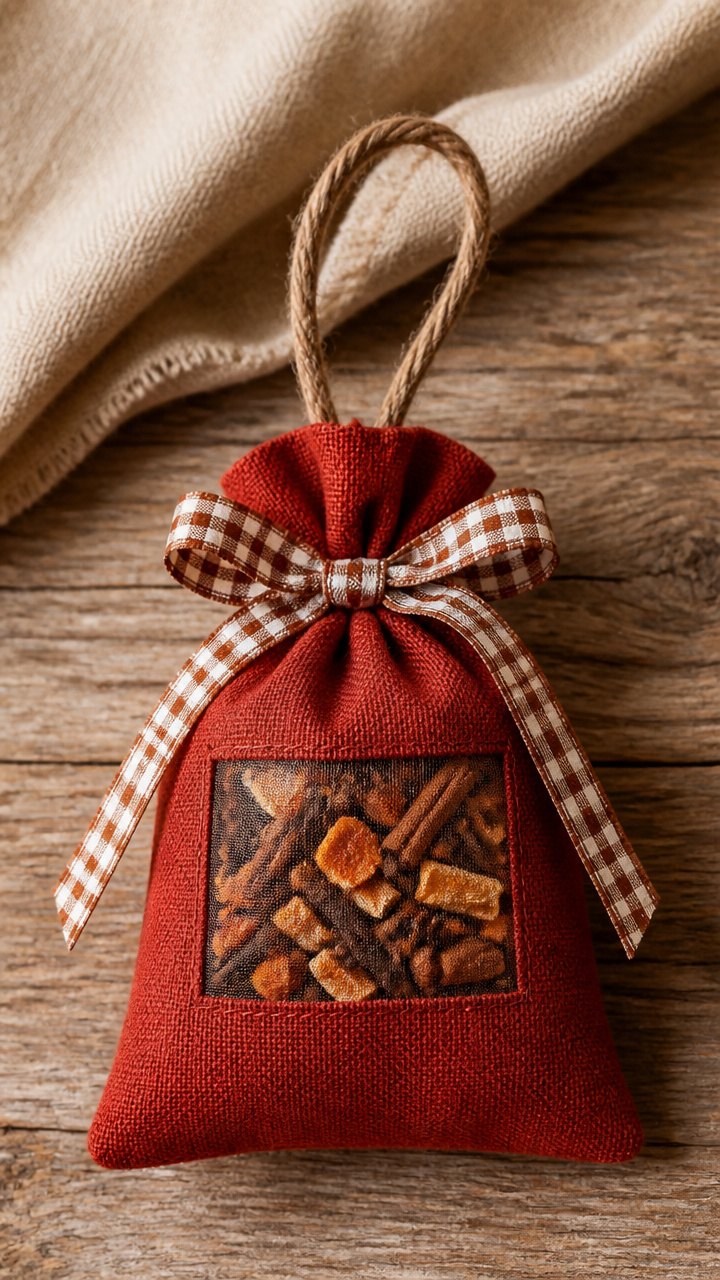
A fabric pouch filled with spiced potpourri smells like simmering stovetop cider. This hanger invites guests in with its aroma.
Materials Needed
- Red linen fabric (6×6 inches)
- Cinnamon sticks (crushed, 2 tablespoons)
- Whole cloves (1 tablespoon)
- Dried orange peel (1 tablespoon)
- Needle and thread
- Ribbon (8 inches, gingham)
- Scissors
How to Make It
- Cut the linen into two 4×4 inch squares. Place right sides together and sew around three edges with a 1/4-inch seam.
- Turn the pouch right side out and press gently with an iron on low heat.
- Mix the crushed cinnamon, cloves, and orange peel in a bowl. Spoon the mixture into the pouch.
- Fold the open edge inward 1/4 inch and sew shut with a whipstitch. Tie the gingham ribbon around the top to hang.


12. Twine-Wrapped Letter Hanger
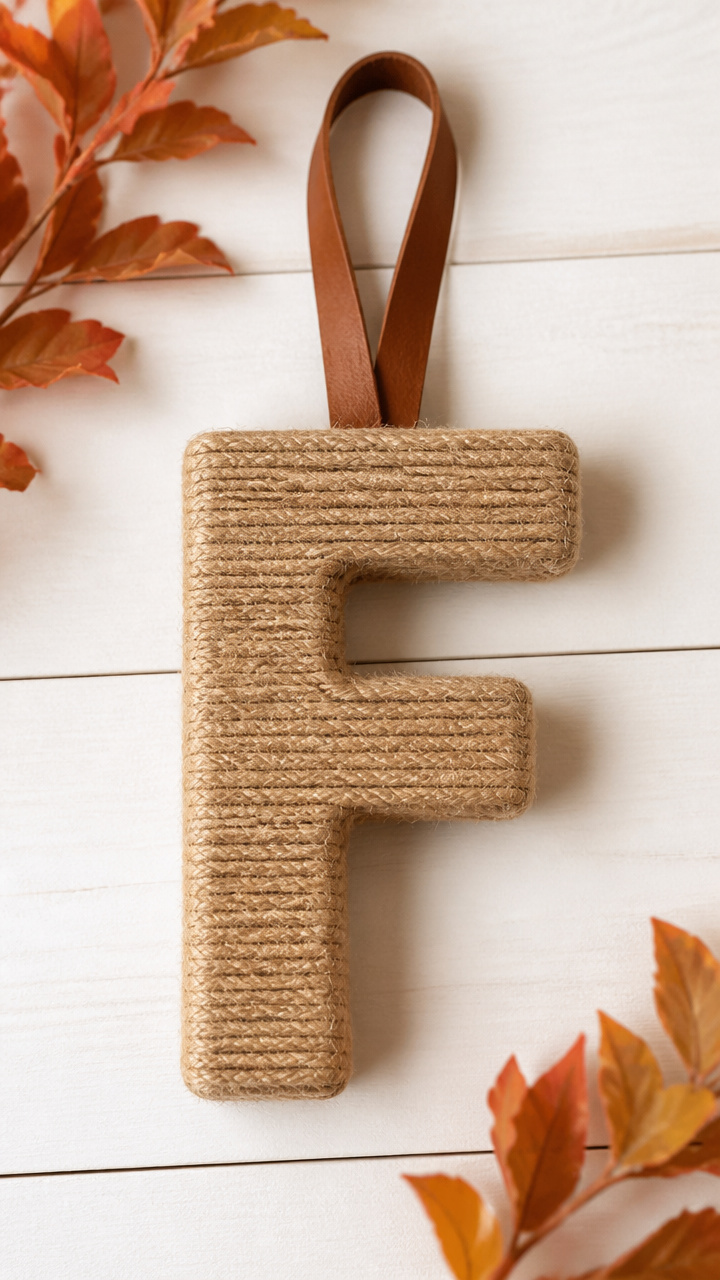
A bold cardboard letter wrapped tightly in jute creates clean, modern texture. This minimalist hanger works on farmhouse or city doors alike.
Materials Needed
- Cardboard letter 'F' (6 inches tall)
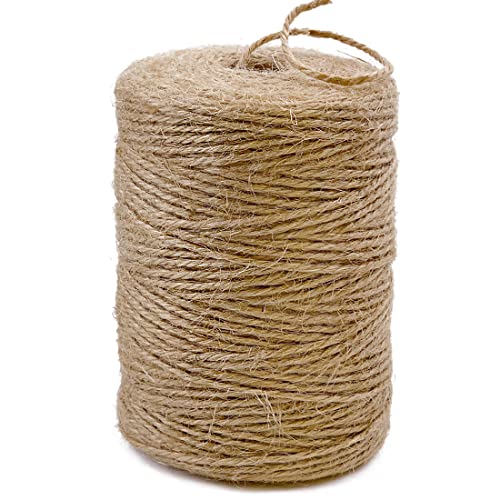
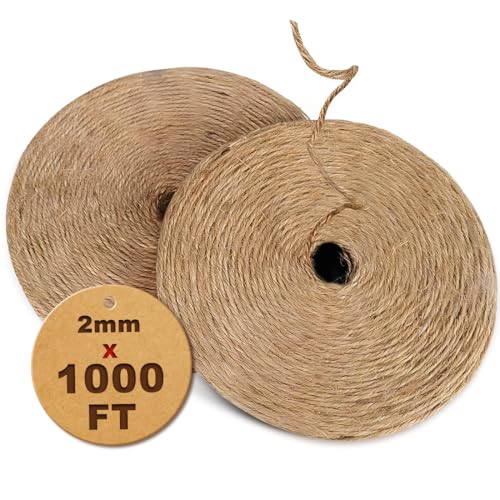
- Jute twine (5 yards)
- White craft glue
- Paintbrush (1/2 inch)
- Hole punch
- Leather strap (6 inches)
How to Make It
- Brush a thin layer of craft glue onto one side of the cardboard letter using the paintbrush.
- Start wrapping the twine tightly around the base of the letter, adding more glue every inch to keep it stuck.
- Continue wrapping until the entire letter is covered, trimming the end and securing with a dab of glue.
- Punch a hole at the top and thread the leather strap through to form a loop.

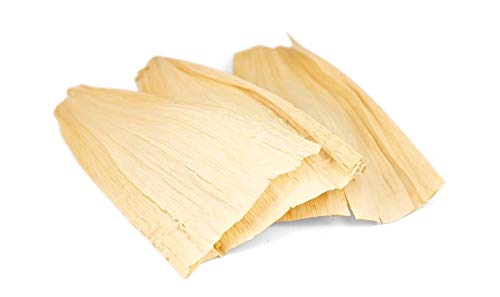
13. Harvest Corn Husk Hanger
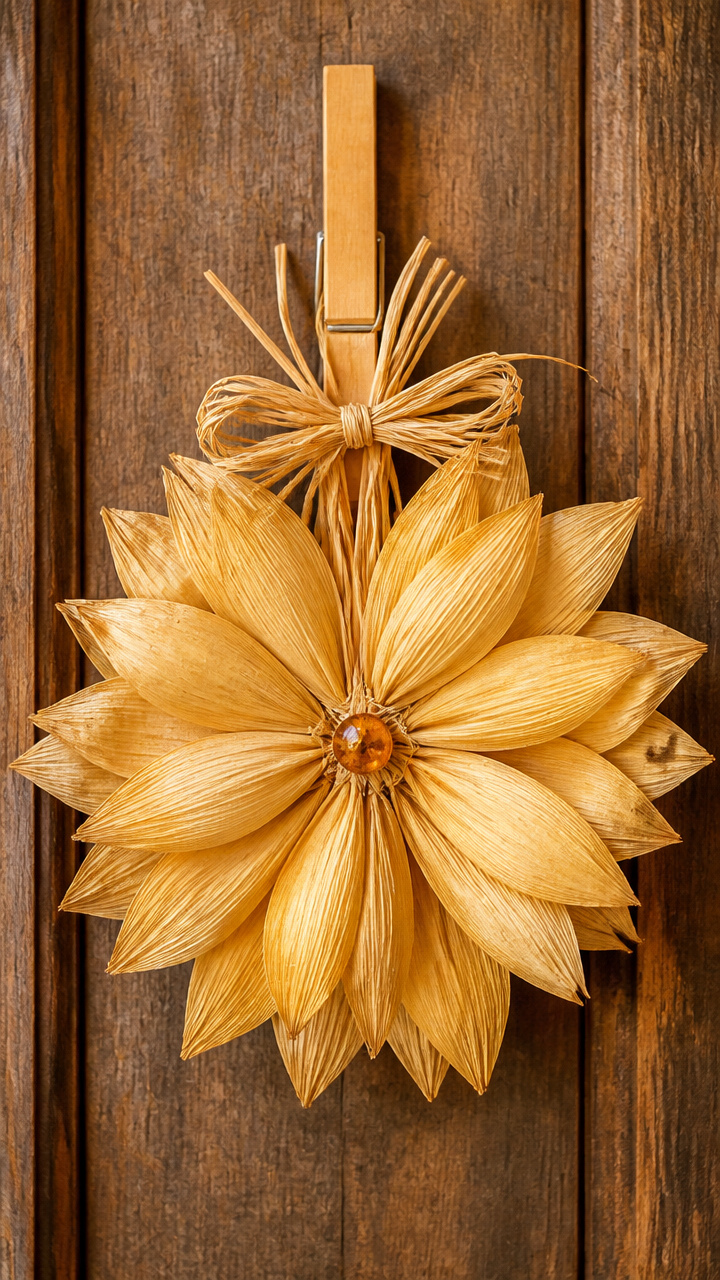
Sun-dried corn husks layered like petals form a golden flower shape. This traditional craft honors harvest roots with simple beauty.
Materials Needed
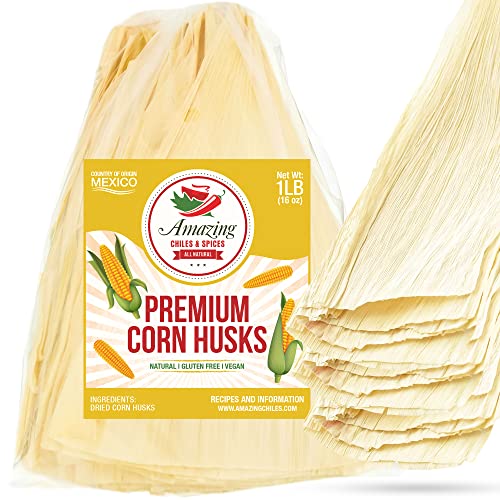
- Six dried corn husks
- Scissors
- Hot glue gun
- Wooden clothespin
- Raffia (9 inches)
- Amber glass bead (1/2 inch)
How to Make It
- Cut each corn husk into a 5-inch circle, shaping the edges to look soft and uneven.
- Stack the circles offset like flower petals, gluing each layer at the center to build dimension.
- Clip the clothespin to the back center of the stack, opening side facing out.
- Thread raffia through the clothespin’s hole, tie a loop, and add the glass bead to the front center with glue.

14. Maple Syrup Bottle Cap Hanger
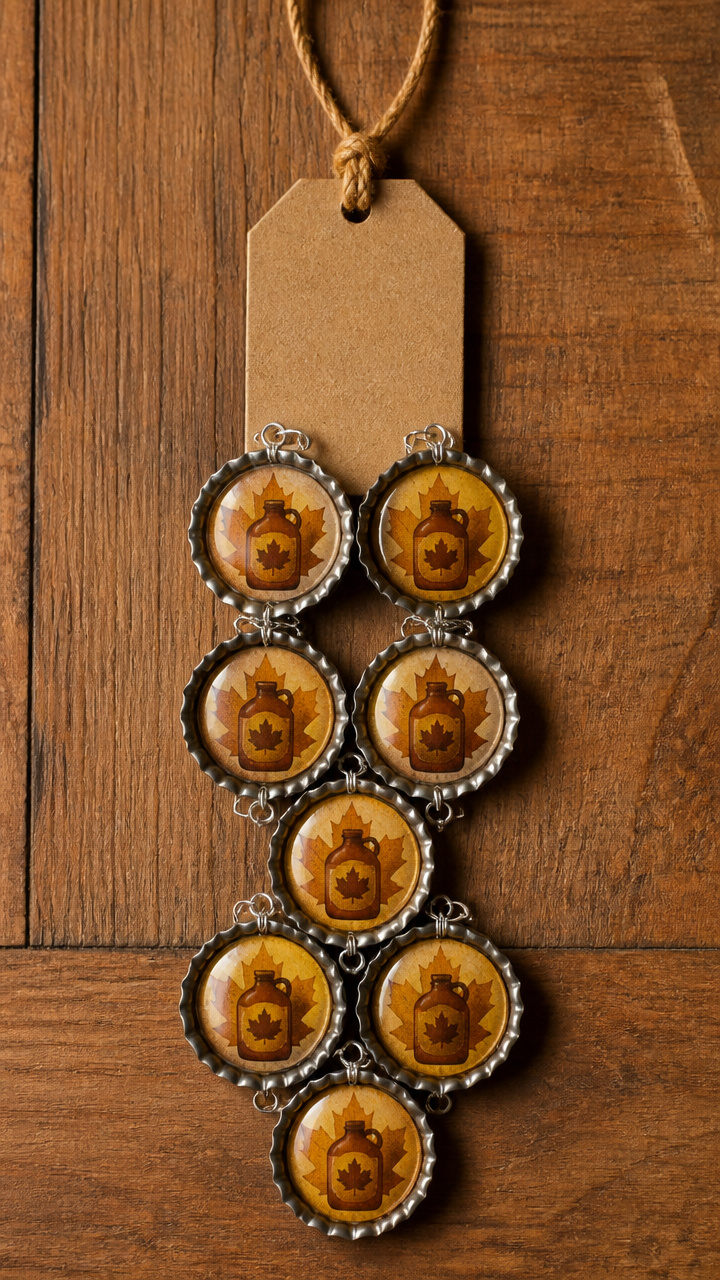
Recycled bottle caps wired together mimic tiny autumn shields. This quirky hanger celebrates local flavors with industrial charm.
Materials Needed
- Nine empty maple syrup bottle caps
- Silver wire (22 gauge, 24 inches)
- Wire cutters
- Pliers
- Brown kraft paper (4×4 inches)
- Twine (7 inches)
How to Make It
- Clean and dry each cap thoroughly. Lay them in a 3×3 grid face up.
- Cut three 8-inch wires. Thread one through the center row of caps, twisting tightly at both ends to secure.
- Use pliers to bend the twisted ends upward and link them to a central vertical wire that connects all rows.
- Write 'Sweet Season' on the kraft paper, roll it into a tiny scroll, and tie with twine. Hang beside the caps.


15. Knitted Scarf Hanger
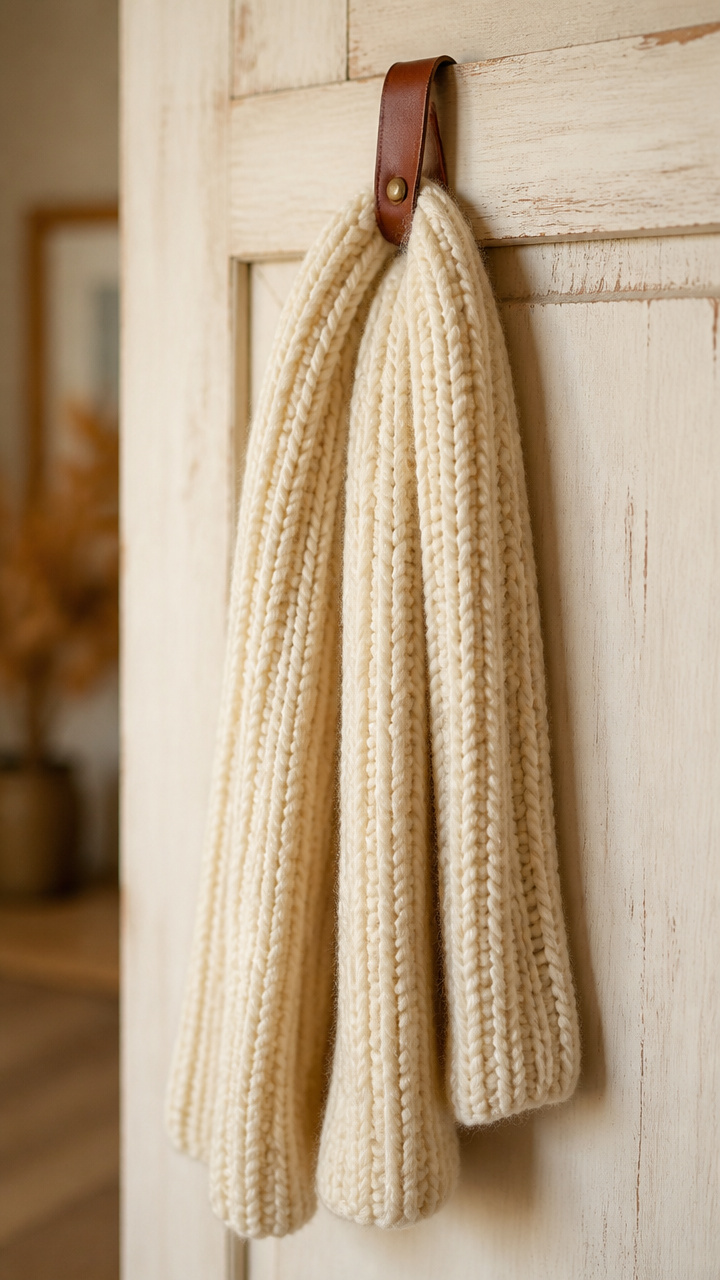
A stretch of ribbed knitting drapes like a tiny scarf on your door. This cozy textile piece feels inviting and handmade.
Materials Needed
- Chunky cream yarn (10 yards)
- Size 10 knitting needles
- Scissors
- Tapestry needle
- Leather loop (2 inches)
- Ruler
How to Make It
- Cast on 12 stitches loosely. Knit every row in rib stitch (K1, P1) for 8 inches.
- Bind off loosely and cut yarn, leaving a 6-inch tail. Use the tapestry needle to weave in the ends.
- Fold the knitted strip in half lengthwise and sew the short edges together with a whipstitch.
- Sew the leather loop to the seam at the top for hanging.


16. Vintage Book Page Wreath
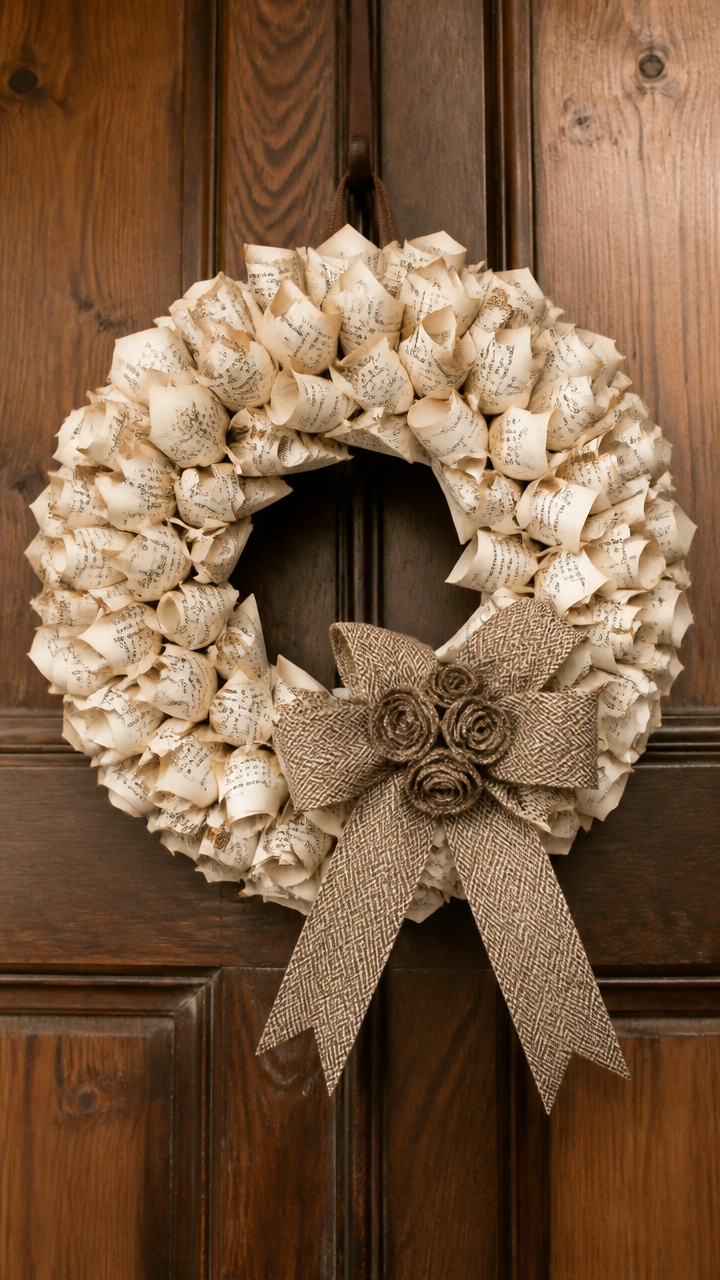
Pages from an old novel curl into rosettes for a literary fall accent. This clever hanger recycles text into sculptural texture.
Materials Needed
- Ten pages from a discarded book
- Glue stick
- 9-inch foam wreath base
- Clothespins
- Ribbon (6 inches, tweed)
- Pencil
How to Make It
- Cut each page into a 1.5-inch wide strip, about 8 inches long. Roll one end tightly and fan the rest outward.
- Glue the end of each strip to the back of the rosette and let dry for 5 minutes.
- Arrange the rosettes around the foam base, clipping them in place with clothespins while the glue sets.
- Once all are secured, tie the tweed ribbon at the bottom and remove clothespins.


17. Carved Gourd Slice Hanger
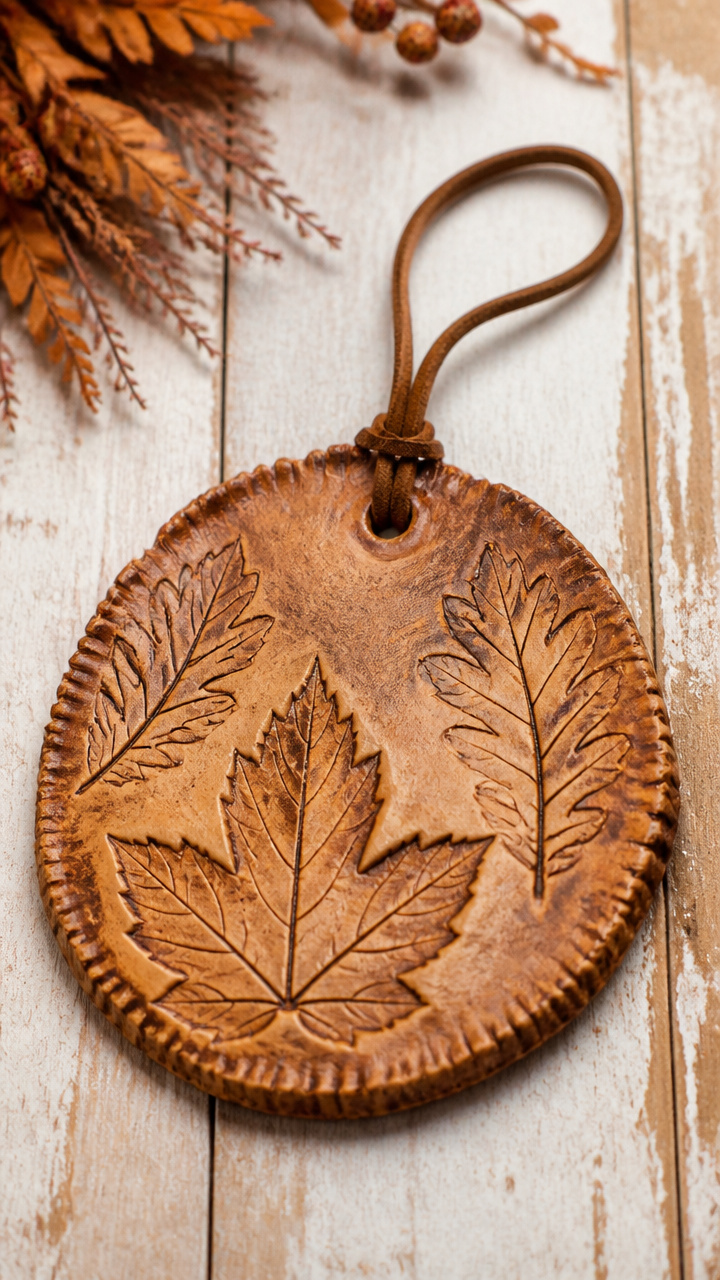
A thin slice of dried gourd with etched leaf patterns shows off natural ridges. This earthy piece highlights autumn’s organic forms.
Materials Needed
- One dried lagenaria gourd slice (1/2 inch thick, 6 inches wide)
- Linoleum cutter with #1 blade
- Pencil
- Matte varnish
- Foam brush
- Leather thong (8 inches)
How to Make It
- Sketch a simple leaf outline on the gourd surface with pencil, following the natural curve of the ridges.
- Use the linoleum cutter to gently carve along the lines, removing shallow grooves to highlight the design.
- Wipe away dust and apply one coat of matte varnish with the foam brush. Let dry for 2 hours.
- Punch two small holes near the top edge and thread the leather thong through to form a loop.


18. Flannel Shirt Tail Hanger
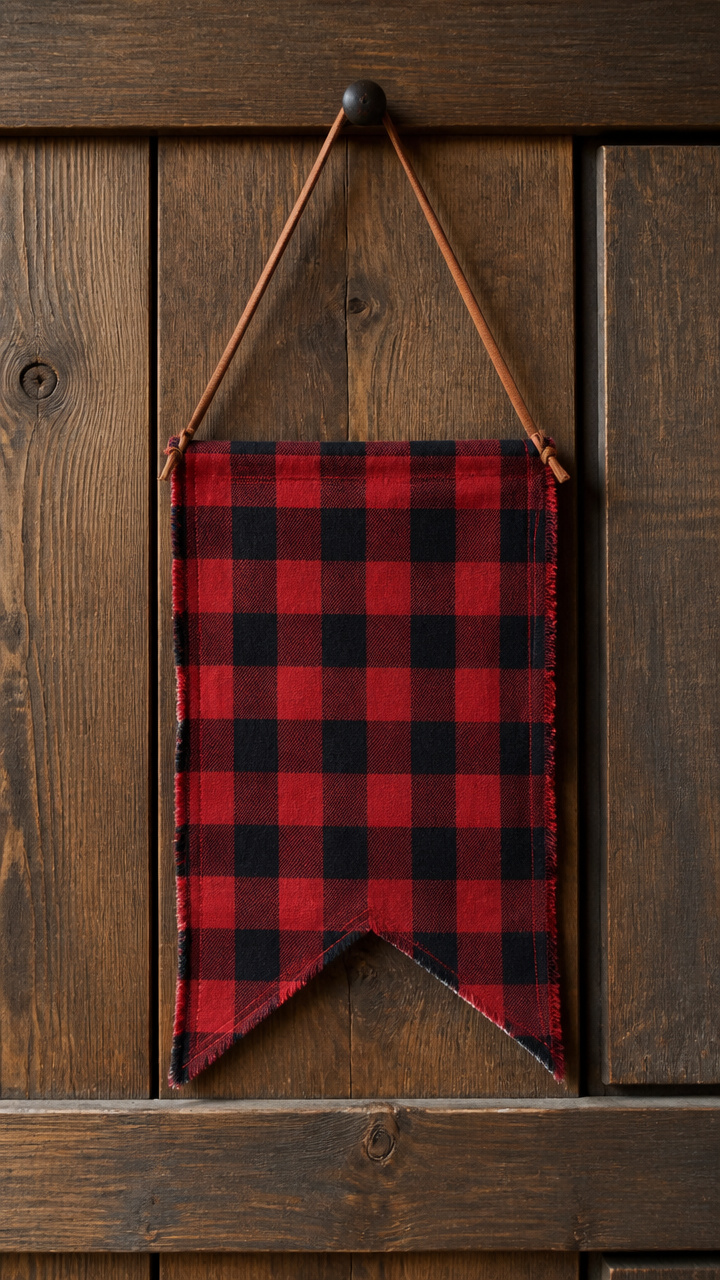
A folded shirttail from a worn flannel shirt swings like a casual flag. This nostalgic hanger repurposes a favorite garment with heart.
Materials Needed
- Tail section from a red buffalo check flannel shirt
- Scissors
- Iron
- Safety pin
- Leather cord (7 inches)
- Straight pins
How to Make It
- Cut the shirttail straight across just below the last buttonhole, keeping both side seams intact.
- Press the fabric flat with an iron on cotton setting, folding under the raw bottom edge 1/2 inch and pinning.
- Roll the sides inward toward the center to form a tapered flag shape, securing with straight pins.
- Attach the safety pin to the top back and thread the leather cord through it to hang.


19. Beeswax Leaf Seal Hanger
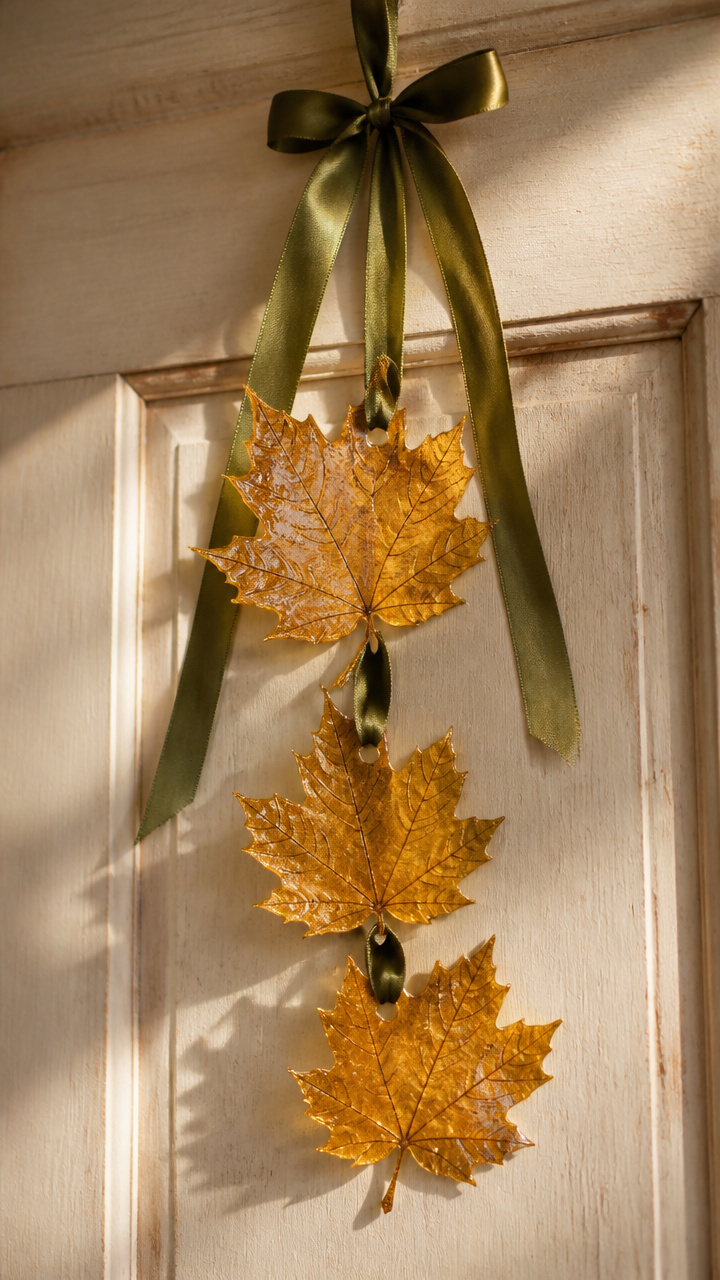
Real leaves preserved in clear beeswax become translucent keepsakes. This glossy hanger captures fall’s fragile elegance.
Materials Needed
- Three medium maple leaves
- Beeswax pellets (1/4 cup)
- Double boiler
- Tongs
- Ribbon (8 inches, olive green satin)
- Baking rack
- Parchment paper
How to Make It
- Line the rack with parchment and set aside. Melt beeswax pellets in the double boiler over low heat for 10 minutes.
- Use tongs to dip each leaf fully into the wax, then lift and let excess drip off for 5 seconds.
- Lay the leaves flat on the rack and let cool for 15 minutes until firm.
- String the ribbon through small holes punched at the top of each leaf and tie into a loop.


20. Copper Wire Grape Cluster
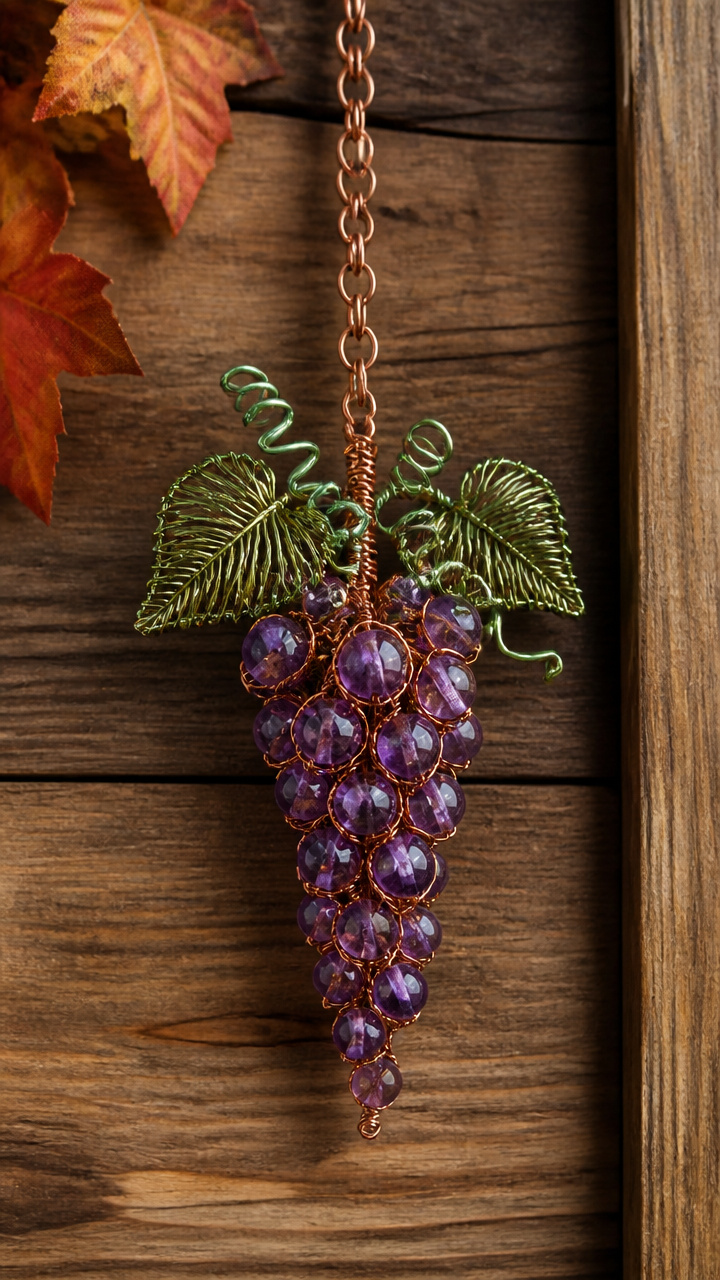
Hand-shaped copper wire holds tiny purple beads like ripe autumn grapes. This shimmering hanger catches twilight glow.
Materials Needed
- Copper wire (20 gauge, 36 inches)
- Purple glass beads (6 mm, 12 pieces)
- Round-nose pliers
- Wire cutters
- Green wire (26 gauge, 6 inches)
- Chain (4 inches)
How to Make It
- Cut twelve 3-inch wires. Slide one bead onto each and twist the ends together at the top to form a single grape.
- Group the grapes into three clusters of four, wrapping green wire around each base to bind them.
- Shape the main stem from a single 12-inch copper wire, bending the top into a hook.
- Attach the three clusters along the stem with tight wraps, then connect the chain to the hook for hanging.
You now have twenty ways to welcome the season with something made by hand. Choose one that calls to you and gather your supplies today.