15 New Year Classroom Crafts

Glitter spills across desks, scissors snip in rhythm, and kids lean in with focused eyes as they shape something bright and new. These moments spark joy and mark fresh beginnings with handmade charm.
Each craft here invites creativity while building fine motor skills and classroom camaraderie. Thoughtfully chosen, they use accessible materials and deliver joyful results that celebrate the season without clutter or hassle.
1. Glittery Countdown Clock
Easy
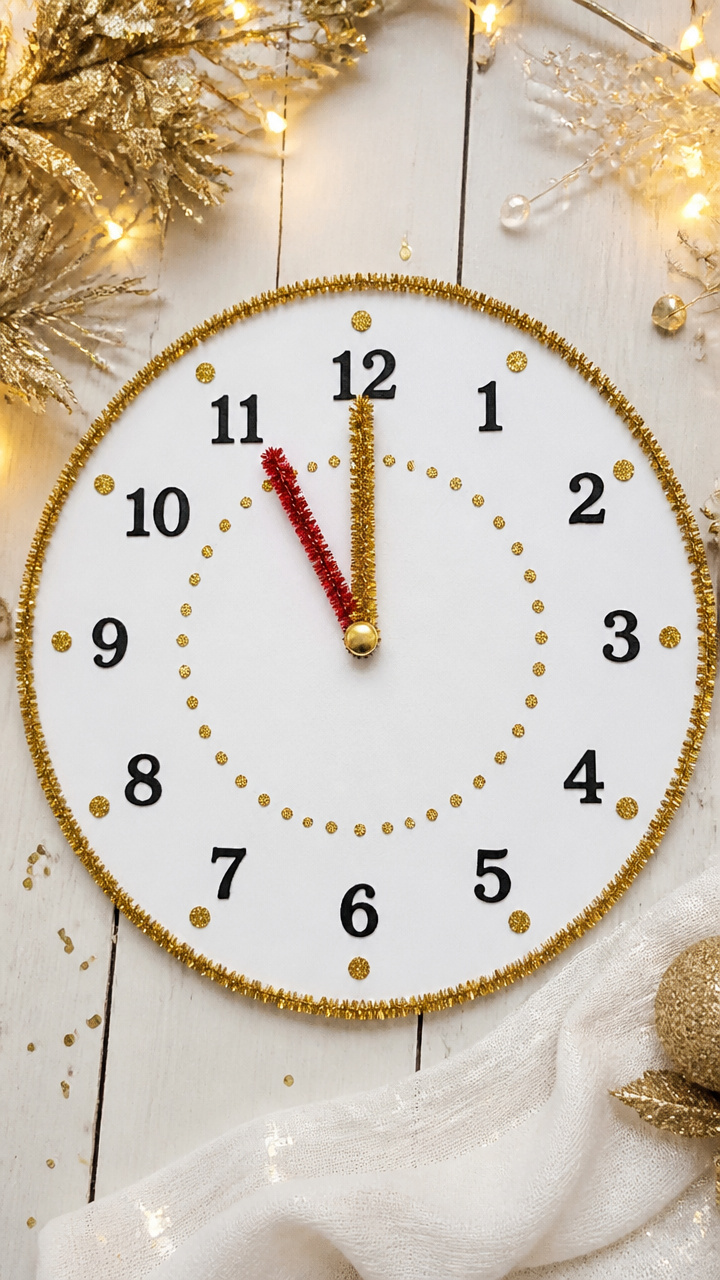
A spinning paper clock with bold numbers and shimmering hands lets kids track the final minutes before the new year. Its playful sparkle makes time tangible and exciting.
Materials Needed
- 12-inch white foam clock face
- Black fine-tip permanent marker
- Red glitter pipe cleaner (12 inches)
- Gold glitter pipe cleaner (10 inches)
- Brass fastener (1 inch)
- Glitter glue (gold)
- Scissors
- Ruler
- Pencil
How to Make It
- Use the marker to write numbers 1 through 12 evenly around the clock face, placing each at 1-inch intervals from the edge.
- Cut the red pipe cleaner to 4 inches for the hour hand and the gold to 3.5 inches for the minute hand.
- Draw a small dot in the center of the clock with the pencil, then push the brass fastener through both hands and the center dot to attach them.
- Squeeze glitter glue along the outer edge of the clock face and let it dry flat for 20 minutes.


2. New Year's Noise Makers
Easy
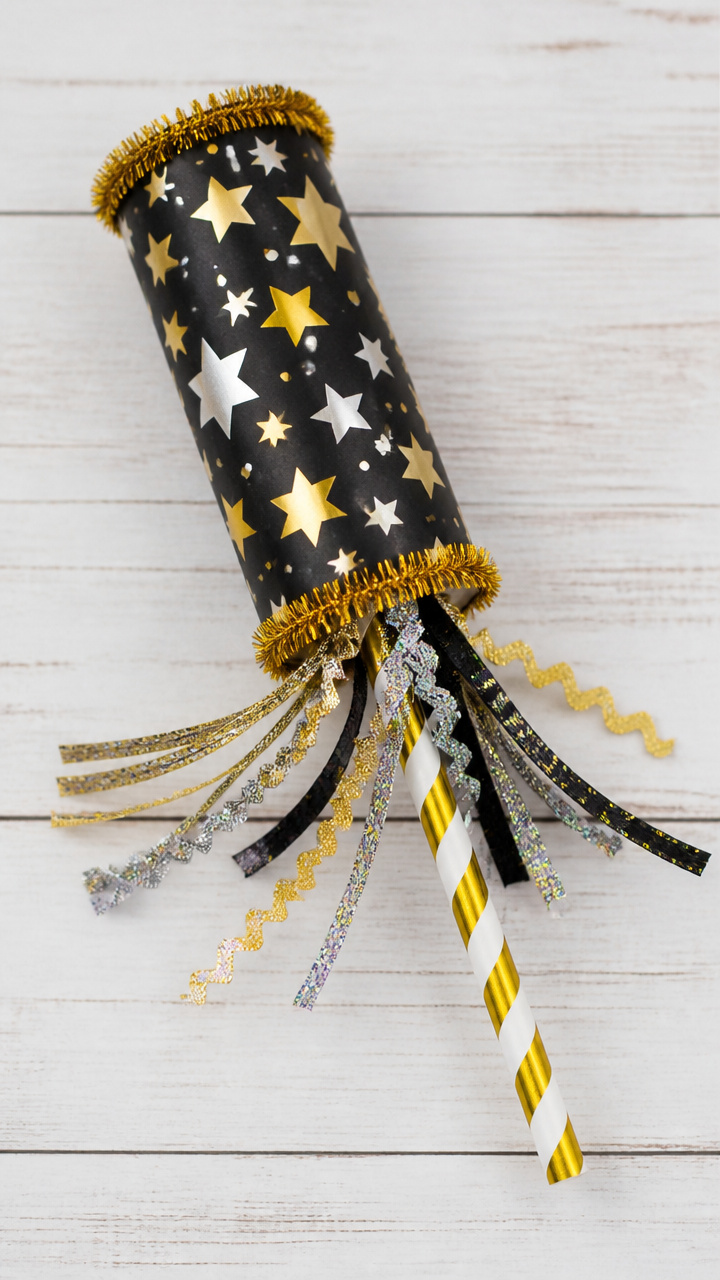
Shakeable tubes wrapped in festive paper burst with sound when waved, perfect for a classroom countdown celebration. Kids love the loud, joyful rattle.
Materials Needed
- Cardboard toilet paper rolls (1 per student)
- Colored tissue paper (6×6 inch squares, 2 per roll)
- Pony beads (10 per roll)
- Rubber bands (2 per roll)
- Glue stick
- Foil wrapping paper scraps (8×8 inch)
- Scissors
How to Make It
- Place 10 pony beads inside each toilet paper roll.
- Stretch one tissue paper square over one end of the roll and secure it tightly with a rubber band.
- Apply glue to the outer 1 inch of the roll and wrap foil paper around it, smoothing it flat.
- Repeat step 2 on the other end with the second tissue square.


3. Resolution Tree Display
Moderate
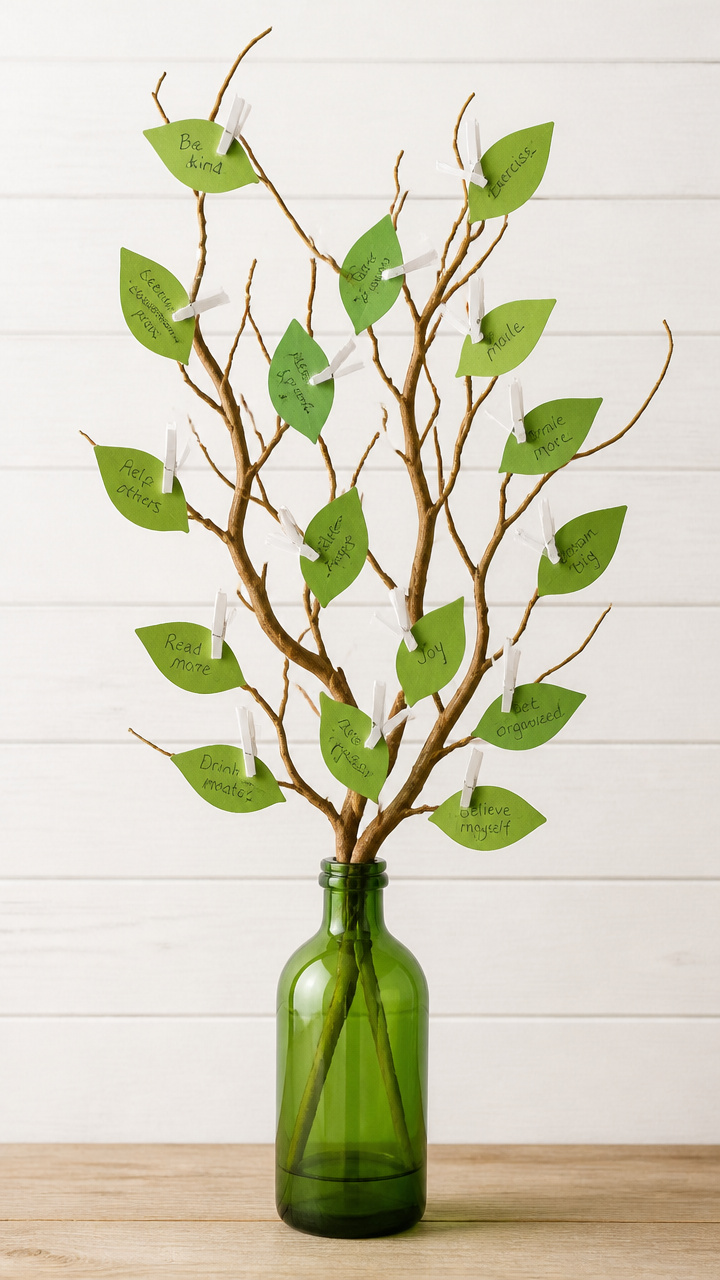
A bare branch in a painted bottle holds tiny leaves with student hopes written in pencil. It grows greener each day as promises take root.
Materials Needed
- Manzanita branch (12 inches tall)
- Clear glass milk bottle (1 per class)
- Acrylic paint (matte green, 2 oz)
- Paintbrush (1/2 inch flat)
- White mini clothespins (15)
- Green construction paper (9×12 inch sheet)
- Hole punch
- Black gel pen
How to Make It
- Paint the outside of the glass bottle with green paint, cover completely, and let dry for 1 hour.
- Cut 15 leaf shapes from the green paper, each 2 inches long, and punch a hole near the stem end.
- Write one student resolution on each leaf using the gel pen.
- Clip each leaf to a clothespin and attach to the branches.


4. Firework Handprint Art
Easy
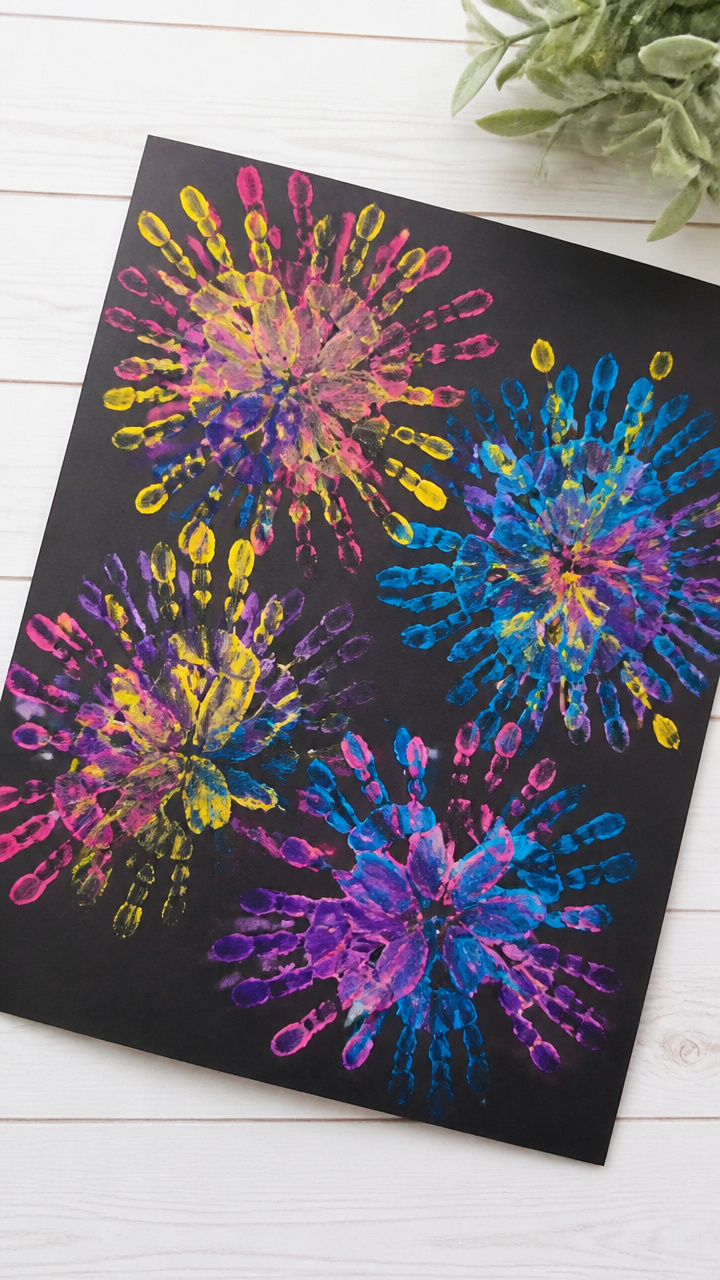
Swirling bursts of handprints in radiant colors mimic fireworks against a dark background. Each print is a unique explosion of personality.
Materials Needed
- Black A4 cardstock (1 per student)
- Tempera paint in yellow, pink, blue, purple (2 oz each)
- Paint trays (1 per color)
- Foam brushes (1 per color)
- Baby wipes
- Cotton swabs (5 per student)
How to Make It
- Pour a dime-sized drop of each paint color onto separate sections of the paint tray.
- Press one hand into each color, then stamp it near the top center of the black paper, fanning fingers outward.
- Use a clean cotton swab to dab small white dots along the edges of each print to mimic sparks.
- Let artwork dry flat for 30 minutes.


5. Confetti Popper Caps
Moderate
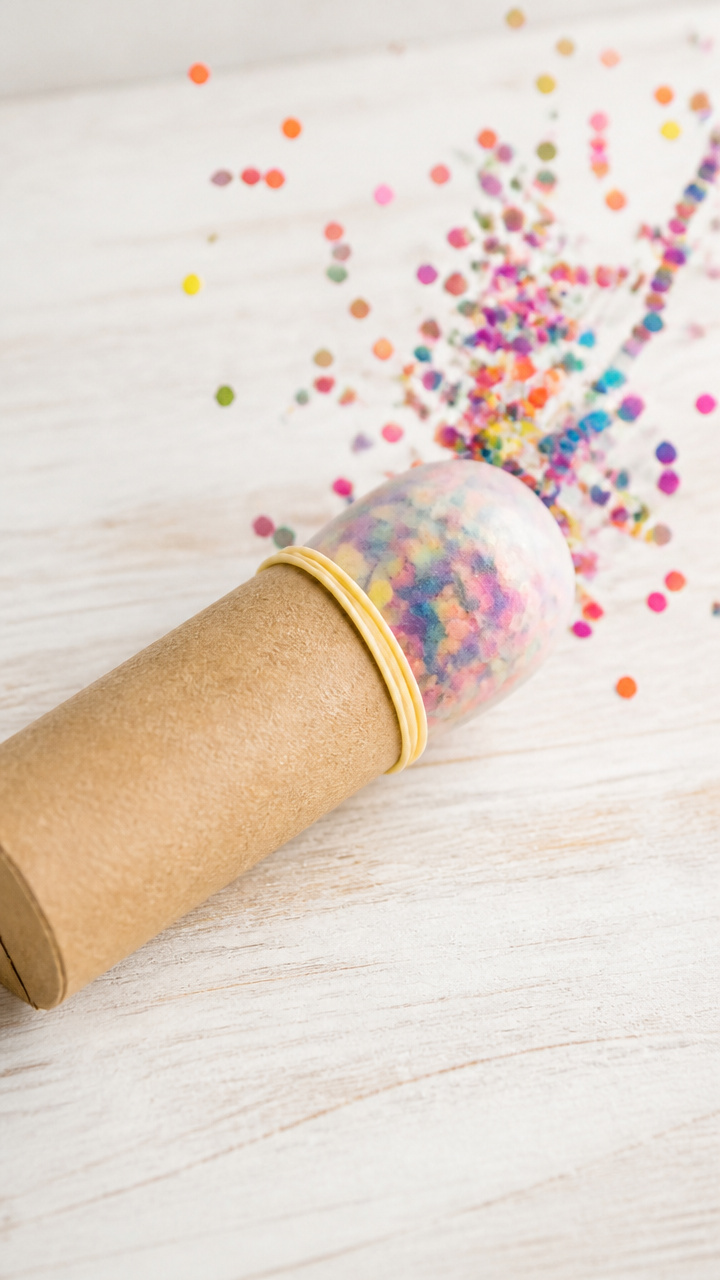
Cardboard tubes capped with balloons shoot biodegradable glitter when pressed, adding surprise and motion to the celebration. Safe and reusable, they deliver pure fun.
Materials Needed
- Cardboard mailing tubes (2 inches diameter, 6 inches long, 1 per student)
- Latex balloons (5 inch, 1 per tube)
- Biodegradable glitter (1 tablespoon per tube)
- Rubber bands (1 per tube)
- Scissors
- Hole punch
How to Make It
- Stretch a balloon over one end of the tube and secure it tightly with a rubber band.
- Use the hole punch to make a small hole in the center of the balloon cap.
- Insert 1 tablespoon of glitter through the open end of the tube.
- Cover the open end with a hand and press the balloon end gently to pop glitter into the air.


6. Time Capsule Envelopes
Easy
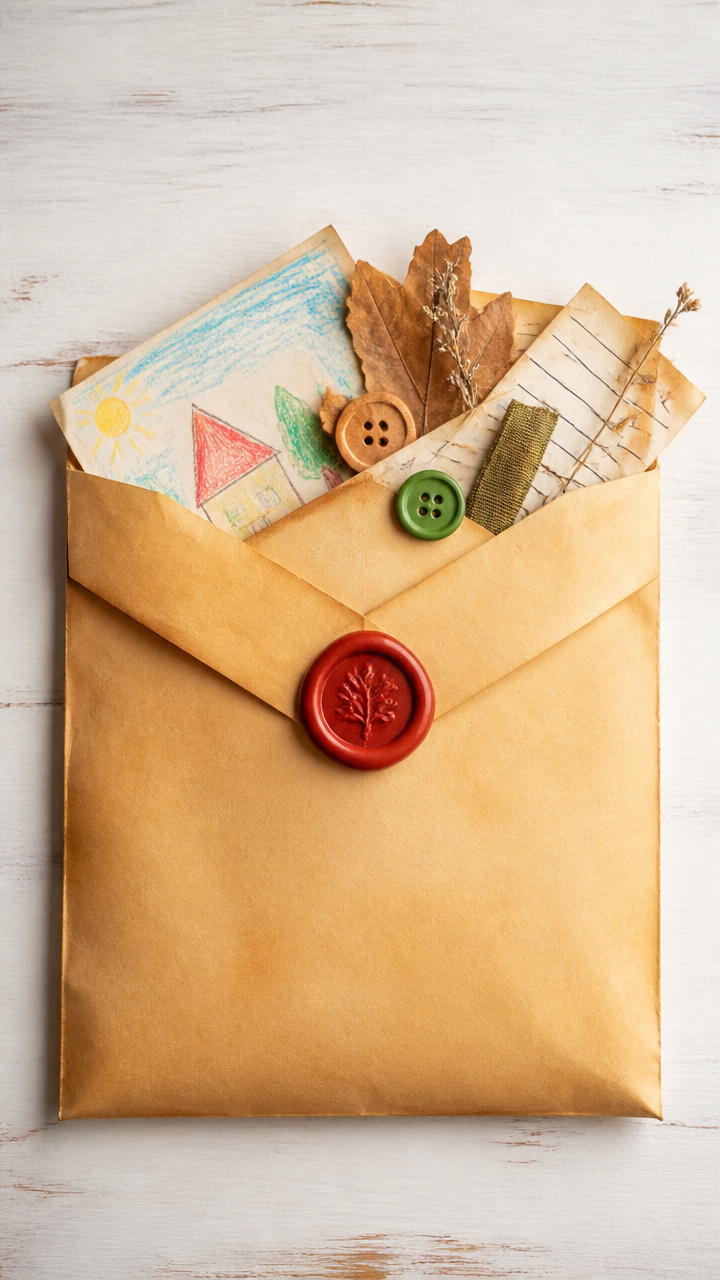
Sealed envelopes hold notes, drawings, and small tokens to be reopened months later. They build anticipation and reflection in young learners.
Materials Needed
- Manila envelopes (9×12 inch, 1 per student)
- Wax seal stamps with red wax sticks (1 set for class)
- Crayons (8-pack)
- Ruler
- Pencil
- Small trinkets (1 per student, e.g., button, sticker, pressed leaf)
How to Make It
- Have each student draw a picture of their current favorite thing on the front of the envelope using crayons.
- Write their name and today's date along the top edge with the pencil.
- Place one trinket and a folded note about their current wish inside the envelope.
- Seal the flap and use the wax stamp to secure it with a drop of melted wax.
7. Balloon Drop Banner
Advanced
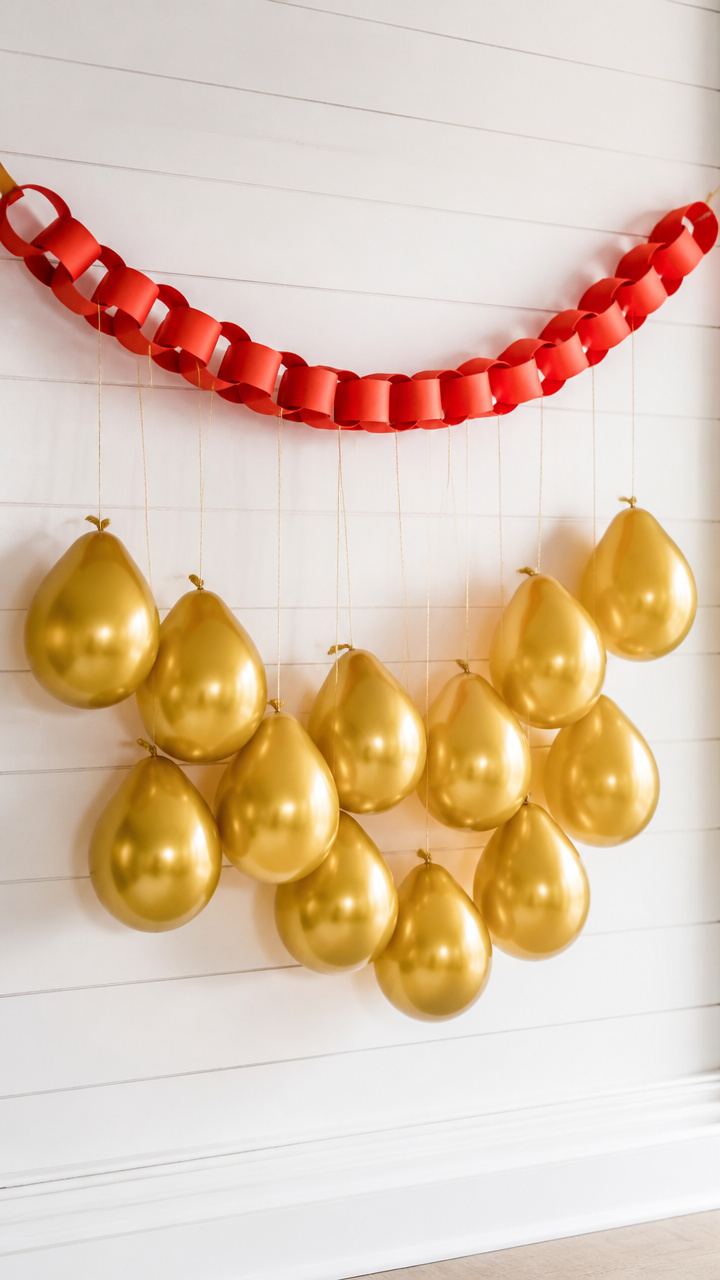
A long paper chain holds inflated balloons that release when cut at midnight. It creates a dramatic, colorful cascade indoors.
Materials Needed
- Red crepe paper streamer (1 roll)
- Gold latex balloons (12 inch, 10)
- String (10 feet)
- Scotch tape
- Balloon pump
- Hole punch
- Scissors
- Clipboard
How to Make It
- Cut the crepe paper into 12-inch strips, then form loops by taping the ends together to make a chain of 10 links.
- Inflate each balloon with the pump and tie the knot securely.
- Punch two holes at the top of each balloon and thread the string through, spacing them evenly along the 10-foot length.
- Attach the string to the back of the chain with tape, then clip the banner to a high ledge using the clipboard.


8. Wish Lanterns
Moderate
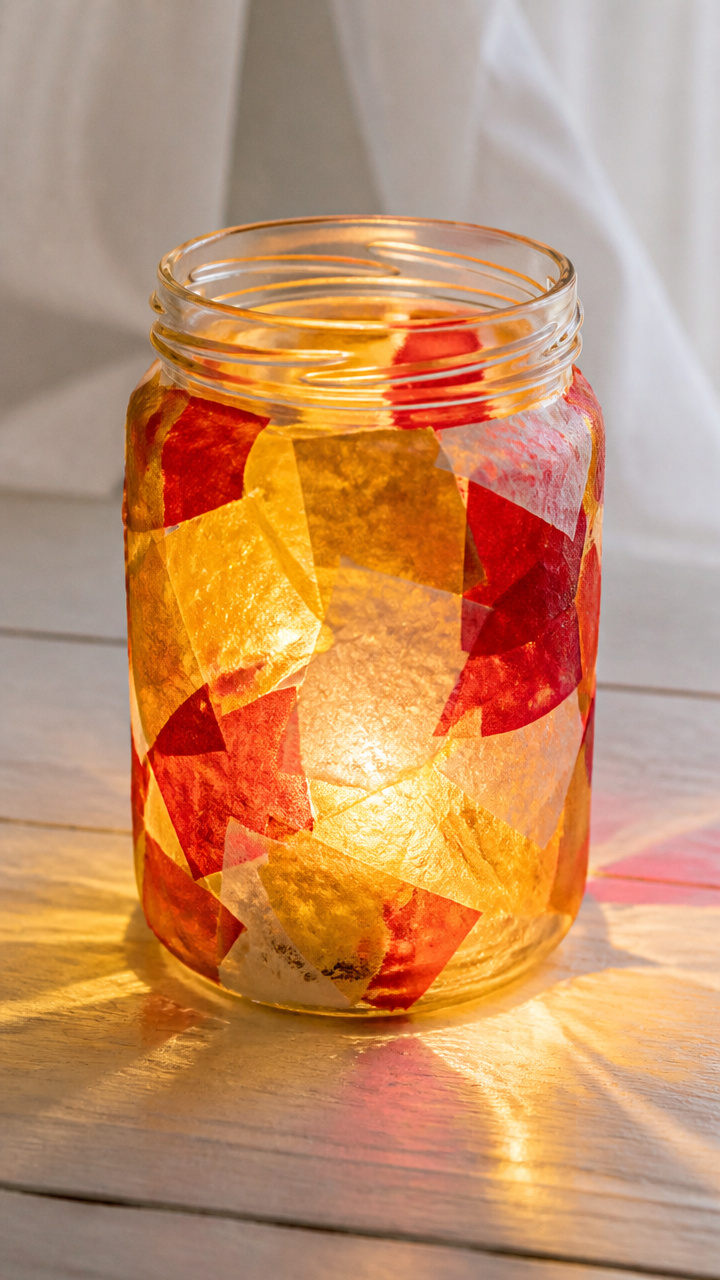
Tissue paper-covered jars glow with candlelight and hold handwritten wishes inside. They cast a warm, hopeful light across the room.
Materials Needed
- Glass mason jars (8 oz, 1 per student)
- Tissue paper (red, gold, silver, 6×6 inch squares, 3 per jar)
- White glue
- Foam brush (1/2 inch)
- Tea light (LED, battery-operated)
- Calligraphy pen
- Scissors
How to Make It
- Cut each tissue square into smaller 2-inch pieces.
- Brush a thin layer of glue onto a section of the jar and press tissue pieces onto it, overlapping slightly.
- Cover the entire jar except the base and rim, then let dry for 45 minutes.
- Write one wish per student on a slip of paper, place it inside the jar, and set the LED tea light on top.


9. Year Number Crown
Easy

Sturdy cardstock crowns feature the current year in bold foil numbers. They turn every child into a celebrant of the moment.
Materials Needed
- Black A4 cardstock (1 per student)
- Gold self-adhesive foil sheets (8.5×11 inch, 1 per class)
- Scissors
- Hole punch
- Double-sided tape
- Ribbon (gold, 12 inches per student)
How to Make It
- Cut the cardstock into a 3×11 inch strip for each student.
- Cut the number '2', '0', '2', '7' from the foil sheet, each 2 inches tall.
- Attach the numbers in order to the center of the strip using double-sided tape.
- Punch holes at each end and thread ribbon through to tie around the head.


10. Beaded Year Necklaces
Moderate
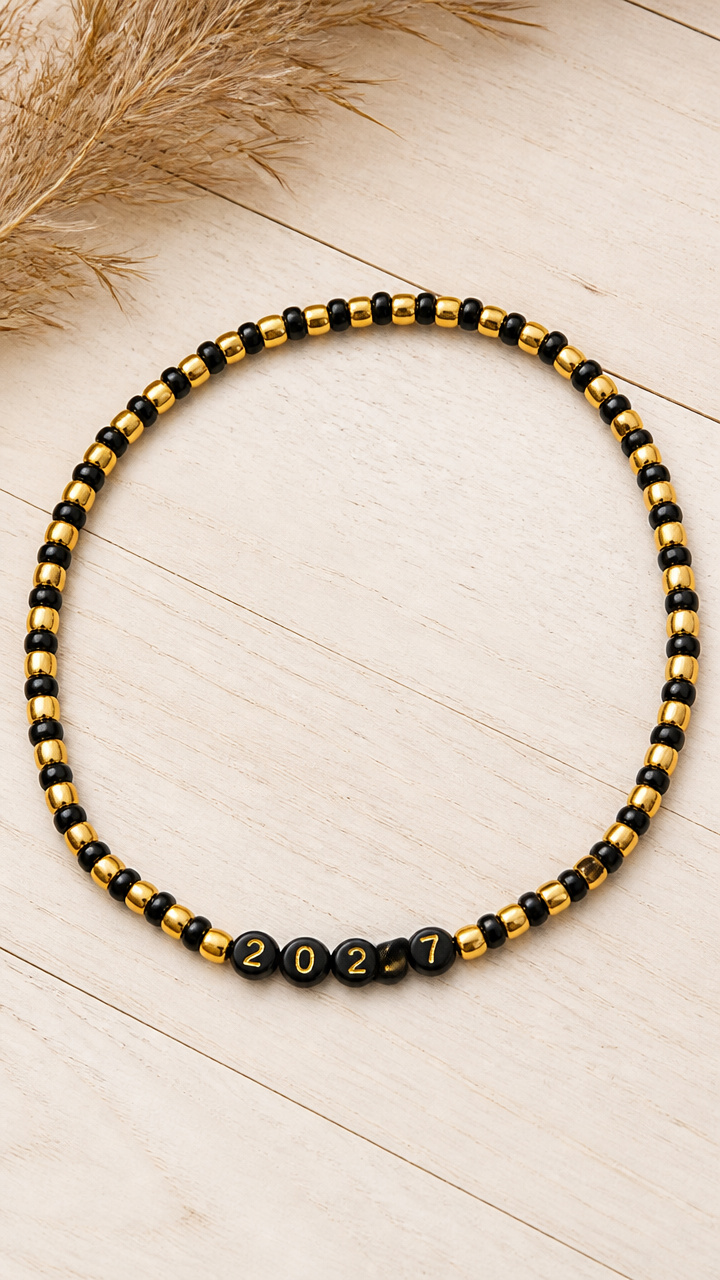
Colorful pony beads form the digits of the new year on stretch cord. These wearable keepsakes fit snugly and shine with pride.
Materials Needed
- Black pony beads (6mm, 20 per student)
- Gold pony beads (6mm, 4 per student)
- Stretch magic cord (1 mm, 18 inches per student)
- Scissors
- Beading needle (optional)
How to Make It
- Cut one 18-inch piece of cord per student.
- String two black beads, then one gold bead for the number '2', followed by two black beads for '0'.
- Repeat the pattern for '2' and '7', ending with two black beads.
- Tie the ends together with a double knot and trim excess within 1/4 inch.


11. Pop-Up Greeting Cards
Moderate
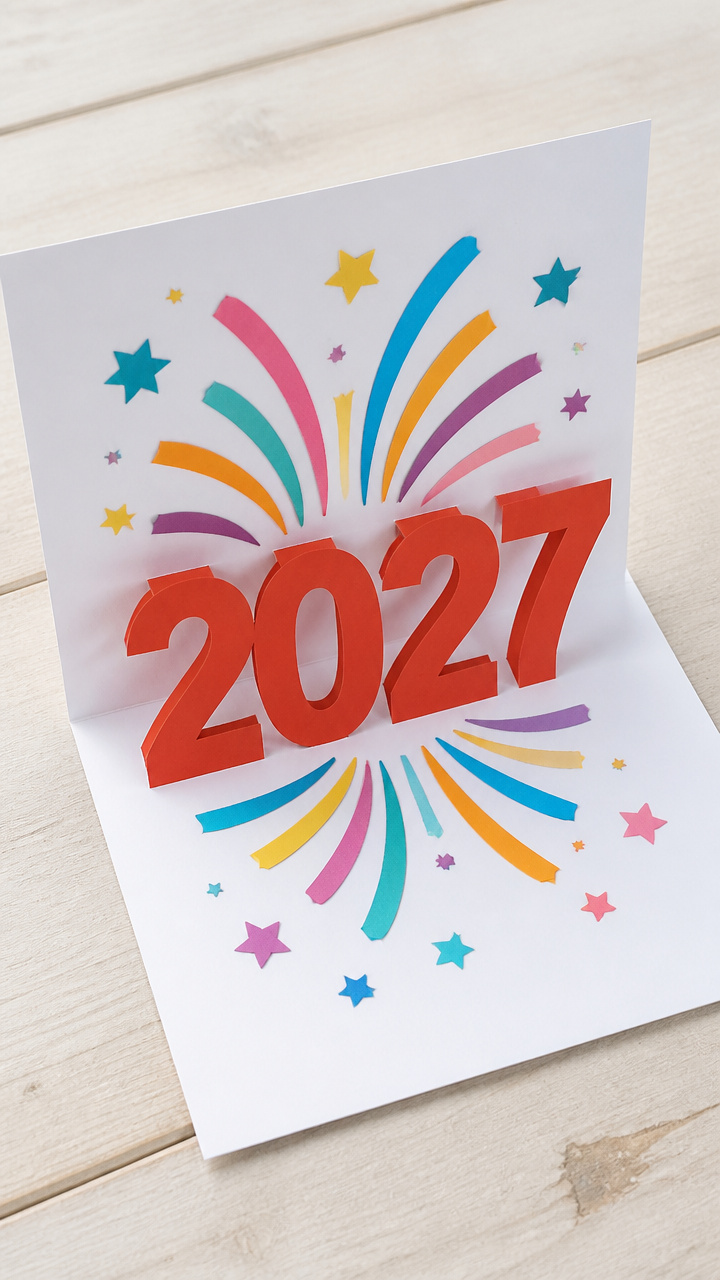
Folded cards burst open to reveal a 3D number that jumps forward when opened. They surprise with depth and color.
Materials Needed
- A4 white cardstock (1 per student)
- Red construction paper (6×6 inch square per student)
- Glue stick
- Scissors
- Ruler
- Pencil
- Crayons
How to Make It
- Fold the cardstock in half to make a 5.5×8.5 inch card.
- Draw a number representing the new year on the red paper, 3 inches tall, and cut it out.
- Make two parallel 1-inch cuts on the folded edge of the card, 1 inch apart, then fold the resulting tab forward.
- Glue the back of the number to the tab and decorate the front with crayons.


12. Sparkle Spray Frames
Easy
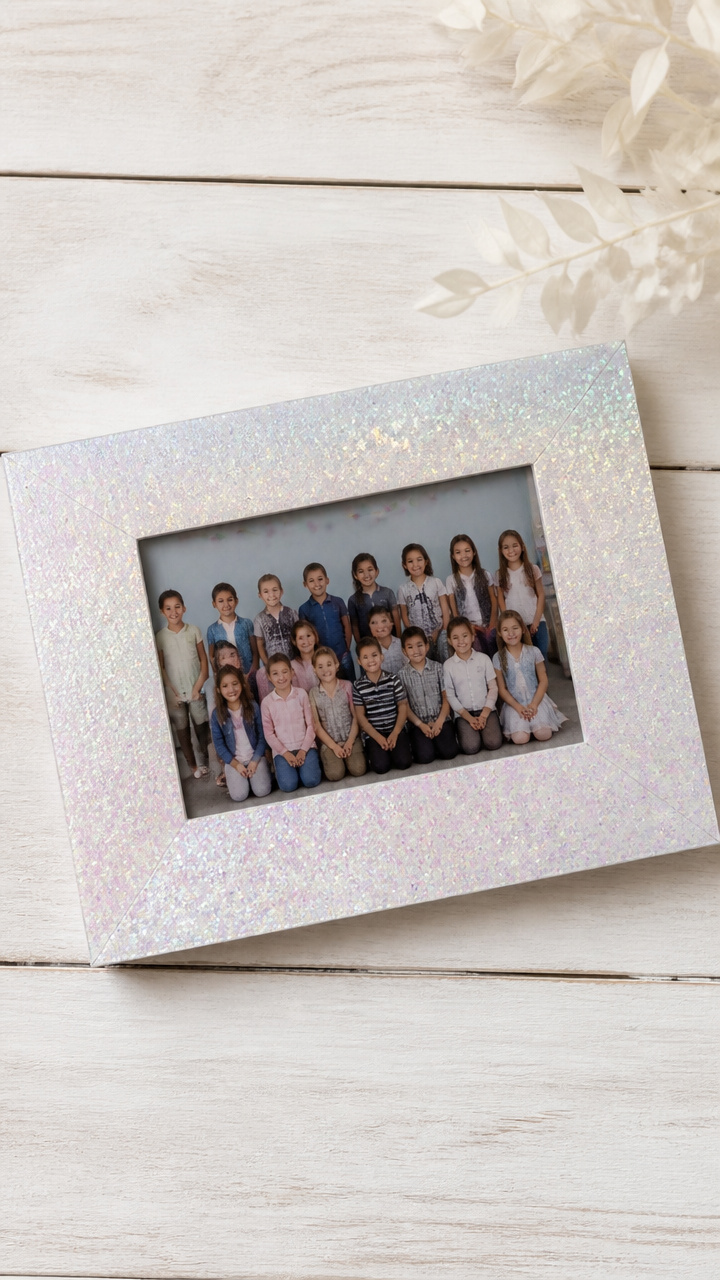
Cardboard frames edged with iridescent spray shimmer around a class photo. They catch the light and hold memories.
Materials Needed
- White cardboard photo frames (5×7 inch, 1 per class)
- Iridescent spray paint (matte finish, 4 oz can)
- Newspaper
- Gloves
- Class photo (5×7 inch)
How to Make It
- Lay the frames on newspaper in a well-ventilated area and wear gloves.
- Hold the spray can 10 inches away and apply one even coat to the outer edge of each frame.
- Let dry for 20 minutes, then apply a second coat if needed.
- Insert the class photo into the frame after 1 hour of drying.


![Bartoline Glitter Spray Clear Sealant, Silver, 13.5 oz [3 Pack] - Decorative Glitter Spray with Gloss Finish for Crafts, Wood, Metal, Fabric & More Indoor & Outdoor Use - 400 ml](https://m.media-amazon.com/images/I/41Zj+VpR57L._SL500_.jpg)
13. Paper Plate Clock
Easy
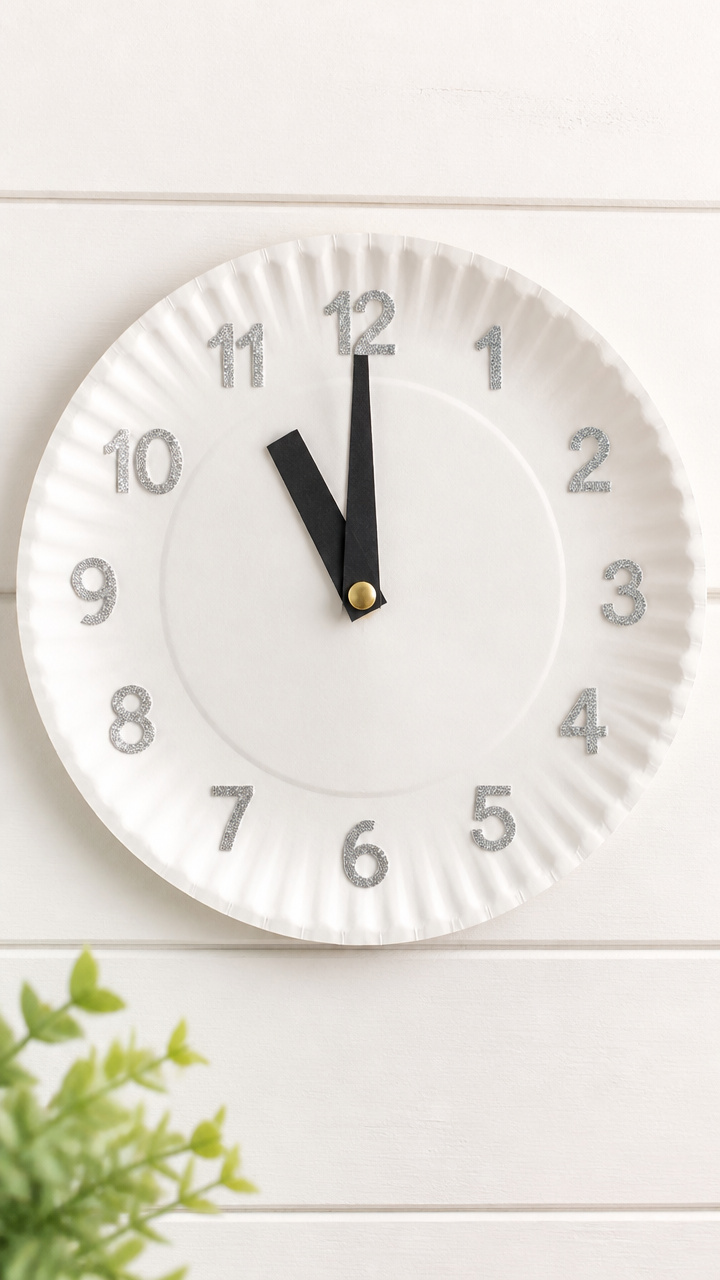
A large wall clock made from a paper plate keeps time during the countdown. Its bold hands and glitter numbers command attention.
Materials Needed
- White paper plates (9 inch, 1 per class)
- Brass fastener (2 inch)
- Cardstock (black, 1 sheet)
- Scissors
- Glitter glue (silver)
- Ruler
- Pencil
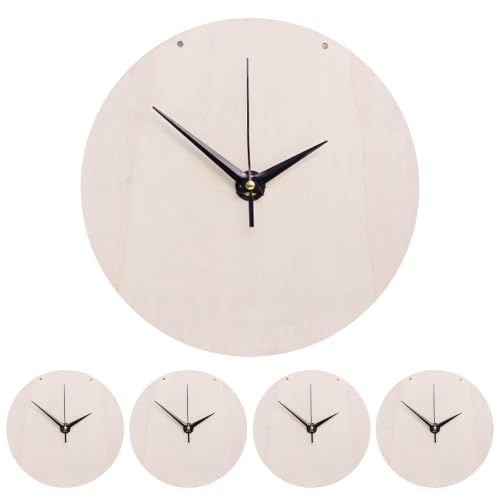
- Clock mechanism (hour, minute, second hands, 1 set)
How to Make It
- Use the pencil and ruler to mark 12 evenly spaced points around the edge of the plate, 1 inch from the rim.
- Write numbers 1 through 12 at each point using glitter glue and let dry for 30 minutes.
- Cut two clock hands from black cardstock: one 3 inches long (hour), one 4 inches (minute).
- Push the fastener through the center of the hands, plate, and clock mechanism back, then secure.


14. Foil-Stamped Napkins
Moderate
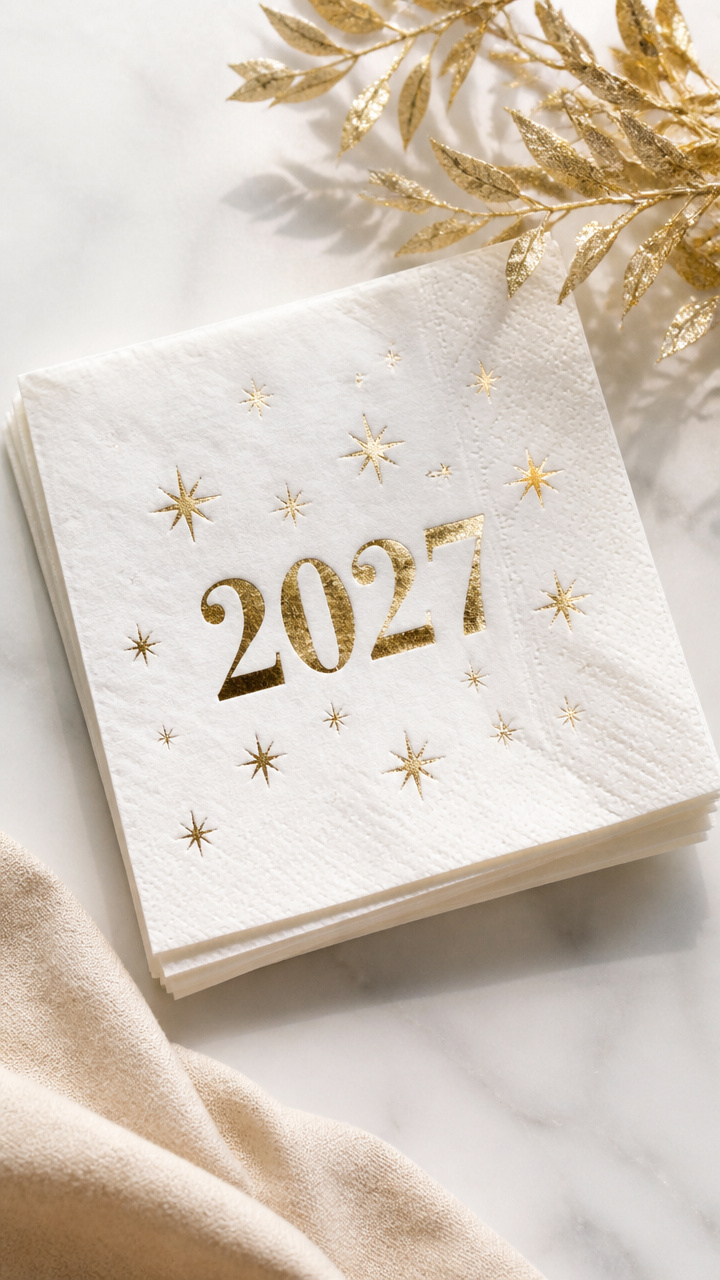
Gold-stamped party napkins add elegance to the classroom table. Each bears a tiny number or star in shimmering foil.
Materials Needed
- White paper napkins (2-ply, 6.5 inch square, 20 per class)
- Foiling stamp with '27' design (1)
- Gold foil transfer sheet (8.5×11 inch)
- Bone folder
- Cutting mat
- Tweezers
How to Make It
- Place one napkin flat on the cutting mat.
- Lay the gold foil sheet shiny side down over the stamp area.
- Press the stamp firmly onto the foil and napkin using the bone folder, holding for 5 seconds.
- Peel off the foil sheet with tweezers to reveal the gold design.


15. Tissue Paper Pom-Poms
Easy
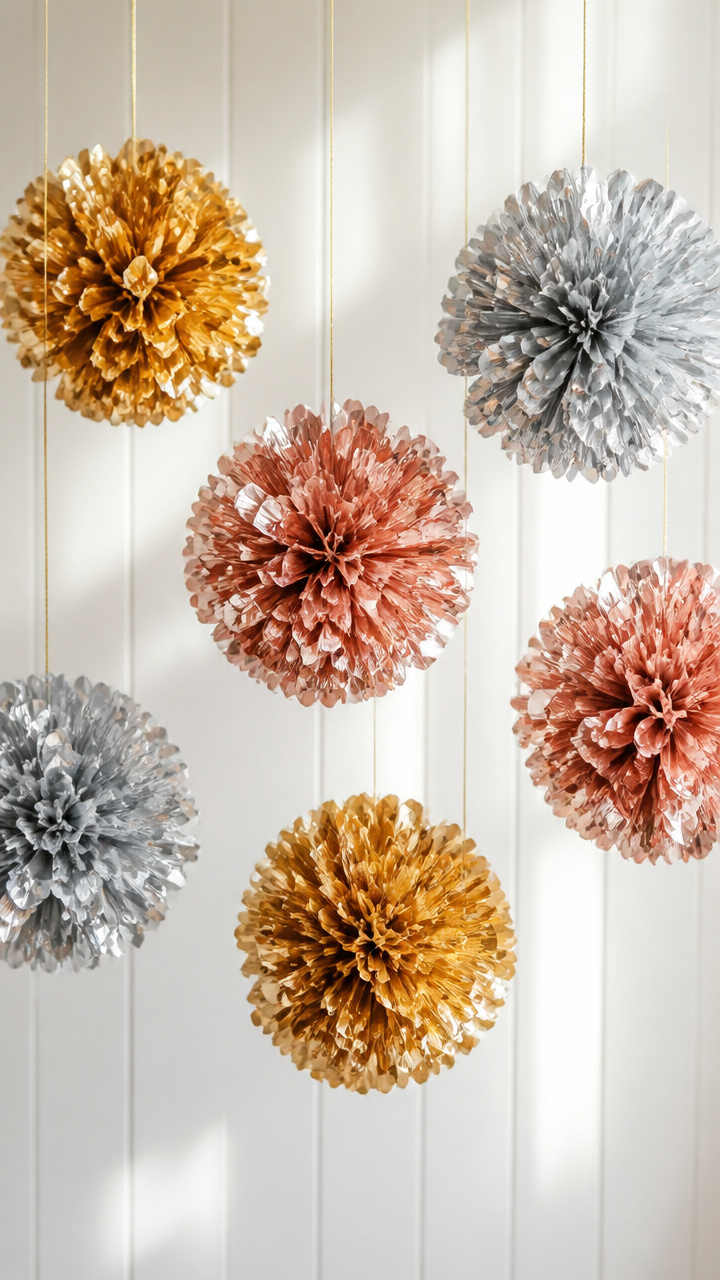
Fluffy spheres in metallic shades hang from strings and sway above desks. Their soft glow adds festive volume to the room.
Materials Needed
- Tissue paper (gold, silver, rose gold, 20 sheets total)
- Wire twist ties (2 per pom-pom)
- Scissors
- Ruler
How to Make It
- Stack 10 tissue sheets and fold them in 1-inch accordion pleats along the 10-inch side.
- Wrap a twist tie around the center of the folded stack and secure tightly.
- Fan out the layers and gently pull each sheet away from the center, one side at a time.
- Fluff all layers until round and attach the twist tie end to a display string.


Grab your scissors, line up the glue, and let the classroom sparkle with fresh creativity. These crafts make the new year feel real, joyful, and entirely within reach.