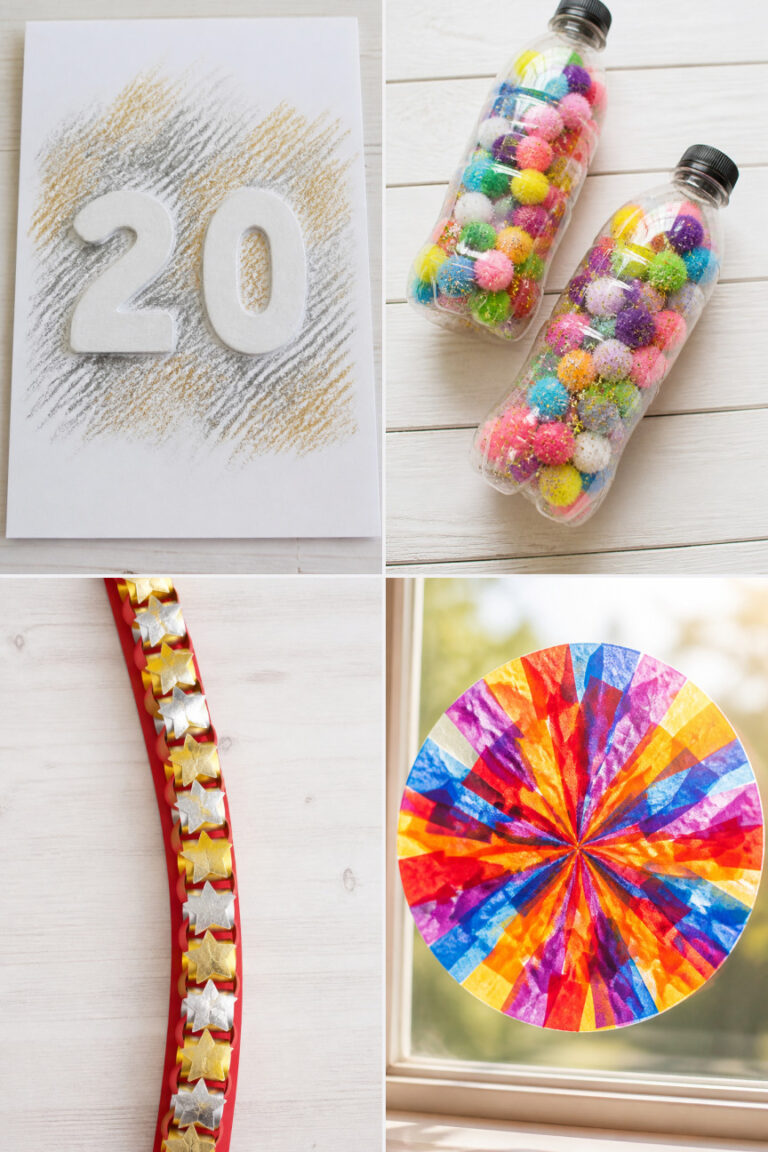
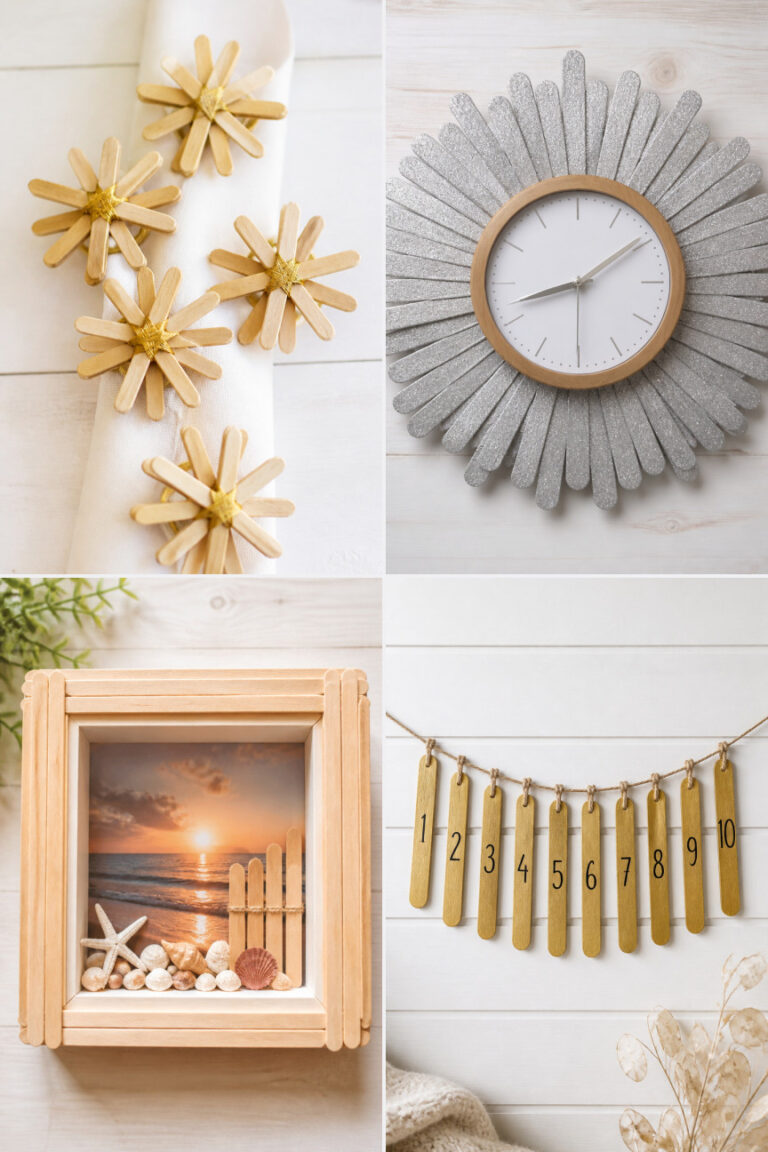
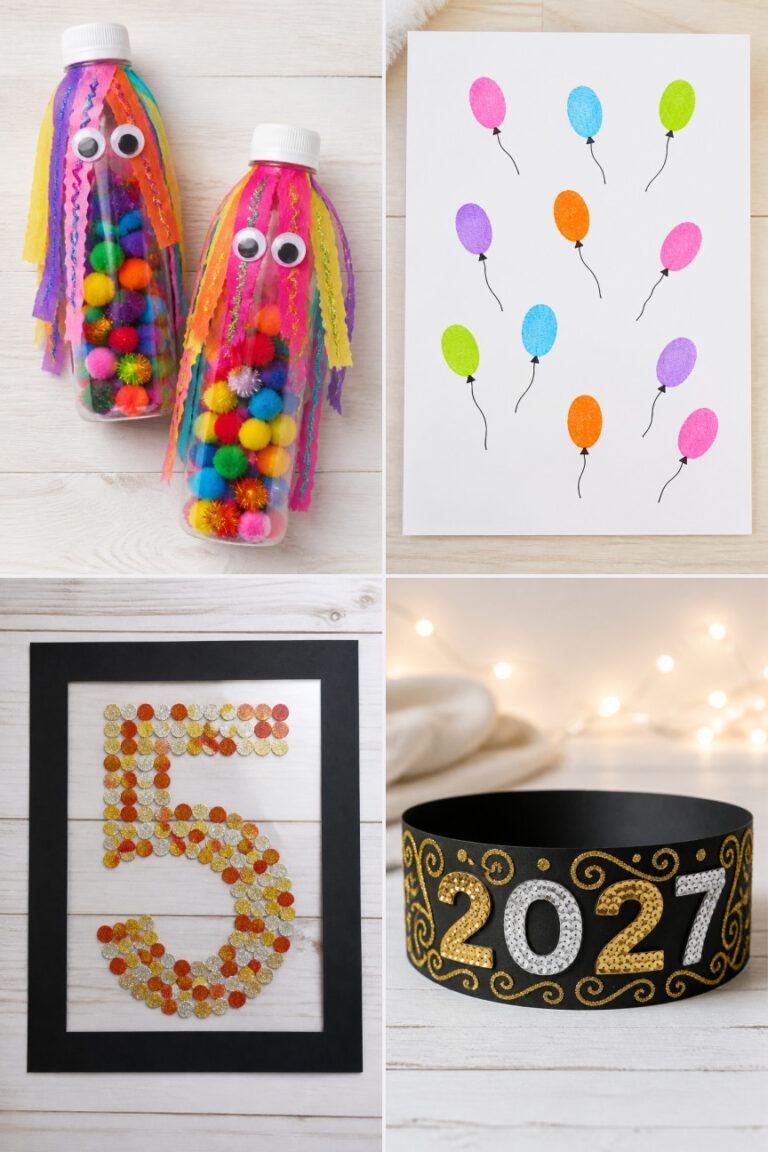
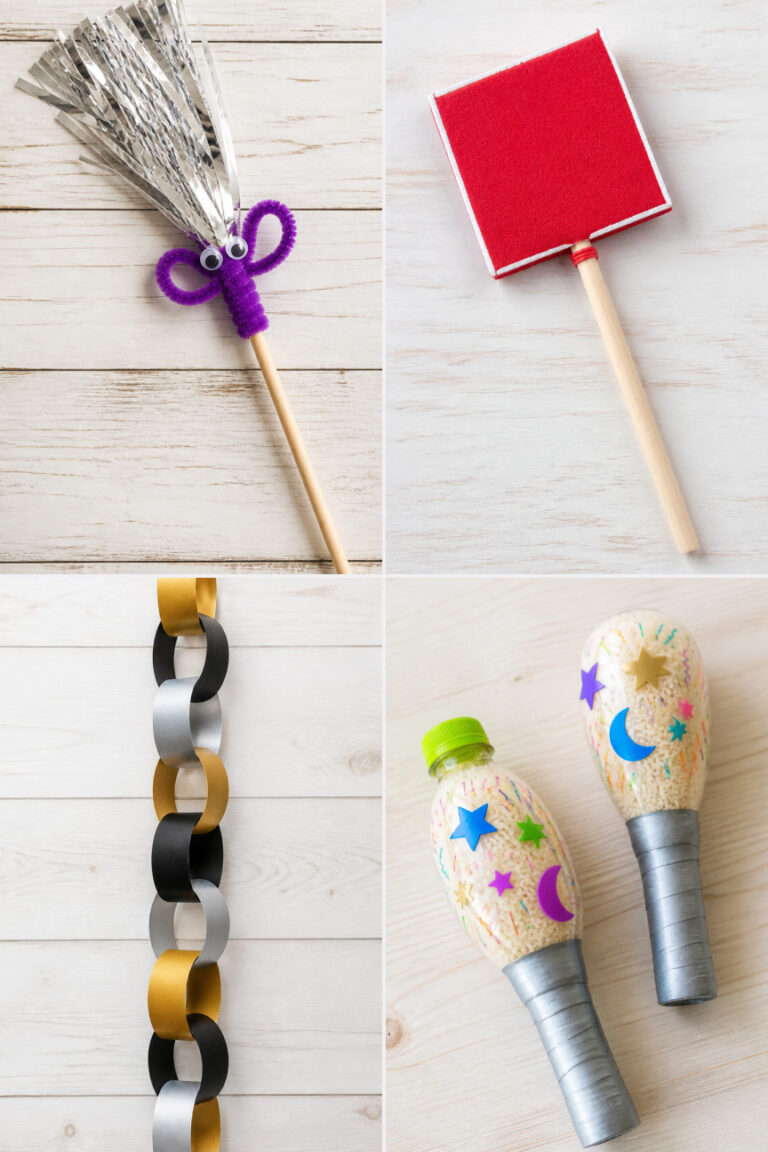
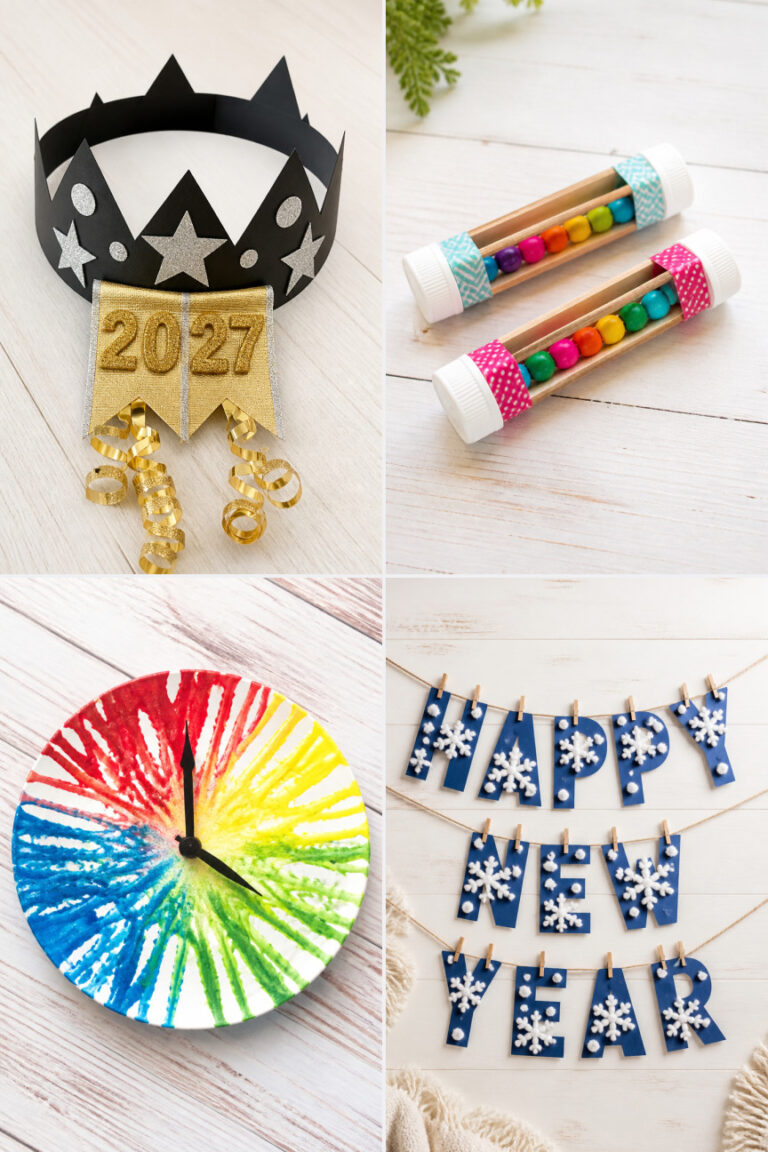
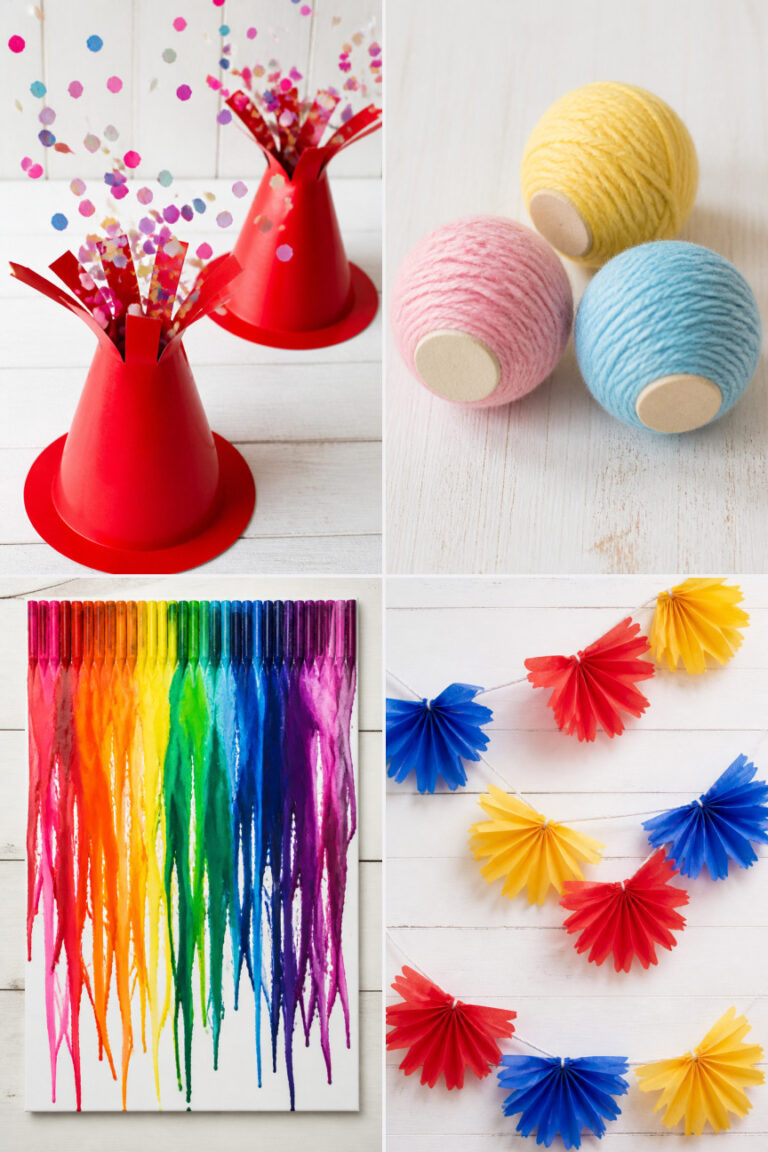
15 New Year Decoration Crafts Kids Can Make

Glitter spills across the table, paper scraps flutter to the floor, and tiny hands carefully shape something bright and joyful. These moments of making together become part of the celebration itself.
Each of these crafts brings color, sparkle, and handmade charm to your space. They’re designed for small fingers and big imaginations, using materials you can gather easily and complete in a single afternoon.
1. Glittery Number Banner
Easy
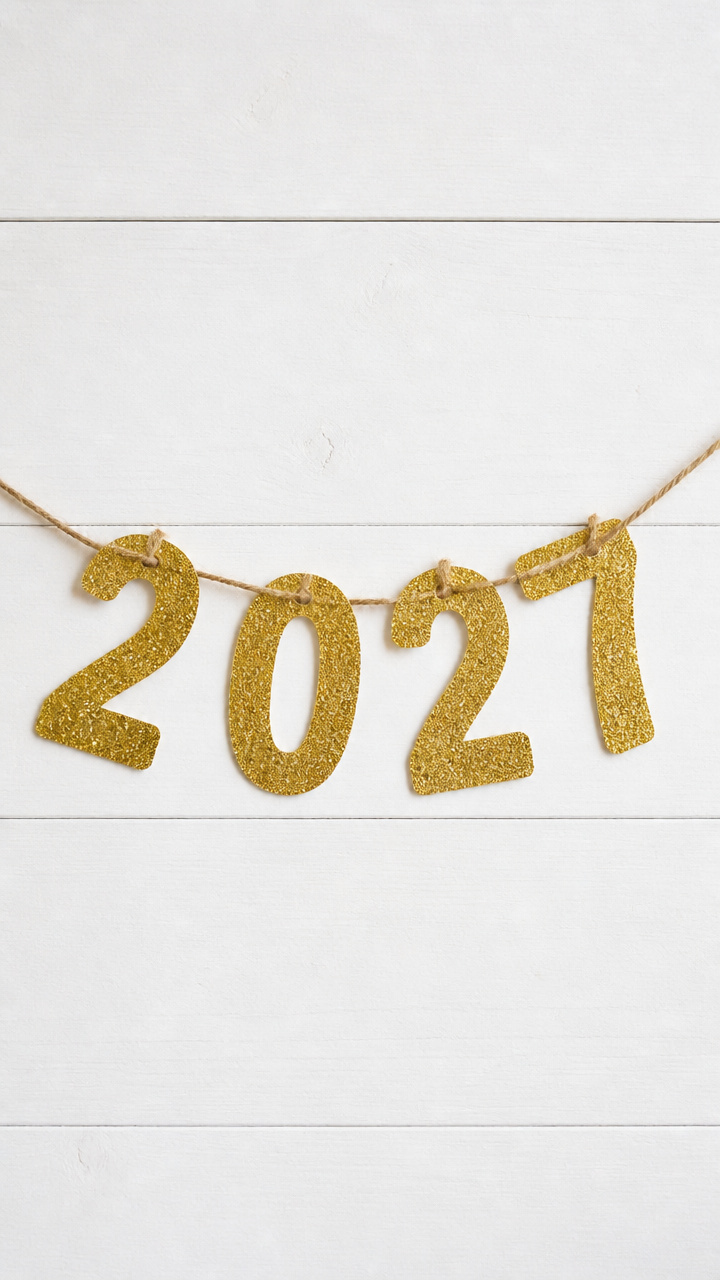
Shimmering digits strung across the room mark the coming year with bold sparkle and pride. This banner becomes the centerpiece above a mantle or doorway.
Materials Needed
- Foam number cutouts (two per child, size 6 inches)
- Gold glitter glue (1 bottle)
- White craft glue (1 small bottle)
- Jute twine (3 feet)
- Hole punch (1)
- Paintbrush (1)
How to Make It
- Squeeze gold glitter glue over the surface of each foam number, covering all edges and filling in details.
- Use the paintbrush to spread white craft glue into any gaps the glitter glue missed, then sprinkle extra glitter if desired.
- Let numbers dry flat for at least 2 hours until completely set.
- Punch one hole at the top of each number, thread jute twine through, and tie knots to secure them in order.


2. Tissue Paper Fireworks
Easy
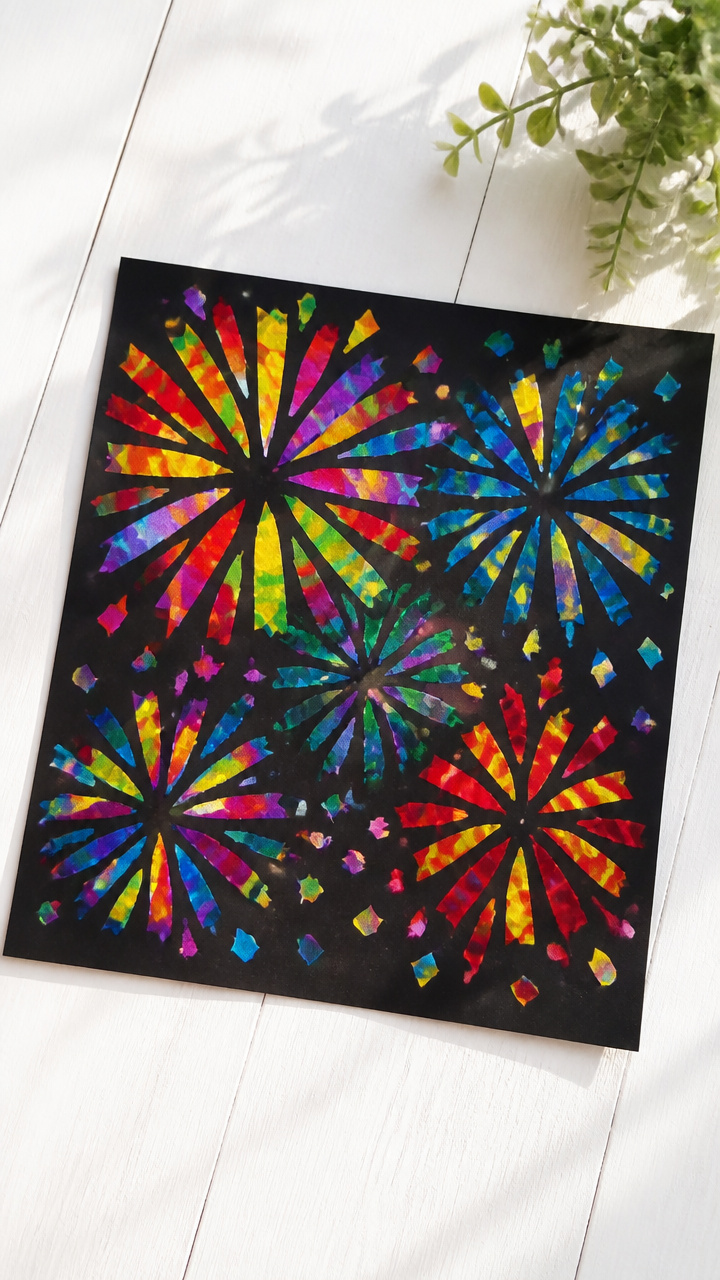
Bursts of colored tissue fan out like silent fireworks against a dark background. Hang them in windows to catch the light.
Materials Needed
- Black construction paper (8.5 x 11 inches, 1 sheet)
- Tissue paper squares (assorted colors, 6×6 inches, 5 per craft)
- School glue (1 small bottle)
- Scissors (1 pair)
- Pencil (1)
How to Make It
- Crumple each tissue square into a tight ball, then gently pull the layers apart to create a fluffy burst.
- Draw five small circles on the black paper with a pencil to act as glue guides.
- Place a dot of school glue inside each circle and press one tissue burst into each spot.
- Let dry for 30 minutes before hanging with tape or string near a window.


3. Paper Plate Clock
Moderate
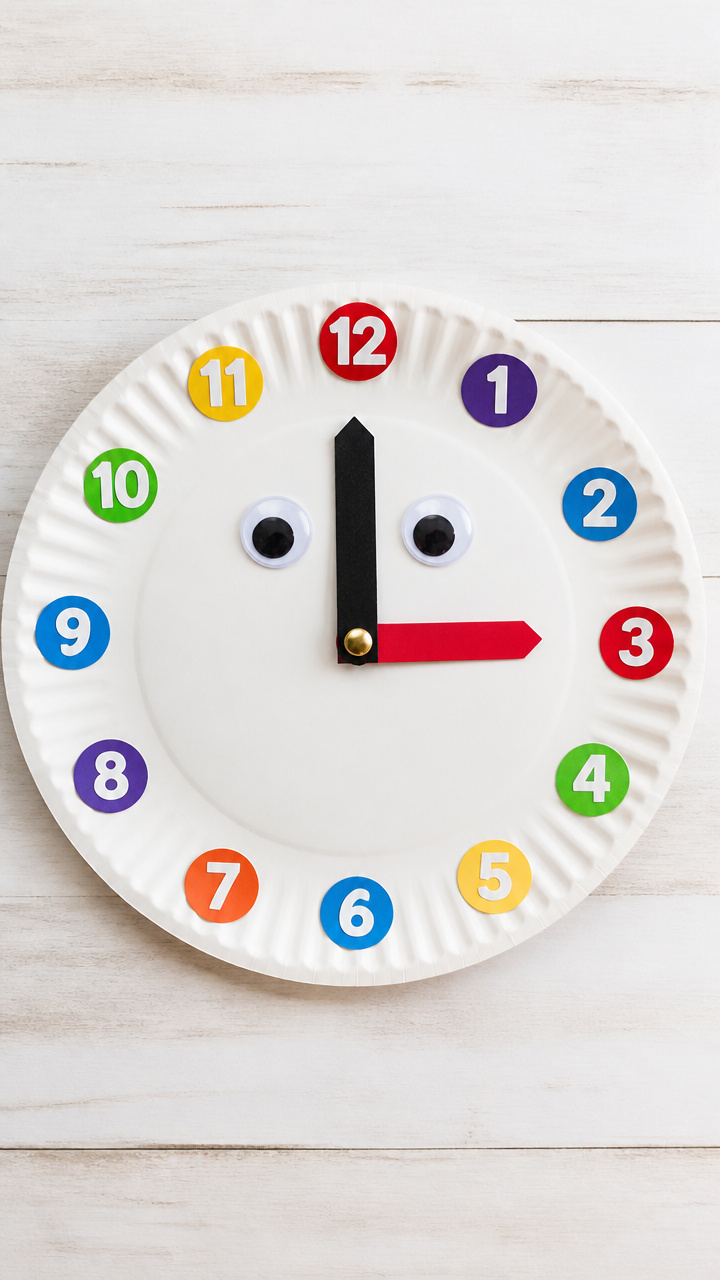
A cheerful clock with moveable hands counts down to midnight in kid style. It doubles as both decor and a time-telling lesson.
Materials Needed
- White paper plate (1)
- Brass fastener (1, 1 inch)
- Cardstock (red and black, 1 sheet each)
- Number stickers (1–12 set)
- Googly eyes (2, 1/2 inch)
- Glue stick (1)
- Scissors (1 pair)
How to Make It
- Cut two clock hands from red cardstock: one short hour hand and one long minute hand.
- Glue number stickers evenly around the edge of the plate to form a clock face.
- Glue googly eyes just below the center of the plate.
- Poke a hole through the center of the plate and both hands, then attach them with the brass fastener so they spin freely.


4. Pop Stick Noise Maker
Moderate
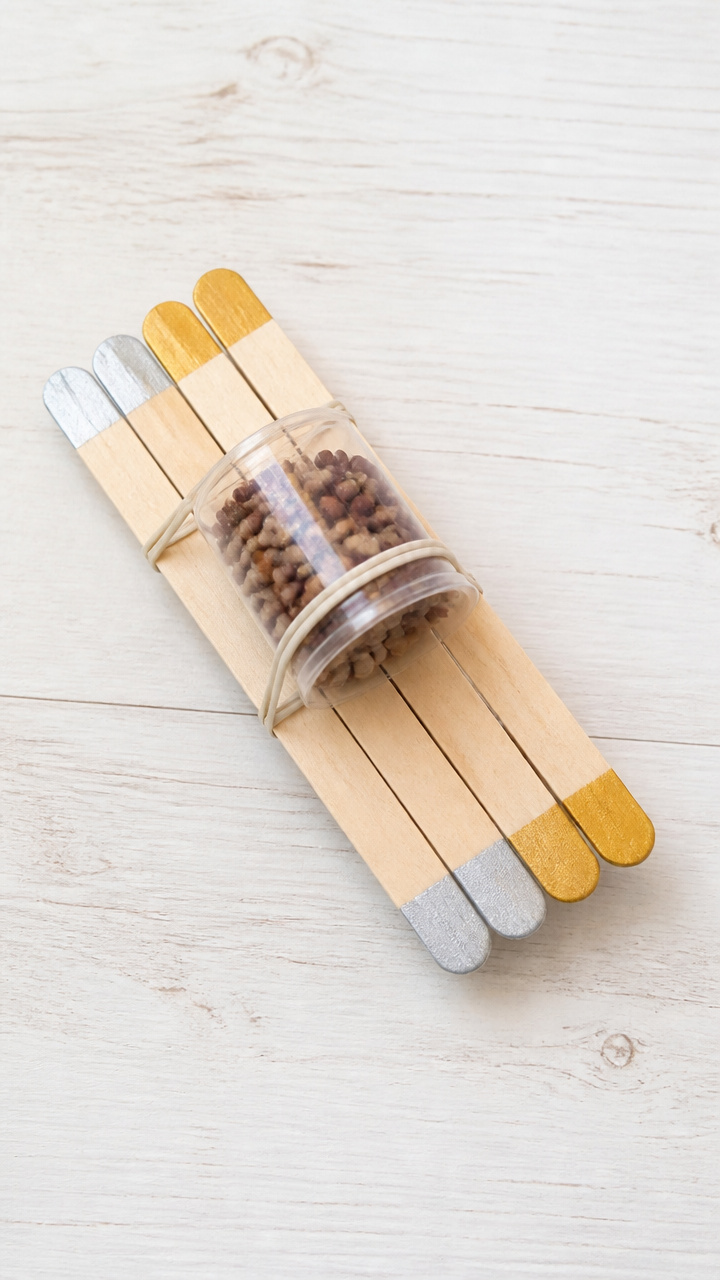
Rattle it hard when the clock strikes twelve. This handheld noisemaker adds fun sound to the countdown moment.
Materials Needed
- Wooden craft sticks (6)
- Rubber bands (3, medium width)
- Dried beans (1 tablespoon)
- Plastic cup (3 oz, 1)
- Acrylic paint (gold and silver, 1 bottle each)
- Paintbrush (1)
How to Make It
- Paint three craft sticks with gold paint and three with silver, let dry for 1 hour.
- Place the plastic cup upside down and lay two painted sticks parallel across the bottom, spaced slightly wider than the cup’s diameter.
- Slide the third stick perpendicular across the middle of the two base sticks, forming a cross, then wrap rubber bands tightly where they intersect.
- Pour beans into the cup, stretch the open end over the crossed sticks, and secure with more rubber bands.


5. Foil Confetti Eggs
Advanced
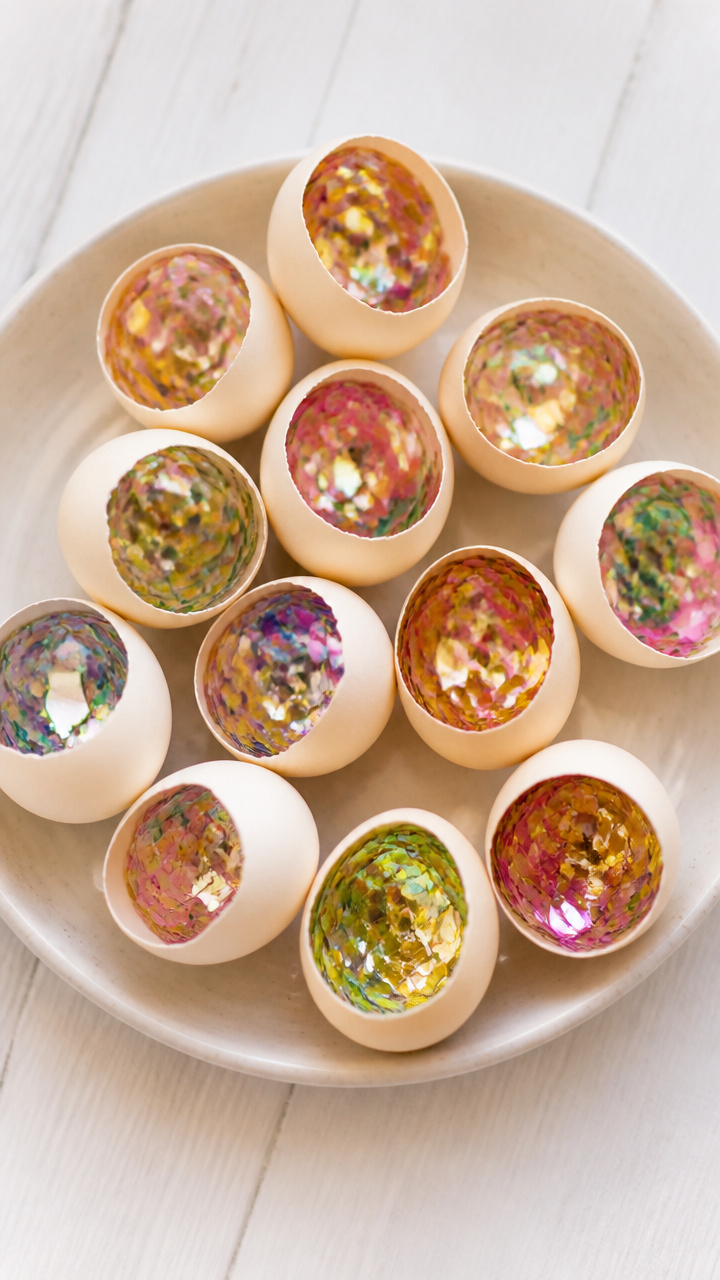
Delicate eggshells filled with shiny bits add whimsy to a centerpiece. They catch light and surprise guests when cracked open.
Materials Needed
- Raw eggs (2)
- Pin (1)
- Small bowl (1)
- Colored foil confetti (1 tablespoon)
- White glue (1 small bottle)
- Paintbrush (1)
- Twine (6 inches)
How to Make It
- Use a pin to poke holes at both ends of each egg, wiggle the insides loose, and drain contents into the bowl.
- Rinse shells with water and let dry overnight on a towel.
- Use the paintbrush to coat the outside of each shell with a thin layer of white glue.
- Sprinkle foil confetti over the glue, roll gently to cover, then tie twine around the middle for hanging.


6. Yarn Ball Orbs
Easy
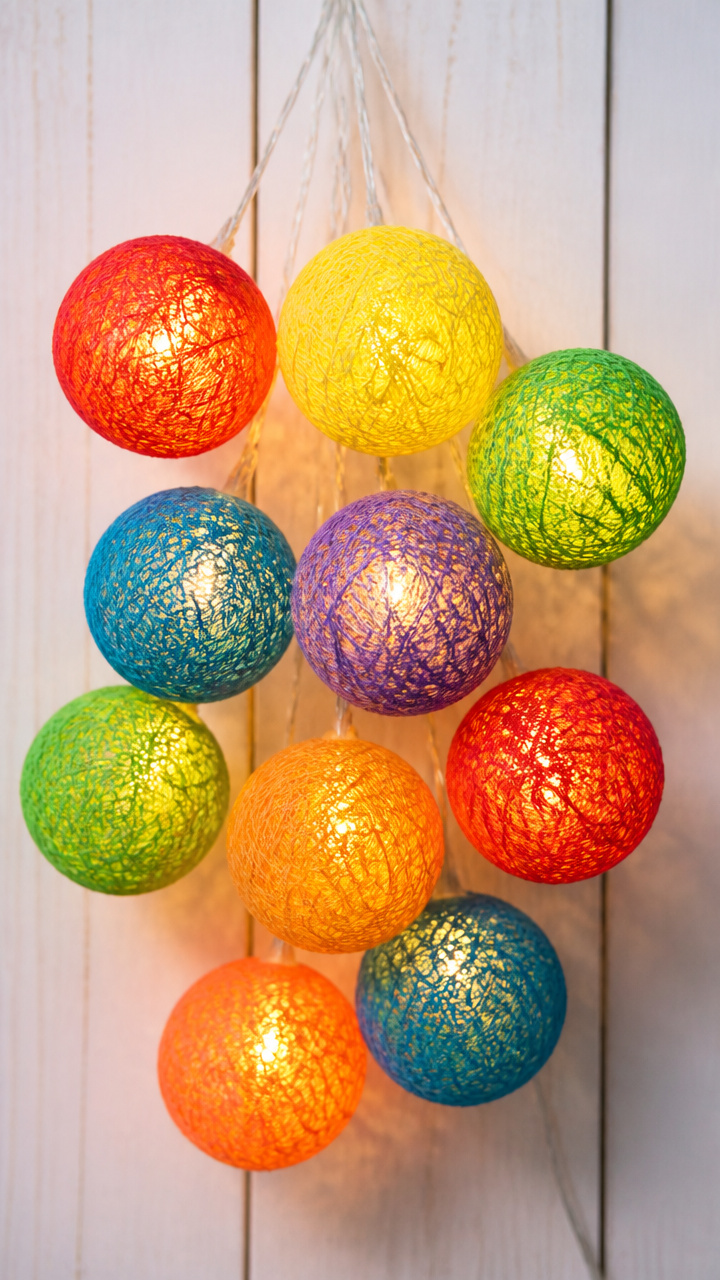
Soft spheres wrapped in rainbow yarn glow gently when lit from within. Suspend them in clusters for cozy magic.
Materials Needed
- Styrofoam ball (3 inch, 1)
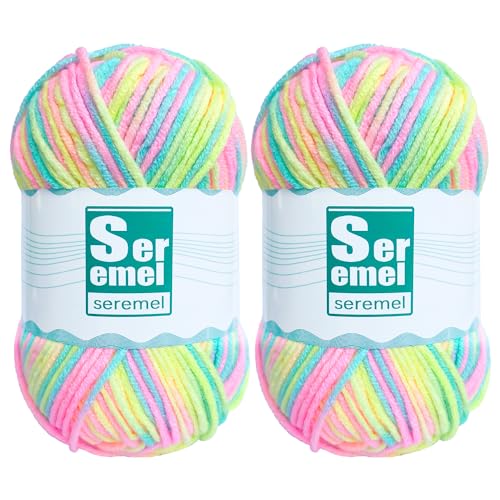
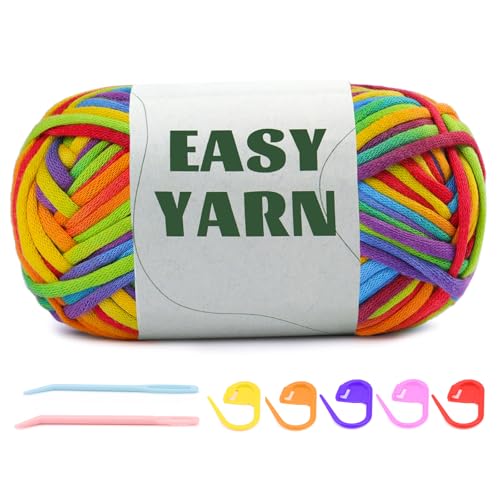
- Rainbow yarn (1 skein, 100 yards)
- LED tea light (1, battery-powered)
- Scissors (1 pair)
How to Make It
- Begin wrapping yarn around the Styrofoam ball, covering it completely with random overlapping strands.
- Tie off the end with a double knot and trim excess with scissors.
- Place the finished ball directly on top of the LED tea light.
- Turn on the light to see the yarn glow softly in warm hues.

7. Pipe Cleaner Sparklers
Easy
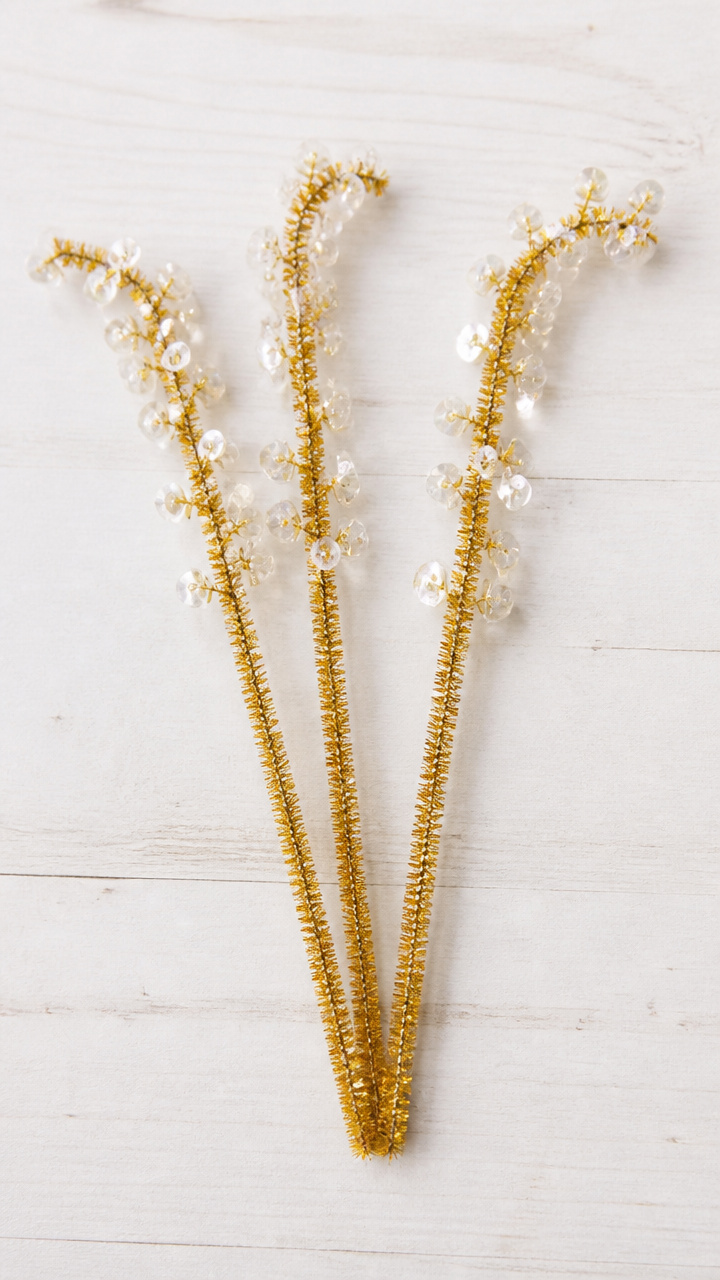
Wand-shaped sparklers made from bendable wire shine in little hands. Wave them during homemade countdowns or photo time.
Materials Needed
- Gold pipe cleaners (4, 12 inch)
- Clear mini sequins (1 teaspoon)
- Tacky glue (1 small bottle)
- Paintbrush (1)
How to Make It
- Lay out three pipe cleaners side by side and twist them together at one end to form a handle.
- Bend the free ends outward in different directions to create a starburst shape.
- Use the paintbrush to dab tacky glue onto each tip and press a sequin onto it.
- Let dry for 45 minutes before waving under lights.


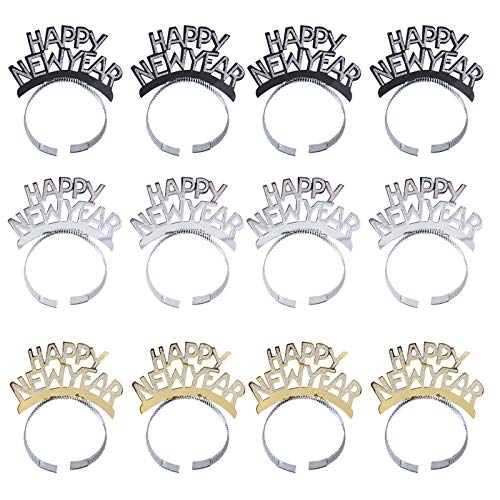
8. New Year Hat
Moderate

A festive cone hat with bold numbers sits proudly on every head. Wear it during games or while watching the countdown.
Materials Needed
- Red construction paper (8.5 x 11 inches, 1 sheet)
- Black marker (permanent, fine tip)
- Double-sided tape (1 roll)
- Ruler (1)
- Scissors (1 pair)
- Number stickers (1 set, '2' and '0')
How to Make It
- Measure and cut the paper into a large triangle with a 7-inch base and two 9-inch sides.
- Roll the triangle into a cone shape and secure the overlap with double-sided tape.
- Draw polka dots around the base with the black marker.
- Stick the number stickers near the tip to display the new year.


9. Button Wind Chime
Moderate
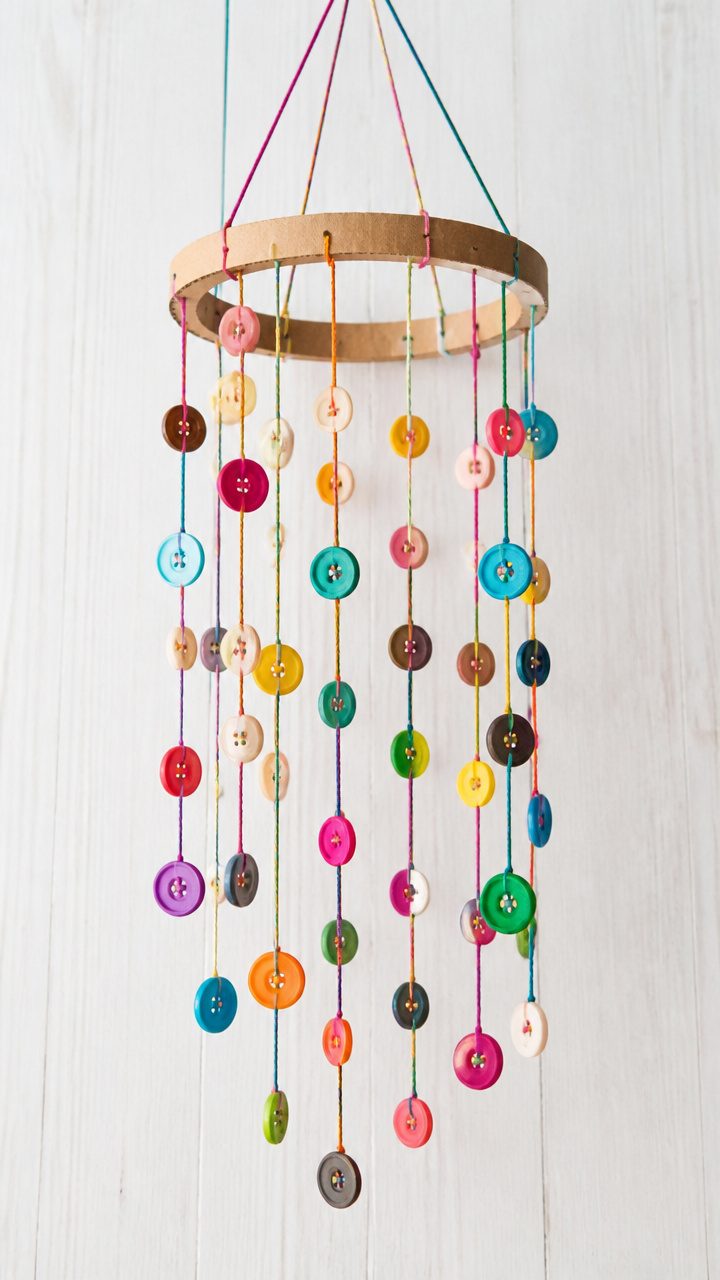
Gentle clinks echo from a chime made of mismatched buttons. Hang it by a window where breezes pass through.
Materials Needed
- Cardboard ring (4 inch diameter, 1)
- Assorted buttons (6, various sizes)
- Embroidery floss (3 colors, 1 yard each)
- Needle (blunt tip, 1)
- Scissors (1 pair)
- Glue dot (1)
How to Make It
- Thread the needle with one color of floss and knot the end.
- String a button onto the floss, push it down, then tie a knot below to hold it in place.
- Repeat with two more buttons on the same strand, spacing them 2 inches apart.
- Tie the top of the strand to the cardboard ring, repeat with other colors, then attach a hanging loop with a glue dot.


10. Cotton Ball Cloud Puffs
Easy
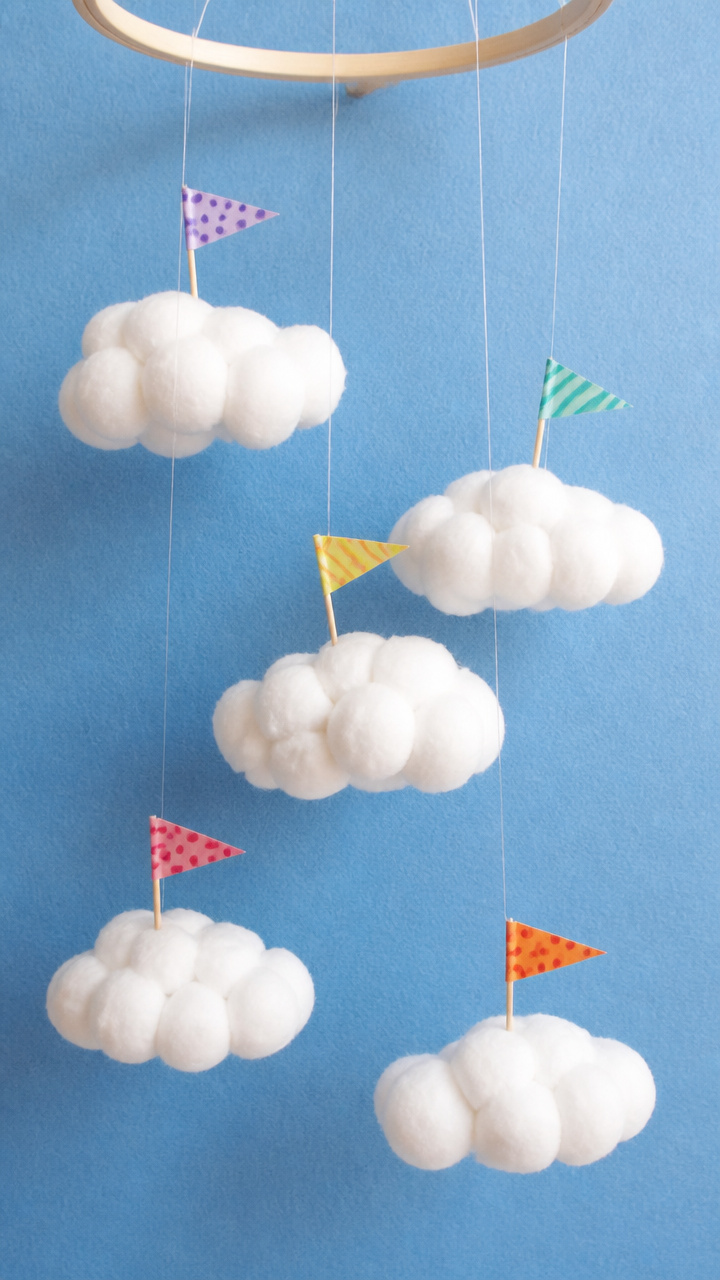
Fluffy white clouds carry good wishes written on tiny flags. They float above tables or doorways on nearly invisible thread.
Materials Needed
- Cotton balls (10 large)
- Toothpicks (2)
- Construction paper (blue, 1 sheet)
- Markers (assorted colors, 1 set)
- Clear thread (12 inches)
- Glue stick (1)
How to Make It
- Pull cotton balls apart slightly and cluster them into two soft cloud shapes.
- Color small flags on blue paper with markers, write words like 'Joy' or 'Hope', then cut them out.
- Glue a flag to the end of each toothpick and insert one into each cloud.
- Tie clear thread between the toothpicks to hang the clouds at different heights.


11. Photo Countdown Chain
Moderate
Each link holds a memory from the past year, torn into strips and connected. A personal story unwinds day by day.
Materials Needed
- Old family photos (10, 4×6 inch)
- Scissors (1 pair)
- Ring binder clips (10, small)
- Hole punch (1)
- Metal key rings (10, 1 inch)
How to Make It
- Cut each photo into four vertical strips using scissors.
- Punch a hole at the end of one strip, loop it through a key ring, and connect another strip to close the link.
- Continue adding strips until all are linked in one long chain.
- Clip each day's link with a binder clip so it can be removed nightly leading up to the holiday.


12. Pom-Pom Clock Topper
Easy
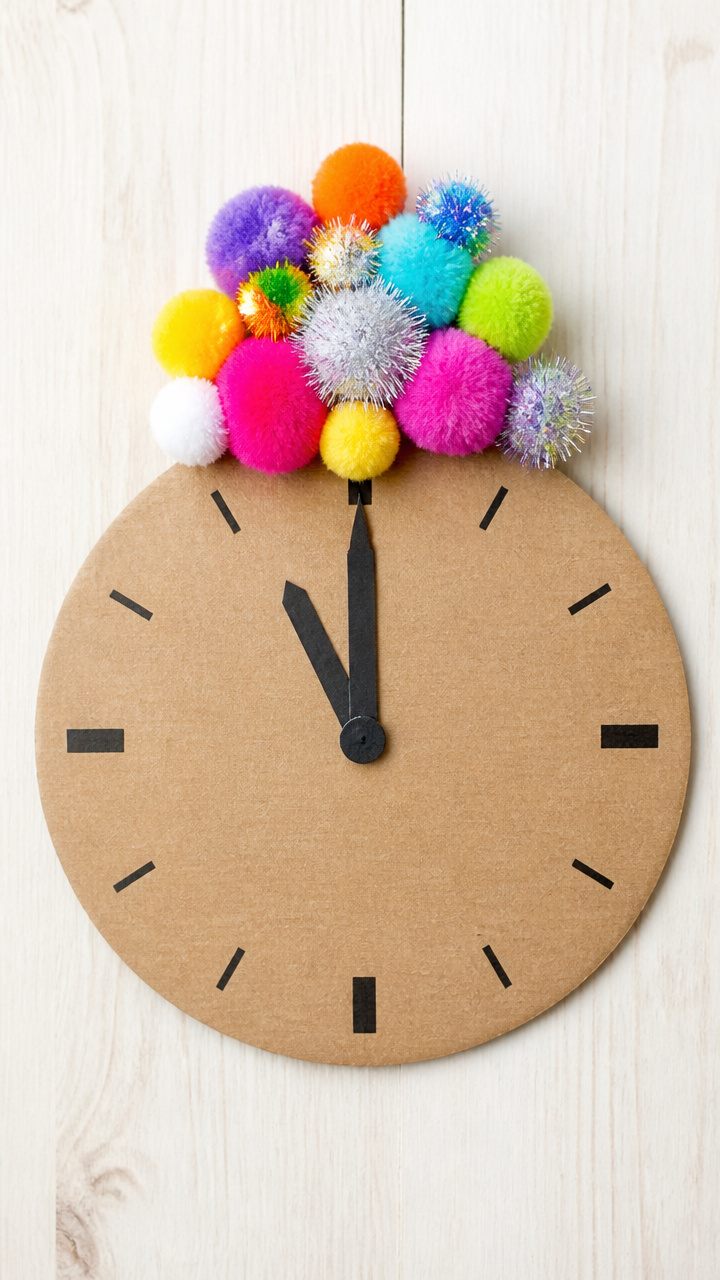
A fuzzy pom-pom bursts from the center of a cardboard clock face. It draws eyes upward and adds playful texture.
Materials Needed
- Cardboard circle (6 inch, 1)
- Multicolored pom-poms (10, assorted sizes)
- Hot glue gun (1)
- Glue sticks (2)
- Black marker (1)
- Scissors (1 pair)
How to Make It
- Use the black marker to draw numbers 1 through 12 evenly around the edge of the cardboard circle.
- Apply hot glue to the back of the smallest pom-pom and press it into the center of the clock.
- Glue larger pom-poms around the center pom-pom, layering outward to form a sunburst.
- Let cool for 5 minutes before hanging with tape or string.


13. Straw Pinwheel Stars
Moderate
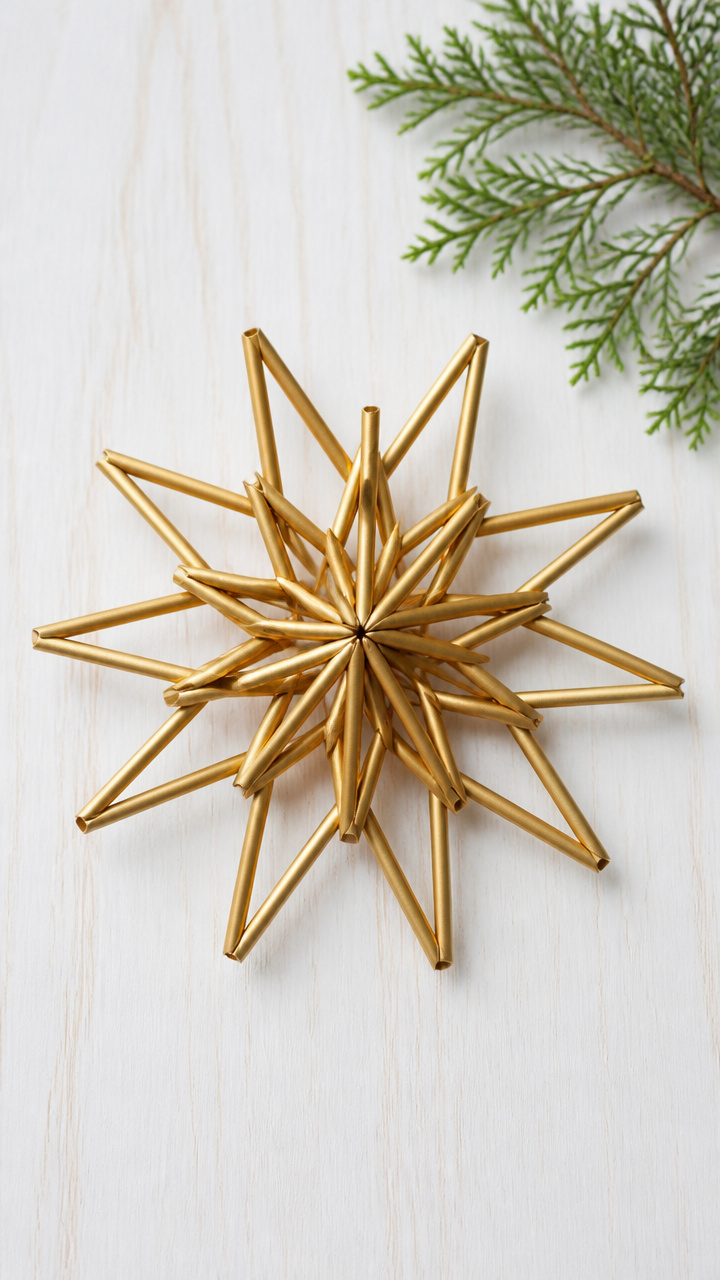
Spinning stars made from drinking straws turn with the slightest breath. Mount them on walls or poles for motion-filled fun.
Materials Needed
- Flexible drinking straws (5, multicolored)
- Brass fastener (1, 1 inch)
- Cardboard star (4 inch, pre-cut, 1)
- Ruler (1)
- Scissors (1 pair)
How to Make It
- Cut each straw just below the flex section, keeping the straight part only.
- Measure and mark the center of the cardboard star.
- Slide one straw over each arm of the star, aligning ends at the tips.
- Push the brass fastener through the center of all straws and the star, then secure it to a wall or post so it spins freely.

![[500 Pack] Neon Colored Flexible Plastic Drinking Straws Disposable Straw 8'' inches Tall Assorted Colors](https://m.media-amazon.com/images/I/51sTvwnIHQL._SL500_.jpg)

14. Glitter Jar Shakers
Easy
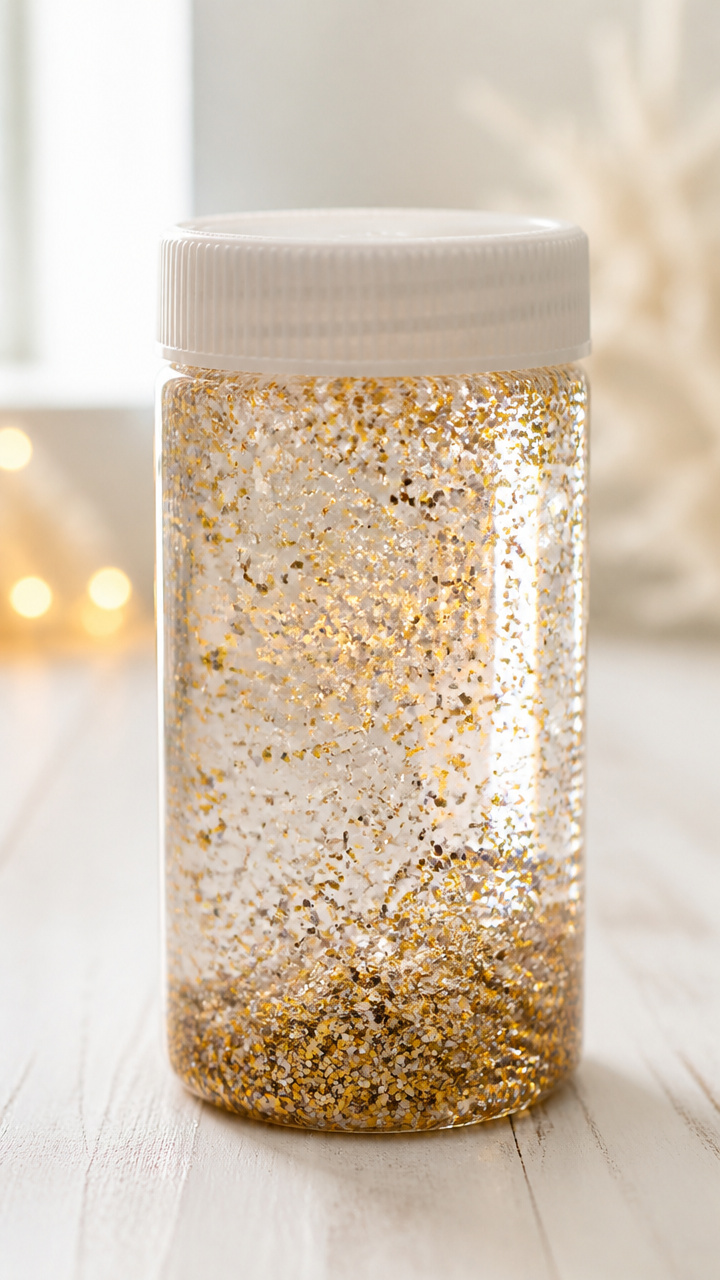
Swirling sparkles settle slowly in a sealed jar, calming busy minds. Shake them during countdown pauses or quiet moments.
Materials Needed
- Clear plastic jar (4 oz, with lid, 1)
- Distilled water (3 oz)
- Clear glue (1 oz)
- Fine glitter (gold and silver, 1/2 teaspoon each)
- Funnel (small, 1)
How to Make It
- Use the funnel to pour 1 oz of clear glue into the jar.
- Add 3 oz of distilled water and swirl gently to mix.
- Pour in gold and silver glitter, then screw the lid on tightly.
- Shake vigorously to watch the glitter swirl and slowly settle.


15. Crayon Melt Art
Advanced
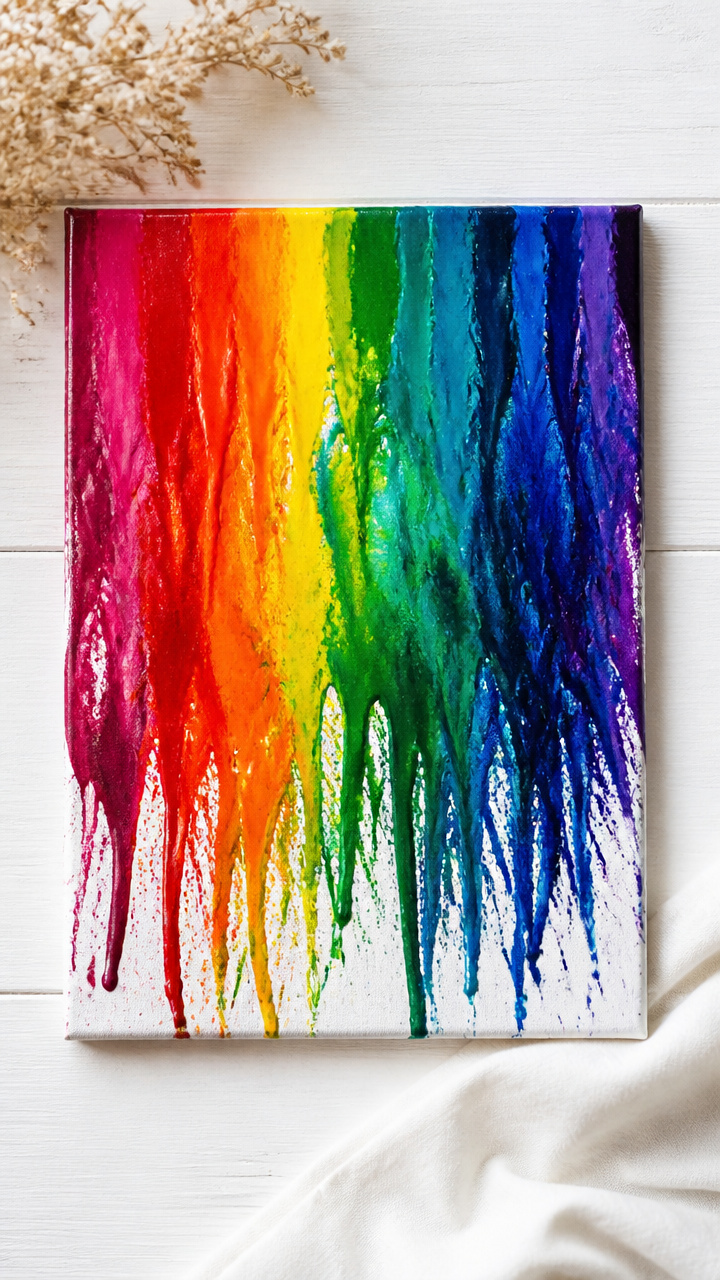
Melting crayons with heat creates wild streaks of color on canvas. Each piece is unpredictable and full of energy.
Materials Needed
- Canvas board (5×7 inch, 1)
- Old crayons (6, peeled)
- Hair dryer (1)
- Tape (masking, 1 roll)
- Clothespin (1)
How to Make It
- Peel paper off crayons and use tape to secure them vertically along the top edge of the canvas, points facing down.
- Clip the clothespin to the crayon wrappers to hold them in place if needed.
- Set the hair dryer to high heat and aim it at the crayon tips until they begin to drip.
- Move the dryer slowly to control melt direction and let artwork dry completely before displaying.


Grab a few supplies and invite the kids to start creating. These decorations bring joy long after the last sparkle falls.