15 DIY Leaf Wreath Ideas

There’s something deeply comforting about gathering natural elements and shaping them into something beautiful for your home. A leaf wreath carries the quiet magic of the season, bringing a soft touch of nature indoors with color and texture you can craft yourself.
Each of these ideas starts simple but results in a piece that feels intentional and personal. You don’t need special tools or years of experience, just curiosity and a few quiet moments to create.
1. Pressed Maple Leaf Wreath
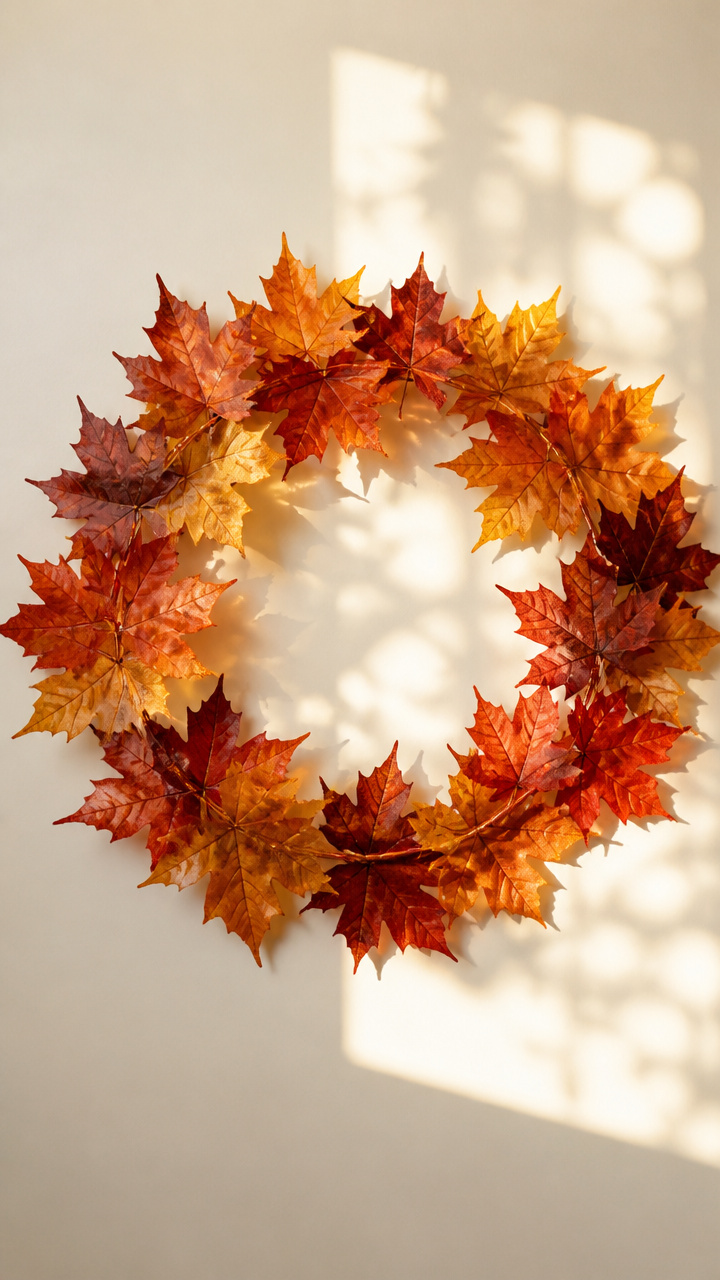
Smooth, translucent maple leaves layered on a wire ring create a delicate autumn circle perfect for a sunlit wall. This wreath captures fall light like stained glass.
Materials Needed
- 12 medium-sized fresh maple leaves
- 18-inch copper wire wreath frame
- Parchment paper, two sheets, 9×12 inches
- Heavy book
- Clear-drying craft glue
- Small paintbrush
How to Make It
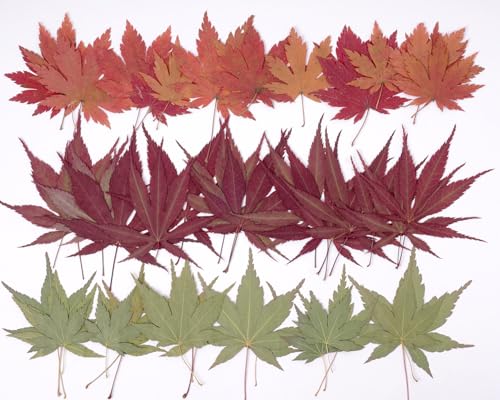
- Place each maple leaf between two sheets of parchment paper and press inside a heavy book for 7 days until flat and dry.
- Once dried, use the paintbrush to apply a thin layer of glue to the back of each leaf and gently press it onto the copper wire frame, overlapping slightly.
- Let the glue dry completely for 3 hours before hanging.


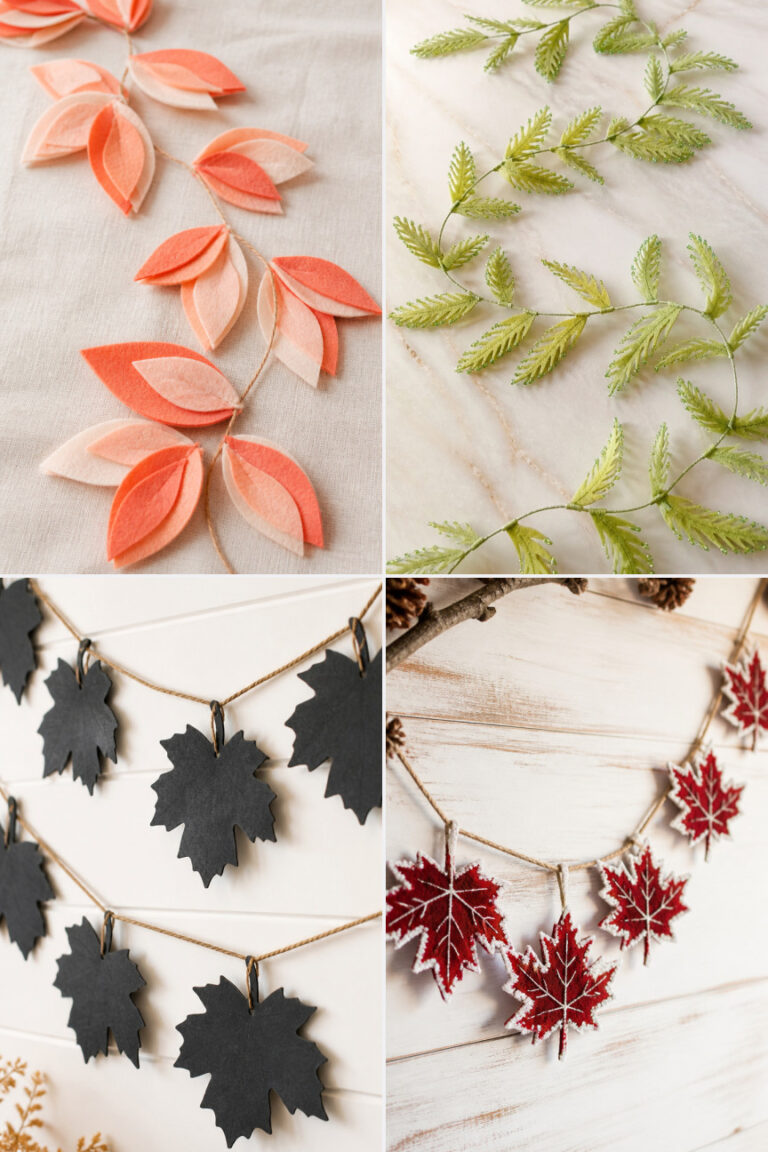
2. Felt Oak Leaf Garland Wreath
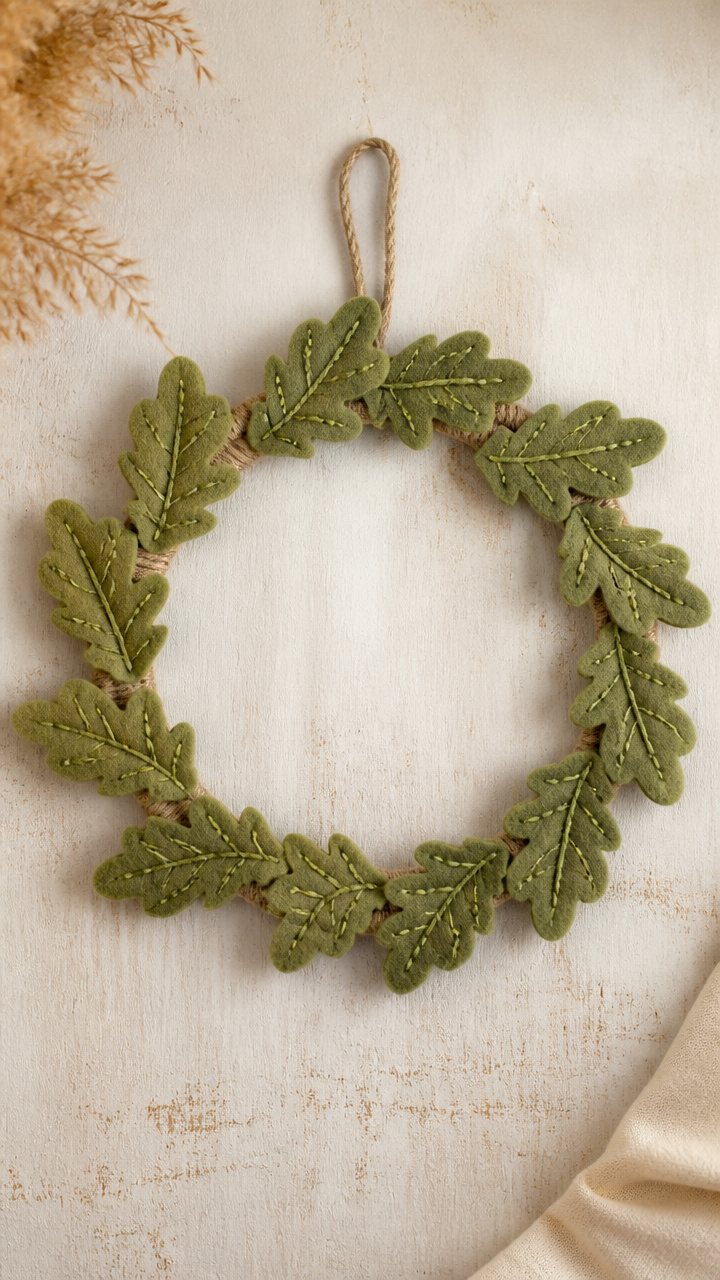
Soft green felt oak leaves stitched onto jute twine form a lightweight wreath ideal for doorways. It holds its shape year after year with no fading.
Materials Needed
- 12 green wool-blend felt sheets, 9×12 inches
- Jute twine, 24 inches long
- Paper oak leaf template, 3 inches tall
- Scissors
- Green embroidery floss
- Needle
How to Make It
- Trace the oak leaf template onto the felt 20 times and cut out each shape carefully with scissors.
- Thread the needle with green embroidery floss and sew each leaf onto the jute twine using a whipstitch, spacing them 1 inch apart.
- Tie the ends of the twine together to form a circle and trim any excess.


3. Wire-Vined Ivy Leaf Ring

Real ivy stems twisted around a metal hoop make a lush, trailing wreath that looks freshly picked. It thrives in shaded corners with minimal care.
Materials Needed
- Fresh ivy stems, 6 feet total length
- 12-inch steel wreath frame
- Floral wire, 22-gauge, 5 feet
- Pruning shears
How to Make It
- Cut ivy stems into 6-inch lengths using pruning shears, keeping leaves intact.
- Wrap each stem around the steel frame and secure with a loop of floral wire every 2 inches.
- Continue adding stems until the frame is fully covered, then twist the ends of the wire tightly to finish.


4. Crayon-Melt Leaf Art Wreath

Colorful crayon shavings melted into leaf shapes become bold, waxy tiles on a canvas ring. This playful design brings warmth to a child’s room.
Materials Needed
- Assorted crayons, peeled and shaved (10 total)
- Silicone leaf mold, 4 cavities
- Hair dryer
- 10-inch wooden embroidery hoop
- Hot glue gun and glue sticks
How to Make It
- Fill each cavity of the silicone mold with different colored crayon shavings and press down lightly.
- Use the hair dryer on high heat to melt the shavings completely, then let cool for 20 minutes.
- Pop out the cooled crayon leaves and glue them evenly around the outer edge of the embroidery hoop with hot glue.


5. Salt-Dough Sycamore Leaves
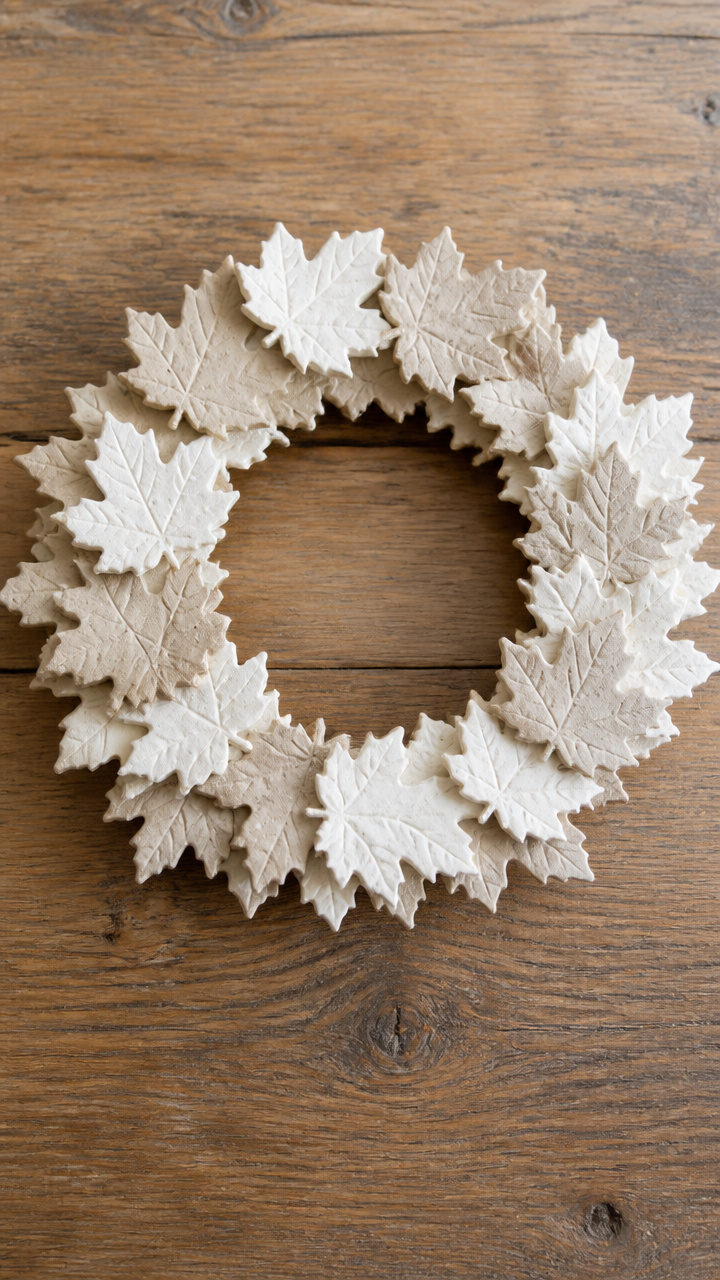
Hand-rolled salt dough shaped into sycamore leaves gives a rustic, handmade charm. These keep their shape forever if stored dry.
Materials Needed
- 2 cups all-purpose flour
- 3/4 cup table salt
- 3/4 cup water
- Sycamore leaf cookie cutter, 2 inches wide
- Baking sheet
- Parchment paper
- Clear acrylic sealer spray
How to Make It
- Mix flour, salt, and water in a bowl until a smooth dough forms, then roll it to 1/4 inch thickness on a floured surface.
- Cut out 15 leaf shapes using the cookie cutter and place them on the parchment-lined baking sheet.
- Bake at 200°F for 4 hours, flip halfway, then spray both sides with sealer after cooling.


6. Dried Lemon and Eucalyptus Wreath

Thin lemon slices paired with eucalyptus leaves add citrus scent and pale gold tones. Hang it where it catches drafts to release fragrance.
Materials Needed
- 6 lemons, thinly sliced
- Oven
- Rack set to lowest temperature
- Fresh eucalyptus sprigs, 8 stems
- 14-inch grapevine wreath base
- Floral wire, 18 inches
How to Make It
- Dry lemon slices in the oven at 170°F for 4 hours, turning once, until crisp and curled.
- Bundle eucalyptus sprigs together and lay them over the front of the grapevine wreath.
- Wrap floral wire around the base of the bundle and twist tightly at the back to secure, then tuck dried lemons under the leaves.


7. Watercolor Paper Birch Leaves
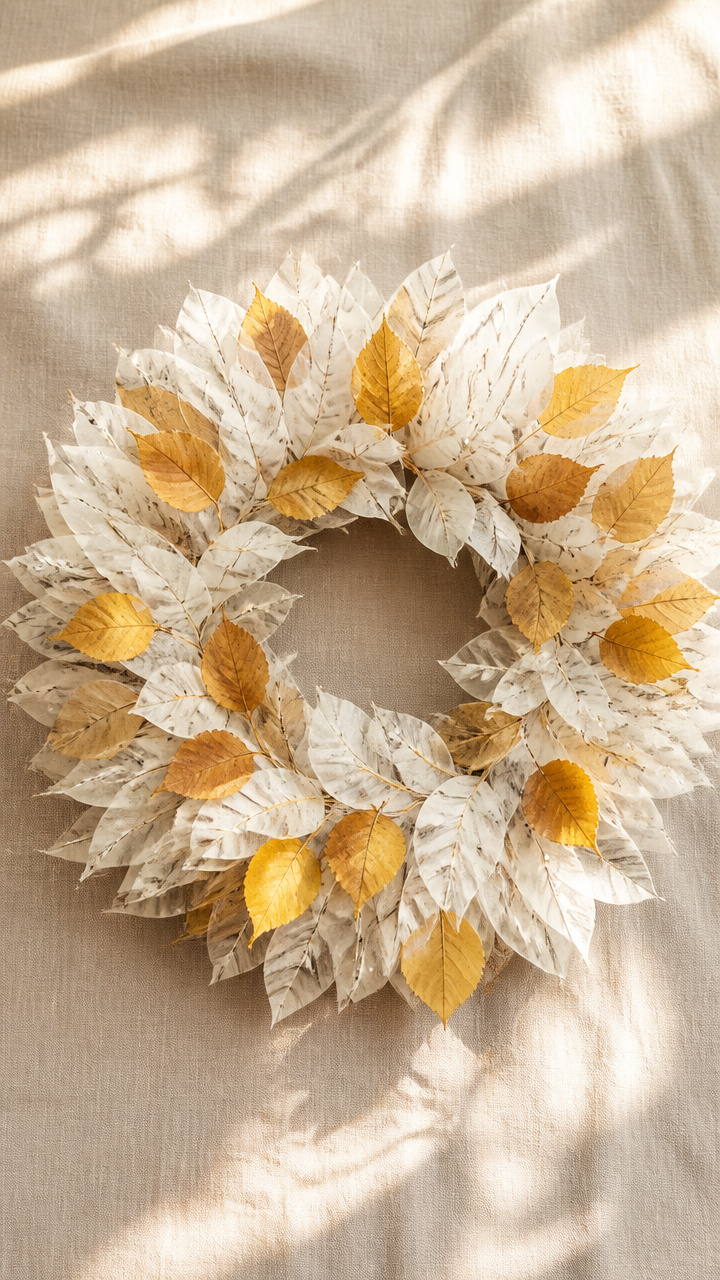
Delicate tissue paper painted with birch bark patterns floats behind preserved leaves. The effect is airy and dreamlike.
Materials Needed
- White tissue paper, 12×18 inches
- Gray watercolor paint
- Small watercolor brush
- Preserved yellow leaves, 10
- 10-inch foam wreath base
- Low-temp hot glue gun
How to Make It
- Crumple the tissue paper gently, then flatten and paint vertical gray lines to mimic birch bark. Let dry for 15 minutes.
- Cut the paper into 5×5 inch squares and drape one loosely over each section of the foam base.
- Glue a preserved leaf in the center of each square with a dot of hot glue, letting edges curl naturally.


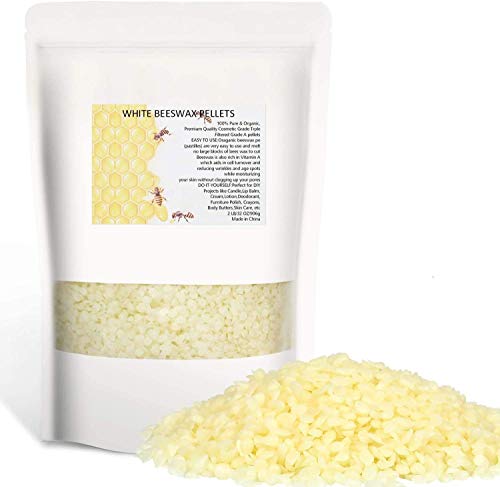
8. Beeswax-Dipped Fern Wreath
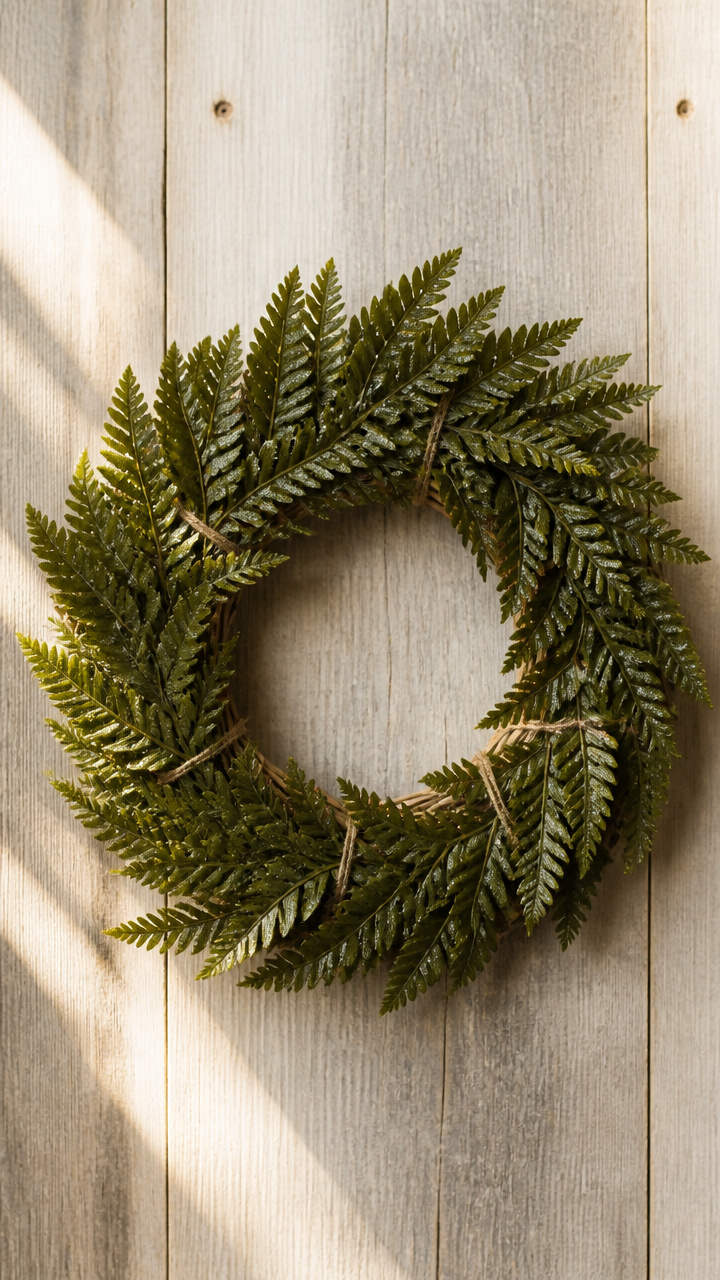
Fern fronds dipped in warm beeswax become glossy and long-lasting. They catch light softly and never crumble.
Materials Needed
- Fresh fern fronds, 10 stems
- 1 pound beeswax pellets
- Double boiler
- 12-inch rattan wreath frame
- Twine, 1 yard
How to Make It
- Melt beeswax pellets in a double boiler over low heat, stirring occasionally until fully liquid.
- Dip each fern frond into the wax for 3 seconds, then lift and let excess drip off for 10 seconds.
- Weave the waxed fronds into the rattan frame, securing with small knots of twine at the base of each stem.


9. Origami Gingko Garland

Bright yellow origami gingko leaves strung on fishing line spin gently in breezes. Each fold echoes the real tree’s unique fan shape.
Materials Needed
- Yellow origami paper, 6×6 inches, 20 sheets
- Fishing line, 3 feet
- Tapestry needle
- Ruler
- Pencil
How to Make It
- Fold each paper sheet into a gingko leaf using the traditional ‘waterbomb base’ method, creasing sharply along each line.
- Mark the fishing line at 2-inch intervals with pencil and thread the tapestry needle with one end.
- String one leaf at each mark by piercing the base of the stem, then tie a knot above and below to hold it in place.


10. Pinecone and Leaf Cluster

Mini pinecones glued beside curled brown leaves mimic forest floor textures. This full, earthy wreath suits a cabin or entryway.
Materials Needed
- 12 small pinecones
- 15 curled dried leaves
- 10-inch straw wreath base
- Hot glue gun and glue sticks
- Brown ribbon, 1 inch wide, 2 feet
How to Make It
- Arrange pinecones and curled leaves in clusters of three around the front half of the straw wreath base.
- Apply hot glue to the base of each pinecone and leaf, pressing firmly for 10 seconds to adhere.
- Tie the brown ribbon into a bow and glue it at the bottom as a finishing touch.


11. Chalk-Painted Vine Maple Wreath
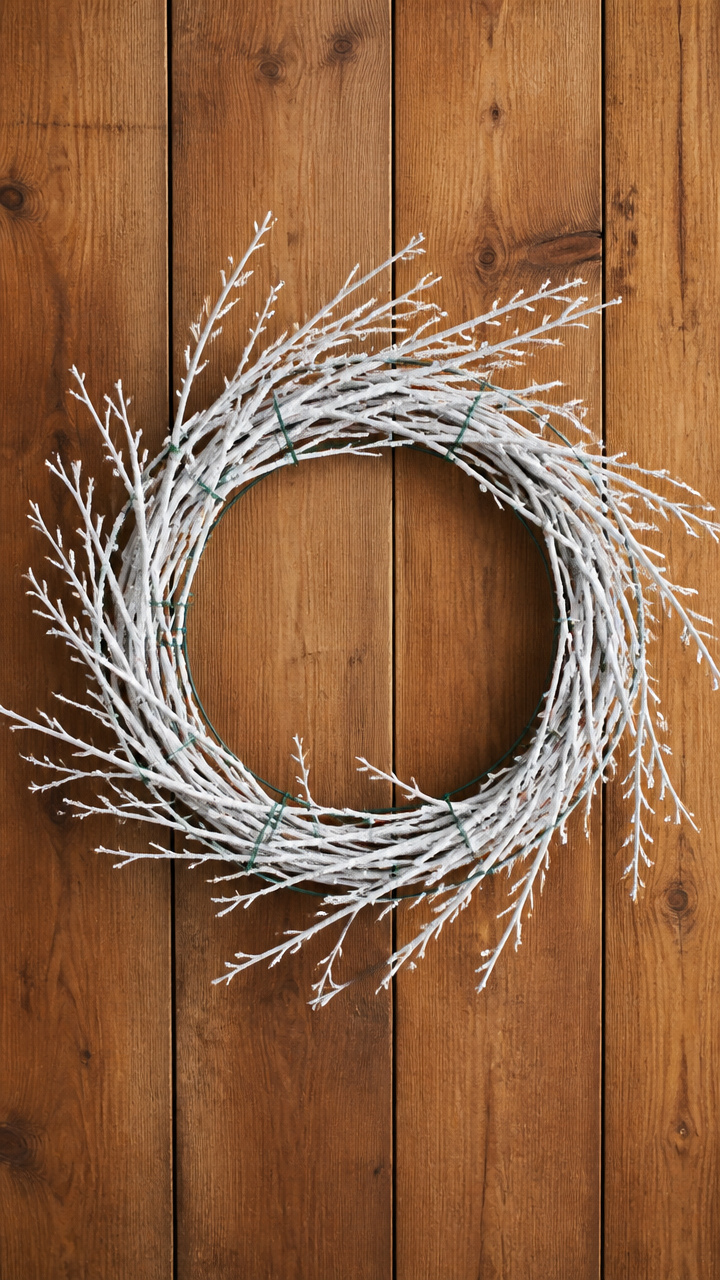
Vine maple stems painted white with chalk paint offer a wintry silhouette. The frosty look stands out against dark walls.
Materials Needed
- Fresh vine maple stems, 4 feet total
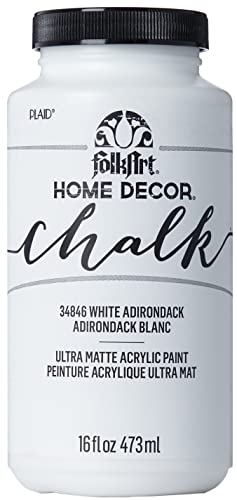
- White chalk paint
- Shallow tray
- Paintbrush
- 12-inch metal wreath frame
- Floral ties, green
How to Make It
- Lay stems in a single layer in the tray and pour enough chalk paint to cover halfway up each stem. Soak for 2 minutes.
- Remove stems and lay flat to dry for 2 hours, turning once.
- Wrap stems around the metal frame and bind every 3 inches with floral ties until the circle is full.

12. Fabric-Scrap Sycamore Leaves
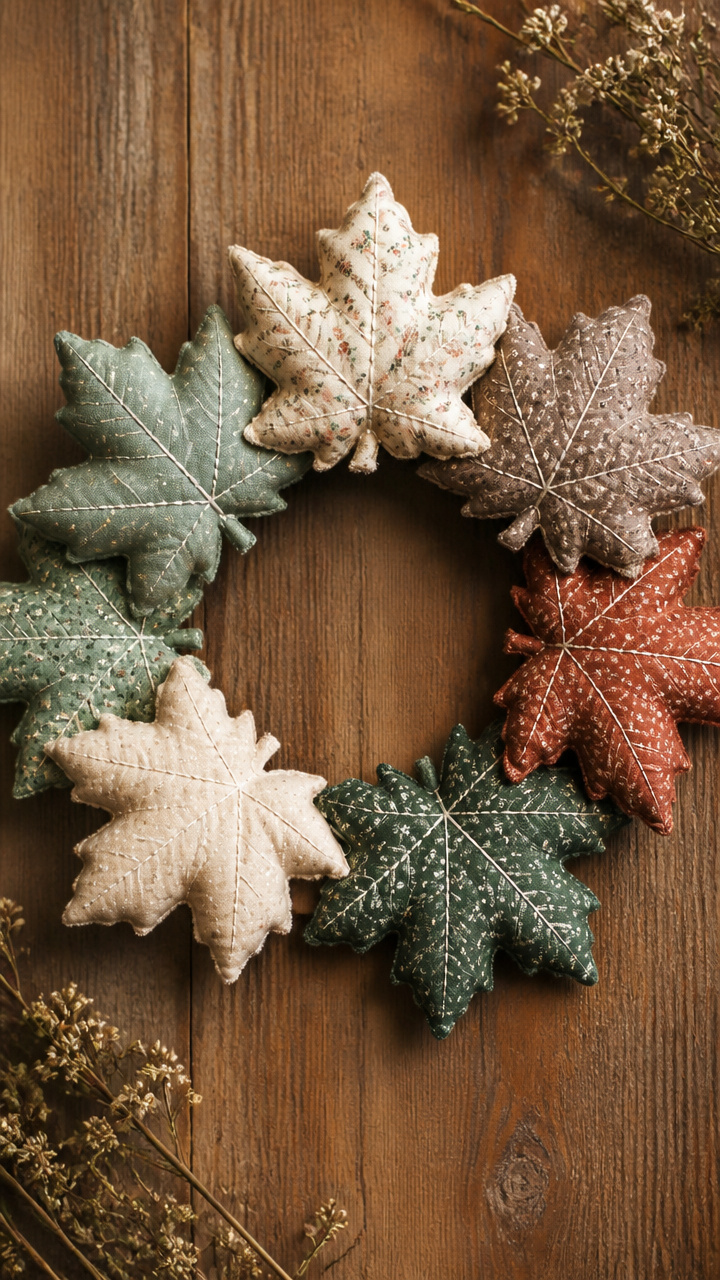
Remnants of old quilts turned into soft sycamore leaves bring history into your decor. Each patch tells a quiet story.
Materials Needed
- Cotton fabric scraps, 6 different prints
- Cardboard sycamore leaf template, 4 inches
- Scissors
- Polyester stuffing, small handful
- Embroidery needle
- White embroidery floss
- 10-inch willow wreath base
How to Make It
- Trace the template onto each fabric scrap twice and cut out 12 pairs of leaves.
- Place two matching pieces right sides together and stitch around the edge with white floss, leaving a 1-inch gap.
- Turn each leaf right side out, stuff lightly, then hand-stitch the gap closed. Attach to the willow base with floss tails.


13. Resin-Coated Autumn Mix
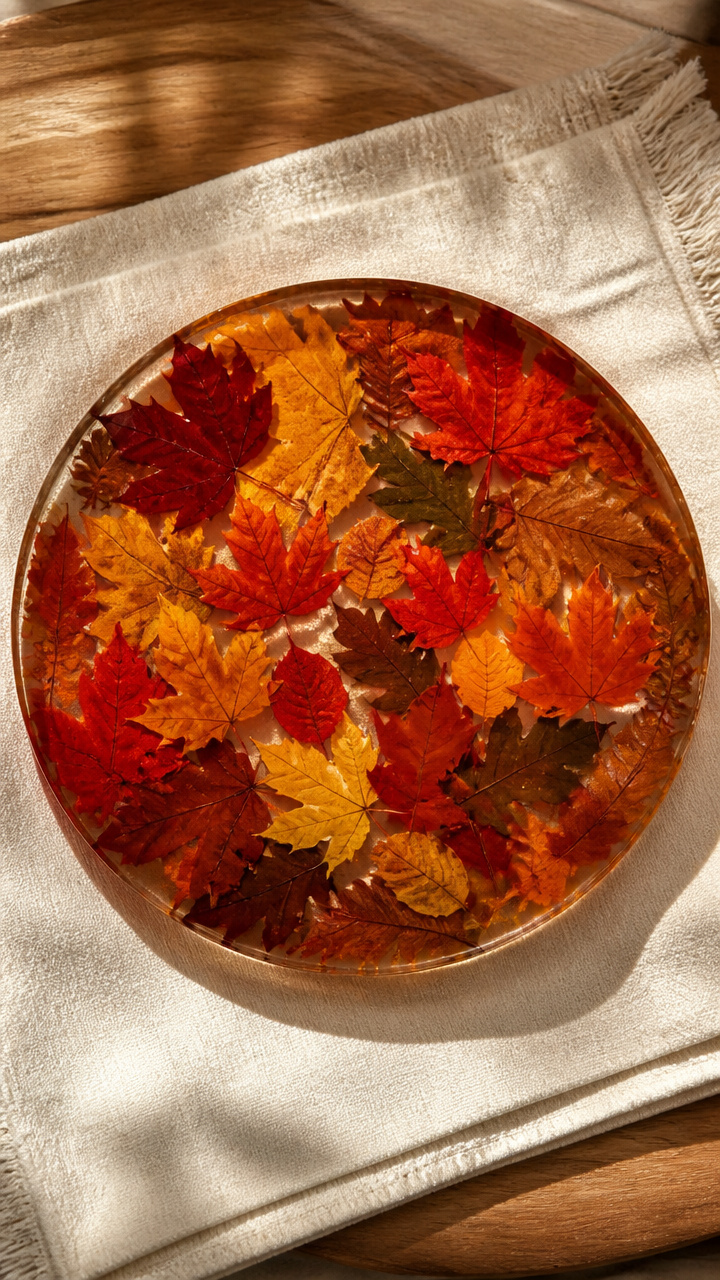
Real leaves sealed in clear resin shine like captured moments. The finish protects color and adds depth.
Materials Needed
- Mixed autumn leaves, 10 medium
- Clear epoxy resin kit
- Disposable mixing cup
- Stir stick
- Silicone mold, circular, 9 inches diameter
- Gloves
How to Make It
- Arrange leaves in the silicone mold, overlapping slightly toward the center.
- Mix resin according to package directions and pour slowly over the leaves until they are fully covered.
- Let cure for 24 hours at room temperature, then flex the mold gently to release the finished wreath.


14. Twig and Leaf Skeleton Frame
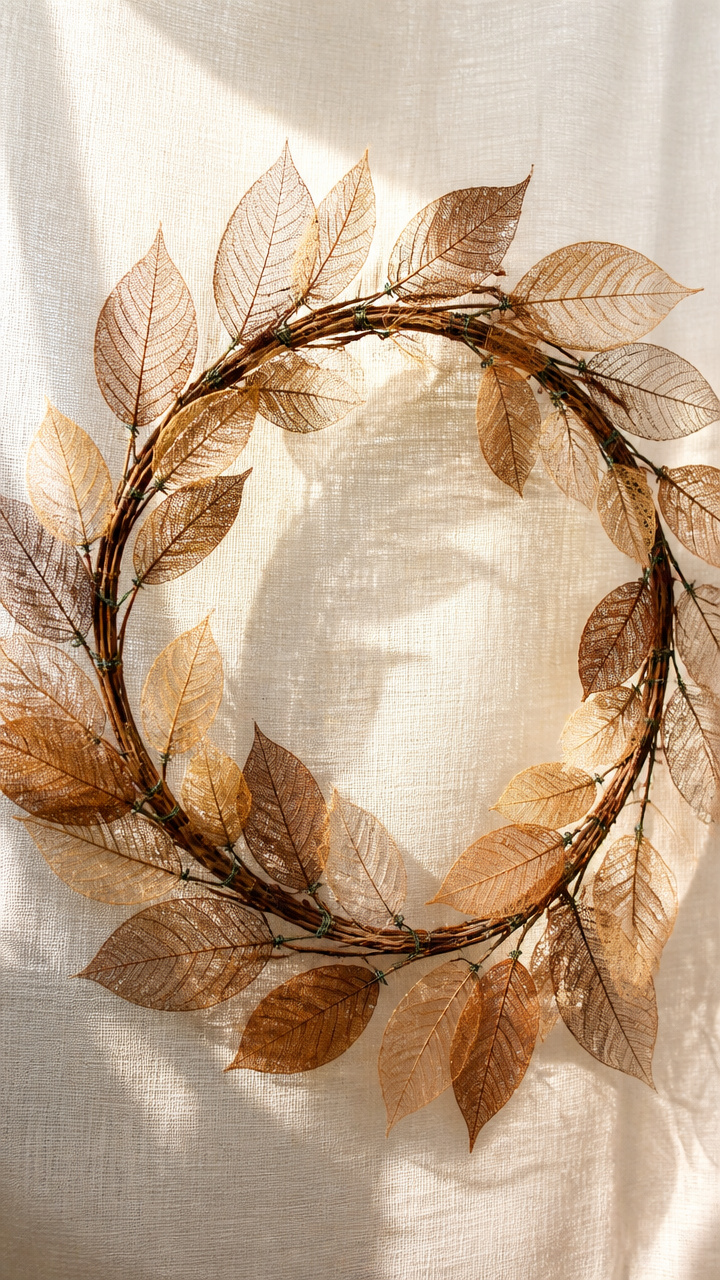
Delicate leaf skeletons wired to a twig circle highlight nature’s fine architecture. Light passes through the veins beautifully.
Materials Needed
- Leaf skeletons, 15 pieces
- Flexible willow twigs, 4 pieces, 12 inches
- Pliers
- Green floral wire, 20-gauge, 2 feet
- Craft knife
How to Make It
- Bend each willow twig into a circle and twist the ends together to form a frame, reinforcing with pliers.
- Trim any sharp ends with the craft knife so they won’t tear the leaf skeletons.
- Use small pieces of floral wire to attach each skeleton to the frame, wrapping tightly behind the central vein.


15. Tea-Stained Paper Leaf Wreath
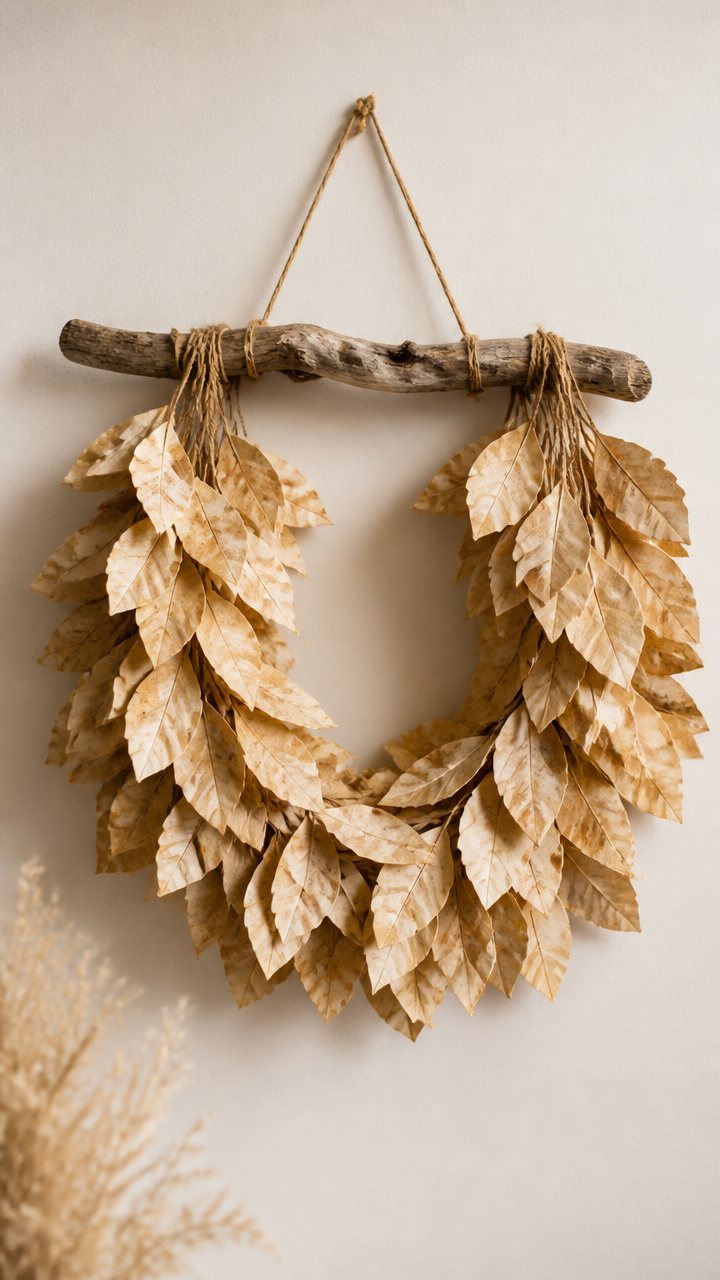
Coffee-filter leaves dyed with tea hang from a driftwood branch for a weathered, heirloom feel. The subtle stain evokes aged parchment.
Materials Needed
- Unbleached coffee filters, 20
- Black tea bags, 3
- Boiling water, 2 cups
- Large bowl
- Scissors
- Driftwood branch, 12 inches long
- Twine, 1 foot
How to Make It
- Pour boiling water over tea bags and steep for 5 minutes, then remove bags and let liquid cool for 30 minutes.
- Soak coffee filters in the tea for 10 minutes, then lay flat on a towel to dry overnight.
- Cut each filter into a leaf shape, then punch a hole at the top and string onto twine. Tie the twine to each end of the driftwood.

You’ve got everything you need to begin right now—maybe even things already on your shelf or waiting outside your door. Pick one idea that calls to you and let your hands do the listening.