15 New Year Countdown Crafts for Kids

Glitter spills across the table, scissors snip through bright paper, and tiny hands shape excitement into something you can hold. These moments become memories when you count down to the new year with handmade joy.
Each craft here gives kids a way to feel the magic of anticipation, one project at a time. You’ll find simple materials, clear steps, and ideas that turn ordinary supplies into celebrations.
1. Sparkly Paper Chain Garland
Easy
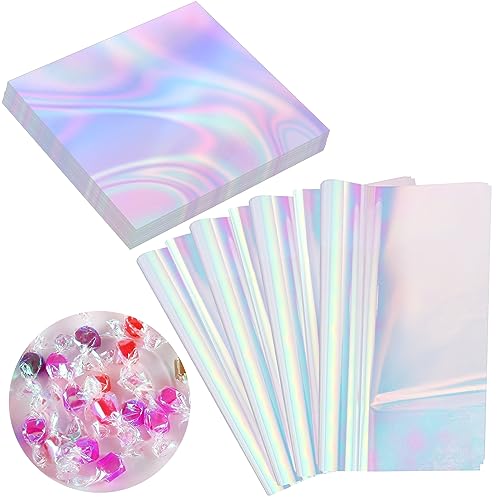
Long strips of shimmering paper link together to form a festive garland you hang from ceiling to floor. This classic decoration builds excitement with every loop added each day.
Materials Needed
- 6 sheets iridescent construction paper (assorted colors)
- Scissors
- White school glue
- Pencil
- Ruler
How to Make It
- Cut each sheet into 1-inch wide strips, 8 inches long, using scissors and a ruler for straight edges.
- Take one strip, form a circle, and glue the ends together.
- Thread a second strip through the first circle before gluing it into its own loop.
- Repeat, alternating colors, until the chain reaches 6 feet in length.


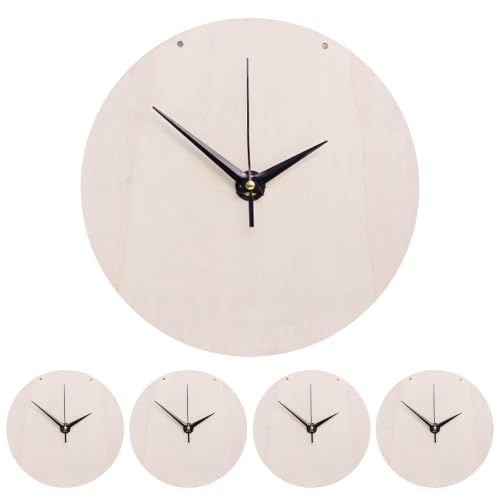
2. Countdown Clock Craft
Moderate
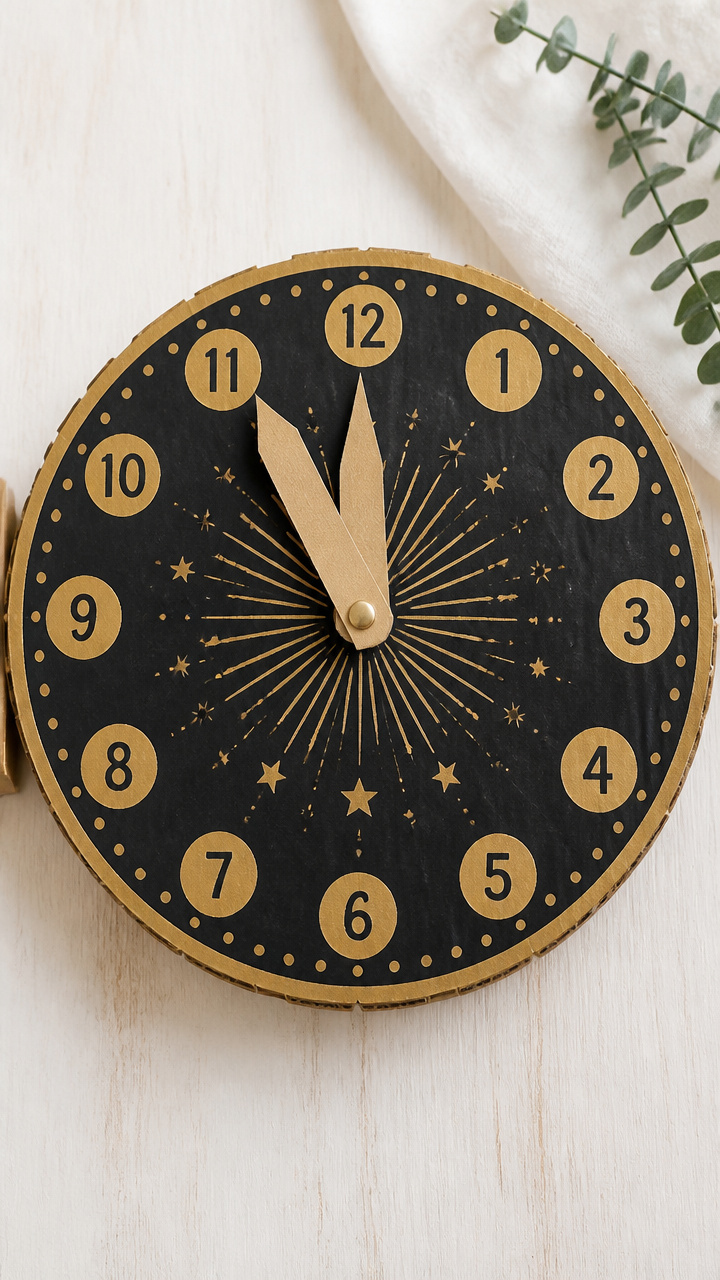
A cardboard clock face with movable hands lets kids track hours until midnight. The ticking anticipation becomes part of play.
Materials Needed
- 1 large round pizza box lid
- Acrylic paint (gold and black)
- Paintbrush size 6
- Brad fastener
- Cardboard sheet
- Scissors
- Black permanent marker
- Ruler
How to Make It
- Paint the pizza lid gold and let it dry completely on a flat surface for 20 minutes.
- Use the ruler and marker to draw numbers 1–12 evenly around the edge.
- Cut two clock hands from cardboard: one short for hours, one long for minutes.
- Paint both hands black and let them dry for 15 minutes.
- Position the hands over the center of the clock and attach them with the brad fastener, allowing rotation.

3. New Year’s Eve Noise Makers
Easy
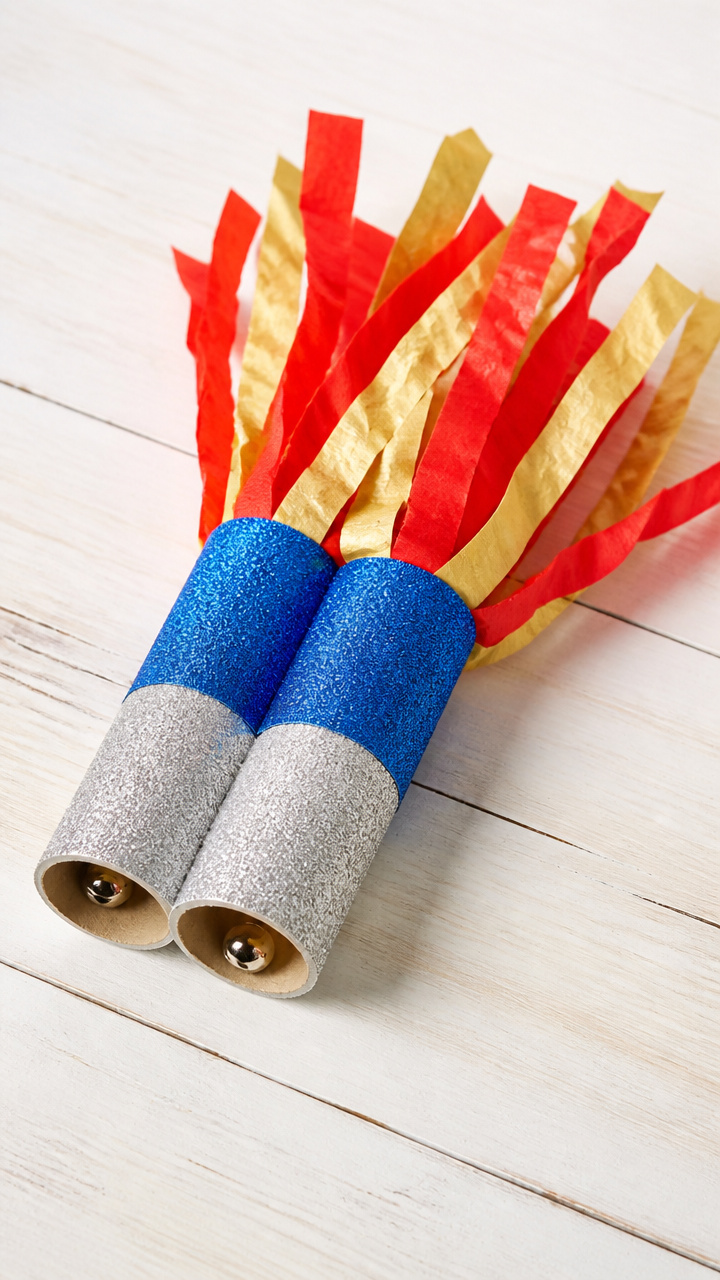
Colorful tubes filled with jingle bells rattle with every shake. These handheld party favors double as countdown tools at the final seconds.
Materials Needed
- 2 empty toilet paper rolls per child
- Glitter glue (blue and silver)
- Jingle bells (10 per noise maker)
- Clear tape
- Crepe paper streamers (red and gold), 12 inches each
- Hot glue gun and glue sticks
How to Make It
- Tape one end of a toilet paper roll closed with clear tape.
- Add 5 jingle bells inside the tube.
- Seal the other end with another piece of tape.
- Apply glitter glue in swirls on the outside and let dry for 30 minutes.
- Use hot glue to attach crepe paper streamers to the bottom edge.


4. Foil Balloon Letters
Easy
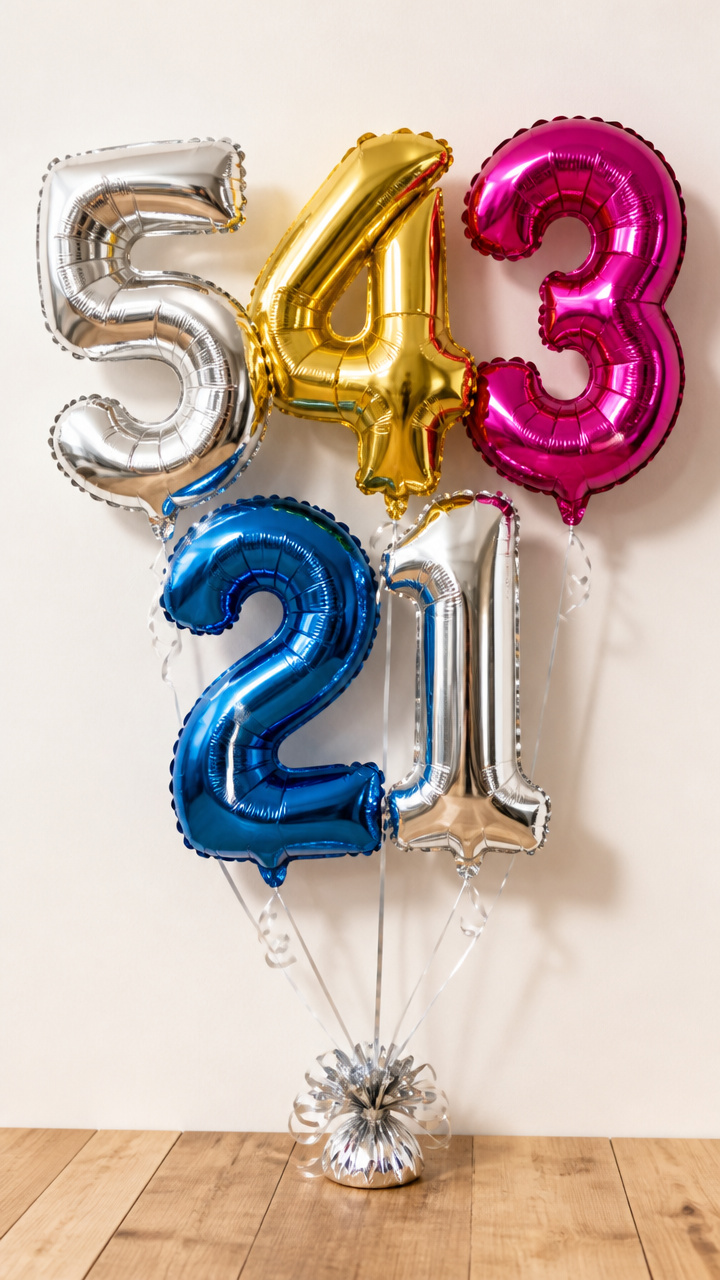
Shiny inflated letters spell out the coming year above the party table. These lightweight decorations catch light and attention.
Materials Needed
- Four 18-inch mylar balloons shaped like numbers (e.g., 2, 0, 2, 5)
- Balloon ribbon (silver), 4 yards
- Double-sided tape squares
- Command hook (small)
How to Make It
- Inflate each number balloon using a straw or hand pump until firm but not tight.
- Tie one end of a 1-yard ribbon to each balloon neck.
- Stick a double-sided tape square to the back of each balloon.
- Arrange the numbers in order on a wall using the tape and press firmly.
- Hang the ribbons from a Command hook placed above the display.
5. Confetti Popper Tubes
Moderate
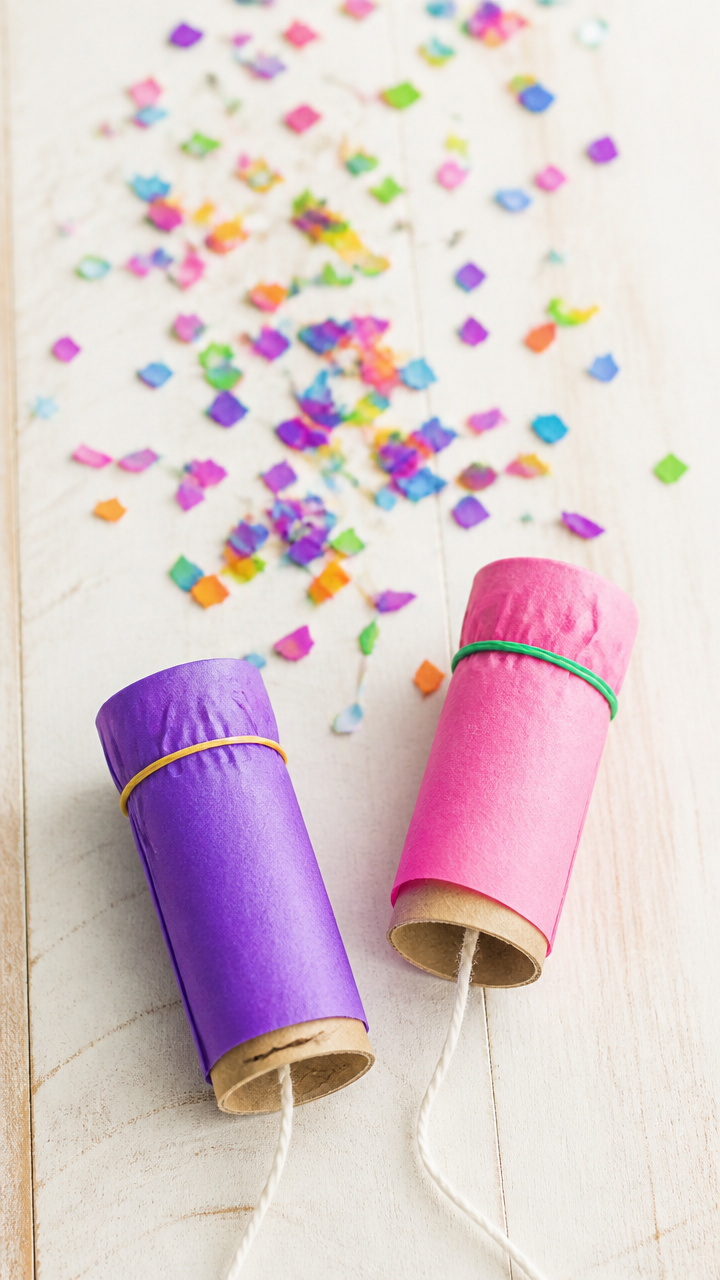
Cardboard tubes launch biodegradable confetti when pulled open. A burst of color marks each stroke of midnight.
Materials Needed
- Empty paper towel rolls (2 per child)
- Tissue paper (multicolor), 6 sheets
- Rubber bands (2 per popper)
- Hole punch
- String (cotton, 8 inches)
- Biodegradable confetti (½ cup)
- Scissors
How to Make It
- Cut tissue paper into 6-inch squares and layer three together.
- Place 2 tablespoons of confetti in the center of the stack.
- Fold the top corners down to meet at the middle, then fold the bottom up over the top.
- Insert the bundle into one end of the tube.
- Stretch a rubber band around the tube just past the folded tissue.
- Punch two holes near the sealed end and thread string through to wear like a bracelet.
6. Glitter Countdown Jars
Moderate
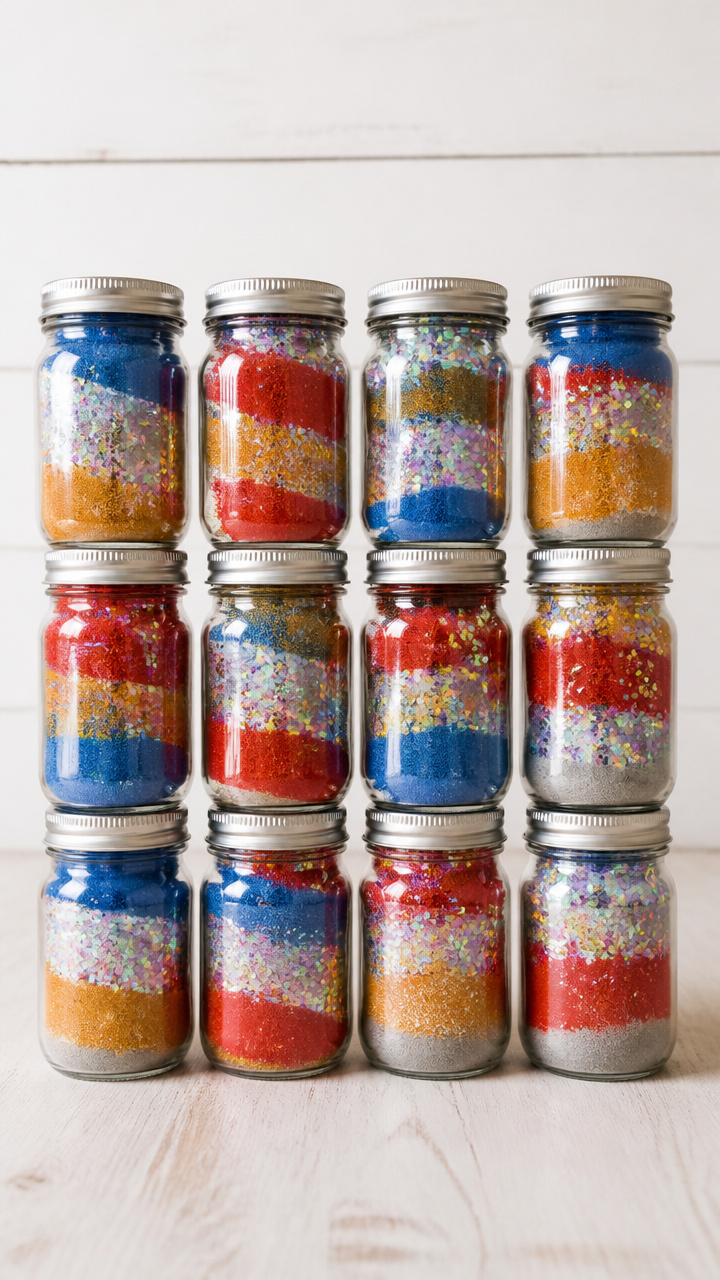
Tiny glass jars filled with layered colored sand mark each day with a shake. Watching the colors swirl calms excitement while counting down.
Materials Needed
- 12 small glass mason jars with lids (2-ounce)
- Colored sand (red, silver, gold, blue), 1 cup total
- Glitter (fine, iridescent), 2 tablespoons
- Funnel (small)
- Measuring spoon (tablespoon)
- Permanent marker
How to Make It
- Use the funnel to add 1 tablespoon of red sand to the first jar.
- Add a pinch of glitter on top.
- Screw the lid on tightly.
- Label the jar 'Day 12' with the permanent marker.
- Repeat with different color combinations for each day, decreasing by one until 'Day 1'.
7. Crown of Sparkling Stars
Easy
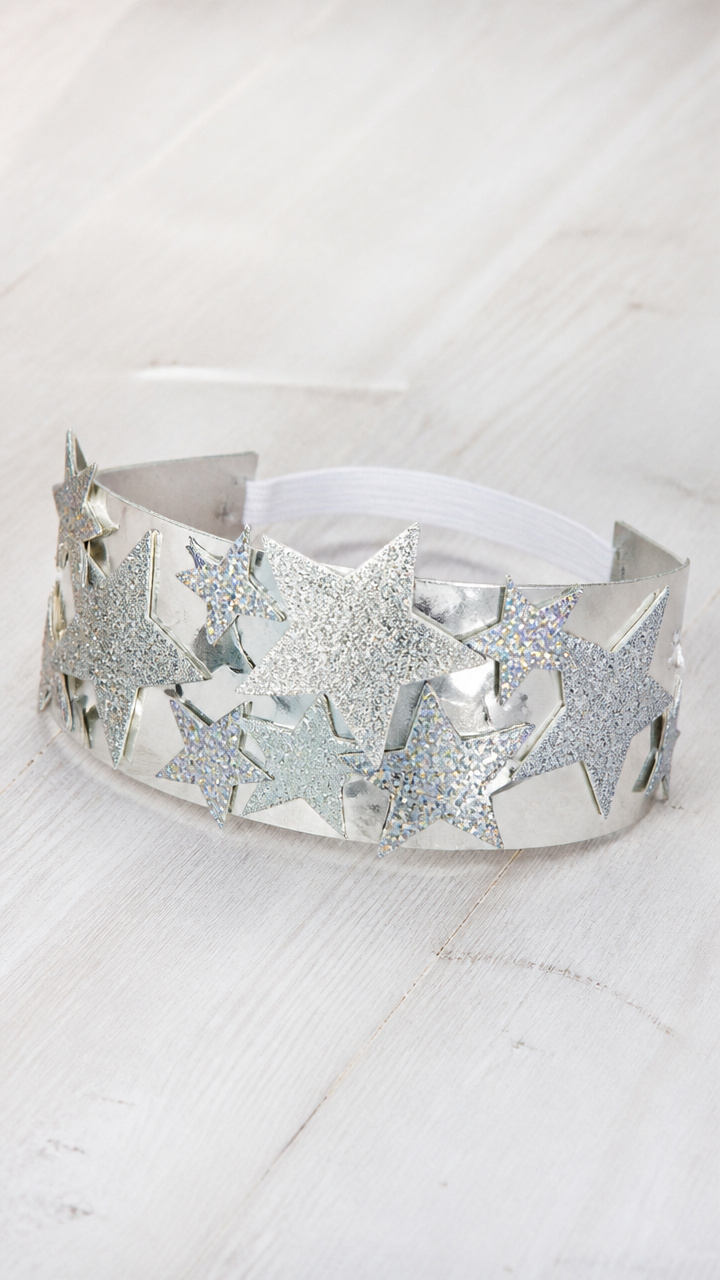
A wearable headband studded with foil stars makes every child feel like royalty at midnight. Light reflects off every point as they celebrate.
Materials Needed
- Cardstock headband base (pre-cut, 2 inches wide)
- Star stickers (silver, 1 inch), 10 per crown
- Glitter foam star shapes (½ inch), 15 per crown
- Hot glue gun and glue sticks
- Elastic string (14 inches), 2 pieces
How to Make It
- Lay the headband flat on the table.
- Alternate placing star stickers and foam stars along the top edge.
- Use a dot of hot glue under each foam star to secure it.
- Tie one elastic string to each end of the band using a knot.

8. Pop-Up Countdown Calendar
Moderate
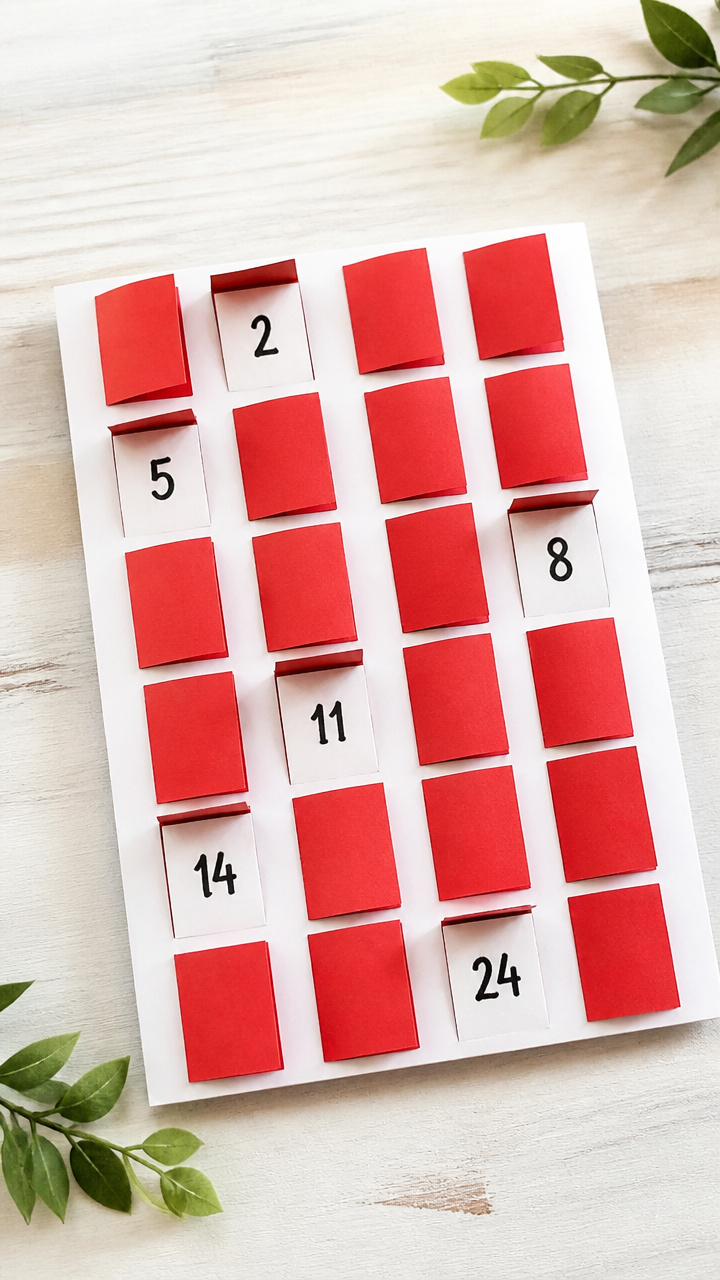
A folded card reveals a hidden number behind each flap. Opening one per day builds joyful suspense.
Materials Needed
- A4 white cardstock, 3 sheets
- Red markers
- Glue stick
- Scissors
- Ruler
- Pencil
How to Make It
- Fold one cardstock sheet in half vertically to make a 5.5 x 8.5 inch card.
- Draw 12 rectangles (1 x 1.5 inches) spaced evenly on the front, leaving room between.
- Cut along the top, left, and right sides of each rectangle to create flaps.
- Write numbers 1–12 lightly in pencil under each flap.
- Color the flaps red with markers and let dry for 5 minutes.
- On the inside, write a fun daily activity next to each number and glue the pages together at the spine.
9. Photo Booth Props Stick
Easy
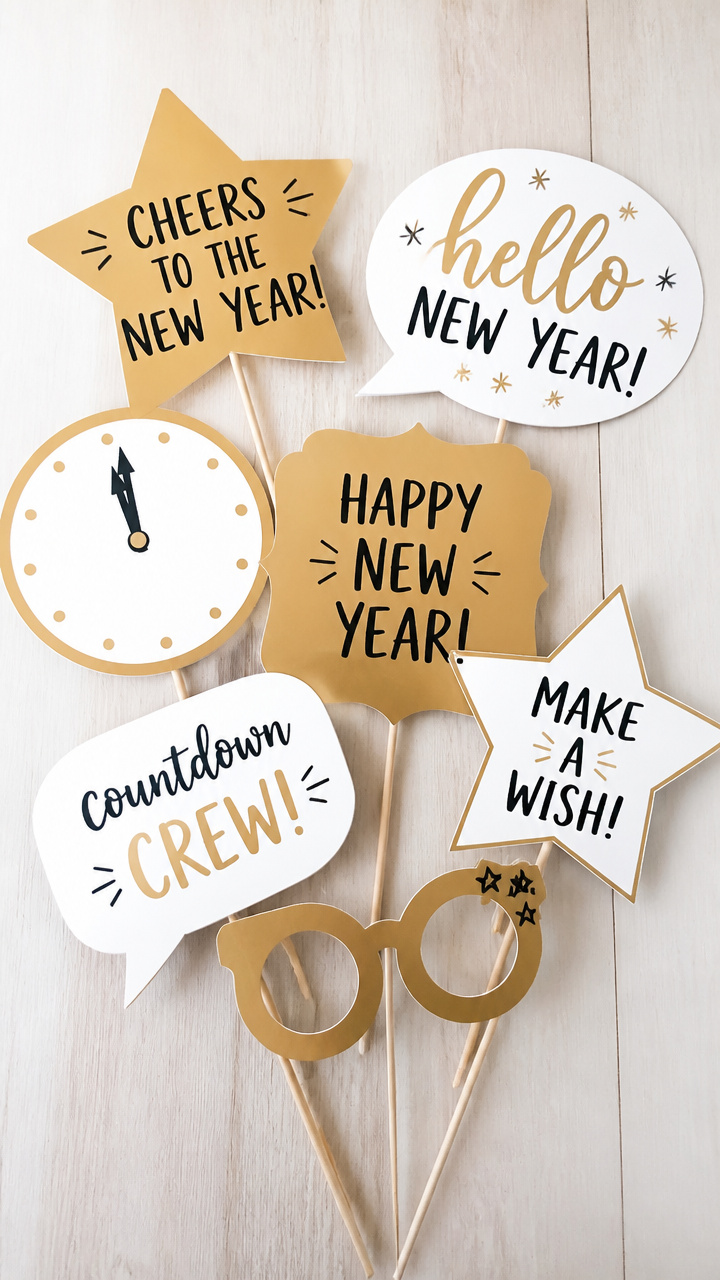
Wand-mounted signs like 'Happy New Year' and 'Cheers' spark instant giggles during family photos. These handhelds make moments memorable.
Materials Needed
- Wooden dowel rods (12 inches long, ¼ inch thick), 5 per child
- Cardstock (white and gold), 4 sheets
- Scissors
- Glue stick
- Markers (black and gold)
- Ruler
- Hole punch
How to Make It
- Cut cardstock into 4 x 3 inch rectangles, five per child.
- Write one phrase per rectangle: 'Happy!', 'New Year', '2025!', 'Cheers', 'Wow!' using markers.
- Decorate with doodles and dots around the edges.
- Punch a hole in the top center of each sign.
- Slide each sign onto a dowel rod and secure with a glue dot on the back.


10. Glow Stick Bracelets
Easy
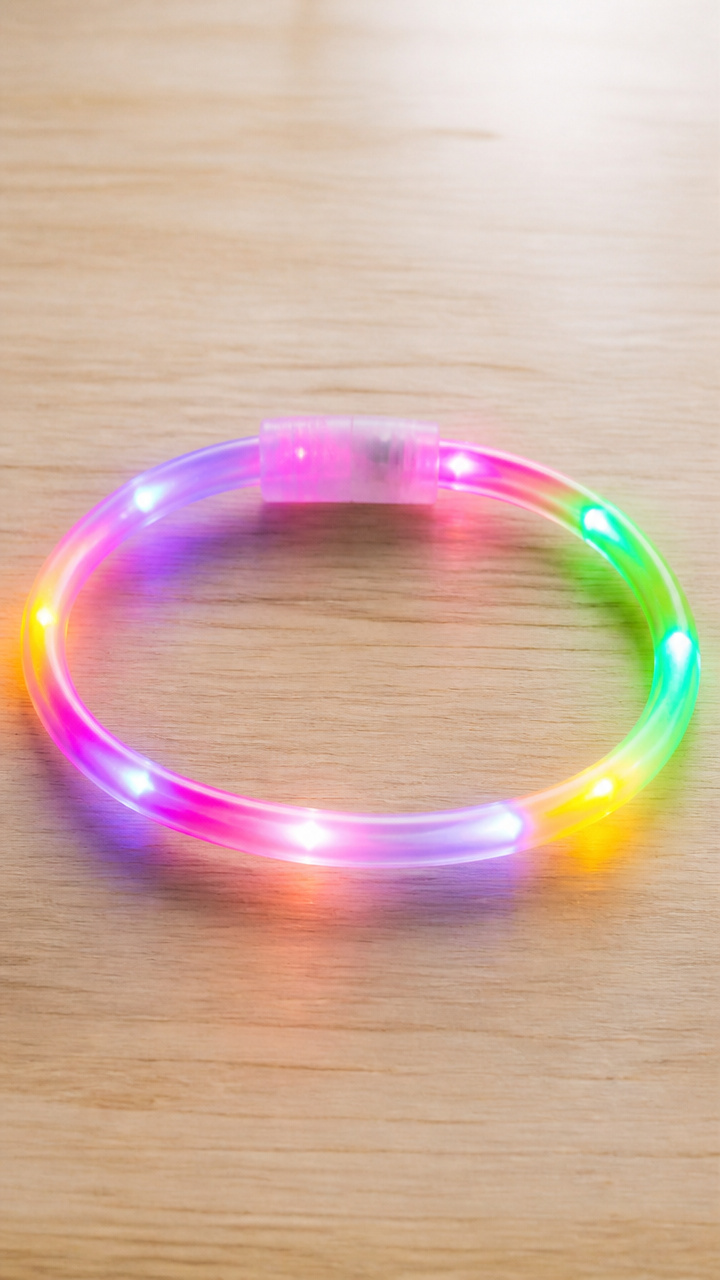
Plastic loops filled with soft light wrap around wrists and pulse with energy. Safe and radiant, they glow through the night.
Materials Needed
- Flexible plastic tubing (¼ inch diameter, 8 inches long), 2 per child
- Mini glow sticks (2 per bracelet)
- Scissors
- Electrical tape (clear)
How to Make It
- Snap one glow stick to activate it, then bend gently to spread the light.
- Insert the activated glow stick inside the plastic tube.
- Add the second glow stick end-to-end within the same tube.
- Seal both ends with a ½ inch strip of electrical tape, wrapping completely.


11. Tissue Paper Fireworks
Easy
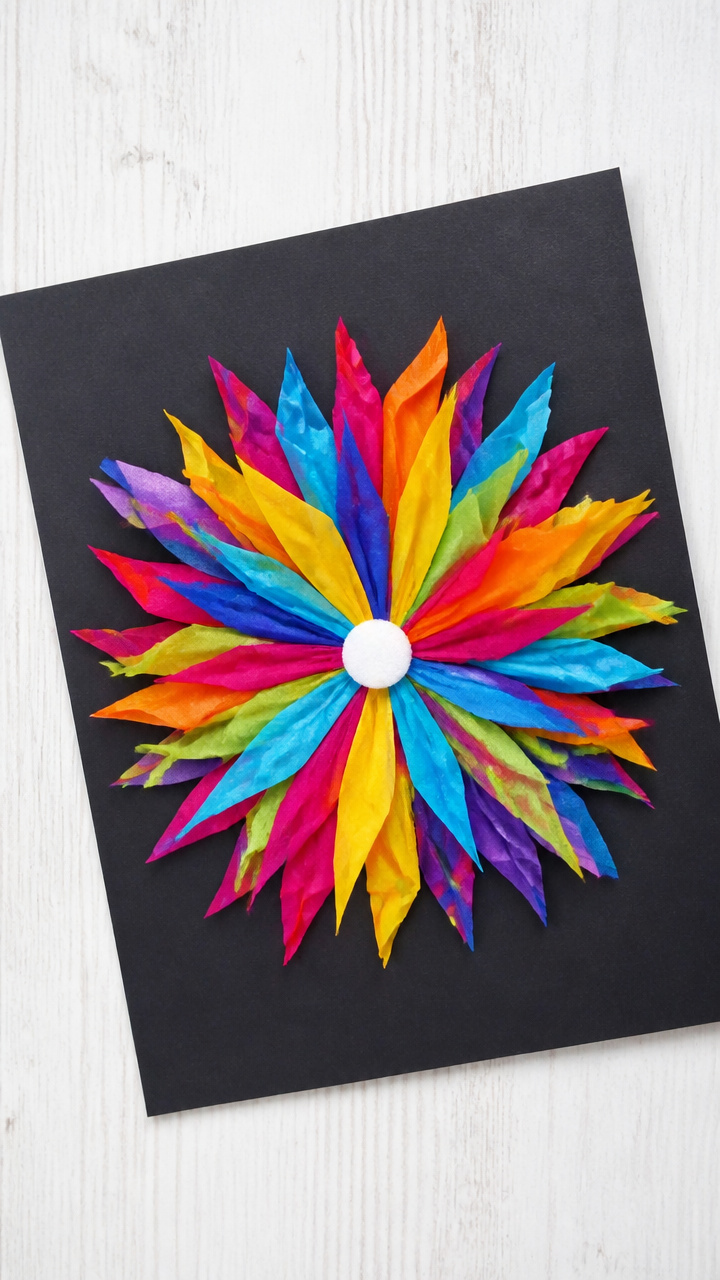
Bursts of colorful tissue radiate from a central dot, mimicking midnight explosions on paper. These framed art pieces capture motion in stillness.
Materials Needed
- A4 black construction paper, 1 sheet per child
- Tissue paper squares (assorted colors), 6 per artwork
- White school glue
- Paintbrush size 4
- Round stencil (2 inches diameter)
- Scissors
How to Make It
- Trace the stencil in the center of the black paper and lift it.
- Brush a thin layer of glue inside the circle.
- Crumple one tissue square and press it into the glued area.
- Repeat with five more colors, spreading them outward like rays.
- Let the artwork dry flat for 20 minutes before display.
12. Number Stamp Prints
Moderate
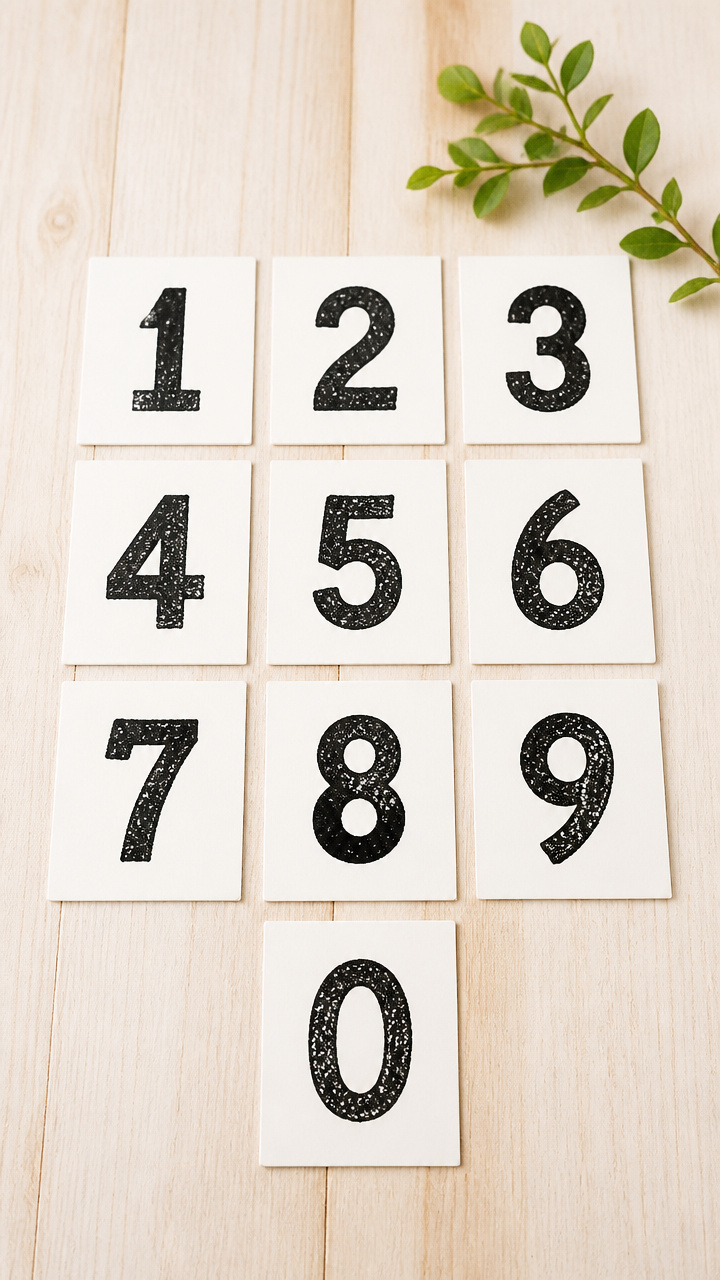
Hand-carved potatoes stamped with digits leave crisp marks on gift tags and cards. Each impression ties the gift to the moment.
Materials Needed
- Russet potato, 1 medium
- Craft knife
- Paper plate
- Black fabric paint
- Paintbrush size 3
- Index cards (white), 10 per child
- Pencil
How to Make It
- Cut the potato in half crosswise with the craft knife.
- Draw the number '2' on one cut side with pencil.
- Carve away the surrounding potato with the knife, leaving the number raised.
- Pour fabric paint onto the plate.
- Press the carved side into the paint to coat evenly.
- Stamp the number onto each index card and let dry for 30 minutes.


13. Mirror Ball Ornaments
Easy
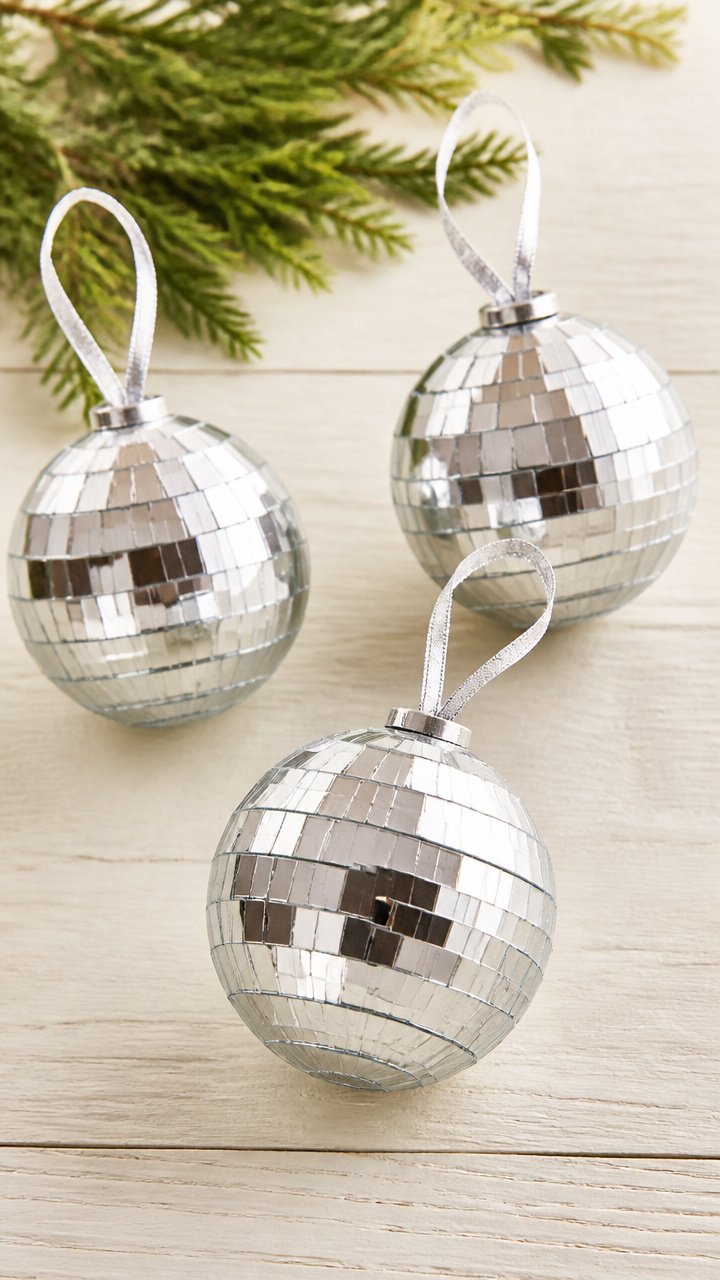
Polished Christmas balls wrapped in silver duct tape reflect light like tiny disco globes. Hang them on a tree or window sill.
Materials Needed
- Clear glass ornament ball (3 inches), 3 per child
- Silver duct tape (1-inch wide), 1 yard
- Ribbon (thin, silver), 12 inches
- Scissors
How to Make It
- Peel a 6-inch strip of duct tape and wrap it smoothly around the top half of the ornament.
- Overlap each new strip slightly until the entire ball is covered.
- Trim excess with scissors at the seam.
- Thread ribbon through the hanging loop and tie a knot.


14. Straw Blown Paint Art
Moderate
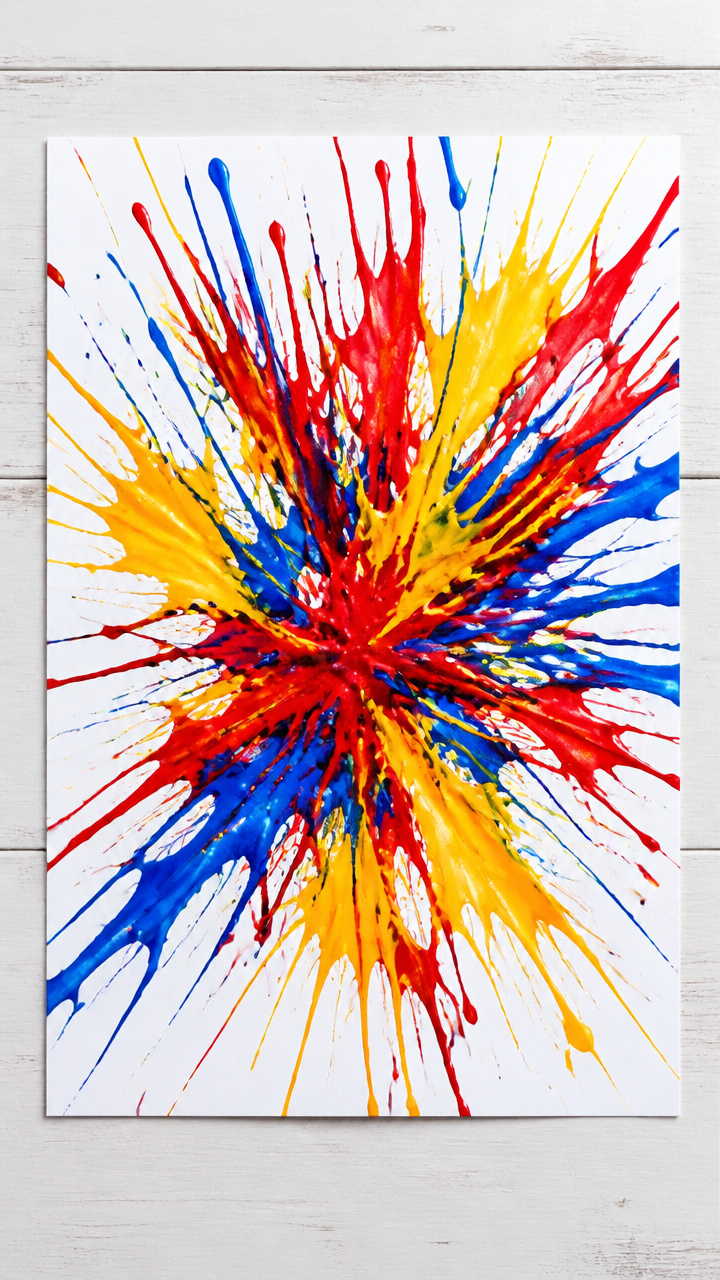
Bright droplets of paint explode across paper when blown through straws. The wild splatter patterns echo fireworks in motion.
Materials Needed
- A4 white drawing paper, 1 sheet
- Liquid watercolors (red, yellow, blue), 3 droppers
- Plastic straws, 3
- Tray (to contain mess)
- Smock or apron
How to Make It
- Put on a smock and place the paper in the tray.
- Squirt 5 drops of red paint near the center of the paper.
- Hold one end of a straw just above the paint and blow sharply through the other end.
- Repeat with yellow and blue, using a clean straw for each color.
- Let the artwork dry flat for 40 minutes before touching.


15. Pipe Cleaner Hourglass
Advanced
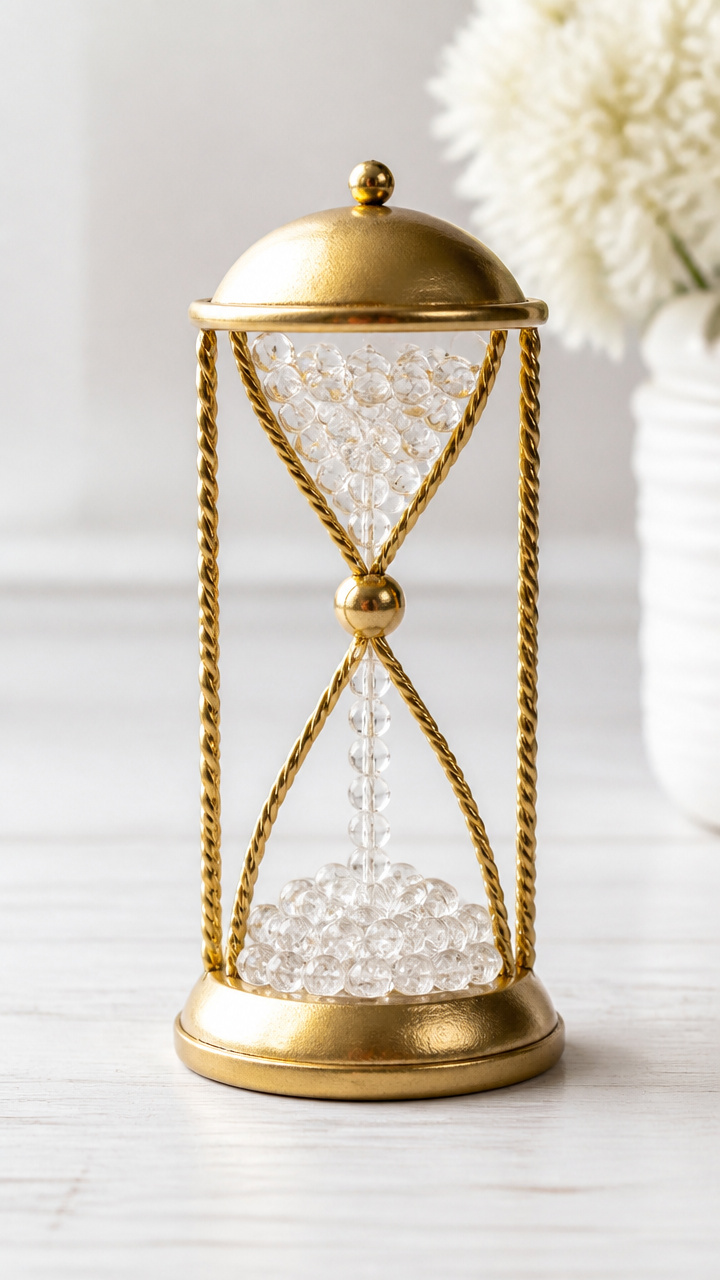
Twisted wire frames hold shifting beads between two domes. Tipping it over starts a 30-second visual countdown.
Materials Needed
- Gold pipe cleaners, 4
- Clear pony beads (small), 50
- Hot glue gun and glue sticks
- Scissors
- Round bead (larger than pony beads), 1
How to Make It
- Bend one pipe cleaner in half and twist the ends together to form a loop at the top.
- Shape the bottom into a mirror loop, creating an hourglass silhouette.
- Wrap a second pipe cleaner around the middle to reinforce the neck.
- Fill the bottom dome with 25 beads and seal it with hot glue.
- Place the large bead in the neck to restrict flow.
- Fill the top dome with remaining beads and glue the top closed securely.
Grab your scissors, line up the glue, and start creating. These crafts turn waiting into wonder, one glittered moment at a time.