18 Paper Plate Penguin Crafts for Kids

Black and white feathers, waddling shapes, and bright orange beaks—penguins charm kids with their playful wobble and cool confidence. Turning paper plates into penguin pals brings that joy to life through simple crafting magic.
Each of these ideas starts with a humble paper plate and grows into something special. You’ll find flapping wings, peek-a-boo faces, and even glowing night-light penguins—all made with hands-on fun in mind.
1. Classic Paper Plate Penguin
Easy
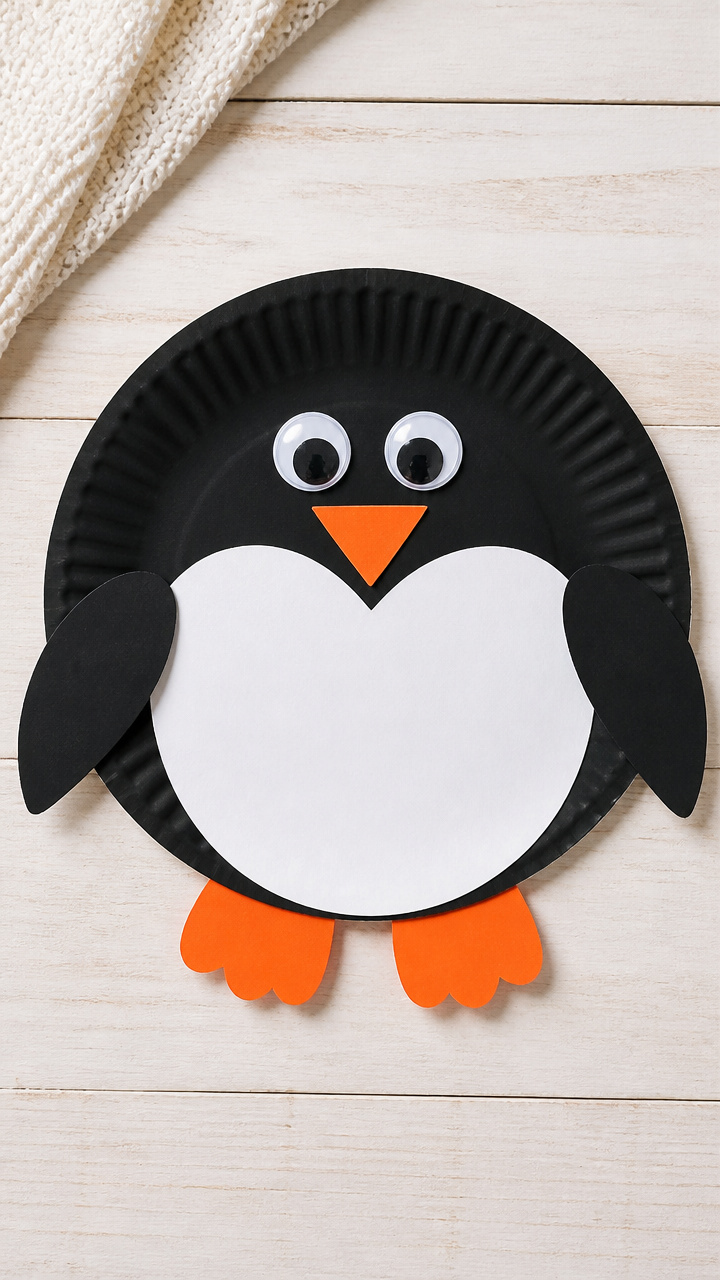
A round black body with soft white chest curves creates a sweet, recognizable penguin face perfect for first-time crafters. This version stands on its own as a wall decoration or handheld buddy.
Materials Needed
- 1 plain white paper plate
- Black acrylic paint
- White acrylic paint
- Orange construction paper
- Googly eyes (1 inch, 2 per craft)
- Paintbrush (size 6)
- Scissors
- Glue stick
- Black marker
How to Make It
- Paint the entire paper plate black using the size 6 paintbrush and let dry completely, about 15 minutes.
- Cut a half-circle from white paper using the plate as a guide and glue it to the center front to form the penguin’s chest.
- Cut two small triangle wings from black construction paper and glue them near the top sides of the plate.
- Cut a small orange triangle for the beak and a thin strip for the feet, then glue them below the white chest.
- Stick googly eyes above the beak and draw a tiny nostril line with the black marker.


2. Penguin Puppet with Moving Beak
Moderate
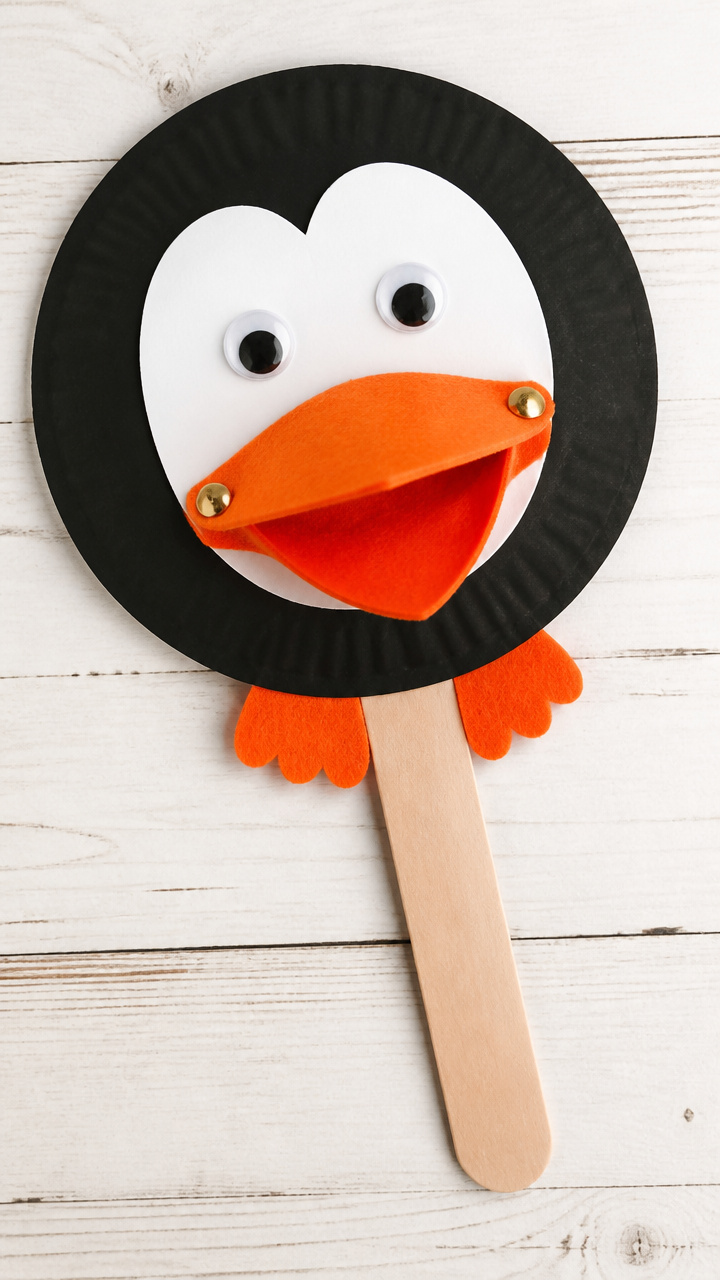
Felt-lined jaws snap open and shut when you move the craft stick, turning this penguin into a storytelling sidekick. Kids love giving voice to their feathery friend during playtime.
Materials Needed
- 1 white paper plate
- Black acrylic paint
- White felt sheet (9×12 inches)
- Orange craft foam
- Jumbo craft stick
- Hot glue gun with glue sticks
- Scissors
- Paintbrush (size 6)
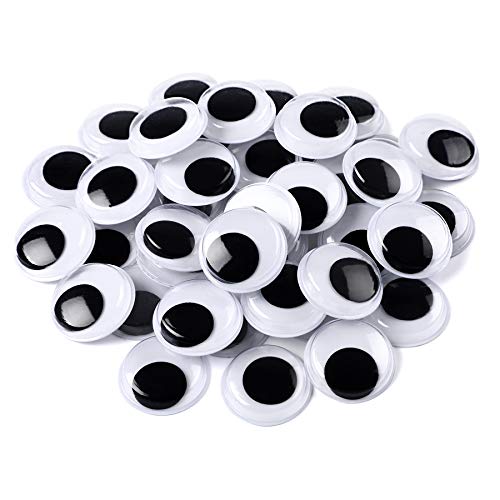
- Googly eyes (1 inch, 2 per craft)
How to Make It
- Paint the back of the paper plate black and let dry flat for 20 minutes.
- Cut a U-shape from the white felt to match the penguin’s belly and glue it to the front center with the hot glue gun.
- Cut a pointed triangle beak from orange craft foam and attach it just below the center with hot glue.
- Glue one end of the jumbo craft stick vertically to the inside bottom edge of the plate.
- Cut a smaller orange triangle for the lower jaw, attach it to the craft stick tip with hot glue, and press gently to allow slight movement.


3. Waddling Paper Plate Penguin
Moderate
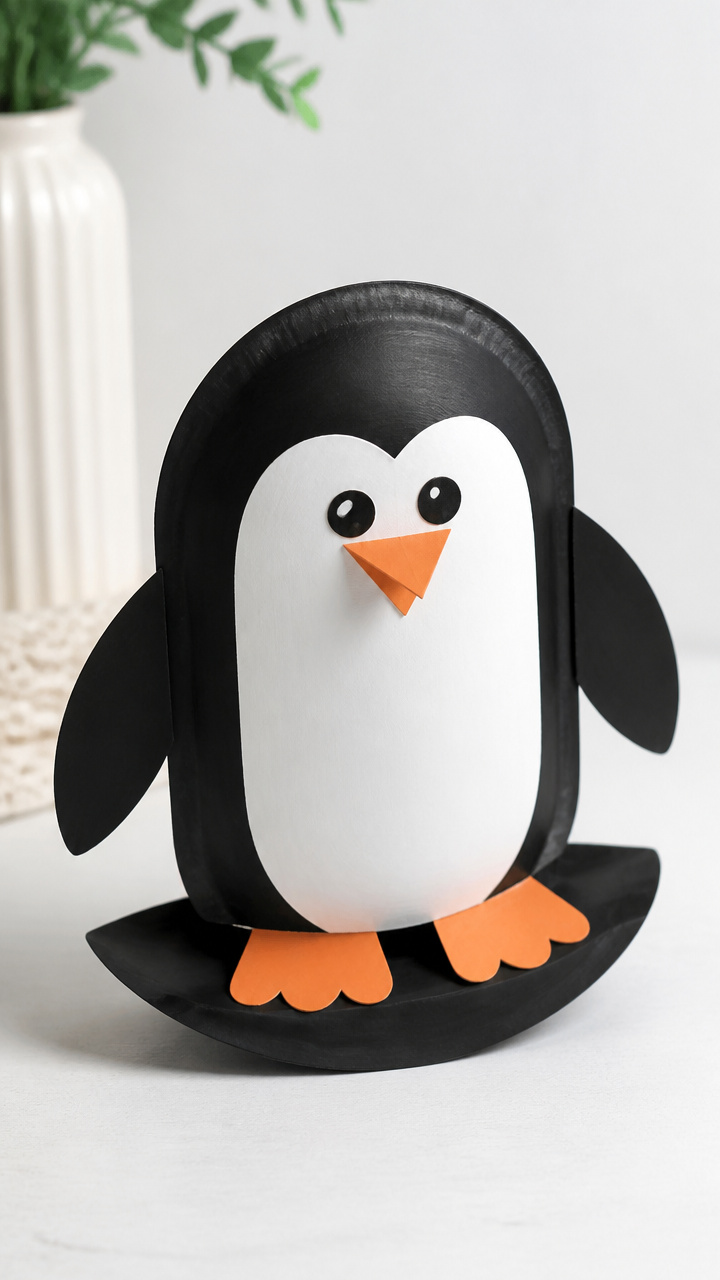
Two paper plate halves curve together to form a 3D penguin that rocks gently when nudged. Its rounded base gives it motion, making it feel alive on any flat surface.
Materials Needed
- 2 white paper plates
- Black acrylic paint
- White acrylic paint
- Scissors
- Hot glue gun with glue sticks
- Orange construction paper
- Googly eyes (1 inch, 2 per craft)
- Paintbrush (size 6)
How to Make It
- Cut both paper plates in half vertically using scissors.
- Paint the outer curve of four halves black and let dry for 20 minutes.
- Glue two painted halves together at the straight edges with the black sides facing out to form a rounded body.
- Cut a white oval from white paper and glue it to the front as the chest.
- Cut an orange triangle beak and two small feet, then glue them below the chest, and add googly eyes above.


4. Penguin Counting Craft
Moderate
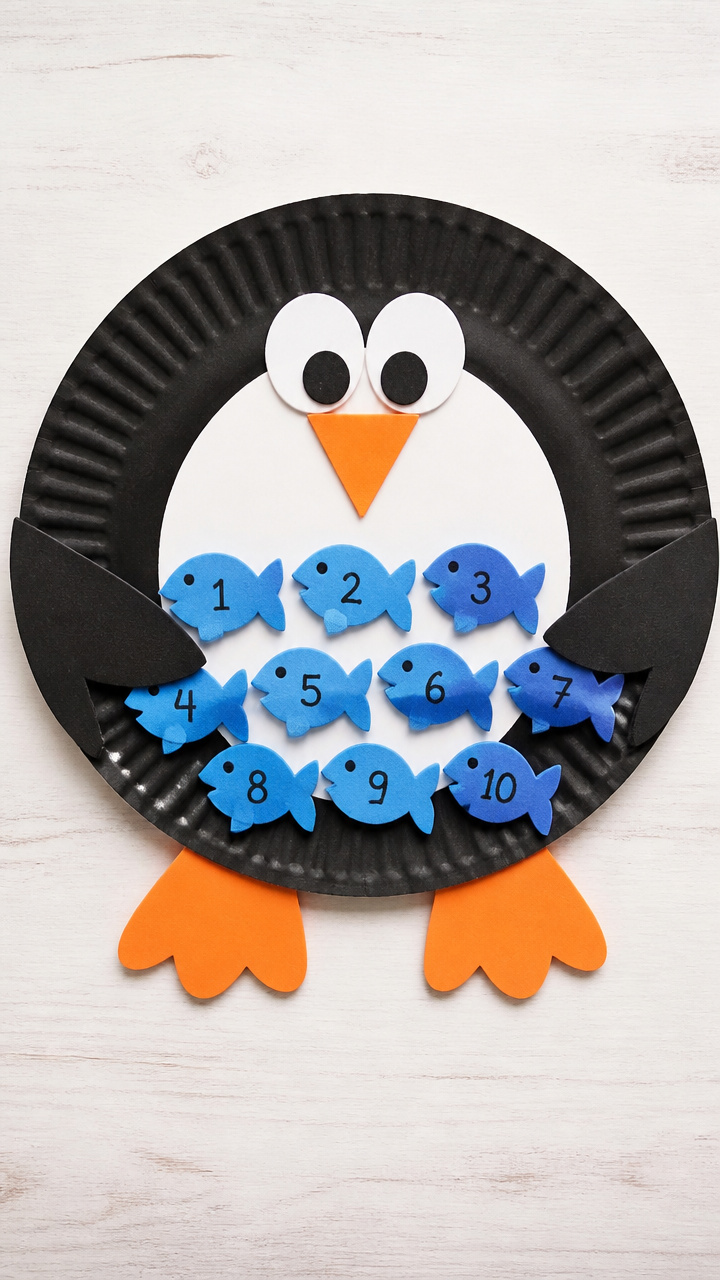
Ten numbered fish tuck under the penguin’s wing, teaching number recognition through playful interaction. Each fish slides in and out, encouraging fine motor development.
Materials Needed
- 1 white paper plate
- Black acrylic paint
- White cardstock (8.5×11 inches)
- Orange craft foam
- Blue crayon
- Scissors
- Glue stick
- Fine-tip black marker
- Paintbrush (size 6)
How to Make It
- Paint the back of the plate black and let dry for 15 minutes.
- Cut a semi-circle from white cardstock and glue it to the front center as the chest.
- Cut 10 small fish shapes from white cardstock and write numbers 1 to 10 on each with the black marker.
- Color each fish with the blue crayon and add an orange dot eye.
- Cut a small beak and feet from orange craft foam and glue them below the chest, then position the fish behind the wing area without gluing them down.


5. Glow-in-the-Dark Penguin
Easy
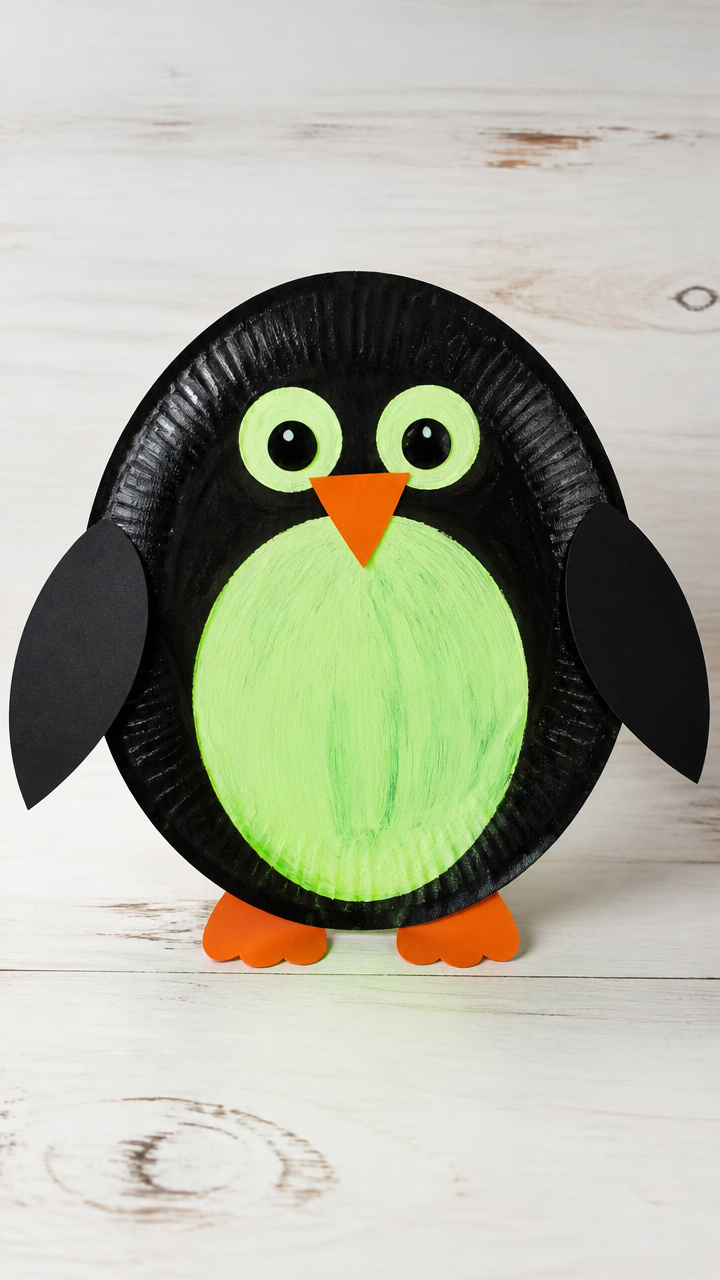
Phosphorescent paint coats the belly and eyes, making this penguin softly glow after lights go out. It doubles as a nightlight mascot for brave little sleepers.
Materials Needed
- 1 white paper plate
- Black acrylic paint
- Glow-in-the-dark paint (green or white)
- Paintbrush (size 6)
- Scissors
- Glue stick
- Orange construction paper
- Black marker
How to Make It
- Paint the entire plate black and let dry for 15 minutes.
- Cut a curved white shape from another paper plate for the chest and glue it to the front.
- Use the glow-in-the-dark paint to fill in the chest and two small eye circles, then let dry 20 minutes.
- Cut a small triangle from orange paper for the beak and glue it below the chest.
- Draw pupils with the black marker once the glowing paint is fully dry.


6. Penguin with Feather Texture
Easy
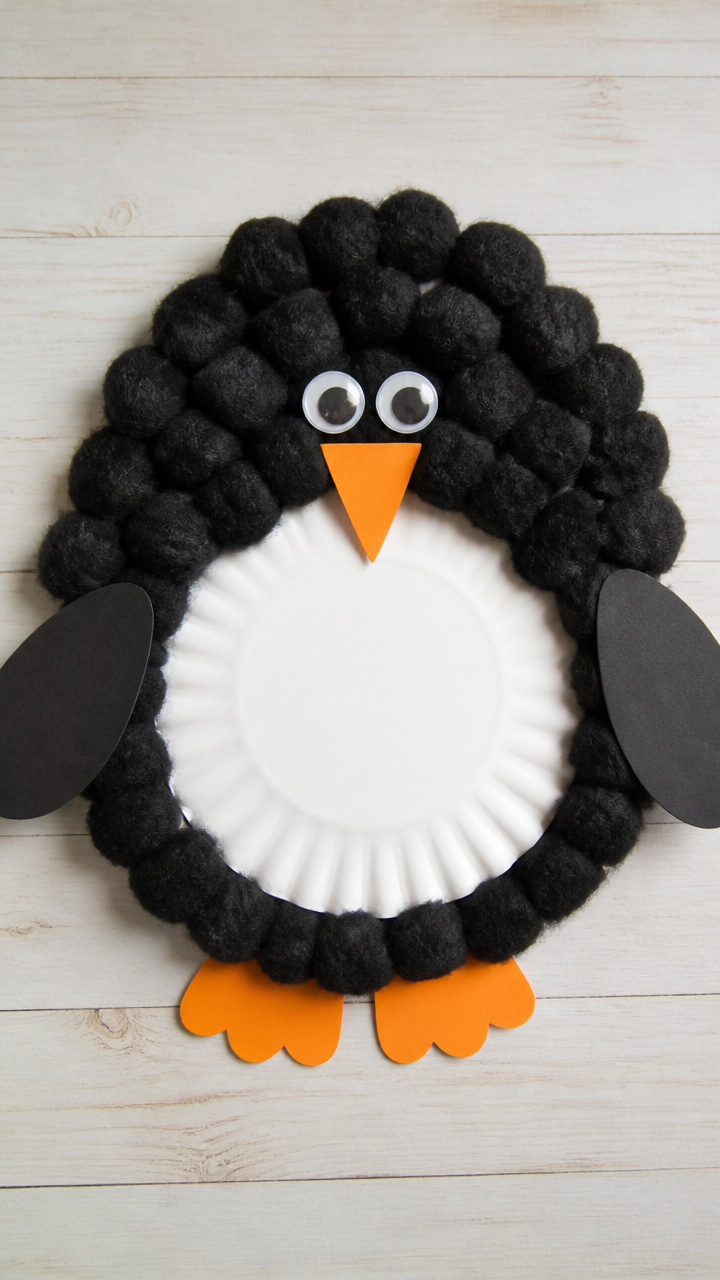
Cotton balls layered along the back mimic fluffy feathers, adding softness and dimension. This tactile version invites touch and sensory exploration.
Materials Needed
- 1 white paper plate
- Black acrylic paint
- White glue
- Cotton balls (20 per craft)
- Orange construction paper
- Googly eyes (1 inch, 2 per craft)
- Scissors
- Paintbrush (size 6)
How to Make It
- Paint the back of the plate black and let dry for 15 minutes.
- Spread white glue along the upper back and outer edges of the plate using the brush.
- Press cotton balls firmly into the glue to cover the black-painted areas, leaving the chest clear.
- Cut a triangle beak and two feet from orange paper and glue them below the chest opening.
- Glue googly eyes above the beak and let everything dry completely for 30 minutes.

7. Paper Plate Penguin Mobile
Advanced
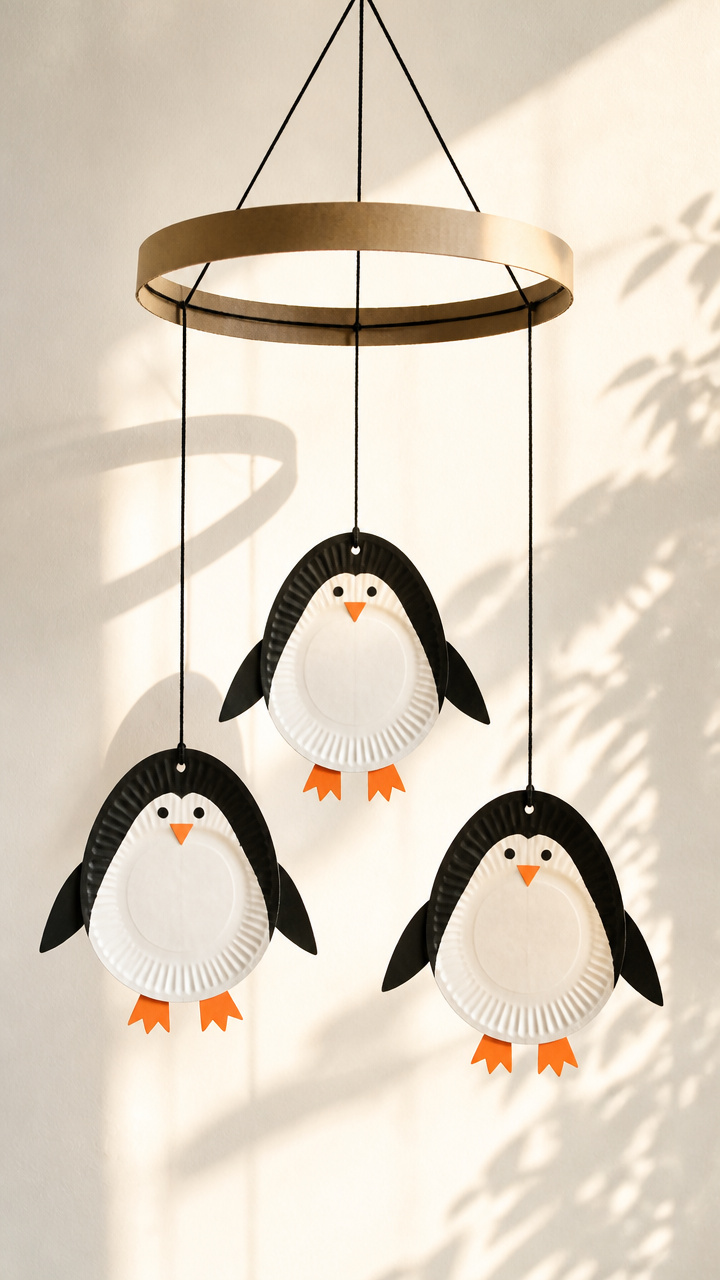
Three tiered penguins dangle from a cardboard ring, spinning slowly with air currents. Hung near a window, they cast dancing shadows on the wall.
Materials Needed
- 3 white paper plates
- Black acrylic paint
- White acrylic paint
- Cardboard circle (6 inches diameter)
- Embroidery thread (black, 3 yards)
- Hot glue gun with glue sticks
- Scissors
- Paintbrush (size 6)
- Googly eyes (1 inch, 6 total)
- Orange craft foam
How to Make It
- Cut each paper plate in half and paint the outer curve of all six pieces black, letting dry 20 minutes.
- Glue two halves together per penguin with black sides out, forming three rounded bodies.
- Cut white chest shapes and glue them to the front of each penguin, then add orange foam beaks and feet with hot glue.
- Glue googly eyes above each beak and punch a small hole at the top of each penguin with scissors.
- Cut three 12-inch thread lengths, tie one to each penguin, then knot the other ends to the cardboard ring at equal distances.


8. Penguin Life Cycle Wheel
Moderate
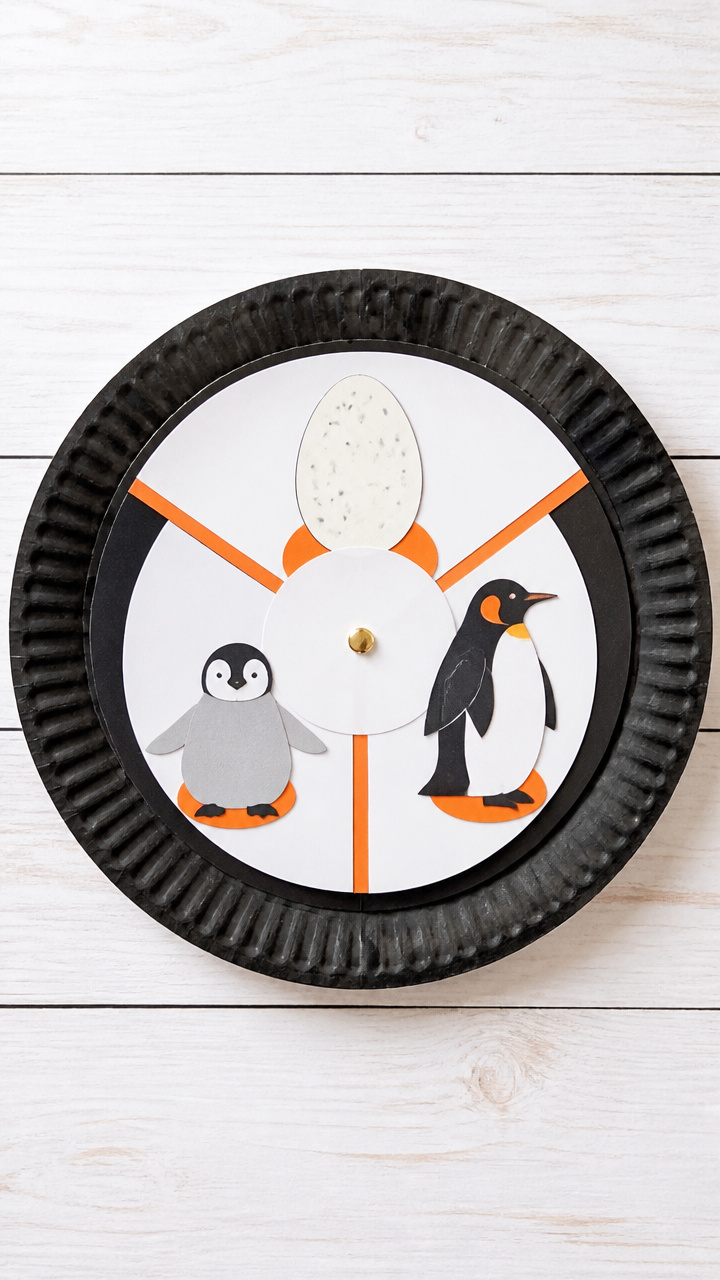
A rotating paper disk reveals egg, chick, and adult stages with a spin of the finger. This interactive wheel teaches growth phases with visual clarity.
Materials Needed
- 1 white paper plate
- Brass fastener (2 inches)
- A4 white cardstock
- Black acrylic paint
- Orange construction paper
- Scissors
- Glue stick
- Paintbrush (size 6)
- Black marker
How to Make It
- Paint the outer rim of the plate black and let dry for 15 minutes.
- Cut a circle from cardstock slightly smaller than the plate and divide it into three equal pie slices.
- Draw an egg, a fluffy chick, and an adult penguin in each section using the marker and colored paper scraps.
- Glue the cardstock circle to the center of the plate so it can rotate freely.
- Attach the brass fastener through the center of both layers to secure with a twist on the back.


9. Magnetic Paper Plate Penguin
Easy
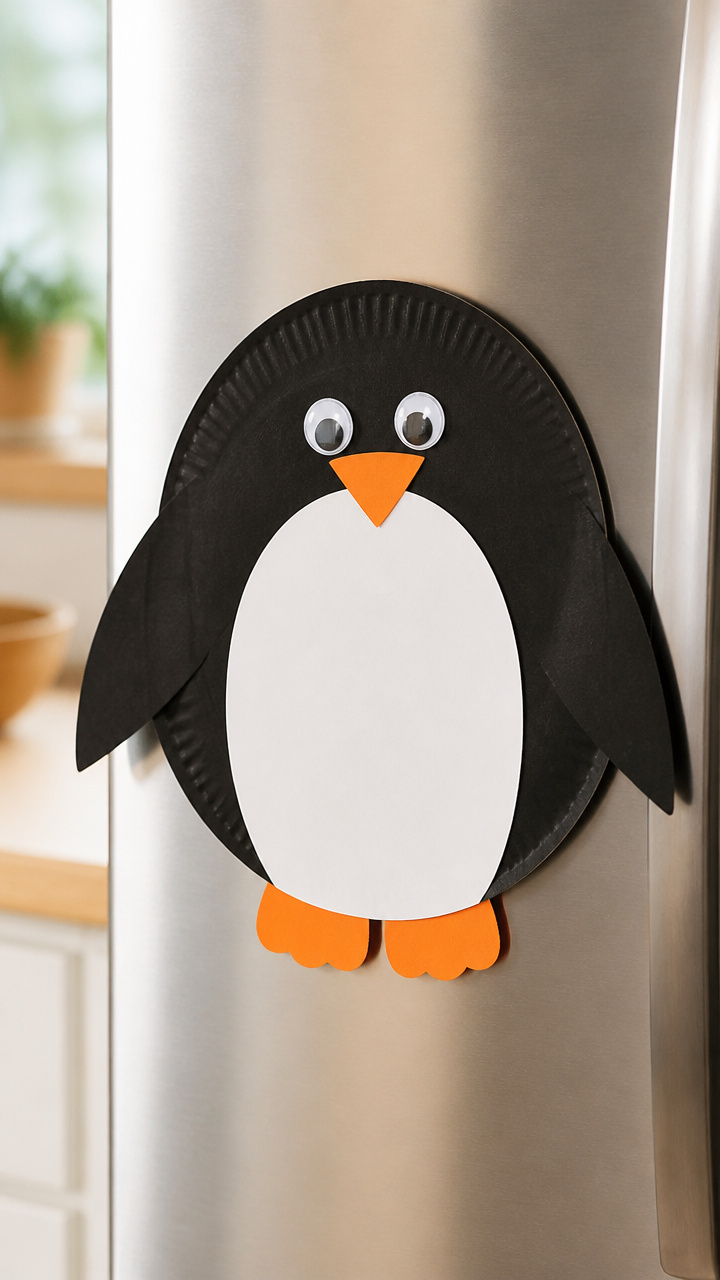
Strong mini magnets hold this penguin upright on the fridge, showing off its proud stance. It becomes a cheerful kitchen companion for drawing and reminders.
Materials Needed
- 1 white paper plate
- Black acrylic paint
- White glue
- Mini disc magnets (2 per craft)
- Orange construction paper
- Googly eyes (1 inch, 2 per craft)
- Scissors
- Paintbrush (size 6)
How to Make It
- Paint the back of the plate black and let dry for 15 minutes.
- Cut a white chest shape from another paper plate and glue it to the front center.
- Cut a triangle beak and two feet from orange paper and glue them below the chest.
- Glue googly eyes above the beak and let dry completely for 20 minutes.
- Apply white glue to the back center and press two mini magnets into place, letting cure for 30 minutes.
10. Penguin Ice Floe Scene
Moderate
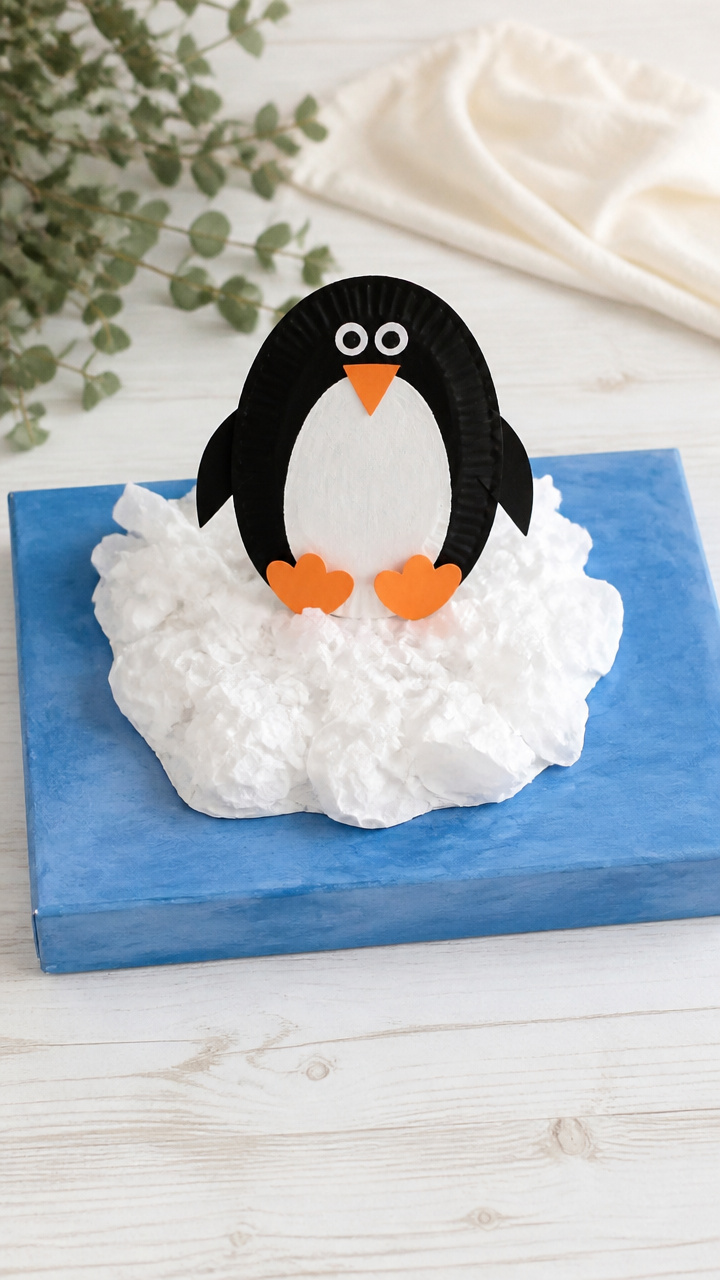
A crumpled tissue base supports the penguin on a snowy ledge, creating a full diorama in a box. This miniature world feels like a captured moment in the wild.
Materials Needed
- 1 white paper plate
- Shoebox lid
- White tissue paper (one full roll)
- Blue food coloring
- Water spray bottle
- Black acrylic paint
- Scissors
- Glue stick
- Orange construction paper
- Googly eyes (1 inch, 2 per craft)
- Paintbrush (size 6)
How to Make It
- Paint the back of the plate black and let dry for 15 minutes.
- Crumple handfuls of tissue paper and layer them inside the shoebox lid to form an ice mound.
- Mix a few drops of blue food coloring with water in the spray bottle and mist the tissue lightly to create icy streaks.
- Glue the painted penguin to the top of the mound and add a white chest, orange beak, feet, and googly eyes.
- Let the entire scene dry for 45 minutes before display.


11. Flapping Wing Penguin
Advanced
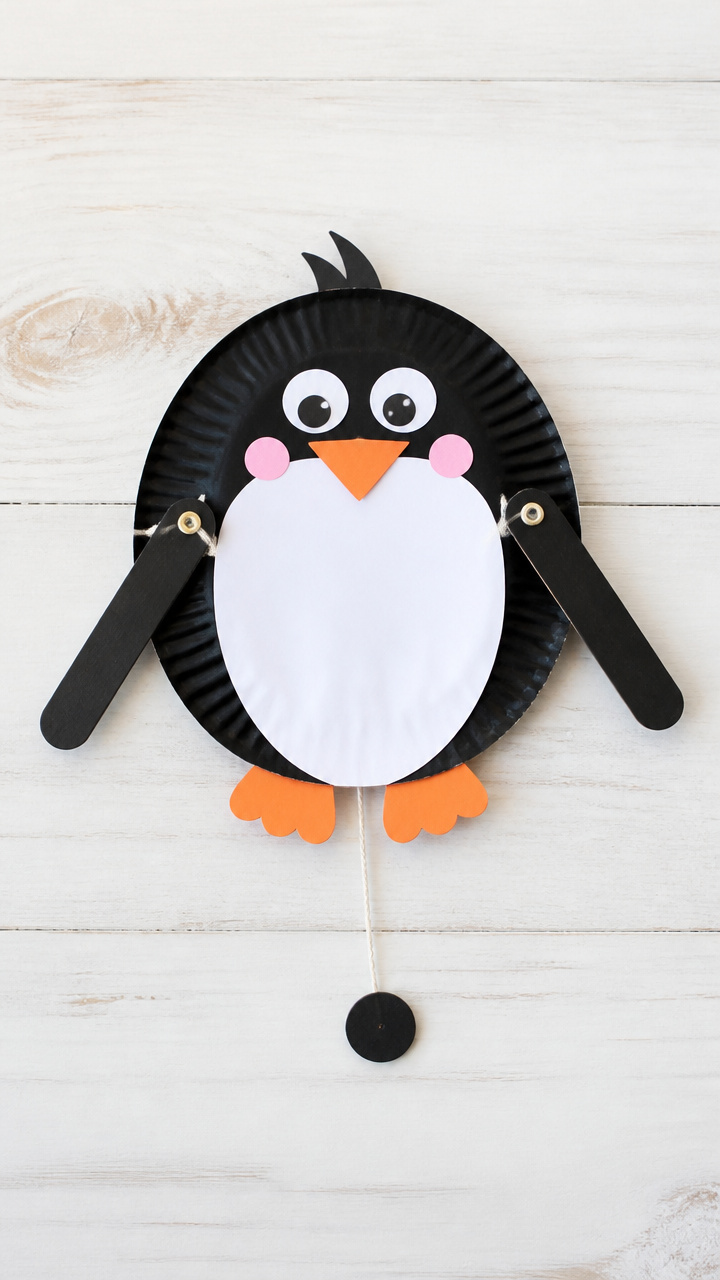
Craft sticks attached to wings rise and fall with a pull-string mechanism hidden behind the plate. The motion mimics real penguin flaps with charming simplicity.
Materials Needed
- 1 white paper plate
- 2 jumbo craft sticks
- String (18 inches)
- Hot glue gun with glue sticks
- Black acrylic paint
- White cardstock
- Orange craft foam
- Scissors
- Paintbrush (size 6)
- Googly eyes (1 inch, 2 per craft)
How to Make It
- Paint the back of the plate black and let dry for 20 minutes.
- Cut two wing shapes from black cardstock and glue one to each craft stick with hot glue.
- Poke two small holes near the top sides of the plate and thread the string through from back to front.
- Tie the ends of the string to the top of each craft stick behind the plate, adjusting tension so wings lift when pulled.
- Glue a white chest to the front, add orange foam beak and feet, and attach googly eyes.


12. Penguin Shadow Puppet
Easy
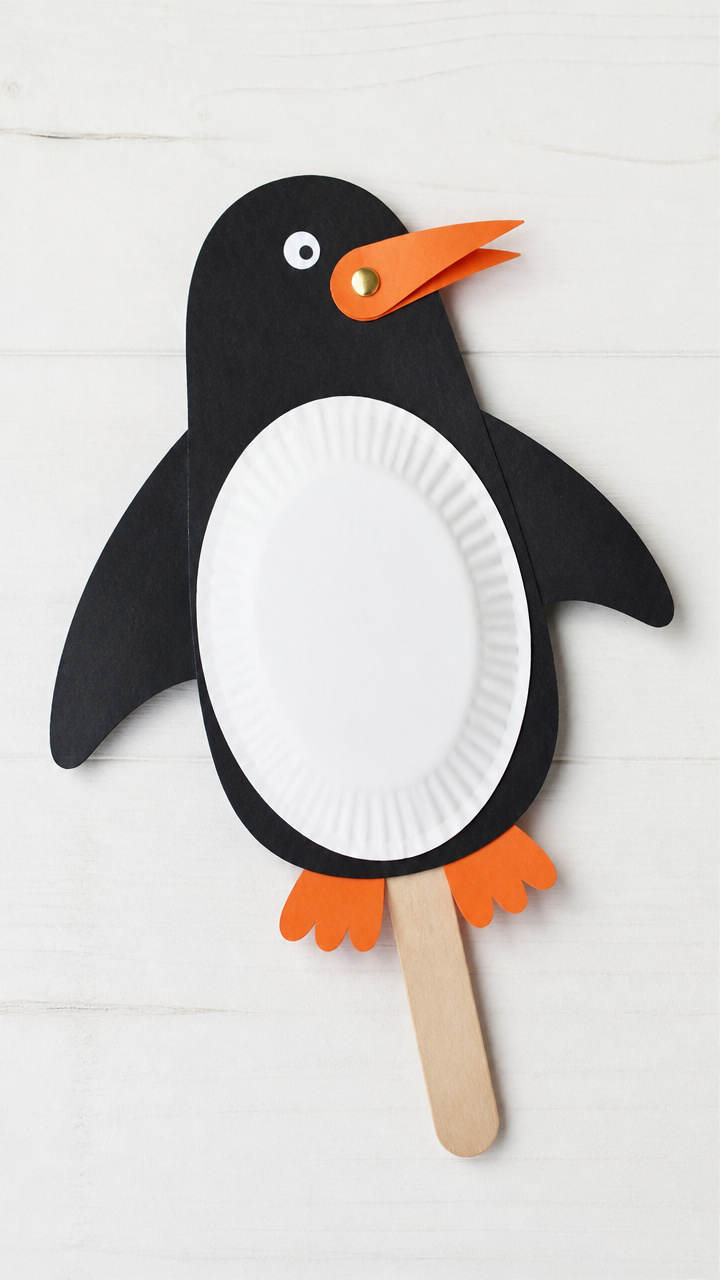
Stiffened cardboard wings and a bendable beak cast sharp silhouettes on the wall. Shine a flashlight and watch your penguin strut across the ceiling.
Materials Needed
- 1 white paper plate
- Black construction paper
- Brad fastener (1 inch)
- Scissors
- Glue stick
- Pencil
- Flashlight
- Orange craft foam
How to Make It
- Cut the plate in half and use one half for the body, keeping the curved edge as the back.
- Cut a wing from black construction paper and attach it to the body with the brad fastener at the shoulder so it moves.
- Cut a small beak from orange foam and glue it to the front edge of the plate.
- Draw and cut a white chest shape, then glue it to the center front.
- Hold the puppet between a flashlight and wall, moving the wing for action.


13. Penguin Family Group
Moderate
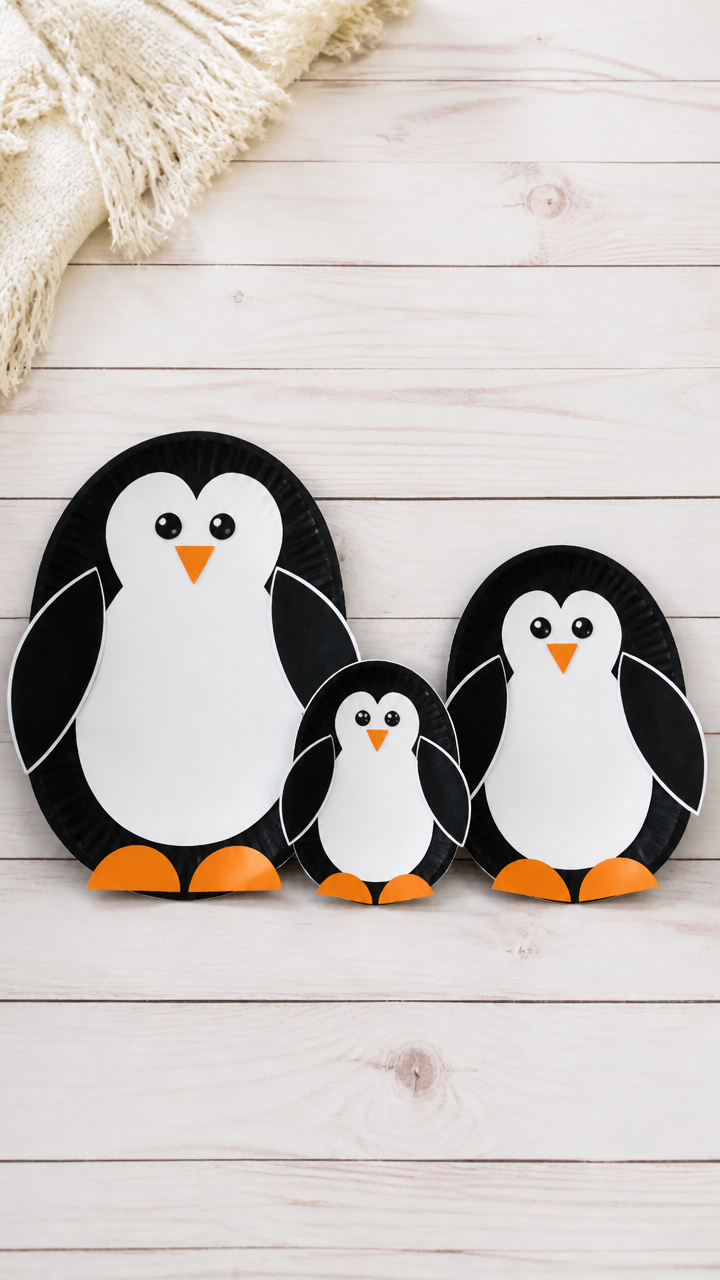
Three graduated sizes stand side by side, showing parent and two chicks in coordinated outfits. This set highlights differences in scale and family bonds.
Materials Needed
- 3 white paper plates (small, medium, large)
- Black acrylic paint
- White glue
- Orange construction paper
- Scissors
- Paintbrush (size 6)
- Googly eyes (1 inch, 6 total)
How to Make It
- Paint the backs of all three plates black and let dry for 15 minutes.
- Cut white chest shapes to fit each plate size and glue them centered on the front.
- Cut proportionally sized beaks and feet from orange paper and glue them below each chest.
- Attach two googly eyes above each beak.
- Arrange the three penguins side by side from tallest to shortest for display.


14. Penguin Pinwheel
Moderate
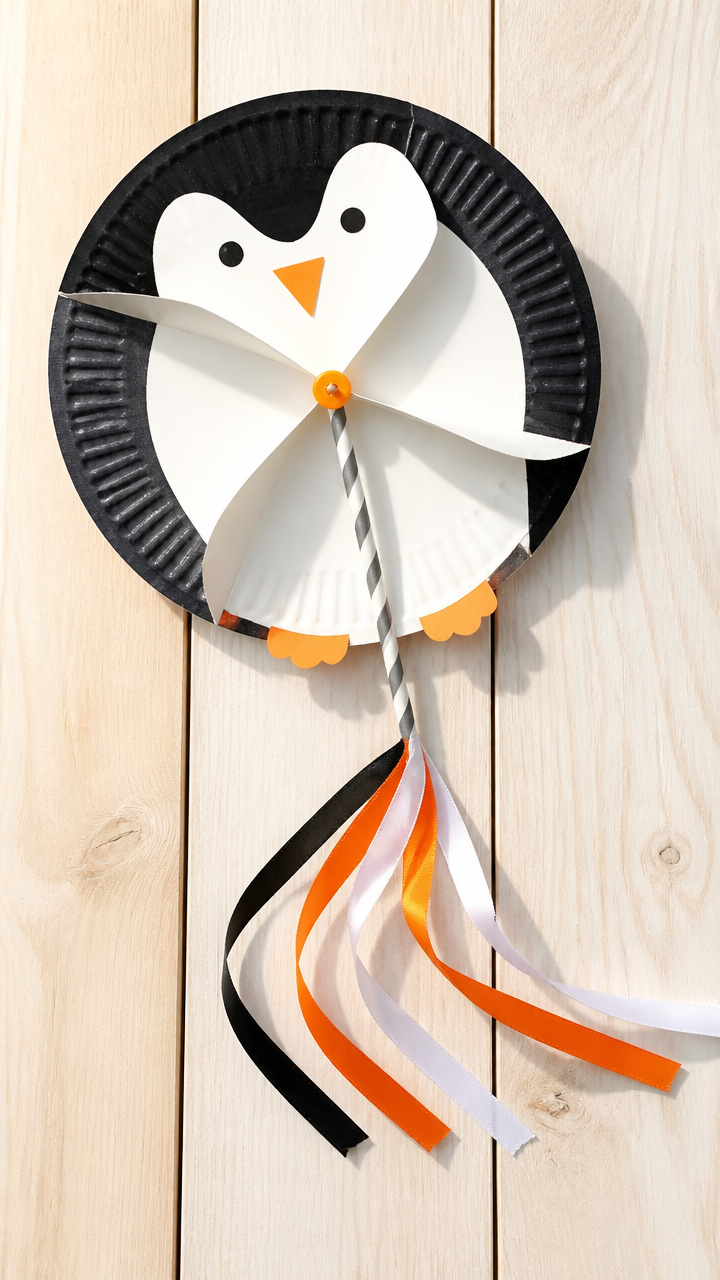
Streamers tied to a central straw swirl with the breeze, turning the penguin into a wind-powered toy. Outdoors or near a fan, it spins with joyful energy.
Materials Needed
- 1 white paper plate
- Black acrylic paint
- Plastic drinking straw
- Ribbon (blue, 24 inches)
- Scissors
- Glue stick
- Orange construction paper
- Googly eyes (1 inch, 2 per craft)
- Paintbrush (size 6)
How to Make It
- Paint the back of the plate black and let dry for 15 minutes.
- Cut a white chest shape and glue it to the front center, then add orange beak and feet.
- Glue googly eyes above the beak and punch a small hole through the center bottom edge.
- Thread the straw through the hole and tape one end securely to the back of the plate.
- Tie the ribbon to the free end of the straw so it flutters when spun.


15. Penguin Feeding Game
Advanced
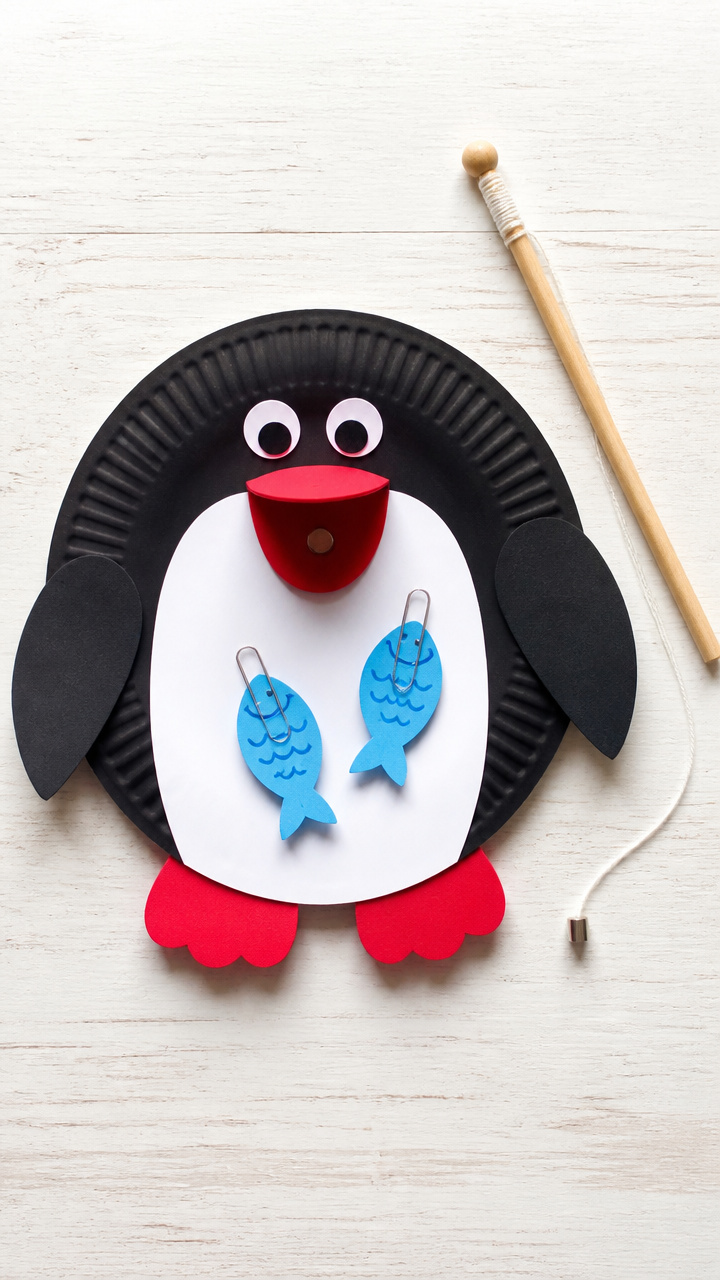
A wide-open mouth waits for tossed fish, turning the craft into an indoor tossing challenge. Score points by landing fish on the tongue.
Materials Needed
- 1 white paper plate
- Black acrylic paint
- Red craft foam
- Plastic fishing rod toy
- Magnet (small disc)
- Paper clips (5)
- Scissors
- Hot glue gun with glue sticks
- Paintbrush (size 6)
- Orange construction paper
How to Make It
- Paint the back of the plate black and let dry for 20 minutes.
- Cut a large red oval from craft foam for the tongue and glue it inside the lower half of the plate.
- Cut a white chest and attach it to the front, then glue on an orange beak and feet.
- Glue a small magnet to the tip of the plastic fishing rod and attach paper clips to five paper fish.
- Place the penguin upright and use the rod to 'catch' fish by lifting them with the magnet.


16. Penguin Window Hanger
Easy
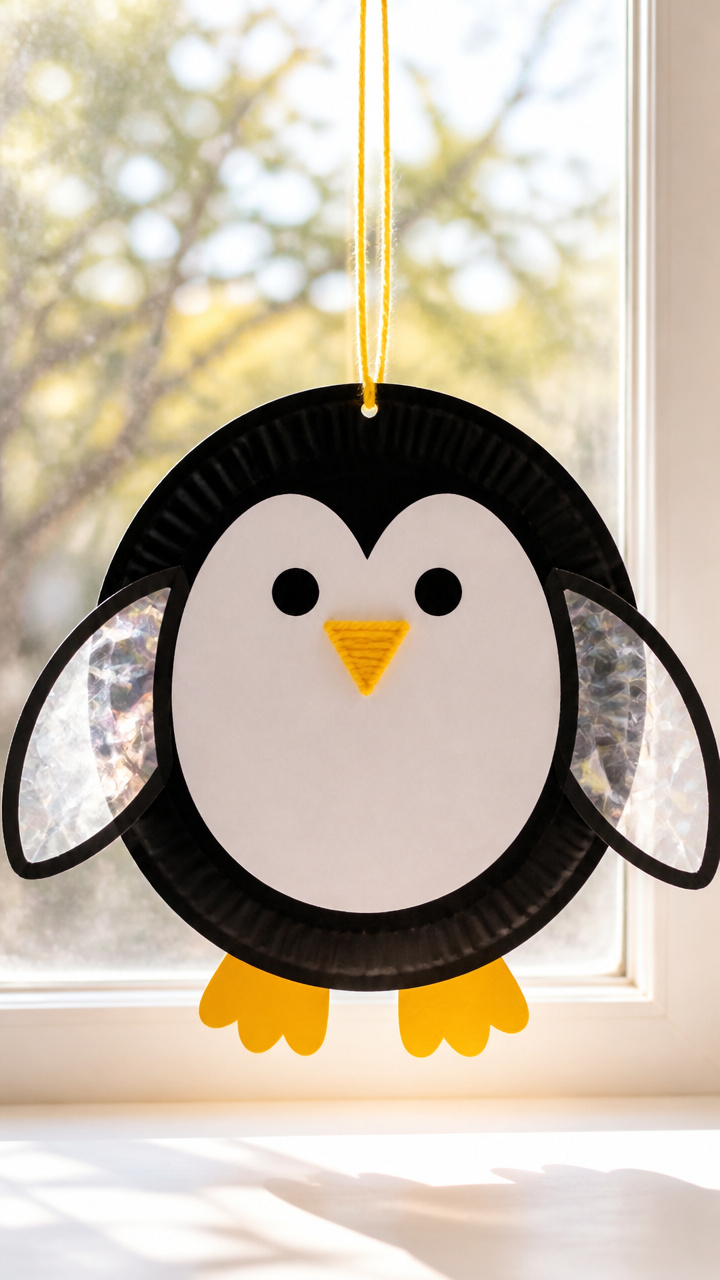
Transparent cellophane wings catch sunlight, making this penguin shimmer against the glass. It transforms any window into a winter wonderland spot.
Materials Needed
- 1 white paper plate
- Black acrylic paint
- Clear cellophane sheet (9×12 inches)
- Yellow yarn (12 inches)
- Scissors
- Glue stick
- Orange construction paper
- Googly eyes (1 inch, 2 per craft)
- Paintbrush (size 6)
How to Make It
- Paint the back of the plate black and let dry for 15 minutes.
- Cut two wing shapes from cellophane and glue them to the sides of the plate.
- Cut a white chest and glue it to the front center, then add an orange beak and feet.
- Glue googly eyes above the beak and punch a small hole at the top edge.
- Thread yellow yarn through the hole and knot to create a hanger for the window.


17. Penguin Puzzle Plate
Moderate
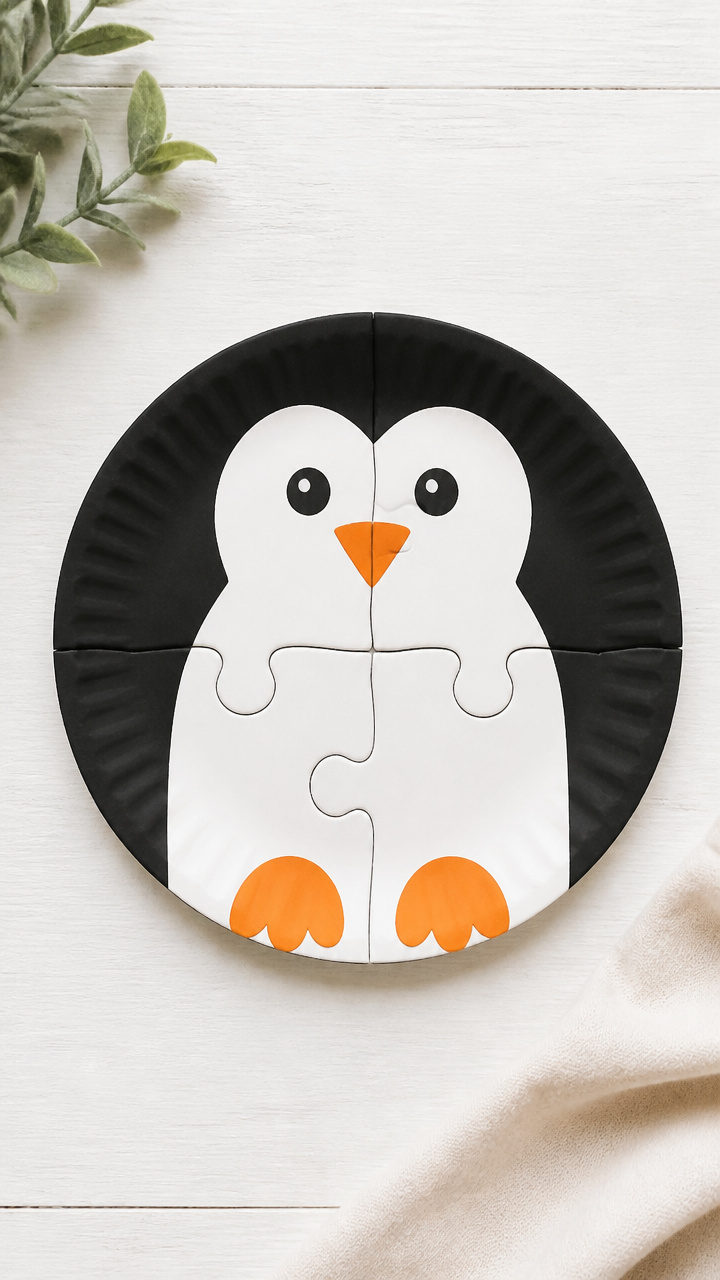
Four jagged pieces fit together to reveal the full bird, building problem-solving skills through custom-cut shapes. Each piece clicks satisfyingly into place.
Materials Needed
- 1 white paper plate
- Black acrylic paint
- White cardstock
- Scissors
- Glue stick
- Orange construction paper
- Googly eyes (1 inch, 2 per craft)
- Paintbrush (size 6)
- Black marker
How to Make It
- Paint the entire plate black and let dry for 15 minutes.
- Cut the plate into four irregular puzzle pieces using scissors.
- Glue a white chest shape across the front pieces so it spans the full image when assembled.
- Add an orange beak, feet, and googly eyes to the correct piece positions.
- Use the black marker to trace bold lines around each piece for easy matching.
18. Nocturnal Glow Penguin Lamp
Advanced
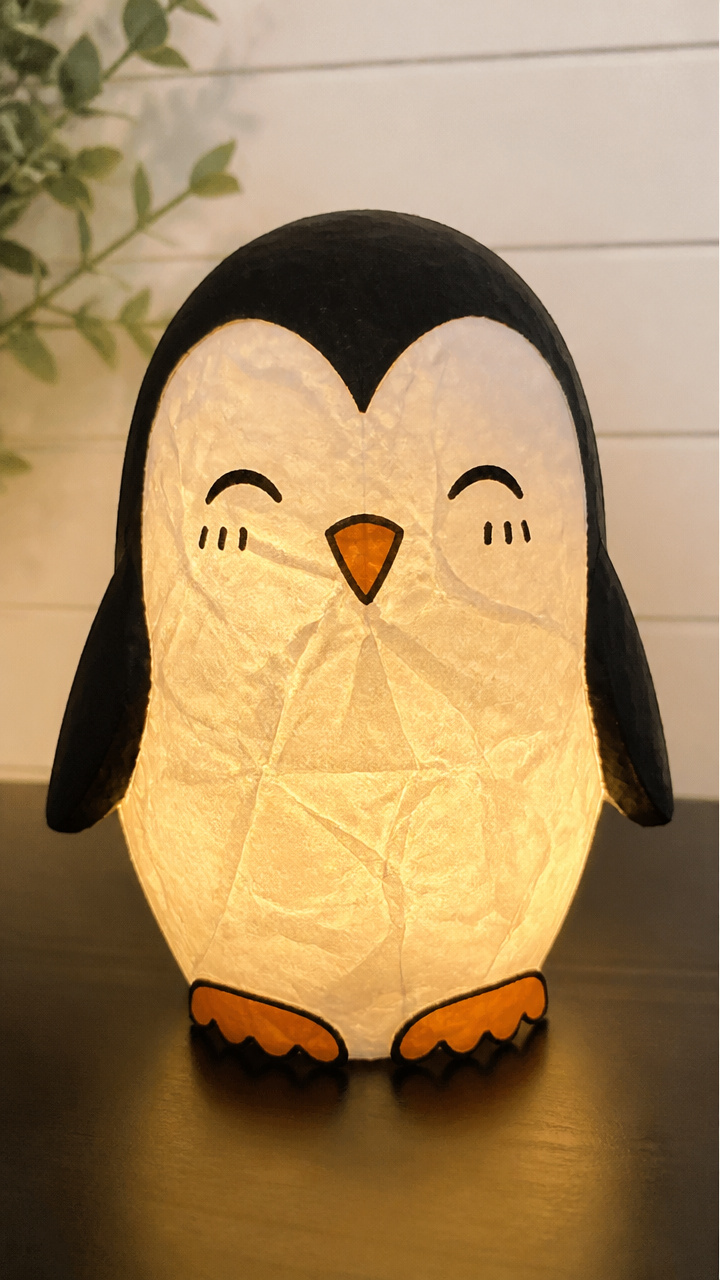
Battery-powered fairy lights nest inside a frosted plate body, radiating soft light through translucent layers. It glows like a lantern on a dark shelf.
Materials Needed
- 2 white paper plates
- Frosted white tissue paper
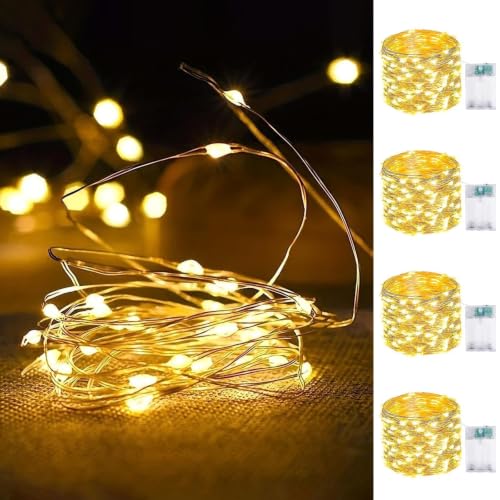
- Battery-operated fairy lights (20 bulbs, warm white)
- Scissors
- Glue stick
- Black marker
- Orange craft foam
- Googly eyes (1 inch, 2 per craft)
How to Make It
- Cut a small hole in the center bottom edge of one plate for the light cord.
- Line the inside of the second plate with tissue paper using glue stick to diffuse the light.
- Nest the lined plate inside the first with the cord exiting the hole, then glue the rims together.
- Draw a white chest outline with the marker and glue on orange foam beak and feet below it.
- Insert googly eyes and turn on the lights to see the soft glow shine through.


Grab a stack of paper plates and invite the kids to pick their favorite idea. With paint, glue, and a little imagination, you’re ready to start waddling into craft time.