22 Cotton Ball Winter Crafts for Kids

Soft white cotton balls become snowdrifts, snowmen, and fluffy clouds when little hands shape them into winter magic. These simple crafts invite laughter, creativity, and cozy moments at the kitchen table.
Each project uses cotton balls in a fresh way, paired with clear steps and exact supplies so you can start right away. No guesswork, just joyful making with kids who love turning fluff into wonder.
1. Cotton Ball Snowman
Easy
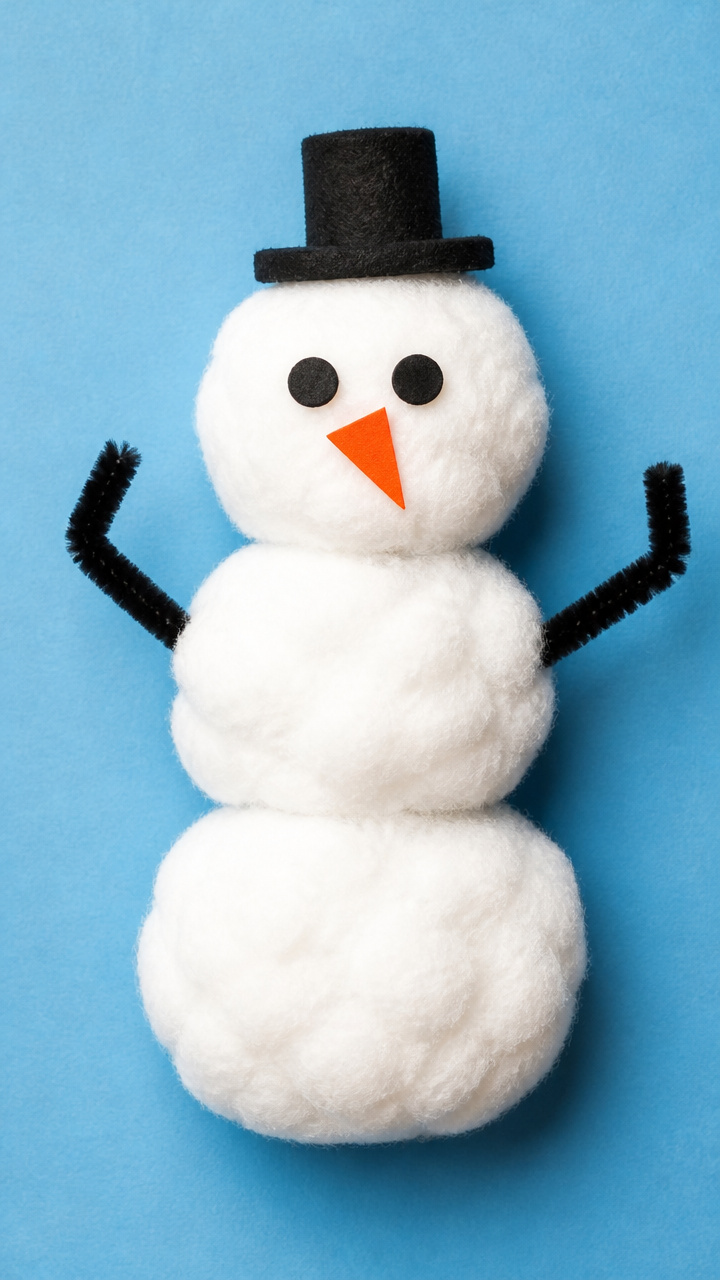
A three-tiered snowy friend with coal eyes and a carrot nose stands cheerfully on your shelf. This classic figure brings instant winter charm to any room.
Materials Needed
- 3 large cotton balls
- 1 small cotton ball
- black craft foam sheet
- orange craft foam sheet
- 12-inch black pipe cleaner
- 8.5 x 11-inch blue construction paper
- white school glue
- googly eyes (6mm, 2 pieces)
- scissors
- glue brush
How to Make It
- Place the three large cotton balls in a vertical line on the blue paper and glue them in place using the glue brush.
- Cut two small circles from black craft foam for eyes and a small triangle from orange craft foam for the nose, then glue them onto the top cotton ball.
- Glue one 6mm googly eye over each foam eye to add shine.
- Cut the pipe cleaner into three 4-inch pieces and curl each around a pencil, then glue them as arms on the middle cotton ball.
- Pinch the small cotton ball slightly and glue it on top as a hat pom-pom.
2. Polar Bear in Snowstorm
Easy
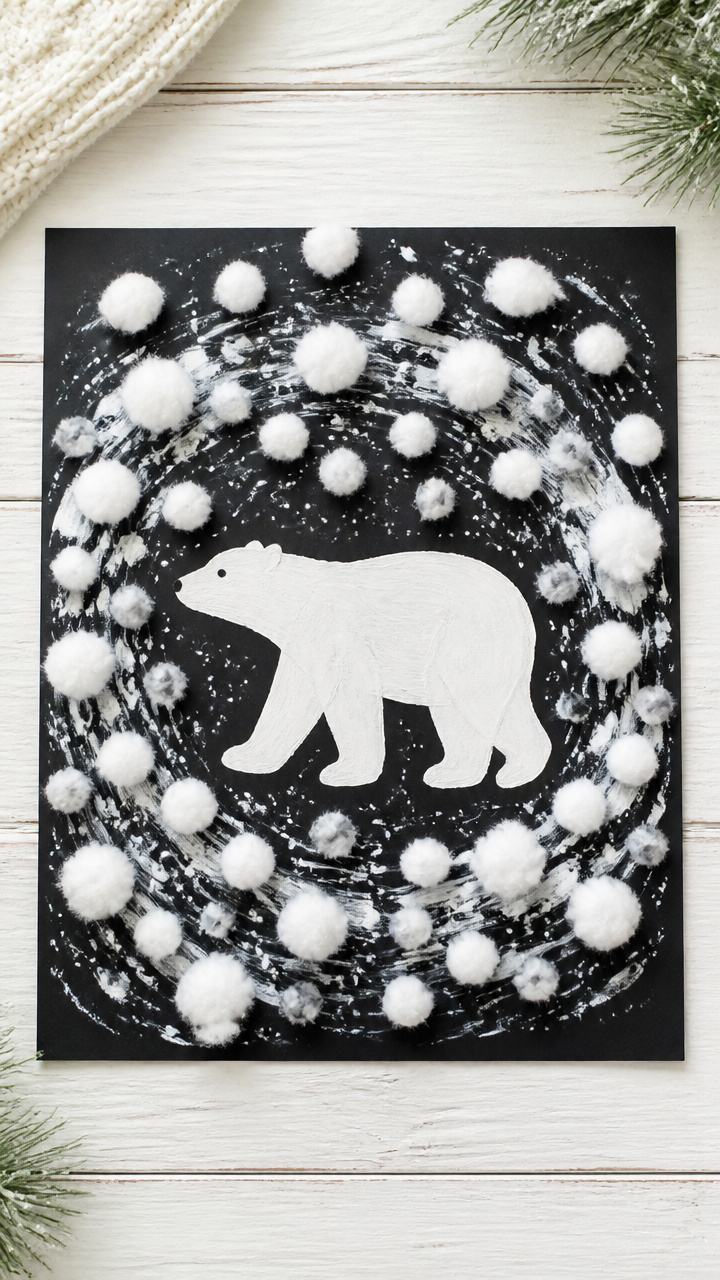
Fuzzy cotton balls swirl around a bold polar bear silhouette, creating a dramatic winter scene in motion. This textured artwork looks striking on a classroom wall.
Materials Needed
- 8.5 x 11-inch black cardstock
- polar bear stencil (6 inches tall)
- white acrylic paint
- 10 cotton balls
- paintbrush (1/2 inch flat)
- white school glue
- small mixing bowl
- toothpick
How to Make It
- Place the stencil in the center of the black cardstock and trace lightly with a pencil.
- Mix equal parts white acrylic paint and school glue in the bowl to create a sticky paint mixture.
- Dip cotton balls into the mixture, let excess drip off, then press them around the bear outline to form a stormy blur.
- Use the toothpick to pull thin strands from some cotton balls for a windblown effect.
- Let dry completely for 2 hours before removing any stray fibers.
3. Snowy Pine Tree
Easy
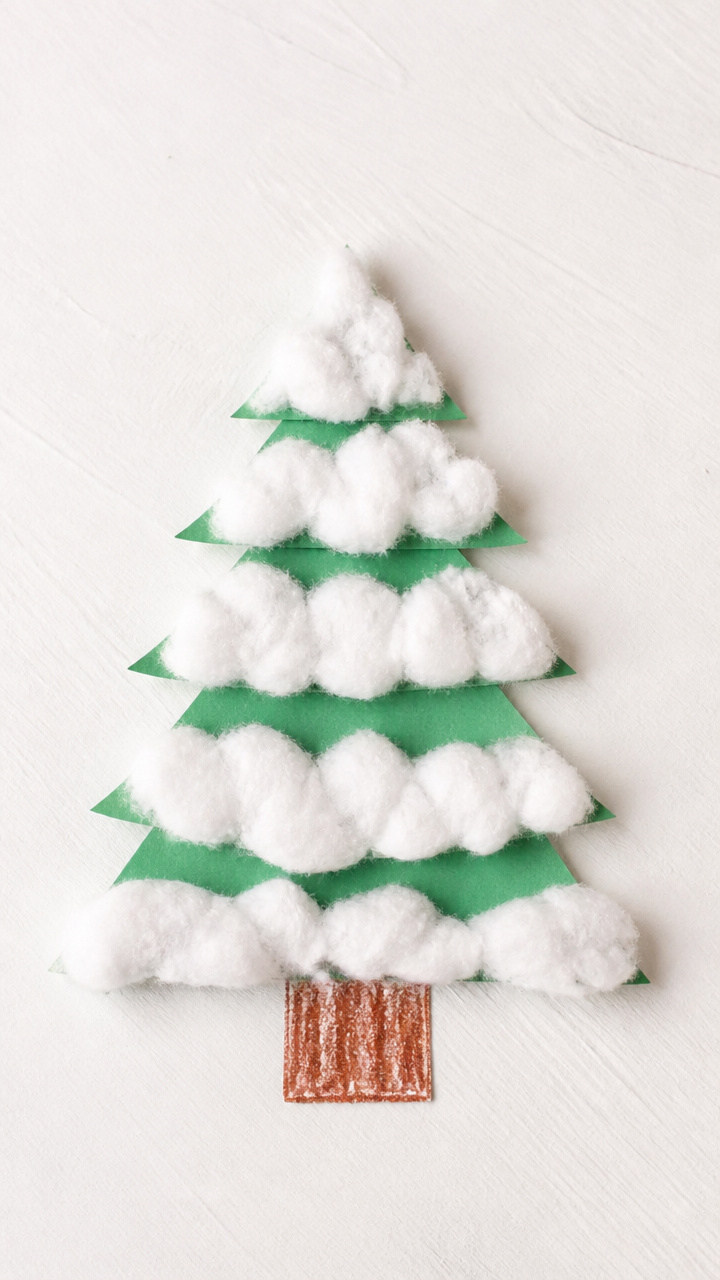
A triangular evergreen wears a dusting of soft snow across its branches, made entirely from layered cotton balls. This craft brings forest calm to a windowsill.
Materials Needed
- green construction paper (8.5 x 11-inch)
- scissors
- white school glue
- 15 cotton balls
- brown crayon
- 9 x 12-inch white construction paper
How to Make It
- Cut the green paper into a triangle 8 inches tall with slightly curved edges to mimic tree branches.
- Draw a 1-inch wide trunk at the bottom center using the brown crayon.
- Glue the triangle upright on the white paper.
- Pinch and flatten each cotton ball slightly, then layer them along the outer edges of the triangle to look like snow caps.
- Add a final cotton ball clump at the very top to resemble a snowy peak.
4. Cotton Ball Igloo
Moderate
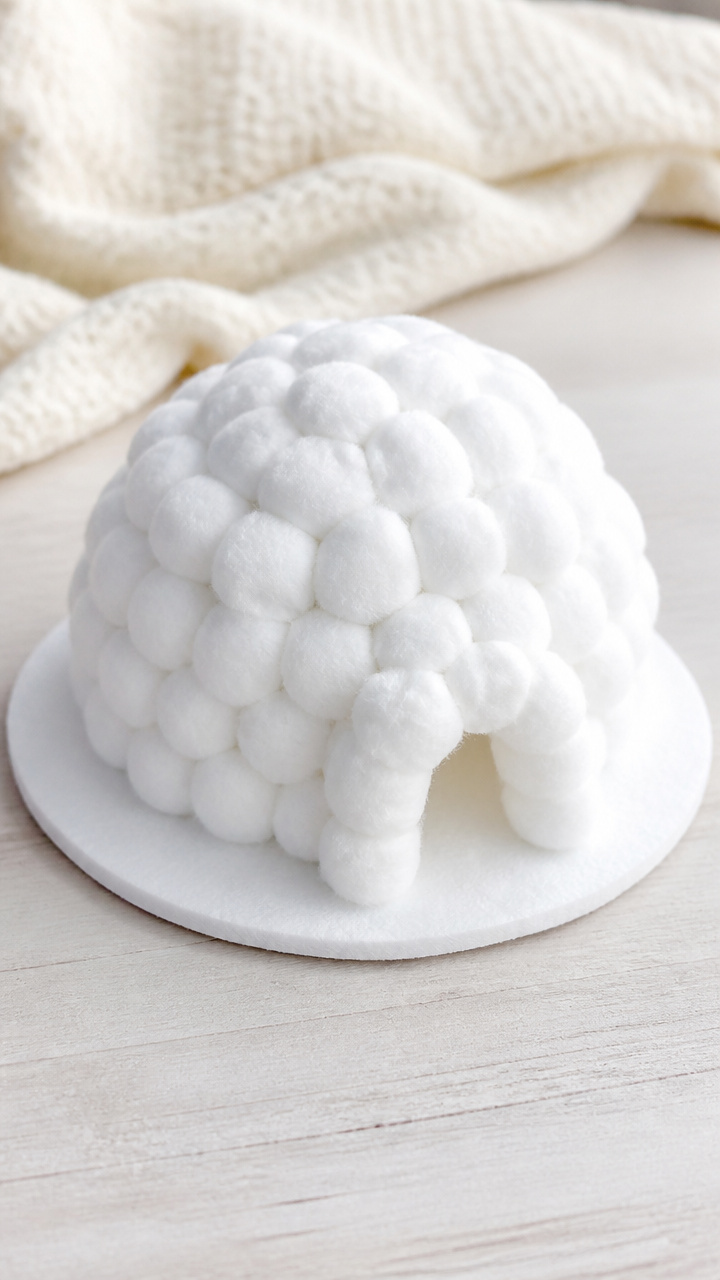
A domed shelter made of stacked cotton ball 'bricks' stands solid on a snowy base. This hands-on build teaches simple engineering with soft materials.
Materials Needed
- 30 cotton balls
- white school glue
- 12 x 12-inch white foam board
- small paintbrush
- plastic spoon
- ruler
How to Make It
- Draw a 6-inch diameter circle on the foam board using the spoon as a guide and glue the first ring of 8 cotton balls along the line.
- Flatten each cotton ball slightly with your fingers before placing to create a flat surface.
- Let the first ring dry for 30 minutes, then add a second ring of 6 cotton balls staggered over the seams.
- Continue with a third ring of 4 cotton balls and a top cap of 1 cotton ball, letting each layer dry before adding the next.
- Use the paintbrush to dab glue between joints for extra strength and let the igloo dry overnight.
5. Snowy Owl Art
Easy
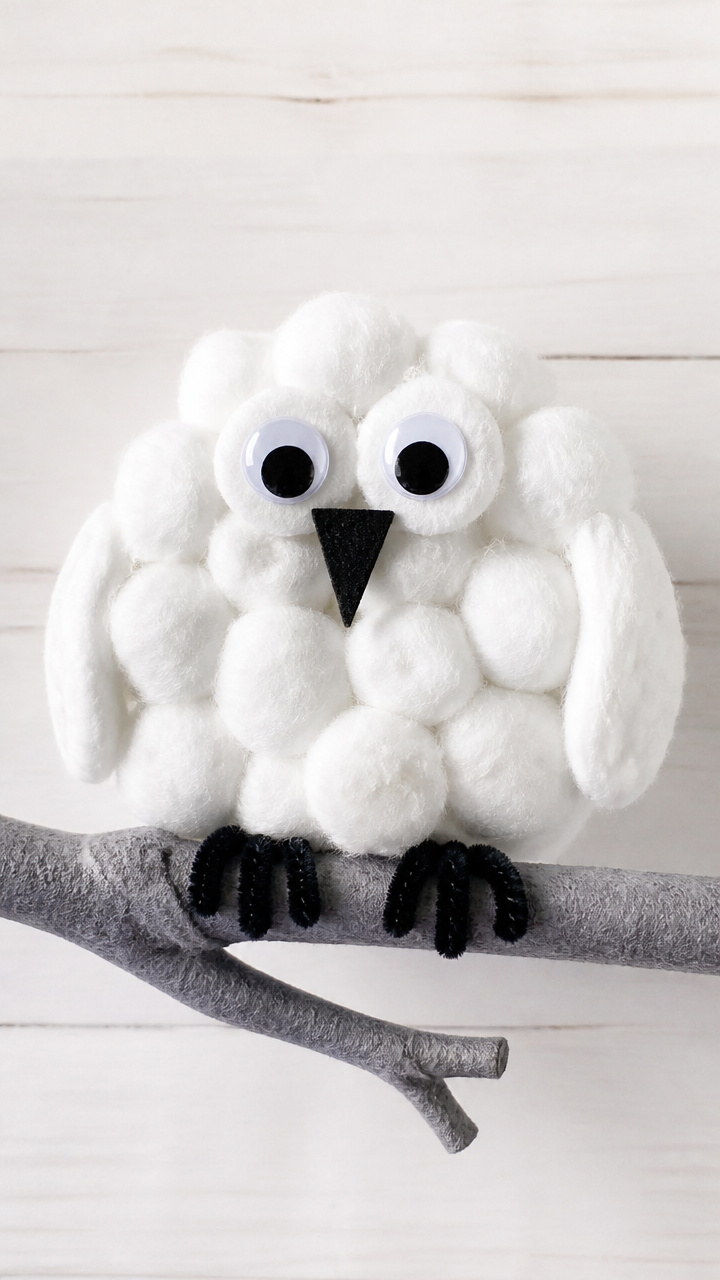
Round cotton balls form a wide-eyed owl with a feathery chest, perched on a wintry branch. This textured bird feels cozy and wise.
Materials Needed
- 10 cotton balls
- brown pipe cleaner (12 inches)
- 12 x 12-inch gray construction paper
- black craft foam sheet
- white school glue
- 8mm googly eyes (2 pieces)
- scissors
- glue brush
How to Make It
- Pinch 6 cotton balls into teardrop shapes and glue them vertically in a line down the center of the gray paper.
- Flatten 2 cotton balls and glue them on each side at the top to form ears.
- Cut the pipe cleaner in half and twist each piece into a spiral, then glue one to each side as feet.
- Glue the googly eyes just above the top cotton ball.
- Cut two small black pupils from craft foam and glue them inside the eyes.
6. Cotton Ball Snow Globe
Moderate
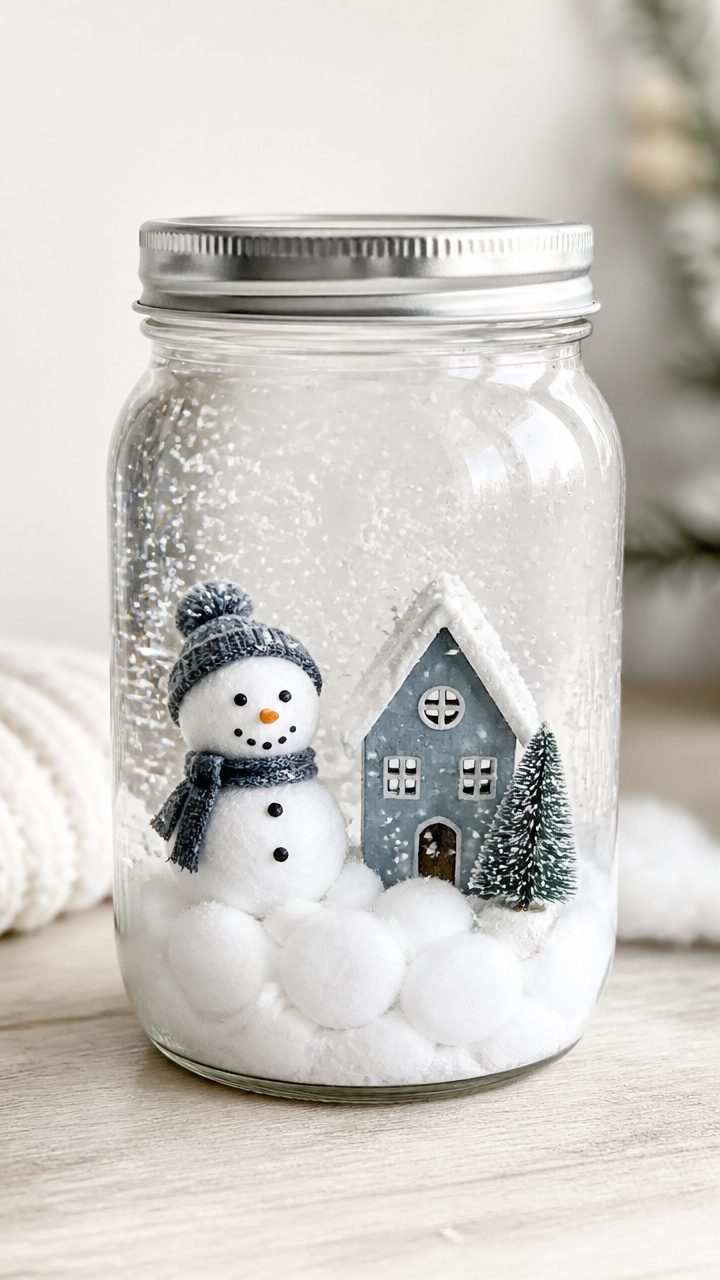
A sealed jar holds a tiny scene of a snow-covered house under a flurry of floating cotton. Shake it gently for a blizzard indoors.
Materials Needed
- 4-ounce clear glass jar with lid
- miniature plastic snowman (1 inch tall)
- fake snow filler (2 tablespoons)
- 5 cotton balls
- distilled water (3 tablespoons)
- clear school glue (1 teaspoon)
- hot glue gun
- glue stick
How to Make It
- Place the snowman in the center of the jar lid and surround it with fake snow filler.
- Pull cotton balls apart into small fluffy pieces and sprinkle them over the scene.
- Mix water and glue in a cup, then pour it into the jar until nearly full.
- Screw the lid on tightly, then seal the edge with hot glue to prevent leaks.
- Let the glue cool completely before turning the jar upside down and shaking gently.
7. Winter Sheep Craft
Easy
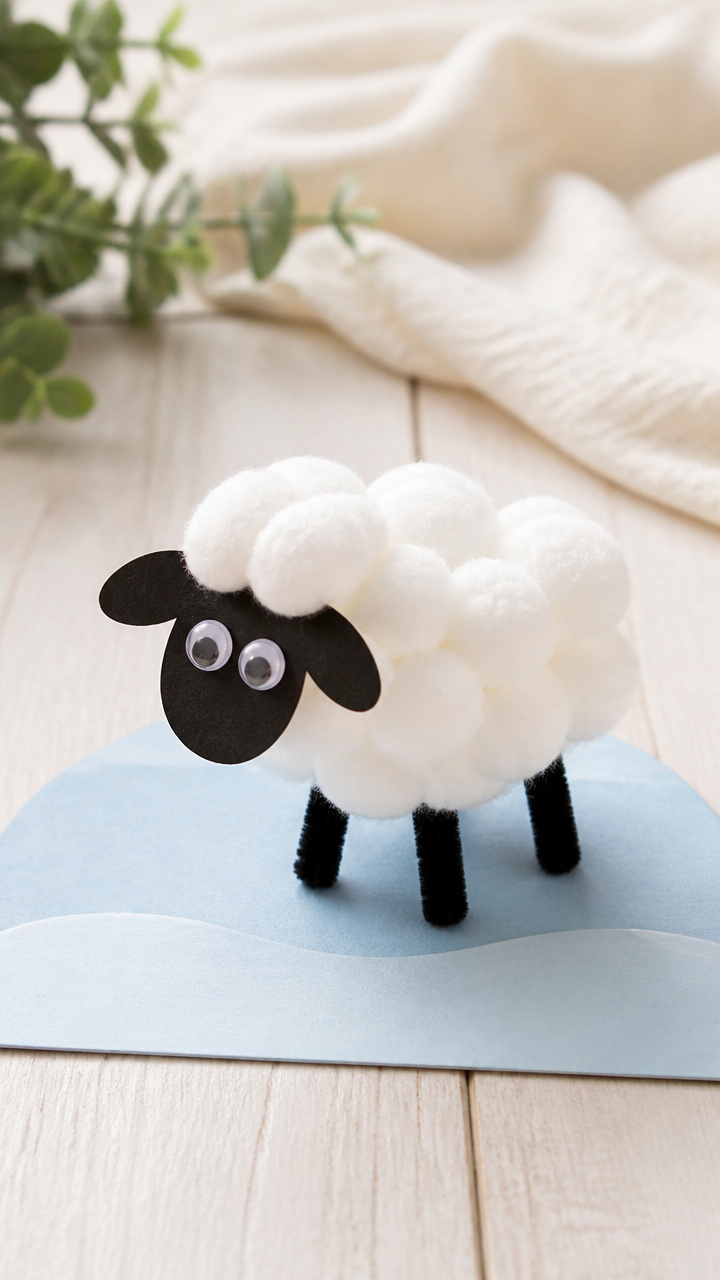
A bouncy sheep with a cloud-like body grazes on a snowy hill made from layered cotton. This farm friend adds gentle charm to a bulletin board.
Materials Needed
- 8 cotton balls
- black craft foam sheet
- 12 x 12-inch light blue construction paper
- white school glue
- black pipe cleaner (6 inches)
- scissors
- glue brush
- pink craft foam sheet (small piece)
How to Make It
- Pinch and roll 6 cotton balls into a loose oval shape and glue them in the center of the blue paper.
- Cut four 1-inch legs and a small head from black foam, then glue them in place.
- Glue a pink ear on each side of the head.
- Twist the pipe cleaner into a U-shape and glue it behind as a tail.
- Flatten 2 cotton balls and glue them on the hilltop behind the sheep to look like snow drifts.
8. Cotton Ball Reindeer
Easy
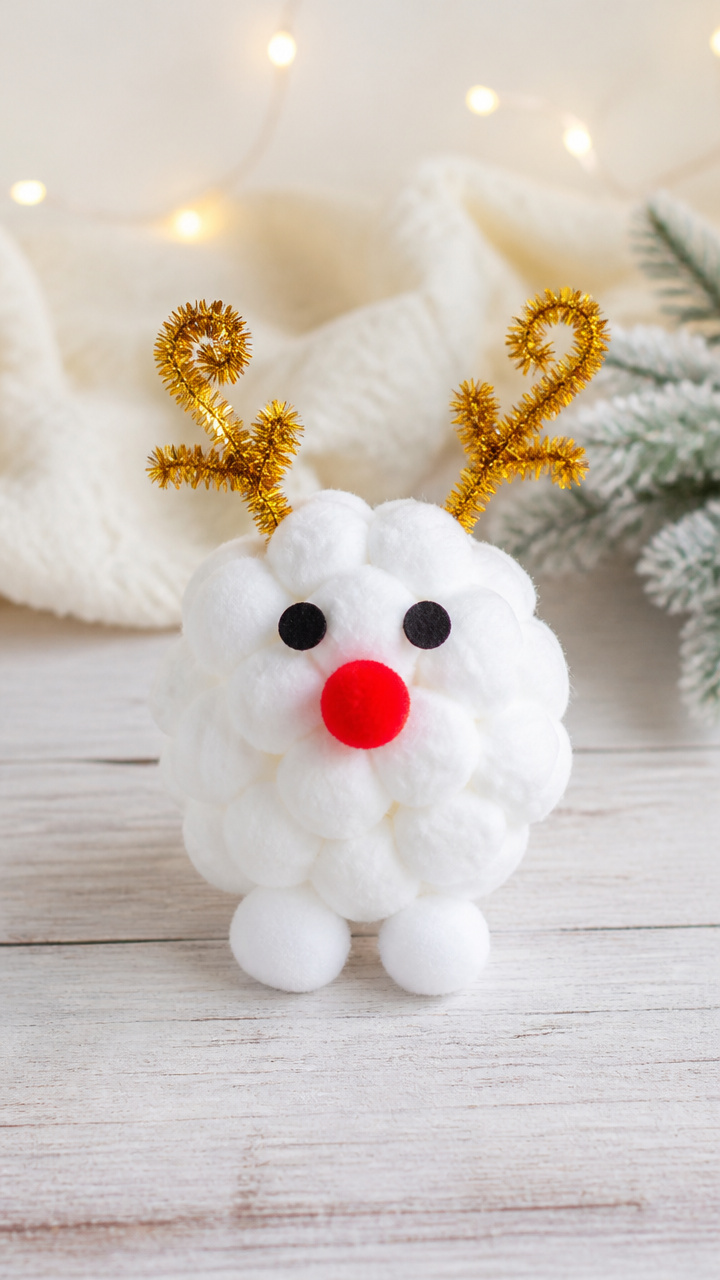
Curled pipe cleaner antlers rise from a cotton ball body with a red nose that glows with cheer. This festive animal fits perfectly on a holiday card.
Materials Needed
- 1 large cotton ball
- 2 small cotton balls
- red pom-pom (8mm)
- black craft foam sheet
- 12-inch gold pipe cleaner
- white school glue
- 8 x 10-inch white cardstock
- scissors
- glue brush
How to Make It
- Flatten the large cotton ball slightly and glue it near the top center of the cardstock.
- Cut two tiny eyes from black foam and glue them near the front of the cotton ball.
- Glue the red pom-pom just below the eyes.
- Cut the pipe cleaner in half, curl each end with pliers, and push both pieces into the top of the cotton ball for antlers.
- Glue a small cotton ball on each side of the body for legs and another at the back for a tail.
9. Snowy Window Sill Scene
Moderate

A row of tiny houses with puffy cotton roofs lines a frosty windowsill in this layered diorama. It turns any shelf into a winter village.
Materials Needed
- 3 cardboard toilet paper tubes
- white acrylic paint
- paintbrush (1/2 inch)
- 10 cotton balls
- 12 x 18-inch light blue construction paper
- white school glue
- black marker
- ruler
- craft knife
How to Make It
- Cut each tube into thirds to make 9 short rings, then paint them white and let dry for 1 hour.
- Flatten cotton balls and glue three stacked rings on each to form house shapes.
- Draw window panes on each house with the black marker using straight lines.
- Glue the houses in a row along the bottom edge of the blue paper.
- Pull apart remaining cotton balls and glue fluffy patches around the bases to look like drifted snow.
10. Cotton Ball Snow Angels
Easy

Lying side by side, two angelic figures made from cotton balls and glittered wings shine on dark paper. These quiet figures glow with winter peace.
Materials Needed
- 6 cotton balls
- 8.5 x 11-inch black construction paper
- white school glue
- silver glitter (1 tablespoon)
- small paintbrush
- scissors
- gold pipe cleaner (6 inches)
How to Make It
- Pinch 2 cotton balls into oval shapes and lay them horizontally on the paper for bodies.
- Flatten 2 cotton balls and place them at the top for heads.
- Cut the pipe cleaner in half and bend each into a wing shape, then glue one on each side.
- Brush glue over the wings and sprinkle glitter evenly, then tap off excess.
- Glue the last 2 cotton balls below as feet and let dry for 1 hour.
11. Penguin with Cotton Belly
Easy
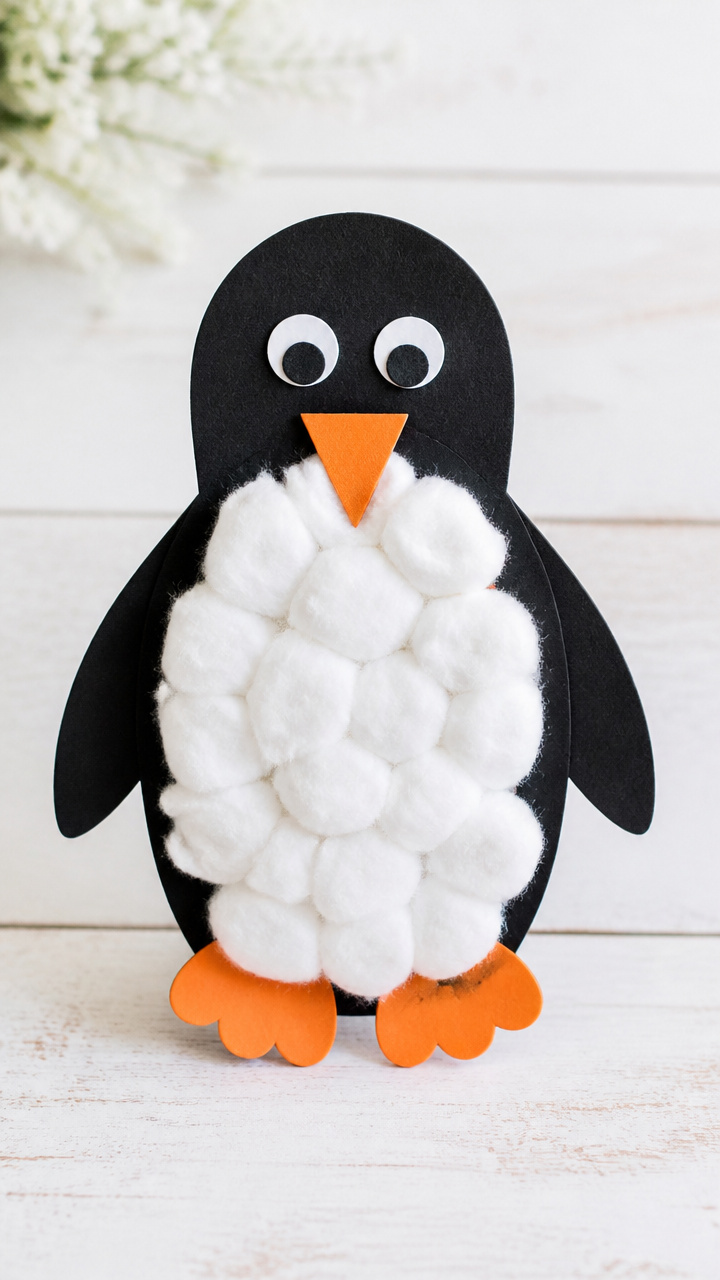
A bold black penguin waddles proudly with a bright white cotton belly and orange feet. This sturdy bird stands ready for play or display.
Materials Needed
- 1 large cotton ball
- black construction paper (8.5 x 11-inch)
- orange craft foam sheet
- white school glue
- scissors
- glue brush
- black marker
How to Make It
- Cut a penguin shape 6 inches tall from black paper with a rounded belly and pointed beak.
- Pinch the cotton ball to fit the belly area and glue it in place with the glue brush.
- Cut two small triangle feet from orange foam and glue them beneath the body.
- Draw two eyes with the black marker just above the beak.
- Let the glue dry for 20 minutes before displaying.
12. Cotton Ball Snowy Branch
Easy
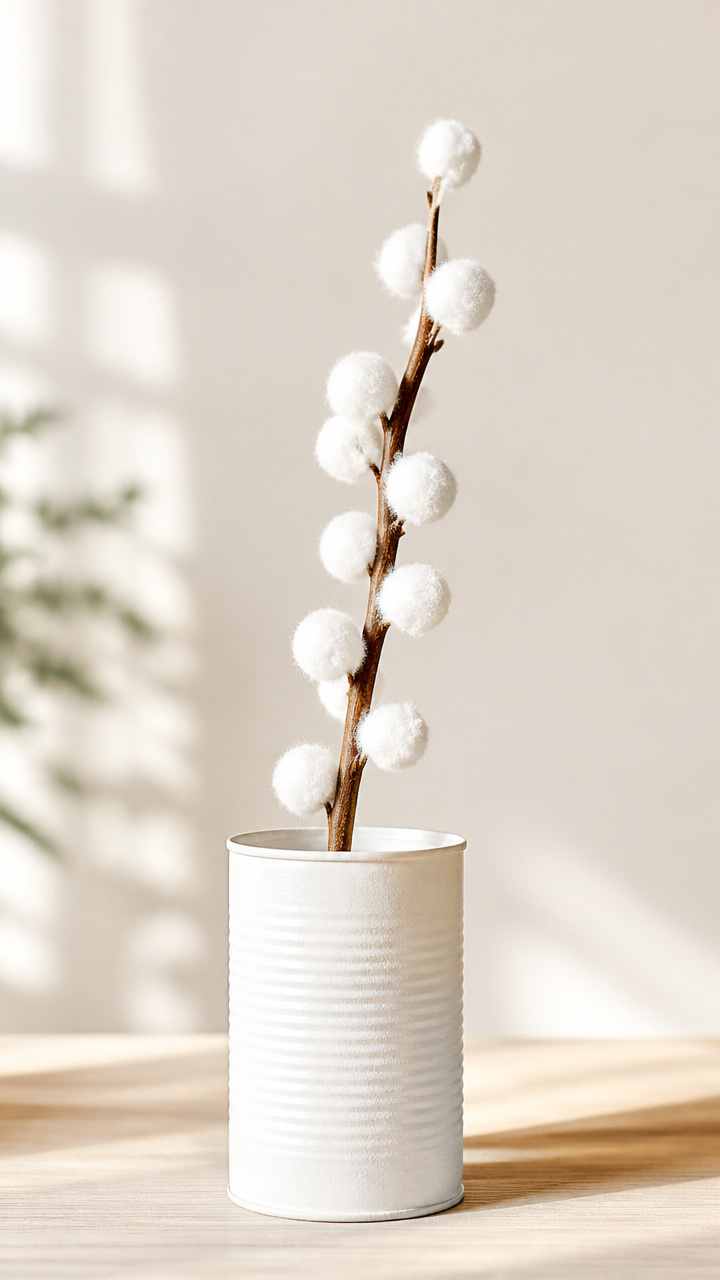
A real twig wears soft cotton clumps like fresh snow, displayed in a painted tin can. This nature craft blends outdoors and indoors.
Materials Needed
- 1 smooth twig (8 inches long)
- 1 clean vegetable can (empty and label removed)
- white acrylic paint
- paintbrush (1/2 inch)
- 12 cotton balls
- white school glue
- silver glitter (1/2 teaspoon)
How to Make It
- Paint the entire can white and let it dry for 1 hour.
- Flatten each cotton ball slightly and glue them in clumps along the upper side of the twig.
- Sprinkle a pinch of glitter on each cotton clump before the glue dries.
- Place the twig across the top of the can so it rests securely.
- Let all glue dry completely before moving.
13. Snowy Hill Landscape
Moderate
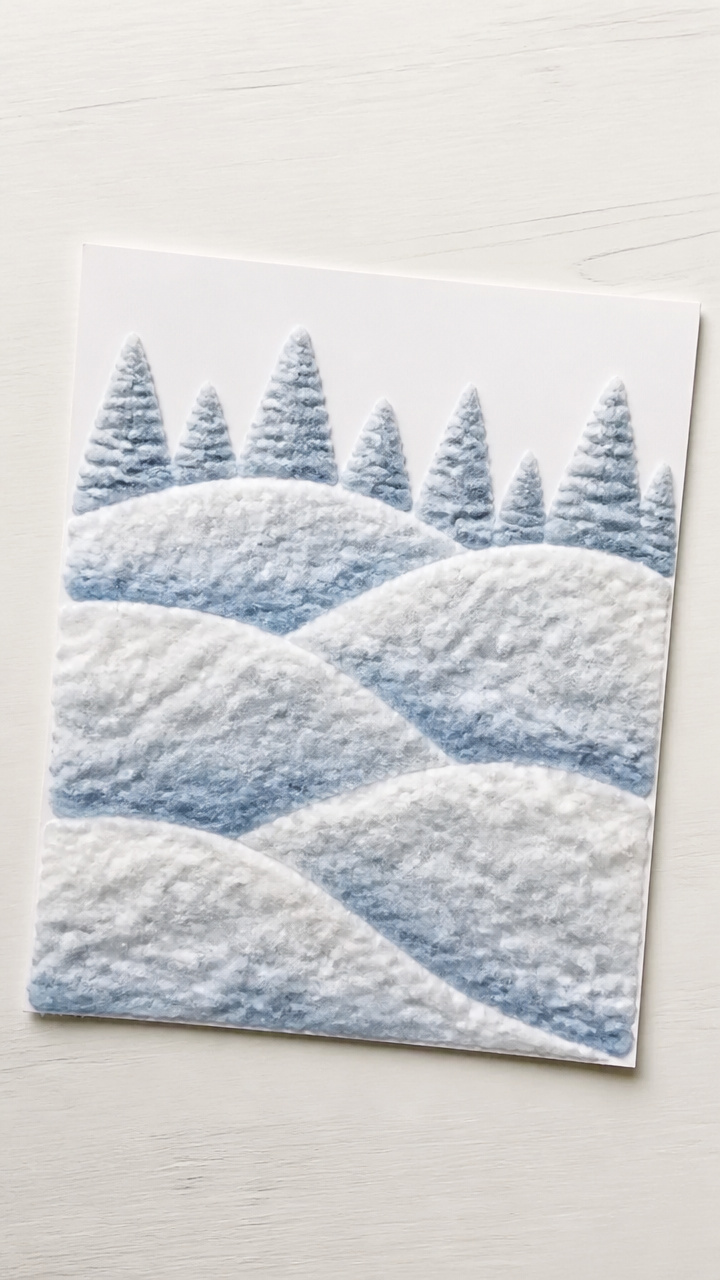
Rolling hills rise from the paper, padded with cotton and shaded with blue-gray paint. This dimensional scene captures quiet winter light.
Materials Needed
- 12 x 18-inch white cardstock
- 5 cotton balls
- light gray acrylic paint
- dark blue acrylic paint
- paintbrush (3/4 inch)
- white school glue
- scissors
- ruler
How to Make It
- Cut each cotton ball in half and lay the flat sides down in wavy rows across the bottom two-thirds of the cardstock.
- Glue each half-cotton ball in place and let dry for 30 minutes.
- Mix a small amount of dark blue into gray paint to create a cool tone.
- Dip the brush lightly and drag it over the cotton tops to shade the snow.
- Leave the sky area untouched for contrast and let the painting dry flat for 2 hours.
14. Cotton Ball Snowflakes
Easy
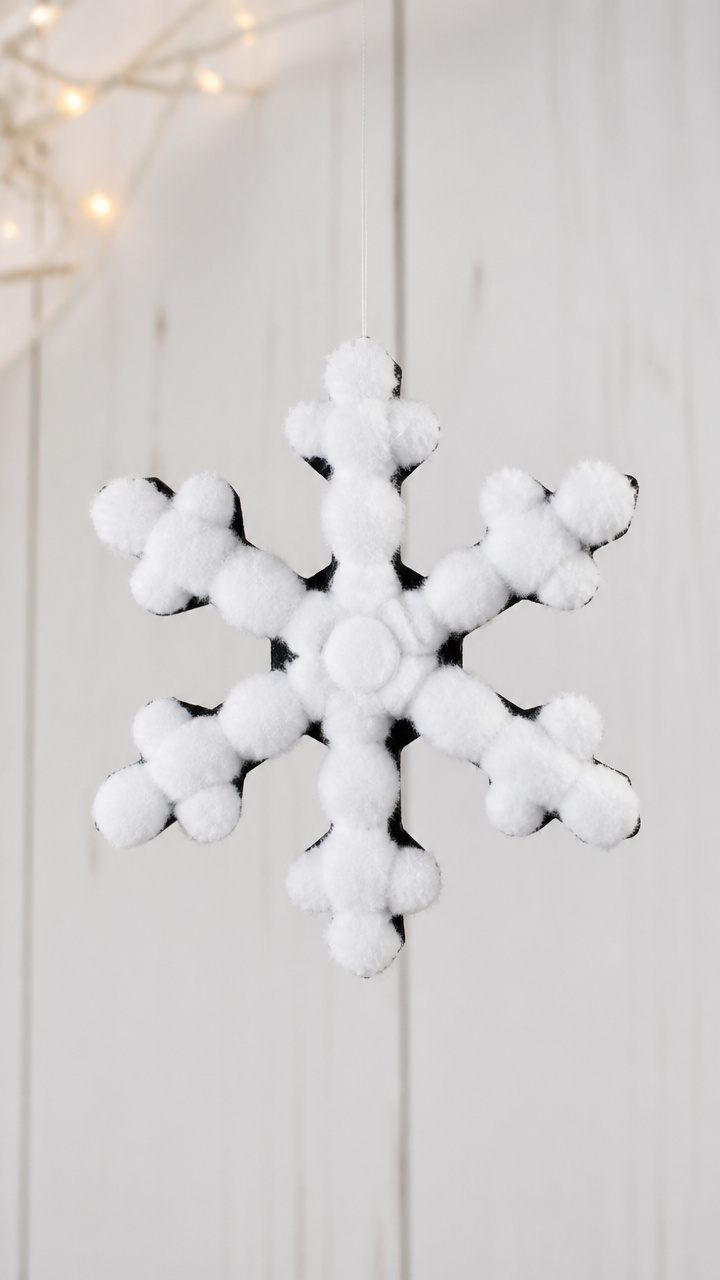
Six cotton balls radiate from a center dot to form a fluffy snowflake you can hang by a thread. These float like real ones on a string.
Materials Needed
- 6 cotton balls per flake
- white school glue
- black construction paper (8.5 x 11-inch)
- clear thread (12 inches)
- glue brush
- pencil
How to Make It
- Place one cotton ball in the center of the paper and glue it down with a dab from the brush.
- Arrange five more cotton balls around it in a star shape, each touching the center.
- Use a tiny dot of glue under each outer cotton ball to hold it in place.
- Let dry for 45 minutes, then tie thread around the center cotton ball for hanging.
- Lift gently by the thread to display near a window.
15. Arctic Fox Craft
Moderate
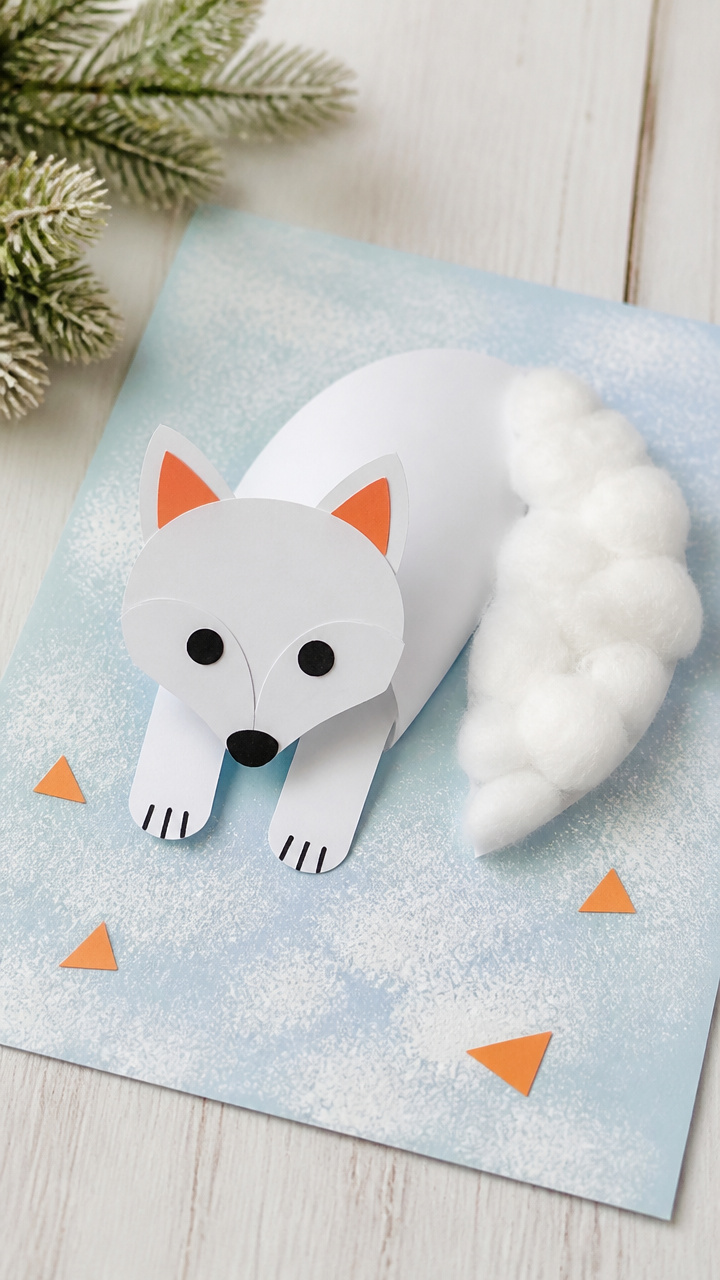
A sly fox with a bushy cotton tail crouches on a snowy outcrop, ready to pounce. This craft uses shape and texture to capture movement.
Materials Needed
- 4 cotton balls
- orange craft foam sheet
- white craft foam sheet
- 12 x 12-inch light blue construction paper
- white school glue
- scissors
- glue brush
- black craft foam sheet (small piece)
How to Make It
- Cut a fox body shape 5 inches long from orange foam with a pointed tail end.
- Pinch one cotton ball into a thick puff and glue it to the tail tip.
- Cut two small ears from white foam and glue them to the head.
- Glue two tiny black nose and eye dots in place.
- Flatten two cotton balls and place them under the front legs and one under the back as snow mounds.
16. Cotton Ball Snow Drifts
Easy
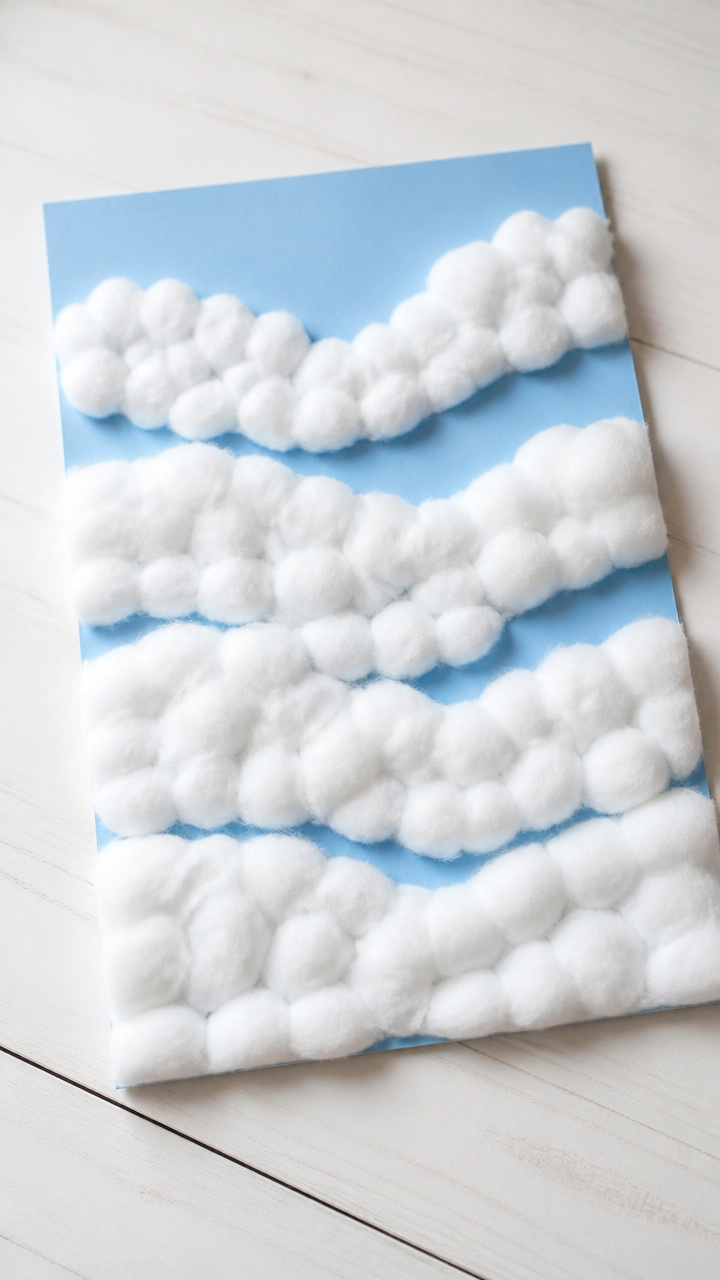
Waves of cotton balls form rolling drifts across a painted winter scene, layered for depth. This background craft enhances any seasonal display.
Materials Needed
- 15 cotton balls
- 12 x 18-inch light blue construction paper
- white school glue
- small paintbrush
- ruler
How to Make It
- Pull each cotton ball apart into smaller fluffy pieces.
- Starting 4 inches from the bottom, glue clusters of fluff in uneven mounds across the paper.
- Overlap pieces slightly to create height and shadow.
- Leave gaps between drifts to suggest wind-swept areas.
- Let dry completely for 1 hour before adding other craft elements on top.
17. Snowy Mitten Craft
Easy

A pair of mittens filled with soft cotton balls looks ready to warm tiny hands. This sweet decoration hangs neatly on a hook.
Materials Needed
- 2 cotton balls
- red construction paper (8.5 x 11-inch)
- white school glue
- scissors
- yarn (12 inches, white)
- hole punch
How to Make It
- Cut two mitten shapes 5 inches tall from the red paper.
- Glue one cotton ball inside each mitten to look like fluffy lining.
- Punch a hole at the top of each mitten and thread yarn through for hanging.
- Tie a knot at the end of each yarn strand.
- Let glue dry for 20 minutes before displaying.
18. Cotton Ball Ice Cave
Moderate
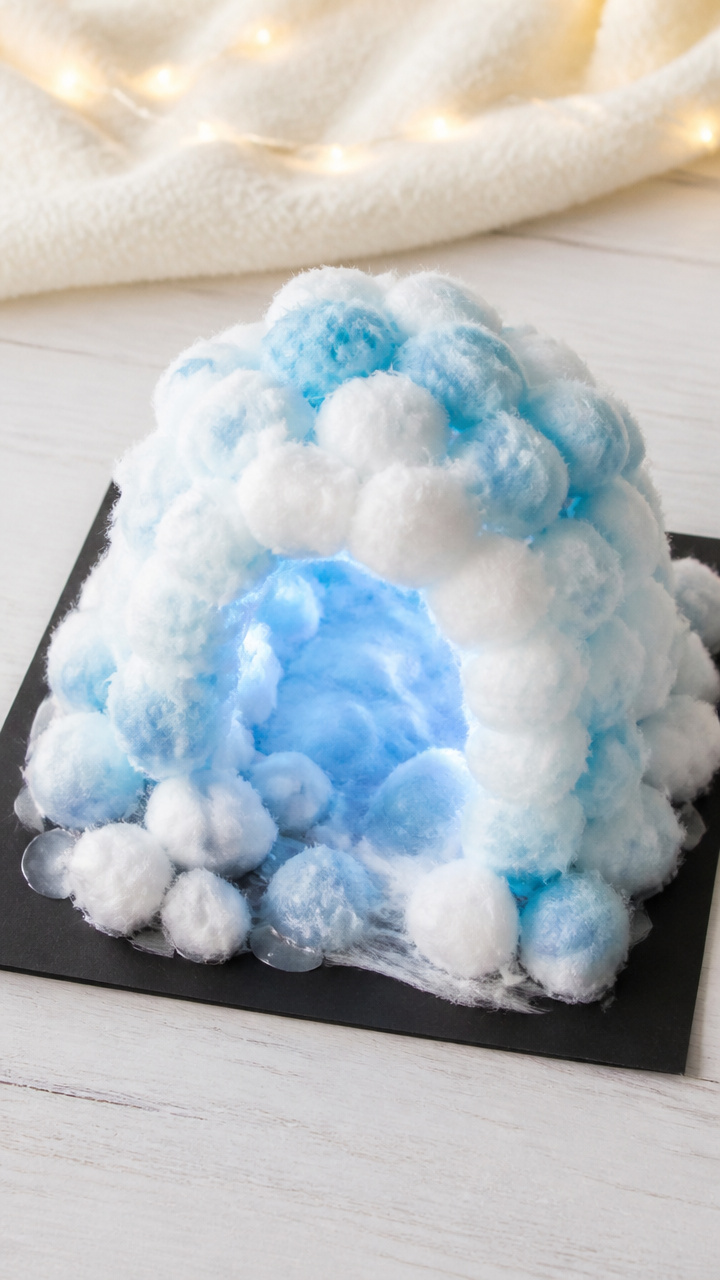
A glowing blue cave made from cotton balls and tinted glue invites tiny explorers inside. This craft uses light and texture to create wonder.
Materials Needed
- 20 cotton balls
- white school glue
- blue food coloring (3 drops)
- small mixing bowl
- toothpick
- 9 x 12-inch black construction paper
- plastic spoon
How to Make It
- Mix glue and blue food coloring in the bowl until evenly tinted.
- Dip cotton balls into the mixture and place them in a curved wall shape around the spoon on the black paper.
- Layer cotton balls 2 deep, pressing them close to form a solid wall.
- Use the toothpick to pull thin strands between balls for icicle effects.
- Let dry completely for 3 hours, then remove the spoon to reveal the cave opening.
19. Winter Bird Feeder
Easy
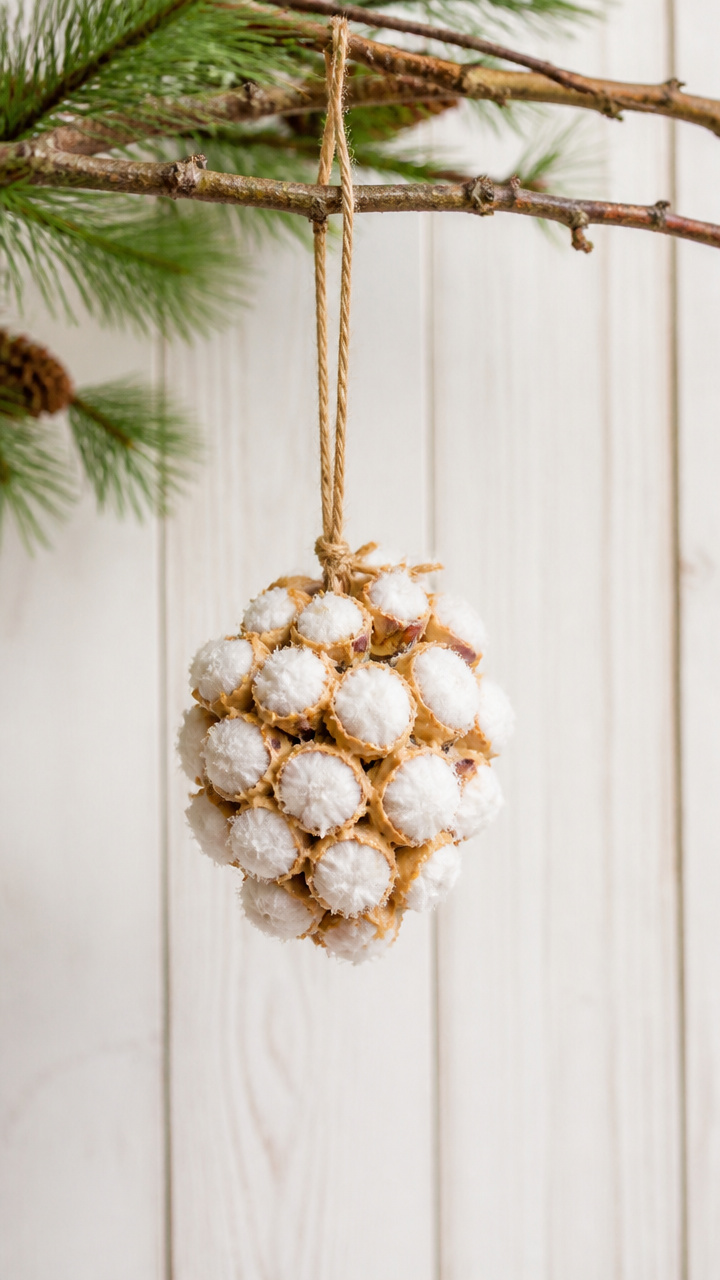
A pinecone wrapped in peanut butter and cotton ball 'snow' becomes a treat for backyard birds. This craft feeds wildlife and teaches kindness.
Materials Needed
- 1 large pinecone
- 1/4 cup creamy peanut butter
- 10 cotton balls
- 12-inch string
- butter knife
- plate
How to Make It
- Tie the string securely around the pinecone stem and knot it for hanging.
- Spread peanut butter all over the pinecone using the butter knife.
- Press cotton balls into the peanut butter to cover the surface like snow.
- Place the feeder on a plate and let it set in the fridge for 30 minutes.
- Hang it from a tree branch once firm.
20. Cotton Ball Snow Cloud
Moderate

A puffy cloud rains cotton ball snowflakes down a string onto a waiting town below. This hanging mobile swirls with gentle motion.
Materials Needed
- 8 cotton balls
- white thread (3 pieces, 10 inches each)
- 12-inch wooden embroidery hoop
- white school glue
- small paintbrush
- mini paper town set (3 buildings)
- glue gun
- glue stick
How to Make It
- Flatten 4 cotton balls and glue them around the top half of the hoop to form a cloud base.
- Tie one end of each thread to a remaining cotton ball, then glue the other end to the bottom of the hoop.
- Space the hanging cotton balls evenly around the hoop.
- Glue the paper buildings in a row on a flat surface below the mobile.
- Hang the hoop from the ceiling with strong thread and let it rotate freely.
21. Snowy Footprint Track
Easy
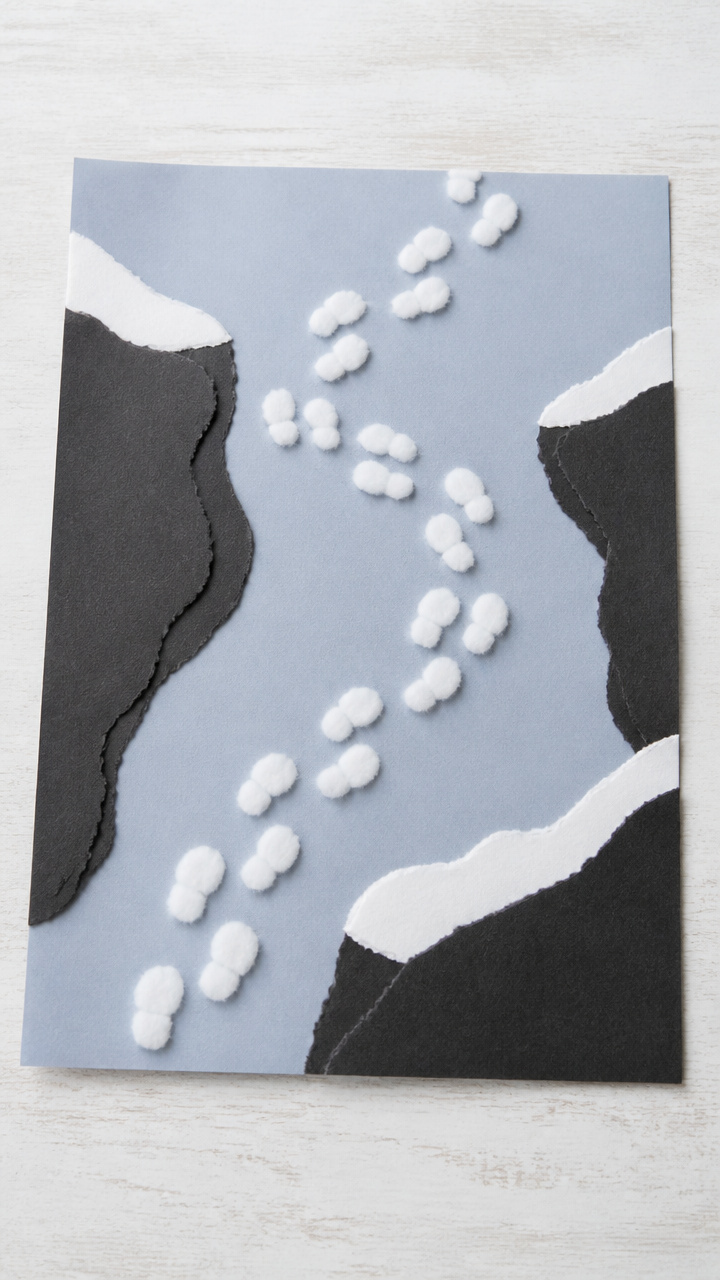
A trail of boot prints filled with cotton balls winds across a winter landscape. This craft tells a quiet story of someone walking through snow.
Materials Needed
- 6 cotton balls
- 12 x 18-inch blue-gray construction paper
- black construction paper (scrap)
- white school glue
- scissors
- glue brush
How to Make It
- Cut boot shapes 2 inches long from black paper, making 12 total.
- Arrange them in a zigzag trail across the gray paper.
- Glue each boot down with the brush.
- Pull cotton balls apart and press fluff into the center of each footprint.
- Let dry for 30 minutes before displaying on a table.
22. Cotton Ball Blizzard Jar
Easy
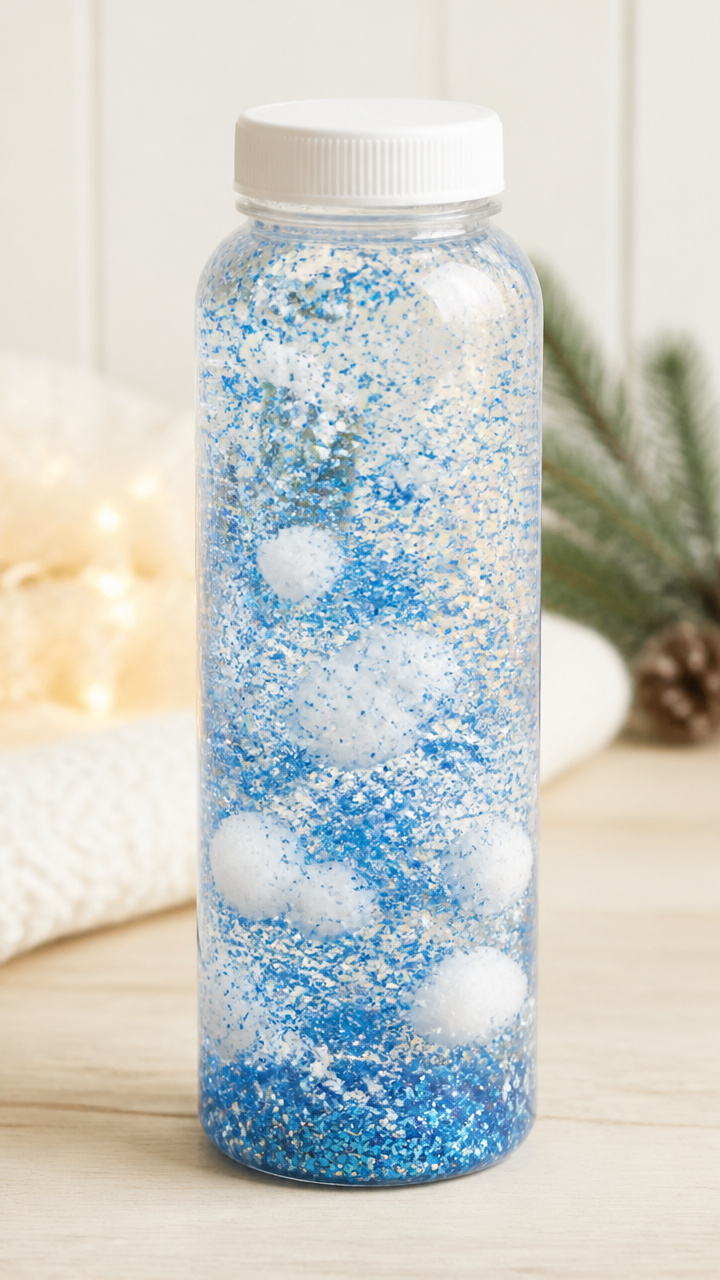
A swirling storm of tiny cotton bits dances in oil when you tip a sealed bottle. This sensory jar calms and fascinates with every shake.
Materials Needed
- 5 cotton balls
- 8-ounce clear plastic bottle with screw cap
- baby oil (6 ounces)
- blue glitter (1/2 teaspoon)
- funnel
- scissors
How to Make It
- Tear cotton balls into very small pieces using scissors.
- Use the funnel to pour baby oil into the bottle, leaving 1 inch of space at the top.
- Add the cotton bits and glitter to the oil.
- Screw the cap on tightly and shake gently to test the swirl.
- Seal the lid with hot glue if needed for child-safe use.
You’ve got everything you need to turn simple cotton balls into a winter wonderland. Grab your glue and start creating joy, one fluffy craft at a time.