15 DIY Valentine’s Day Clay Crafts for Beginners

Soft pink clay hearts shaped by hand, tiny tokens pressed with initials, and delicate charms strung on ribbon—making Valentine’s crafts brings warmth to your fingertips and joy to the people you love. There’s something deeply satisfying about shaping a gift from scratch, especially when it only takes simple tools and a little time.
Each of these projects uses air-dry or polymer clay, both easy to find and work with. You don’t need fancy skills to create keepsakes that feel personal and heartfelt. Just follow the steps, let your hands lead, and enjoy the quiet rhythm of making something special.
1. Personalized Initial Heart Pendants
Easy
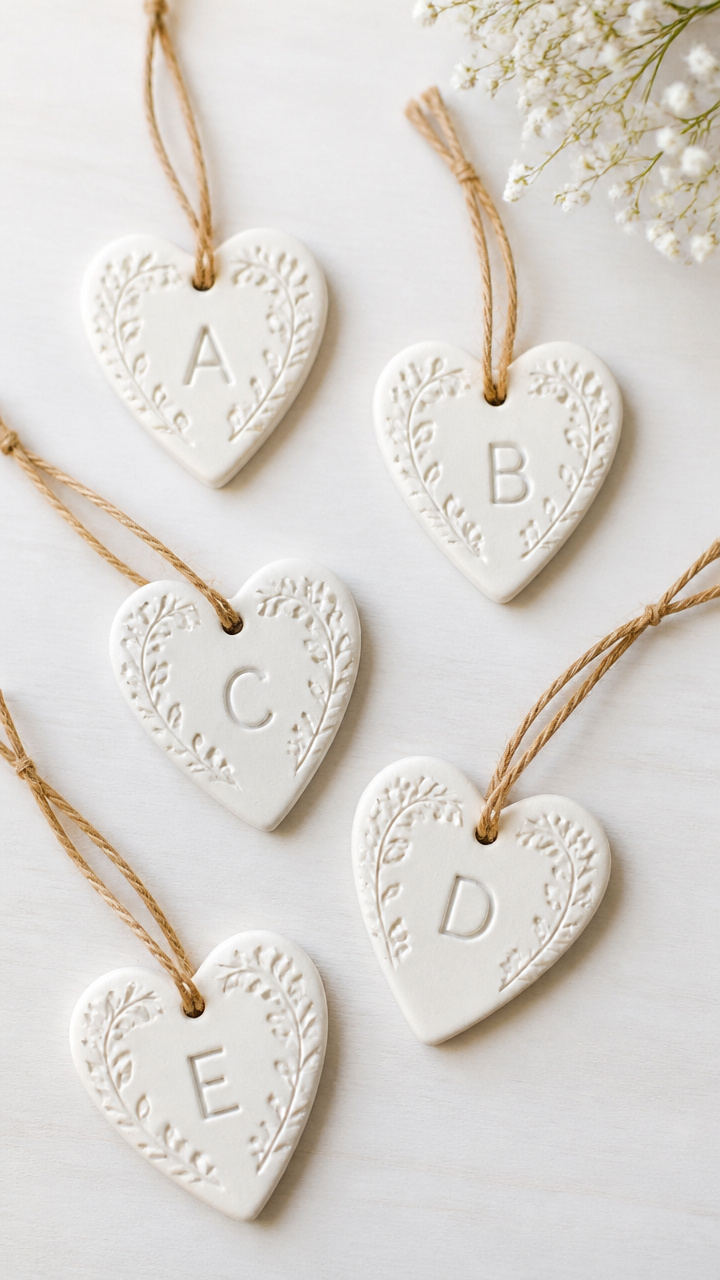
Delicate pendants with carved initials turn soft clay into wearable memories. These make sweet gifts for friends, teachers, or family who cherish a thoughtful touch.
Materials Needed
- White air-dry clay (2 oz)
- Clay roller or rolling pin
- Heart-shaped cookie cutter (1.5 inch)
- Round toothpick
- Alphabet stamp set
- Fine-grit sandpaper
- Clear acrylic sealer spray
- Red satin ribbon (12 inches)
How to Make It
- Roll the clay to 1/8 inch thickness using the roller and a flat surface.
- Press the heart cutter into the clay and lift away excess.
- Use alphabet stamps to press one initial into the center of each heart.
- Poke a small hole at the top with the toothpick for threading the ribbon.
- Let hearts dry completely on a parchment-lined tray for 24 hours.
- Lightly sand any rough edges with sandpaper.
- Spray both sides with acrylic sealer and let dry for 30 minutes.
- Thread the ribbon through the hole and tie into a loop.


2. Mini Love Note Paperweights
Easy
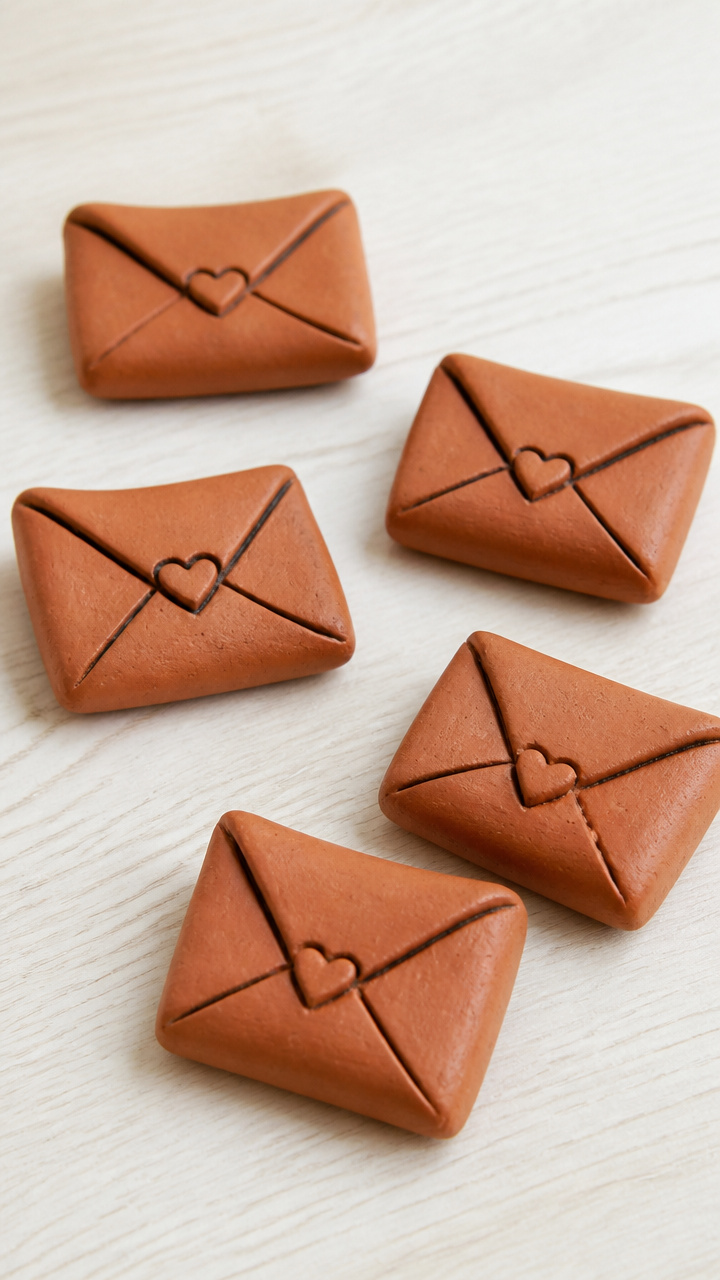
Tiny clay paperweights shaped like folded notes carry handwritten messages in miniature. They’re sturdy enough to hold pages down and sweet enough to sit on a desk all year.
Materials Needed
- Terracotta air-dry clay (1.5 oz)
- Craft knife
- Plastic ruler
- Ballpoint pen
- Small paintbrush
- Black acrylic paint
- Matte varnish
How to Make It
- Roll the clay into a 2×1 inch rectangle using your hands.
- Fold the top third down toward the center to mimic a sealed note.
- Score light lines across the front with the ballpoint pen to look like writing.
- Use the craft knife to trim uneven edges and sharpen corners.
- Let dry on a flat surface for 24 hours.
- Paint the 'ink' lines with black acrylic paint using the brush.
- Let paint dry for 1 hour, then apply a coat of matte varnish.


3. Fingerprint Flower Magnets
Easy
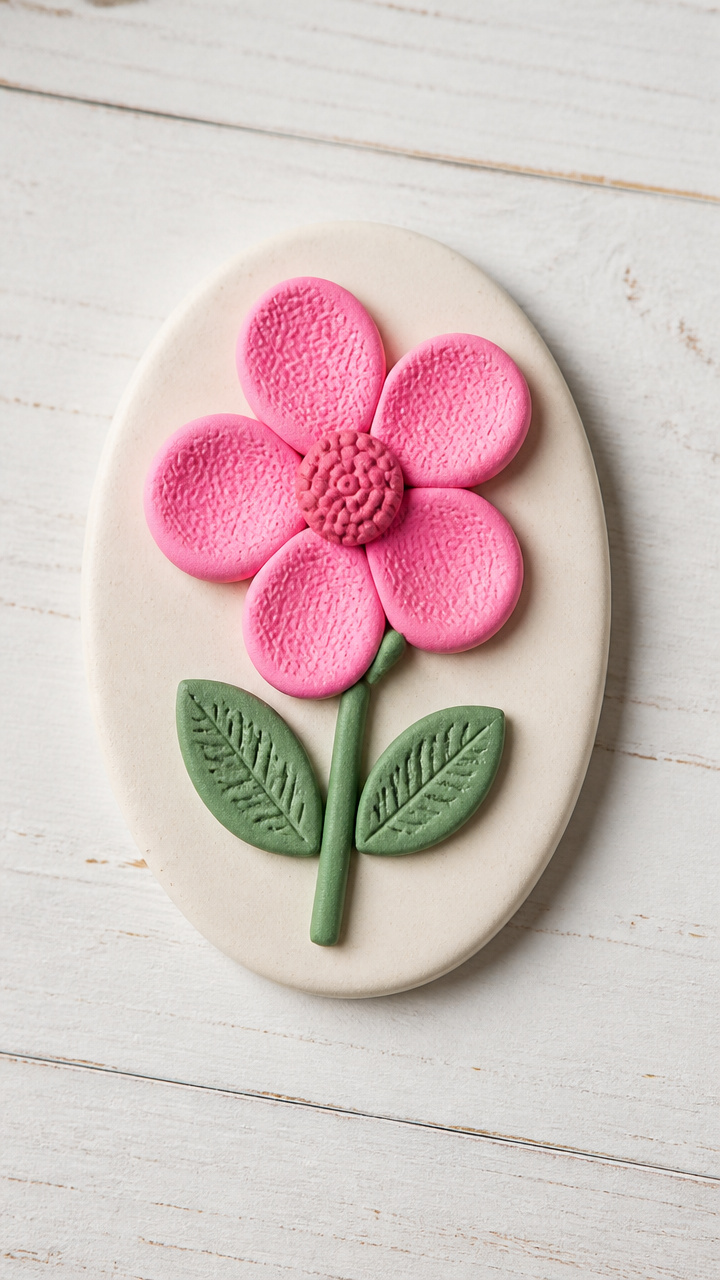
Blooms made from thumbprints bloom with personality. Each petal carries the maker’s unique ridge pattern, turning a magnet into a living trace of affection.
Materials Needed
- Pink polymer clay (1 oz)
- Green polymer clay (0.5 oz)
- Oval ceramic tile (2×1 inch)
- Magnetic adhesive strips (1/2 inch x 1 inch)
- Toothpick
- Oven-safe baking sheet
- Parchment paper
How to Make It
- Preheat oven to 275°F according to clay instructions.
- Pinch off five small pieces of pink clay and roll into 1/4 inch balls.
- Press each ball onto the tile with your thumb to leave a print.
- Arrange them in a circle to form flower petals.
- Roll a tiny yellow clay ball for the center and press into place.
- Shape two green leaves from green clay and attach beside the flower.
- Bake on the parchment-lined sheet for 15 minutes.
- Let cool completely, then stick a magnetic strip to the back.


4. Twist Rope Keychains
Moderate
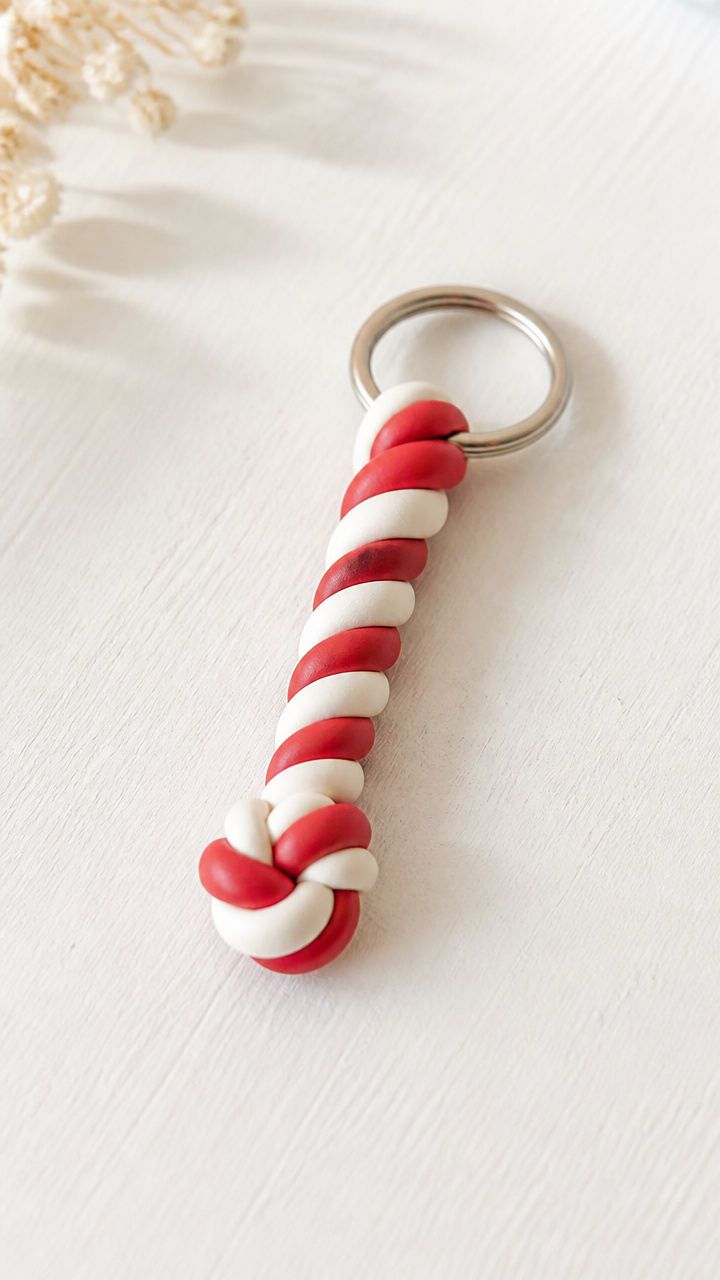
Rope-like strands twisted in red and white spiral around a keyring. This tactile keychain feels satisfying to twist and looks crisp with holiday flair.
Materials Needed
- Red polymer clay (0.75 oz)
- White polymer clay (0.75 oz)
- Metal keyring (1 inch)
- Clay blade
- Oven-safe tray
- Parchment paper
How to Make It
- Roll the red clay into a 6 inch log, 1/4 inch thick.
- Roll the white clay into a same-length log of equal thickness.
- Lay the logs side by side and gently press together at one end.
- Twist them tightly around each other like a candy cane.
- Wrap the twisted rope into a flat coil and press the ends together.
- Slide the keyring between the outer edge and the center before baking.
- Bake on the parchment-lined tray at 275°F for 15 minutes.
- Cool fully before handling.


5. Pressed Lace Heart Ornaments
Moderate
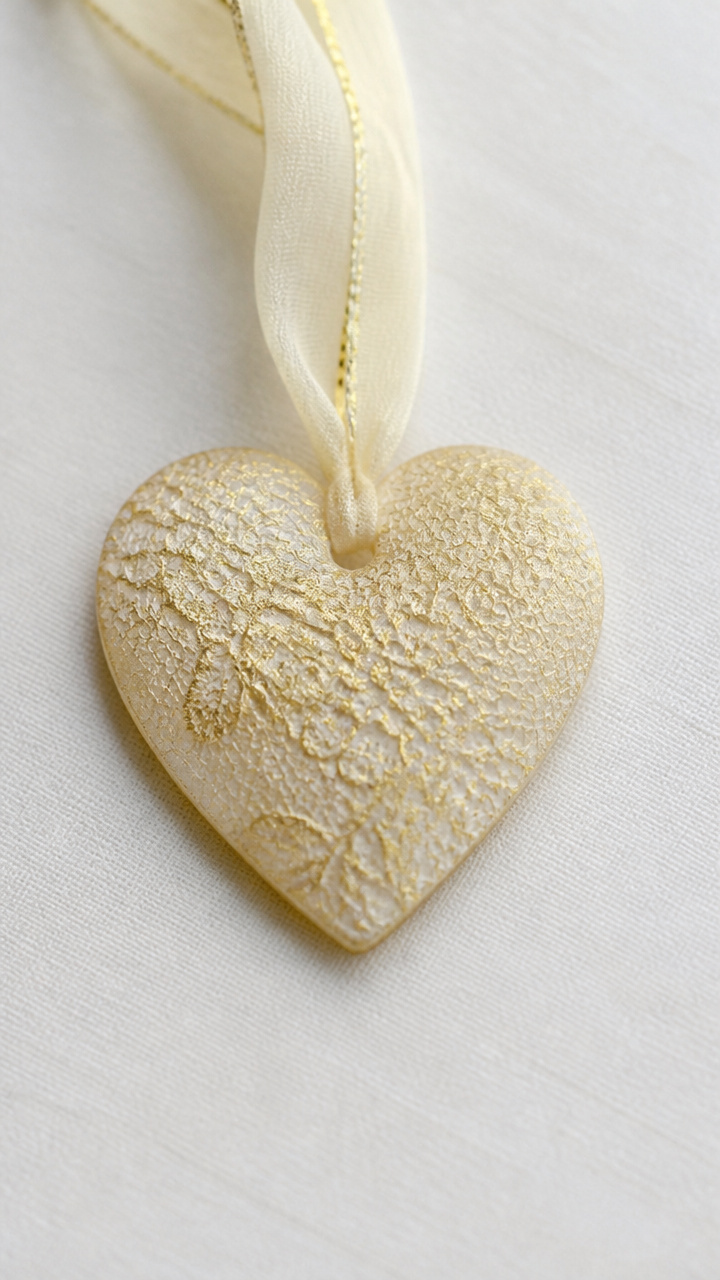
Hearts embossed with lace patterns shimmer with vintage grace. Hang them on a mirror or tree for a hint of romantic texture.
Materials Needed
- Translucent polymer clay (1 oz)
- Lace doily (2 inch diameter)
- Clay roller
- Heart cutter (2 inch)
- Hole punch tool
- Gold mica powder
- Soft brush
- Oven-safe tile
- Parchment paper
How to Make It
- Roll the clay to 1/16 inch thickness on a smooth surface.
- Cut out a heart shape using the cutter.
- Lay the lace doily over the heart and press gently with your palm.
- Carefully lift the lace to reveal the impression.
- Use the hole punch near the top edge for hanging.
- Dust gold mica powder lightly over the textured surface with the brush.
- Wipe excess with a dry fingertip.
- Bake on the parchment-covered tile at 275°F for 10 minutes.
- Cool before stringing with thin gold cord.
6. Cupid Arrow Trinket Dish
Moderate
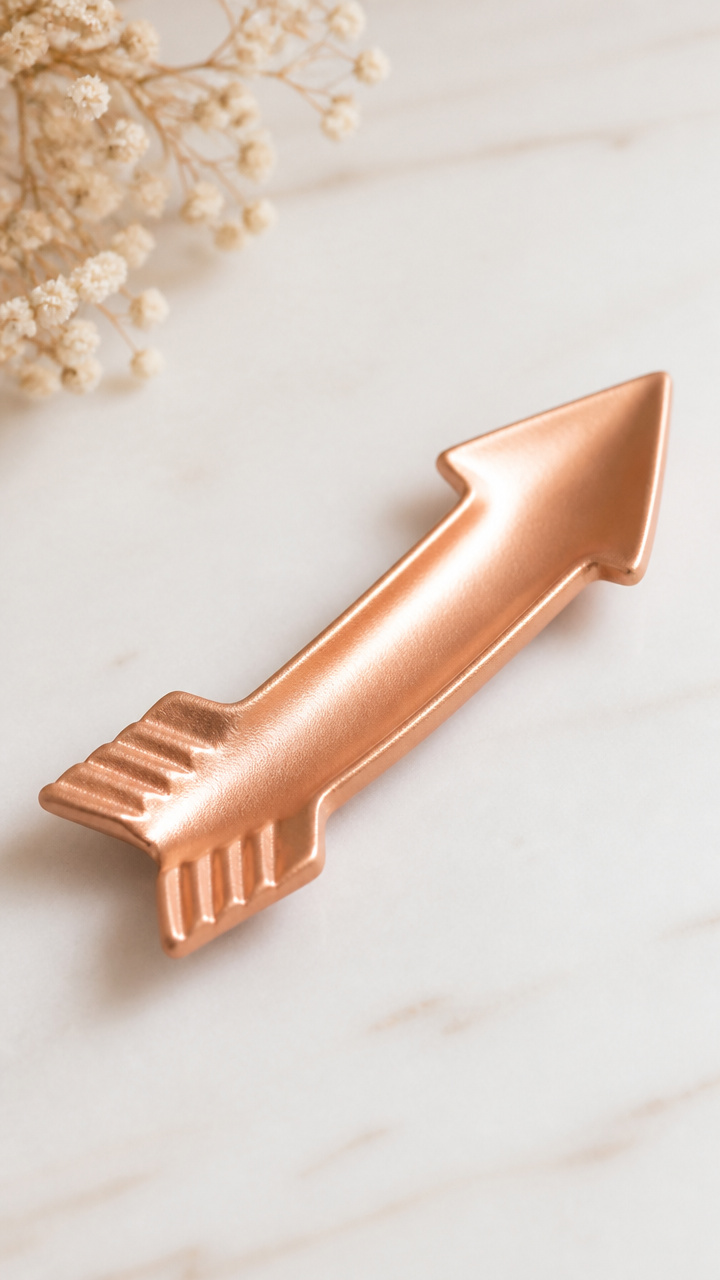
A shallow dish shaped like an arrow holds rings or earrings with playful charm. The curved tip lifts slightly to double as a display stand.
Materials Needed
- Rose gold polymer clay (2 oz)
- Aluminum foil
- Clay sculpting tool
- Tissue blade
- Oven-safe bowl (3 inch rim)
- Parchment paper
How to Make It
- Crumple foil into a tight ball, about the size of a lime.
- Cover the foil with a 1/4 inch layer of clay, pressing smoothly.
- Drape the clay-covered ball over the upside-down bowl lined with parchment.
- Use fingers to shape the back into a tapered arrow shaft.
- Carve feather grooves at the base with the sculpting tool.
- Form a pointed tip at the front using the tissue blade.
- Bake at 275°F for 20 minutes on the bowl setup.
- Let cool completely before removing foil and smoothing inner edges.
7. Layered Rainbow Heart Coasters
Moderate
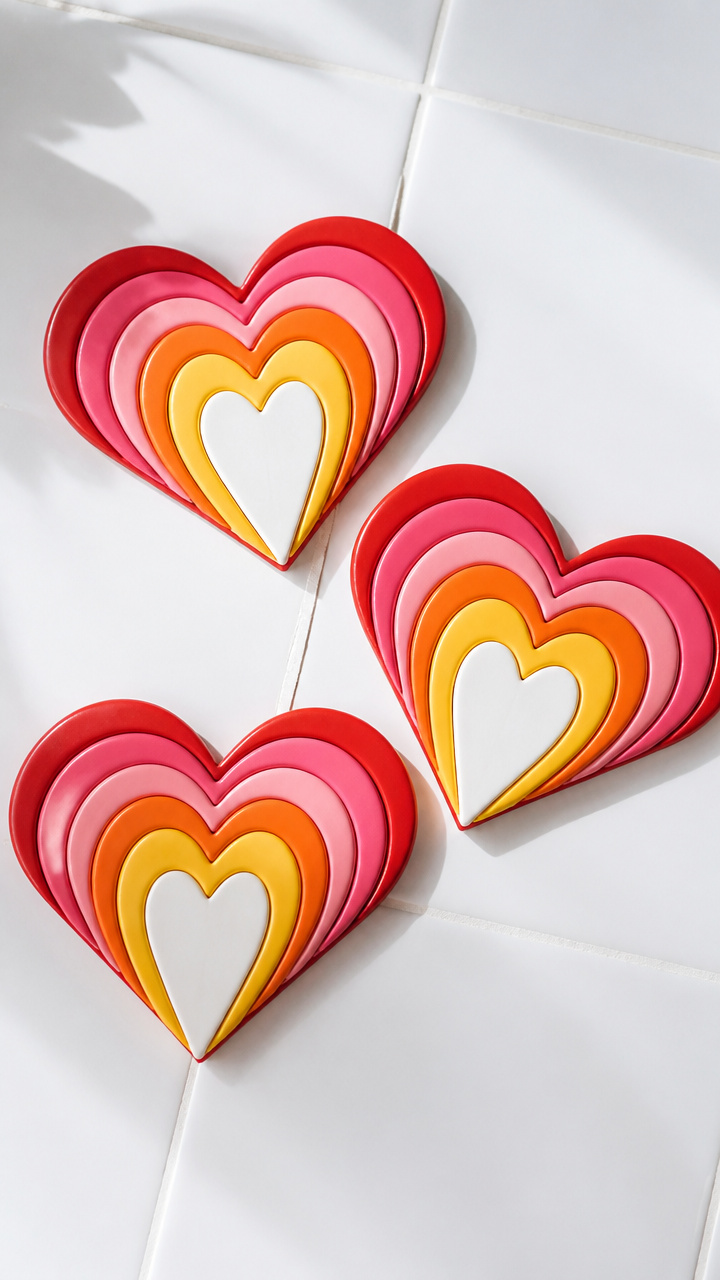
Stacked arcs of bright clay form cheerful rainbow hearts that protect tabletops. Each layer bakes separately for clean color separation.
Materials Needed
- Polymer clay in red, pink, orange, yellow, white (each 0.5 oz)
- Circle cutter (3 inch)
- Clay roller
- Blade scraper
- Oven-safe tile
- Parchment paper
How to Make It
- Roll red clay to 1/8 inch and cut one full circle.
- Roll pink clay and cut a slightly smaller circle, centered on top.
- Repeat with orange, yellow, and white to build a layered bullseye.
- Press layers gently but firmly to bond without sliding.
- Use the blade scraper to trim any uneven edges flush.
- Bake on the parchment-lined tile at 275°F for 15 minutes.
- Cool completely before use.
8. Love Letter Bookmark
Moderate
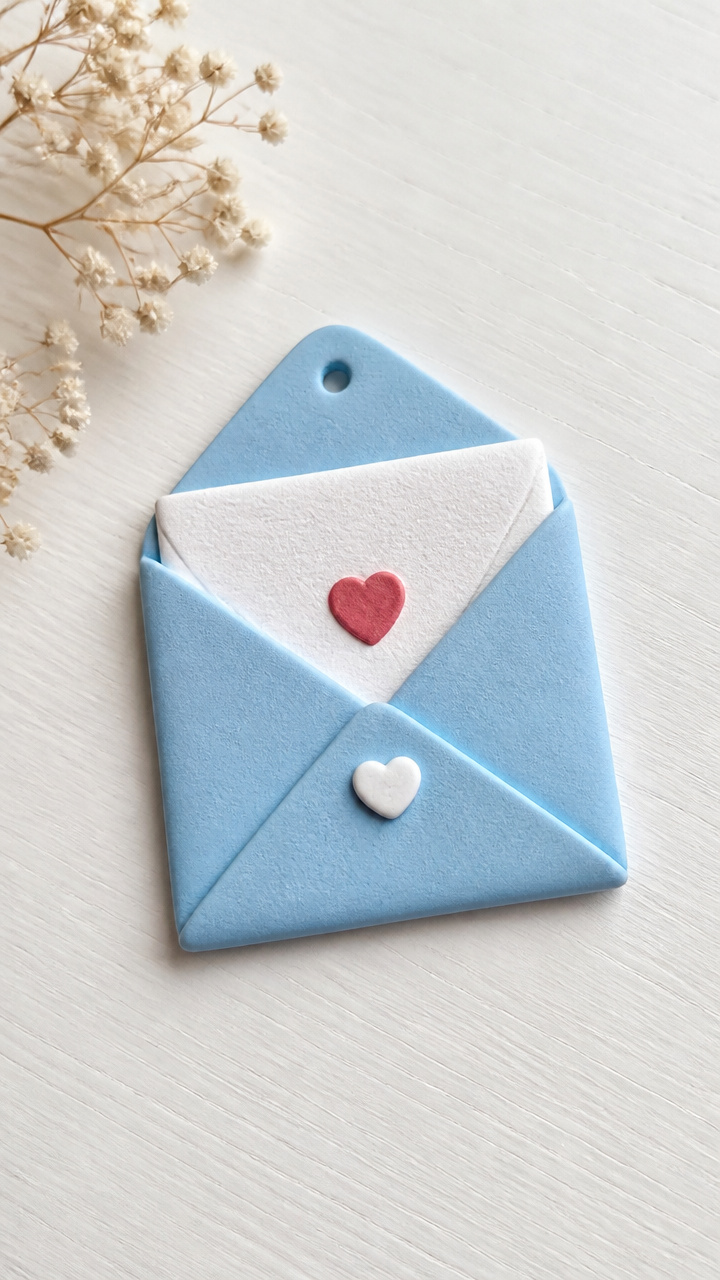
A bookmark shaped like an envelope with a pull-out clay 'letter' adds whimsy to reading time. The tiny note can be stamped with a word like 'love'.
Materials Needed
- Sky blue air-dry clay (1.5 oz)
- White air-dry clay (0.5 oz)
- Envelope template (print on A4 cardstock)
- Pencil
- Craft knife
- White gel pen
- Clear glue
How to Make It
- Trace the envelope shape from the template onto the blue clay.
- Cut it out with the craft knife and score fold lines lightly with the pencil.
- Shape the flap by bending it slightly upward at the crease.
- Roll white clay into a 2×0.5 inch rectangle and stamp 'love' with the gel pen tip.
- Let both pieces dry on a flat surface for 24 hours.
- Write tiny details on the letter with the gel pen.
- Glue the letter inside the envelope, leaving half exposed to pull out.
9. Marbled Clay Ring Dishes
Easy
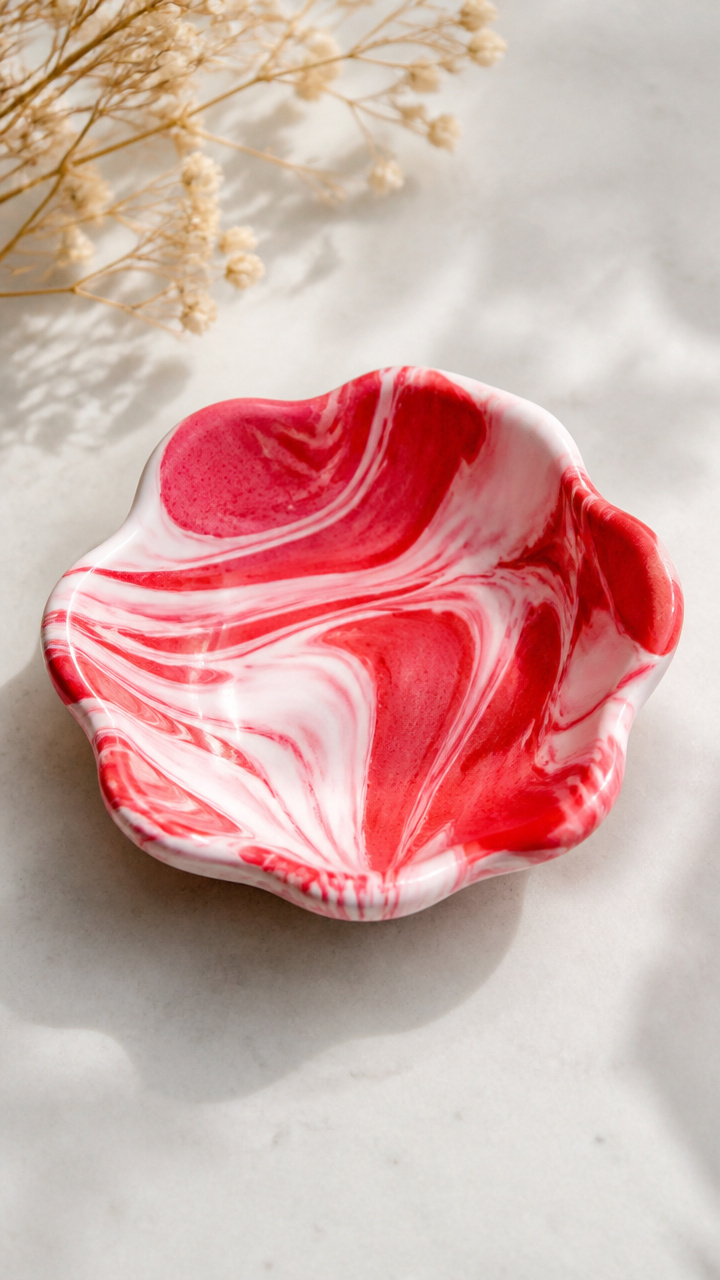
Swirled ribbons of red and white clay form dainty dishes perfect for holding promise rings or earrings. The marbling ensures no two are alike.
Materials Needed
- Red polymer clay (0.75 oz)
- White polymer clay (0.75 oz)
- Small glass jar (1.5 inch opening)
- Clay roller
- Blade
How to Make It
- Knead red and white clays together just until they swirl, not blend.
- Roll the marbled lump into a flat 1/8 inch sheet.
- Drape the sheet over the upside-down jar opening.
- Gently press the clay to conform to the curve.
- Trim excess clay from the edges with the blade.
- Bake at 275°F for 15 minutes.
- Let cool before removing from the jar.
10. Heart-Shaped Name Tags
Easy
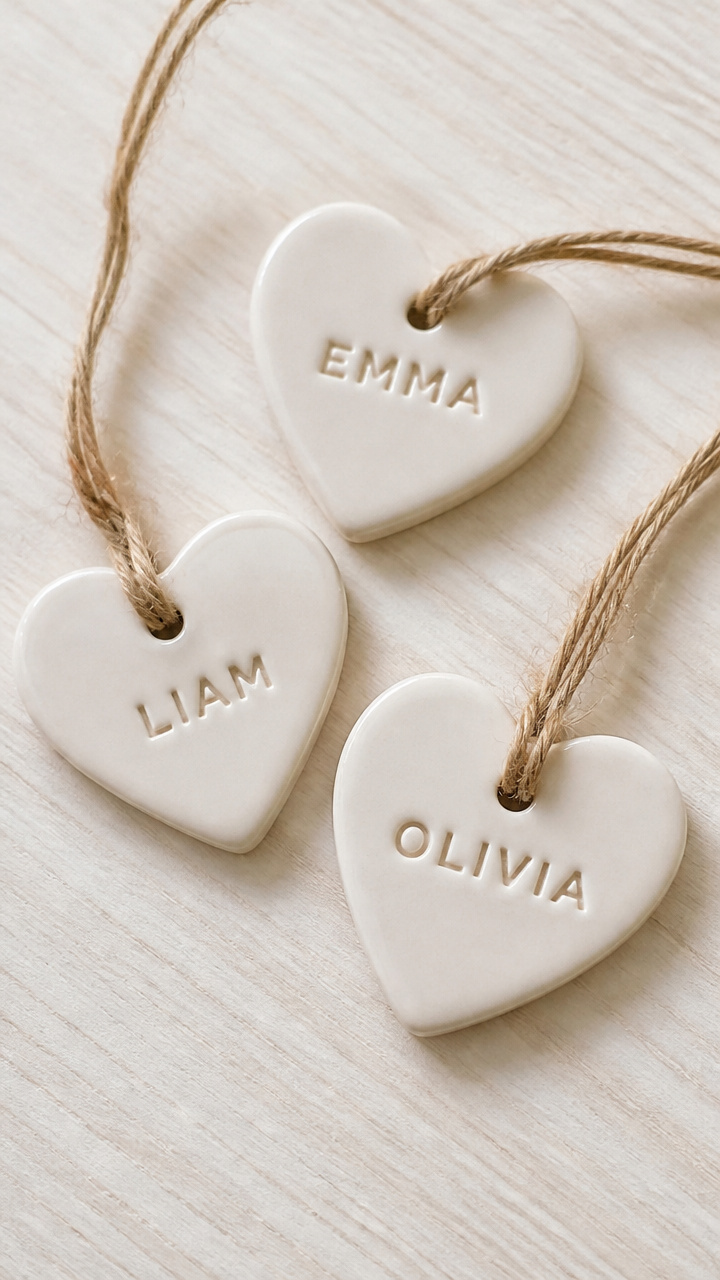
Place setting tags with names carved into soft clay hearts add elegance to a dinner table. Bake them glossy for a polished finish.
Materials Needed
- Ivory air-dry clay (2 oz)
- Heart cutter (2 inch)
- Metal stylus
- Fine brush
- Gloss varnish
- White bakers twine (6 inches per tag)
How to Make It
- Roll clay to 1/8 inch thickness and cut hearts with the cutter.
- Use the stylus to carve a name neatly into each heart.
- Poke a small hole at the top with the stylus tip.
- Let dry on a flat tray for 24 hours.
- Brush both sides with gloss varnish and dry for 1 hour.
- Thread twine through the hole for hanging.
11. Mini Clay Candy Boxes
Advanced
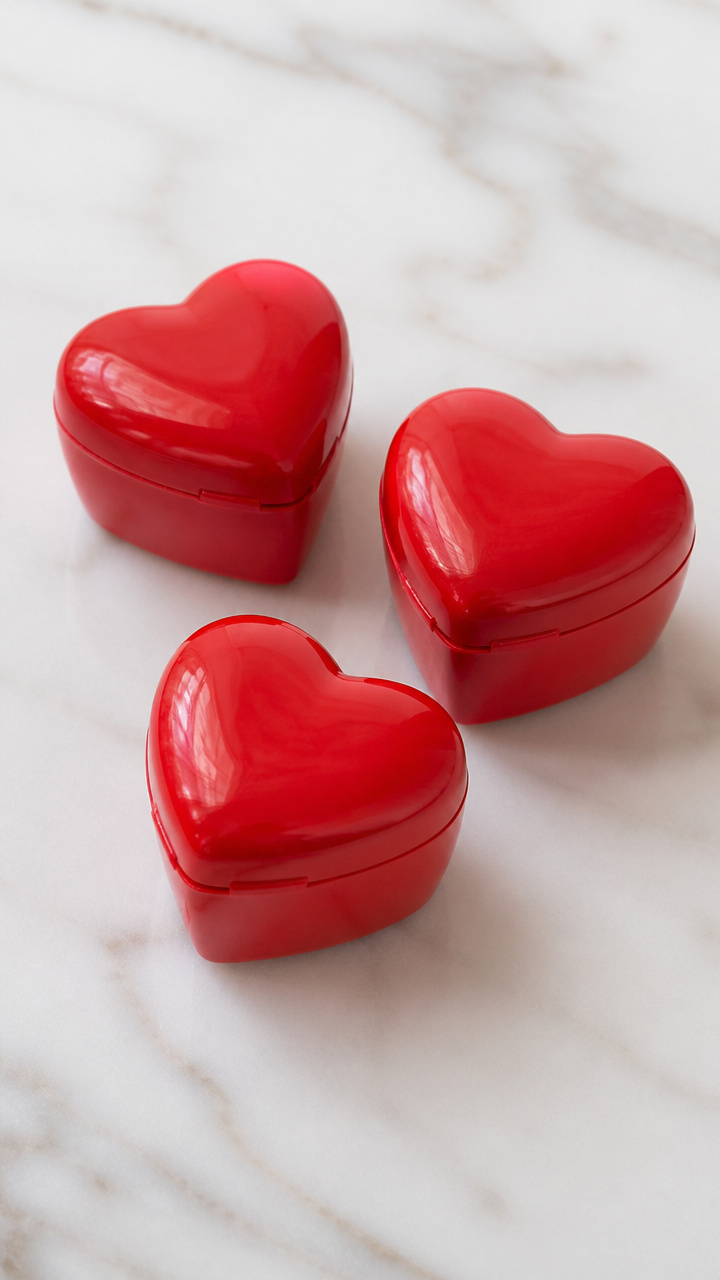
Tiny hinged boxes shaped like hearts open to hold real chocolates or trinkets. The working hinge is formed from a single piece of clay.
Materials Needed
- Red polymer clay (1.5 oz)
- Clay roller
- Heart-shaped mold (2.5 inch)
- Scoring tool
- Damp sponge
- Oven-safe tile
How to Make It
- Roll clay to 1/8 inch thickness and press into the mold for the base.
- Press another sheet into the mold for the lid, leaving the top flat.
- Score a thin line halfway up the back edge of the base for the hinge.
- Score the bottom edge of the lid in the same spot.
- Join the two scored edges with a damp sponge to fuse them.
- Smooth the seam gently without flattening the hinge.
- Bake at 275°F for 20 minutes on the tile.
- Cool completely before testing the hinge motion.
12. Clay Button Love Garland
Easy
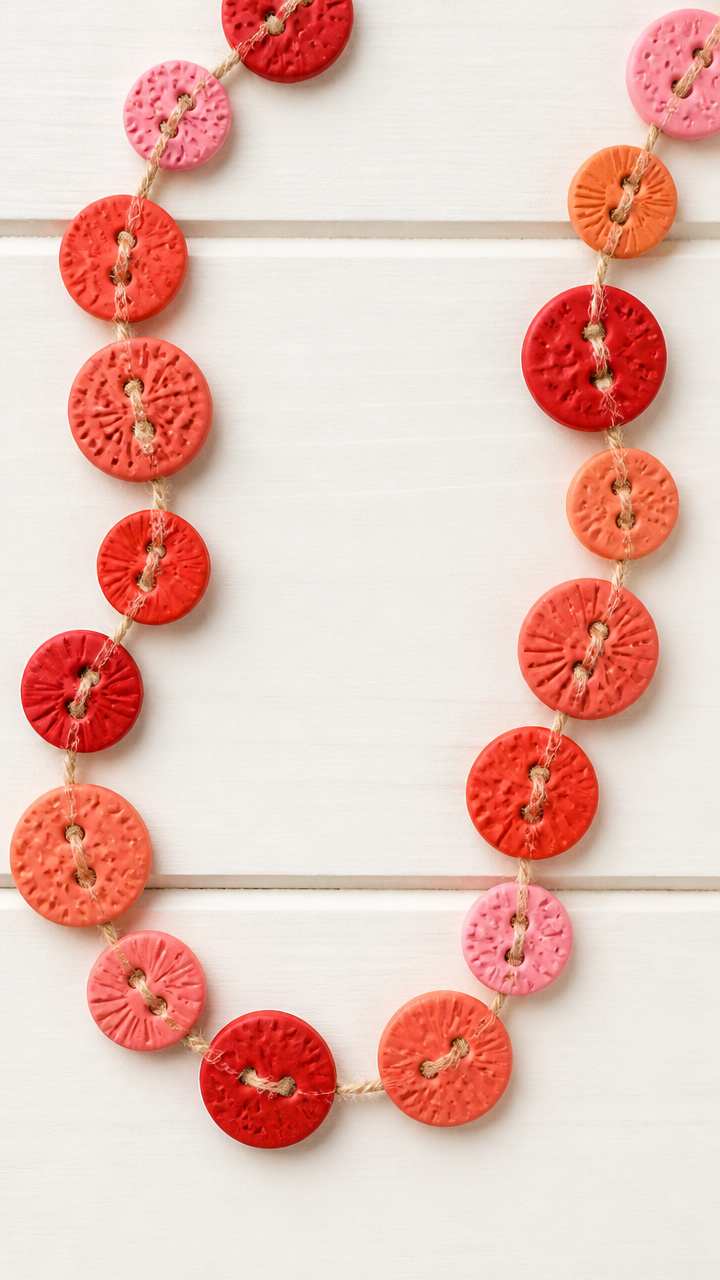
Handmade buttons strung on twine flutter like confetti above a mantel. Each one features a different texture, from dots to dashes to tiny stars.
Materials Needed
- Assorted polymer clay colors (red, blush, coral, each 0.5 oz)
- Straw (1/4 inch diameter)
- Clay roller
- Circle cutter (1 inch)
- Toothpick
- White acrylic paint
- Small brush
- Natural jute twine (3 feet)
How to Make It
- Roll each clay color to 1/8 inch and cut three circles per color.
- Use the straw to poke two holes near the top edge of each button.
- Press textures with the toothpick: dots, lines, stars.
- Bake at 275°F for 15 minutes.
- Once cool, paint tiny highlights in white using the brush.
- Let paint dry for 30 minutes.
- String buttons evenly on the jute twine and knot between each.
13. Floating Frame Heart Decor
Moderate
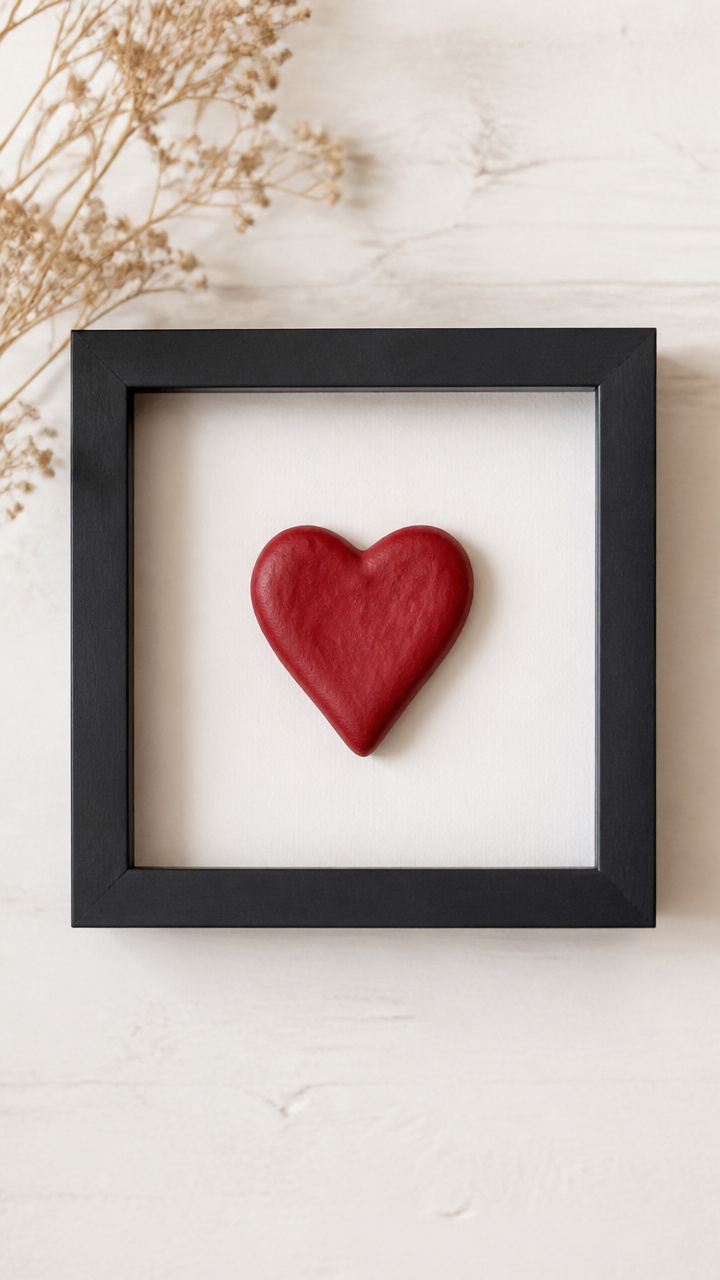
A deep clay heart sits inside a handmade frame, appearing to float against a painted backdrop. It’s a small wall piece with big presence.
Materials Needed
- Crimson polymer clay (1 oz)
- White A4 cardstock
- Matte black poster paint
- Foam brush
- Heart mold (3 inch)
- Clear drying glue
- Oven-safe tray
- Parchment paper
How to Make It
- Press crimson clay into the mold and bake at 275°F for 15 minutes on parchment.
- Paint the cardstock with black poster paint using the foam brush.
- Let the paint dry completely for 2 hours.
- Cut the cardstock to 5×5 inches.
- Glue the baked heart centered on the black square.
- Allow glue to dry for 1 hour before display.
14. Sugar Cookie Clay Charms
Moderate
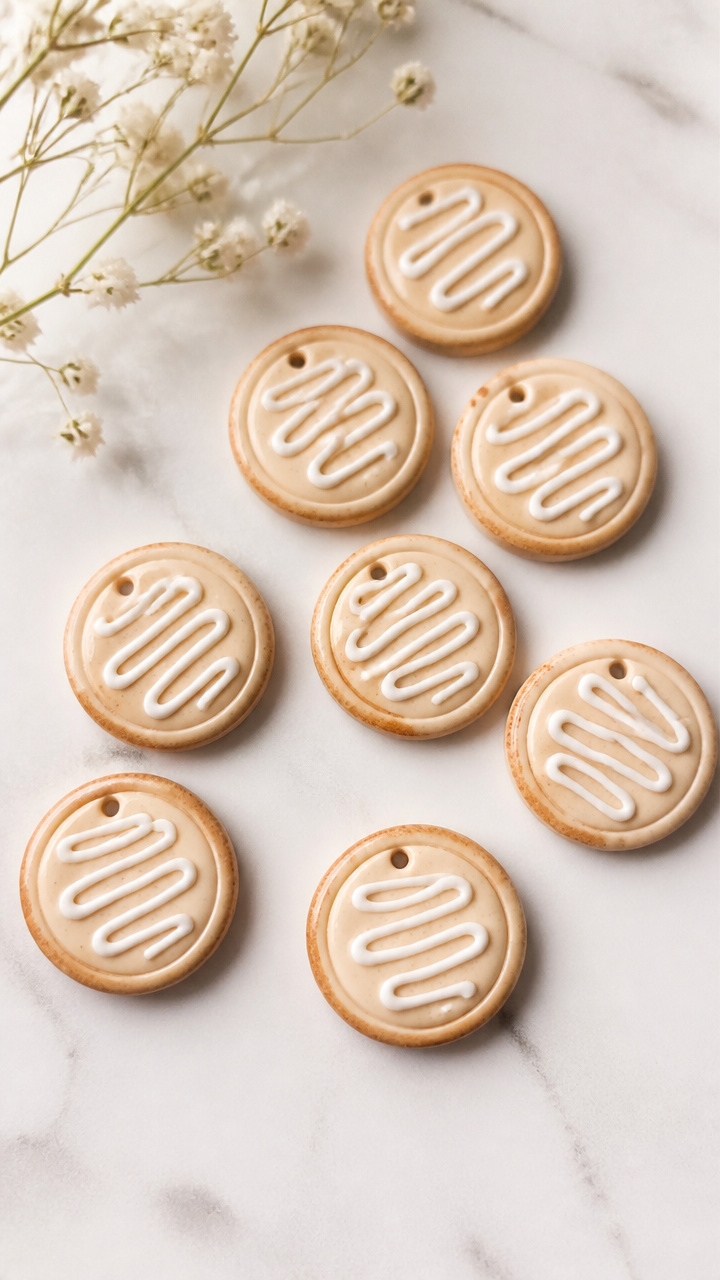
Round clay charms mimicking frosted cookies come with piped icing details. Attach them to bags or cards for edible-looking favors.
Materials Needed
- Vanilla cream polymer clay (0.5 oz)
- Brown polymer clay (0.25 oz)
- Clay roller
- Circle cutter (1 inch)
- White puff paint
- Toothpick
- Jewelry finding (silver jump ring)
- Oven-safe tile
How to Make It
- Roll vanilla clay to 1/8 inch and cut one circle.
- Roll brown clay into tiny chips and press randomly on the surface.
- Bake at 275°F for 10 minutes on the tile.
- Cool completely.
- Squeeze fine lines of white puff paint around the edge to look like frosting.
- Let puff paint dry for 2 hours.
- Attach a jump ring through a small hole at the top.
15. Clay Candle Ring Accents
Advanced
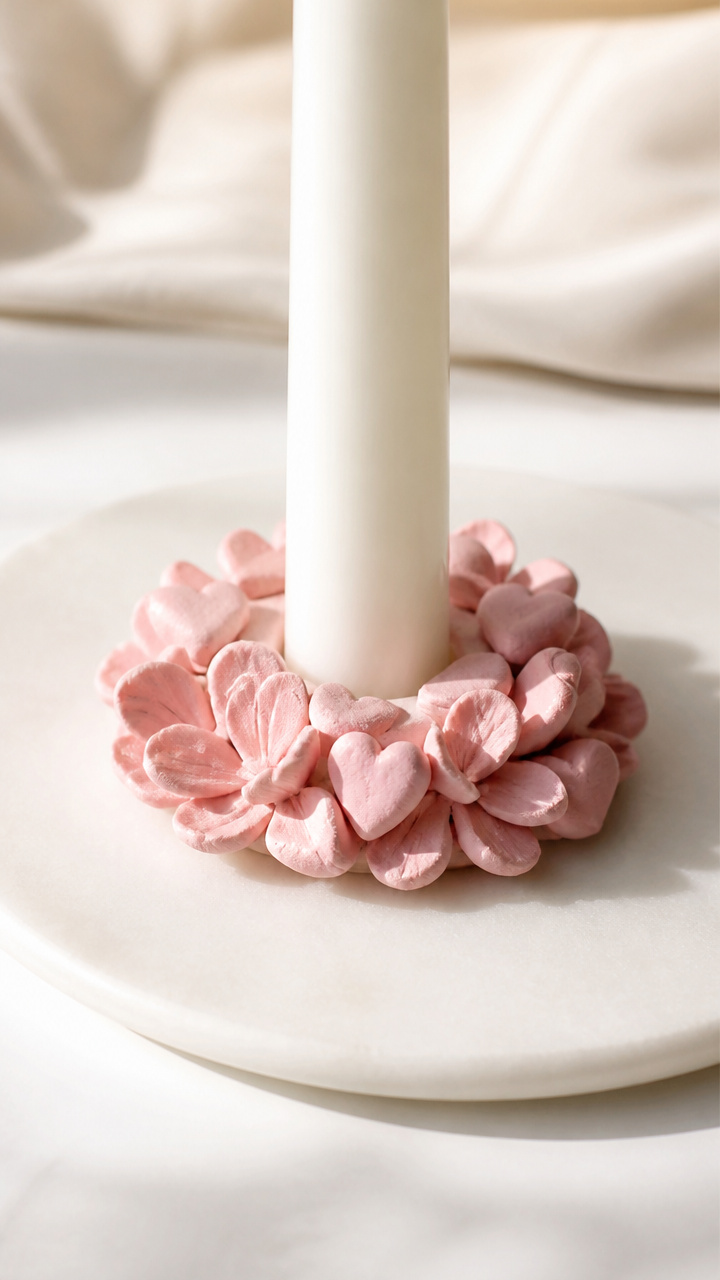
Petals and hearts encircle a taper candle base, transforming light into a soft celebration. The clay stays cool while the candle burns safely above.
Materials Needed
- Pale pink polymer clay (2 oz)
- Taper candle (3/4 inch diameter, 10 inches tall)
- Clay roller
- Leaf-shaped plunger cutter
- Water-based lubricant
- Oven-safe glass jar (same diameter as candle)
- Parchment paper
How to Make It
- Roll clay to 1/8 inch thickness and cut ten leaf shapes.
- Bend each leaf slightly for dimension using your finger.
- Coat the candle lightly with water-based lube to prevent sticking.
- Wrap the candle with parchment, then place inside the glass jar.
- Arrange leaves around the jar, pressing bases to overlap slightly.
- Add three small clay hearts among the leaves.
- Bake at 275°F for 15 minutes with candle in place.
- Let cool, then remove jar and candle carefully.


You’ve got everything you need to start crafting heartfelt gifts today. Grab your clay, pick a project, and let your hands do the loving.