18 Free Printable Winter Crafts for Kids and Adults

Snowflakes drift past the window, mittens dry by the heater, and there’s that quiet hush only winter brings. It’s the perfect moment to gather paper, glue, and glitter and make something cozy with your hands.
These printable crafts blend simplicity with charm, using materials you likely have or can find easily. Each one delivers a finished piece you’ll want to display, gift, or use throughout the season.
1. Frosted Pinecone Garland
Easy
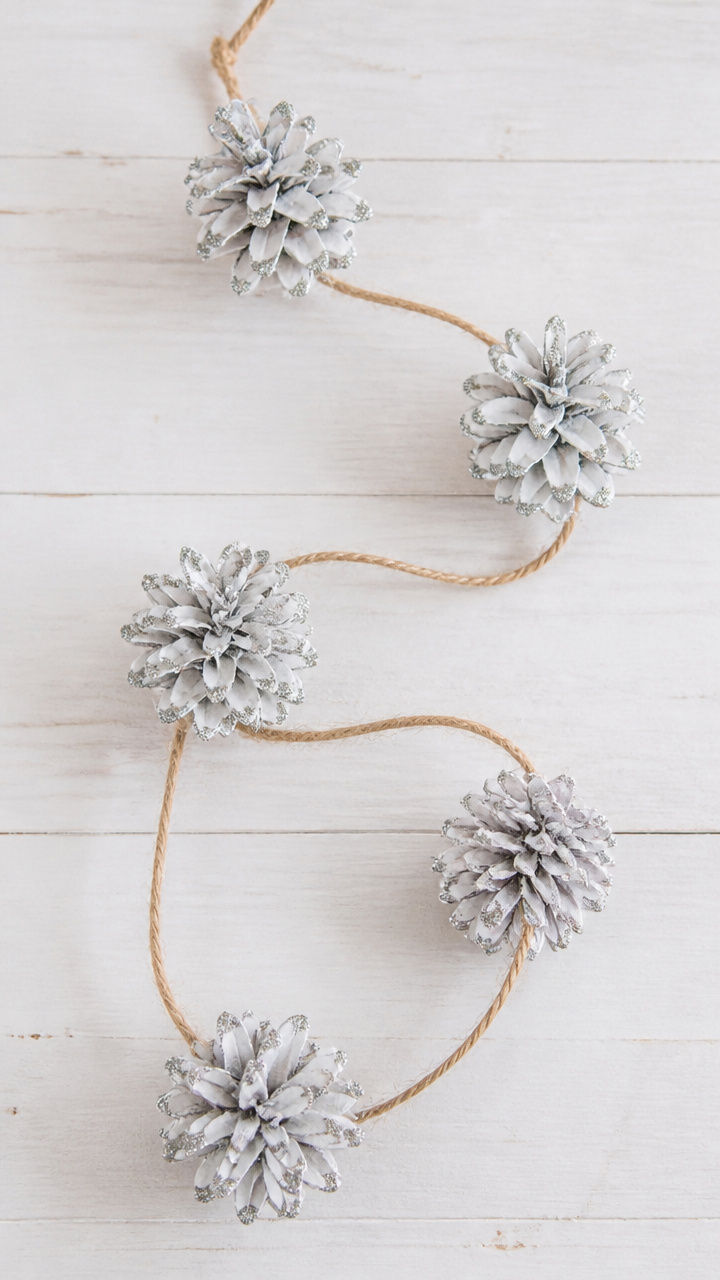
A string of shimmering pinecones catches the light like frost on branches, perfect for mantels or stair railings. This garland adds subtle winter sparkle without overwhelming your space.
Materials Needed
- 6 medium-sized pinecones
- White acrylic paint
- Silver glitter glue
- 2 yards jute twine
- Small paintbrush
- Scissors
How to Make It
- Cut the jute twine into six 12-inch lengths. Set aside.
- Use the paintbrush to lightly coat each pinecone with white acrylic paint, focusing on the tips of the scales.
- While the paint is still wet, drizzle silver glitter glue over the painted areas and let dry for 30 minutes.
- Tie one end of each twine piece securely around the base of a pinecone.
- Arrange the pinecones in a line by tying the loose ends of the twine to a longer strand of jute at even intervals.
2. Printable Snow Globe Cards
Easy
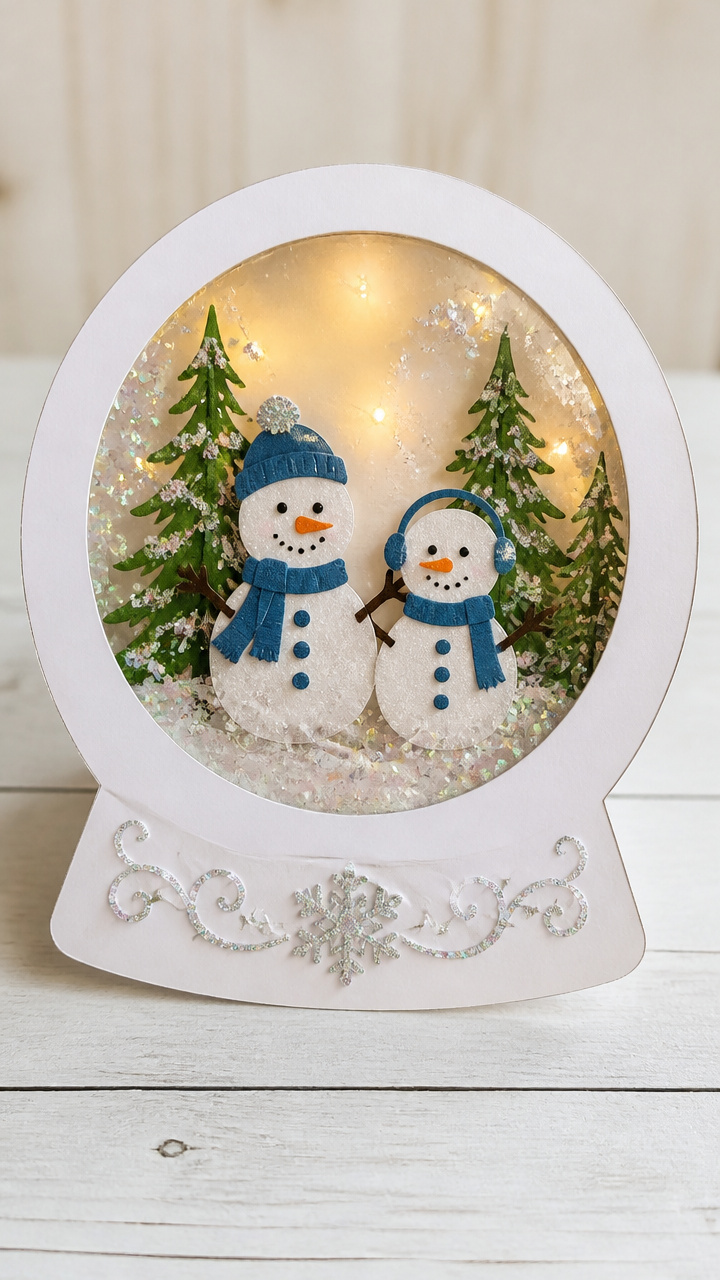
Peek inside a circular window to see tiny snowmen and evergreens dusted with faux snow. These handmade cards feel magical when held up to the light.
Materials Needed
- A4 white cardstock
- Clear self-adhesive vinyl sheets (8.5 x 11 inches)
- Blue and white craft foam
- Glitter glue
- Scissors
- Pencil
- Ruler
How to Make It
- Fold A4 cardstock in half to create a 5.5 x 8.5 inch card. Crease well.
- Use the pencil and ruler to mark a 2-inch diameter circle centered on the front panel.
- Carefully cut out the circle with scissors.
- Cut a 3-inch square from clear vinyl and stick it over the back of the circle to form a sealed window.
- Cut small shapes from blue and white foam: trees, snowmen, hills. Glue them inside the card behind the window.
- Add dots of glitter glue around the scene to simulate falling snow. Let dry completely.


3. Mitten String Art
Moderate
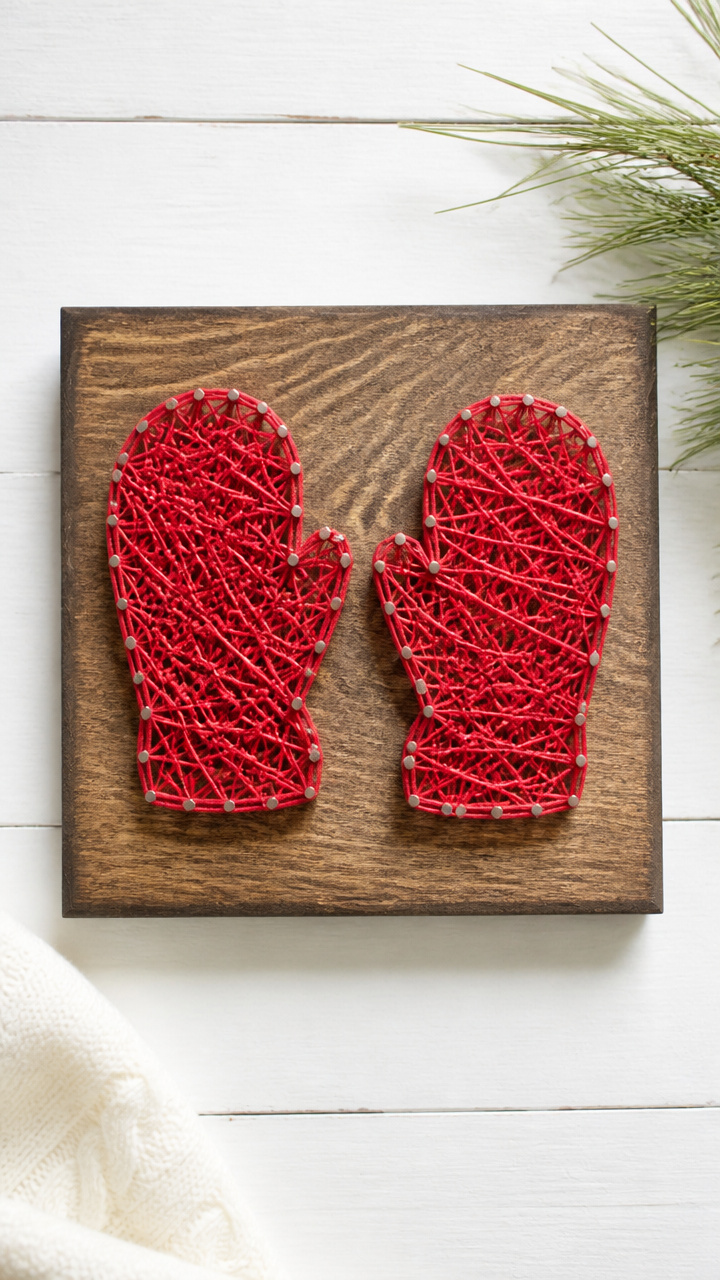
Tiny wooden mitten outlines glow with crisscrossed embroidery thread, casting soft shadow patterns on the wall. This project blends folk art charm with modern minimalism.
Materials Needed
- 2 unfinished wood mitten cutouts (4 inches tall)
- Embossing hammer
- Fine-point awl
- Red embroidery floss
- Small nails (1/4 inch, 10 per mitten)
- Wood block backing (6 x 6 inches)
- Hot glue gun and glue sticks
How to Make It
- Position each mitten cutout on the wood block and secure with a dab of hot glue at the base.
- Use the embossing hammer to gently tap along the outer edge of each mitten, creating a raised outline.
- With the awl, poke evenly spaced holes about 1/2 inch apart around the mitten’s perimeter.
- Hammer one small nail into each hole until snug.
- Tie one end of red embroidery floss to a bottom nail. Wrap the thread diagonally across to the opposite side, looping around each nail to create a dense web pattern.
- Trim and knot the floss securely at the end.


4. Paper Quilled Snowflake Ornaments
Moderate
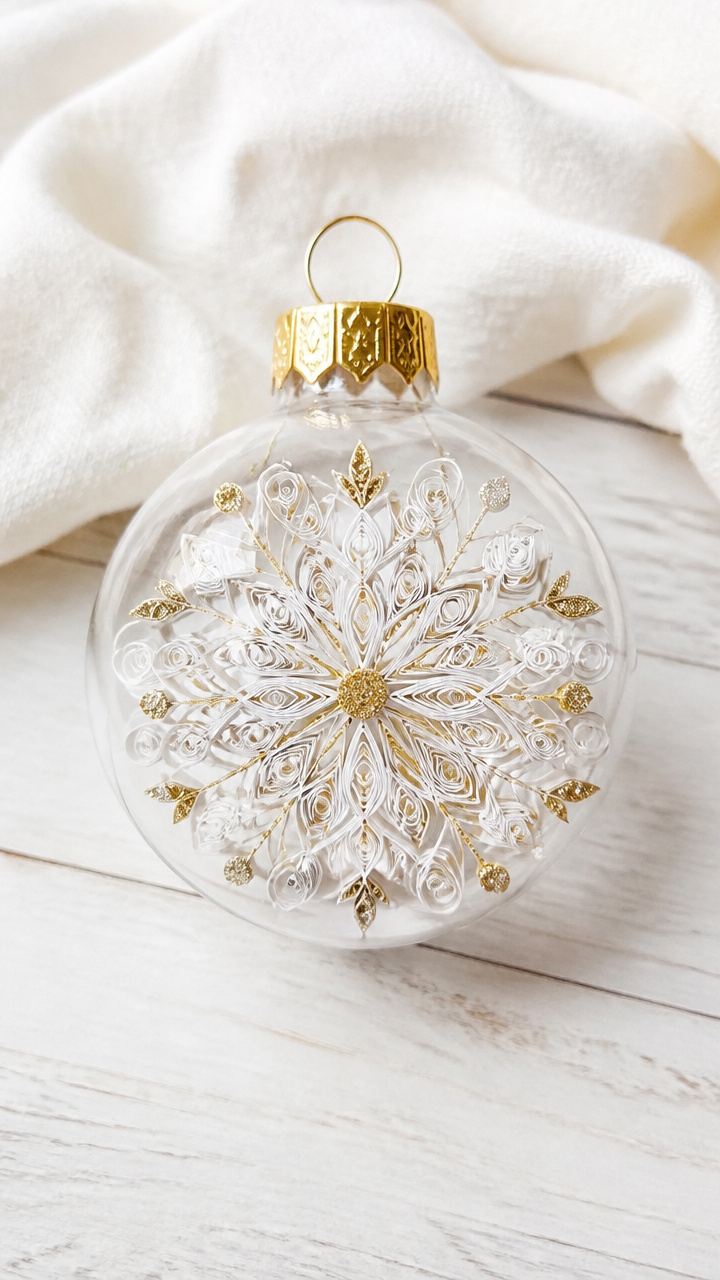
Delicate spirals of rolled paper form intricate snowflakes that catch winter light like real ice crystals. These ornaments look complex but start with simple strips.
Materials Needed
- White quilling paper strips (1/8 inch wide, 12 inches long, 6 per ornament)
- Quilling tool
- White craft glue
- Clear plastic ornament shells (2.5 inch diameter, halves)
- Tweezers
- Gold metallic pen
How to Make It
- Wrap one paper strip around the quilling tool and slide it off gently to form a loose coil. Pinch one end to create a teardrop shape.
- Repeat to make five more teardrops. Arrange them in a starburst pattern with pointed ends meeting at the center.
- Glue the tips together where they meet. Let dry for 10 minutes.
- Apply a thin line of glue along each petal’s inner curve and press them slightly inward to curl.
- Use tweezers to place the snowflake inside a plastic ornament half. Seal with the other half.
- Draw fine gold lines along the edges of the petals with the metallic pen for subtle shine.


5. Reindeer Gift Tags
Easy
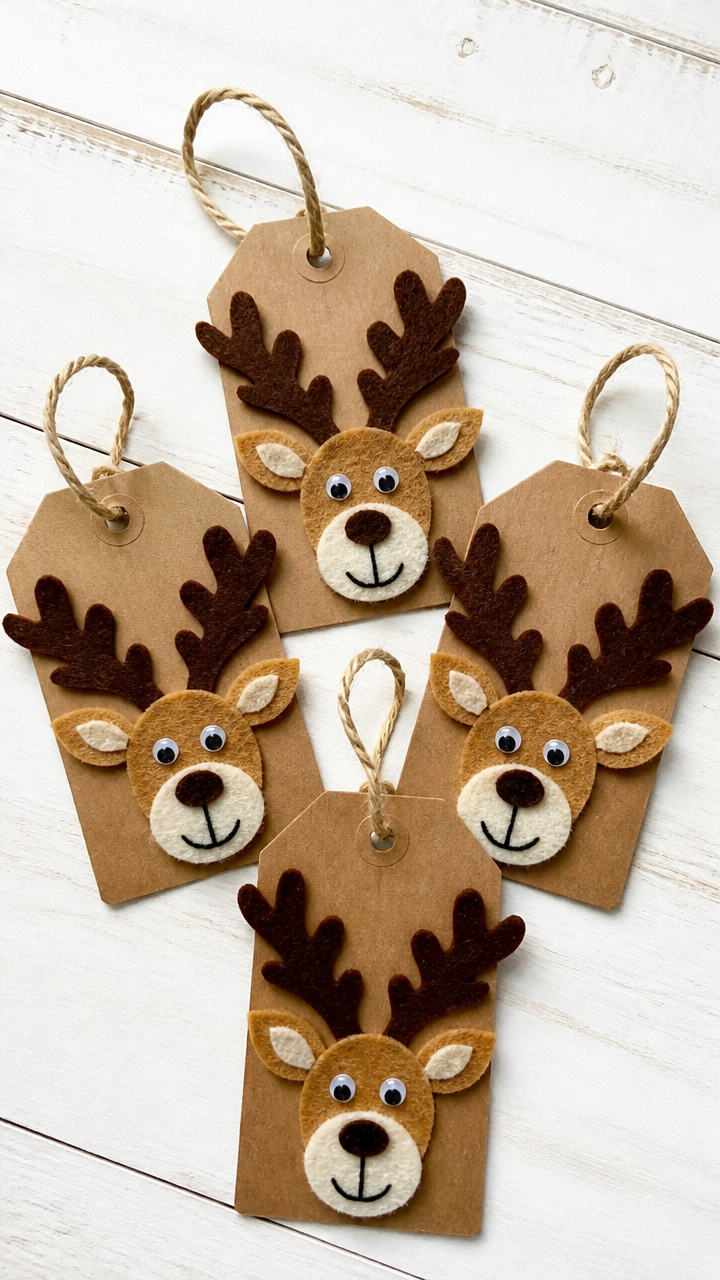
Whimsical reindeer faces with velvet antlers peek out from packages tied with twine. These tags turn any gift into a festive surprise.
Materials Needed
- A4 kraft cardstock
- Black inkjet printer
- Brown felt sheet (9 x 12 inches)
- Googly eyes (6 mm, 2 per tag)
- Brown embroidery floss
- Craft glue
- Hole punch
How to Make It
- Print reindeer face templates onto kraft cardstock and cut out each tag (2.5 x 3.5 inches).
- Cut eight 1-inch antler shapes from brown felt. Pair them into four sets.
- Glue a pair of googly eyes near the top of each tag.
- Glue one set of antlers just above the eyes, curving slightly outward.
- Thread a 6-inch length of embroidery floss through the hole punch at the top of each tag.
- Let glue dry fully before attaching to gifts.


6. Ice Lantern Luminaries
Easy
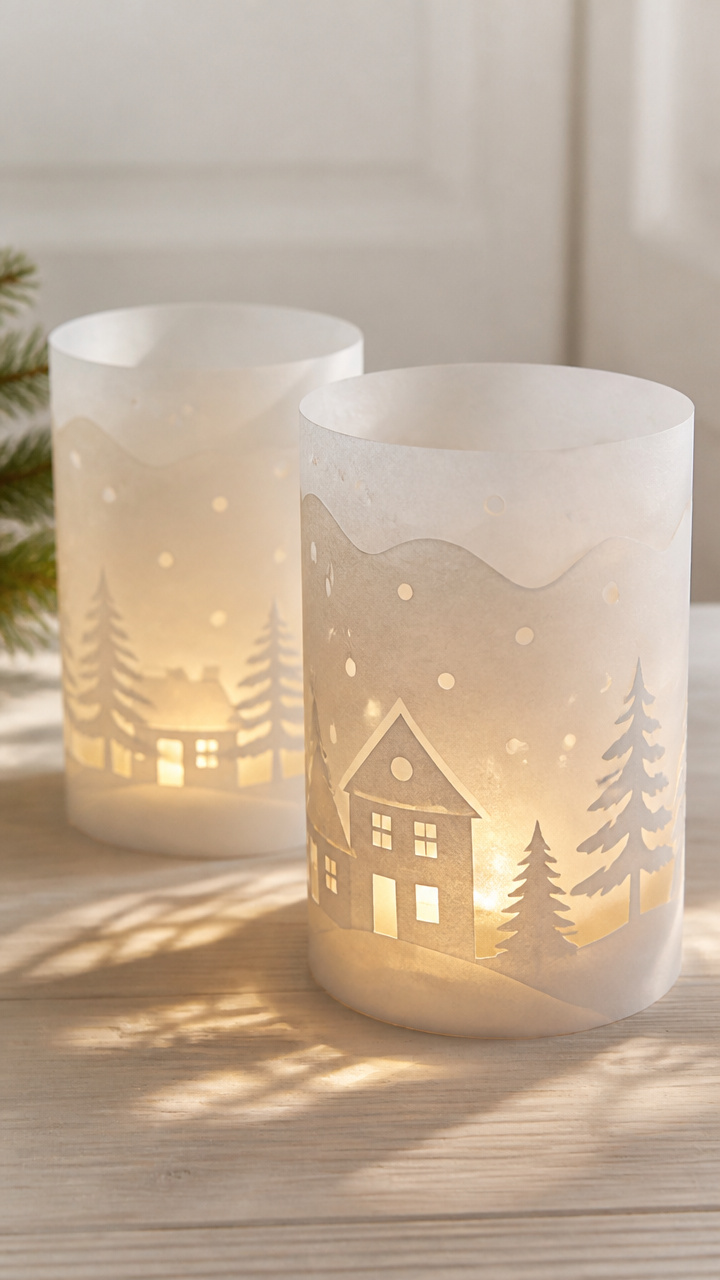
Translucent paper sleeves wrap around tea lights, projecting snowy scenes across walls and tabletops. The flickering glow feels like a quiet forest at dusk.
Materials Needed
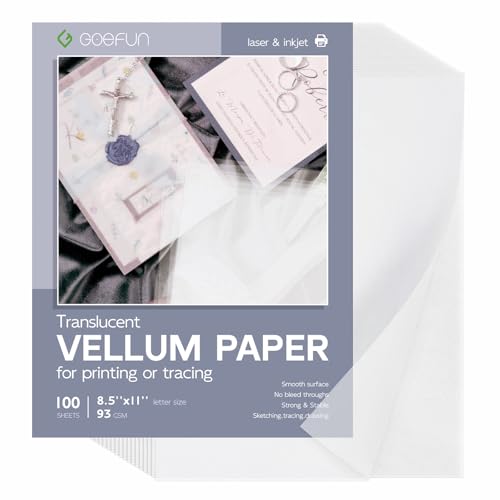
- Vellum paper (8.5 x 11 inches, 2 sheets)
- Tealight candles (battery-operated, 4)
- Double-sided tape
- Printable lantern sleeve template
- Scissors
- Pencil
How to Make It
- Print the lantern sleeve template onto vellum paper. Ensure the image fits within a 3.5 x 7 inch rectangle.
- Cut out the rectangle carefully with scissors.
- Roll the paper into a cylinder and secure the edge with a strip of double-sided tape.
- Place one battery-operated tealight inside each cylinder.
- Turn on the lights and group them on a tray or windowsill for ambient glow.

7. Button Snowman Wreath
Moderate

A ring of mismatched buttons forms cheerful snowmen with twig arms and fabric scarves. Hang this wreath on a door and bring instant warmth.
Materials Needed
- 12-inch grapevine wreath base
- Assorted white and black buttons (20 large, 30 small)
- Orange pipe cleaners (6 inches, 10 pieces)
- Fabric scraps (red, green, 2 x 3 inches each)
- Hot glue gun and glue sticks
- Twig pieces (3 inches long, 20)
How to Make It
- Cut fabric scraps into 1/2-inch wide strips to make miniature scarves.
- Break orange pipe cleaners into 1-inch segments for carrot noses.
- Glue two large white buttons vertically onto the wreath to form a snowman body. Add a smaller button on top for the head.
- Glue a short twig on each side of the middle button for arms.
- Attach a fabric scarf around the neck area with a dab of glue.
- Press an orange segment into the center of the top button for the nose. Repeat to fill the wreath with 5 snowmen.


8. Origami Paper Mittens
Moderate

Crisp folds of patterned scrapbook paper form tiny mittens strung into a cheery bunting. This garland flutters gently near a drafty window.
Materials Needed
- 6 sheets of 6×6 inch patterned scrapbook paper
- Bone folder
- Ruler
- Hole punch
- Embroidery floss (1 yard)
- Pencil
How to Make It
- Fold one sheet diagonally to form a triangle. Crease sharply with the bone folder.
- Fold the bottom left corner up to meet the top point. Repeat with the right corner.
- Flip the shape over. Fold the bottom tip up about 1 inch to form the cuff.
- Use the bone folder to sharpen all creases. Unfold slightly to give dimension.
- Repeat with remaining sheets. Punch a hole at the top of each mitten.
- String the mittens onto embroidery floss, spacing them 3 inches apart.


9. Cardboard Tube Penguins
Easy
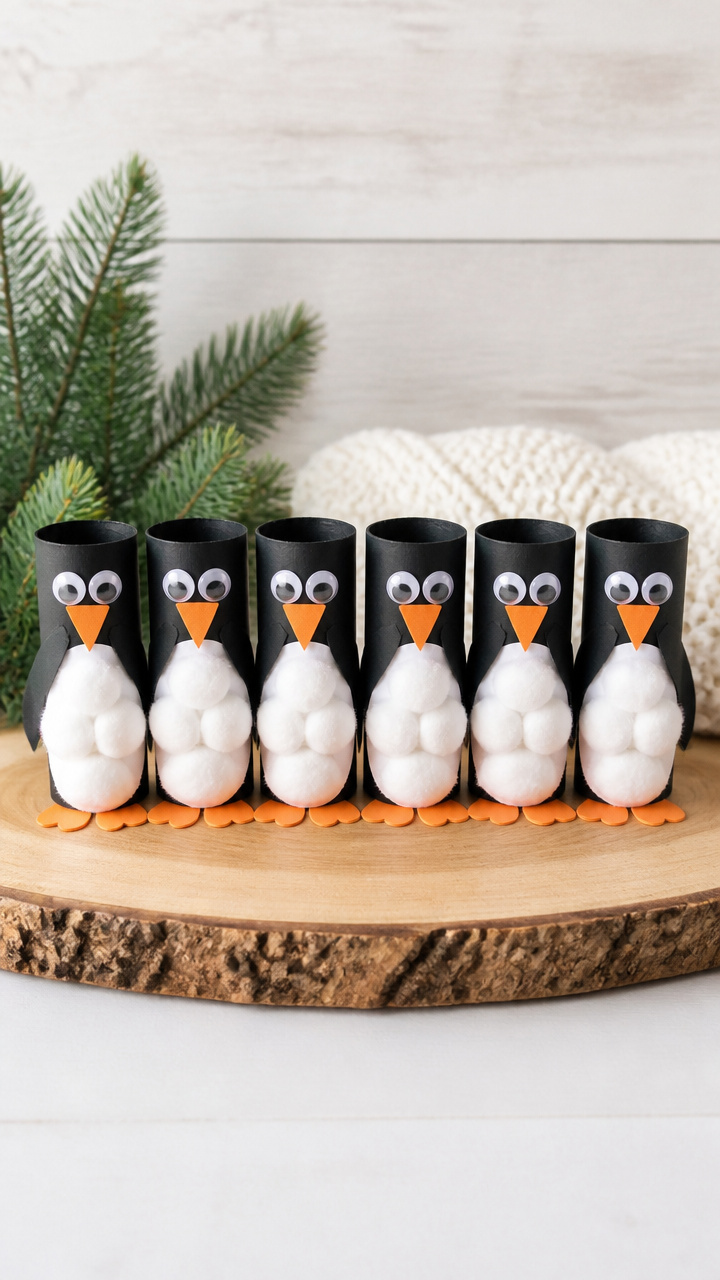
Toilet paper rolls become waddling penguins with glossy eyes and fluffy cotton bellies. Line them up on a shelf for a family of winter friends.
Materials Needed
- 6 empty toilet paper tubes
- Black and white construction paper
- Googly eyes (15 mm, 2 per penguin)
- Orange craft foam
- Cotton balls
- Craft glue
- Scissors
How to Make It
- Cut black construction paper into oval shapes to cover the front half of each tube. Glue in place.
- Cut white ovals slightly smaller and glue to the back half for the belly.
- Glue two googly eyes near the top of each tube.
- Cut small triangle beaks from orange foam and glue below the eyes.
- Flatten cotton balls and layer across the lower front of each tube for texture.
- Let dry for 20 minutes before displaying.


10. Winter Tree Wall Art
Easy
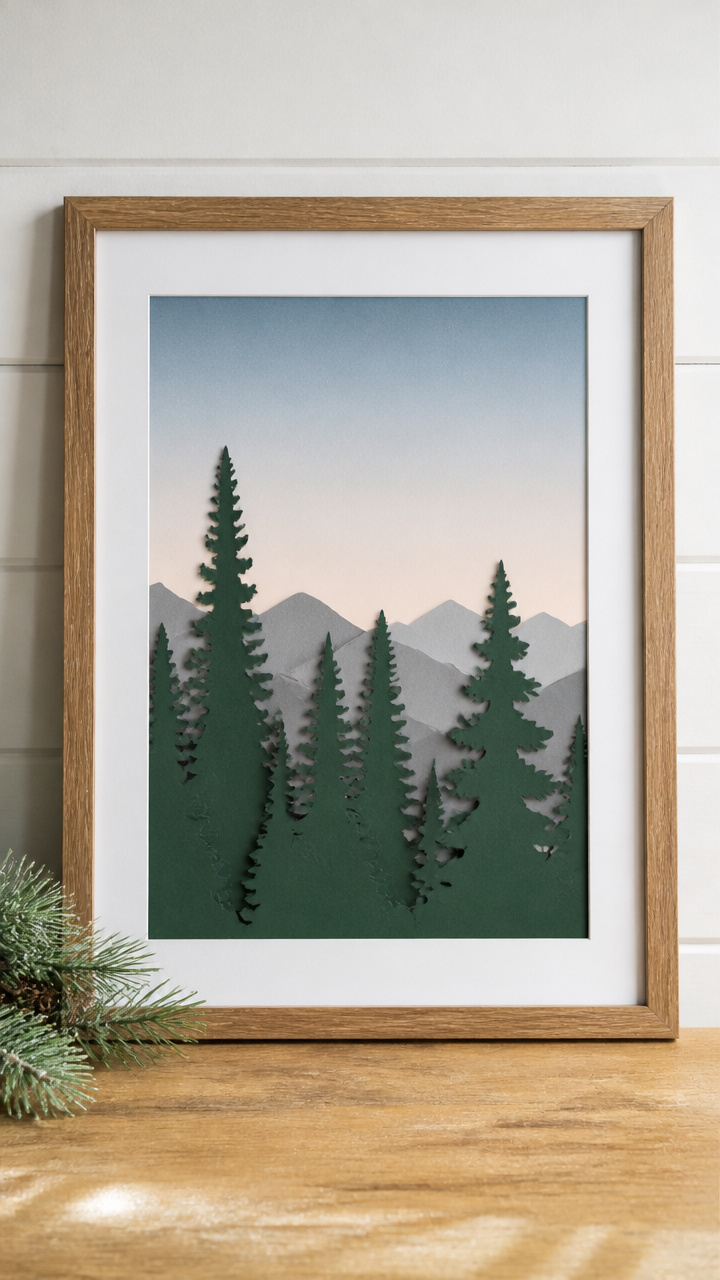
Silhouetted evergreens stand against a gradient sky printed on heavyweight paper. This framed piece brings calm woodland energy indoors.
Materials Needed
- A3 gray cardstock
- Printable tree silhouette template
- Dark green acrylic paint
- Foam brush (1 inch)
- Frame (11 x 14 inches)
- Painter’s tape
How to Make It
- Tape the A3 cardstock inside the frame to keep edges clean.
- Print the tree silhouette onto transfer paper and position it on the cardstock.
- Burnish firmly over the back with a spoon to transfer the outline.
- Remove the transfer paper. Use the foam brush to fill in the tree shapes with dark green paint.
- Let dry for 25 minutes. Insert into the frame and hang.
11. Yarn-Wrapped Snowflakes
Moderate
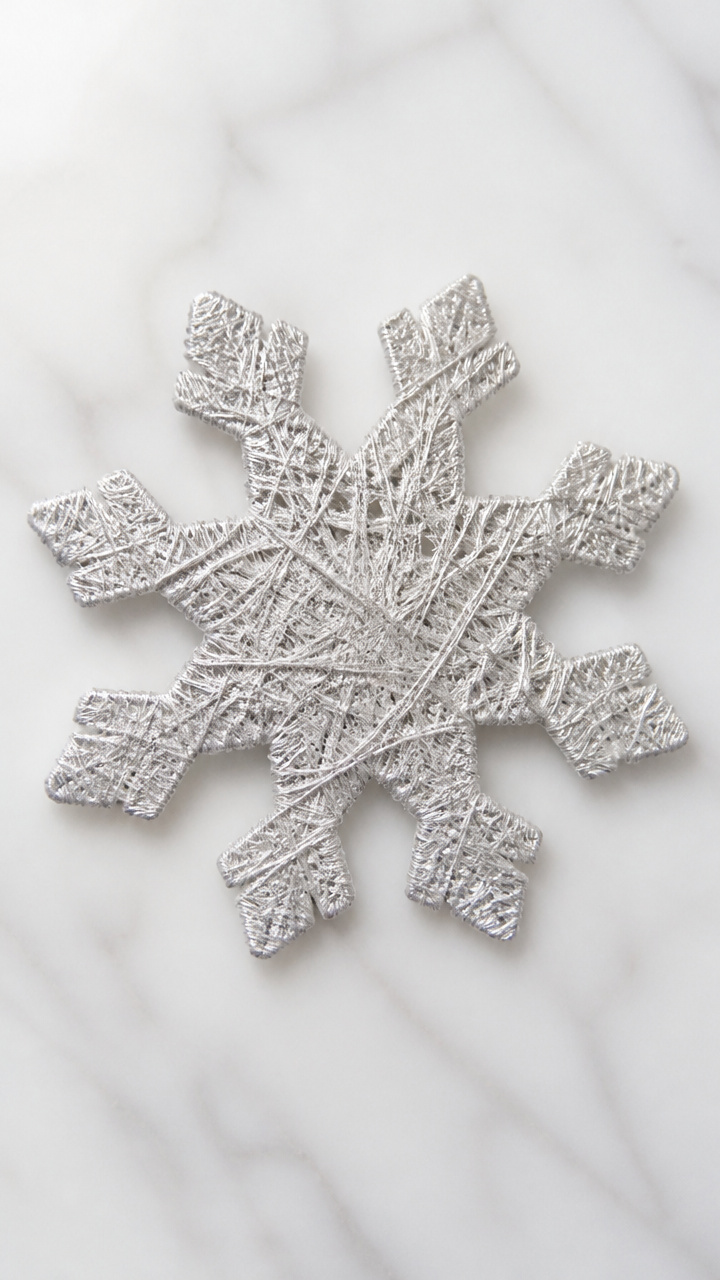
Stiff paper snowflake bases glow under layers of iridescent yarn, catching light like fresh powder. These hang beautifully in sunlit windows.
Materials Needed
- White cardboard (8.5 x 11 inches)
- Silver metallic yarn (size 3, 20 yards)
- Craft glue
- Snowflake template
- Scissors
- Pencil
How to Make It
- Trace the snowflake template onto cardboard and cut it out with scissors.
- Apply a thin line of craft glue along one spoke of the snowflake.
- Press the end of the yarn into the glue and begin wrapping tightly around the spoke.
- Continue wrapping, adding glue every inch to secure the yarn in place.
- Fill all six spokes. Trim the end and glue it down.
- Let dry for 40 minutes before hanging with a nylon thread loop.


12. Salt Dough Ornaments
Moderate

Hand-pressed stars and trees bake into durable keepsakes that carry the scent of childhood winters. These are the ornaments you save year after year.
Materials Needed
- 2 cups all-purpose flour
- 1 cup table salt
- 3/4 cup warm water
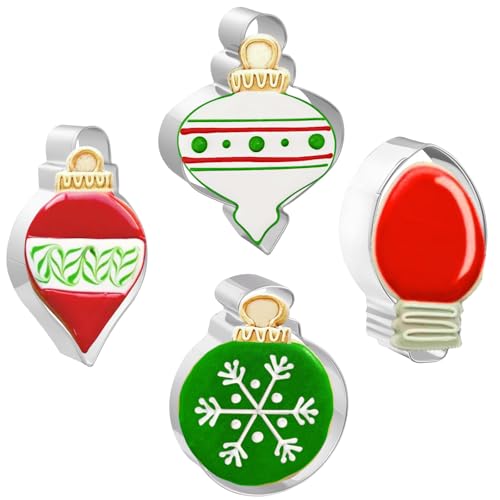
- Ornament cookie cutters (star, tree, bell)
- Baking sheet
- Parchment paper
- Acrylic paint (red, green, gold)
- Ribbon (1/8 inch, 6 feet)
How to Make It
- Mix flour, salt, and warm water in a bowl until a smooth dough forms. Knead for 3 minutes.
- Roll the dough to 1/4 inch thickness on a floured surface.
- Cut shapes with cookie cutters. Use a straw to make a hanging hole near the top edge.
- Place shapes on a parchment-lined baking sheet.
- Bake at 250°F for 2 hours until hard. Cool completely.
- Paint each ornament and let dry. Thread ribbon through the hole for hanging.


13. Cinnamon Stick Reindeer
Moderate
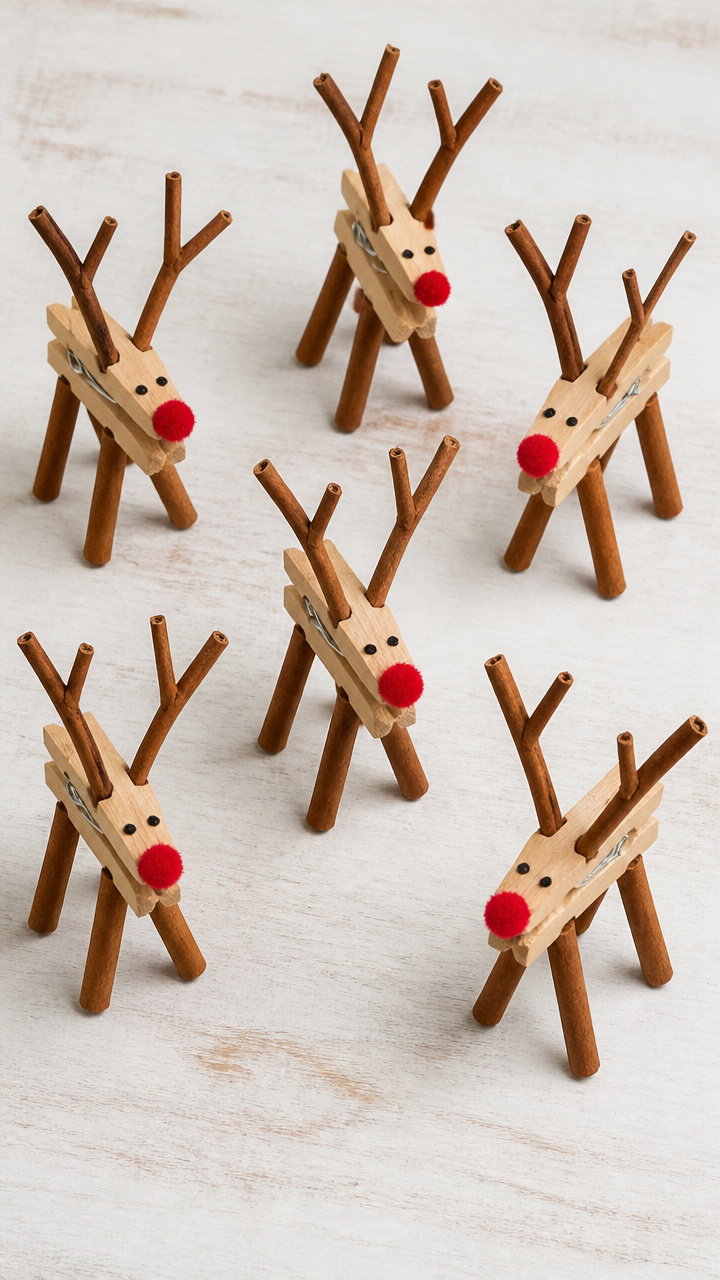
Spicy-sweet cinnamon sticks form legs and antlers on reindeer bodies made from clothespins. These little figures scent a room as they decorate.
Materials Needed
- 6 wooden clothespins
- 48 cinnamon sticks (3 inches long)
- Hot glue gun and glue sticks
- Small red pom-poms (8 mm, 6)
- Black fine-tip marker
- Scissors
How to Make It
- Lay two cinnamon sticks parallel and glue a third crosswise at one end to form a 'T' shape for antlers.
- Let dry for 5 minutes. Repeat for all six reindeer.
- Glue the antler assembly to the top of a clothespin.
- Glue two cinnamon sticks vertically to the bottom of the clothespin for legs.
- Press a red pom-pom onto the front tip for the nose.
- Draw two black eyes with the marker. Let all glue dry before moving.



14. Felt Mitten Magnets
Easy
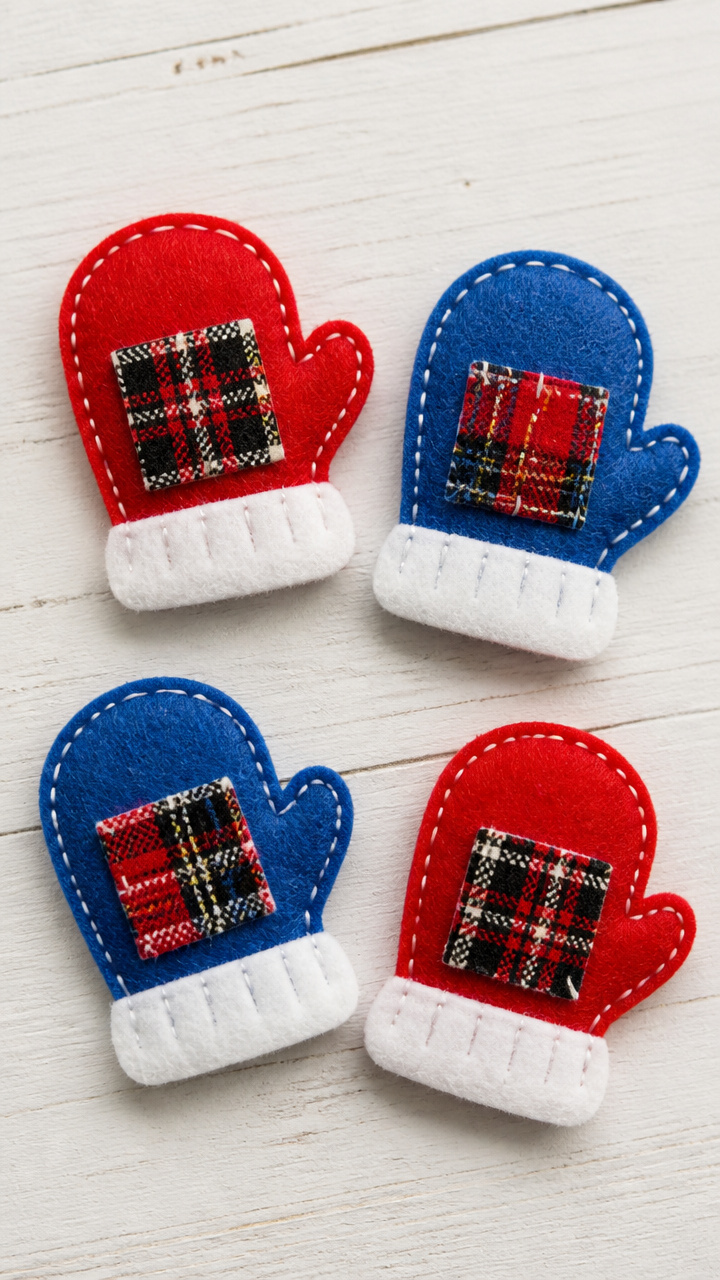
Soft mini mittens in plaid and solid colors cling to the fridge, holding up drawings or grocery lists. These add cozy color to any kitchen.
Materials Needed
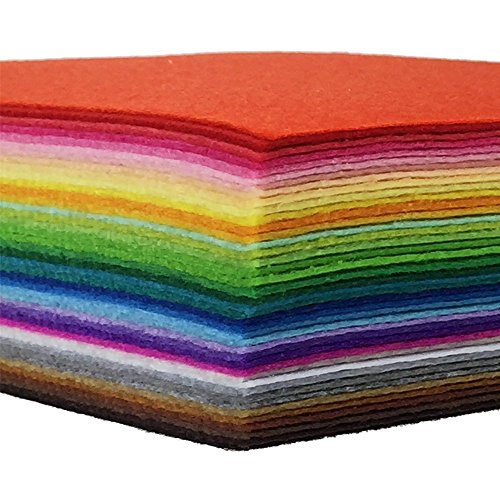
- Red and blue felt sheets (9 x 12 inches)
- Magnetic adhesive strips (1/2 inch wide, 6 inches)
- Fabric scissors
- Fabric glue
- Plaid iron-on patch (2 x 3 inches)
How to Make It
- Cut two identical mitten shapes (2 inches tall) from red felt.
- Cut one mitten shape from blue felt and one from the plaid patch using fabric scissors.
- Glue the plaid or blue mitten to one red mitten piece for contrast.
- Glue the second red piece to the back to sandwich the design.
- Cut six 1-inch pieces of magnetic strip and attach one to the center of each mitten’s back.
- Let dry for 15 minutes before placing on metal surfaces.


15. Glitter Slime Snow Globes
Advanced
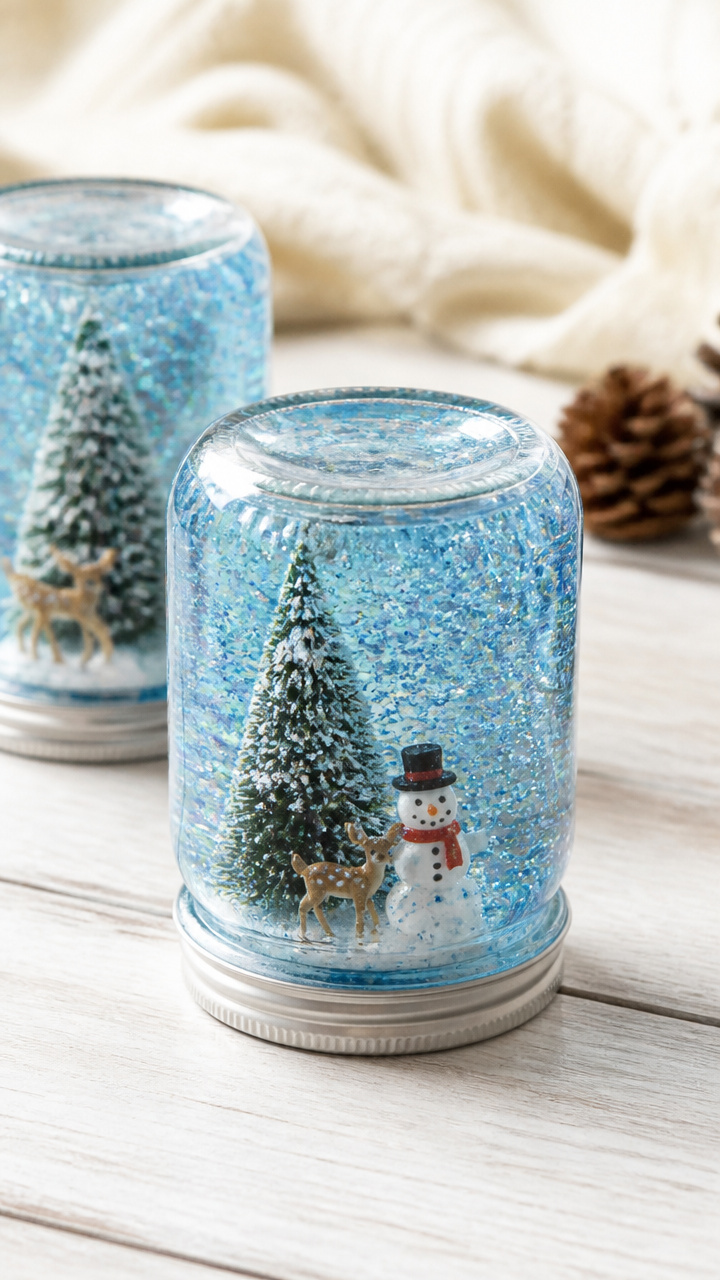
Clear jars swirl with slow-moving glitter slime and tiny printed winter scenes. Shake and watch the blizzard come alive.
Materials Needed
- 4 glass jars with lids (4 oz, wide mouth)
- Clear school glue (4 oz)
- Liquid starch (2 oz)
- Fine blue glitter (1 tablespoon)
- Miniature printable winter scenes
- Epoxy glue
- Funnel
How to Make It
- Pour 4 oz of clear glue into a bowl. Mix in 1 tablespoon of blue glitter.
- Add 2 oz of liquid starch and stir slowly until slime forms. Knead for 2 minutes.
- Use the funnel to pack a small ball of slime into each jar.
- Place one printed winter scene against the inside of each lid.
- Seal the lid with epoxy glue to make it airtight. Let cure for 24 hours.
- Screw the lid on tightly. Turn over and shake gently to simulate snowfall.


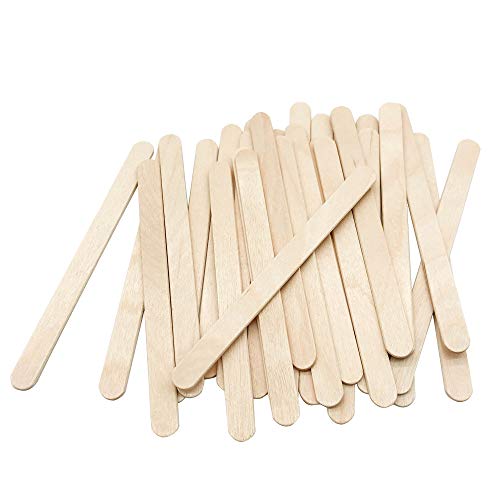
16. Popsicle Stick Sled
Easy
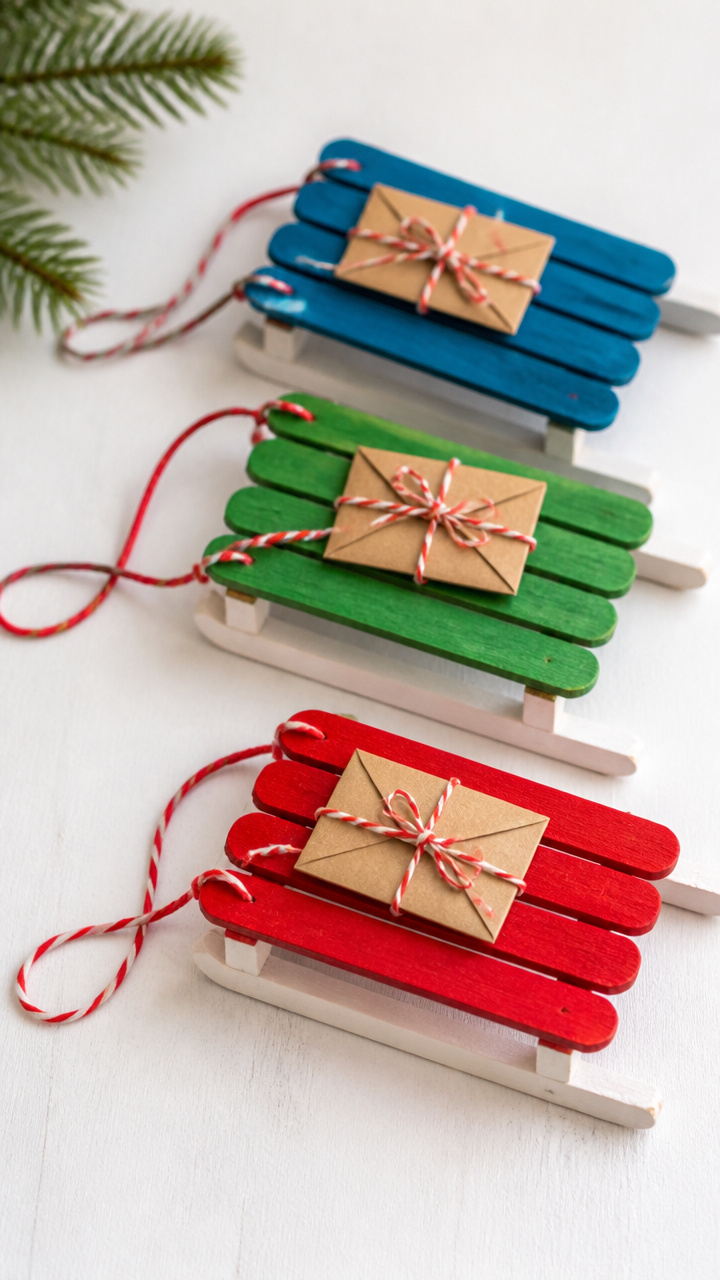
Mini sleds built from colored craft sticks carry tiny wrapped gifts or notes. These double as place cards or party favors.
Materials Needed
- 12 colored craft sticks (6 inches)
- White acrylic paint
- Small paintbrush
- Craft glue
- Red embroidery floss (12 inches)
- Mini envelope (1.5 x 2 inches, 4)
How to Make It
- Lay two craft sticks parallel. Glue two more perpendicularly across the ends to form a rectangle.
- Angle two additional sticks at each end to create runners. Glue in place.
- Paint the runners white and let dry for 15 minutes.
- Tie a loop of red floss to the front sticks for reins.
- Glue a mini envelope flat on the bed of the sled.
- Let dry completely before writing names or messages inside.


17. Tissue Paper Windows
Easy
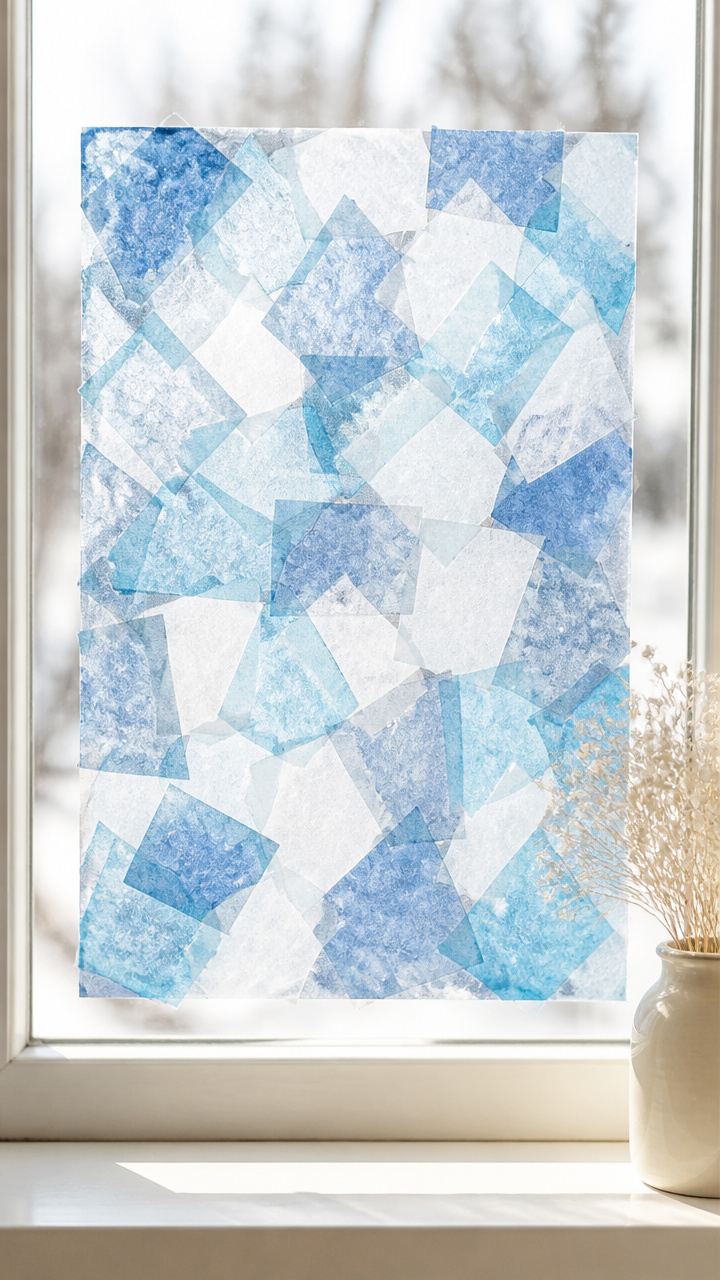
Layered squares of blue and white tissue paper mimic frost on glass when lit from behind. Tape these to lamps or windows for instant ambiance.
Materials Needed
- White printer paper (8.5 x 11 inches)
- Blue and white tissue paper sheets (15 x 20 inches, 2 each)
- Scissors
- Glue stick
- Clear contact paper (12 x 18 inches)
How to Make It
- Cut printer paper into a 7 x 10 inch rectangle. Center it on the sticky side of contact paper.
- Cut tissue paper into 2-inch squares. Alternate blue and white pieces in a random pattern.
- Glue the tissue squares tightly together to cover the entire paper.
- Place the second sheet of contact paper on top, sticky side down, to laminate.
- Trim excess contact paper. Cut a hole in the center with scissors to create a window effect.
- Stick the finished piece to a lampshade or sunny window.
18. Pine Branch Coasters
Advanced
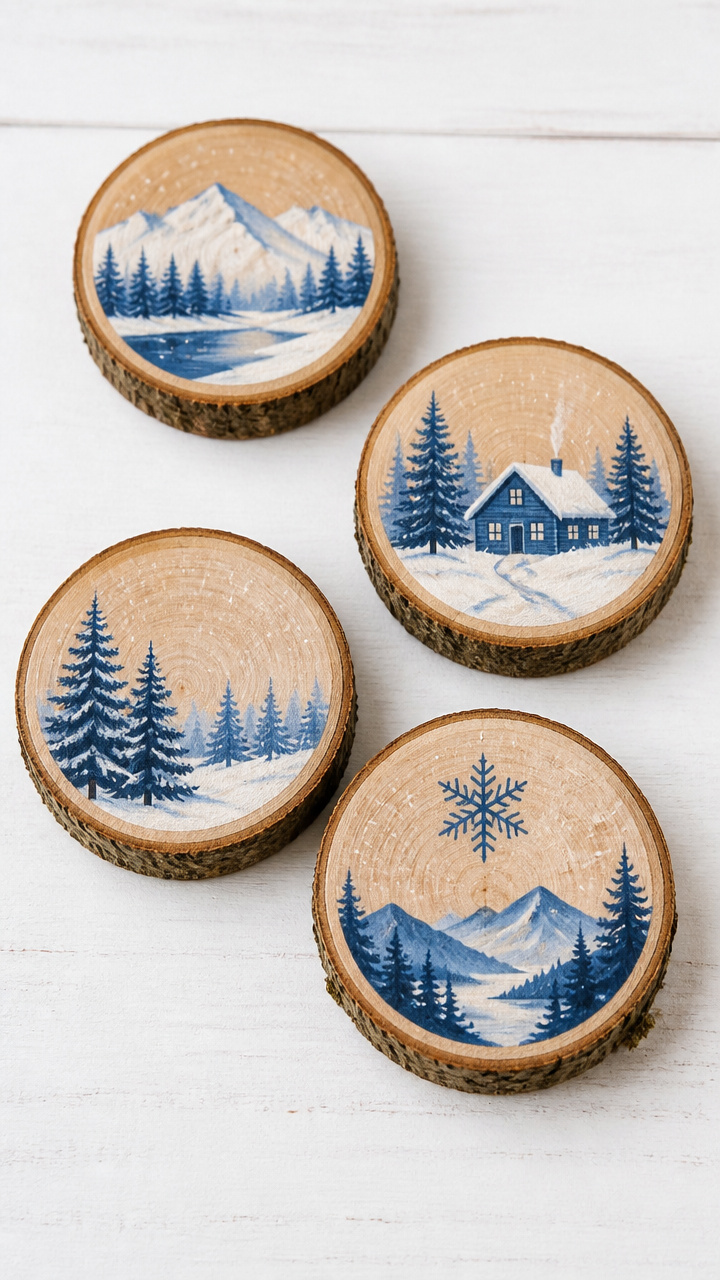
Flat slices of pine branch gain a protective finish and printed winter motifs. These rustic circles protect tables while celebrating the season.
Materials Needed
- 4 pine branch slices (4 inches diameter, 1/2 inch thick)
- Sandpaper (220 grit)
- Mod Podge Matte
- Foam brush (1 inch)
- Printable winter designs (circular, 3.5 inches)
- Clear acrylic sealer spray
- Paper towels
How to Make It
- Sand each slice smoothly on both sides using 220 grit sandpaper. Wipe away dust with a damp paper towel.
- Cut printed designs to fit the top of each slice.
- Brush a thin layer of Mod Podge onto one slice. Center the paper design and press down gently.
- Smooth out air bubbles with your fingers. Let dry for 30 minutes.
- Apply two more coats of Mod Podge, drying 20 minutes between layers.
- Spray with acrylic sealer in a well-ventilated area. Let cure for 12 hours before use.


Grab your favorite printables and start crafting today. You’ve got everything you need to make winter feel warmer, one project at a time.