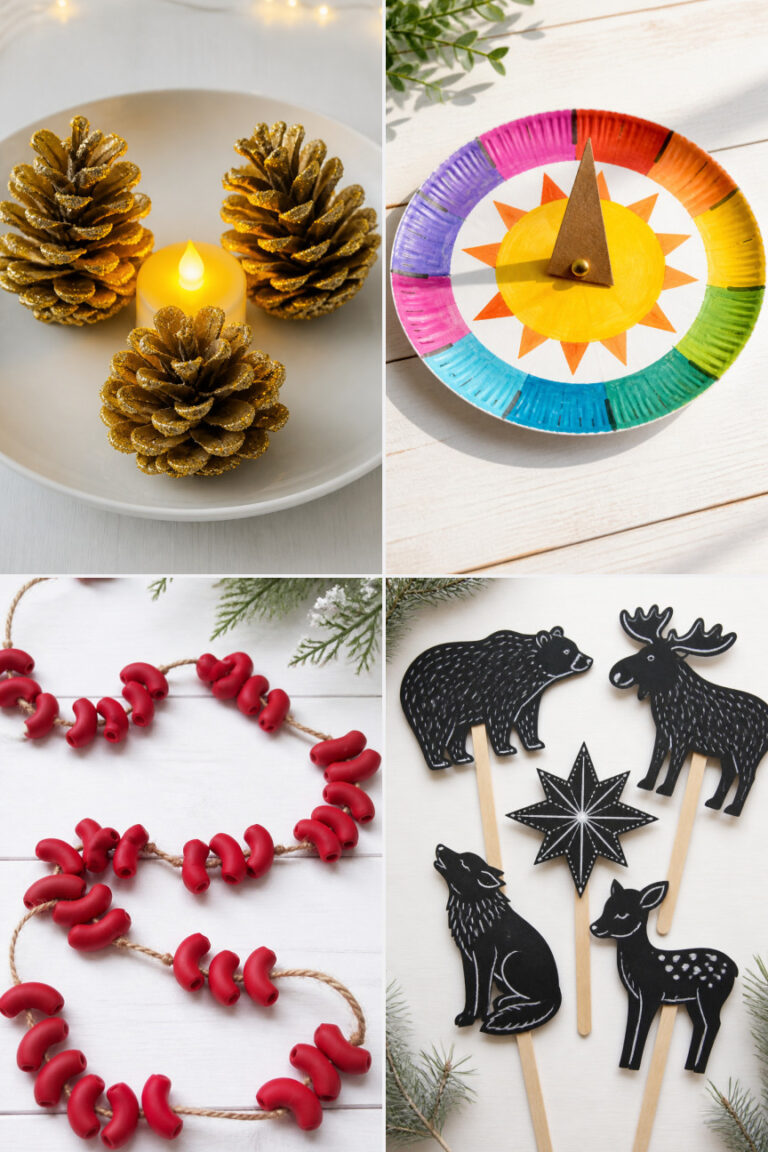
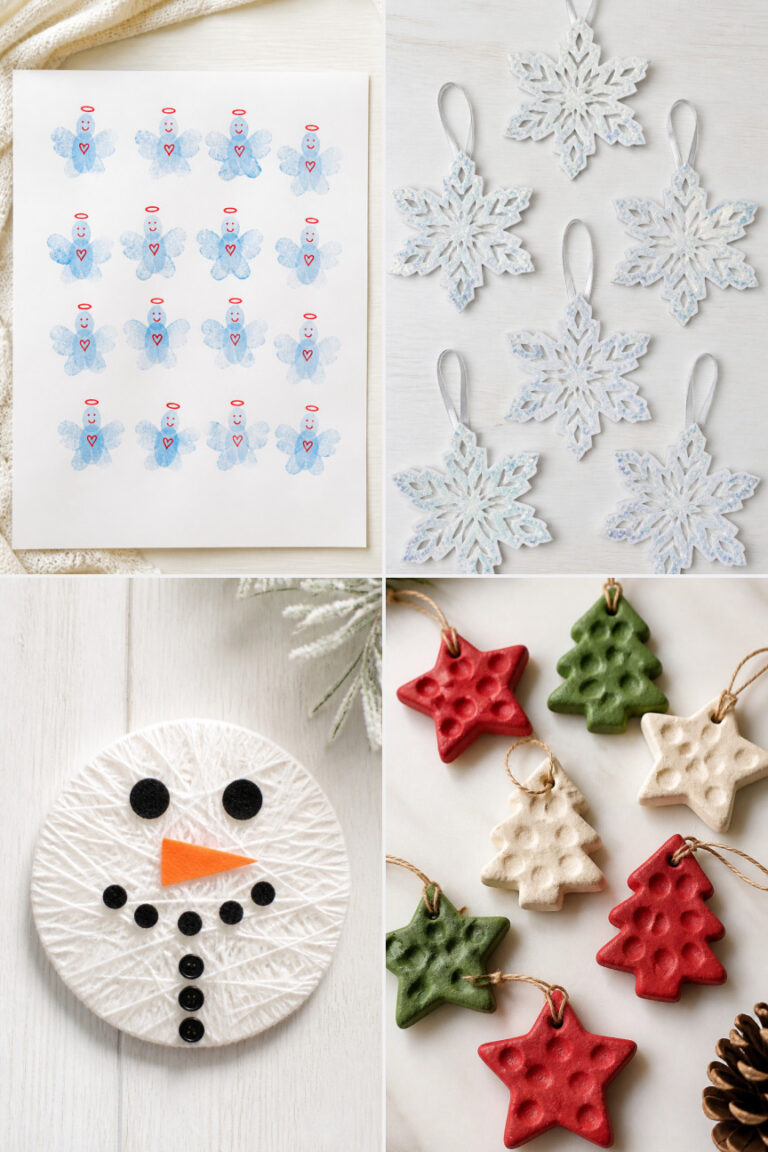
17 Easy Winter Crafts for Kindergarten

Snowflakes drift past the window, mittens dry by the radiator, and little hands are ready to create. These quiet winter days invite simple joys, especially when craft time turns into giggles and glitter trails on the table.
Each of these projects meets tiny fingers where they are — with easy steps, familiar materials, and instant delight. You don't need a classroom full of supplies, just a few basics and twenty minutes to make something that feels like magic.
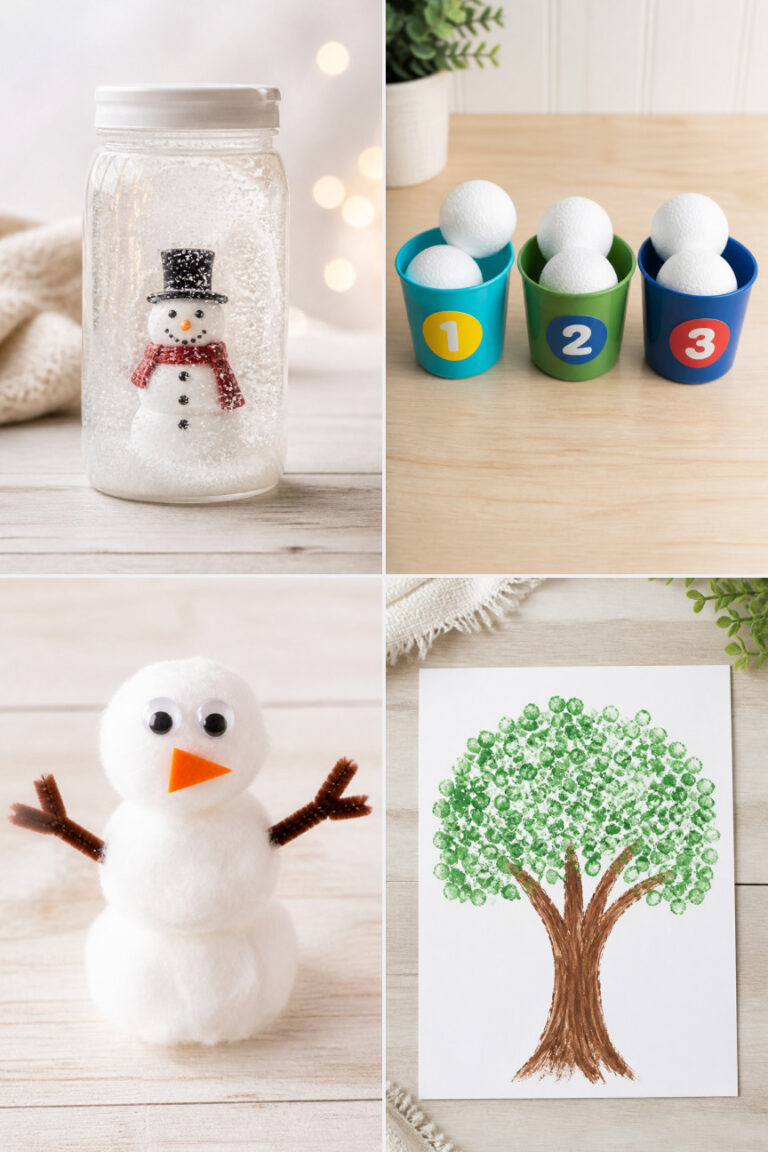
1. Cotton Ball Snowmen
Easy
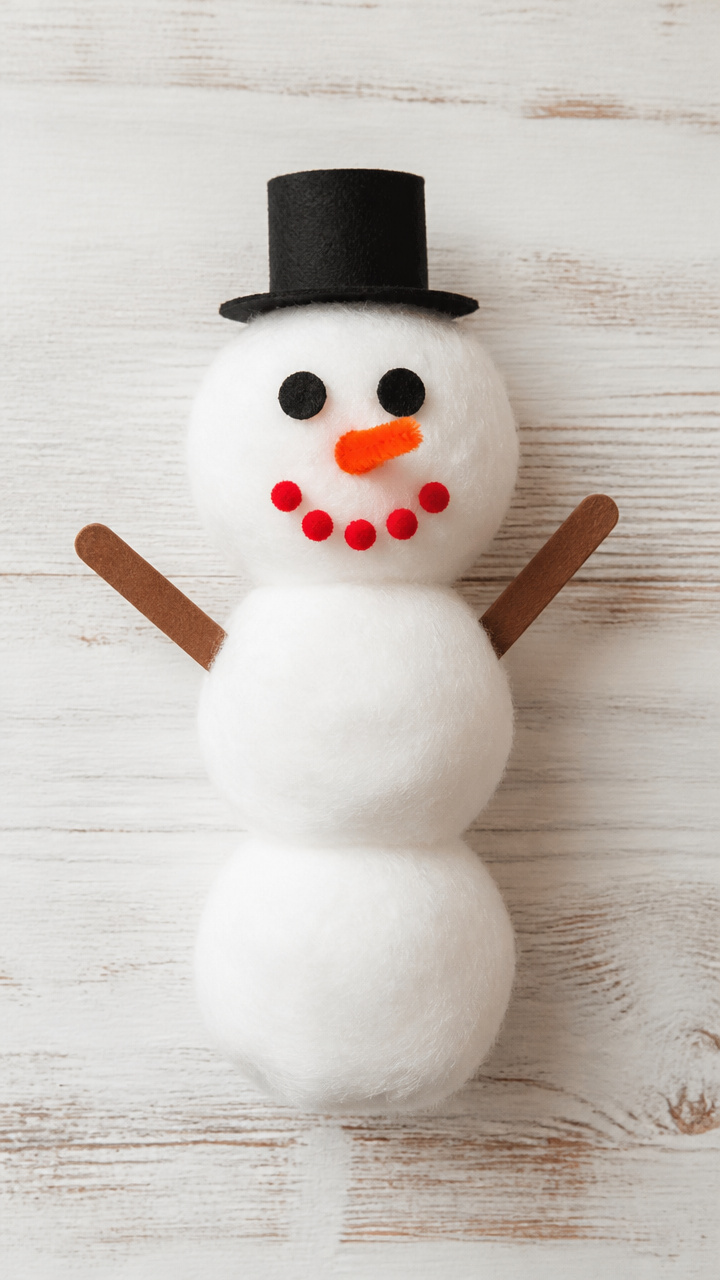
Three fluffy white spheres stack into a smiling snowman with a paper hat and twig arms. This soft craft doubles as a gentle sensory activity while building fine motor skills.
Materials Needed
- 3 jumbo white cotton balls, 2 inches each
- 1 black felt sheet, 6×6 inches
- 1 orange pipe cleaner, 12 inches
- 1 small brown craft stick, 4 inches
- 1 red pom-pom, 0.5 inch
- 1 googly eye, 0.3 inch
- White school glue
- 1 sheet A4 light blue construction paper
How to Make It
- Place the blue construction paper flat on the table as your background.
- Glue the three cotton balls in a vertical line, largest at the bottom, smallest at the top.
- Cut two small circles from black felt for buttons and glue them down the center of the middle cotton ball.
- Cut a tiny triangle from orange felt for the nose and glue it halfway into the top cotton ball.
- Bend the orange pipe cleaner into a curved carrot shape and glue it under the nose.
- Glue the googly eye just above the nose on the top cotton ball.
- Cut the brown craft stick in half and glue one piece on each side of the middle cotton ball for arms.
- Glue the red pom-pom at the base of the neck area between the top and middle cotton balls for a scarf.

2. Pinecone Bird Feeders
Easy
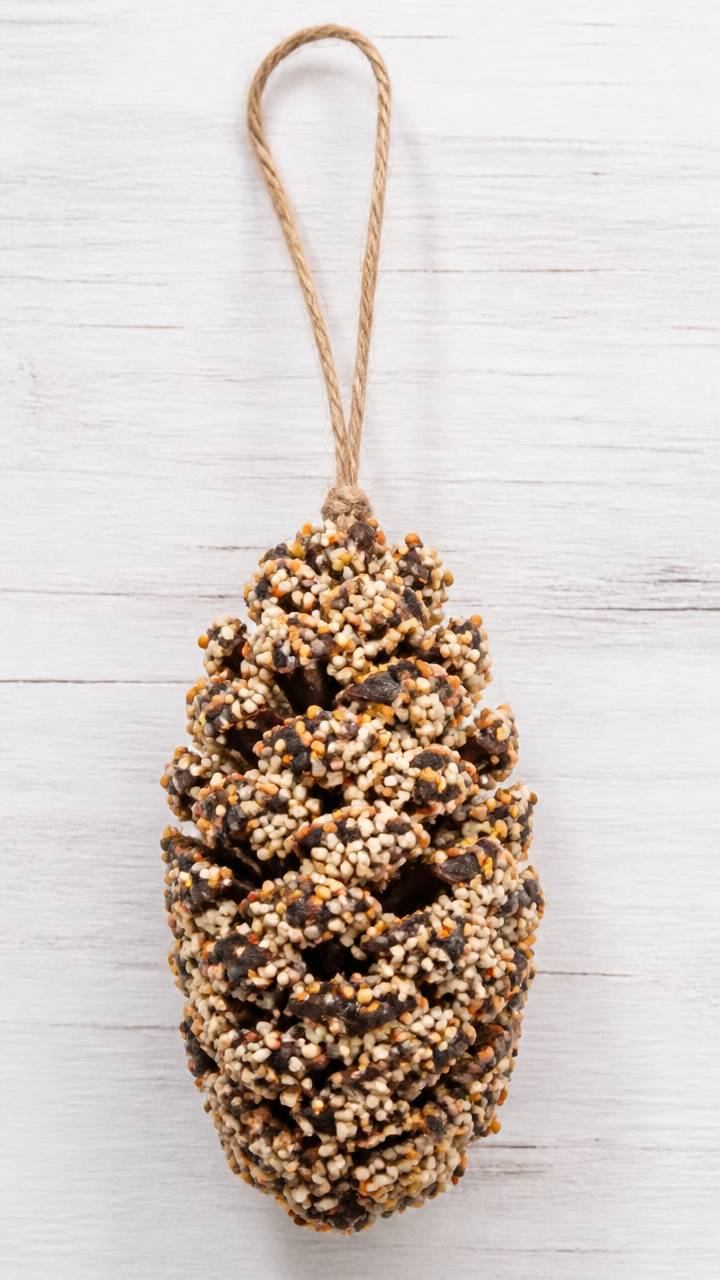
A rustic pinecone becomes a crunchy buffet for backyard birds when coated in peanut butter and seeds. This nature-based project teaches kindness and observation.
Materials Needed
- 1 large clean pinecone, 4-5 inches long
- 4 tablespoons creamy peanut butter
- 1/2 cup mixed birdseed
- 1 piece yarn, 18 inches long
- Butter knife
- Shallow bowl
How to Make It
- Tie the yarn securely around the pinecone's top stem to create a hanging loop.
- Spread peanut butter all over the pinecone using the butter knife, pressing into the crevices.
- Pour birdseed into the shallow bowl and roll the peanut butter-covered pinecone in it until fully coated.
- Let the feeder sit on wax paper for 10 minutes to set before hanging outside a window.


3. Salt Dough Ornaments
Moderate
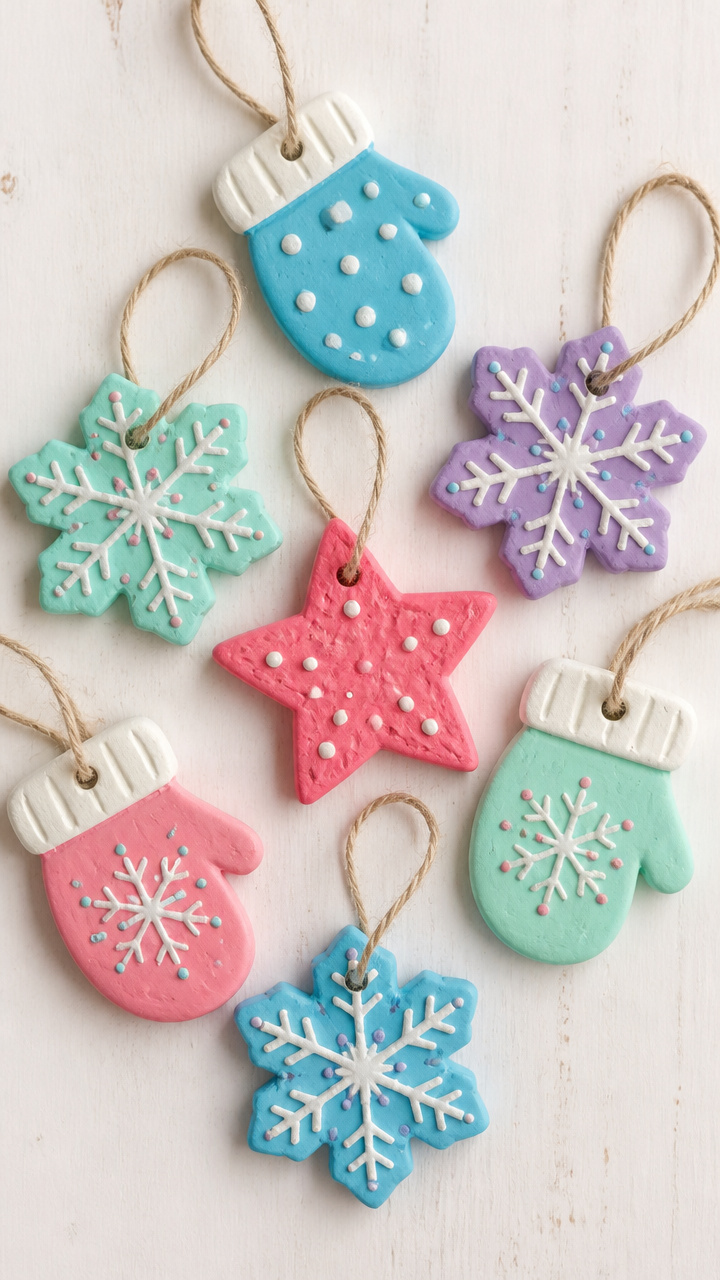
Hand-shaped dough bakes into keepsake decorations stamped with tiny fingerprints and painted in cheerful colors. These hold memories as much as holiday cheer.
Materials Needed
- 1 cup all-purpose flour
- 1/2 cup table salt
- 1/2 cup warm water
- Rolling pin
- Cookie cutters (snowflake, star, mitten shapes)
- Straw
- Parchment paper
- Oven
- Acrylic paint set (red, green, blue, yellow, white)
- Paintbrush size 4
- Ribbon, 1/8 inch wide, 6 inches per ornament
How to Make It
- Mix flour, salt, and warm water in a bowl until a smooth dough forms, kneading for 2 minutes.
- Roll the dough to 1/4 inch thickness on a floured surface using the rolling pin.
- Cut shapes with cookie cutters and press a straw through the top edge to make a hanging hole.
- Place ornaments on parchment-lined baking sheet and bake at 200°F for 3 hours until hard.
- Let cool completely, then paint with acrylics and let dry for 30 minutes.
- Thread ribbon through the hole and knot for hanging.


4. Paper Plate Snowflakes
Easy
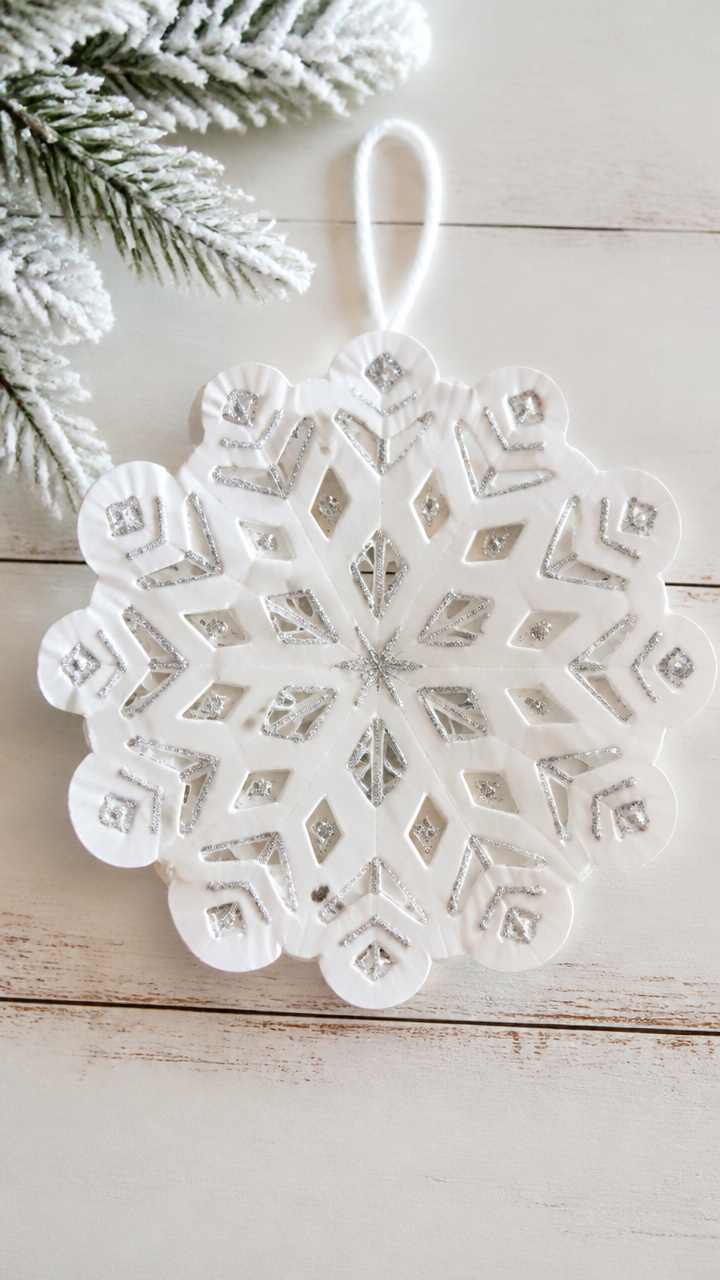
Six-folded paper plates turn into lacy winter blooms with snipped edges and silver glitter. Hang them in windows for instant frosty sparkle.
Materials Needed
- 1 white paper plate, 9 inches
- Scissors with blunt tip
- Glitter glue, silver
- Hole punch
- Yarn, 12 inches
How to Make It
- Fold the paper plate in half, then fold it into thirds to create a cone shape.
- Cut small triangles or curves along the folded edges to create open patterns.
- Unfold the plate carefully to reveal the snowflake design.
- Squeeze silver glitter glue along the cut edges and let dry for 20 minutes.
- Punch a hole at the top and thread yarn through for hanging.


5. Mitten Puppets
Easy
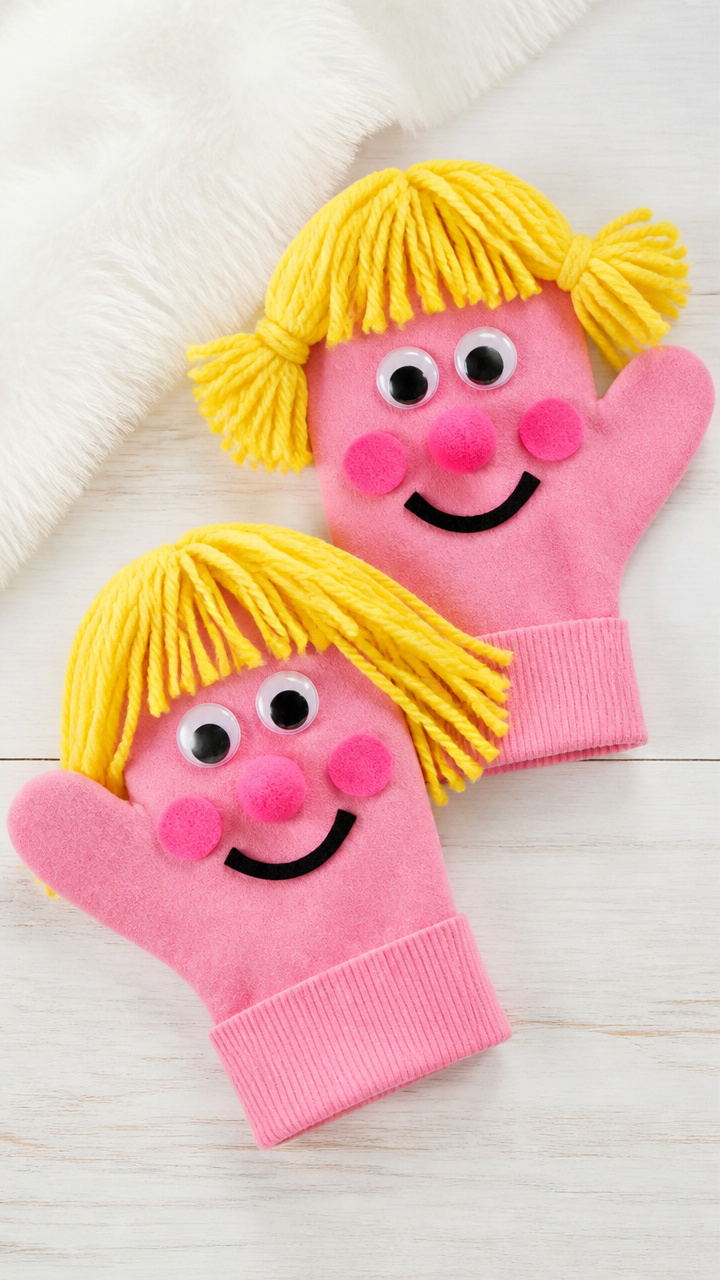
Felt mittens gain googly eyes and yarn hair to become silly hand puppets for snowy day stories. Perfect for dramatic play after crafting.
Materials Needed
- 2 pieces pink felt, 6×4 inches each
- Pink embroidery floss, 1 yard
- Needle with large eye
- 2 googly eyes, 0.5 inch
- Black felt sheet, 4×4 inches
- Yellow yarn, 6 inches
- White school glue
- Scissors
How to Make It
- Place the two pink felt pieces together and sew around the edges with a whip stitch using the embroidery floss, leaving the wrist open.
- Turn the mitten right side out after sewing.
- Glue on googly eyes near the top curve of the mitten.
- Cut small strips from black felt for eyelashes and glue below the eyes.
- Cut six 6-inch strands of yellow yarn and tie them at one end to form a bundle, then glue the tied end inside the top of the mitten for hair.


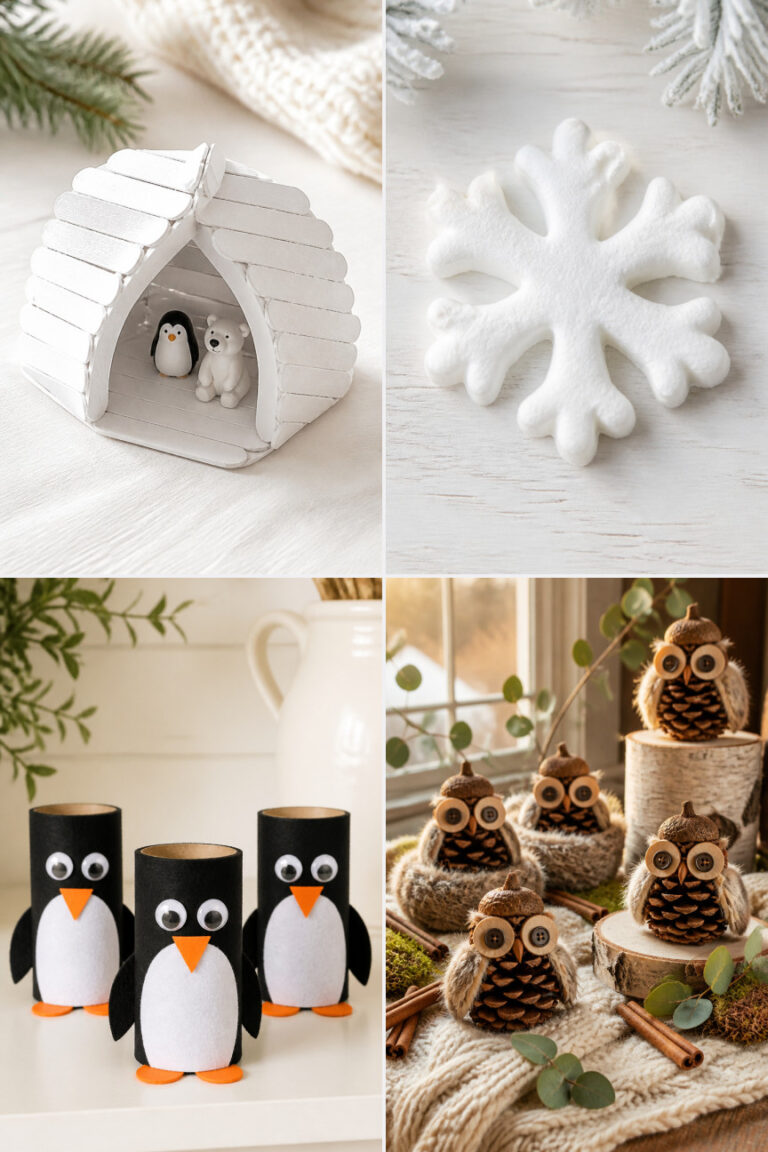
6. Toilet Paper Roll Penguins
Easy
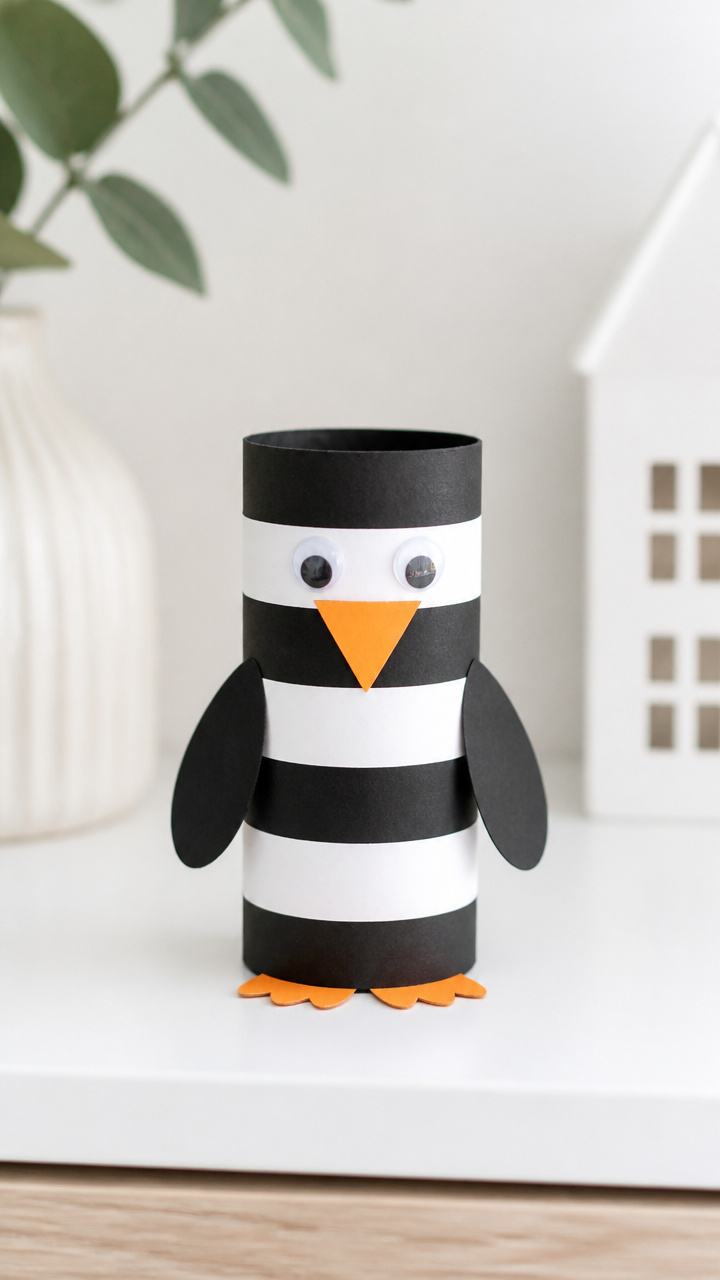
Empty cardboard tubes wear black and white stripes to become waddling penguins with orange beaks and feet. They stand proudly on any shelf.
Materials Needed
- 1 empty toilet paper roll
- 1 sheet black construction paper, 9×12 inches
- 1 sheet white construction paper, 9×12 inches
- 1 sheet orange construction paper, 9×12 inches
- White school glue
- Googly eyes, 0.4 inch, 2 per penguin
- Scissors
- Glue stick
How to Make It
- Cut the black paper into a strip 2 inches high and long enough to wrap around the tube, then glue it around the lower half of the roll with the glue stick.
- Cut a white oval from white paper slightly taller than the exposed top of the roll and glue it centered on the front for the face.
- Glue googly eyes near the top of the white oval.
- Cut a small triangle from orange paper for the beak and glue it below the eyes.
- Cut two small feet shapes from orange paper and glue them to the bottom edge of the roll so they peek out.
7. Q-Tip Snow Trees
Easy
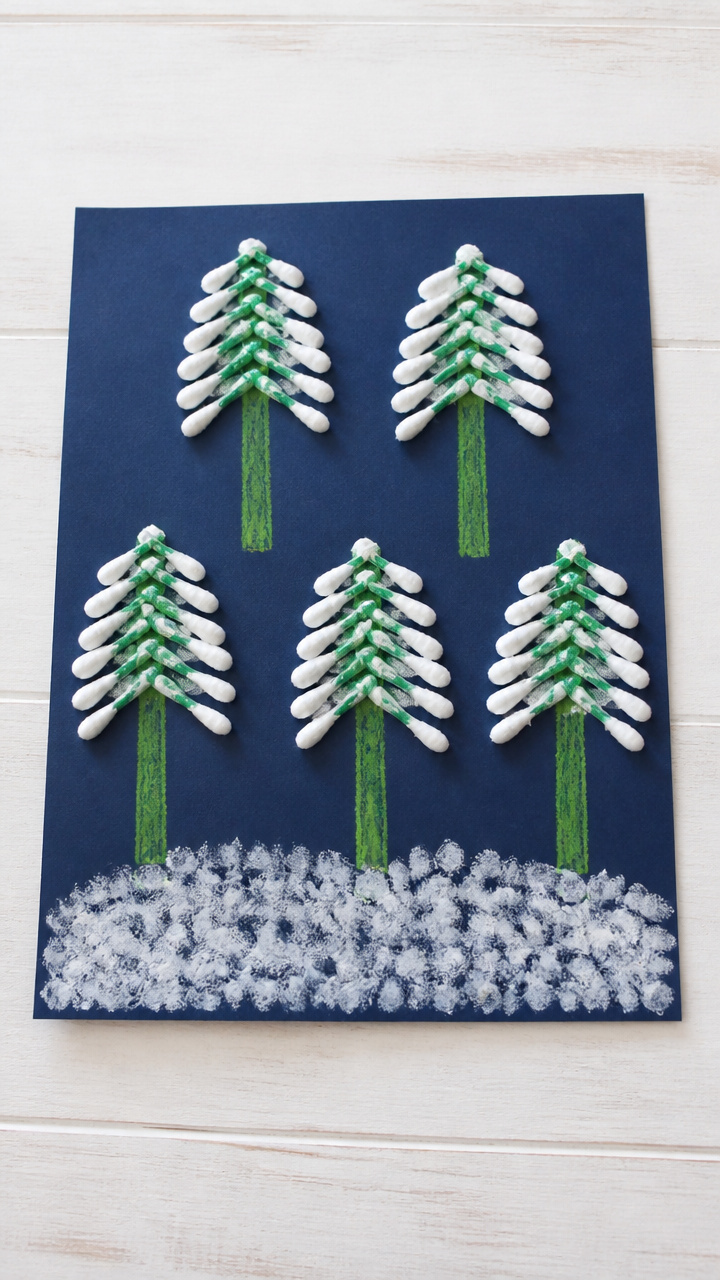
Clusters of cotton-tipped sticks form frosted evergreens against a dark sky background. This layout teaches spacing and symmetry in a playful way.
Materials Needed
- 1 sheet dark blue construction paper, 9×12 inches
- 5 regular Q-Tips
- White school glue
- Green crayon
- Scissors
How to Make It
- Draw a short horizontal line in green crayon near the bottom of the blue paper for the ground.
- Break each Q-Tip in half crosswise to make 10 shorter pieces.
- Glue the Q-Tip halves upright in staggered rows above the green line to resemble trees covered in snow.
- Leave space between clusters so each tree group stands out clearly.
- Let the glue dry for 15 minutes before moving the artwork.


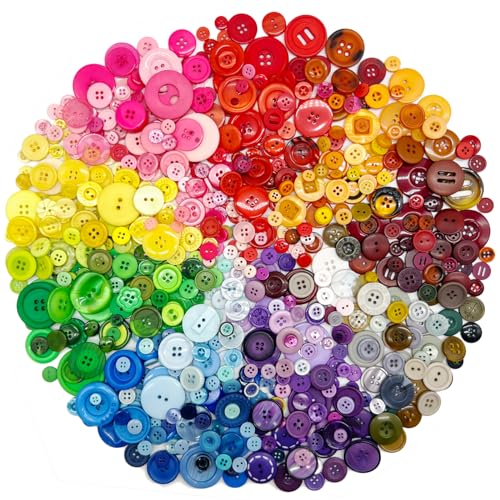
8. Button Mitten Art
Easy
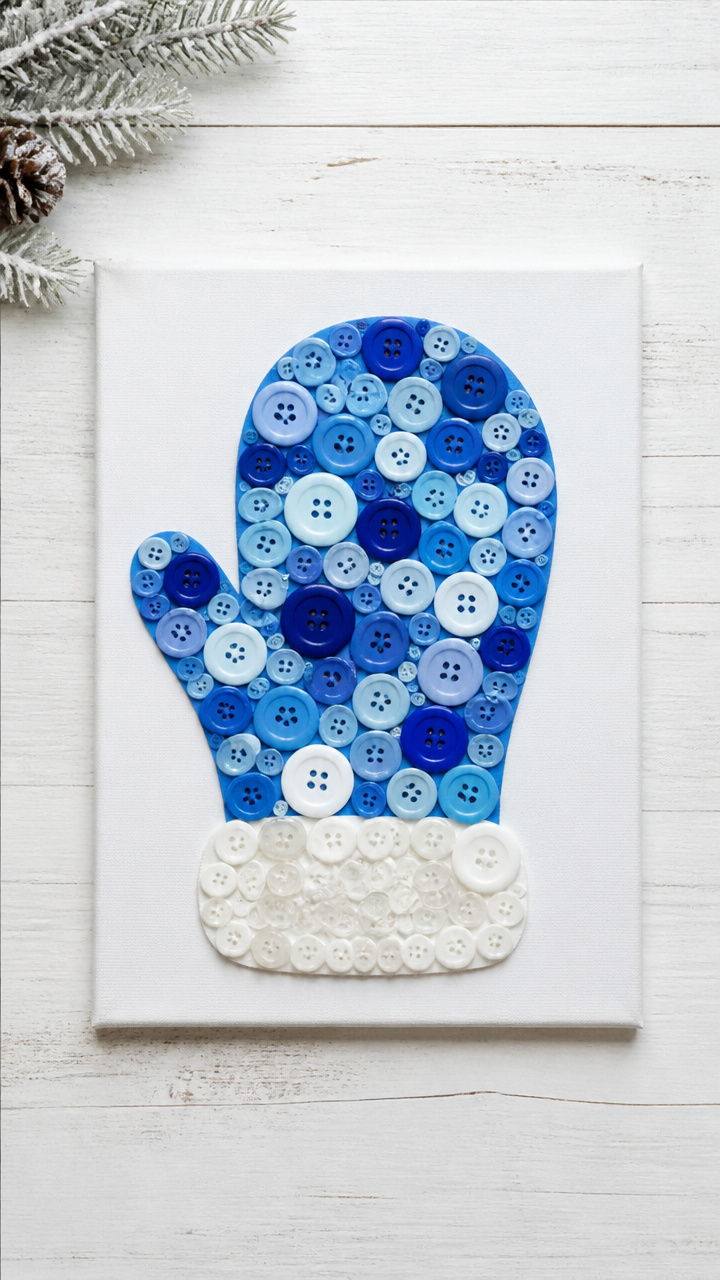
Colorful plastic buttons fill a mitten outline to make bright, tactile wall art. Sorting buttons builds color recognition and pincer grip.
Materials Needed
- 1 sheet red construction paper, 9×12 inches
- 20 assorted plastic buttons, 0.3-0.5 inch
- White school glue
- Black marker
- Glue brush
How to Make It
- Draw a large mitten shape on the red paper with the black marker, filling most of the page.
- Apply a thin layer of glue inside the mitten outline using the glue brush.
- Press buttons into the glued area, covering it completely with no gaps.
- Let the artwork dry flat for 20 minutes before display.


9. Fingerprint Snow Globes
Easy
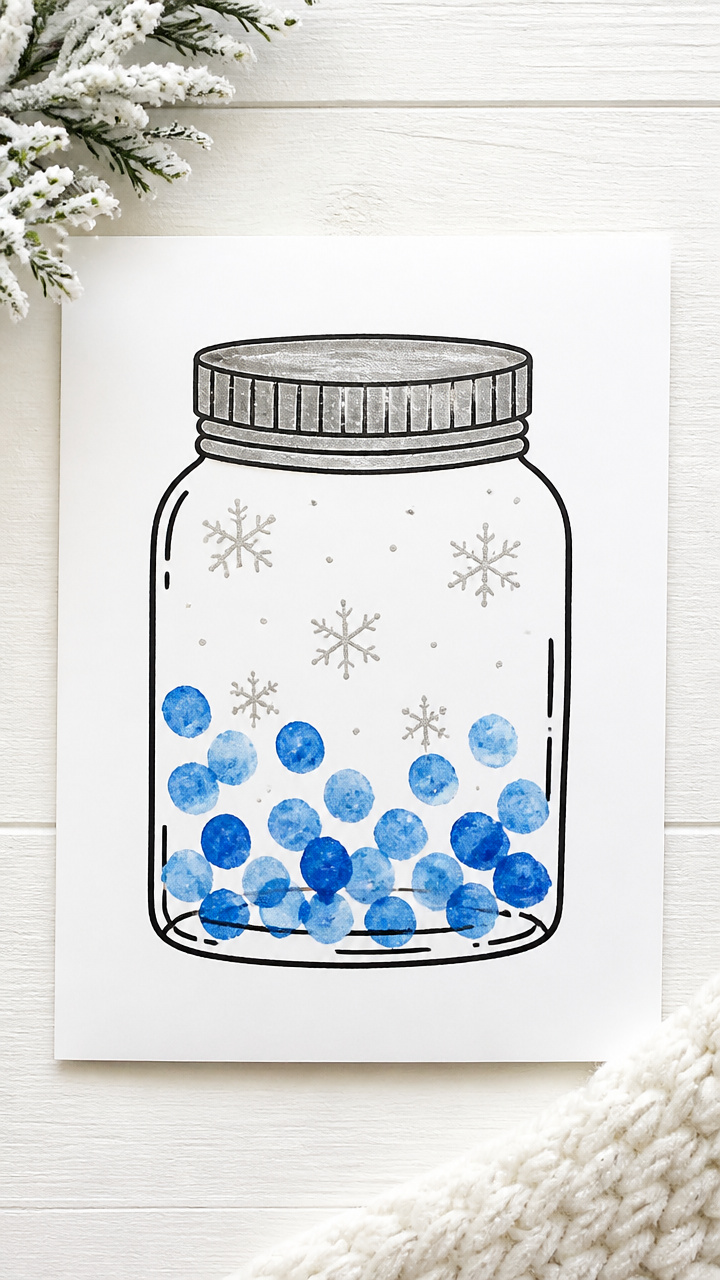
Inky thumbprints become floating snowballs inside glass jars drawn with markers. A personal touch makes each globe uniquely theirs.
Materials Needed
- 1 sheet white cardstock, A4
- Blue washable ink pad
- Black fine-tip marker
- Silver gel pen
- Clear tape
How to Make It
- Press your child's thumb lightly onto the ink pad and stamp it 5-6 times in a loose cluster near the center of the cardstock.
- Let the ink dry for 2 minutes.
- Draw a jar outline around the fingerprints with the black marker, including a wavy base and lid lines.
- Add falling snowflakes with the silver gel pen above and around the jar.
- Tape the artwork to a window to catch the light.
10. Tissue Paper Windows
Easy
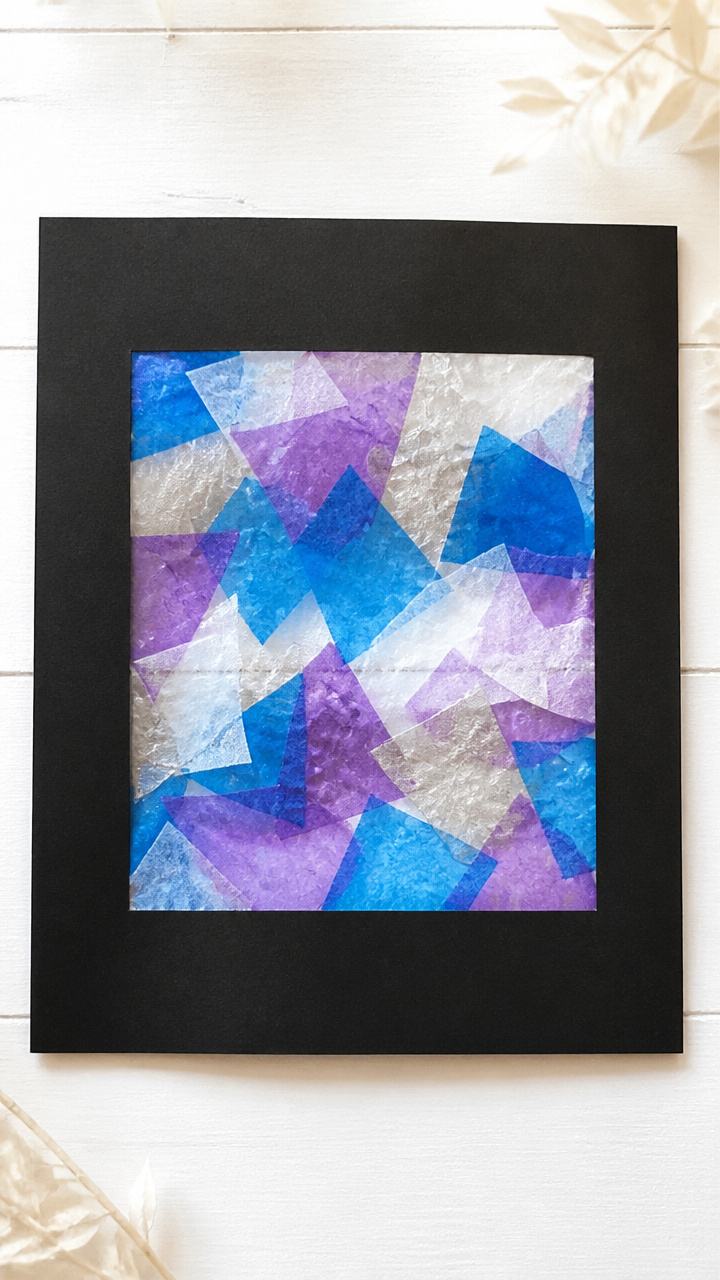
Layered squares of colored tissue glow like stained glass when taped to sunlit windows. The crinkled texture adds depth and color play.
Materials Needed
- 1 sheet black construction paper, 9×12 inches
- Scissors
- Clear tape
- 4 colors of tissue paper (blue, white, purple, silver), 6×6 inches each
- Glue stick
How to Make It
- Cut the black paper in half and set one piece aside.
- Cut the second half into a picture frame shape by removing a 4×6 inch rectangle from the center, leaving a border.
- Cut each tissue paper square into 1-inch pieces.
- Glue the colored tissue scraps inside the frame opening, overlapping slightly to fill the space.
- Place the completed frame on a sunny window with tape on the corners.


11. Popsicle Stick Reindeer
Moderate
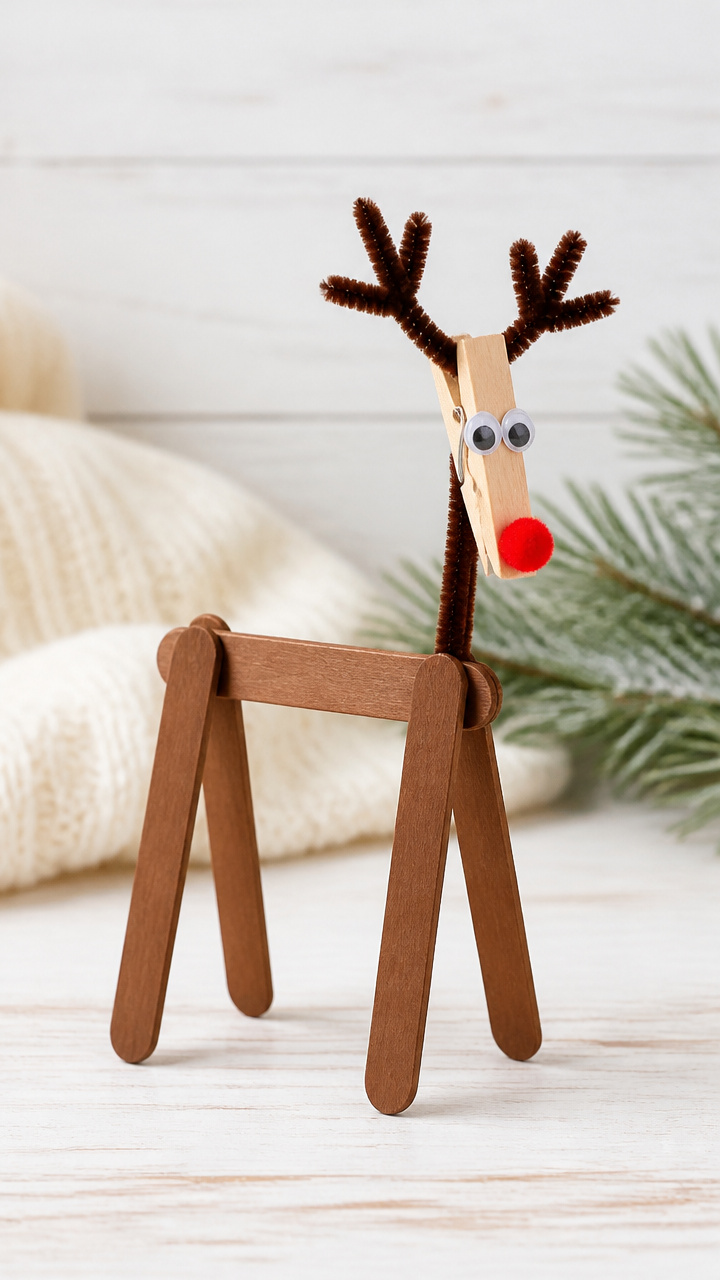
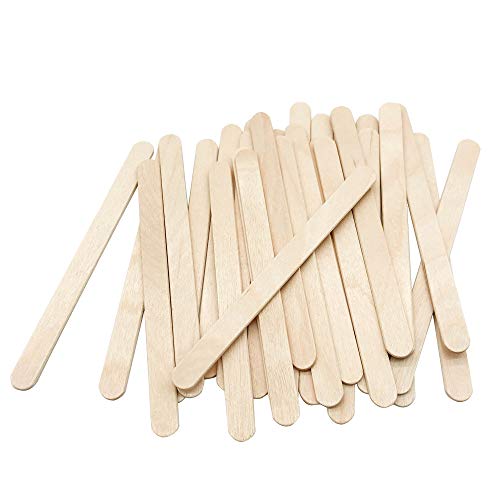
Five wooden sticks join with a painted clothespin head to make a standing reindeer friend. It’s a clever way to explore balance and structure.
Materials Needed
- 5 flat wooden craft sticks, 4.5 inches
- 1 wooden clothespin, unpainted
- Red acrylic paint
- Paintbrush size 2
- Googly eyes, 0.3 inch, 2 per reindeer
- Brown chenille stem, 12 inches
- White school glue
- Small red pom-pom, 0.2 inch
How to Make It
- Lay three craft sticks vertically and evenly spaced on the table.
- Glue the fourth stick horizontally across the top of the three, forming a 'H' shape with an extra leg.
- Glue the fifth stick horizontally across the bottom ends to complete the frame.
- Paint the clothespin head brown and let dry for 15 minutes.
- Twist the chenille stem into antlers and glue to the top of the clothespin.
- Glue googly eyes and the red pom-pom below them on the clothespin.
- Glue the clothespin head to the top of the frame so it leans forward slightly.


12. Crayon Resist Snowscapes
Easy
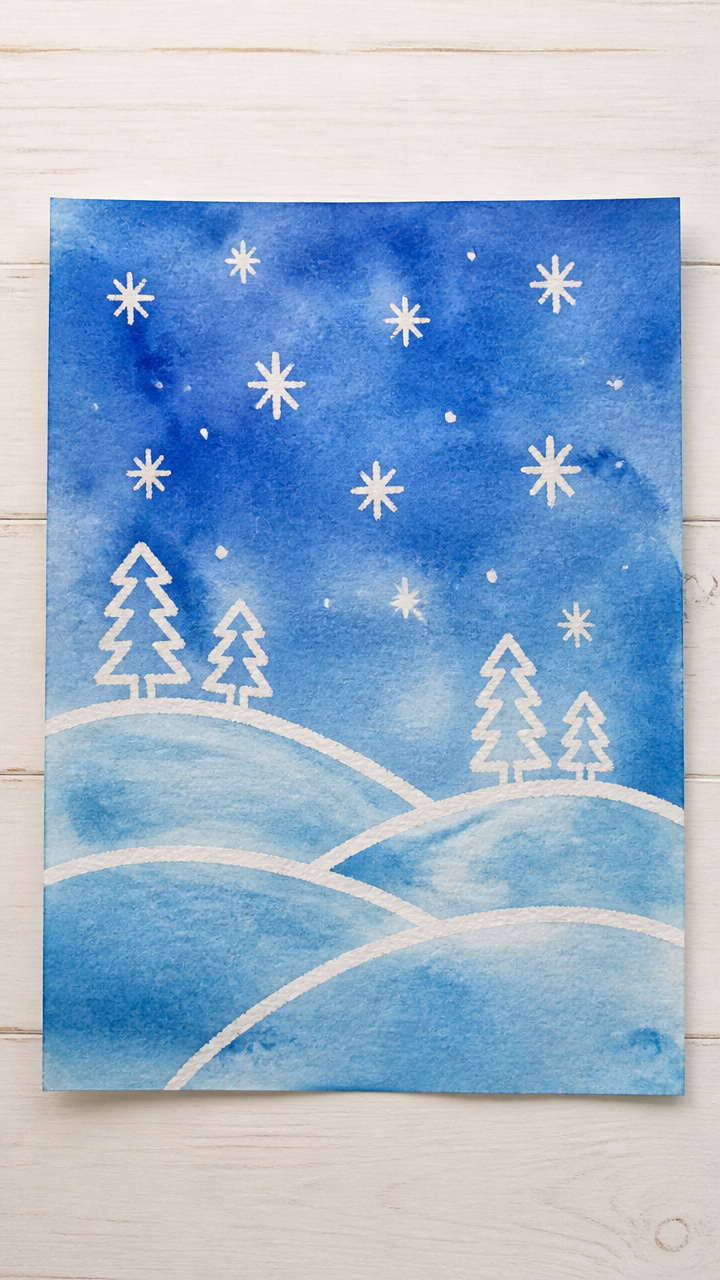
White crayon drawings hide beneath a wash of blue paint, revealing snowy hills and stars. The surprise element keeps kids engaged and amazed.
Materials Needed
- 1 sheet white drawing paper, 9×12 inches
- White crayon
- Liquid watercolor paint, Arctic blue
- Paintbrush size 6
- Spray bottle with water
- Dropper
How to Make It
- Draw hills, snowflakes, and stars across the paper with the white crayon, pressing firmly.
- Mix 2 tablespoons of blue watercolor with 1 tablespoon of water in a cup.
- Use the paintbrush to spread the blue mixture over the entire paper.
- Spritz lightly with the spray bottle to create a watery effect and let air dry for 30 minutes.


13. Yarn-Wrapped Snowflakes
Easy
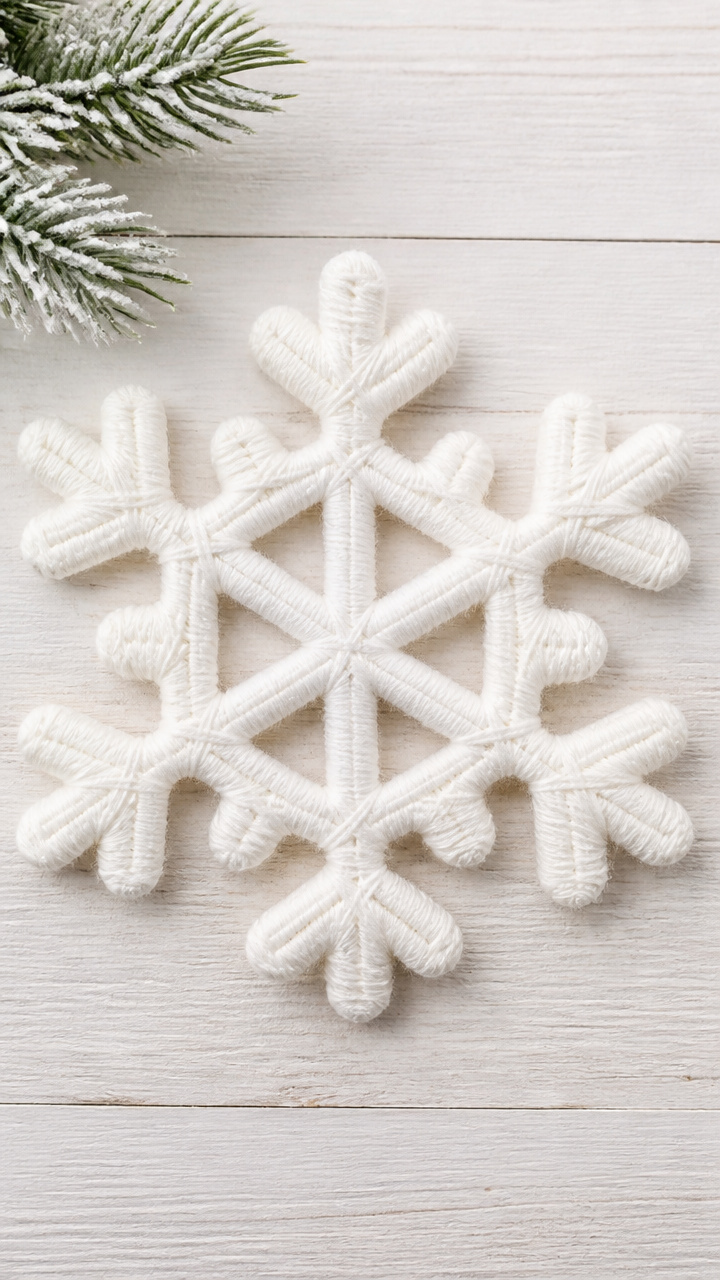
Cardboard cutouts take on soft dimension when wrapped tightly with white yarn. The winding motion calms and focuses active hands.
Materials Needed
- 1 piece cardboard, 6×6 inches
- Scissors
- White yarn, size 4, 2 yards
- White school glue
- Pencil
How to Make It
- Draw a snowflake shape on the cardboard and cut it out with scissors.
- Put a dot of glue at the start point on the snowflake edge.
- Press the yarn end onto the glue and wait 10 seconds for it to stick.
- Wrap the yarn tightly around the snowflake, covering all edges and filling the center lines.
- Secure the end with another dot of glue and trim excess.

14. Glitter Jar Shakers
Moderate
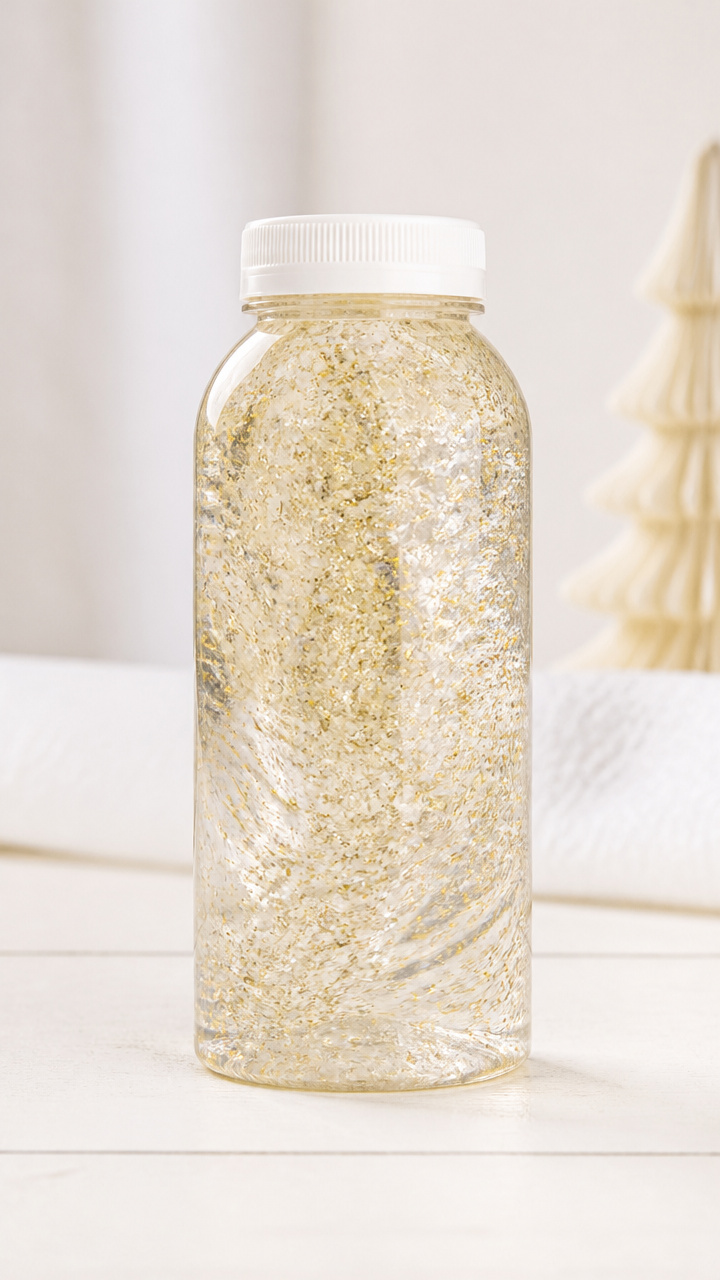
A swirling storm of sparkles settles slowly in a sealed water bottle. This calming sensory tool doubles as a handmade gift.
Materials Needed
- 1 clear plastic bottle with screw cap, 8 oz
- Warm water
- Clear school glue, 3 tablespoons
- Fine white glitter, 1 teaspoon
- Glycerin, 1 teaspoon
- Funnel
- Permanent black marker
How to Make It
- Use the funnel to pour 3 tablespoons of glue into the bottle.
- Add 1 teaspoon of glitter and 1 teaspoon of glycerin.
- Fill the rest of the bottle with warm water, leaving a half-inch space at the top.
- Screw the cap on tightly and shake well for 20 seconds to mix.
- Use the marker to label the cap with your child's name.
15. Construction Paper Scarves
Easy
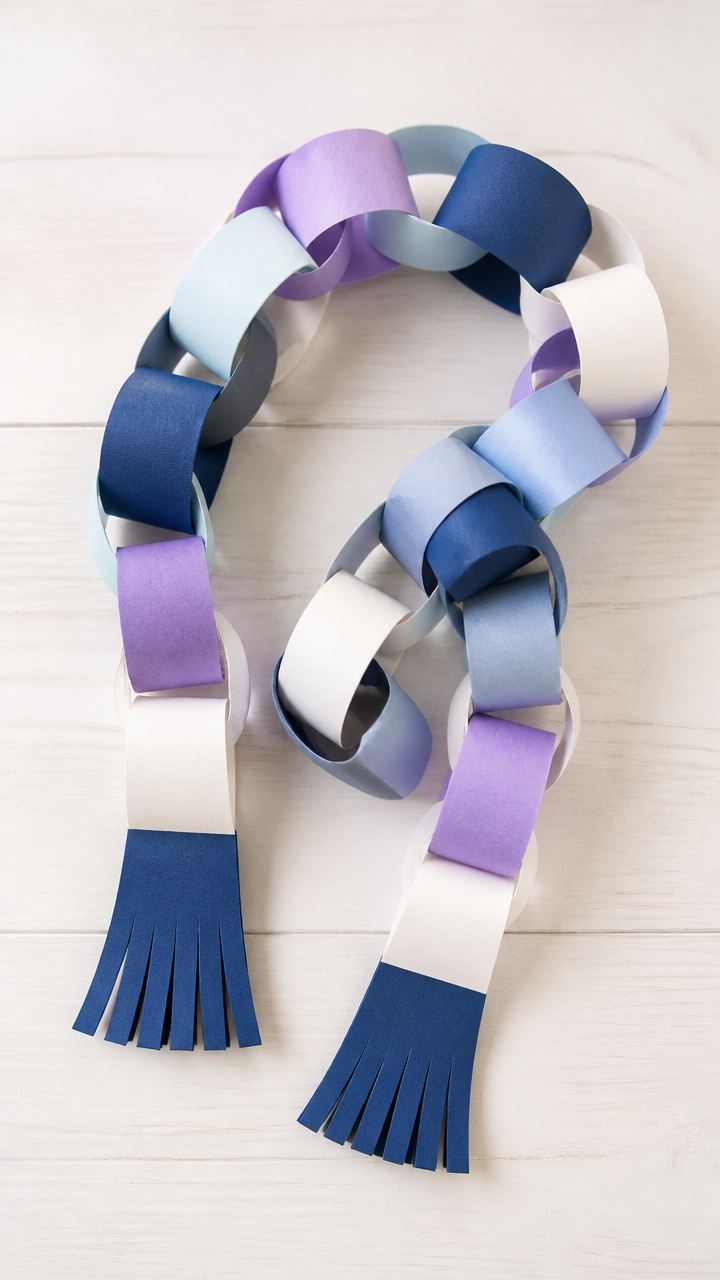
Long strips of colorful paper link together to make a wearable chain scarf. Dress-up time gets a handmade upgrade.
Materials Needed
- 6 sheets construction paper (assorted winter colors), 9×12 inches each
- Scissors
- Glue stick
- Ruler
How to Make It
- Cut each sheet into 1-inch wide strips, 12 inches long, yielding about 9 strips per sheet.
- Take one strip and form a circle, gluing the ends together with the glue stick.
- Thread a second strip through the first circle and glue its ends to form a linked ring.
- Repeat linking strips in alternating colors until the chain reaches 36 inches.
- Let the last glue joint dry for 10 minutes before wearing.


16. Clothespin Polar Bears
Easy
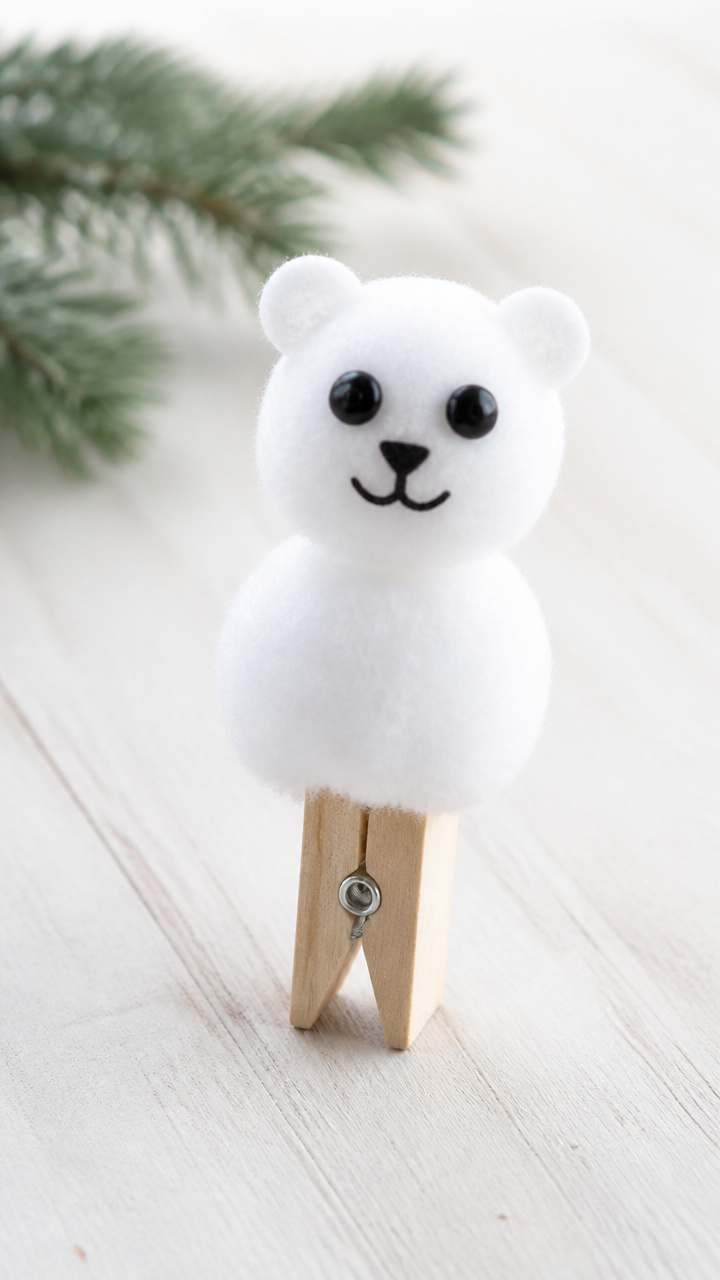
Wooden clothespins grow cotton ball fur and button eyes to become arctic animals. They can stand or clip onto displays.
Materials Needed
- 1 wooden clothespin, unpainted
- 3 white cotton balls
- 2 black craft buttons, 0.2 inch
- White school glue
- Small black marker
- Tweezers
How to Make It
- Pull apart the cotton balls into smaller fluffy pieces.
- Glue the cotton pieces all over the rounded end of the clothespin to form a furry bear head.
- Let the glue dry for 10 minutes.
- Glue the two buttons onto the cotton for eyes.
- Use the black marker to draw a small nose and mouth below the eyes.
17. Puffy Paint Handprints
Easy
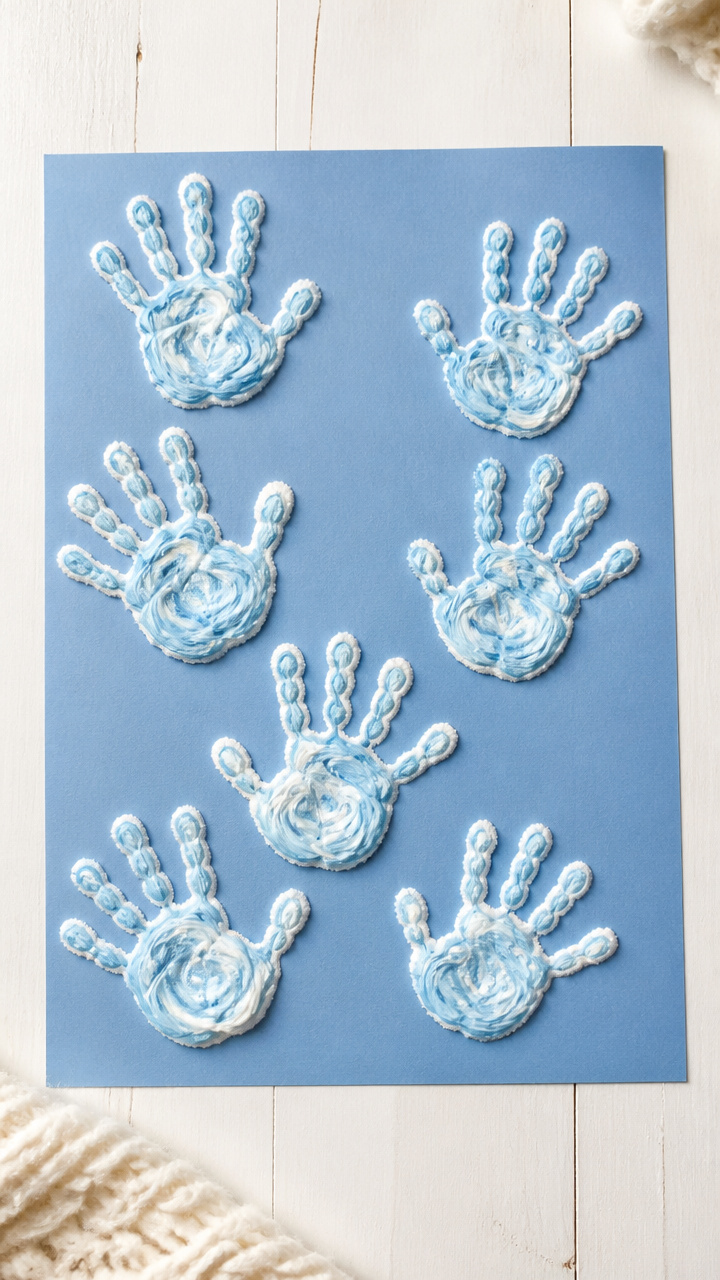
Swirled handprints rise off the paper with textured paint made from household ingredients. These keep growing alongside your child.
Materials Needed
- 1/2 cup all-purpose flour
- 1/2 cup salt
- 1/2 cup water
- Food coloring (white or light blue), 10 drops
- Mixing bowl
- Spoon
- White cardstock, A4, 1 sheet
- Paper plate
How to Make It
- Mix flour, salt, and water in the bowl until smooth, then stir in food coloring.
- Spoon the mixture onto the paper plate for easy access.
- Press your child's palm and fingers into the puffy mixture, coating completely.
- Press the hand firmly onto the cardstock to leave a thick print.
- Let the artwork dry flat for 24 hours until the paint is raised and solid.


Grab a glue stick and gather those bright papers and buttons. The best moments are waiting in the mess and the laughter that follows.