15 Valentine’s Day Crafts for Toddlers to Make at Home

Tiny hands pressing heart-shaped stamps into paper, giggles rising as pink paint squishes between fingers—Valentine's Day with toddlers is full of messy, joyful moments that become keepsakes. These crafts turn simple materials into sweet gifts and decorations that celebrate love in the most playful way.
Each idea uses safe, easy-to-find supplies and focuses on process over perfection. You’ll find finger painting, stamping, gluing, and more—all designed so little ones can do most of the work with just a bit of help.
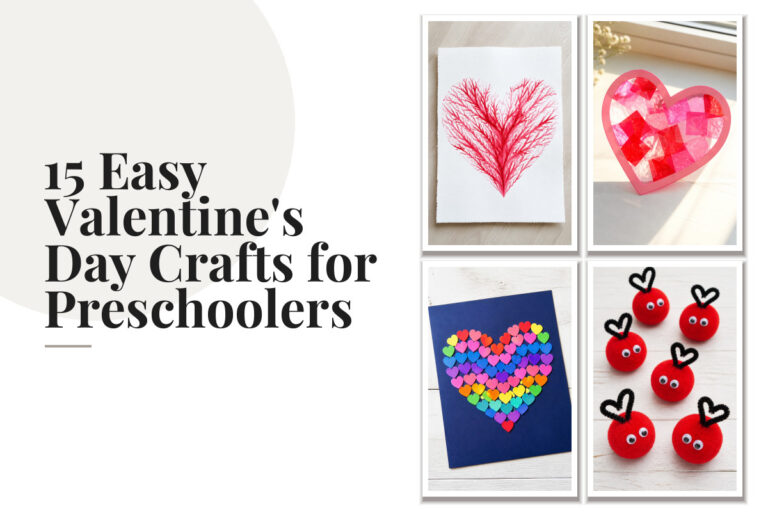
1. Fingerprint Heart Tree
Easy
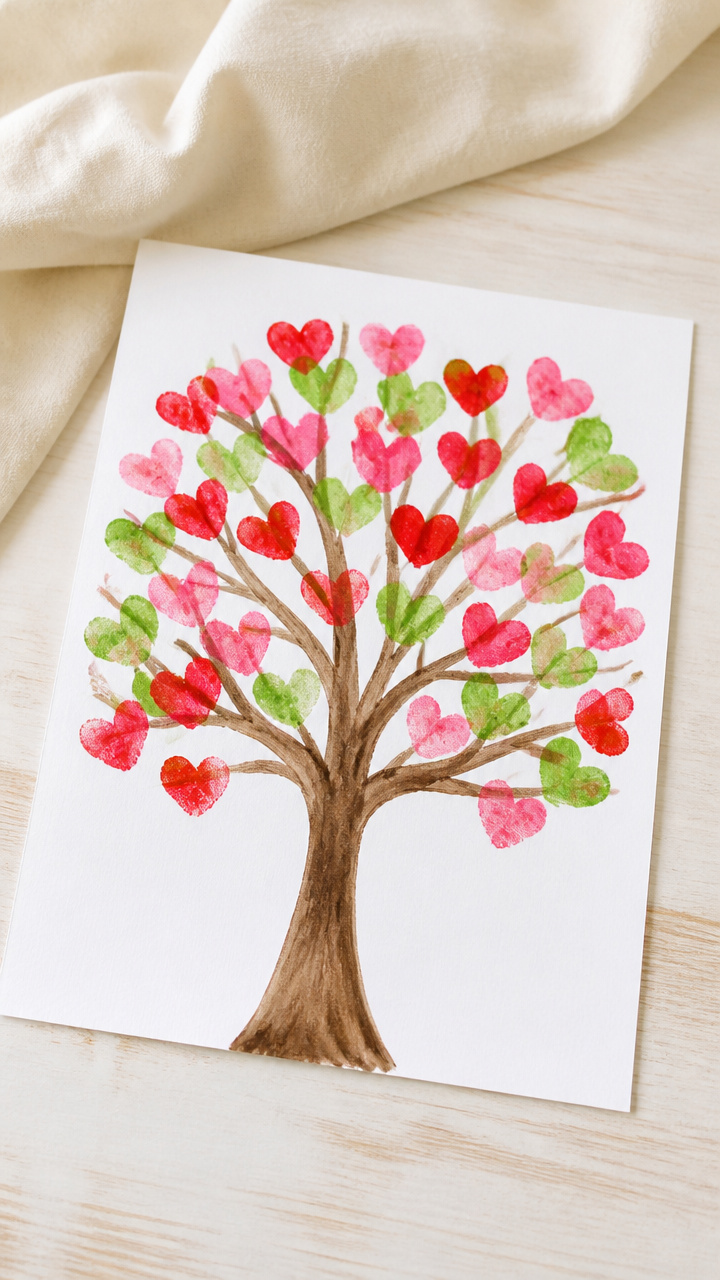
A bare tree branch blooms with colorful fingerprint hearts, turning a simple card into a lasting memory. This craft captures your toddler’s unique mark in a beautiful, frameable way.
Materials Needed
- A4 white cardstock
- Red acrylic paint
- Pink acrylic paint
- Green acrylic paint
- Paint tray or plastic plate
- Cotton swabs
- Black fine-tip marker
How to Make It
- Fold the A4 white cardstock in half vertically to make a card.
- Use a black fine-tip marker to draw a bare tree trunk and branches on the front of the card.
- Pour a dime-sized amount of red, pink, and green acrylic paint onto separate sections of a paint tray.
- Have your toddler dip their thumb into one color, press it firmly near a branch tip to make a heart shape, then wipe their thumb with a damp cloth before switching colors.
- Repeat with different colors to fill the branches with fingerprint hearts.
- Let the paint dry completely before adding a message inside with the marker.


2. Pom-Pom Heart Garland
Easy
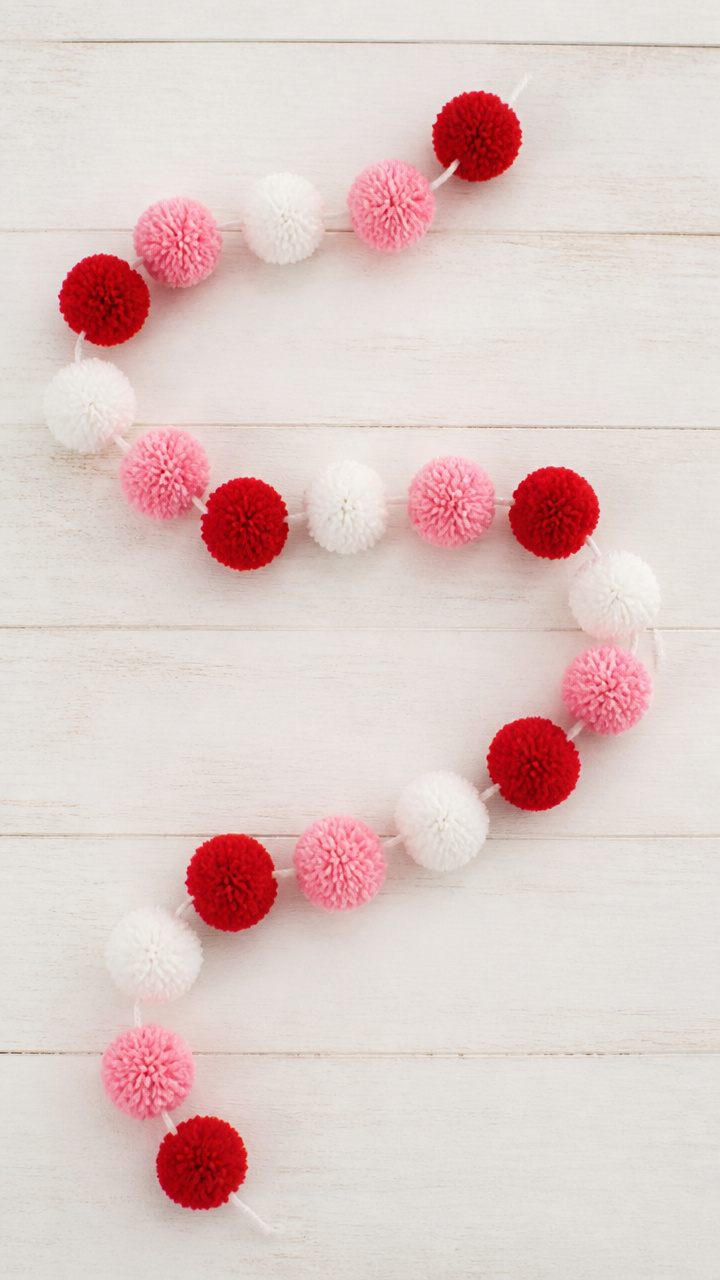
Bright pom-poms strung into a wavy garland bring soft texture and cheerful color to any room. This tactile project lets toddlers practice threading with big, forgiving pieces.
Materials Needed
- 20 assorted red, pink, and white pom-poms (1 inch diameter)
- White yarn (3 yards)
- Plastic blunt needle (large eye)
- Scissors
How to Make It
- Cut a 3-yard length of white yarn and thread one end through the eye of the plastic blunt needle.
- Hand the needle to your toddler and guide them to push it through the center of a pom-pom.
- Slide each pom-pom down the yarn as they string it, alternating colors for variety.
- Continue until all 20 pom-poms are threaded.
- Tie a secure knot at each end of the yarn to prevent slipping and hang the garland with tape or hooks.


3. Cotton Ball Heart Collage
Easy
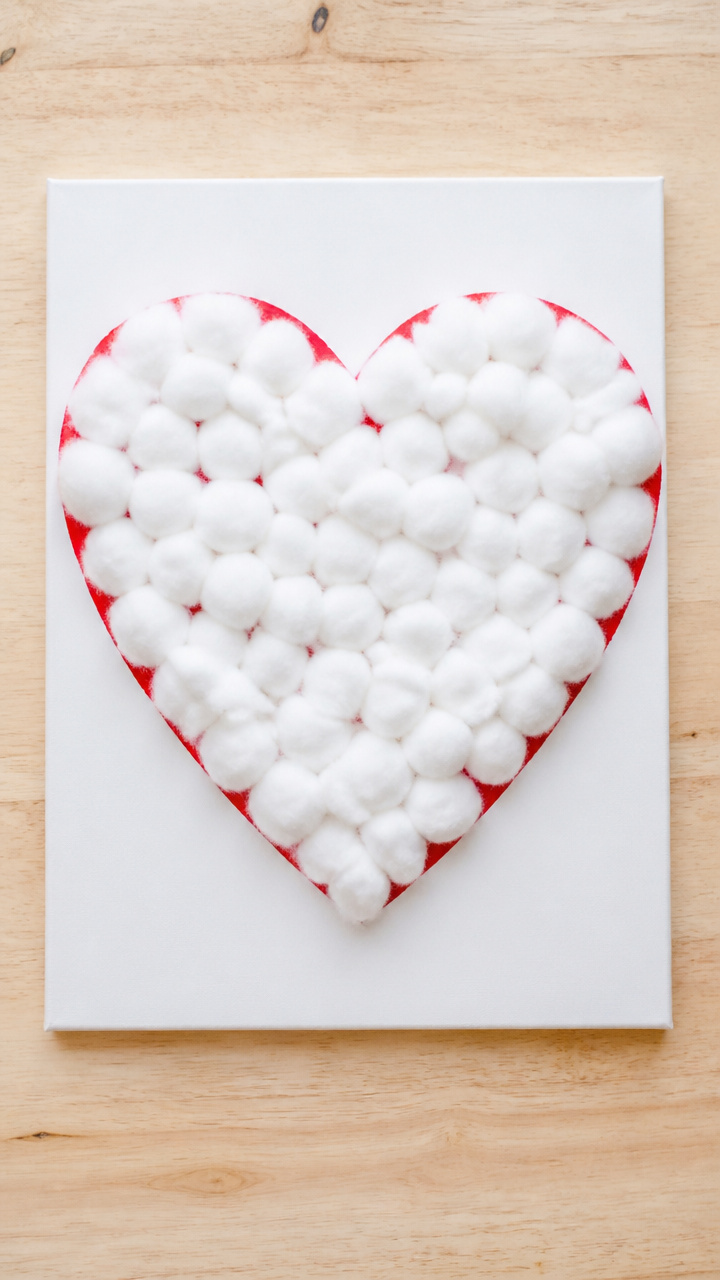
Fluffy cotton balls stick to glue-covered hearts, creating a soft, cloud-like texture perfect for little hands. The result is a cozy, sensory-rich piece ready for fridge display.
Materials Needed
- Cardboard sheet (9×12 inches)
- Red tempera paint
- Paintbrush (1 inch wide)
- White school glue
- Full bottle of cotton balls (approx. 50)
- Heart-shaped stencil (6 inches tall)
How to Make It
- Use the heart-shaped stencil to trace a large heart onto the cardboard with a pencil.
- Paint the entire heart shape with red tempera paint using the paintbrush and let it dry for 20 minutes.
- Apply a thick layer of white school glue inside the painted heart outline.
- Pinch individual cotton balls apart slightly and press them into the glue, covering the heart completely.
- Let the collage dry flat overnight before displaying.

4. Handprint Love Bug
Easy
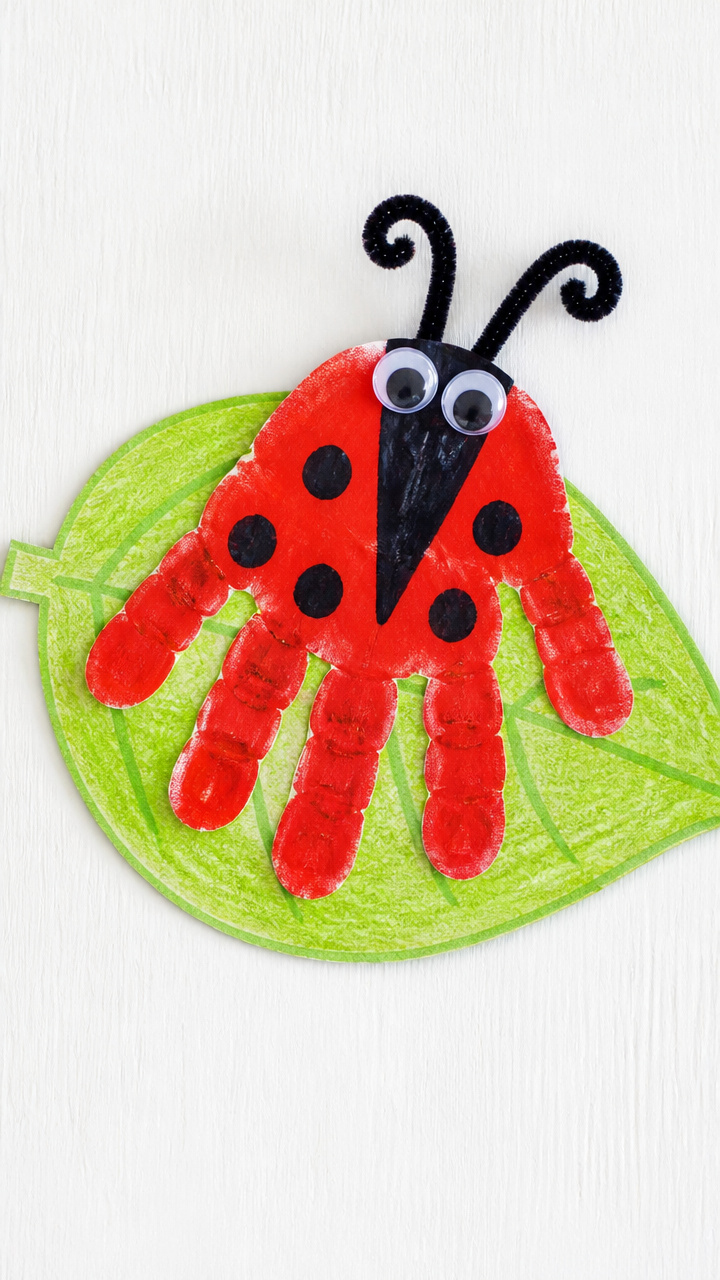
A bright ladybug made from a painted handprint flutters on a leaf with googly eyes and pipe cleaner antennae. This craft turns a classic print into a character full of charm.
Materials Needed
- White construction paper (8.5×11 inches)
- Red washable paint
- Black washable paint
- Googly eyes (1/2 inch, 2 per bug)
- Black pipe cleaners (2 per bug)
- Green crayon
- Glue stick
- Scissors
How to Make It
- Help your toddler press their hand, palm down, into red washable paint and then onto the left side of the paper to make a handprint.
- Let the paint dry for 15 minutes.
- Use black washable paint to add two oval spots near the top of the handprint and a curved line for a smile below the thumb.
- Glue on two googly eyes above the smile.
- Cut a 3-inch piece of black pipe cleaner and bend one end into a small coil, then glue both ends behind the top of the handprint to make antennae.
- Draw a simple leaf with the green crayon on the right side of the paper and label it 'Love Bug' underneath.


5. Sticker Heart Mosaic
Easy
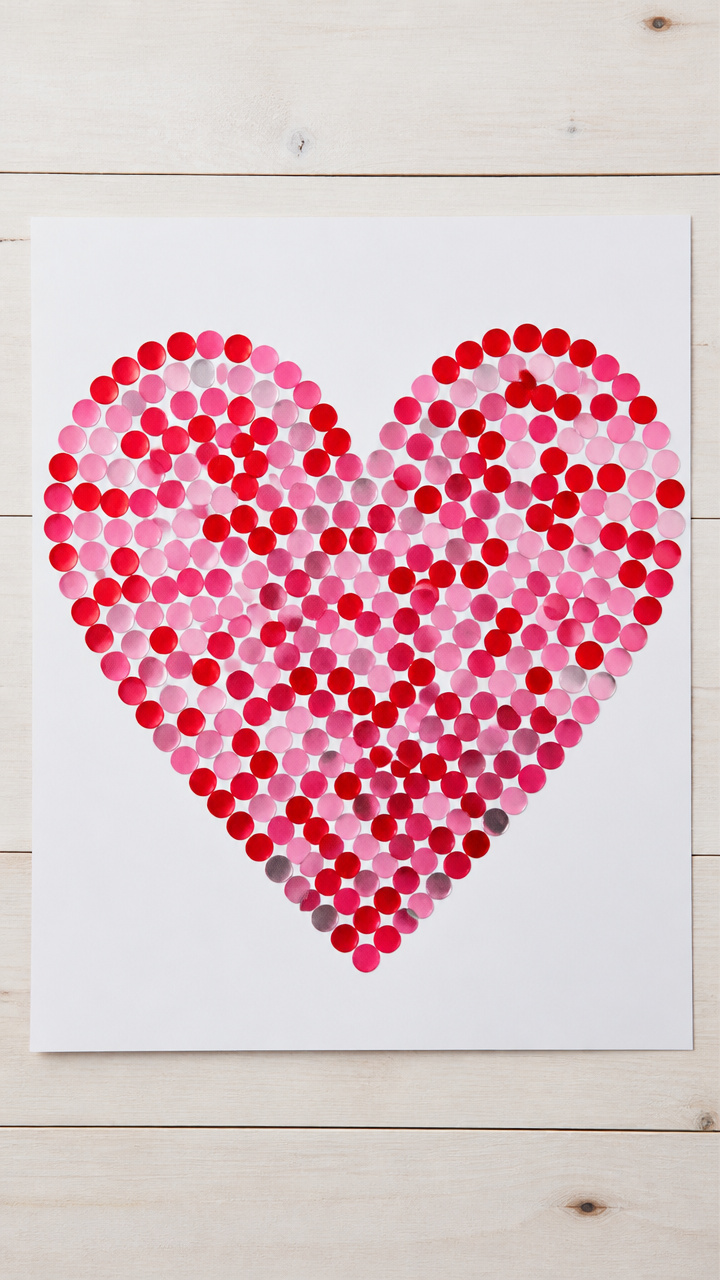
Colorful dot stickers arranged into a giant heart form a bold, no-mess mosaic that builds fine motor skills. This clean craft suits even the youngest crafters with minimal cleanup.
Materials Needed
- Large white poster board (11×14 inches)
- Red round sticker dots (1 inch, 30 count)
- Pink round sticker dots (1 inch, 30 count)
- Silver star sticker dots (1 inch, 10 count)
- Heart-shaped object (6 inches) to trace
How to Make It
- Place the heart-shaped object in the center of the poster board and trace around it with a pencil.
- Have your toddler peel and place red, pink, and silver dot stickers side by side inside the heart outline.
- Fill the entire heart shape with stickers, overlapping slightly if needed.
- Press each sticker down firmly with a fingertip to ensure adhesion.
- Display the mosaic on a wall or fridge.


6. Paper Cup Rose
Moderate
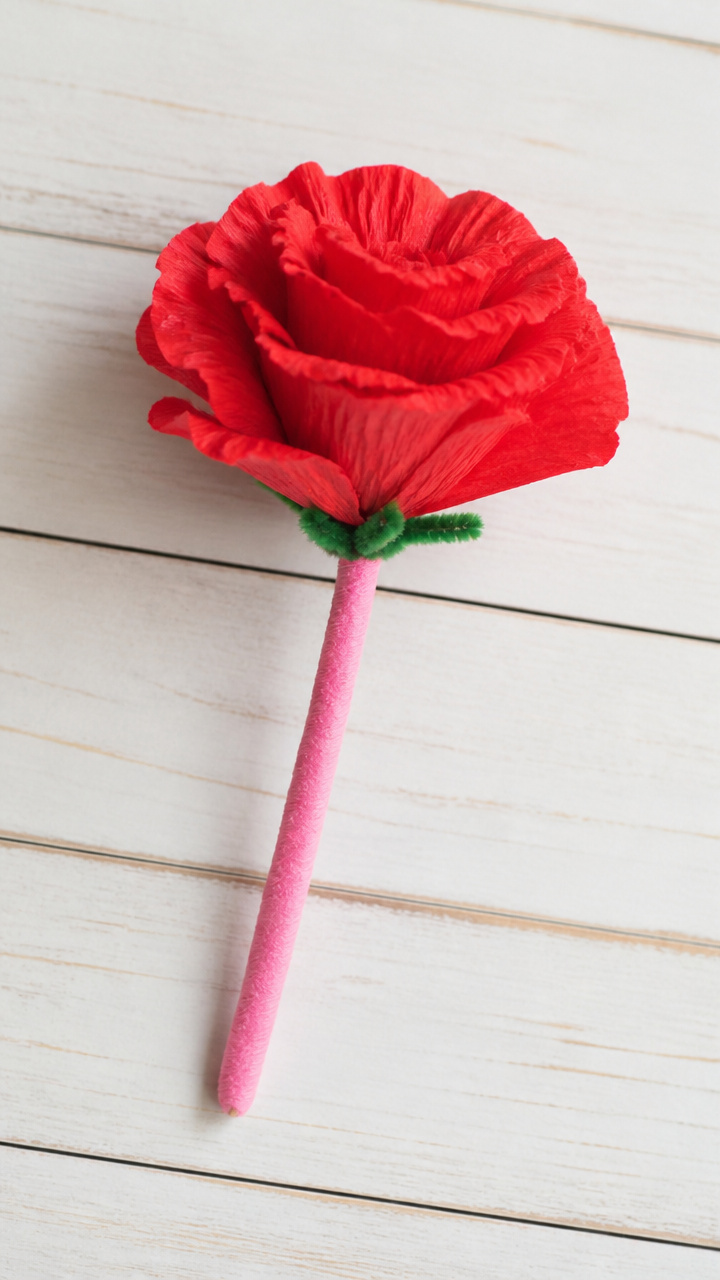
A crinkled paper cup transforms into a blooming rose with a twist and a ribbon stem. This 3D flower holds up well and makes a cute handmade bouquet.
Materials Needed
- Red paper cup (9 oz)
- Green pipe cleaner (1 per rose)
- Pink crepe paper streamer (1 roll)
- Scissors
- Hot glue gun
- Glue sticks
- Ruler
How to Make It
- Use scissors to cut off the bottom 1.5 inches of the red paper cup.
- Make 12 vertical cuts, each 1 inch long, around the outer edge of the cut ring.
- Twist each cut strip inward with your fingers to create a ruffled petal effect.
- Cut a 6-inch length of pink crepe paper and accordion-fold it into 1-inch pleats, then fan it out slightly.
- Roll the folded crepe paper tightly and place it in the center of the ruffled ring.
- Use the hot glue gun to attach the base of the crepe roll and the ruffled ring together.
- Wrap a green pipe cleaner around the base and twist to form a stem, securing it with hot glue.


7. Heart-Shaped Pasta Necklace
Easy
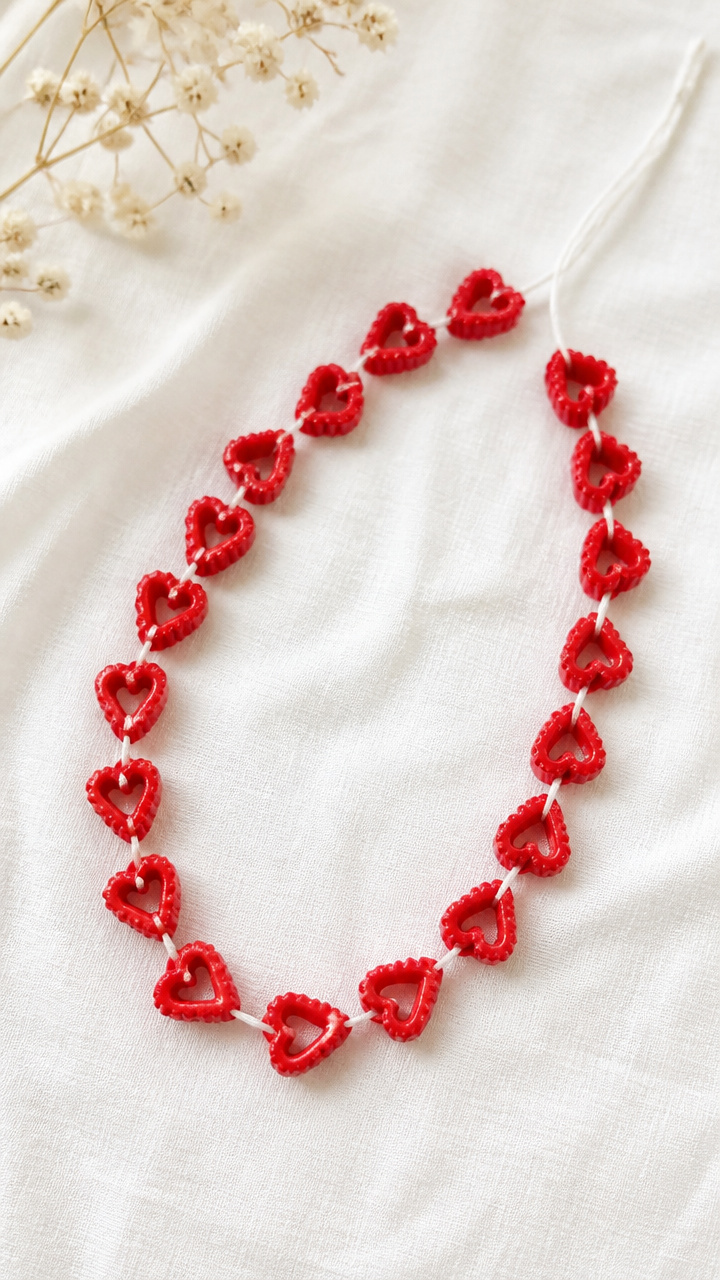
Colored macaroni shaped like hearts becomes a wearable keepsake strung with care. This edible craft doubles as a snack-safe activity for cautious toddlers.
Materials Needed
- Dried heart-shaped pasta (1 cup)
- Red food coloring
- Zip-top bag (quart size)
- White vinegar (1 tablespoon)
- Water (1/4 cup)
- Yarn (2 yards per necklace)
- Tape
- Scissors
How to Make It
- Mix 1/4 cup water, 1 tablespoon white vinegar, and 5 drops of red food coloring in a quart zip-top bag.
- Add 1 cup of dried heart-shaped pasta and seal the bag, shaking gently until all pieces are coated.
- Let the pasta soak for 10 minutes, then spread it on a paper towel to dry for 2 hours.
- Cut a 2-yard length of yarn and tape one end to the table to stabilize it.
- Have your toddler thread colored pasta hearts onto the yarn.
- Tie the ends of the yarn together once the strand reaches neck size.


8. Doily Heart Cards
Easy
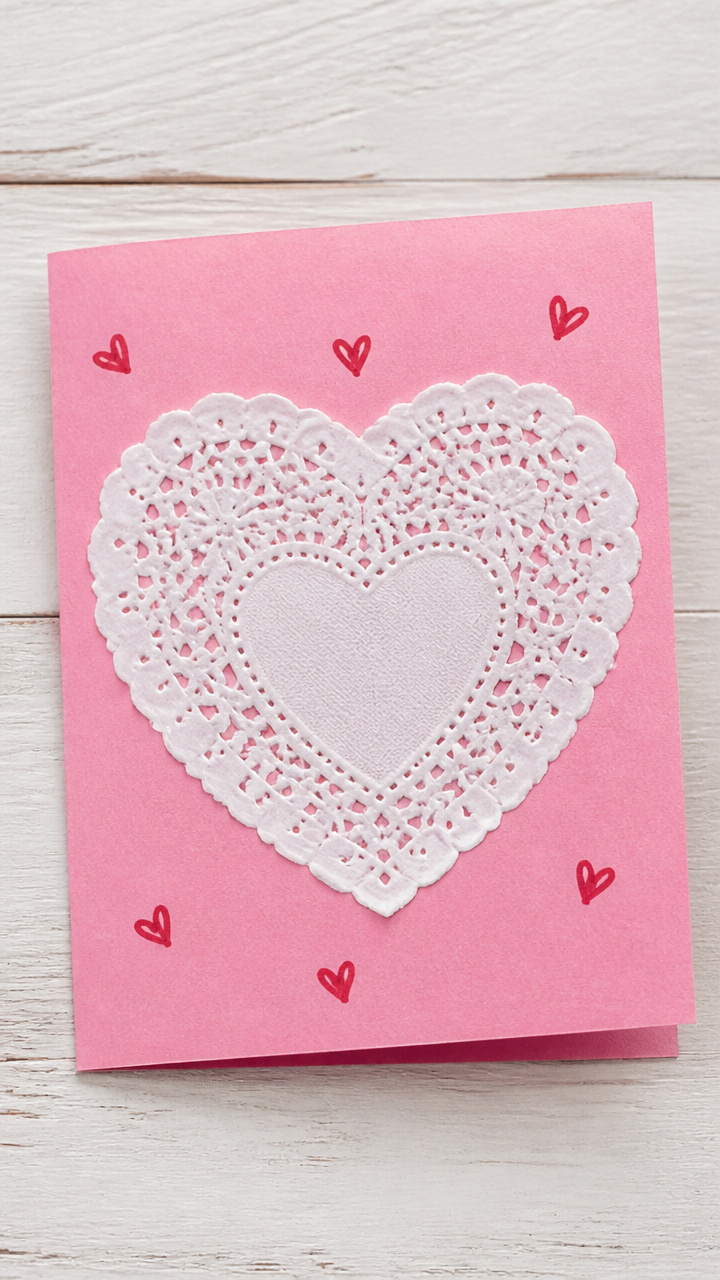
Delicate paper doilies layered over construction paper create elegant valentines with lacey edges. These cards feel special but take just minutes to assemble.
Materials Needed
- Pink construction paper (8.5×11 inches, 5 sheets)
- White paper doilies (5 inch diameter, 5 count)
- Red markers
- Glue stick
- Scissors
- Heart punch (2 inch)
How to Make It
- Fold each sheet of pink construction paper in half to make a card.
- Use the heart punch to cut a heart shape from the center of each folded card front.
- Apply a thin layer of glue around the edge of the heart opening on the inside of the card.
- Center a white paper doily over the opening and press it into the glue.
- Let the glue dry for 5 minutes, then write a message like 'You're Loved!' inside with a red marker.


9. Crayon Heart Rubbings
Easy
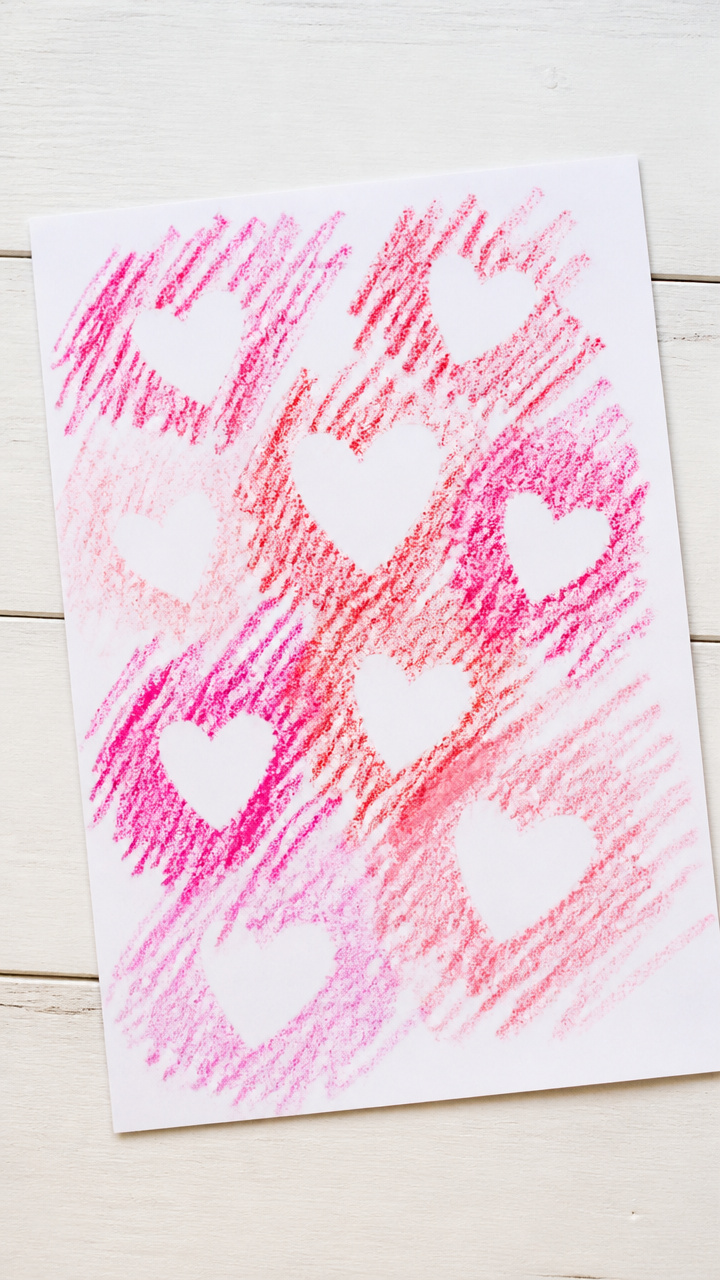
Hidden hearts appear under crayon strokes when placed over textured shapes below. This discovery-based craft blends art and surprise in every swipe.
Materials Needed
- White drawing paper (8.5×11 inches, 5 sheets)
- Broken red and pink crayons (paper removed)
- Foam heart stickers (2 inch, 10 count)
- Cardboard sheet (9×12 inches)
How to Make It
- Stick five foam heart stickers randomly onto the cardboard sheet, pressing firmly.
- Place one sheet of white drawing paper over the cardboard.
- Have your toddler rub the side of a red or pink crayon over the paper where hearts are hidden underneath.
- Watch hearts appear as the crayon catches the raised foam edges.
- Repeat with new paper sheets until all crayons are used.


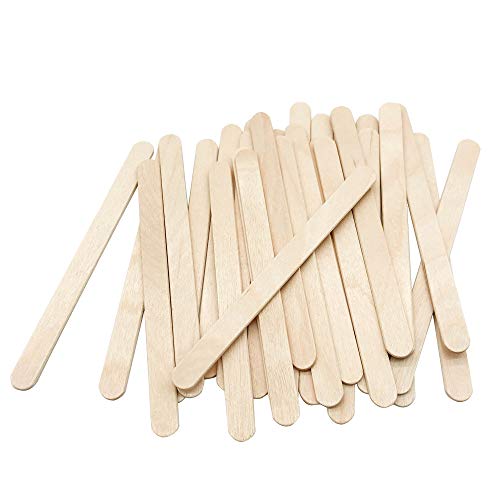
10. Popsicle Stick Frame
Moderate
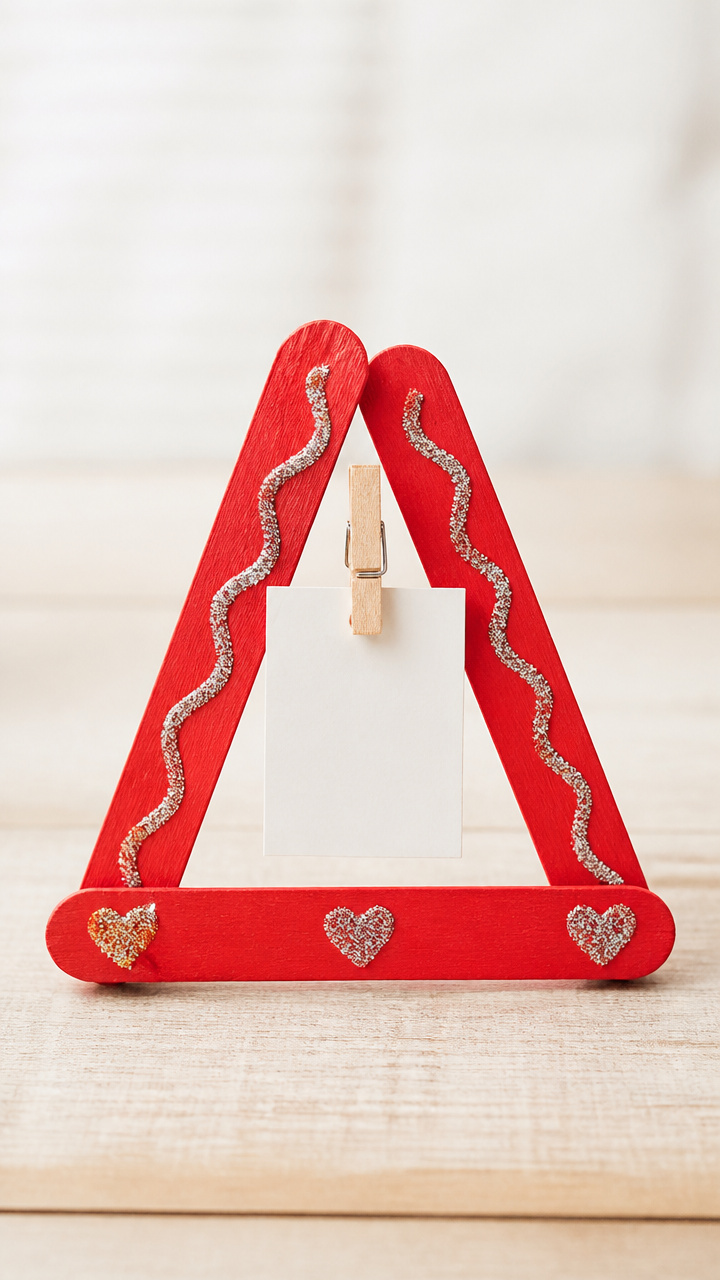
Three painted sticks form a mini easel frame that holds a tiny love note or photo. This sturdy keepsake stands on its own with pride.
Materials Needed
- Three jumbo popsicle sticks (6 inches long)
- Red acrylic paint
- Paintbrush (1/2 inch)
- Glitter glue (red)
- Clothespin (mini, 1.5 inch)
- Double-sided tape
- Small photo or hand-drawn heart (2×2 inches)
How to Make It
- Paint both sides of all three popsicle sticks with red acrylic paint and let dry for 20 minutes.
- Squeeze glitter glue along the edges of each stick and let dry for 30 minutes.
- Clip the mini clothespin to the center of one stick to act as the stand base.
- Use double-sided tape to attach the other two sticks to the sides of the clothespin, forming an A-frame.
- Stick the photo or drawing to the front with a small piece of tape.


11. Sock Puppet Sweetheart
Moderate
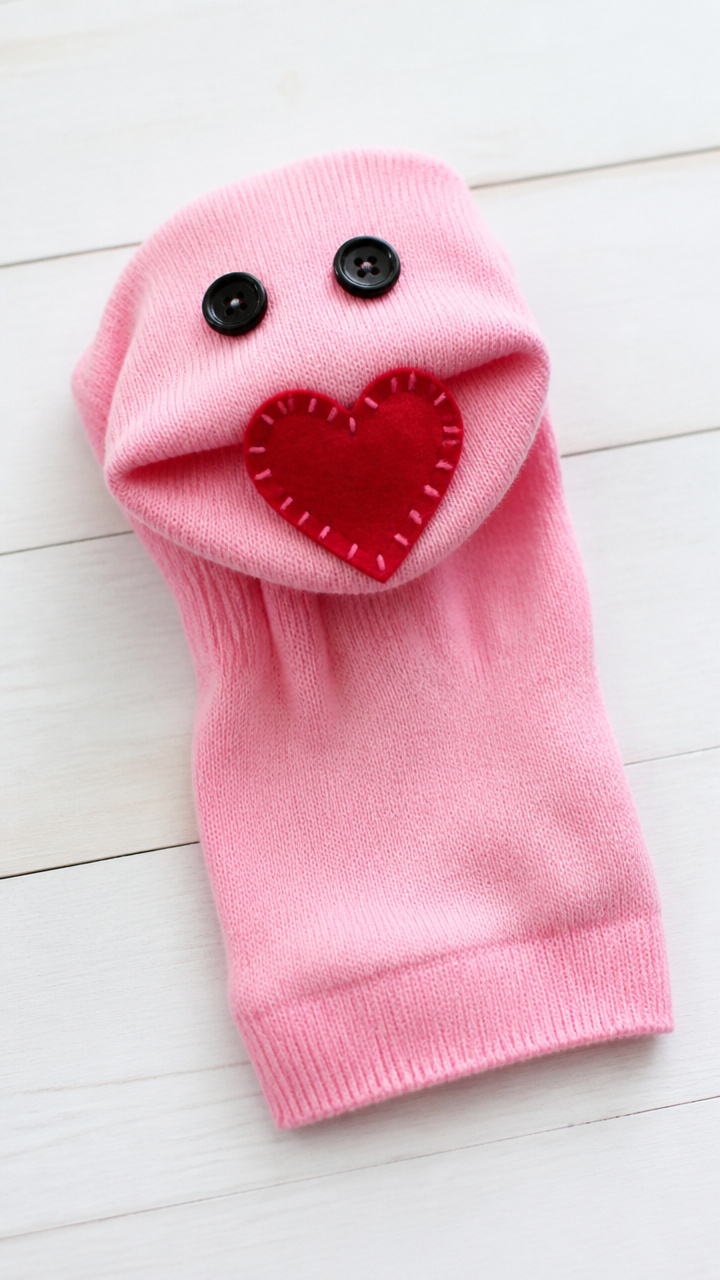
An old sock gains button eyes and a heart mouth to become a talking valentine friend. This plush puppet invites storytelling and cuddles after crafting.
Materials Needed
- Clean toddler ankle sock (pink or red)
- Black button (1/2 inch, 2)
- Red felt sheet (6×9 inches)
- Fabric glue
- Scissors
- Pink embroidery floss (1 yard)
- Needle (blunt-tipped)
How to Make It
- Lay the sock flat with the heel facing up to form the puppet’s head.
- Cut two small circles from the red felt for cheeks and glue them to the upper foot area of the sock.
- Glue the two black buttons below the heel for eyes.
- Cut a small heart from remaining red felt and glue it centered below the eyes for the mouth.
- Thread the blunt needle with pink embroidery floss and stitch a zigzag smile across the heart.
- Let the glue dry for 1 hour before sliding a hand inside to play.


12. Tissue Paper Suncatcher
Easy
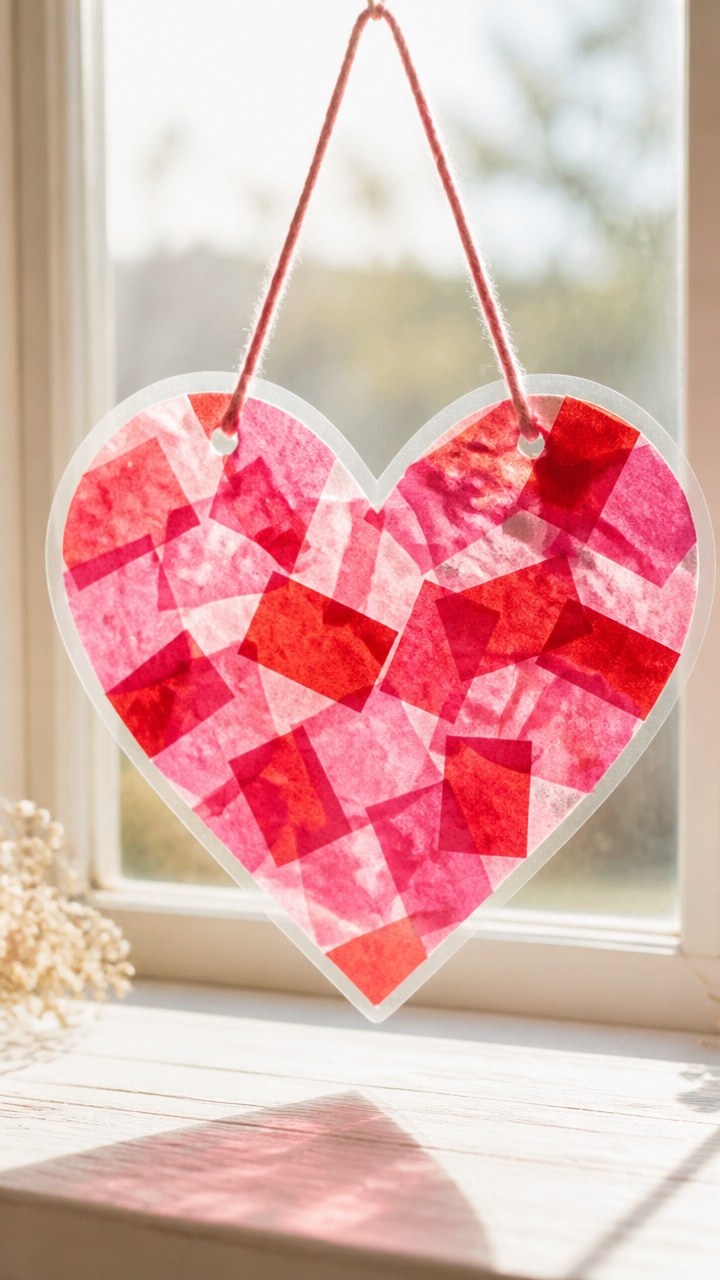
Layered pink and red tissue squares stick to contact paper to catch sunlight like stained glass. This lightweight decoration shines brightly in any window.
Materials Needed
- Clear contact paper (12×18 inches, 2 sheets)
- Pink tissue paper (8×10 inches, 4 sheets)
- Red tissue paper (8×10 inches, 4 sheets)
- Scissors
- Heart template (5 inch)
- Yarn (12 inches)
- Hole punch
How to Make It
- Peel the backing off one sheet of contact paper and lay it sticky-side up on a flat surface.
- Cut the tissue paper into 2-inch squares using scissors.
- Have your toddler place tissue squares onto the sticky surface, covering the area inside the heart template.
- Place the second sheet of contact paper on top, sticky sides together, and press gently to seal.
- Trim around the heart shape with scissors, then punch a hole at the top and thread with yarn to hang.

13. Button Heart Magnet
Easy
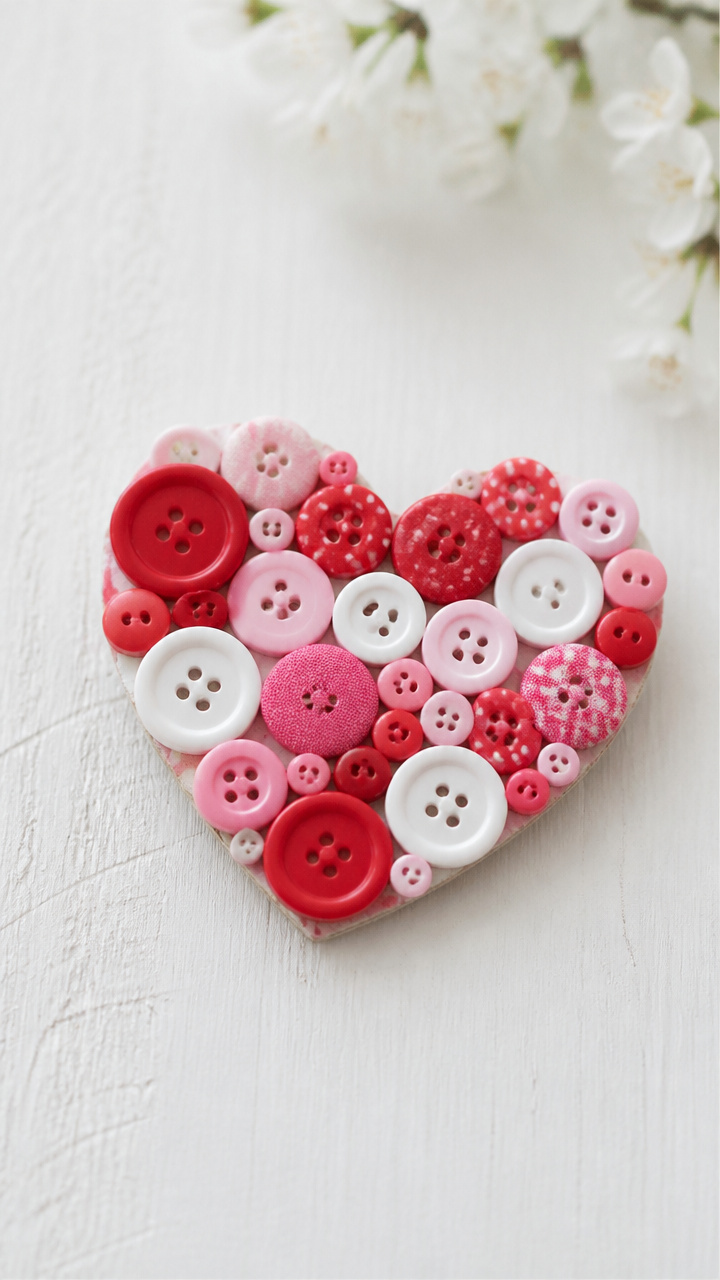
Mismatched buttons glued into a heart shape stick to the fridge with magnetic backing. This craft recycles old notions into cheerful daily reminders.
Materials Needed
- Assorted red, pink, and white buttons (20 total, various sizes)
- White craft glue
- Magnetic tape (1×2 inch strip)
- Cardboard scrap (3×3 inches)
- Heart stencil (2 inch)
- Tweezers
How to Make It
- Trace a 2-inch heart onto the cardboard scrap and cut it out with scissors.
- Apply a thin layer of white craft glue to the front of the heart.
- Use tweezers to place buttons close together within the heart outline, starting from the edge inward.
- Press each button down gently to secure it.
- Let the glue dry for 2 hours, then glue the magnetic tape to the back and dry another 30 minutes.


14. Straw-Blown Paint Hearts
Moderate
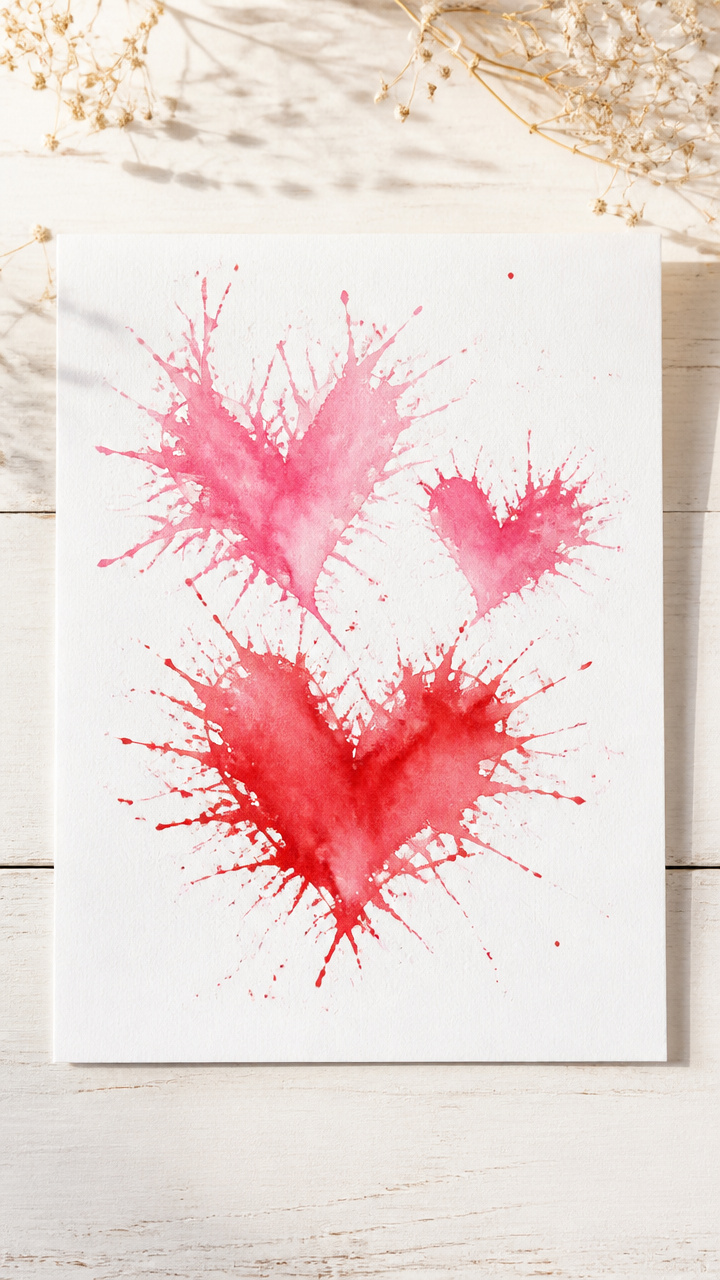
A drop of paint blown through a straw spreads into a feathery heart shape on paper. This dynamic technique creates surprising, one-of-a-kind art.
Materials Needed
- White cardstock (8.5×11 inches, 5 sheets)
- Red liquid watercolor paint
- Pink liquid watercolor paint
- Drinking straws (5)
- Eye dropper
- Smock or apron
How to Make It
- Put a smock on your toddler to protect clothing.
- Use an eye dropper to place one drop of red liquid watercolor near the center of the cardstock.
- Have your toddler place the straw just above the drop and blow steadily through the straw to spread the paint outward.
- Repeat with pink paint on a new sheet to make a blended effect.
- Let each painting dry flat for 15 minutes before handling.


15. Yarn-Wrapped Heart Board
Moderate
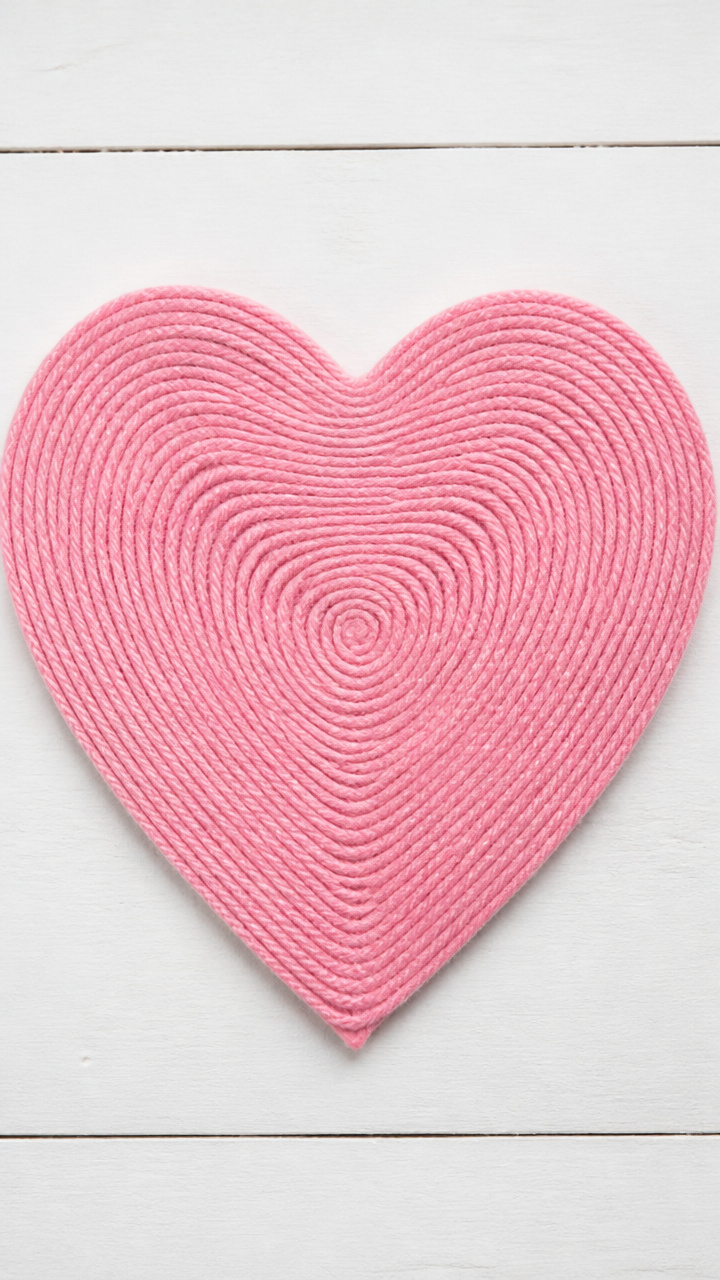
Smooth yarn spirals around a cardboard heart, building tension and texture with every wrap. This calming activity improves grip and focus.
Materials Needed
- Cardboard (9×12 inches)
- Pencil
- Scissors
- Pink yarn (100 yards)
- White craft glue
- Craft stick
How to Make It
- Draw a 5-inch heart on the cardboard with a pencil and cut it out with scissors.
- Place a dot of white craft glue near the bottom tip of the heart.
- Press the end of the pink yarn into the glue and hold for 10 seconds to secure.
- Wrap the yarn tightly around the heart, moving upward in a spiral, adding small dabs of glue every inch with the craft stick to hold the yarn in place.
- Continue wrapping until the entire heart is covered, then glue the end down and let dry for 1 hour.


Grab a few basics like glue, paper, and paint, and let your toddler’s imagination lead the way. These crafts aren’t just fun—they’re little love stories told through tiny hands.