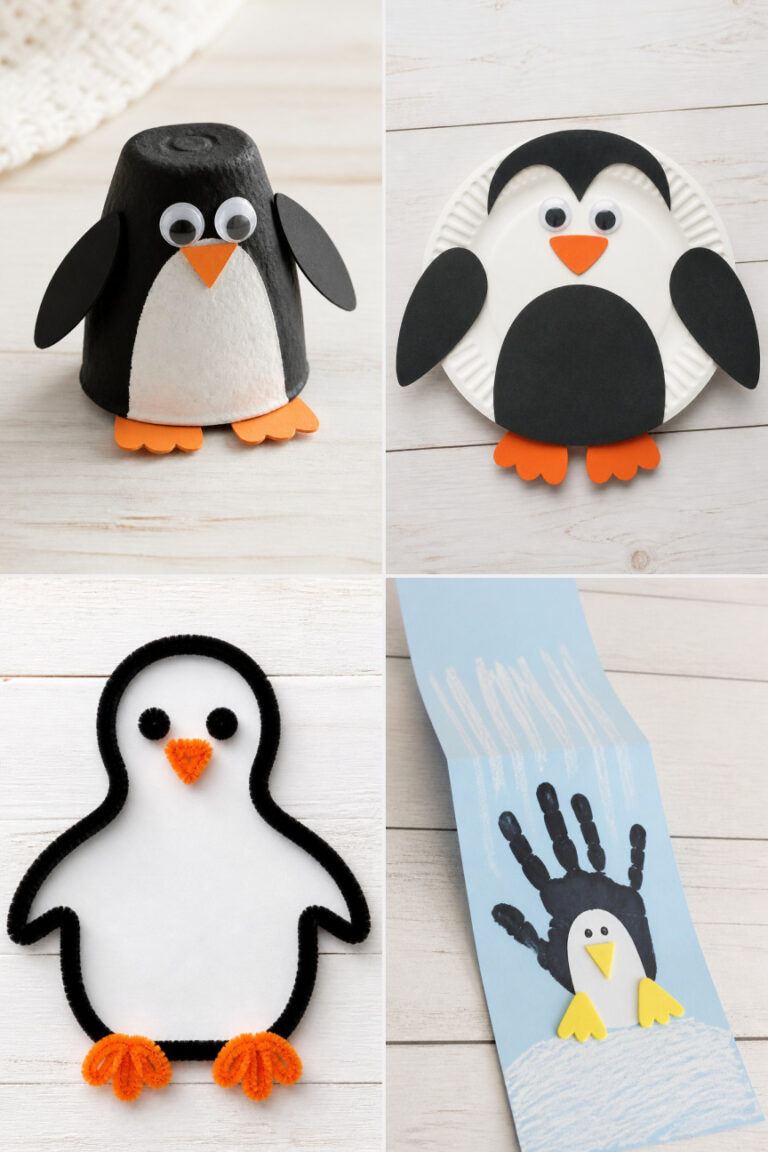
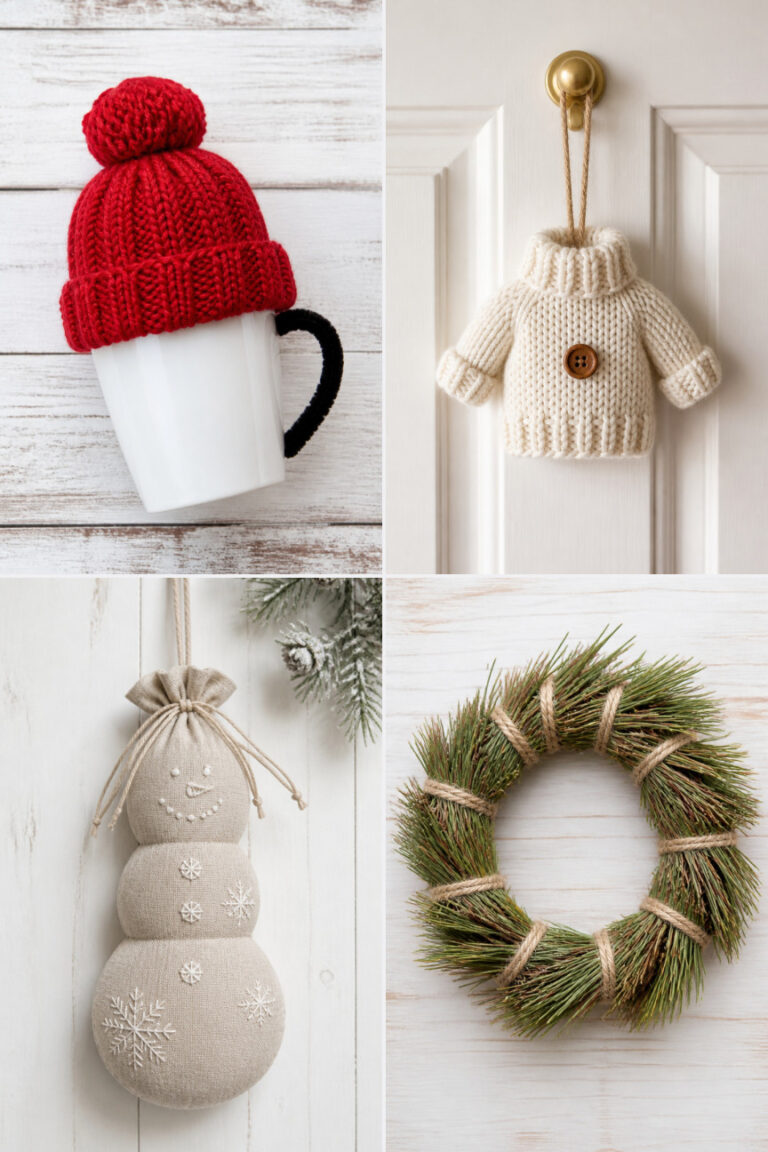
15 Winter Solstice Art Projects for Preschool

Candles glow softly on long, quiet nights, and tiny hands reach for glue sticks and glitter. These moments invite wonder, connection, and simple creativity that matches the rhythm of the season.
Each project here celebrates light, nature, and warmth in a way preschoolers can touch, shape, and carry home with pride. No flashy gimmicks, just honest art made from accessible materials and big feelings.
1. Glittery Pinecone Lanterns
Easy
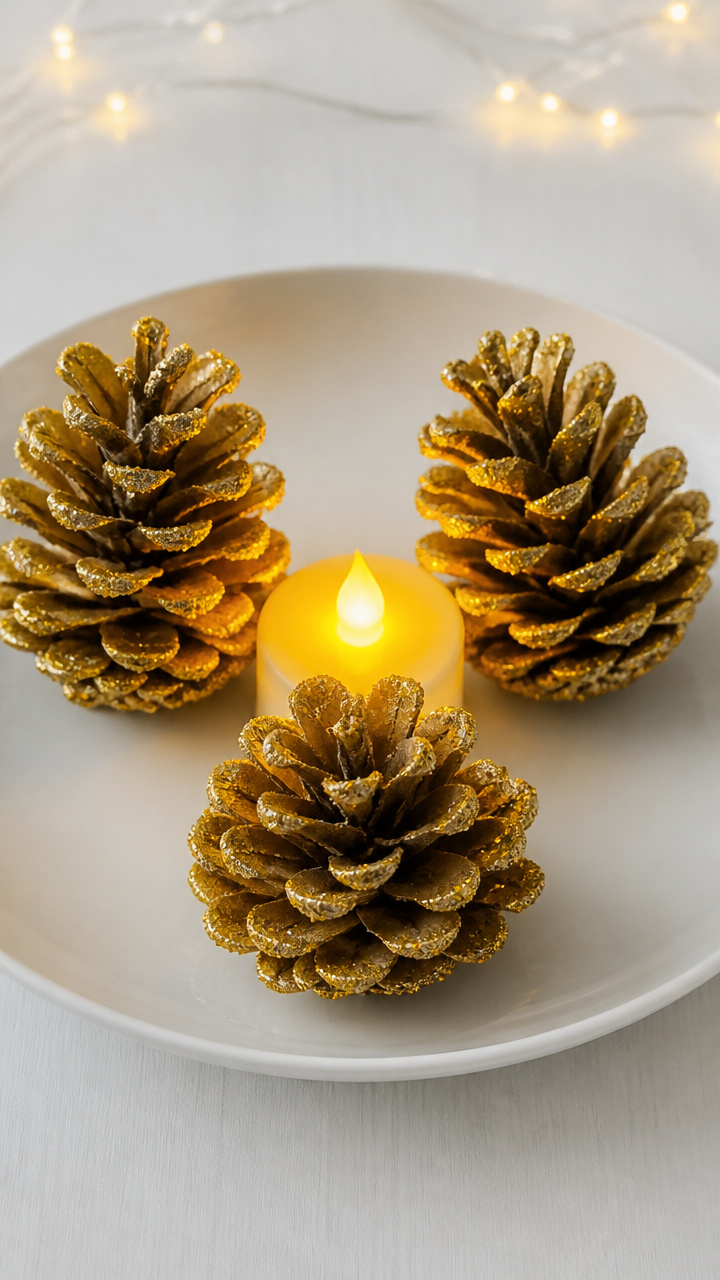
A cluster of glowing pinecones dusted with gold catches the low winter light like tiny beacons. Children love the crunch of glitter between fingers and the surprise of turning rough forest finds into soft radiance.
Materials Needed
- 3 pinecones per child (cleaned, dry)
- Gold glitter (fine, biodegradable preferred)
- White school glue (4 oz bottle)
- Small paper plates (6-inch, 1 per child)
- Tealight LED candles (plastic-encased, 1 per child)
- Paintbrushes (1 per child)
How to Make It
- Place one pinecone on a paper plate in front of each child.
- Pour a small pool of white school glue onto the plate beside the pinecone.
- Use the paintbrush to coat the outer scales of the pinecone with glue, working from base to tip.
- Sprinkle gold glitter over the glued areas, covering as much as possible.
- Shake off excess glitter back into a shared container for reuse.
- Let pinecones dry flat on the plates for at least 2 hours before placing each on top of an LED tealight.


2. Salt Dough Sun Disks
Moderate
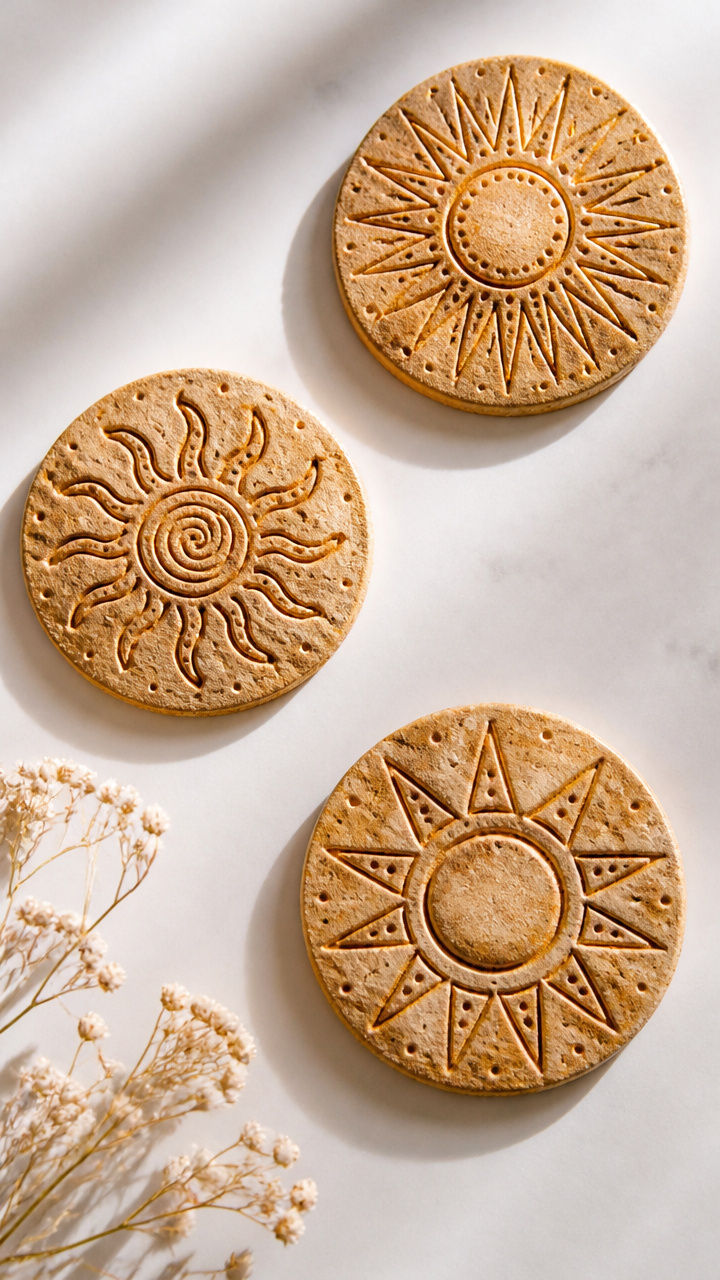
Round, textured disks pressed with sun symbols hang in windows, catching weak daylight and reflecting it warmly. Baking these gives them weight and permanence, making them feel like real treasures.
Materials Needed
- 2 cups all-purpose flour
- 1 cup table salt
- 3/4 cup warm water
- Rolling pins (one per table)
- Circular cookie cutters (4-inch diameter, 1 per child)
- Chopsticks or blunt pencils (for imprinting)
- Oven-safe baking sheets (2 per class)
- Parchment paper (to line sheets)
- Natural twine (for hanging, 12 inches per disk)
- Acrylic sealer spray (matte finish, non-toxic)
How to Make It
- Mix flour, salt, and warm water in a large bowl until a smooth dough forms, adding a teaspoon more water if too dry.
- Knead dough for 2 minutes on a floured surface until elastic.
- Roll out dough to 1/4-inch thickness using a rolling pin.
- Cut out circles with the cookie cutter, one for each child.
- Use chopsticks to press sun rays, dots, or spirals into the surface of each disk.
- Poke a small hole near the edge with a pencil for twine later.
- Place disks on parchment-lined baking sheets and bake at 200°F for 3 hours until hard.
- Let cool completely, then thread twine through the hole to hang.
- Spray both sides lightly with acrylic sealer and let dry 1 hour.


3. Cotton Ball Snow Trees
Easy
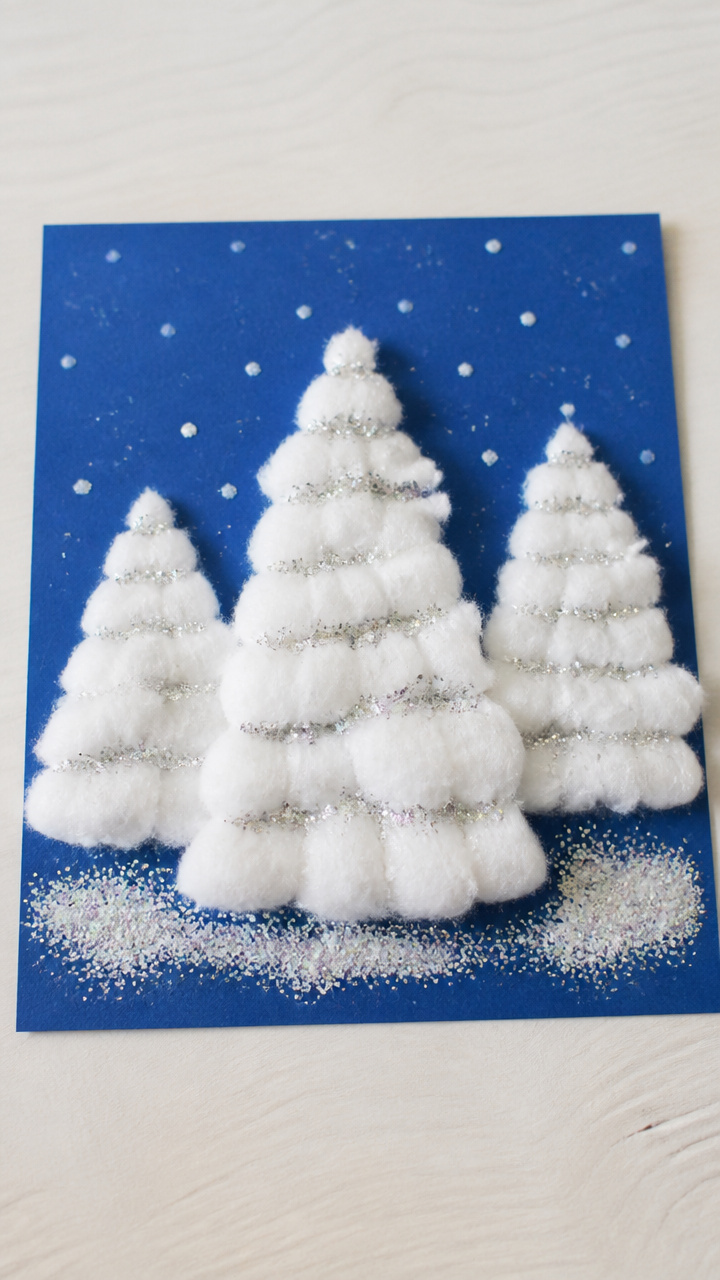
Fluffy clusters of cotton balls form silvery trees against deep blue paper, mimicking frost-covered branches seen through cold windows. The tactile layering helps little ones explore depth without needing fine control.
Materials Needed
- 12×18-inch dark blue construction paper (1 per child)
- White school glue (4 oz bottle)
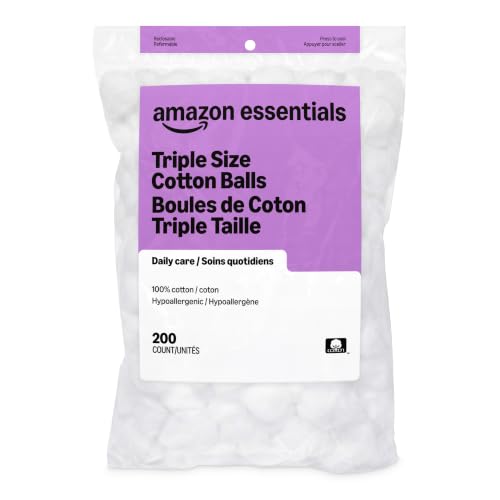
- Large cotton balls (20 per child)
- Silver glitter (coarse, 1 small jar)
- Paintbrushes (1 per child)
- Black fine-tip markers (washable, 1 per child)
How to Make It
- Give each child a sheet of dark blue paper placed vertically.
- Use the paintbrush to apply small dabs of glue along the bottom third of the page in uneven lines to suggest ground level.
- Press 4–5 cotton balls into each glue spot to form tree shapes, leaving space between clusters.
- Dip fingertips into silver glitter and gently tap over the cotton balls to add frost sparkle.
- Draw bare tree trunks and branches beneath each cotton ball cluster using the black marker.

4. Paper Plate Sundials
Moderate
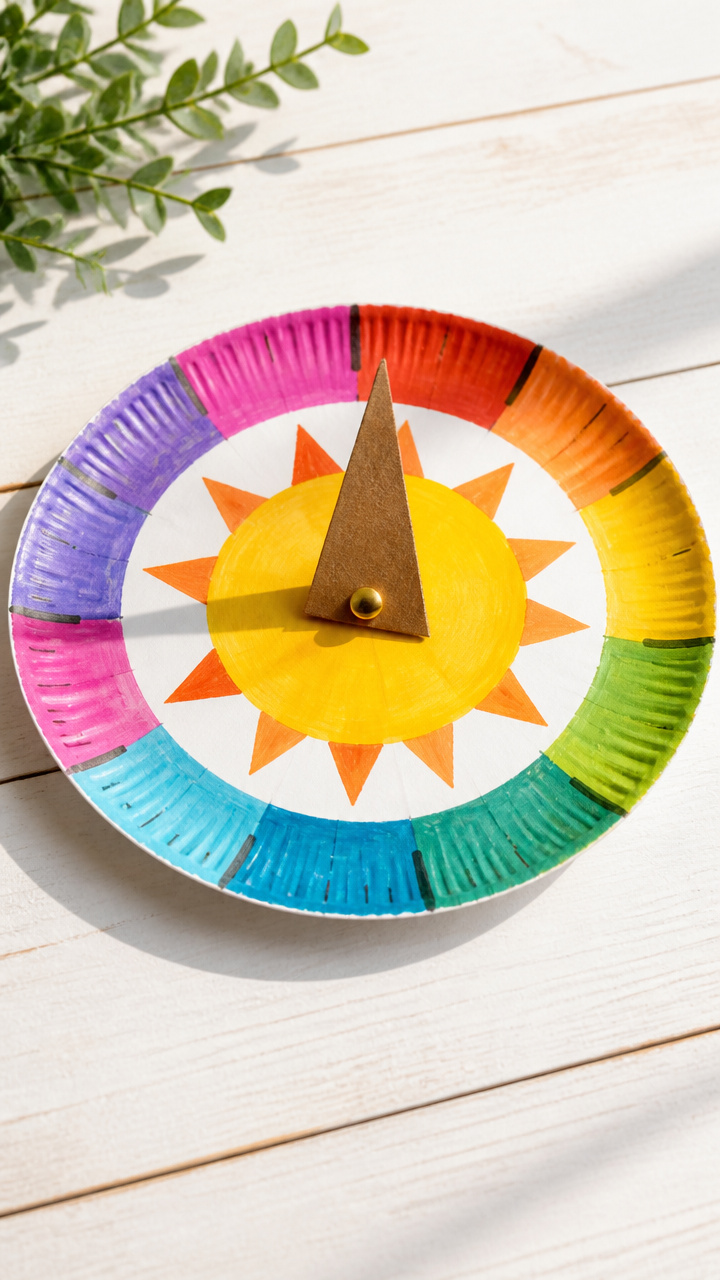
Brightly painted plates marked with hour notches stand upright with cast shadows showing time during short daylight hours. This craft introduces natural cycles through color and placement.
Materials Needed
- 9-inch white paper plates (1 per child)
- Acrylic paints (red, yellow, blue, green, 2 oz each)
- Paintbrushes (1 per child)
- Brass fasteners (2-inch, 1 per child)
- Cardboard triangles (3×3 inches, pre-cut, 1 per child)
- Rulers (1 per table)
- Pencils (sharpened, 1 per child)
- Permanent black markers (1 per child)
How to Make It
- Paint the rim of the paper plate in four equal sections using red, yellow, blue, and green, letting colors blend slightly at edges.
- Let plates dry flat for 20 minutes on newspaper.
- Use a ruler and pencil to mark 12 evenly spaced dots around the rim, starting at the top.
- Write numbers 1–12 next to each dot using the permanent marker.
- Push the brass fastener through the center of the plate from front to back.
- Attach the cardboard triangle behind the plate by bending the prongs of the fastener outward.


5. Crayon Resist Starry Skies
Easy
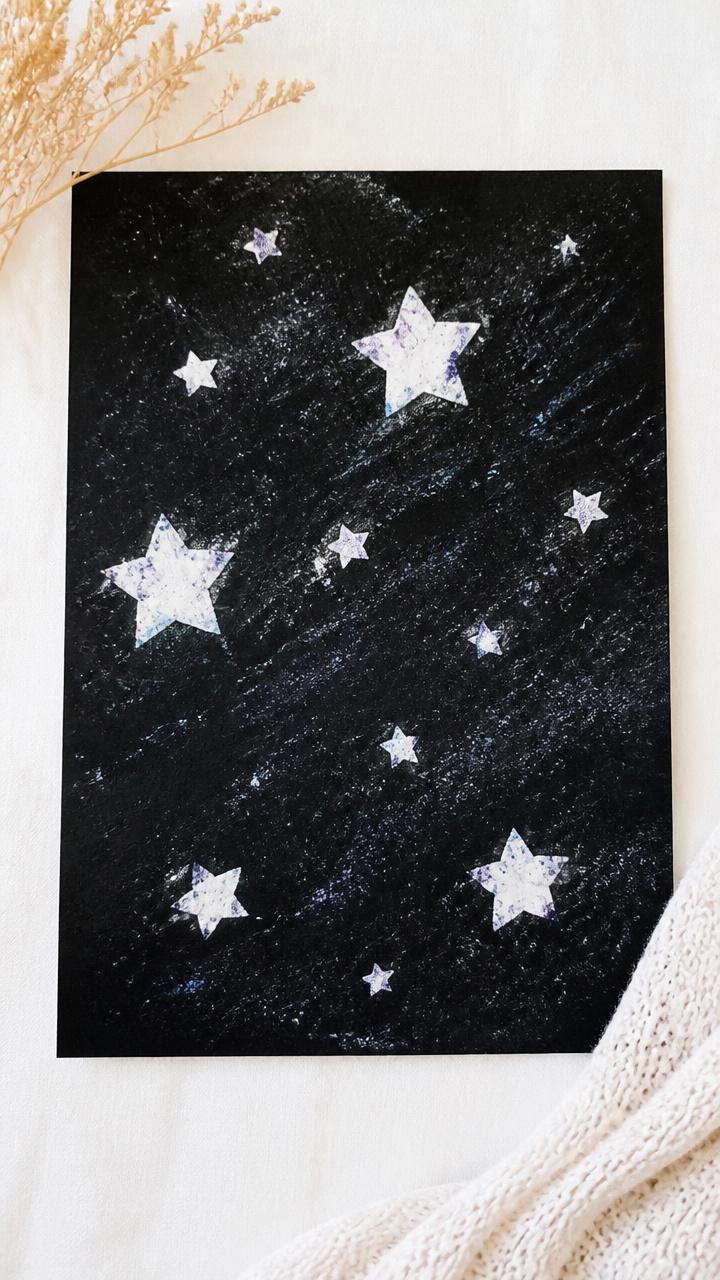
Hidden constellations appear when black paint slides over wax stars drawn in secret. The magic of reveal keeps children engaged and proud of their cosmic maps.
Materials Needed
- White drawing paper (9×12-inch, 1 per child)
- White crayons (1 per child)
- Black liquid watercolor paint (2 oz per child)
- Small foam brushes (1 per child)
- Plastic trays (to hold paint, 1 per table)
How to Make It
- Use the white crayon to draw stars, constellations, and swirls across the entire paper, pressing firmly.
- Pour a tablespoon of black liquid watercolor into each child's tray.
- Use the foam brush to spread paint evenly over the whole paper surface.
- Let paintings dry flat for 30 minutes, revealing the hidden stars once dry.


6. Nature Weaving Frames
Moderate
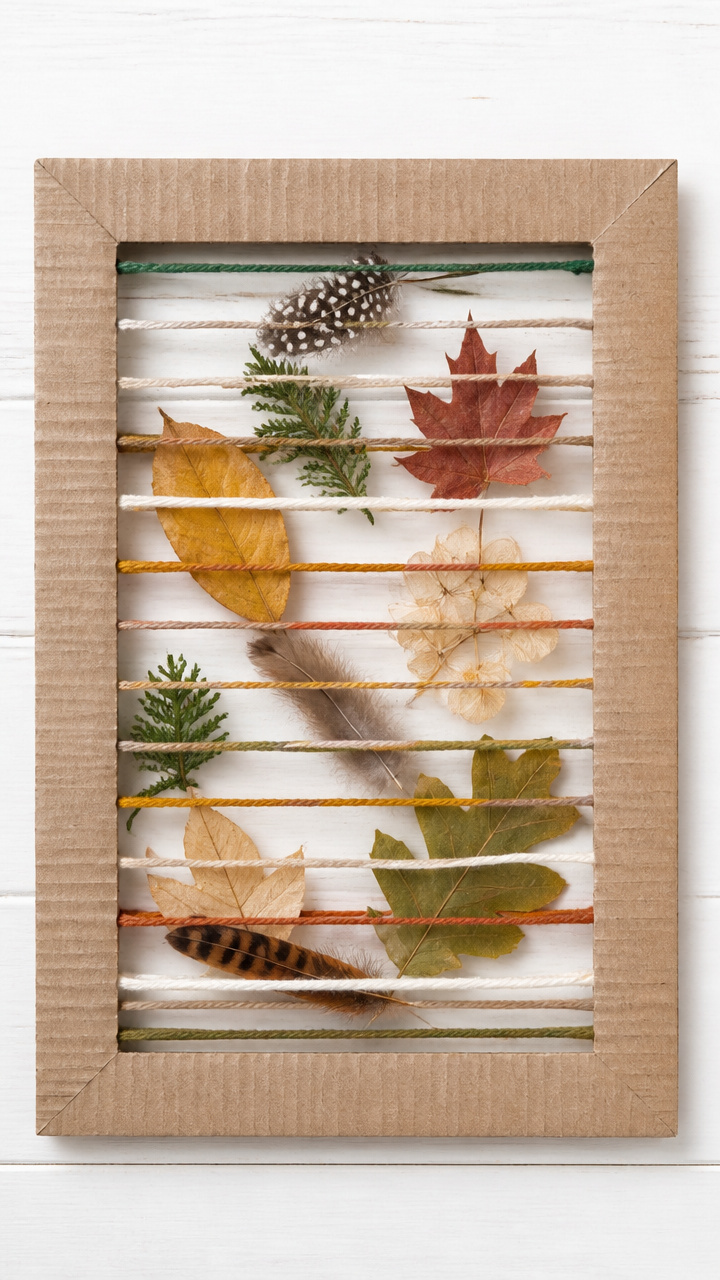
Sturdy cardboard looms filled with yarn, feathers, and dried leaves echo the textures of winter woods. Weaving builds focus and motor skills while honoring outdoor finds.
Materials Needed
- Cardboard rectangles (8×6 inches, 1 per child)
- Utility knife (for adult use only)
- Scissors (1 per child)
- Yarn scraps (assorted colors, 12-inch pieces, 10 per child)
- Feathers (small, 2 per child)
- Dried leaves (pressed, 3 per child)
- White school glue (4 oz bottle)
How to Make It
- Cut 10 vertical slits 1/4 inch apart along the top and bottom of each cardboard rectangle using the utility knife.
- Thread a 24-inch piece of yarn through the first slit from front to back and tie a knot to secure.
- Weave yarn horizontally over and under the vertical strands, pushing each row down gently with fingers.
- Add feathers and dried leaves by tying them to the horizontal yarn with small knots.
- Glue loose ends on the back and trim excess.


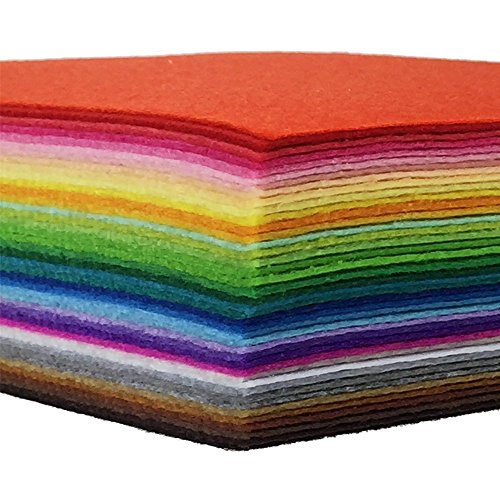
7. Felt Light Catchers
Easy
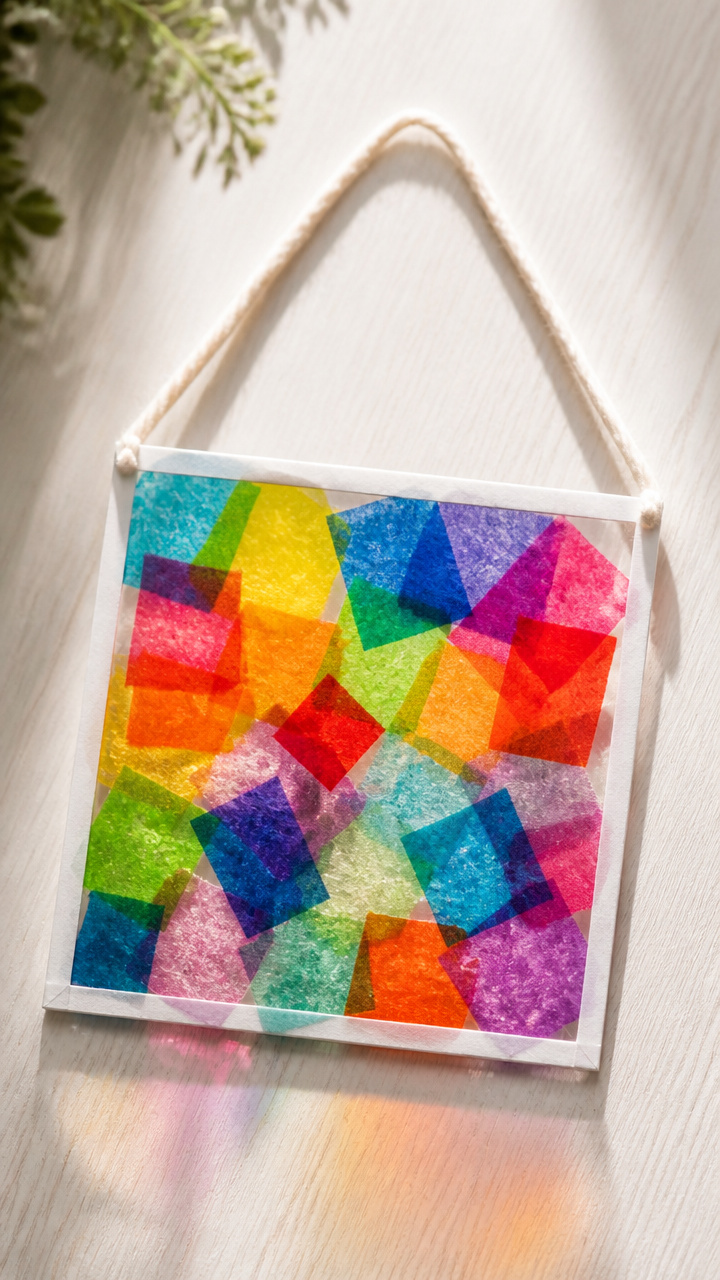
Translucent colored felt squares layered into radiant suncatchers shimmer when hung in a windowbeam. The soft fabric feels safe and cozy in small hands.
Materials Needed
- Clear contact paper (12×18-inch sheet, 1 per child)
- Colored felt sheets (assorted shades, 6×6 inches, 3 per child)
- Scissors (1 per child)
- Hole punch (1 per table)
- Yarn (6-inch piece, 1 per child)
- Plastic placemats (to protect tables)
How to Make It
- Peel the backing off one contact paper sheet and lay it sticky-side up on a placemat.
- Cut felt into small shapes like circles, stars, and triangles using scissors.
- Arrange felt pieces on the sticky surface, leaving no gaps.
- Peel the backing off the second contact paper sheet and carefully lay it on top, sealing the design.
- Trim excess contact paper with scissors and punch a hole at the top corner.
- Thread yarn through the hole to hang.


8. Ice Prism Pendants
Moderate
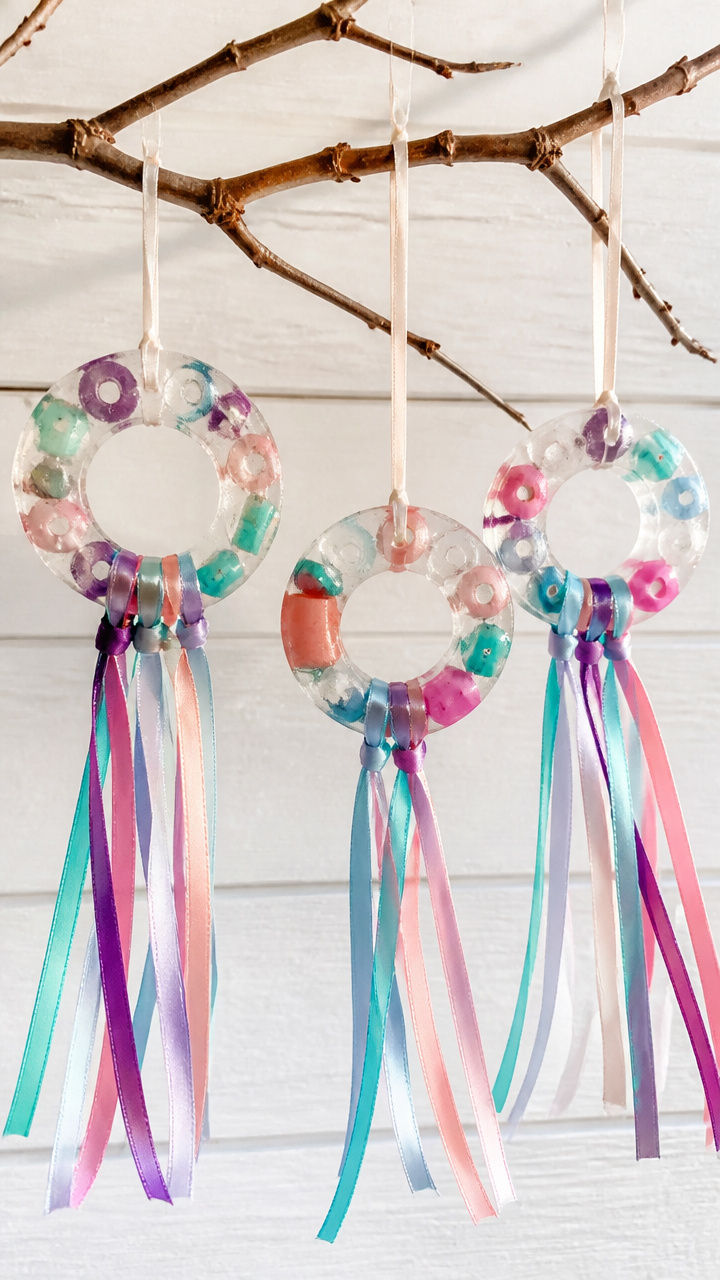
Frozen rings embedded with ribbon and beads dangle from branches, refracting pale sunlight into fleeting rainbows. Watching them form overnight adds anticipation.
Materials Needed
- Cardboard tubes (toilet paper rolls, 1 per child)
- Water (1 cup per tube)
- Freezer-safe container (large enough to hold upright tubes)
- Ribbon scraps (12-inch, 1 per child)
- Plastic beads (large-hole, 3 per child)
- Outdoor space with sub-freezing temperatures
How to Make It
- Fill each cardboard tube halfway with water and place it upright in the freezer container.
- Thread one bead onto the ribbon and tie a knot below it to secure.
- Lay the ribbon across the top of the tube so the beaded end hangs into the water.
- Freeze overnight until solid.
- Peel away the cardboard and hang the ice ring outside on a tree branch using the ribbon.


9. Clay Animal Spirit Figures
Moderate
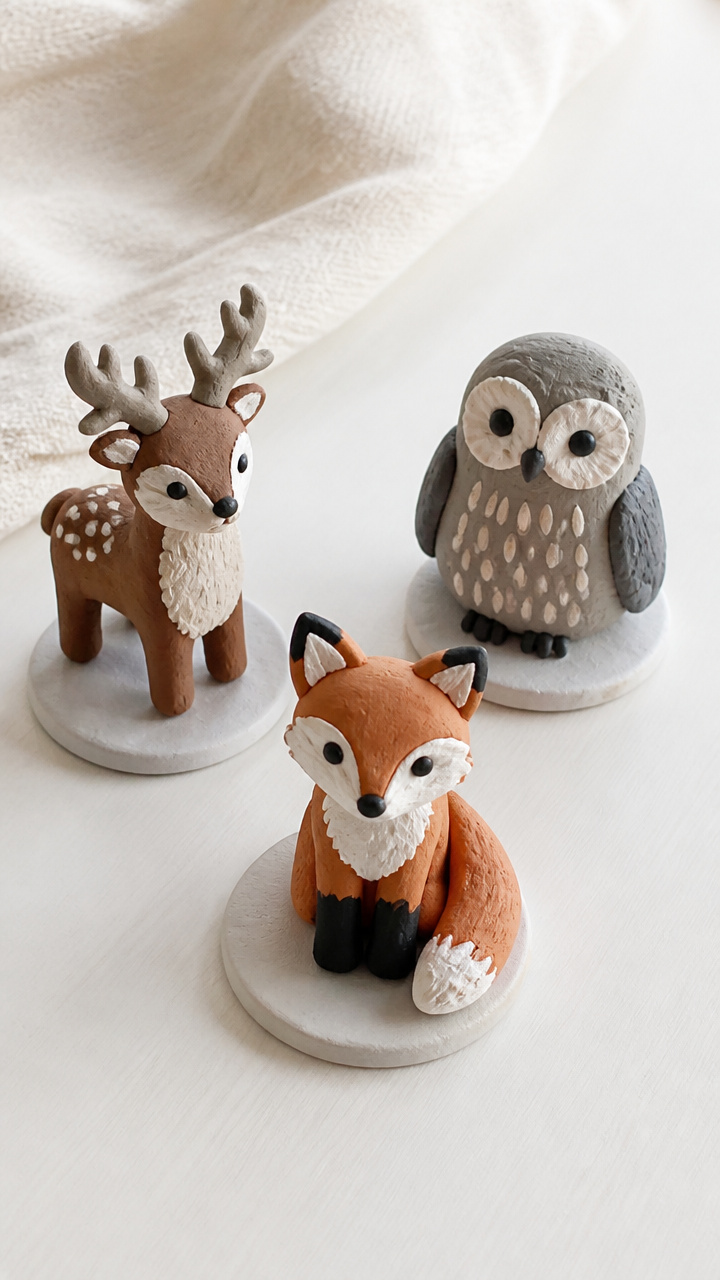
Pinched sculptures of deer, owls, and foxes rise from slabs of air-dry clay, inspired by animals that move quietly through snowy forests. Shaping them encourages storytelling.
Materials Needed
- Air-dry modeling clay (white, 1/2 cup per child)
- Plastic knives (1 per child)
- Toothpicks (1 per child)
- Acrylic paints (brown, gray, black, 1 oz each)
- Paintbrushes (1 per child)
- Wax paper (to protect tables, 1 sheet per child)
How to Make It
- Place a lump of clay on wax paper and flatten it into a 1/2-inch thick slab with palms.
- Use fingers to pinch up ears, snout, and limbs into animal shapes.
- Carve facial details and fur texture with the plastic knife and toothpick.
- Let figures dry undisturbed for 24 hours until hard.
- Paint with acrylics and let dry another 2 hours.


10. Starlight Shadow Puppets
Easy
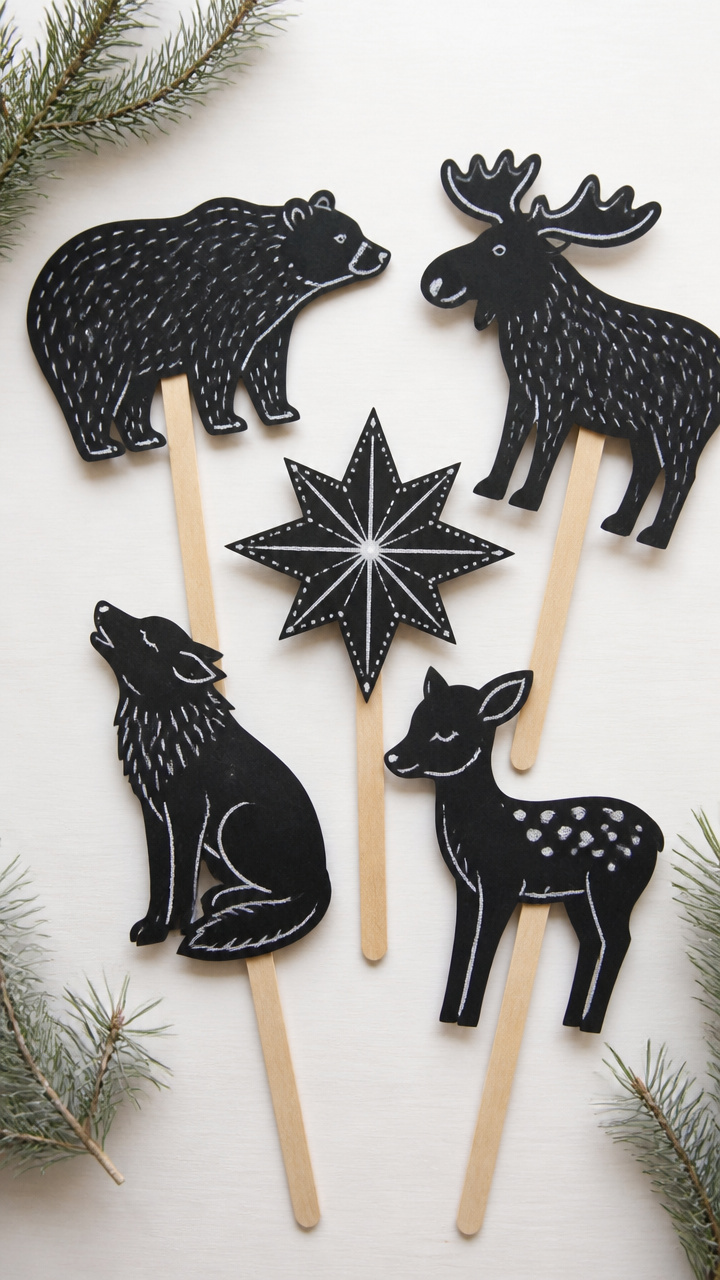
Silhouetted animals and stars held up to a lamp cast dancing shapes on the wall, turning bedtime into a quiet show. Black paper makes the outlines bold and clear.
Materials Needed
- Black construction paper (9×12-inch, 1 per child)
- White chalk (1 stick per child)
- Scissors (1 per child)
- Craft sticks (popsicle sticks, 1 per puppet)
- White glue (4 oz bottle)
- Flashlights (1 per group)
How to Make It
- Use white chalk to draw a simple animal or star shape on the black paper.
- Cut out the shape carefully with scissors.
- Glue the craft stick to the back of the cutout and let dry 10 minutes.
- Turn off lights and shine a flashlight through the puppet to cast shadows on the wall.


11. Melted Crayon Candles
Advanced
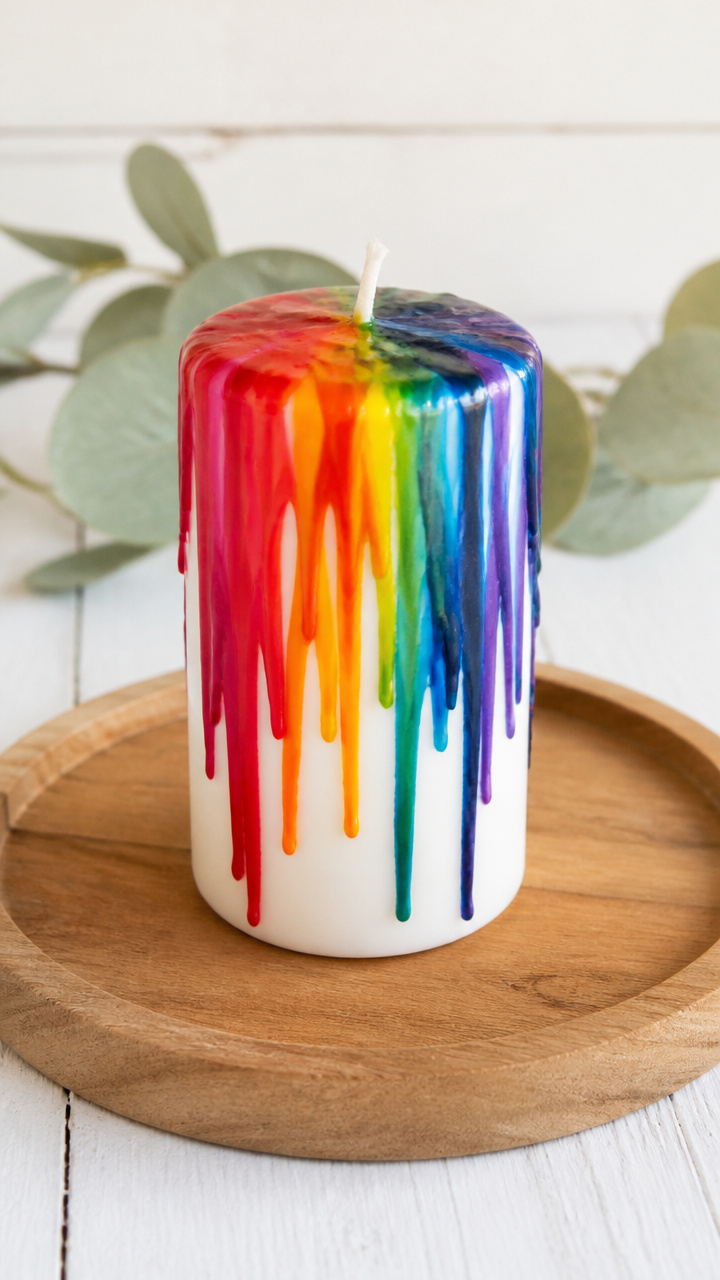
Broken crayon pieces drip down white pillars in colorful streaks, capturing the flow of light in solid wax. Heat reveals hidden layers in a safe, controlled way.
Materials Needed
- White unscented pillar candles (3×4 inches, 1 per child)
- Old crayons (peeled, broken into shavings, 10 pieces per candle)
- Hairdryer (with cool setting option)
- Aluminum foil (to protect surfaces)
- Tongs (for handling hot candles)
How to Make It
- Line the workspace with aluminum foil.
- Sprinkle crayon shavings around the base of the candle, focusing on one side.
- Hold the hairdryer 6 inches away on low heat, aiming at the shavings until they begin to melt and run downward.
- Rotate the candle slowly using tongs to create even drips.
- Let cool completely for 1 hour before moving.


12. Button Constellation Boards
Moderate
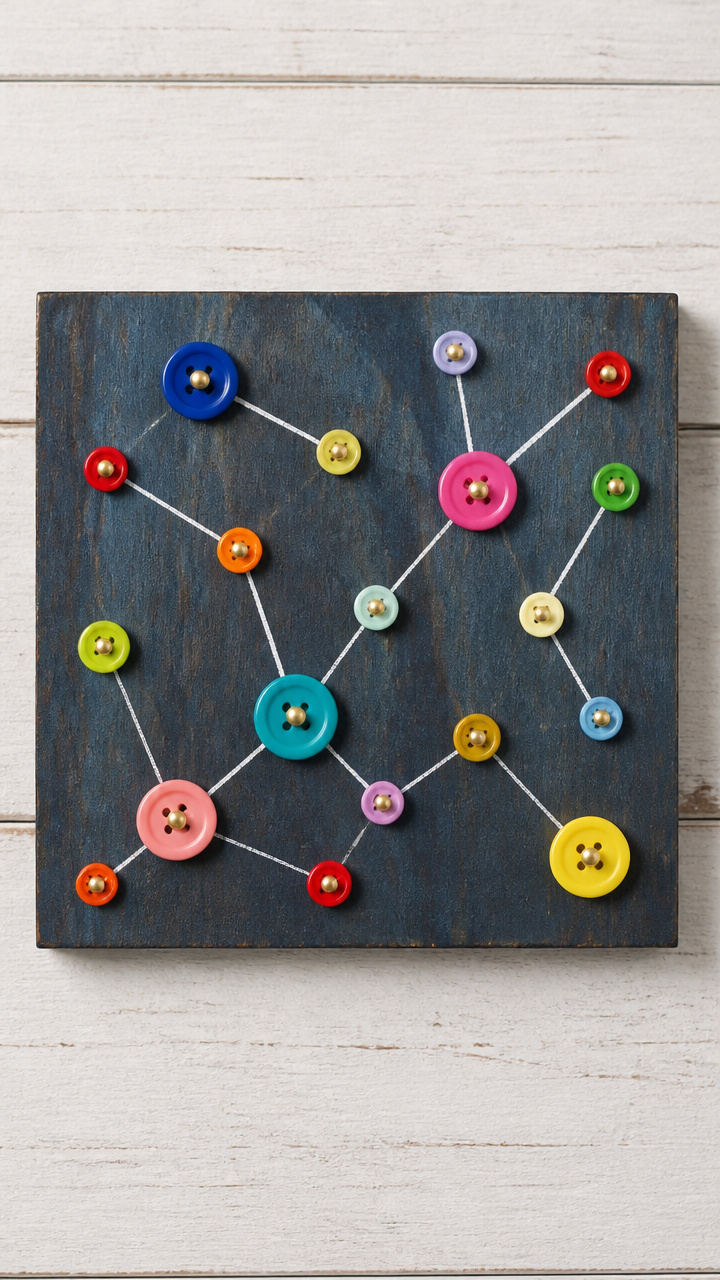
Wooden craft boards studded with buttons connected by engraved lines mimic ancient star maps. Pressing each button feels grounding and rhythmic.
Materials Needed
- Balsa wood squares (6×6 inches, 1 per child)
- Round plastic buttons (various sizes, 5 per child)
- White gel pens (1 per child)
- Craft nails (1/2 inch, 10 per child)
- Hammer (1 per table, for adult use)
- Safety goggles (for adult)
How to Make It
- Place the balsa wood square on a protected surface.
- Hammer one nail into each corner of the board for stability.
- Position buttons on the board in a constellation pattern and press a nail through each button hole into the wood.
- Use the white gel pen to draw connecting lines between buttons, forming star patterns.
- Let ink dry for 5 minutes.


13. Tissue Paper Windows
Easy
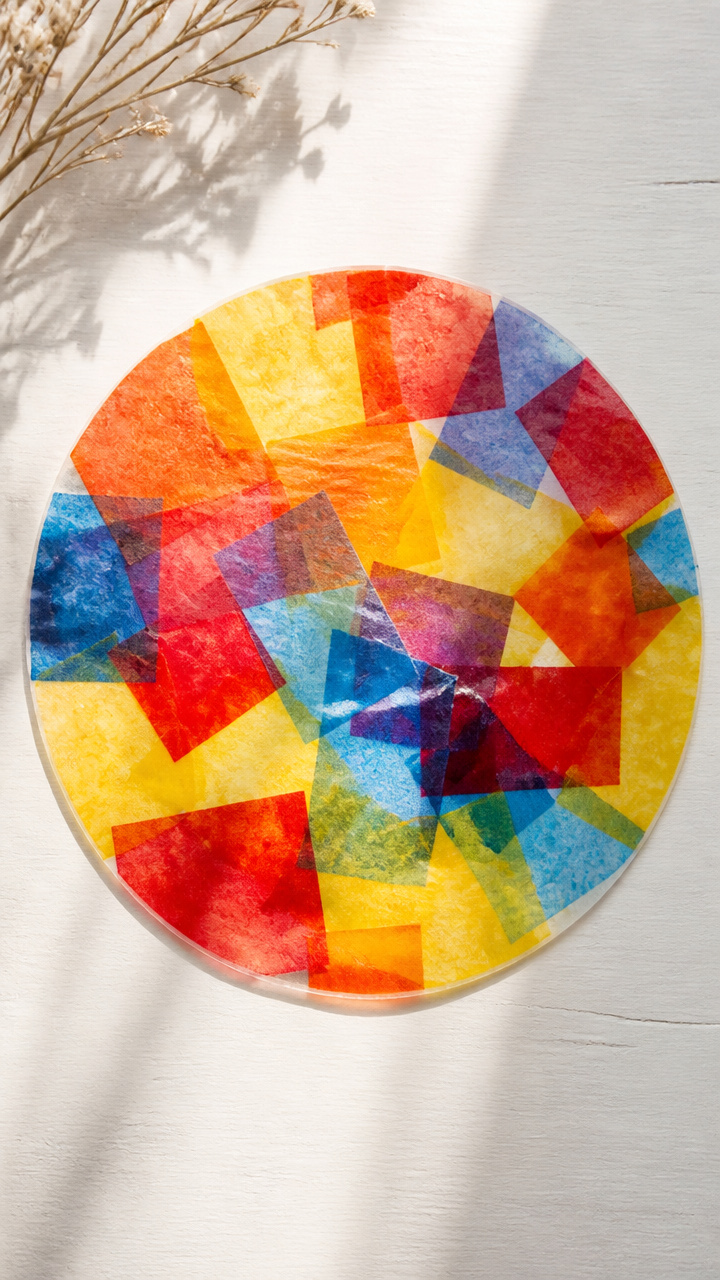
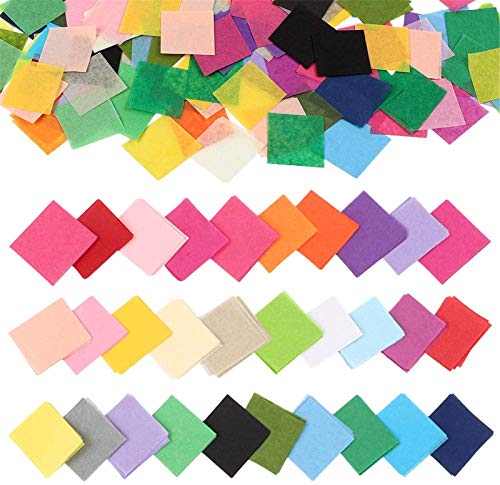
Layered squares of colored tissue create stained glass effects when taped to sunlit panes. The fragile paper invites gentle handling and attention to color mixing.
Materials Needed
- Clear adhesive shelf liner (12×18-inch sheet, 1 per child)
- Tissue paper (red, yellow, blue, orange, 4 squares per color per child)
- Scissors (1 per child)
- Plastic trays (to sort paper)
- Painter’s tape (1 roll)
How to Make It
- Cut tissue paper into 2-inch squares and sort by color in trays.
- Peel the backing off the shelf liner and lay it sticky-side up.
- Place tissue squares close together on the sticky surface, overlapping colors to blend.
- Press gently to adhere all pieces.
- Tape the finished sheet to a classroom window using painter’s tape.


14. Snowflake Doily Prints
Easy
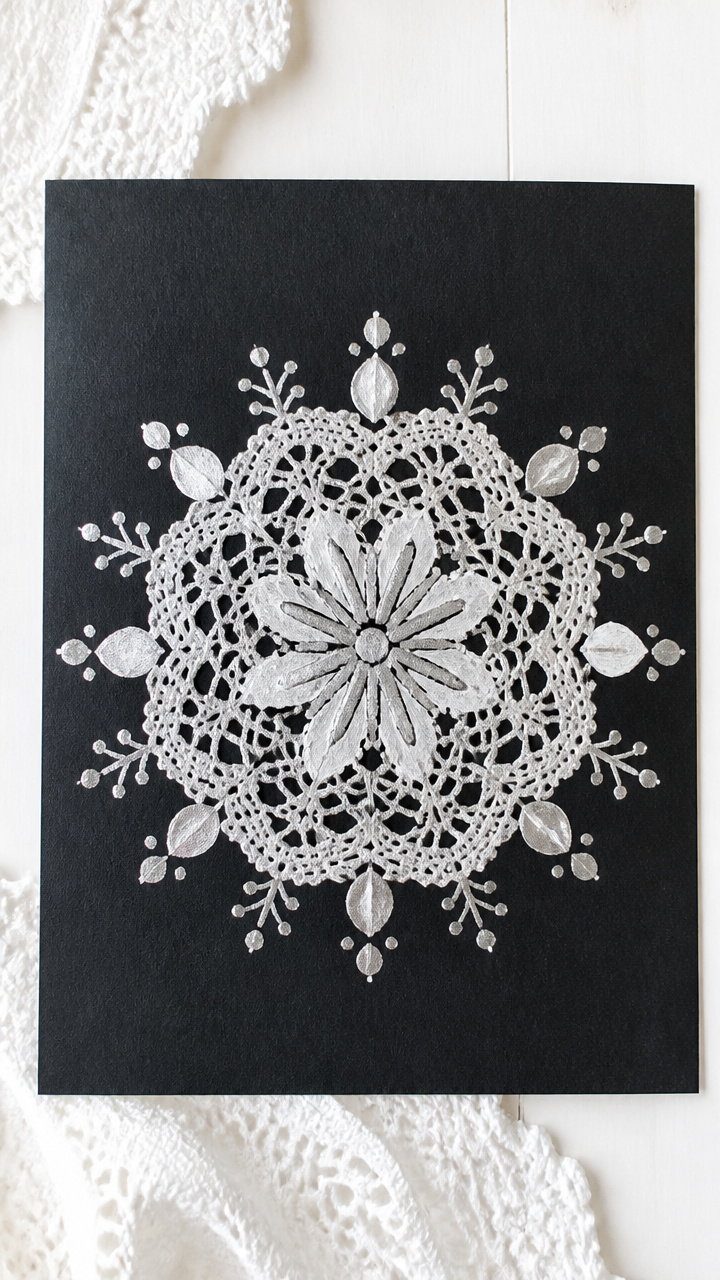
Lace doilies dipped in paint leave delicate snowflake patterns on dark paper, preserving symmetry with ease. Each print looks intricate but takes just minutes.
Materials Needed
- White lace doilies (5-inch diameter, 1 per child)
- Silver acrylic paint (2 oz)
- Shallow paint trays (1 per table)
- Foam rollers (4-inch, 1 per child)
- Black cardstock (9×12-inch, 1 per child)
How to Make It
- Pour a thin layer of silver paint into each tray.
- Roll the foam roller through the paint to coat evenly.
- Lay a doily flat on the black cardstock.
- Roll the painted foam roller gently over the doily, transferring the pattern.
- Lift the doily straight up to reveal the print and let dry 20 minutes.


15. Berry Spritz Ornaments
Moderate
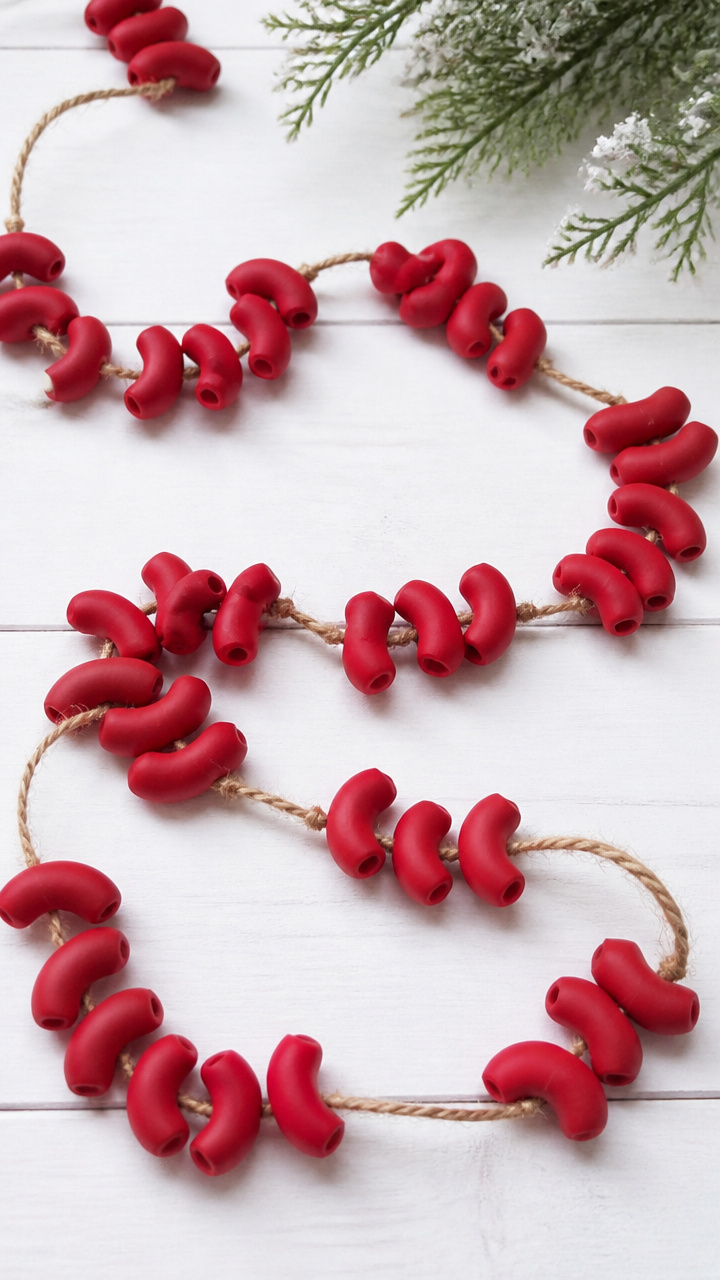
Red spray-painted pasta beads mimic winter berries on twine garlands, bringing bright pops to bare branches. Spraying lets kids cover large areas fast with satisfying mist.
Materials Needed
- Elbow macaroni (1 cup, uncooked)
- Red spray paint (non-toxic, matte, 1 can)
- Newspaper (to cover outdoor area)
- Twine (3 feet per child)
- Needles (blunt-tipped, plastic, 1 per child)
- Gloves (disposable, 1 pair per child)
How to Make It
- Spread macaroni in a single layer on newspaper outdoors.
- Put on gloves and spray pasta lightly with red paint from 10 inches away.
- Let dry completely for 1 hour, flipping halfway.
- Thread beads onto twine using the blunt needle, tying a knot at each end to secure.
- Hang garlands on indoor plants or shelves.


Grab a glue stick, lay out some paper, and let the quiet magic of the season guide your hands. These projects grow best with laughter and lopsided stars.