19 Handmade Winter Gift Crafts for Adults to Make and Give

Soft wool wraps around fingers as you stir cocoa, snow tapping gently against the windowpane. In moments like these, a handmade gift carries warmth no store can offer.
Each of these crafts is made with care, designed to bring comfort, beauty, or quiet joy to someone you love. You don’t need a studio or years of experience — just your hands, a few chosen materials, and the desire to give something truly personal.
1. Lavender-Infused Beeswax Candles
Moderate
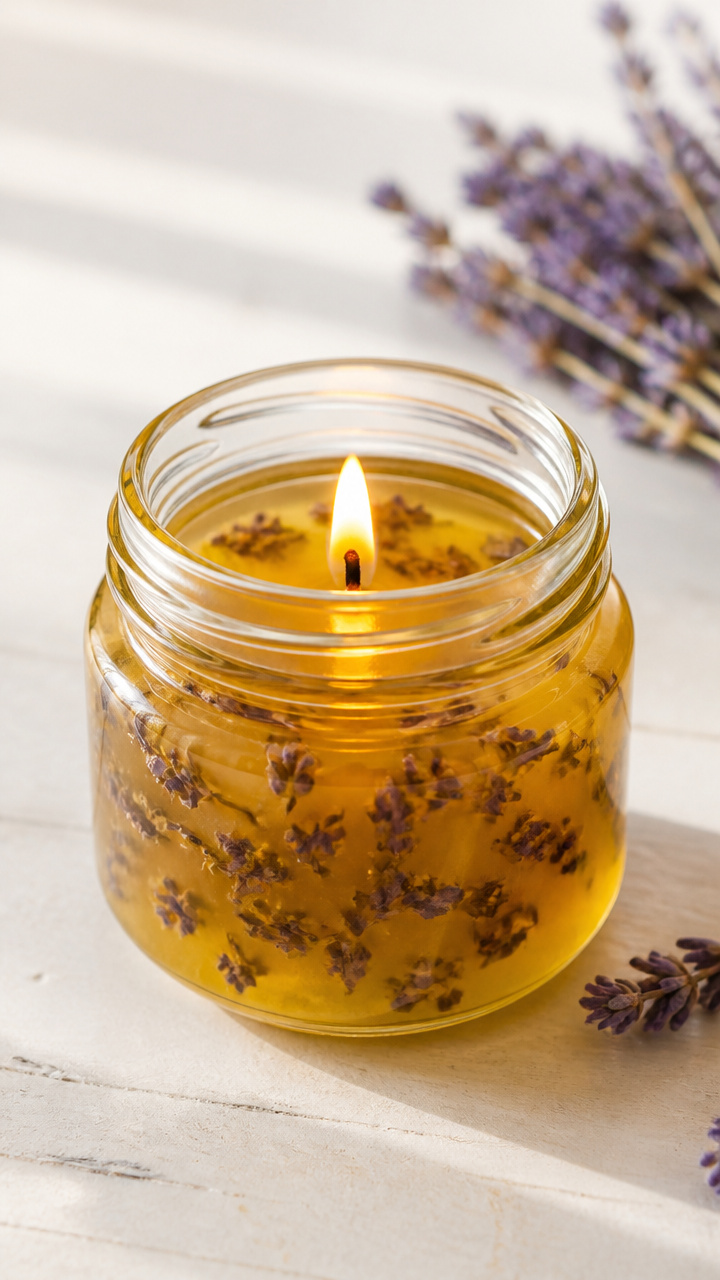
Rich golden candles glow with a soft herbal scent, made by infusing dried lavender into pure beeswax. These burn slowly and evenly, filling a room with warmth and calm.
Materials Needed
- 8 ounces raw beeswax pellets
- 4 organic cotton wicks with metal sustainers
- 2 tablespoons dried culinary lavender buds
- 4 small heat-safe glass jars (4 oz each)
- Double boiler or a heat-safe bowl and saucepan
- Popsicle stick or chopstick
- Scissors
How to Make It
- Place beeswax pellets in the top of a double boiler and heat over medium-low until fully melted, about 15 minutes, stirring occasionally.
- Stir in dried lavender buds and let steep for 10 minutes without boiling.
- Strain the melted wax through a fine mesh sieve into a heat-safe container to remove lavender bits.
- Pour wax into glass jars, center a wick in each, and secure it with a chopstick laid across the rim.
- Let candles cool at room temperature for 4–6 hours until solid. Trim wicks to 1/4 inch with scissors before use.
2. Knit Chunky Scarf with I-Cord Edges
Moderate
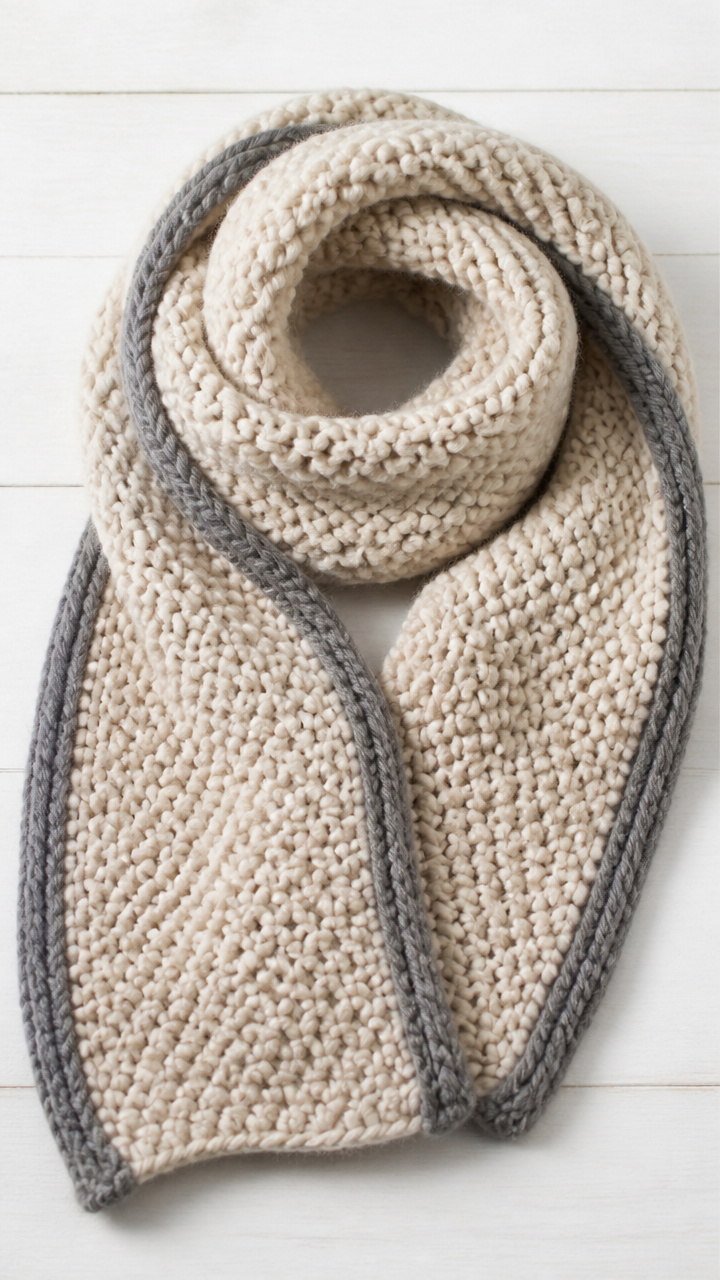
Thick and cozy, this scarf wraps like a hug, with tidy knitted cords along each edge for a polished finish. It uses bulky yarn and simple stitches, perfect for cold mornings.
Materials Needed
- 300 yards bulky weight wool yarn (color of choice)
- Size 13 (9 mm) 24-inch circular knitting needles
- Stitch marker
- Yarn needle
How to Make It
- Cast on 24 stitches using the long-tail cast-on method and join in the round, placing a stitch marker to mark the beginning.
- Knit every round for 6 inches to create the I-cord edge.
- Switch to flat knitting by turning your work, then knit back and forth in garter stitch (knit every row) for 60 inches.
- Resume knitting in the round and work another 6 inches of I-cord to finish the second end.
- Bind off loosely and weave in ends with a yarn needle.
3. Pressed Fir Needle Ornament
Advanced
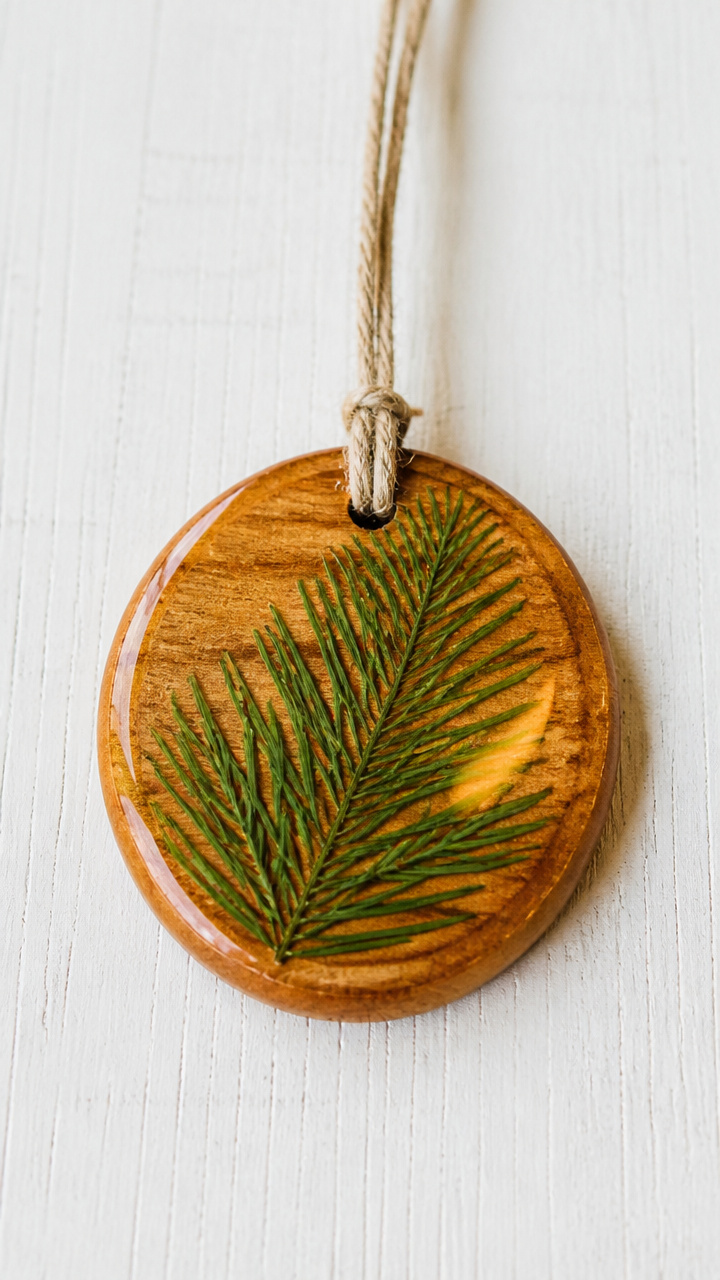
A delicate slice of winter forest captured in a wooden circle, framed by tiny fir needles preserved under resin. This ornament hangs lightly, carrying the quiet scent of pine.
Materials Needed
- 1-inch wooden disc with pre-drilled hole
- Fresh fir or pine needles (10–12 small sprigs)
- Resin kit (2 oz epoxy resin and hardener)
- Small silicone mold or resin tray
- Toothpicks
- Disposable gloves
- Jewelry pliers
- Fine sandpaper (220 grit)
How to Make It
- Lightly sand the wooden disc to smooth any rough edges, then wipe clean with a dry cloth.
- Arrange fir needles in a fan shape on the disc, tucking the stems into the center.
- Mix resin according to package instructions and pour a thin layer over the needles, using a toothpick to remove bubbles.
- Let cure for 24 hours in a dust-free area, then lightly sand the back if needed.
- Attach a small loop of wire using pliers through the pre-drilled hole for hanging.
4. Hand-Poured Soy Wax Melts
Easy
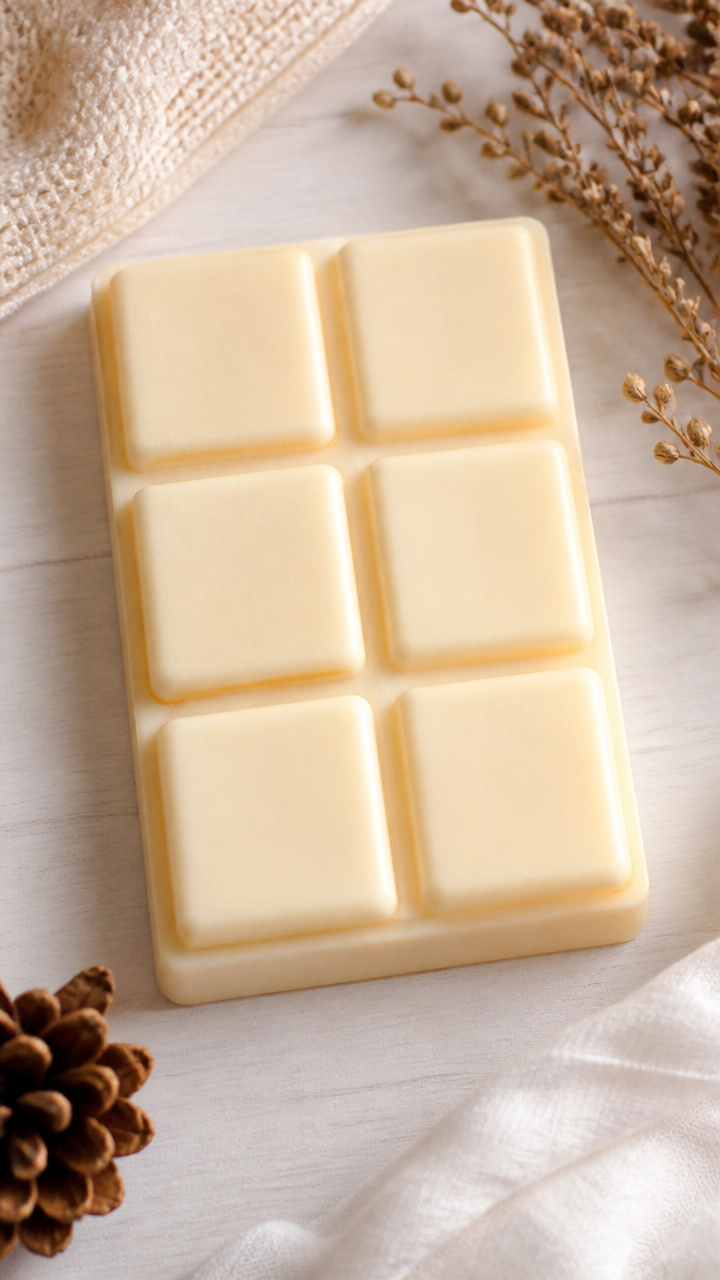
Squares of creamy soy wax release bursts of vanilla and spice when warmed, perfect for someone who loves seasonal scents without an open flame.
Materials Needed
- 12 ounces soy wax flakes
- 20 drops cinnamon essential oil
- 10 drops orange essential oil
- Silicone ice cube tray (6-cavity)
- Double boiler
- Pipette or small measuring cup
- Toothpick
How to Make It
- Melt soy wax flakes in a double boiler over medium heat, stirring gently until fully liquid, about 10 minutes.
- Remove from heat and stir in essential oils using a toothpick to blend evenly.
- Carefully pour the scented wax into each cavity of the silicone tray using a pipette.
- Let cool at room temperature for 3–4 hours until solid.
- Pop out the wax melts and store in a small paper bag or tin.
5. Embroidered Linen Napkin Set
Moderate
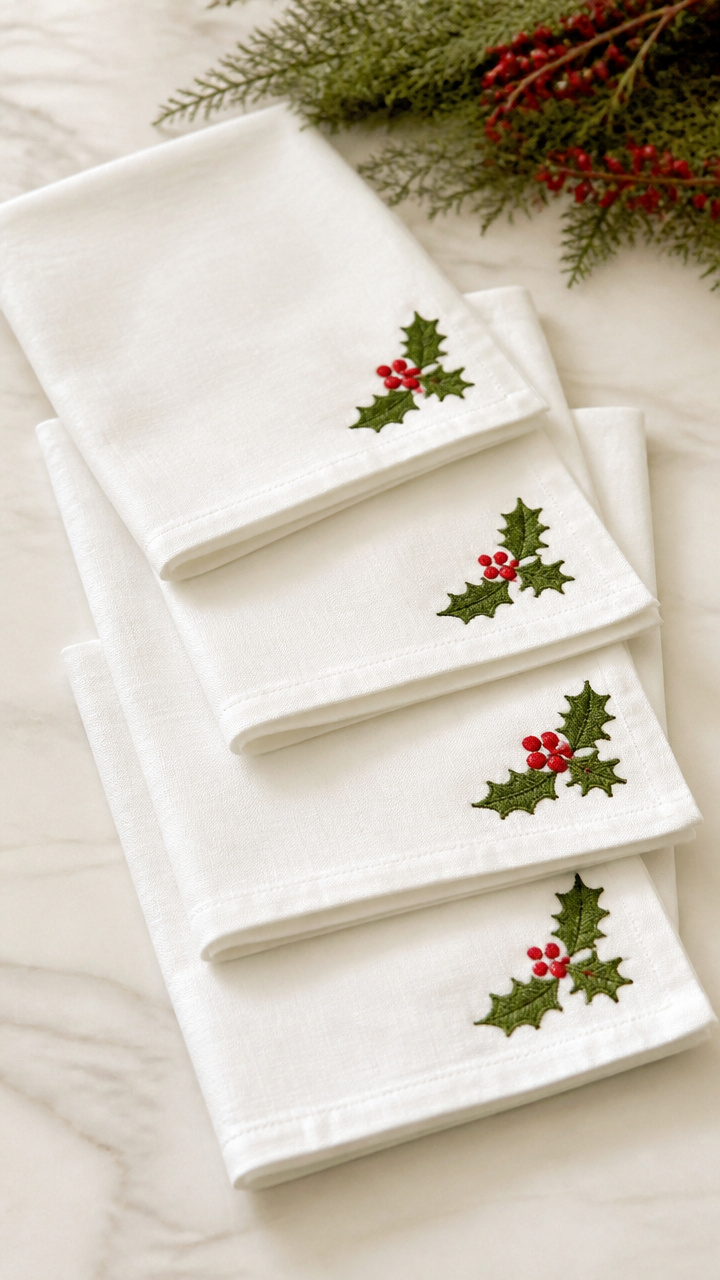
Crisp white napkins with a single sprig of holly stitched in red thread, adding a festive touch to any holiday table. These feel special without being fussy.
Materials Needed
- 4 linen dinner napkins (20×20 inches, white)
- Size 8 embroidery needle
- Red embroidery floss (6-strand, 2 skeins)
- Embroidery hoop (6 inches)
- Water-soluble fabric marker
- Small pair of scissors
How to Make It
- Place one napkin in the embroidery hoop and tighten the screw to keep the fabric taut.
- Use the fabric marker to draw a small holly sprig near one corner.
- Separate 2 strands from the red floss and thread the needle. Use stem stitch to outline the leaves and berries.
- Repeat on all four napkins, then rinse with cool water to remove marker lines.
- Air dry flat and press lightly with an iron on linen setting.
6. Ceramic Mug with Gold Drip Design
Moderate
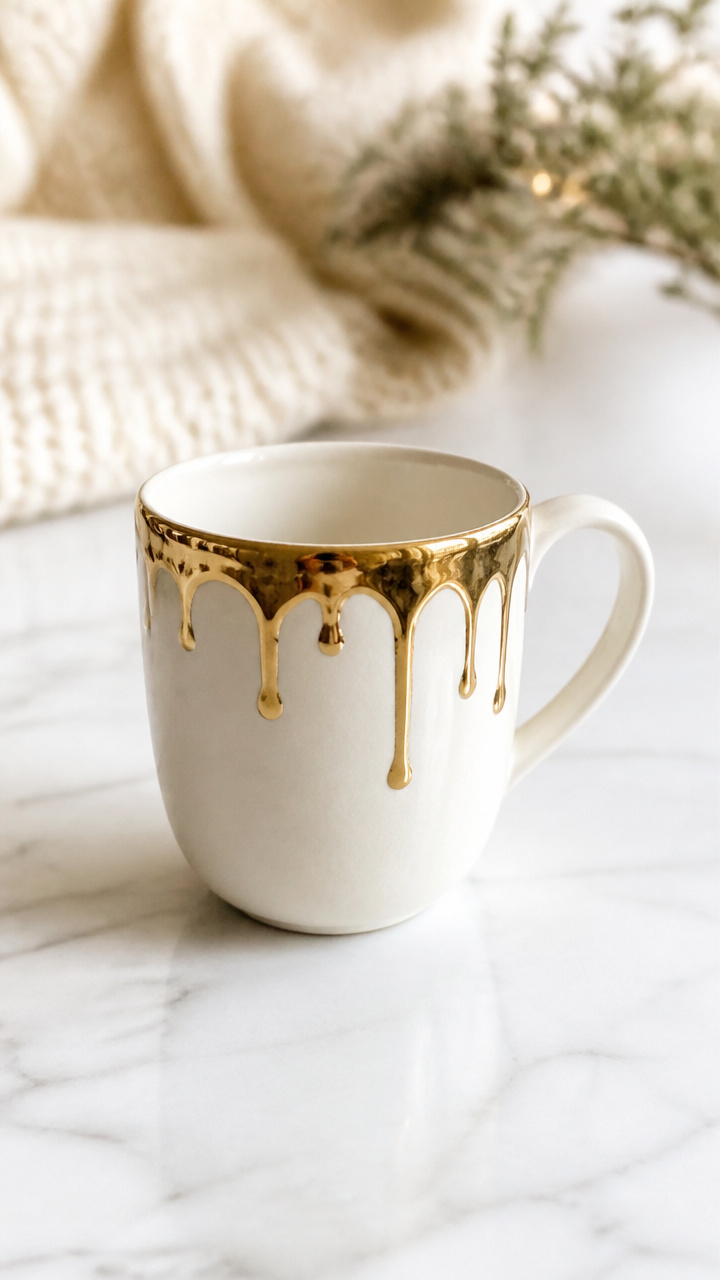
A plain white mug transformed with elegant gold drips that catch the light, made using liquid gold ceramic paint and a steady hand.
Materials Needed
- 1 plain white ceramic mug (stoneware)
- Liquid gold ceramic paint (0.5 oz bottle)
- Fine-tip paintbrush (size 2 round)
- Painter’s tape (1/4 inch)
- Paper plate
- Disposable gloves
How to Make It
- Wipe the mug with a dry cloth to remove dust. Apply painter’s tape diagonally across the handle side, leaving space for drips.
- Put on gloves and pour a small pool of gold paint onto a paper plate.
- Dip the brush into the paint and apply thick vertical lines along the taped edge, allowing some to drip naturally down the mug.
- Let dry for 2 hours, then carefully remove the tape.
- Bake the mug in a cold oven at 300°F for 35 minutes to set the paint. Let cool inside the oven.
7. Felted Wool Coasters
Moderate
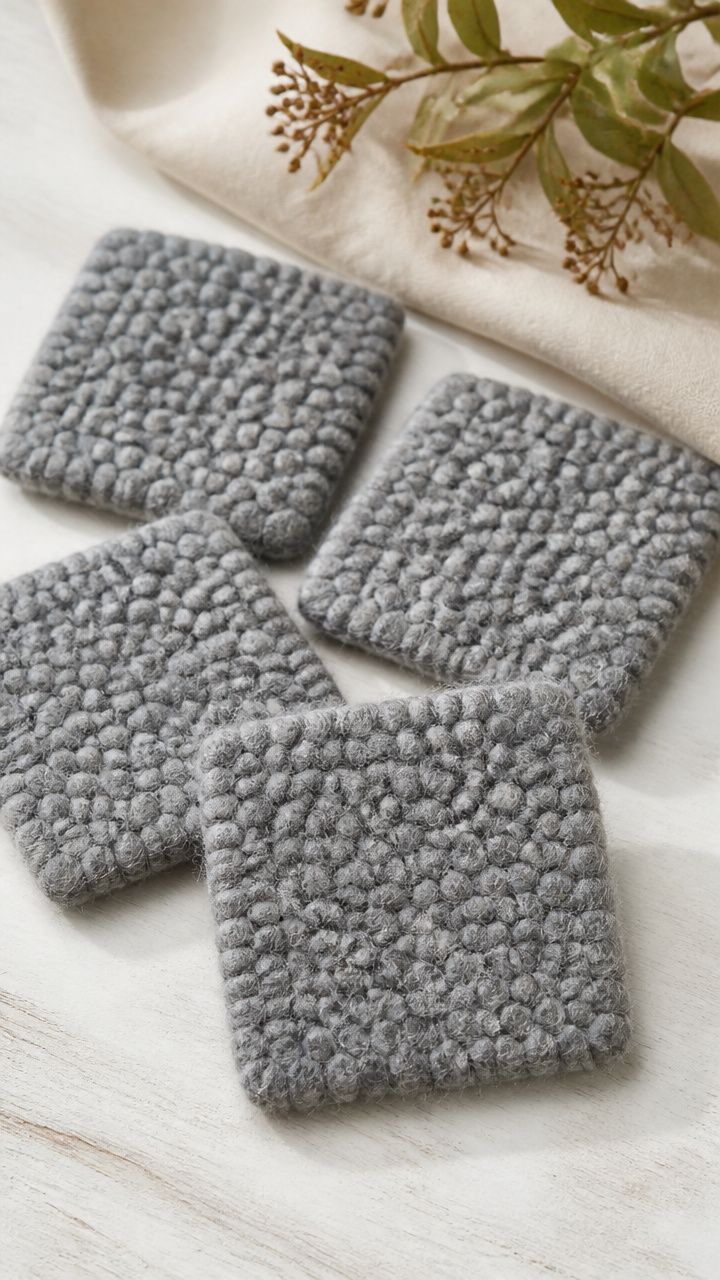
Dense, pebbled coasters made by wet felting merino wool, shaped by hand and rinsed until sturdy. They protect tables and add soft texture to a coffee table.
Materials Needed
- 4 sheets merino wool roving (4 inches square, gray)
- Bubble wrap (12×12 inches)
- Plastic wrap
- Rubber bands
- Scouring pad or textured sponge
- Warm soapy water (1 cup lukewarm water, 1 tsp dish soap)
How to Make It
- Lay one wool square on a flat surface and cover with plastic wrap. Place bubble wrap on top and secure edges with rubber bands.
- Pour warm soapy water over the top and rub the surface in small circles with a scouring pad for 5 minutes.
- Rotate the pad and continue rubbing for another 10 minutes, checking for firmness.
- Rinse under cool water until water runs clear, then gently squeeze out moisture.
- Lay flat to dry for 24 hours, reshaping if needed.
8. Maple Syrup Soap Bars
Advanced
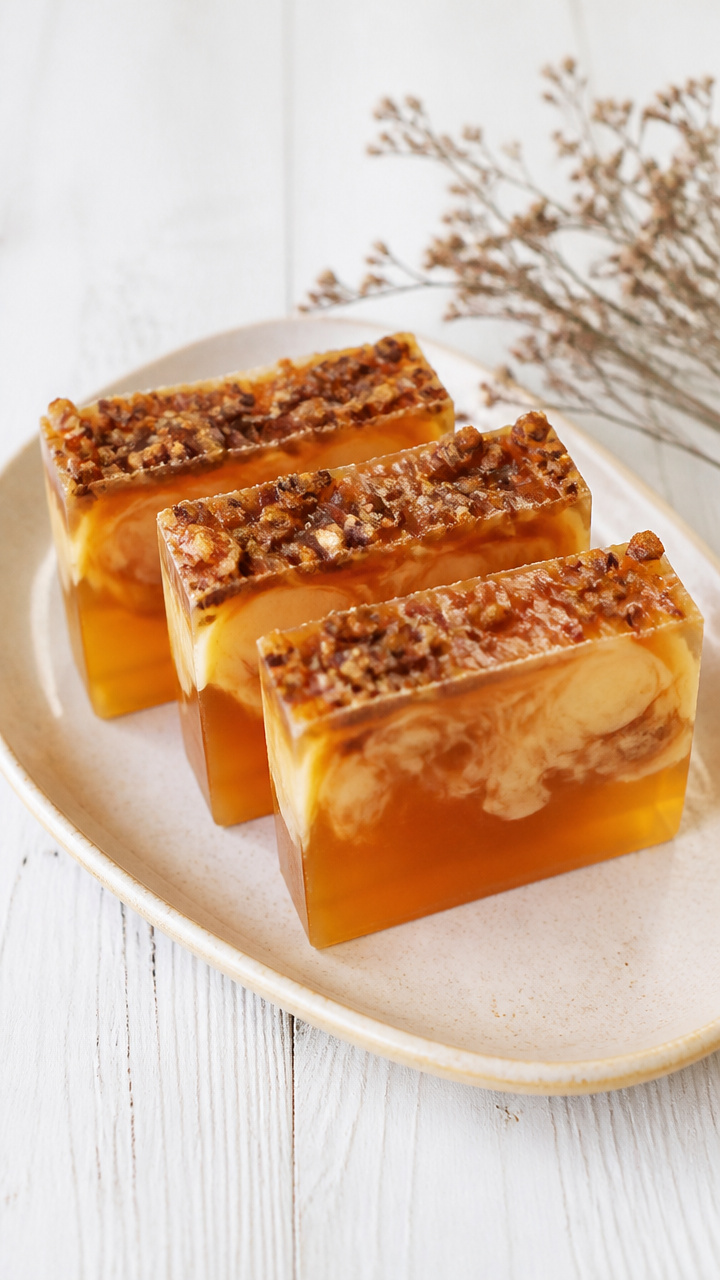
Amber-colored bars swirled with real maple syrup and topped with crushed walnut shells, offering gentle exfoliation and a sweet, woodsy scent.
Materials Needed
- 16 oz cold process soap base (shea butter melt-and-pour)
- 2 tablespoons pure maple syrup
- 1 tablespoon crushed walnut shells
- 10 drops cedarwood essential oil
- Silicone soap mold (6-bar capacity)
- Double boiler
- Silicone spatula
How to Make It
- Cut soap base into cubes and melt in a double boiler over low heat, stirring gently until fully liquid.
- Remove from heat and stir in maple syrup, cedarwood oil, and crushed walnut shells with a silicone spatula.
- Pour mixture into the silicone mold, tapping gently to release air bubbles.
- Let set at room temperature for 4 hours until firm.
- Pop out bars and cure on a drying rack for 3 days before wrapping.
9. Leather Bookmarks with Copper Foil
Moderate
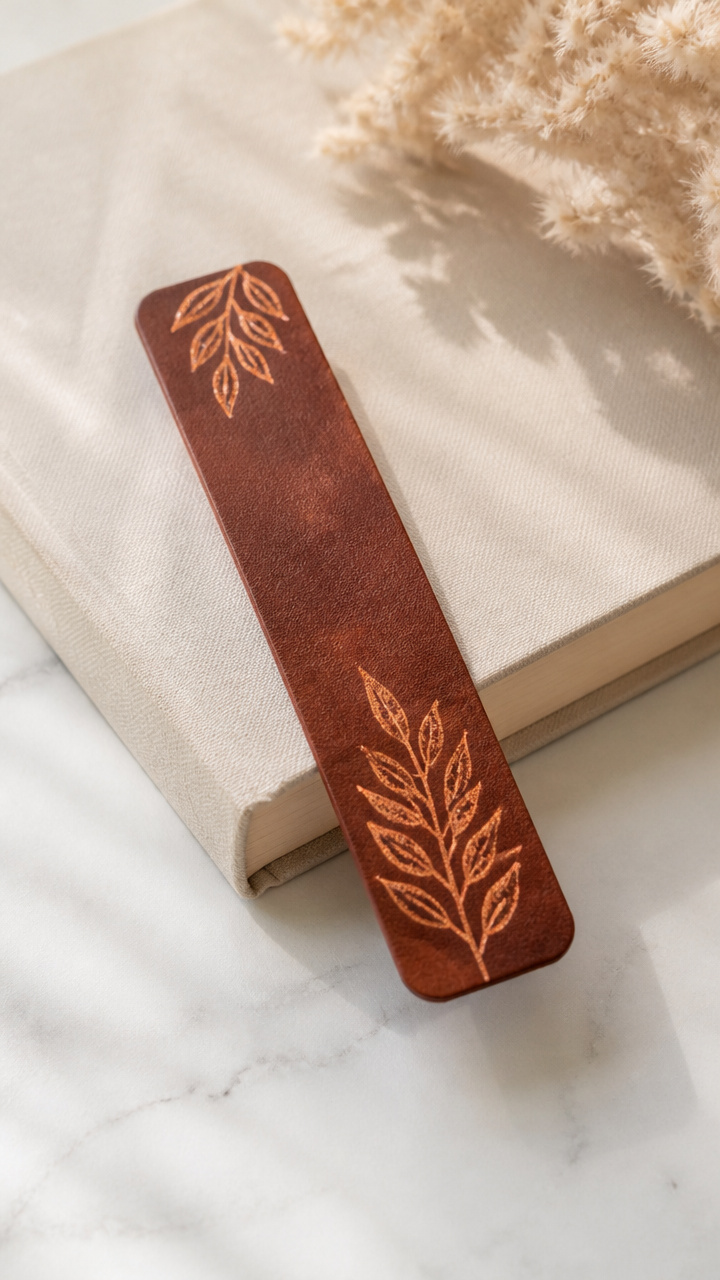
Slim strips of chestnut leather edged with hand-applied copper leaf, each one catching the light when tucked into a favorite novel.
Materials Needed
- 1 piece vegetable-tanned leather (2×6 inches)
- Copper transfer foil sheet (3×6 inches)
- Burnishing tool or spoon
- Leather hole punch
- Ruler
- Craft knife
- Self-healing cutting mat
How to Make It
- Place the leather on a cutting mat and use a ruler to mark a 1.5×6 inch rectangle. Cut with a craft knife.
- Burnish one long edge with the spoon to smooth and round it slightly.
- Lay copper foil over the burnished edge and rub firmly with the burnishing tool to transfer the metal.
- Punch a hole at the top center of the bookmark with the hole punch.
- Wipe away excess foil with a dry cloth.
10. Mini Knit Stocking with Pom-Pom
Moderate
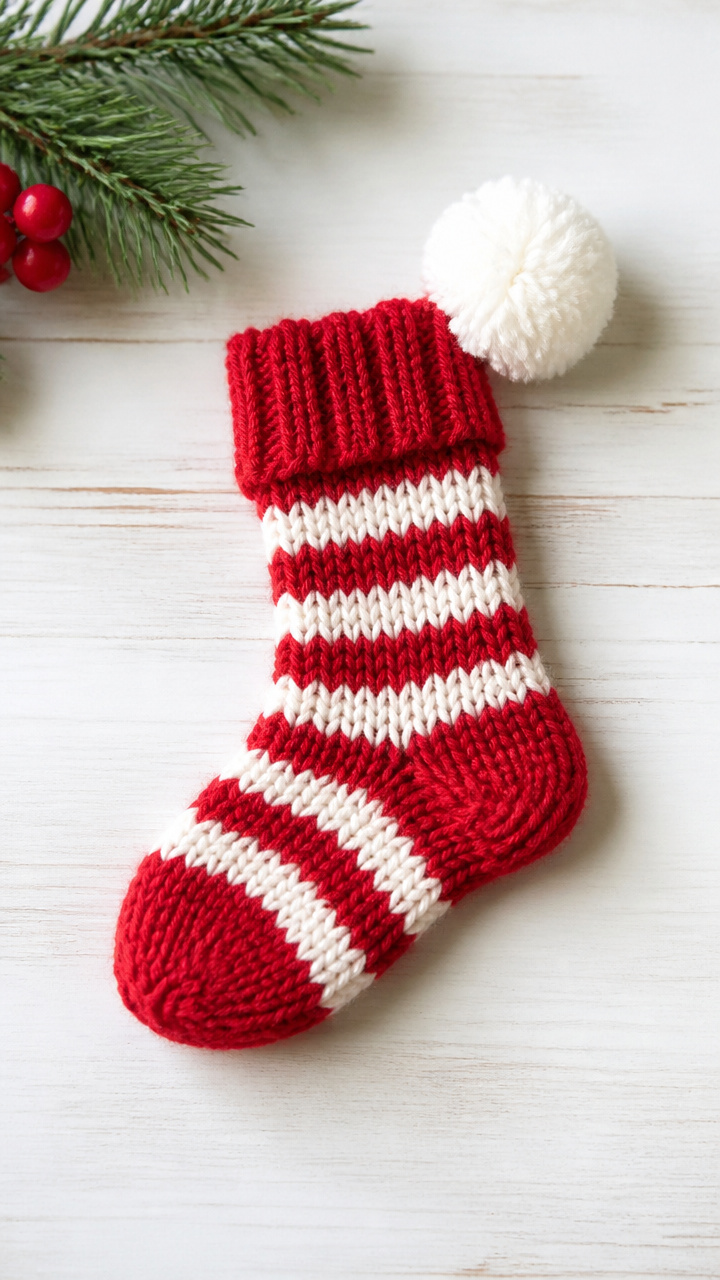
A tiny stocking knit in red and white stripes, sized to hold a gift card or tea sachets, crowned with a fluffy white pom-pom.
Materials Needed
- 50 yards red fingering yarn
- 50 yards white fingering yarn
- Size 6 (4 mm) double-pointed needles (set of 4)
- Yarn needle
- 1-inch white wool pom-pom
- Stitch marker
How to Make It
- Cast on 24 stitches using the red yarn and distribute evenly across three needles. Join in the round, placing a stitch marker.
- Knit 10 rounds in red, then switch to white and knit 10 rounds. Repeat stripe pattern for 4 inches.
- Begin heel: knit 12 stitches, turn, and purl back across 12 stitches. Work short rows for 1 inch.
- Resume in the round and decrease at the toe by knitting two together every round until 6 stitches remain. Fasten off.
- Sew on the pom-pom at the cuff and weave in all ends with a yarn needle.
11. Cinnamon Stick Candle Holder
Easy
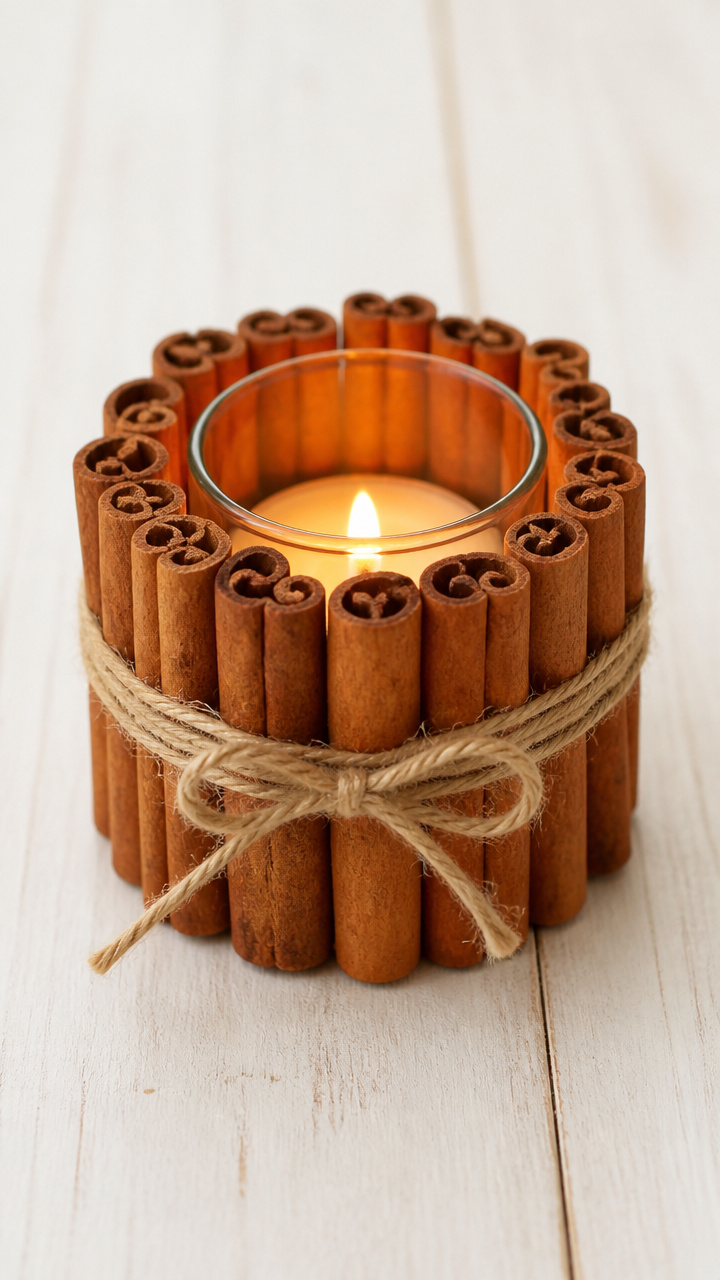
A rustic ring of cinnamon sticks bound with twine, cradling a tea light in its center. It smells like holiday baking as it glows.
Materials Needed
- 12 whole cinnamon sticks (6 inches long)
- Natural jute twine (10 feet)
- Hot glue gun and glue sticks
- Small glass tea light holder (2 inches wide)
- Scissors
How to Make It
- Lay four cinnamon sticks in a square and glue the ends together to form a base unit.
- Repeat to make three more units, then glue them together at the corners to form a ring.
- Wrap twine tightly around each joint, securing with a dot of hot glue every 2 inches.
- Place the tea light holder in the center and press down slightly to stabilize.
- Trim twine ends with scissors and let glue dry for 10 minutes before use.
12. Quilted Cotton Hand Warmer Pouch
Moderate
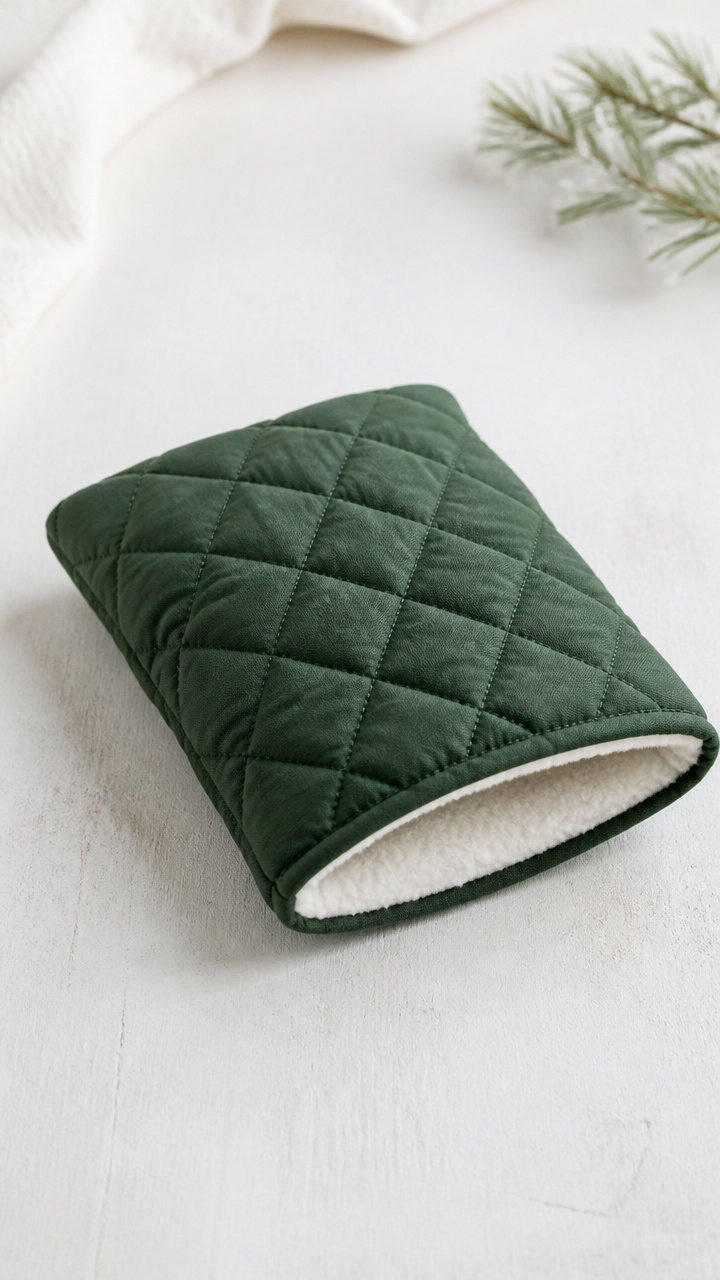
A padded pouch lined with fleece, designed to hold a reusable hand warmer. The quilted cotton exterior feels soft and looks elegant in deep green.
Materials Needed
- 1 piece cotton fabric (6×8 inches, forest green)
- 1 piece fleece (6×8 inches)
- 1 piece batting (6×8 inches)
- All-purpose thread
- Sewing machine
- Pins
- Scissors
- 1 reusable hand warmer (3.5 inches long)
How to Make It
- Layer the cotton fabric (right side up), batting, and fleece (right side down) and pin together.
- Sew around the edges with a 1/4 inch seam, leaving a 2-inch gap on one side.
- Turn right side out through the gap and press flat with an iron on low.
- Topstitch 1/8 inch from the edge around the entire pouch to secure the layers and close the gap.
- Slide in the hand warmer to test fit.
13. Dried Orange Slice Garland
Easy
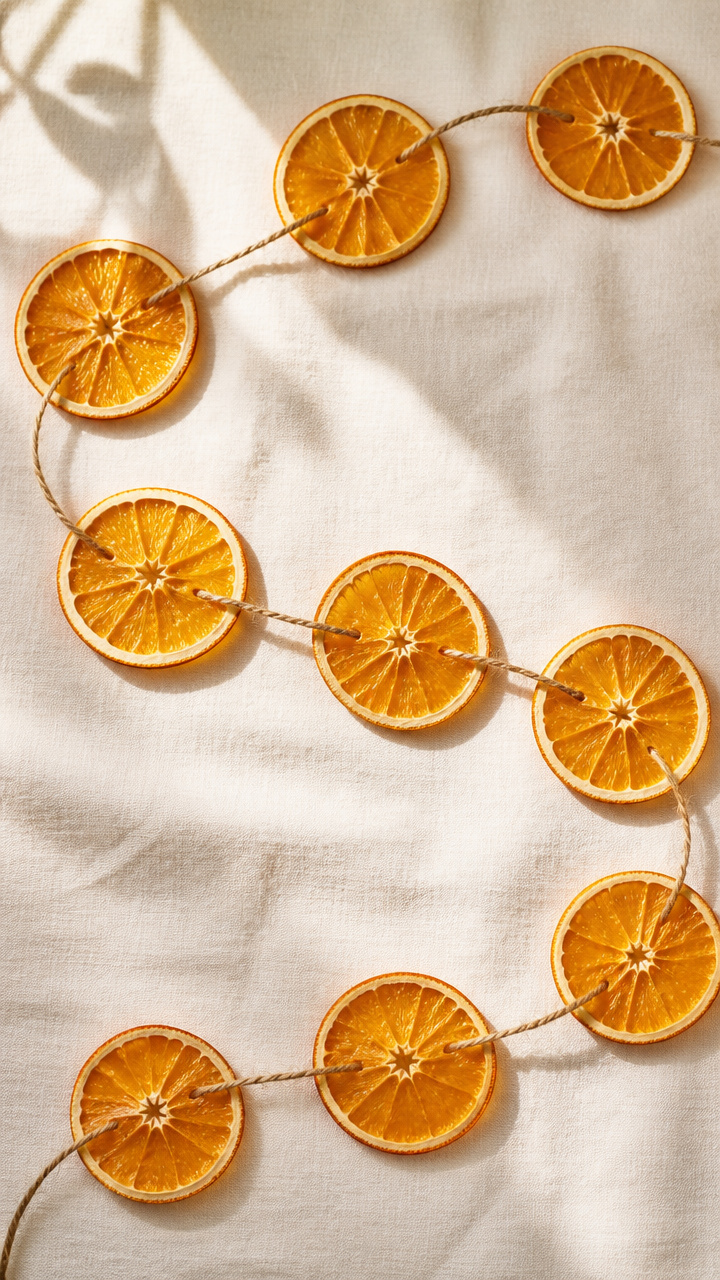
Thin slices of orange dried until crisp, strung with twine into a garland that smells like winter mornings and looks like tiny suns.
Materials Needed
- 6 large oranges
- Chef’s knife
- Baking sheet
- Parchment paper
- Oven
- 10 feet of natural twine
- Needle (large-eye)
How to Make It
- Preheat oven to 175°F. Line a baking sheet with parchment paper.
- Slice oranges into 1/4-inch rounds and arrange in a single layer on the sheet.
- Bake for 3–4 hours, flipping every hour, until dry and slightly curled.
- Let cool completely, then thread twine through each slice using a needle.
- Space slices evenly and tie knots between them to hold position.
14. Hand-Stitched Leather Journal Cover
Advanced
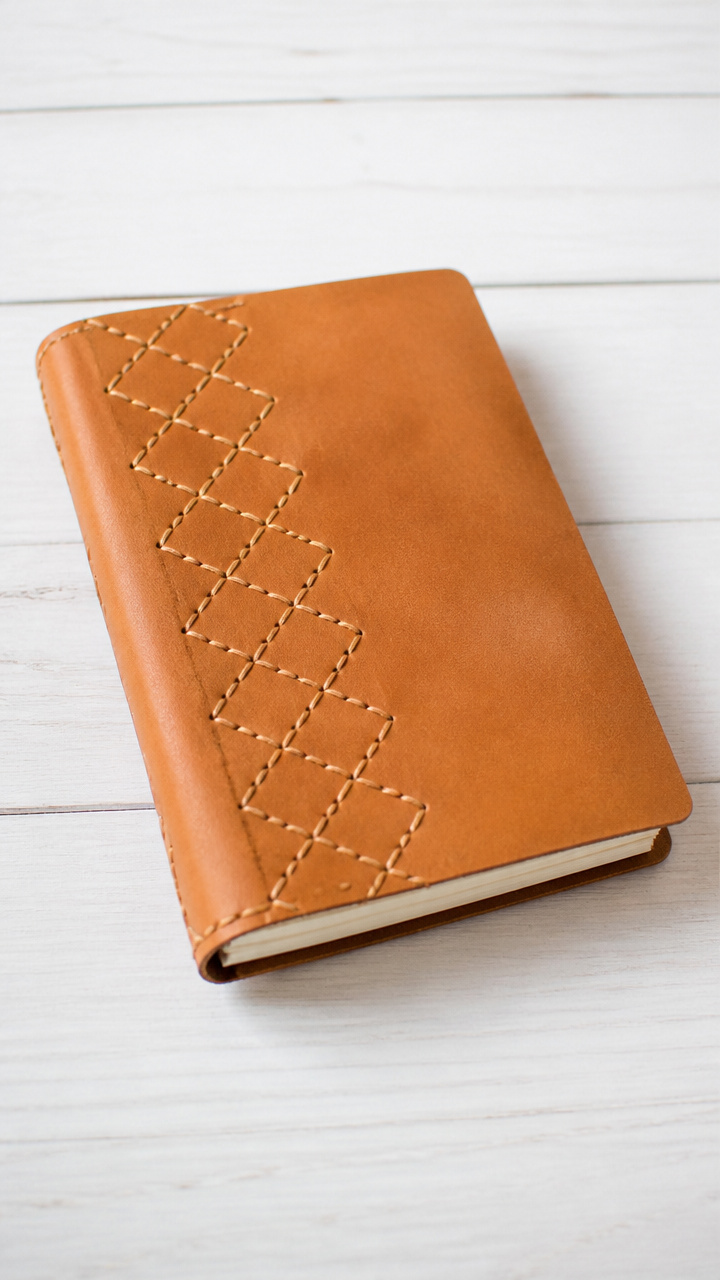
A supple leather sleeve that holds a standard notebook, stitched by hand with contrasting thread for a custom look.
Materials Needed
- 1 piece full-grain leather (9×12 inches, tan)
- Waxed linen thread (beige, 3 yards)
- Needle for leather (blunt tip)
- Ruler
- Diamond chisel punch (5mm)
- Mallet
- Bone folder
How to Make It
- Measure and mark a 7×10 inch rectangle on the leather. Use the bone folder to crease a fold 1 inch from one long edge.
- Place the chisel punch along the open edges and tap with the mallet every 1/2 inch to make stitching holes.
- Thread the needle with 2 yards of waxed linen and knot the end.
- Sew using a saddle stitch: pass the needle through the first hole, then both threads through the next, pulling tight after each.
- Continue around both sides and stop at the fold. Trim thread and secure with a backstitch.
15. Peppermint Sugar Scrub
Easy
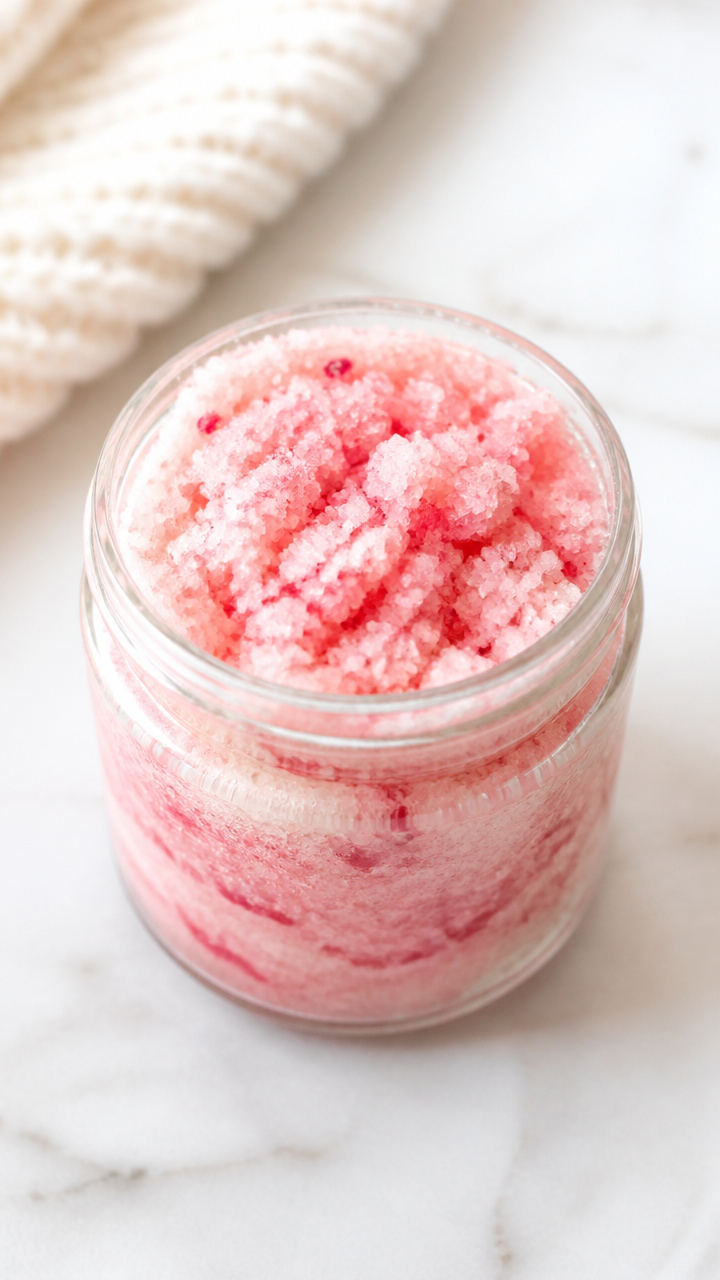
A jar of pink-tinted sugar scrub that exfoliates and refreshes, blending peppermint essential oil with coconut oil for silky skin.
Materials Needed
- 1 cup granulated sugar
- 1/2 cup coconut oil (solid)
- 10 drops peppermint essential oil
- 2 drops red food coloring
- 8 oz glass jar with lid
- Mixing bowl
- Spoon
How to Make It
- Place coconut oil in a mixing bowl and stir with a spoon until creamy.
- Add sugar, peppermint oil, and food coloring. Mix until evenly combined and pink throughout.
- Spoon the scrub into the glass jar, pressing down gently to remove air pockets.
- Seal with the lid and label with contents and date.
- Use within 3 months for best quality.
16. Cross-Stitch Christmas Card
Moderate
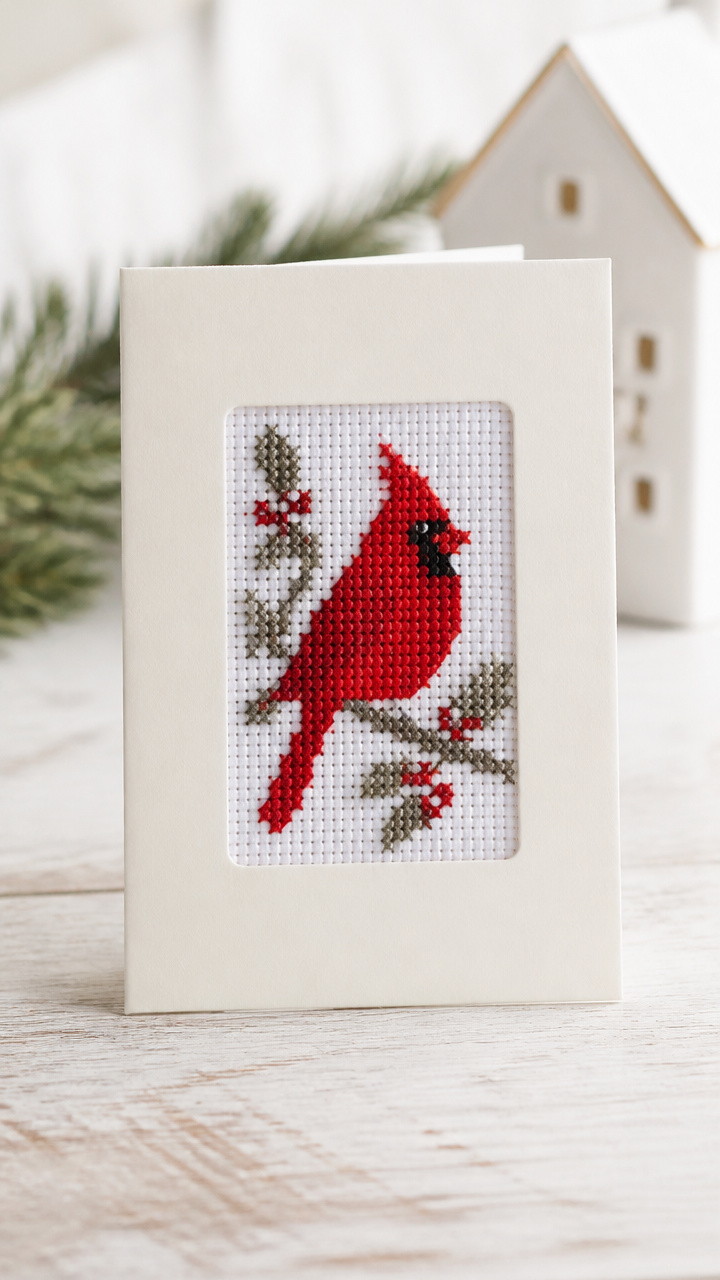
A handmade card with a tiny red cardinal stitched in place of printed art, framed by a hand-cut window in cream cardstock.
Materials Needed
- A6 cream cardstock card and envelope
- 5-inch embroidery hoop
- Aida cloth (5×5 inches, white)
- Red and gray embroidery floss
- Size 8 embroidery needle
- Craft knife
- Cutting mat
- Glue stick
How to Make It
- Cut a 2×2 inch square window in the front of the card using a craft knife and cutting mat.
- Place Aida cloth in the hoop and stitch a small cardinal using cross-stitch, following a simple pattern.
- Remove cloth from hoop and trim to 3×3 inches.
- Apply glue stick to the back of the stitched piece and center it behind the window.
- Press gently and let dry for 10 minutes before writing a message inside.
17. Woven Wooden Keychain
Advanced
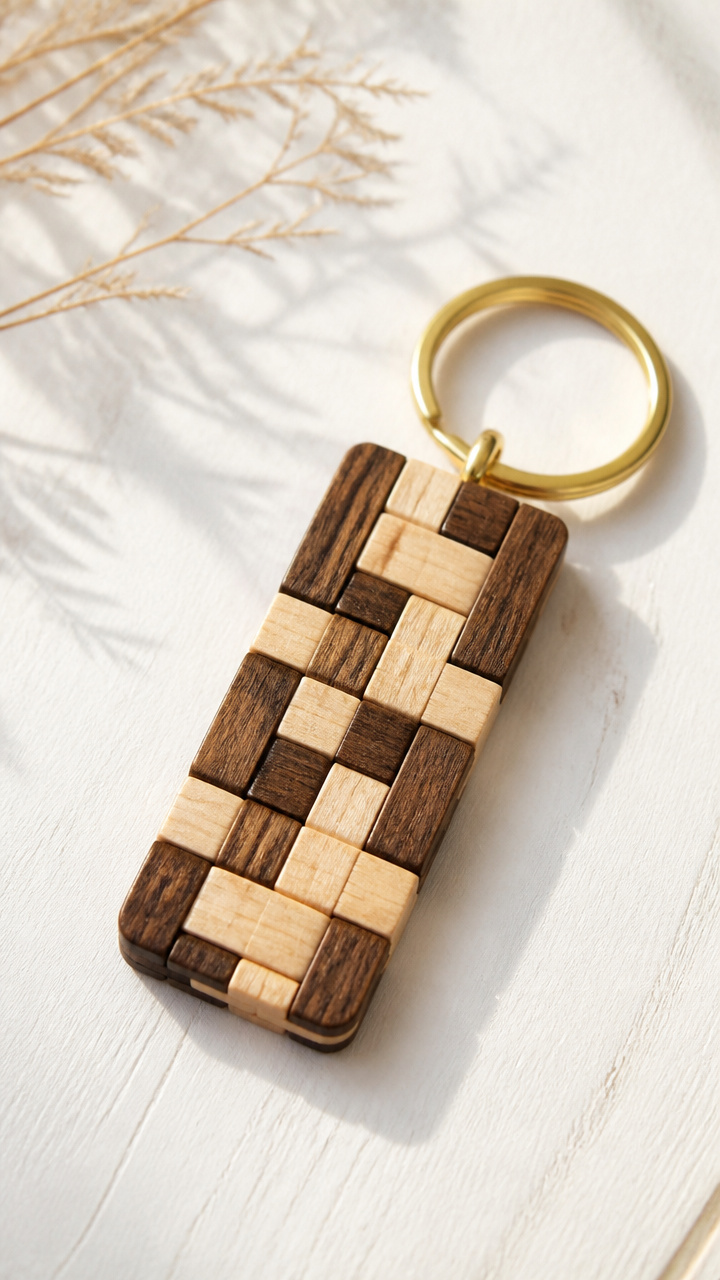
A compact rectangle of dark walnut and pale maple strips woven together, finished with a brass keyring for everyday use.
Materials Needed
- 4 walnut strips (1/8 inch wide, 3 inches long)
- 4 maple strips (1/8 inch wide, 3 inches long)
- Wood glue
- Small clamp
- Brass keyring (1 inch)
- Fine sandpaper (320 grit)
- Toothpick
How to Make It
- Lay two walnut strips parallel, 1 inch apart. Weave two maple strips perpendicularly over and under them.
- Apply a tiny dot of wood glue at each intersection using a toothpick.
- Lay the second set of walnut strips on top in the same orientation and glue all new intersections.
- Clamp gently for 30 minutes until dry.
- Sand all edges smooth and attach the keyring through a pre-drilled hole or by slipping it through the weave.
18. Clay Snowflake Ornament
Easy
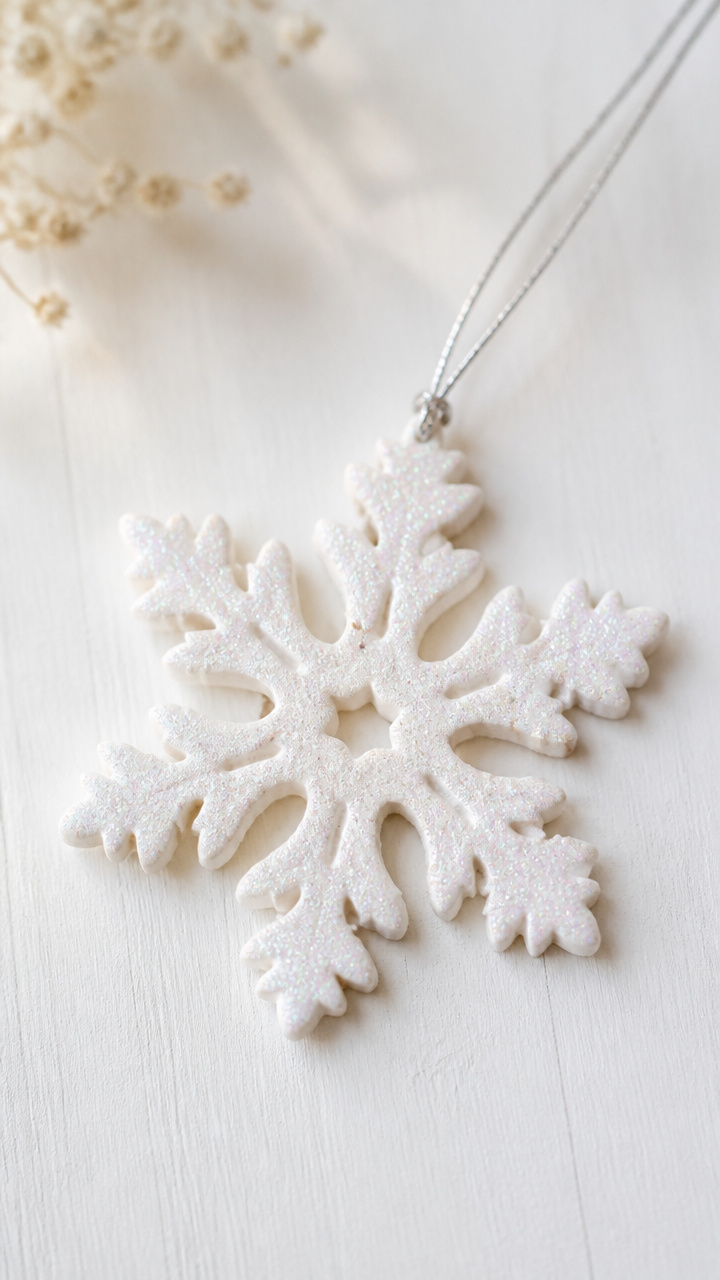
A delicate snowflake pressed from air-dry clay, painted with iridescent glitter and hung with silver thread. It catches light like real frost.
Materials Needed
- 2 oz white air-dry clay
- Snowflake-shaped cookie cutter (2 inches)
- Rolling pin
- Straw
- Paintbrush
- Iridescent glitter
- White craft glue
- Silver metallic thread (12 inches)
How to Make It
- Roll the clay to 1/8 inch thickness on a flat surface using the rolling pin.
- Press the snowflake cutter into the clay and lift carefully.
- Use a straw to poke a small hole near the top edge for hanging.
- Let dry for 24 hours on a parchment-lined tray.
- Brush with glue and sprinkle glitter evenly. Thread the silver thread through the hole when dry.
19. Herbed Olive Oil Infusion
Easy
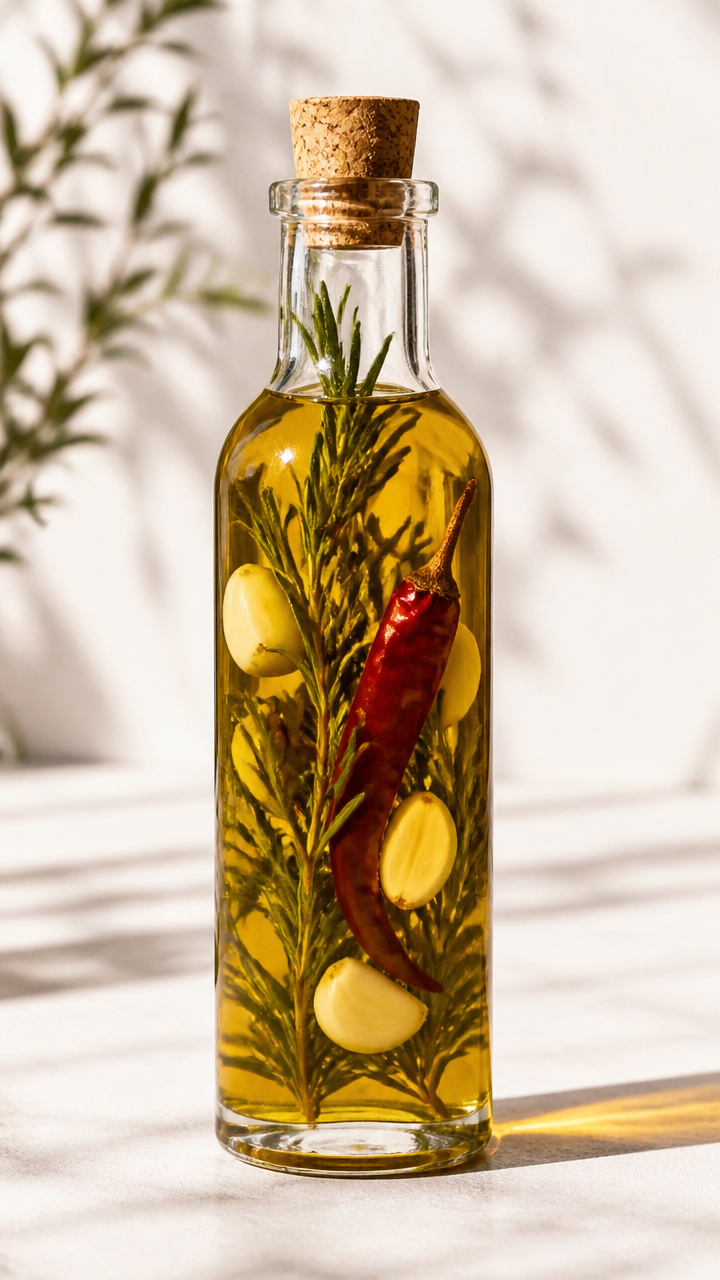
A bottle of golden olive oil steeped with rosemary, garlic, and red chili, ready to drizzle over bread or roast vegetables.
Materials Needed
- 12 oz bottle extra virgin olive oil
- 2 sprigs fresh rosemary
- 2 cloves garlic (peeled and smashed)
- 1 dried red chili pepper
- Small funnel
- Glass bottle with cork stopper (12 oz capacity)
How to Make It
- Wash and dry the glass bottle thoroughly. Place rosemary, garlic, and chili inside.
- Use a funnel to slowly pour olive oil into the bottle, filling to the top.
- Seal with the cork and let sit in a cool, dark place for 5 days.
- Strain through a coffee filter into a clean bottle if desired, or leave ingredients in for visual appeal.
- Label with ingredients and date. Use within 4 weeks.
Each of these gifts carries your time, care, and attention in a way no store-bought item ever could. Pick one that speaks to you and start creating.