15 Toddler Penguin Crafts That Are Easy and Mess-Free

Soft black paper wings curl at the edges, tiny googly eyes catch the light, and little hands proudly hold up their penguin pals — crafting with toddlers doesn’t need glitter storms or paint-smeared smocks to feel magical.
These penguin projects use safe, simple materials you likely have at home or can grab in one quick store trip. Each one keeps messes off the floor and focus on fun, creativity, and those sweet moments when your child beams with pride.
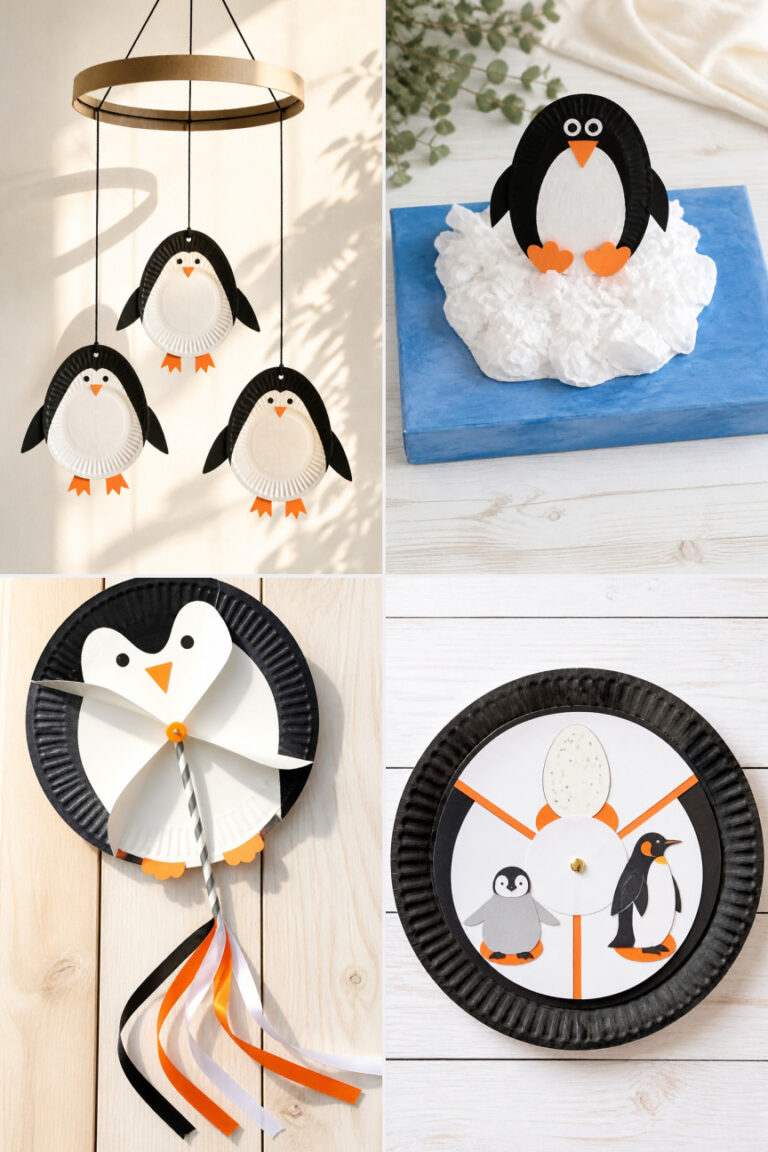
1. Paper Plate Penguin
Easy
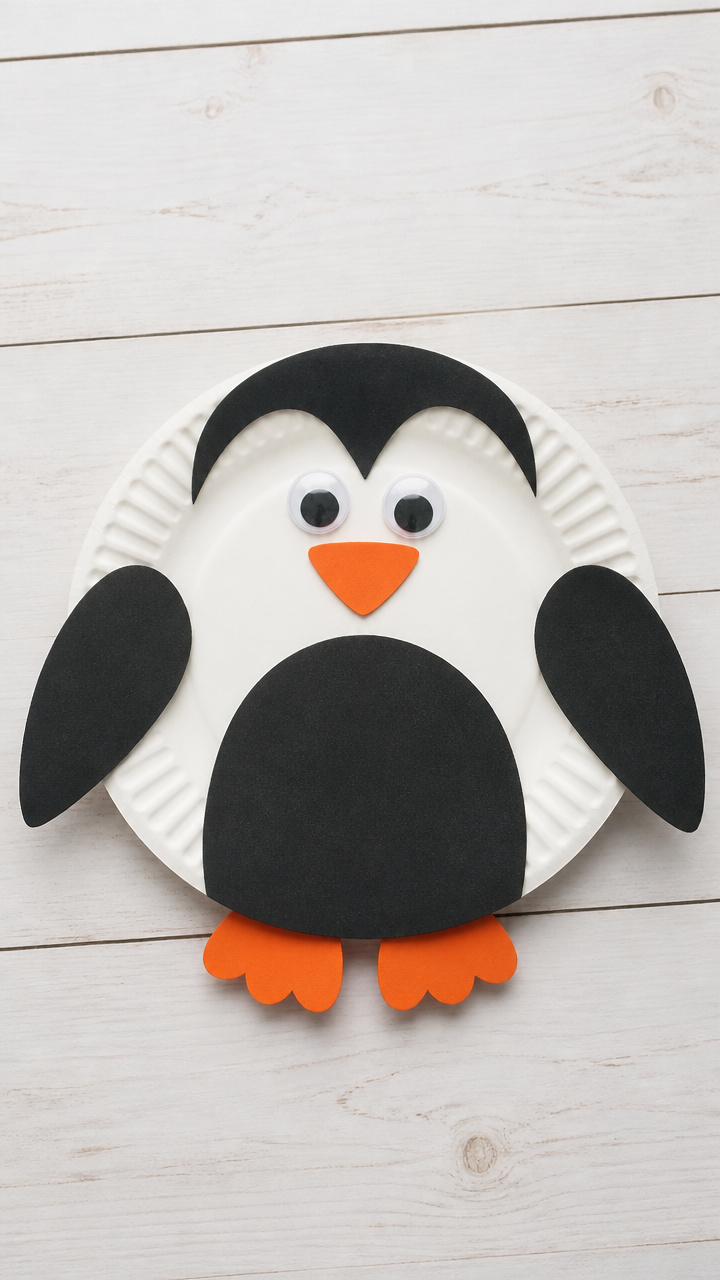
A round paper plate becomes a waddling penguin with flippers and a cheerful face, perfect for hanging on the fridge or gifting to grandparents.
Materials Needed
- 1 white paper plate
- Black construction paper (8.5 x 11 inch)
- 1 pair 0.5 inch googly eyes
- Orange craft foam sheet (6 x 6 inch)
- Glue stick
- Scissors
- Black fine-tip marker
How to Make It
- Cut the paper plate in half and set aside one half for another project. Use the remaining half as the penguin’s body.
- Cut two wing shapes from the black construction paper and glue them to the curved side of the plate.
- Cut a small triangle beak from the orange craft foam and glue it below the center of the plate.
- Add the googly eyes above the beak and draw tiny nostrils with the black marker.


2. Cotton Ball Tummy
Easy
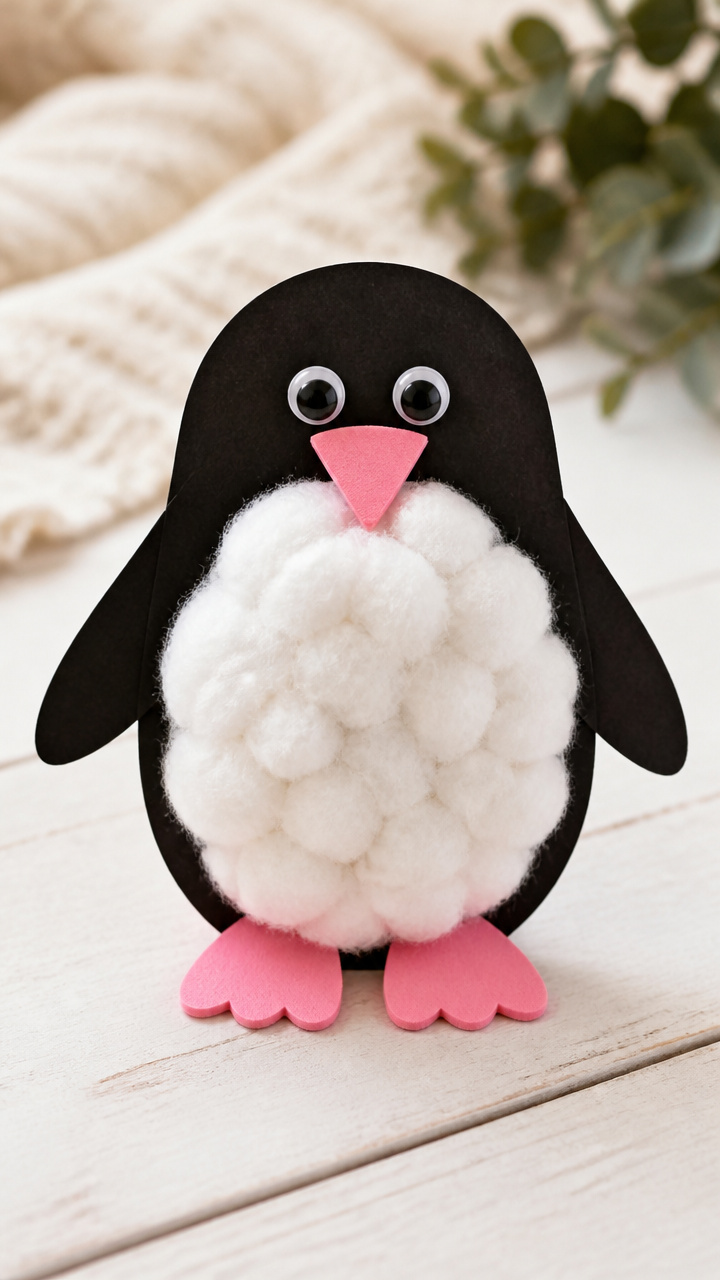
Fuzzy white cotton balls give this penguin a soft belly that begs to be touched, making it ideal for sensory play and storytime buddies.
Materials Needed
- 1 piece 6 x 9 inch black cardstock
- 1 sheet A4 white printer paper
- Glue stick
- Small cotton balls (about 20)
- 1 pair 0.75 inch plastic safety eyes
- Pink craft foam sheet (6 x 6 inch)
How to Make It
- Fold the black cardstock in half vertically to form a standing penguin shape.
- Glue cotton balls in a vertical line down the center front of the folded cardstock for the tummy.
- Cut two flipper shapes from the white printer paper and glue them to the sides.
- Glue the safety eyes near the top fold and cut a small heart-shaped feet from pink foam to attach at the bottom.

3. Popsicle Stick Parade
Easy
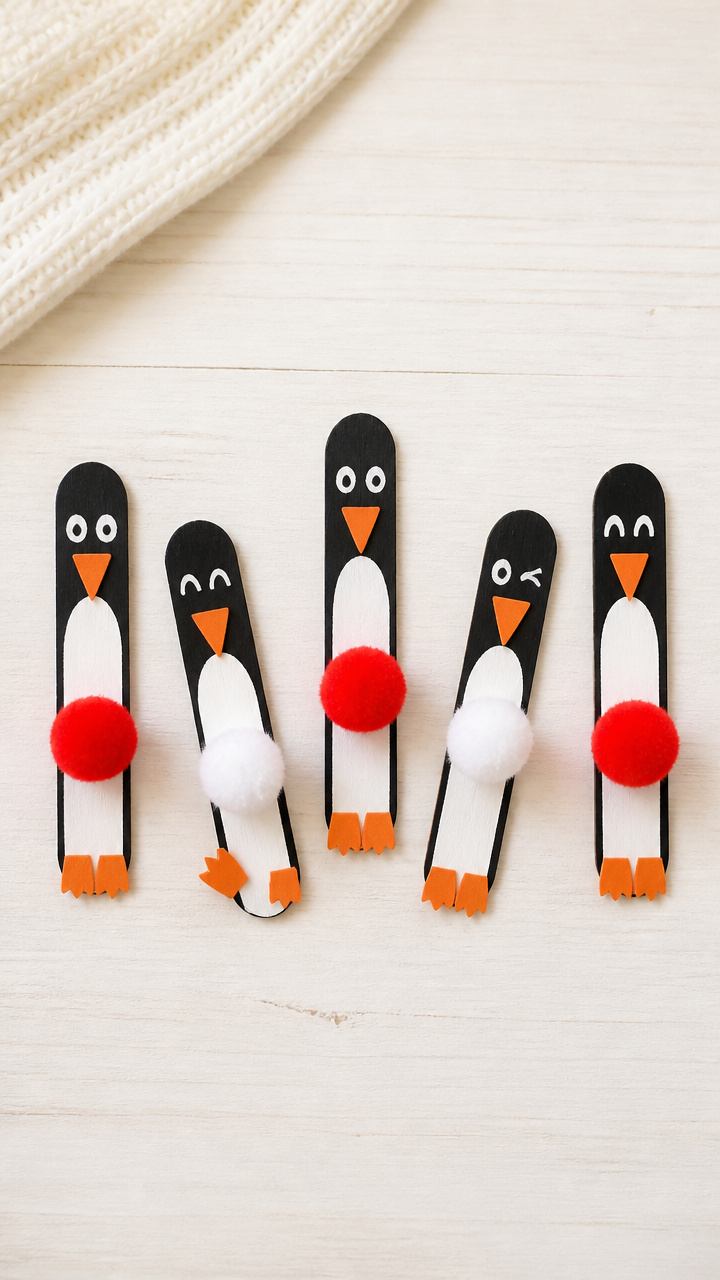
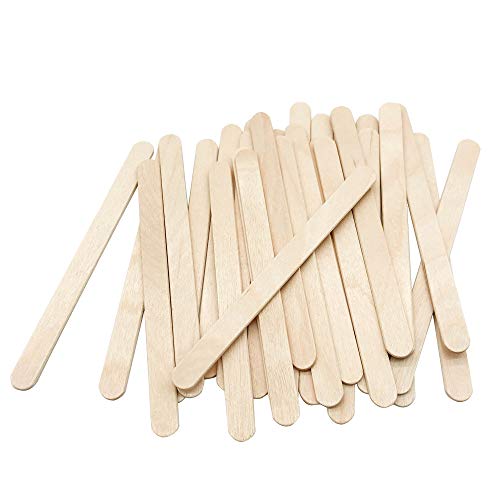
Five flat wooden sticks stand side by side to create a family of penguins, each with its own personality and pose.
Materials Needed
- 5 flat wooden craft sticks (4.5 x 0.5 inch)
- Black acrylic paint
- White acrylic paint
- Paintbrush (size 4 round)
- Glue dots (small size)
- Mini pom-poms (1 red, 5 white)
- Black fine-tip marker
How to Make It
- Paint the front of each craft stick with black acrylic paint and let dry completely (about 15 minutes).
- Paint a white oval on the front center of each stick for the belly and let dry.
- Use glue dots to attach a white pom-pom under each beak area.
- Draw faces with the black marker: eyes, beaks, and tiny eyebrows for expression.

4. Handprint Slide Craft
Easy
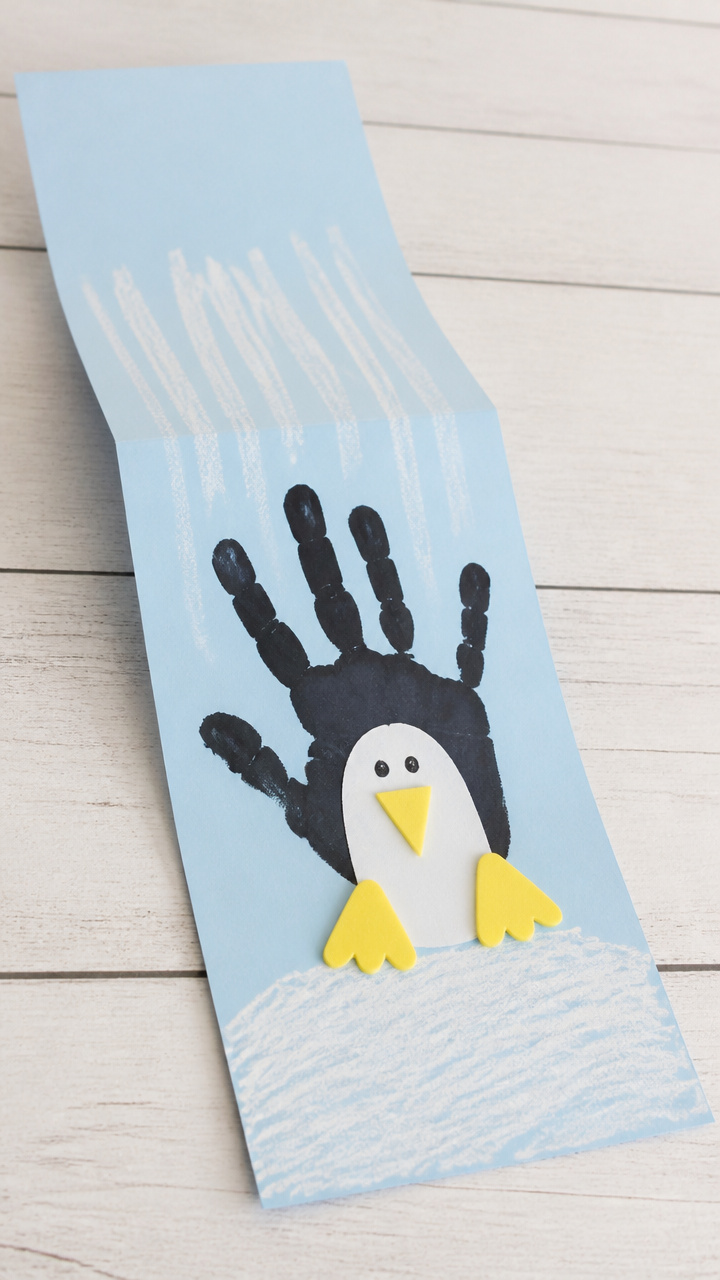
Your toddler’s handprint forms the penguin’s body sliding down a blue paper ramp, capturing motion and giggles in one frame.
Materials Needed
- 1 sheet A4 light blue cardstock
- Black washable ink pad
- White crayon
- Black fine-tip marker
- Glue stick
- 1 small yellow foam circle (1 inch diameter)
How to Make It
- Press your toddler’s palm and fingers into the black ink pad, then firmly stamp near the top of the blue cardstock.
- Let the ink dry completely (about 5 minutes).
- Use the white crayon to draw a curved slide starting under the thumb and ending at the bottom edge.
- Draw a face on the wrist part of the print with the marker and glue the yellow foam circle at the slide’s end as a sun.


5. Egg Carton Waddler
Moderate
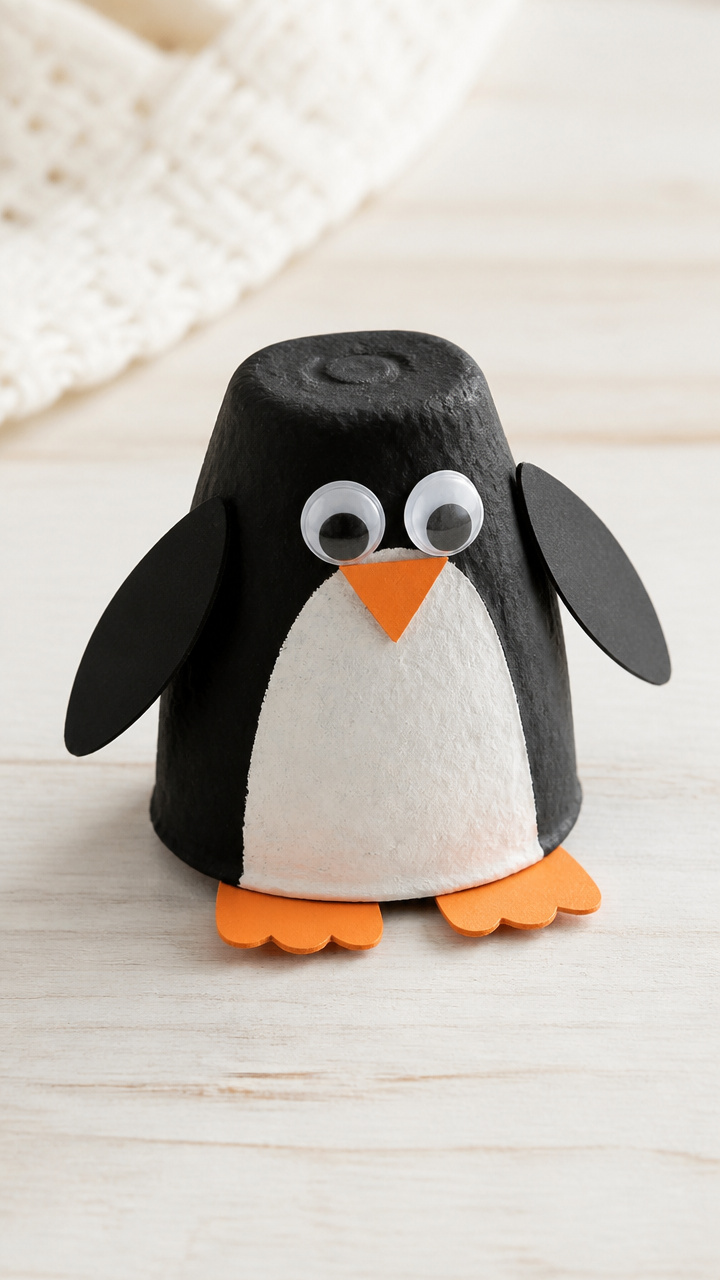
One cup from an egg carton transforms into a 3D penguin that stands on its own, great for pretend play after crafting.
Materials Needed
- 1 cardboard egg carton cup
- Black acrylic paint
- White acrylic paint
- Paintbrush (size 3 round)
- Googly eyes (0.5 inch, 1 pair)
- Orange craft foam (6 x 6 inch)
- Hot glue gun with low-temp glue sticks
- Scissors
How to Make It
- Paint the outside of the egg cup with black acrylic paint and let dry fully (20 minutes).
- Paint the inside rim white for the neck and let dry.
- Cut two small wing shapes and a triangle beak from orange foam.
- Use the hot glue gun to attach the wings to the sides and the beak to the front, then add the googly eyes above it.


6. Sticker Scene Builder
Easy
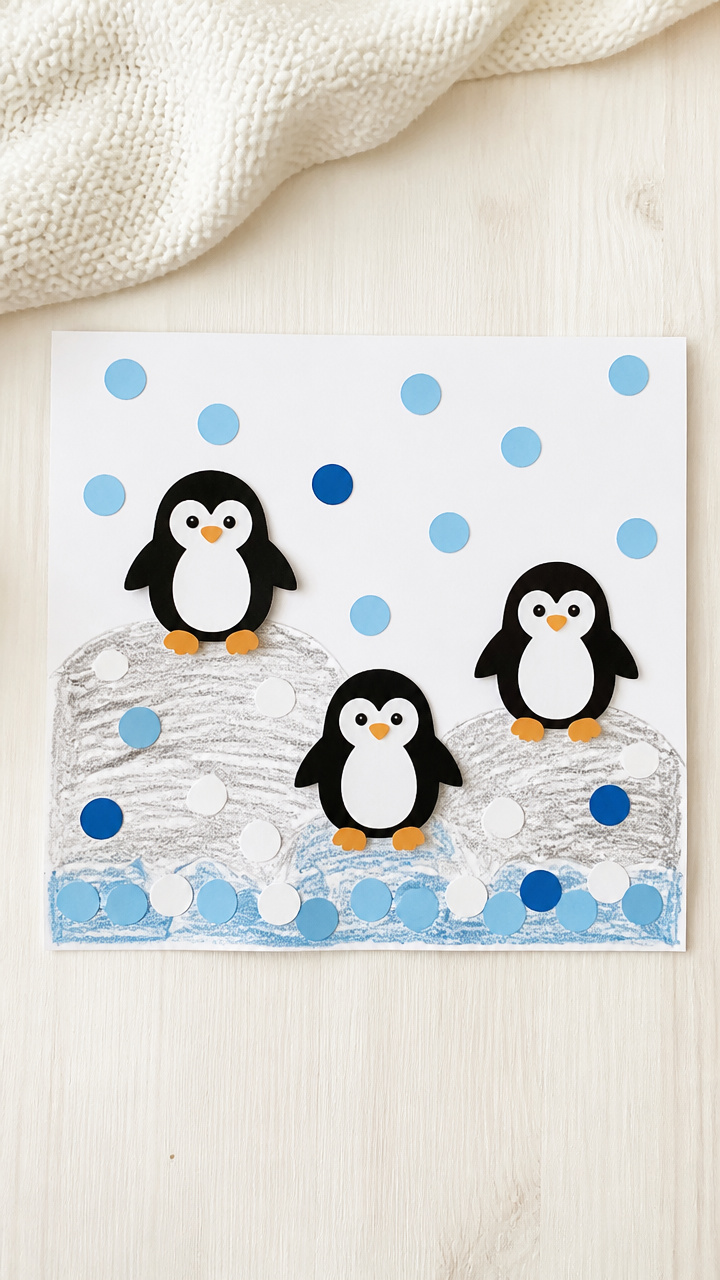
Pre-cut stickers and background sheets let toddlers build their own icy world without scissors or glue frustration.
Materials Needed
- 1 sheet A4 white cardstock
- Black adhesive foam stickers (pre-cut penguin shapes, 3 inches tall, 3 pieces)
- Blue dot stickers (0.25 inch, 10 count)
- White star stickers (0.25 inch, 10 count)
- Light gray crayon
How to Make It
- Draw gentle wavy lines across the bottom third of the cardstock with the gray crayon to suggest ice.
- Peel and place the black penguin stickers upright on the ice line.
- Add blue dot stickers above for water splashes and white stars around for falling snow.


7. Sock Puppet Pal
Moderate
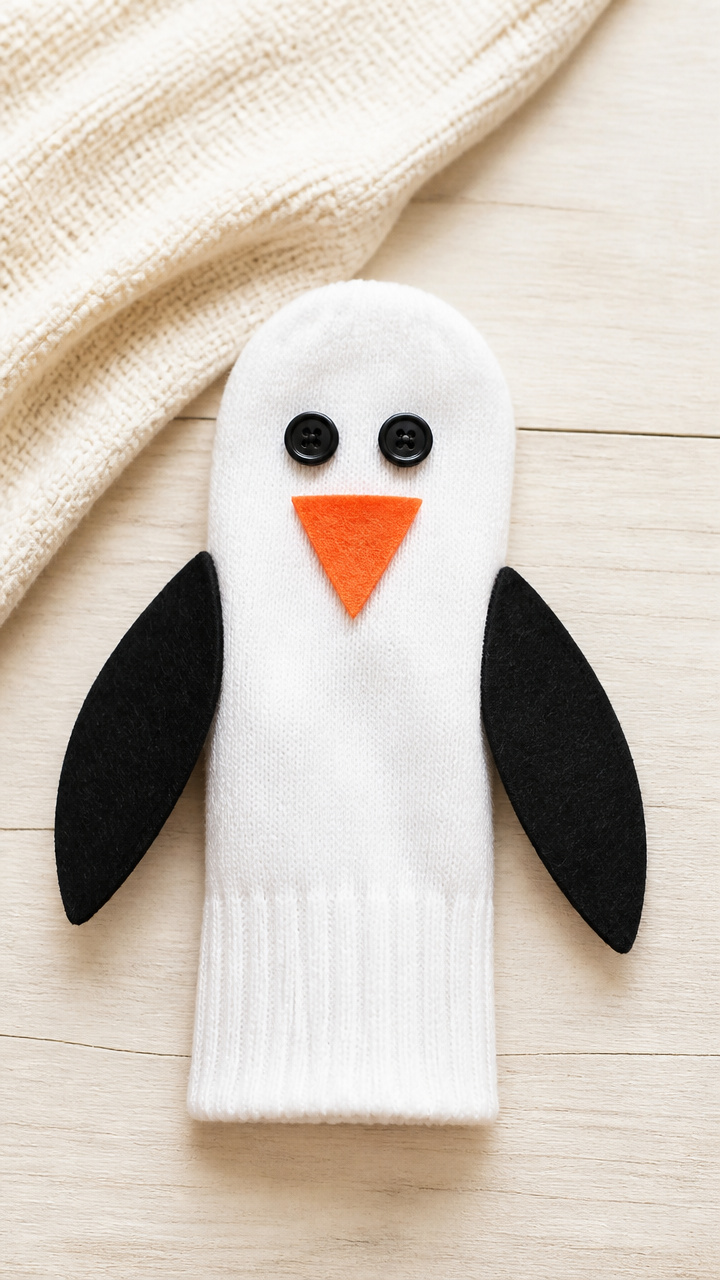
An old baby sock becomes a wiggly penguin friend with sewn-on details, ready for storytelling and naptime chats.
Materials Needed
- 1 clean white baby sock (knee-high preferred)
- Black felt sheet (9 x 12 inch)
- Orange felt sheet (9 x 12 inch)
- Needle and black embroidery thread
- Yarn needle (blunt tip)
- 2 black buttons (0.5 inch)
- Scissors
- Fabric glue
How to Make It
- Cut two wing shapes from black felt and a small triangle beak from orange felt.
- Thread the needle and stitch the wings onto the sock sides just below the heel.
- Use fabric glue to attach the beak to the toe end of the sock.
- Thread the yarn needle with black thread and hand-sew the buttons onto the upper sock for eyes.


8. Penguin Lacing Cards
Moderate
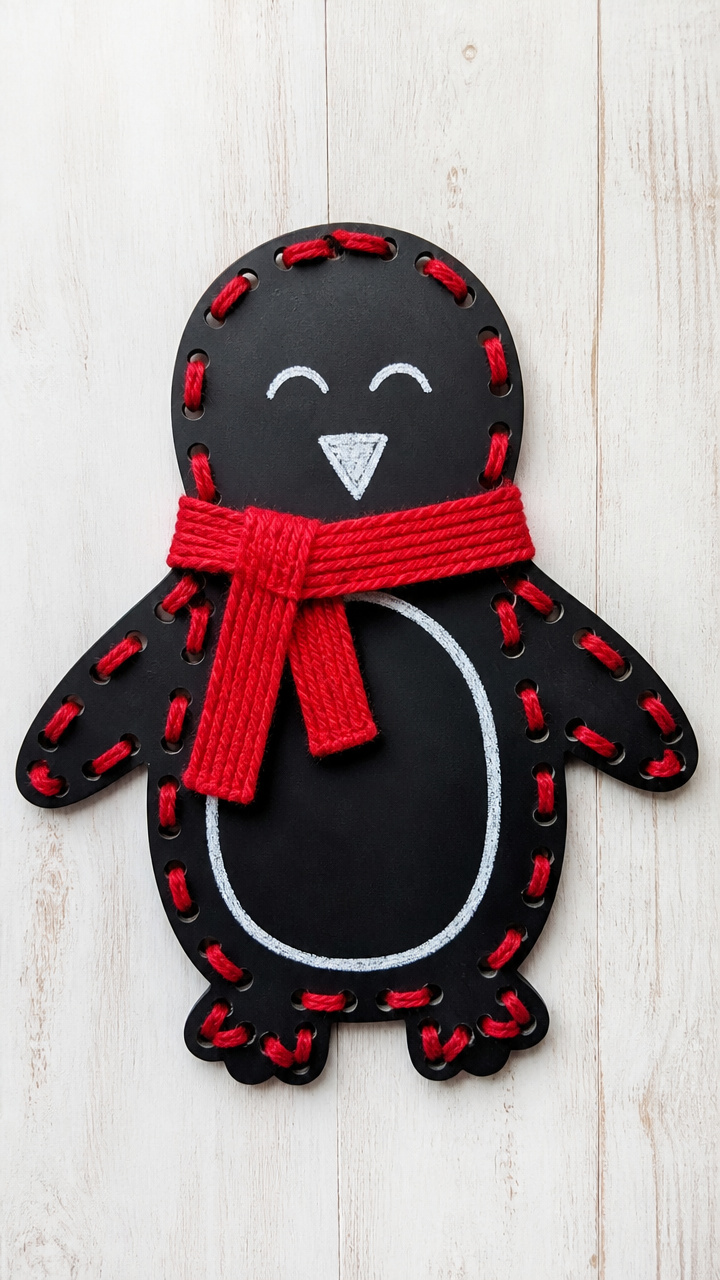
Sturdy laminated shapes with punched holes help toddlers practice fine motor skills while dressing their penguin in an imaginary scarf.
Materials Needed
- 1 sheet black cardstock
- Laminator and 8.5 x 11 inch laminating pouch
- Hole punch (single, 1/8 inch)
- Waxed yarn (red, 18 inches long)
- Scissors
- Fine-tip white chalk marker
How to Make It
- Draw a penguin shape (6 inches tall) on the black cardstock and cut it out.
- Laminate the shape using the laminating pouch and trim the edges.
- Punch six evenly spaced holes around the outer edge of the penguin.
- Use the chalk marker to draw a face and write your child’s name on the front, then lace the yarn through the holes like a shoelace.


9. Thumbprint Chick Surprise
Easy
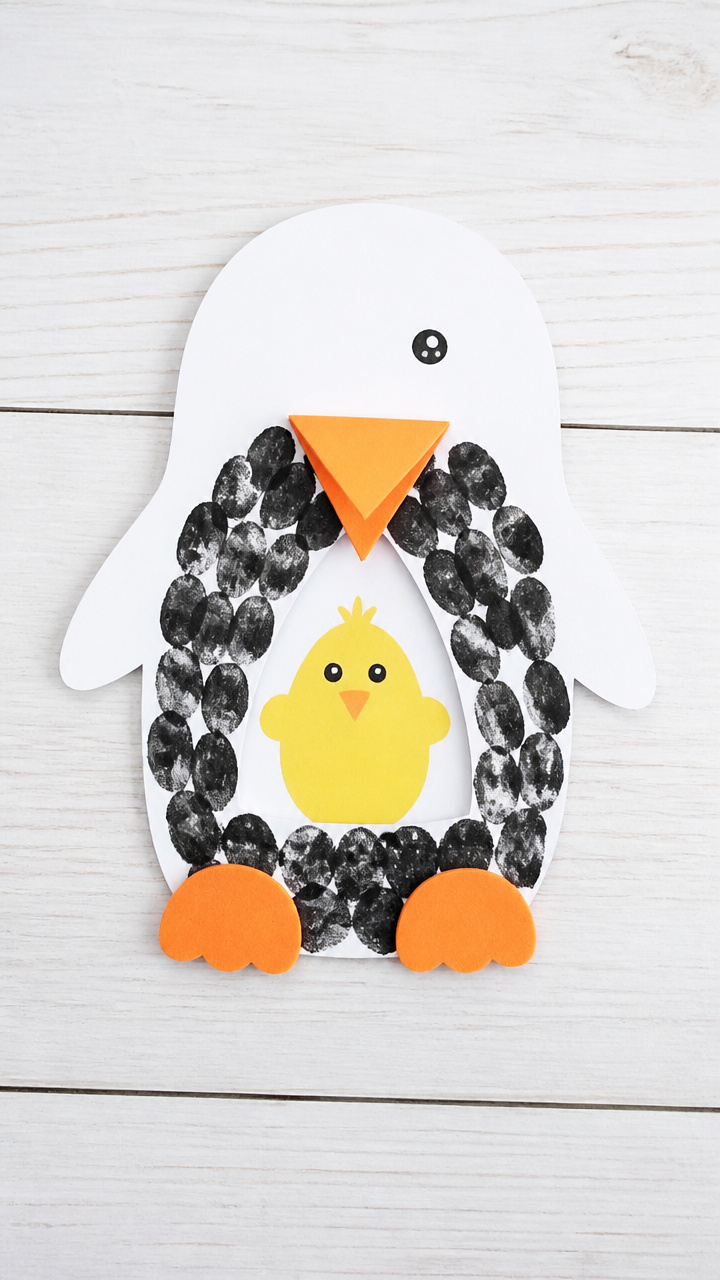
A parent’s black thumbprint hides a tiny yellow chick inside, revealed when the penguin ‘opens’ its belly flap.
Materials Needed
- 1 sheet A4 white cardstock
- Black washable ink pad
- Yellow washable ink pad
- Glue stick
- 1 small orange foam triangle (0.75 inch)
- Black fine-tip marker
How to Make It
- Press your thumb into the black ink pad and stamp it vertically near the center of the cardstock.
- Let the ink dry, then cut a small oval from the bottom half to create a hinged flap.
- Press your child’s thumb into the yellow ink pad and stamp it behind the flap, letting it peek through when lifted.
- Glue the orange triangle below the black print for feet and draw eyes and a beak on the black print with the marker.

10. Toilet Paper Roll Standee
Easy
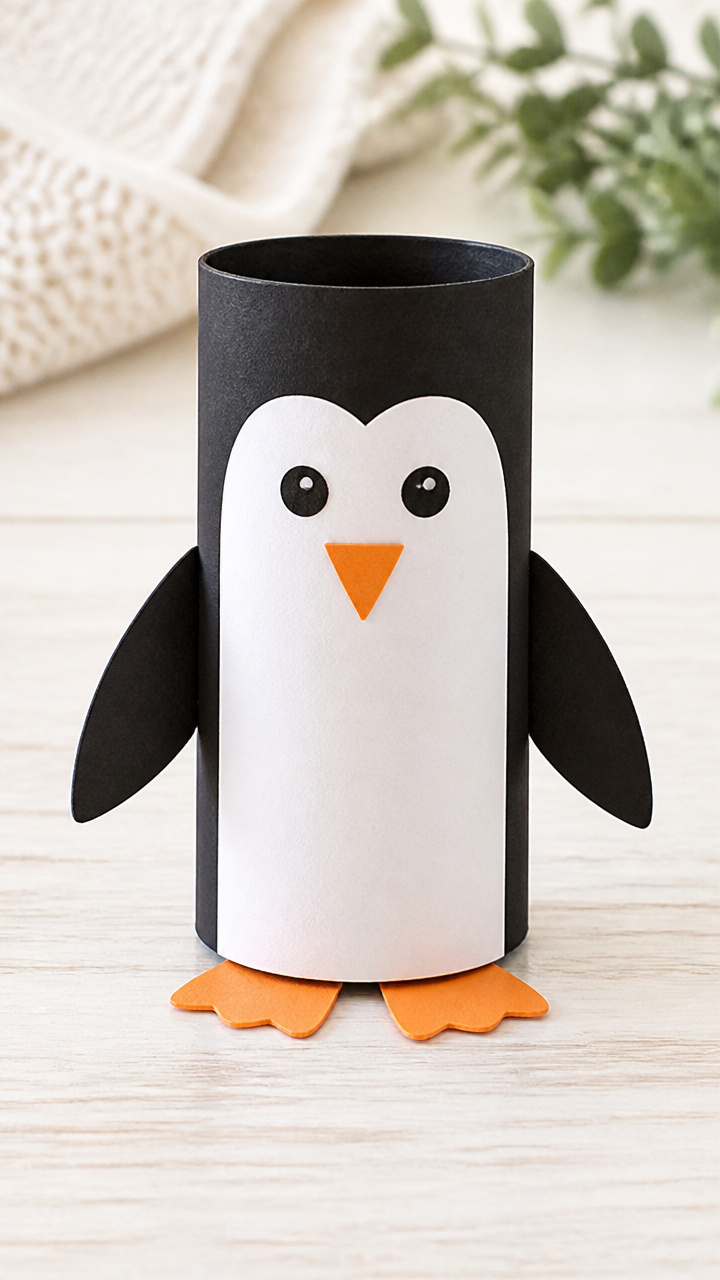
An empty toilet paper roll gains flippers and a face, standing tall on a folded base for shelf display.
Materials Needed
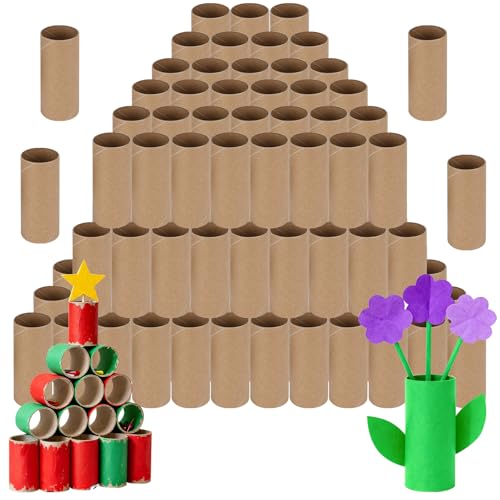
- 1 empty toilet paper roll
- Black construction paper (8.5 x 11 inch)
- White craft foam sheet (6 x 6 inch)
- Glue stick
- Scissors
- 1 pair 0.5 inch googly eyes
- Black fine-tip marker
How to Make It
- Cut two wing shapes from the black construction paper and glue them to opposite sides of the roll.
- Cut a semicircle from the white craft foam and glue it to the front lower half of the roll for the belly.
- Attach the googly eyes near the top and draw a small beak below them with the marker.
- Fold a 2 x 3 inch rectangle of scrap paper in half and glue it to the bottom inside of the roll so it stands upright.


11. Magnetic Fridge Friends
Easy
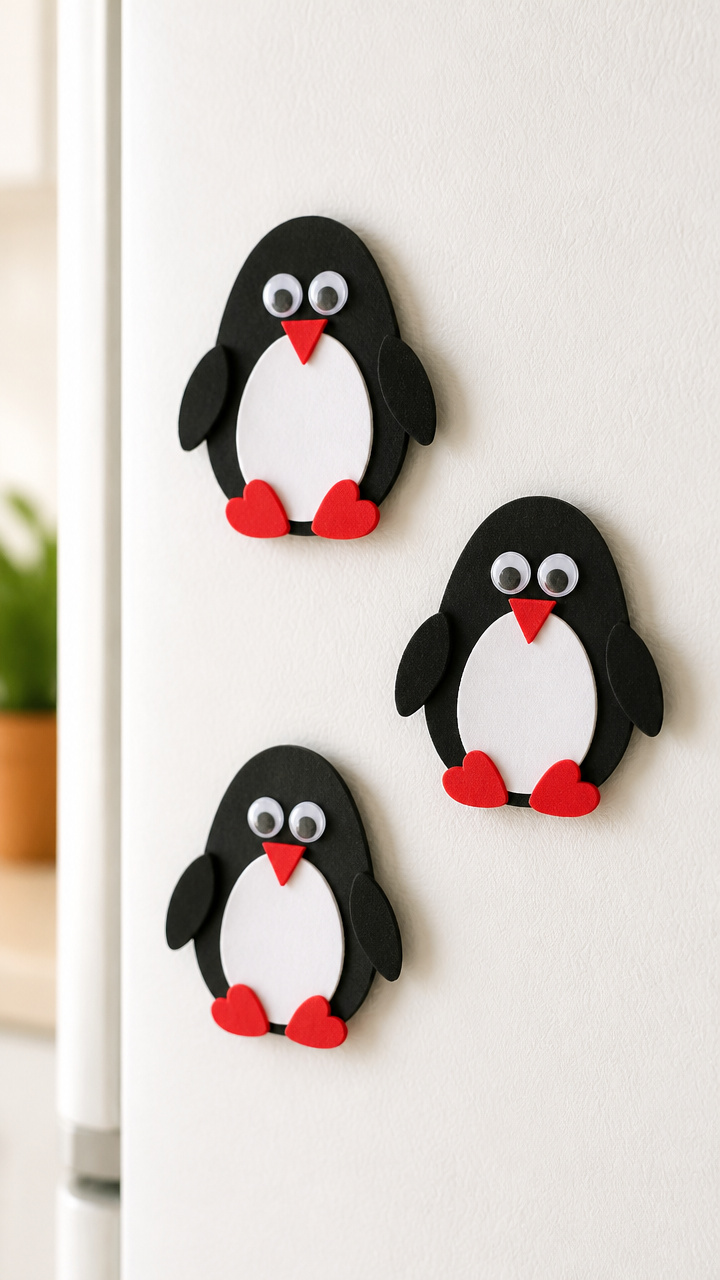
Tiny penguin cutouts with sticky magnets turn snack-time reminders into playful moments on the kitchen door.
Materials Needed
- 1 sheet black cardstock
- White adhesive-backed foam sheets (6 x 9 inch)
- Round self-adhesive magnets (0.75 inch, 4 count)
- Scissors
- 1 pair mini googly eyes (0.375 inch)
- Red fine-tip marker
How to Make It
- Cut four penguin shapes (3 inches tall) from the black cardstock using a simple oval body and head.
- Cut small white belly ovals from the foam sheet and stick them to the front of each penguin.
- Stick a googly eye on each side of the head and draw a tiny beak with the red marker.
- Press a self-adhesive magnet to the back of each penguin.
12. Nesting Cup Penguins
Easy
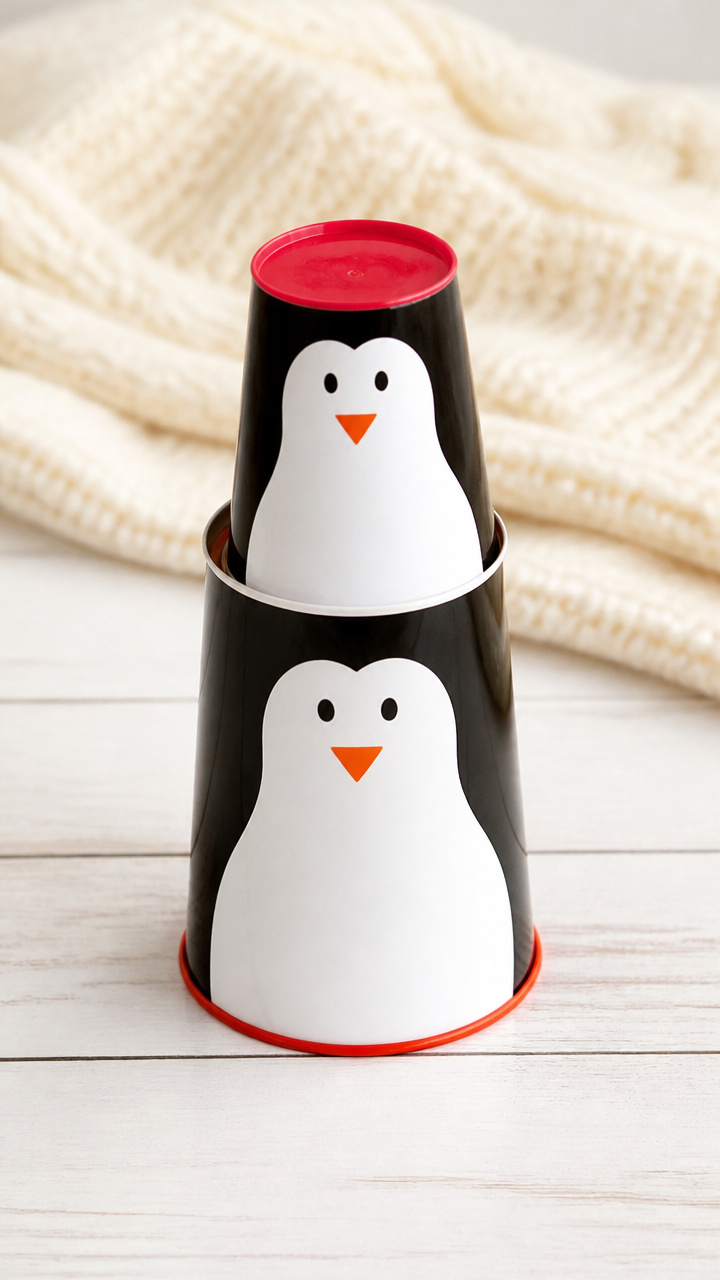
Two stacked solo cups create a penguin duo that nests together, ideal for bath time or stacking games.
Materials Needed
- 2 red solo cups (one 16 oz, one 9 oz)
- Black vinyl sticker paper (8.5 x 11 inch)
- White vinyl sticker paper (8.5 x 11 inch)
- Scissors
- Black permanent marker
How to Make It
- Cut a large oval from the black vinyl paper and wrap it around the 16 oz cup to cover the sides.
- Cut a smaller oval from the white vinyl and wrap it around the front of the same cup for the belly.
- Repeat with the 9 oz cup using smaller vinyl pieces to make a baby penguin.
- Draw matching faces on both cups with the permanent marker and nest the small cup inside the large one.


13. Penguin Window Cling
Moderate
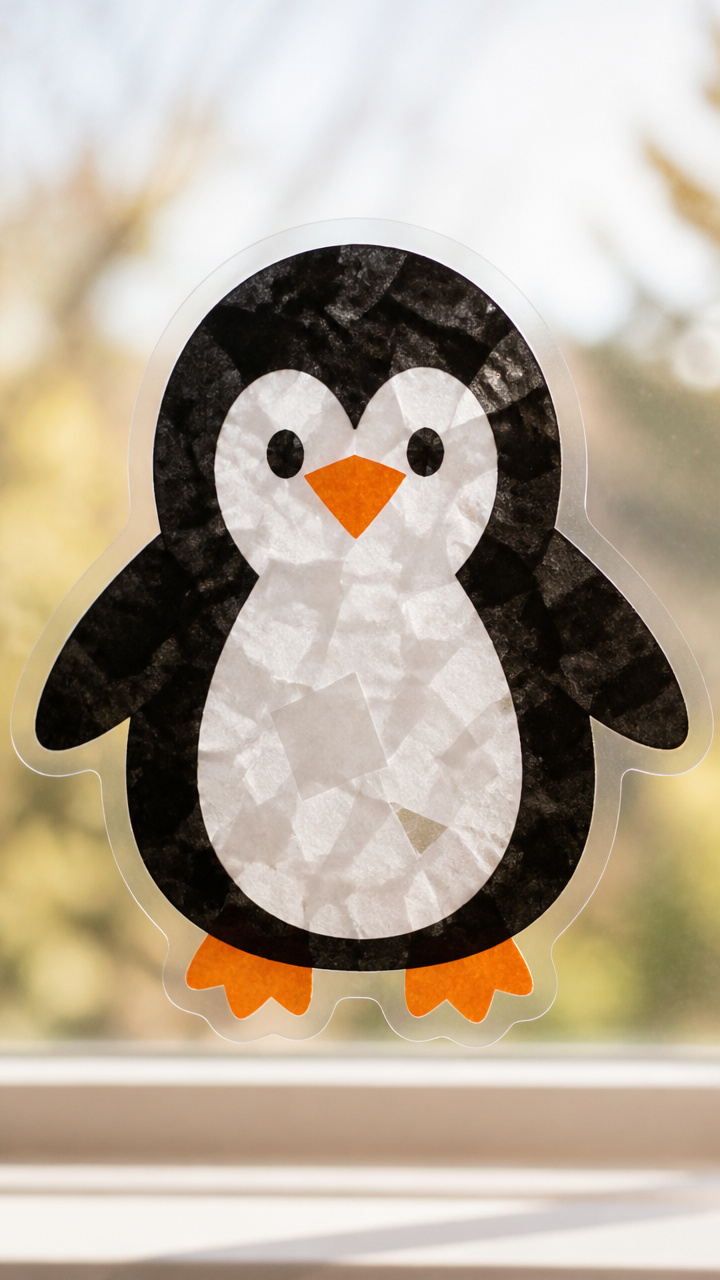
Clear contact paper captures tissue paper layers to make a colorful penguin that sticks to any glass surface.
Materials Needed
- Clear contact paper (12 x 18 inch sheet)
- Black tissue paper (6 x 6 inch square)
- White tissue paper (6 x 6 inch square)
- Orange tissue paper (2 x 2 inch piece)
- Scissors
- Rolling pin
- Cardboard template (penguin shape, 5 inches tall)
How to Make It
- Place the penguin template on the sticky side of the contact paper and cut around it.
- Layer black tissue over most of the shape, leaving space for the belly and beak.
- Add a patch of white tissue for the belly and a small orange piece for the beak.
- Cover with the backing paper and roll gently with the rolling pin to seal, then peel and stick to a window.


14. Pipe Cleaner Silhouette
Easy
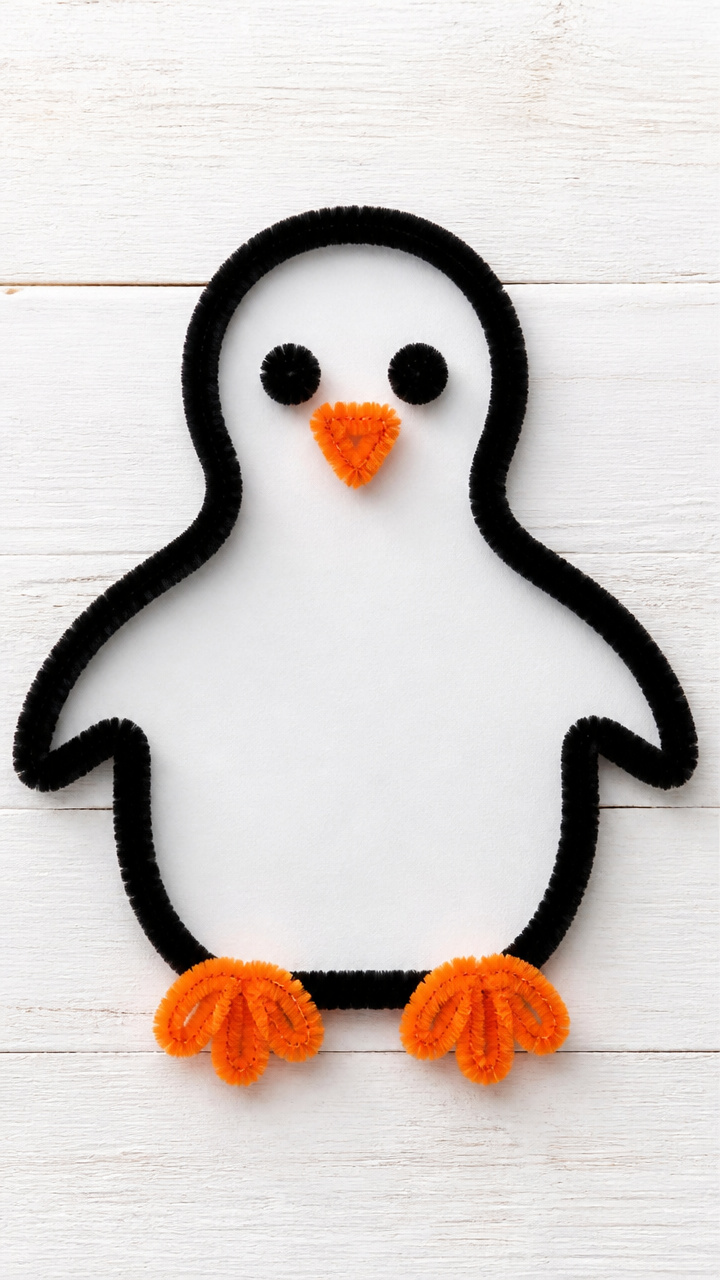
Bent black pipe cleaners form a sleek penguin outline that hangs from a ribbon, catching light like a shadow puppet.
Materials Needed
- 2 black pipe cleaners (12 inch each)
- 1 white pipe cleaner (12 inch)
- Glittery silver ribbon (12 inch length)
- Glue dots (small)
- Scissors
How to Make It
- Bend one black pipe cleaner into a rounded oval for the body and head.
- Twist the second black pipe cleaner around the first to form wings and feet.
- Wrap the white pipe cleaner around the lower front for a belly and secure with a glue dot.
- Tie the ribbon to the top loop and hang where light shines through.
15. Feathered Belly Friend
Easy
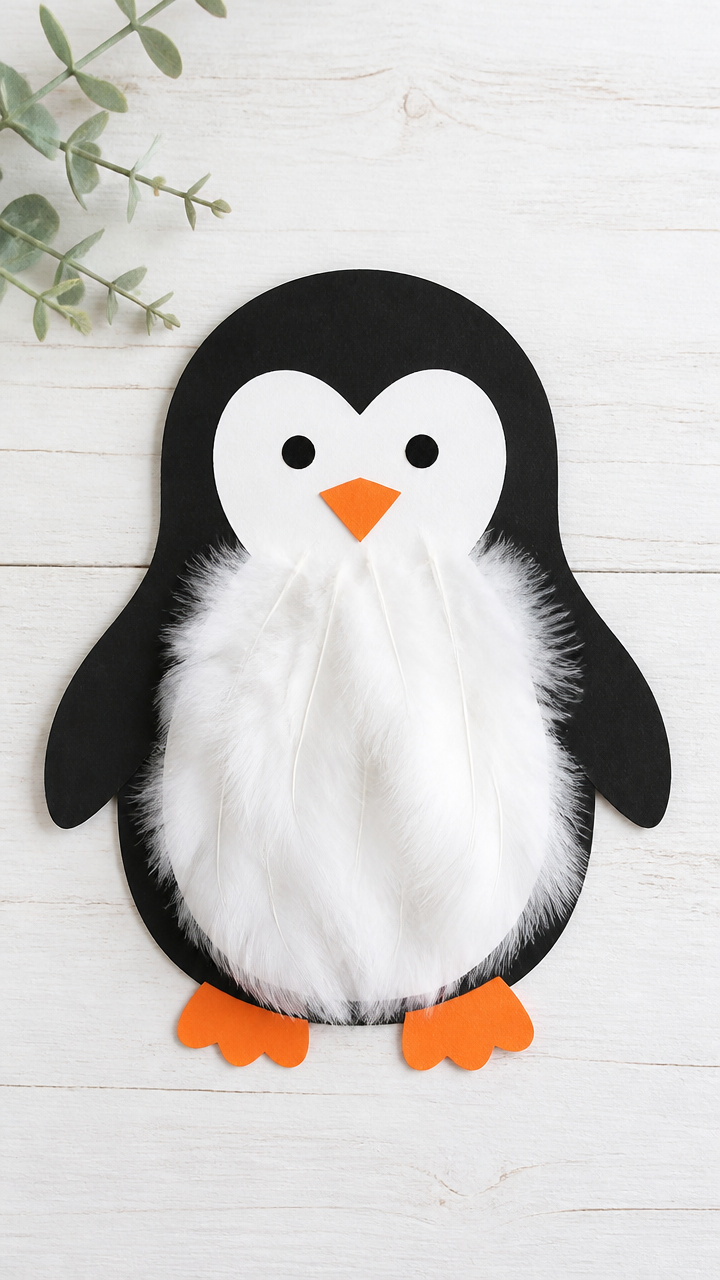
Soft white feathers glued to the chest give this penguin a fluffy surprise that delights little fingertips.
Materials Needed
- 1 piece 6 x 9 inch gray cardstock
- Black foam sheet (6 x 6 inch)
- White craft feathers (10 count, 0.5 inch long)
- Glue stick
- Scissors
- 1 pair 0.5 inch plastic safety eyes
- Orange fine-tip marker
How to Make It
- Cut a penguin shape from the black foam sheet and glue it to the center of the gray cardstock.
- Apply glue in a vertical oval on the penguin’s chest and press feathers into it, overlapping slightly.
- Glue the safety eyes near the top edge of the foam shape.
- Draw a beak with the orange marker just below the eyes.


Grab a pair of scissors and that stash of craft paper — your little one is ready to make something wonderful today.