20 Winter Snow Crafts for Kids You Can Make at Home

Flickering lights, mugs of warm cocoa, and the quiet hush of falling snow—winter feels like a storybook come to life. Bringing that magic indoors is easy with simple crafts that spark joy and creativity.
These projects use materials you likely have at home or can pick up easily. Each one invites little hands to shape, paint, glue, and imagine their own snowy world.
1. Cotton Ball Snowmen
Easy
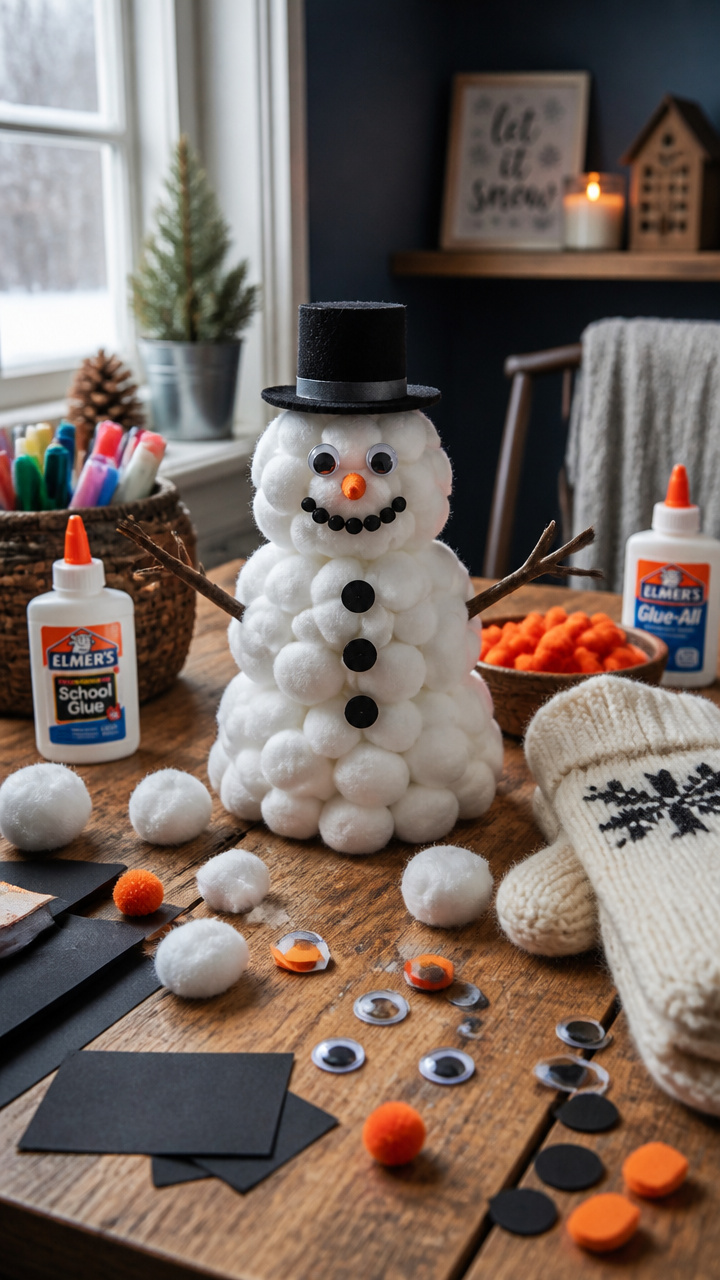
Plump, soft snowmen made from layered cotton balls stand proudly on popsicle sticks. They're cozy decorations perfect for windowsills or classroom displays.
Materials Needed
- 3-inch wooden popsicle sticks, 5 per snowman
- Large white cotton balls, 9 per snowman
- Black craft foam sheet
- Orange pipe cleaners, 1 per snowman
- Googly eyes, 2 per snowman
- White school glue
- Small paintbrush
How to Make It
- Cut three small circles from black craft foam for each coal-button row and one top hat shape.
- Glue three cotton balls in a stack onto a popsicle stick using the paintbrush to spread glue between layers.
- Press two googly eyes just below the top cotton ball and curl one 1-inch piece of orange pipe cleaner for the nose.
- Glue the black foam buttons down the center and place the hat flat on top.
2. Salt Painting Snowflakes
Easy
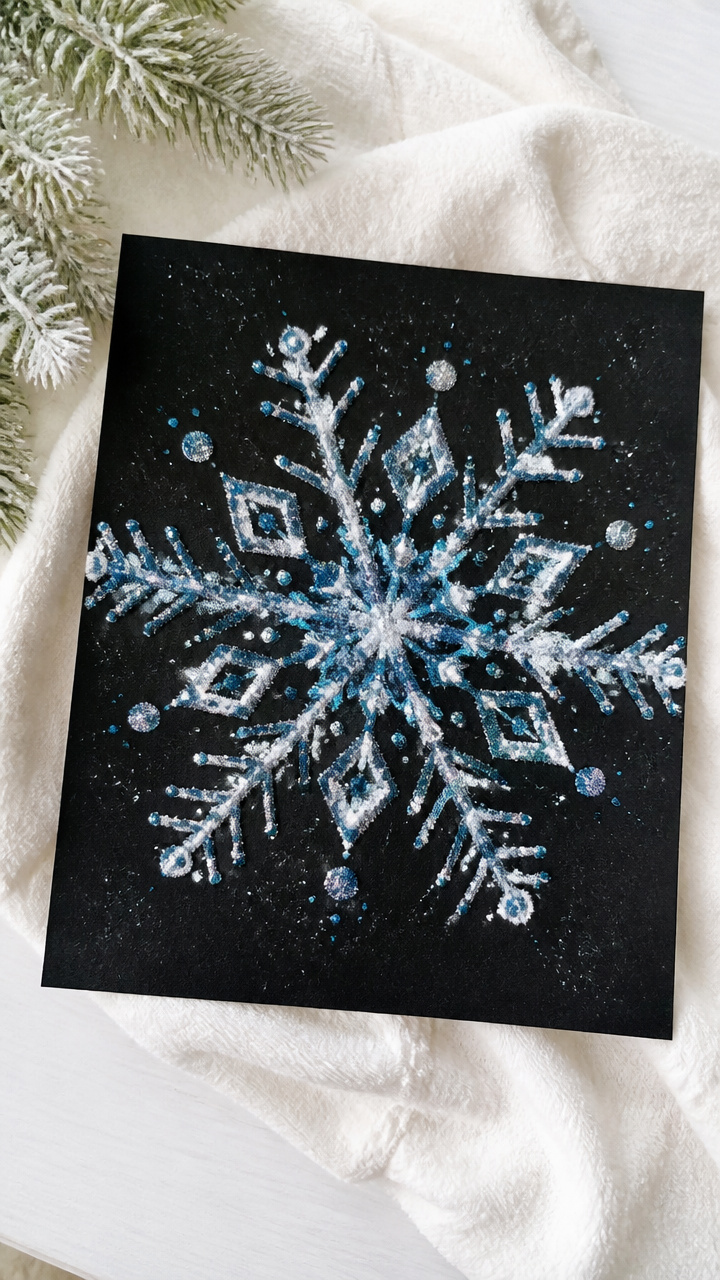
Fine salt holds bright watercolor droplets in delicate lace patterns. These shimmering snowflakes catch the light like real frost.
Materials Needed
- A4 black cardstock
- White school glue
- Table salt, 1/2 cup
- Small paintbrush
- Watercolor paints: blue, silver, white
- Pipette or spoon
- Paper plate
How to Make It
- Draw a snowflake design on the cardstock using white glue and let it sit for 30 seconds to become tacky.
- Pour salt onto the paper plate and gently shake it over the glue lines until fully coated.
- Tap off excess salt back into a container and let the artwork dry for 10 minutes.
- Use the pipette to drop colored water onto the salt lines and watch the color travel along the crystals.
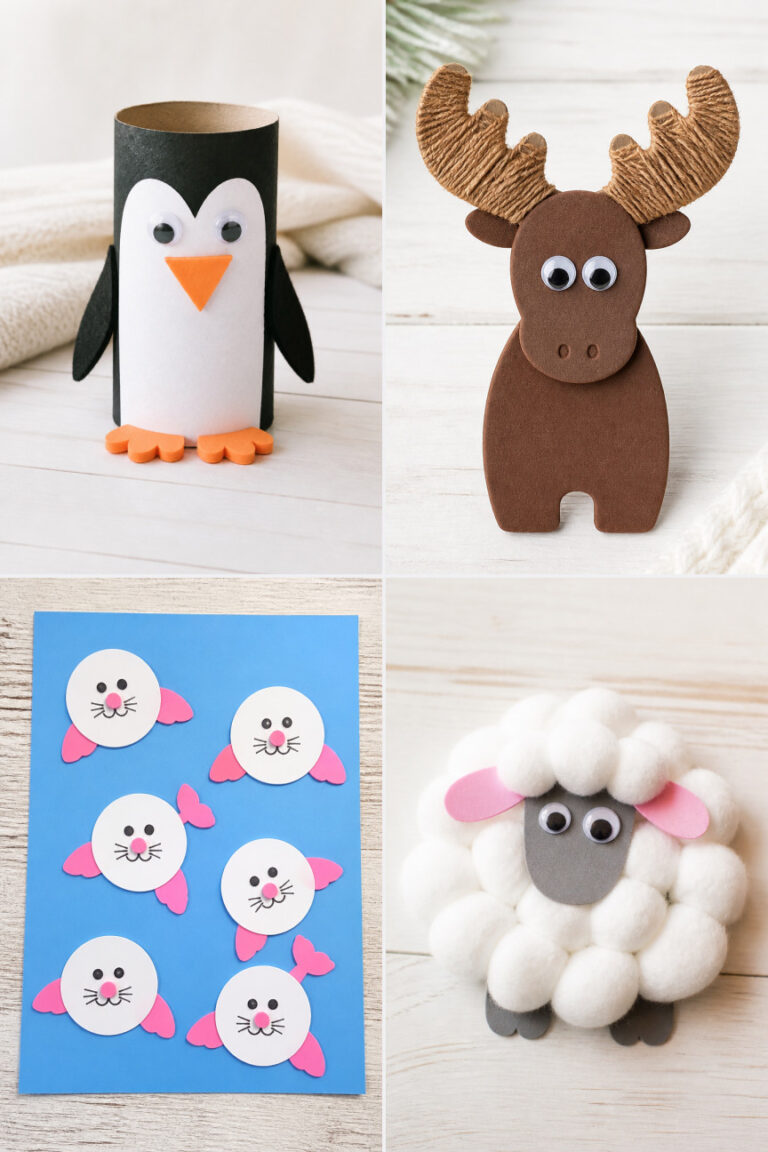
3. Toilet Paper Roll Penguins
Easy
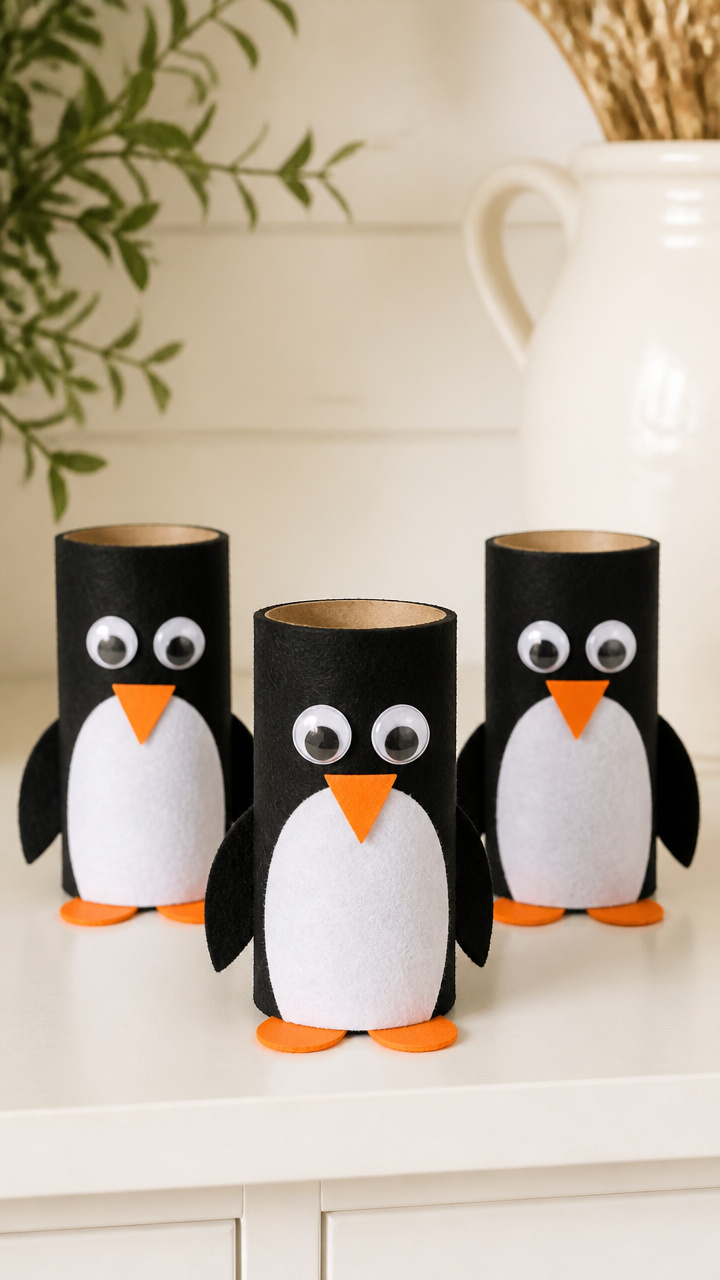
Recycled cardboard tubes turn into waddling penguin friends with felt wings and beaks. They stand upright and look sweet on a shelf.
Materials Needed
- Empty toilet paper rolls, 1 per penguin
- Black and white felt sheets
- Hot glue gun and glue sticks
- Small oval googly eyes, 2 per penguin
- Orange craft foam
- Scissors
- Black marker
How to Make It
- Cut a white felt circle slightly larger than the roll's top and glue it flat as the face.
- Cut two wing shapes from black felt and glue them to each side of the roll.
- Cut a small triangle beak from orange foam and glue it below the eyes on the face.
- Glue on googly eyes and use the marker to add a tiny nostril line above the beak.


4. Shaving Cream Snow Dough
Easy
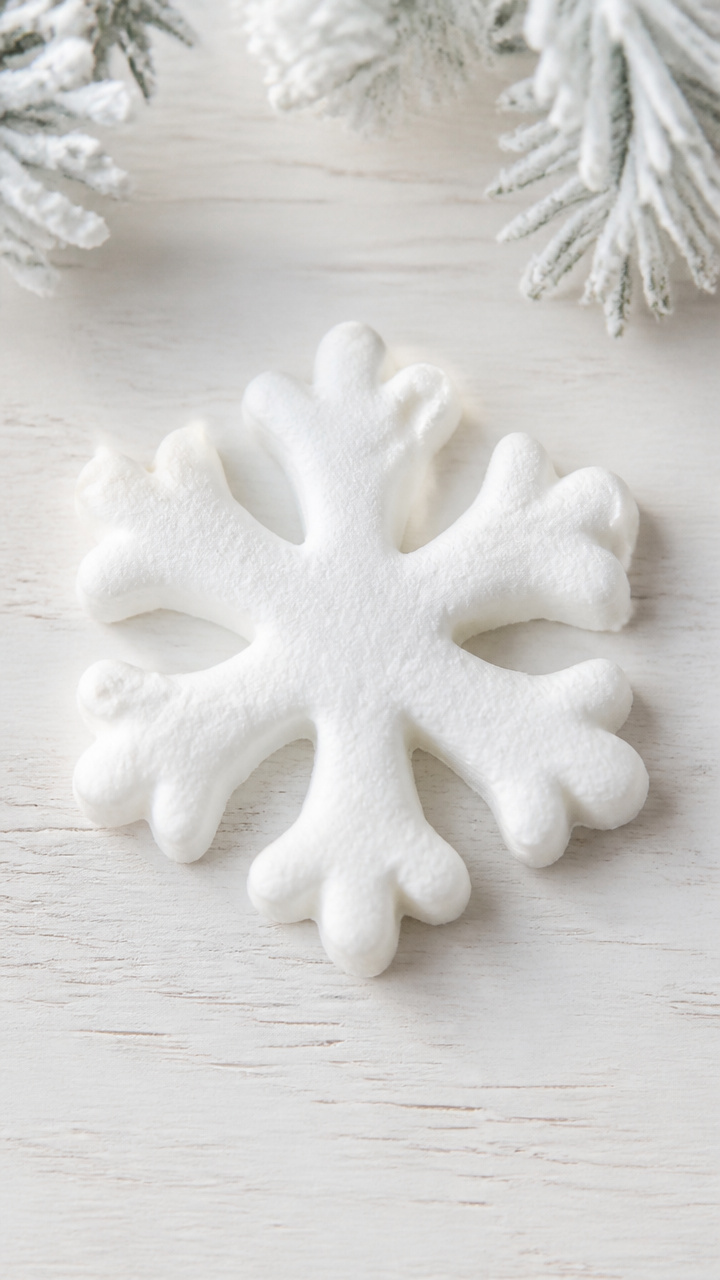
Cool, fluffy dough made from shaving cream and cornstarch molds like real snow. It’s safe to touch and smells fresh.
Materials Needed
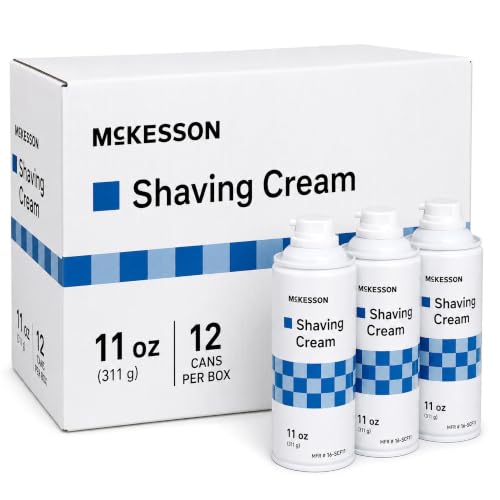
- 1 cup aerosol shaving cream
- 1/2 cup cornstarch
- Mixing bowl
- Silicone spatula
- Plastic tray or bin
How to Make It
- Pour the shaving cream into the mixing bowl and add half the cornstarch.
- Stir with the spatula until combined then add the rest of the cornstarch slowly.
- Keep mixing until the dough pulls away from the bowl and doesn’t stick to fingers.
- Play and mold on the tray for 20 minutes before storing in an airtight container.


5. Popsicle Stick Igloos
Moderate
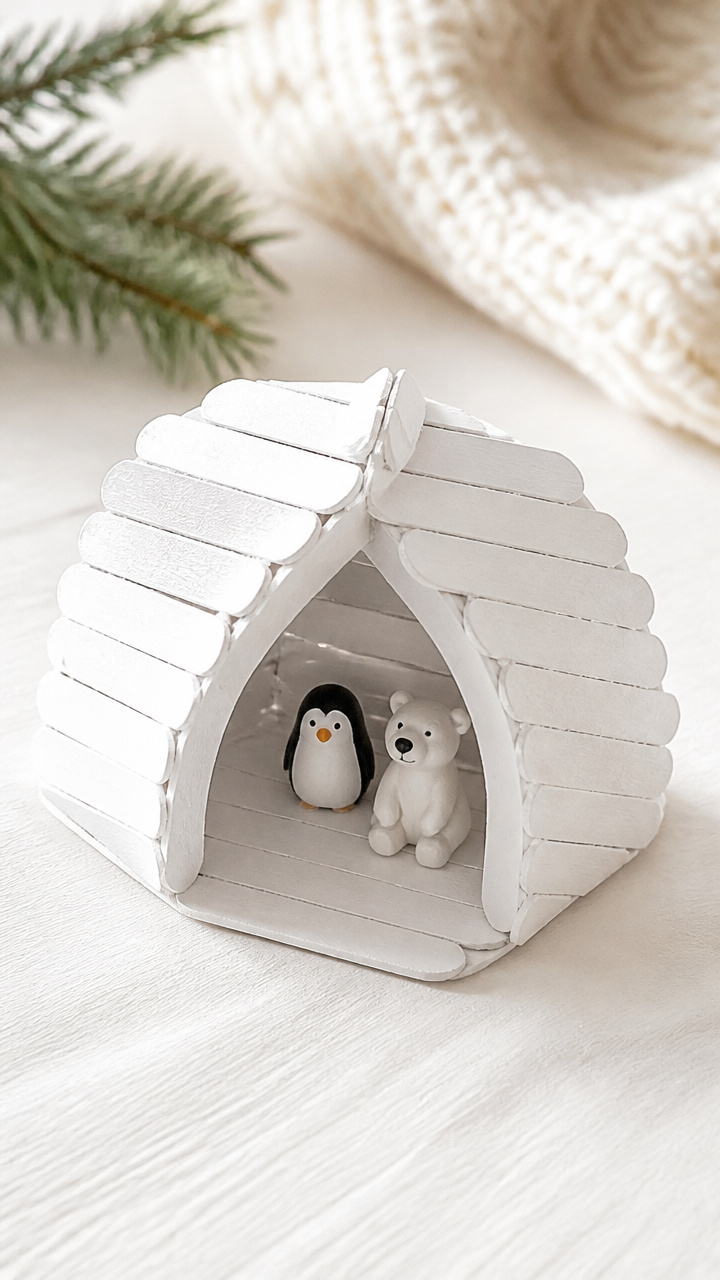
Interlocking arched walls rise into a sturdy igloo made from painted sticks. This structure holds small toys inside.
Materials Needed
- 40 flat wooden popsicle sticks per igloo
- White acrylic paint
- Paintbrush
- Craft glue
- Circular lid, 4 inches wide
- Pencil
How to Make It
- Trace the lid onto paper and draw a semi-circle arch around it as a guide.
- Paint all sticks white and let dry completely on a flat surface for 30 minutes.
- Lay the first row of sticks in a ring following the arch shape and glue ends together at slight angles.
- Continue adding rows, offsetting each stick to stagger the joints until the dome closes at the top.
6. Q-Tip Snowflake Ornaments
Easy
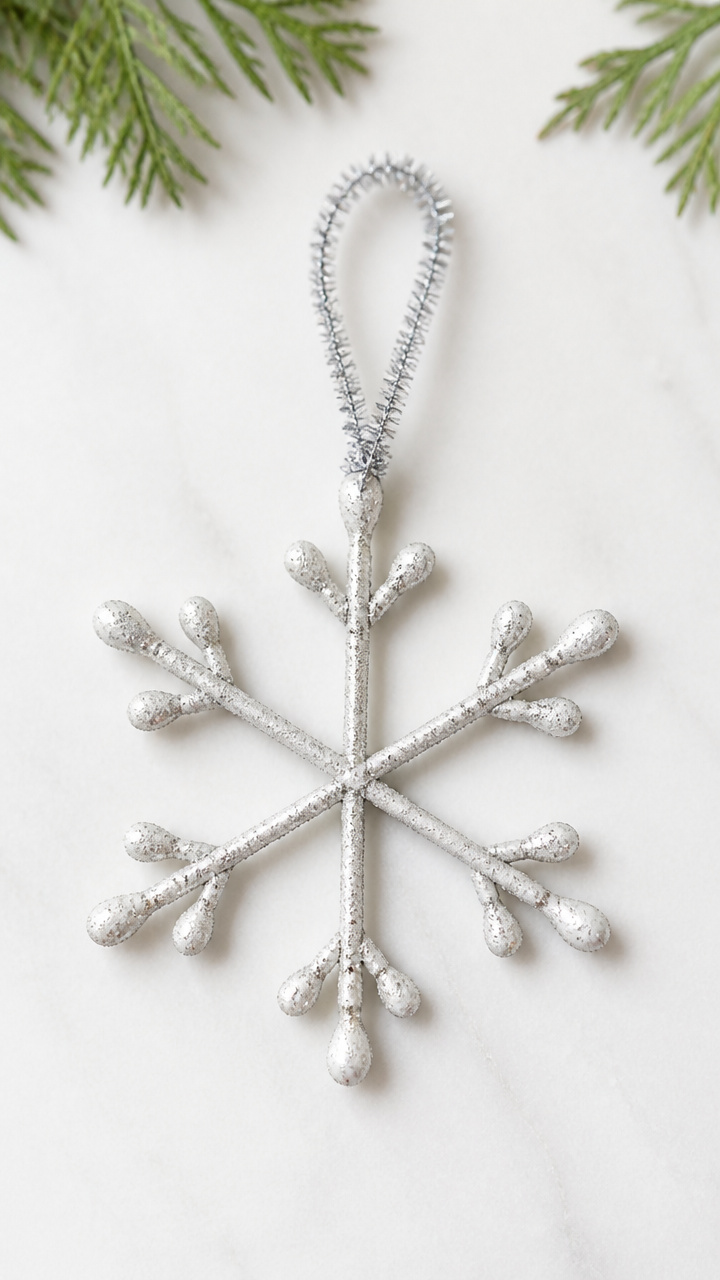
Six arms of cotton swabs form symmetrical snowflakes dipped in glitter. Hang them from ribbons near a window.
Materials Needed
- White regular-size Q-tips, 7 per ornament
- Clear school glue
- Silver fine glitter
- Pipe cleaner, 1 per ornament
- Small bowl
- Tweezers
How to Make It
- Lay one Q-tip vertically on a flat surface and glue six others at 60-degree angles from the center.
- Sprinkle glitter evenly over wet glue and shake off excess into the bowl.
- Let dry for 20 minutes then twist a pipe cleaner around the back center to make a hanger.
- Use tweezers to reposition any stray cotton tips before the glue sets fully.


7. Paper Plate Snowflakes
Moderate
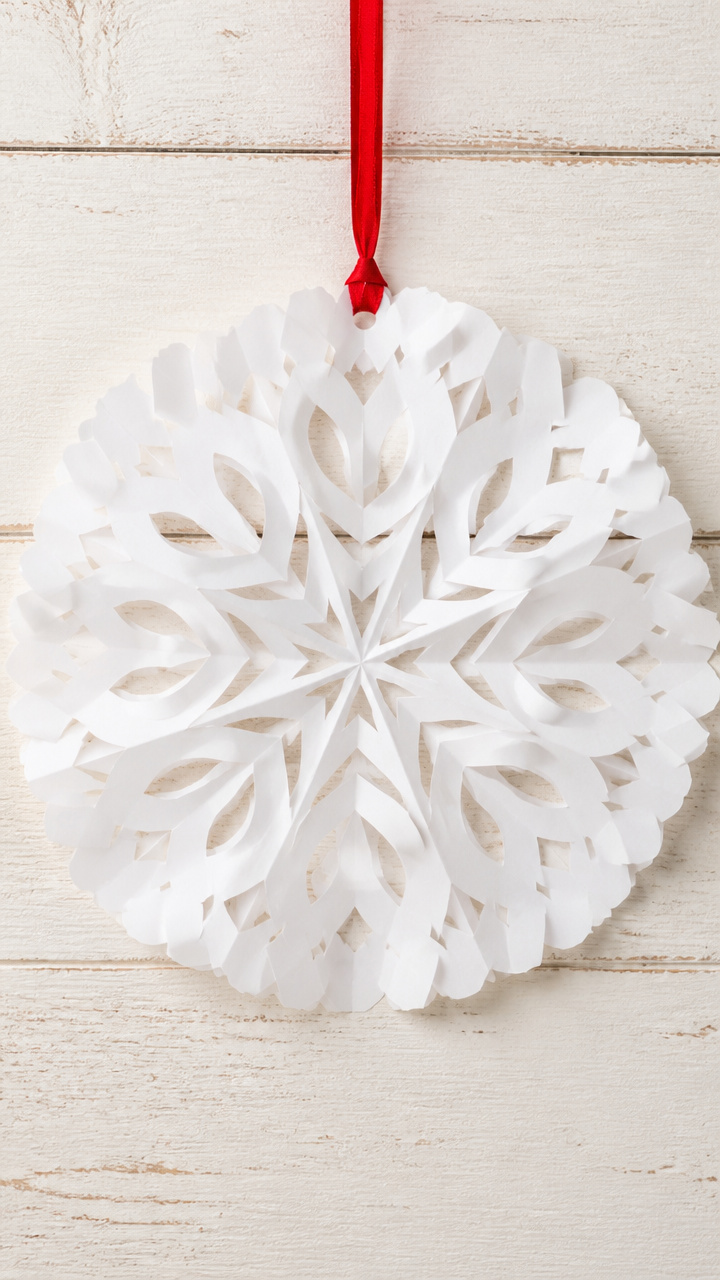
Folded white plates become intricate lace cutouts when unfolded. Each one blooms into a unique icy pattern.
Materials Needed
- 9-inch white paper plates, 1 per snowflake
- Scissors
- Pencil
- Hole punch
- Ribbon, 12 inches per snowflake
How to Make It
- Fold the plate in half, then in thirds to create a cone shape with six layers.
- Draw small triangles and curves along the edges with pencil, avoiding the folded base.
- Cut out the shapes with scissors and unfold carefully to reveal the full snowflake.
- Punch a hole at the top and thread ribbon through to hang.


8. Glitter Jar Snow Globes
Easy
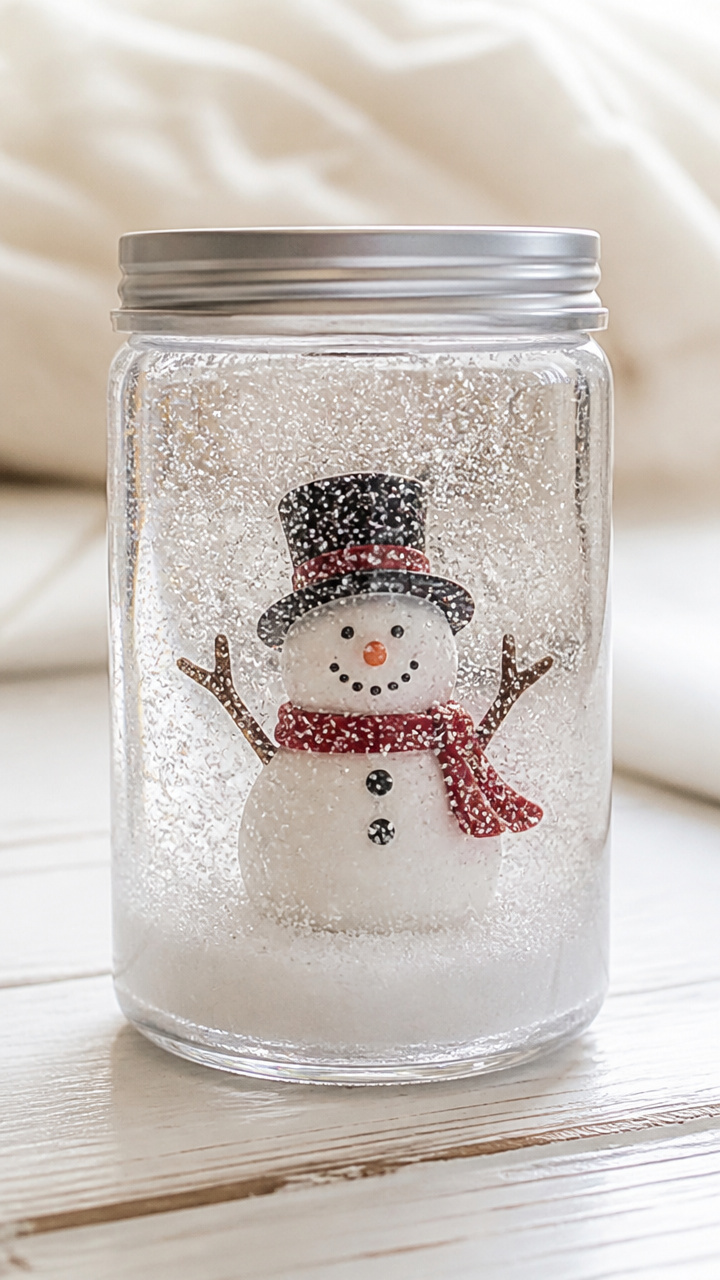
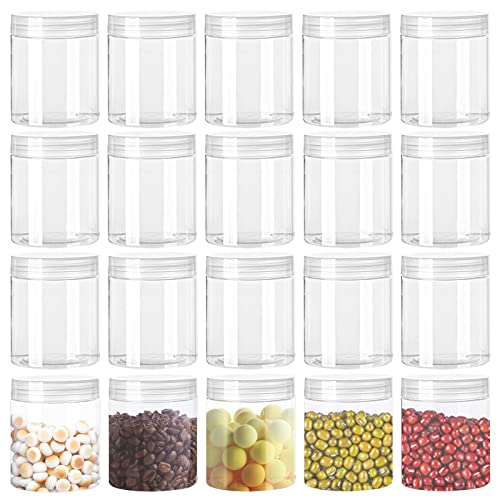
Mini plastic jars swirl with glitter when shaken, mimicking a blizzard in slow motion. These fit in small hands.
Materials Needed
- 4-ounce clear plastic jars with lids
- Distilled water, 3/4 full per jar
- Clear glue, 1/4 full per jar
- Fine white glitter
- Mini plastic snowman figure
How to Make It
- Place the snowman figure inside the jar and secure it to the lid with a dab of glue.
- Fill the jar 3/4 full with distilled water and add an equal amount of clear glue.
- Sprinkle in 1/2 teaspoon of glitter and screw the lid on tightly.
- Turn the jar upside down and shake to watch the snow swirl.


9. Clothespin Polar Bears
Easy
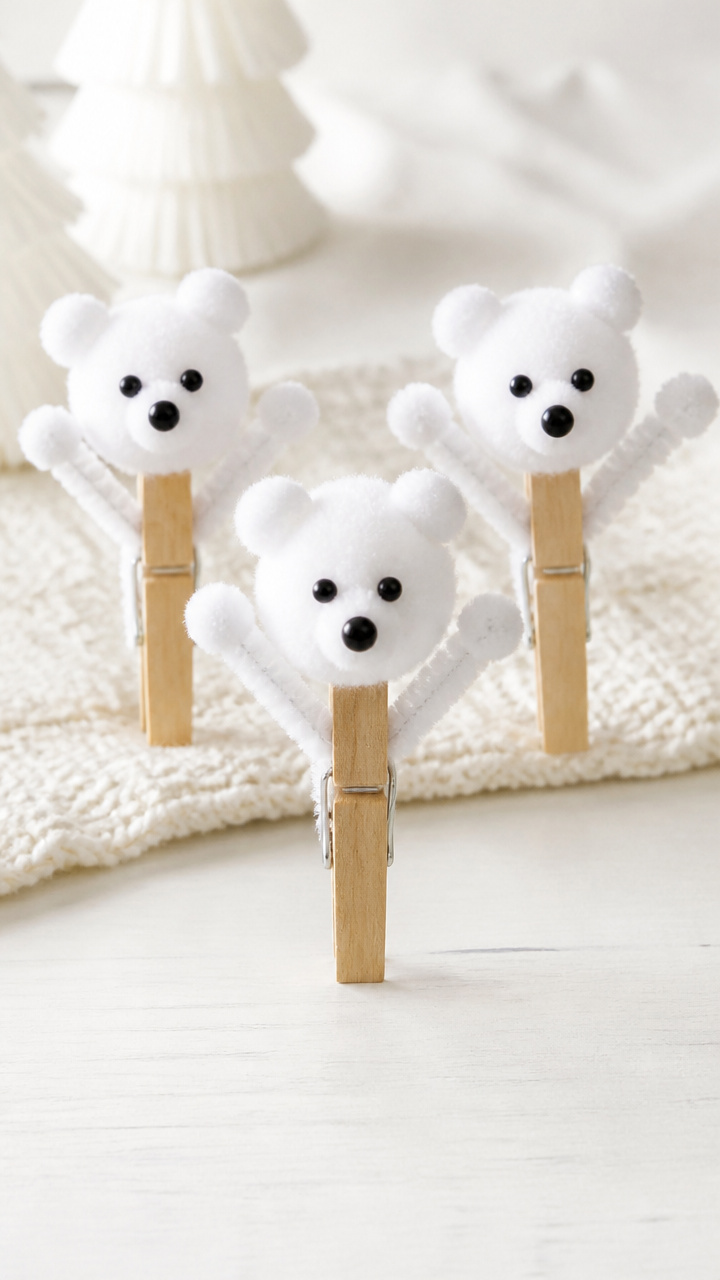
Wooden clothespins grow fuzzy heads and ears with glued-on cotton. These stand on hind legs with arms raised.
Materials Needed
- Wooden clothespins, 1 per bear
- White pom-poms: one 1-inch and two 1/2-inch per bear
- Hot glue gun and glue sticks
- Small black beads, 2 per bear
- White craft glue
How to Make It
- Glue the large pom-pom to the top of the clothespin clamp to form the head.
- Attach the two small pom-poms to the front tips to make feet.
- Use hot glue to fix black beads for eyes just below the head seam.
- Let dry for 5 minutes before posing the arms up or down.


10. Felt Mitten Puppets
Moderate
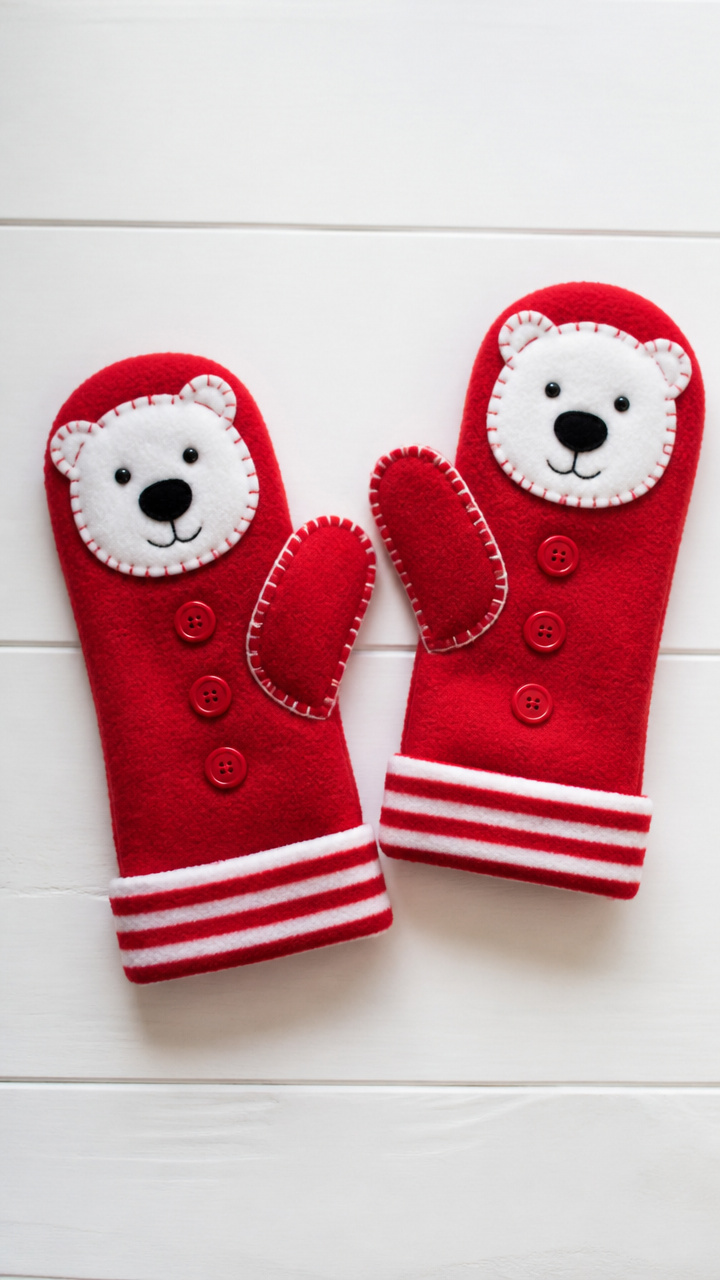
Soft mittens sewn from fleece open at the cuff for a child’s hand. Add buttons and stripes for winter charm.
Materials Needed
- Red polar fleece fabric, 6×8 inches per mitten
- Sewing needle and white thread
- Three 1/2-inch red buttons per mitten
- Fabric scissors
- Chalk marker
- Straight pins
How to Make It
- Fold the fleece in half and trace a mitten shape with chalk, leaving the wrist open.
- Pin both layers together and cut along the line with fabric scissors.
- Sew around the edge with a running stitch, leaving the wrist edge open.
- Thread three buttons in a column down the back using the needle and tie off securely.


11. Snow Globe Jars
Advanced
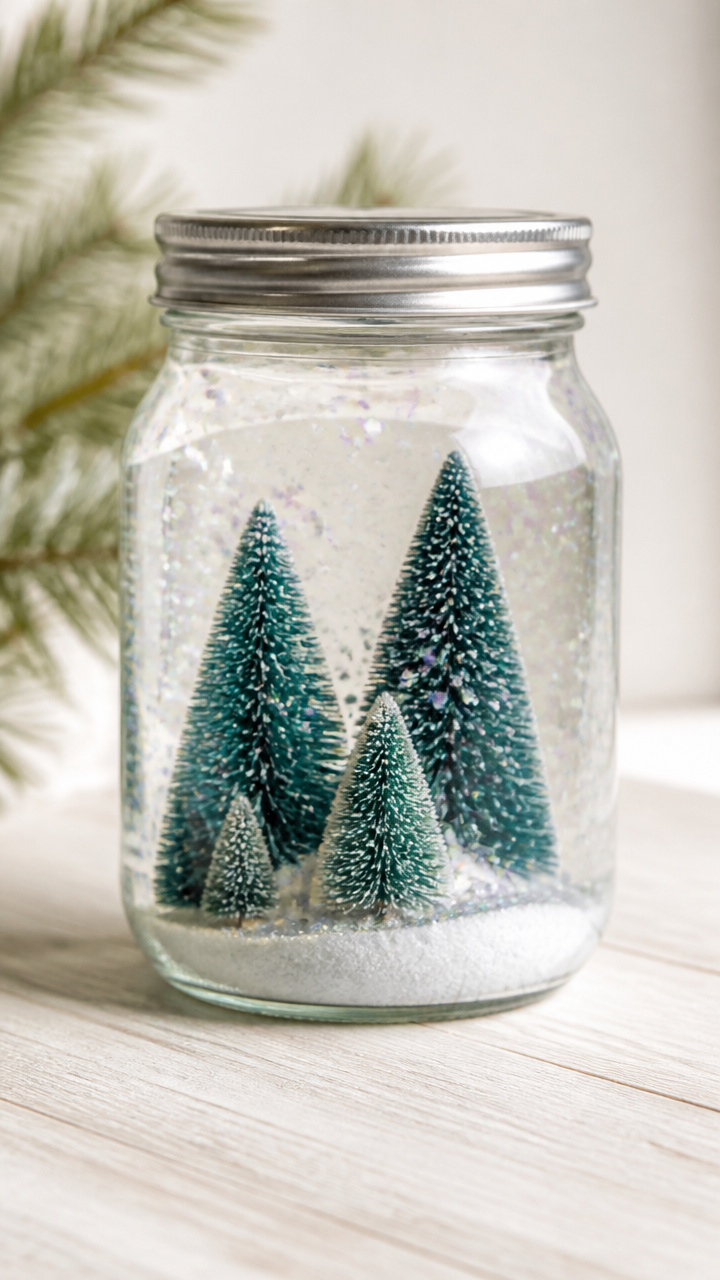
Glass mason jars capped with waterproof glue hold tiny winter scenes. Glitter rains down when tipped.
Materials Needed
- 4-ounce mason jar with metal ring and lid
- Epoxy resin (2-part, 1 oz total)
- Mini pine tree figurines, 2 per jar
- Artificial snow, 2 tablespoons
- Disposable gloves
- Stirring stick
How to Make It
- Arrange the trees and snow on the inside of the metal lid and let dry for 5 minutes.
- Mix the epoxy resin in a cup with the stirring stick for 2 minutes until clear.
- Pour the resin into the lid to cover the scene and let cure for 24 hours undisturbed.
- Screw the filled lid onto the jar and invert to use as a snow globe.
12. Yarn-Wrapped Ice Skates
Moderate
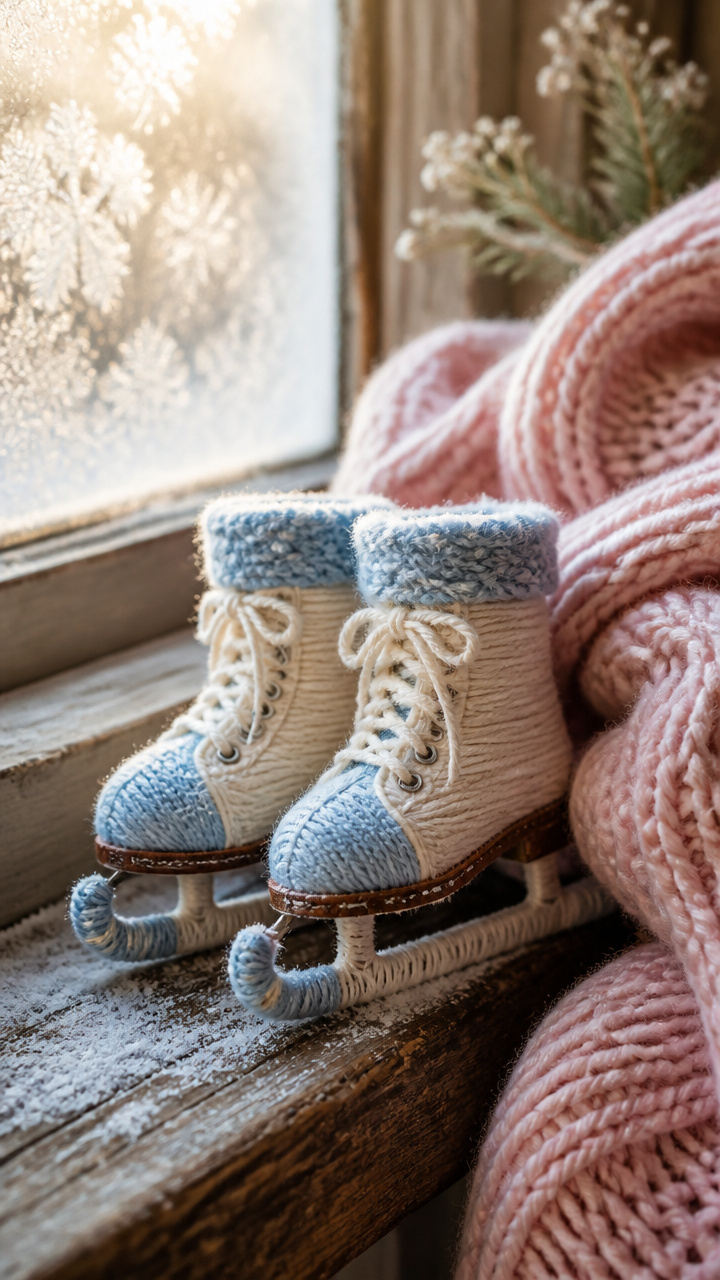
Cardboard skate shapes become frosty blue art when wrapped tightly with yarn. Display them side by side on a wall.
Materials Needed
- A4 grey cardboard
- Blue yarn, 10 yards per skate
- White school glue
- Scissors
- Pencil
- Ruler
How to Make It
- Draw a skate outline 5 inches tall using the ruler and pencil and cut it out with scissors.
- Apply a thin line of glue along the bottom edge and start wrapping yarn tightly around it.
- Continue wrapping upward in rows, adding glue every inch to secure threads.
- Trim the end and glue it down when the entire shape is covered.


13. Wax Resist Window Art
Easy
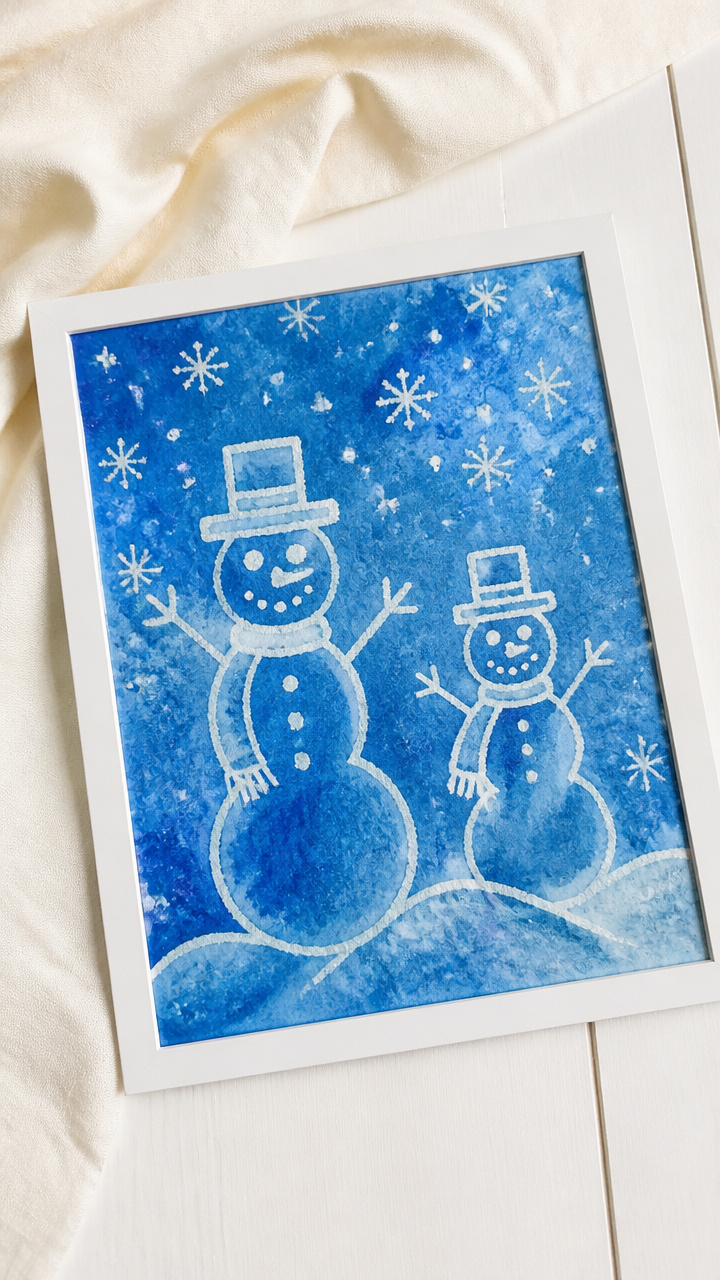
Crayon-drawn snowmen vanish under blue paint but reappear crisp and clean. These stick right to glass.
Materials Needed
- White drawing paper, 8×10 inches
- White crayon
- Blue liquid watercolor
- Paintbrush
- Spray bottle with water
- Roll of clear contact paper
How to Make It
- Draw a snowman and snowflakes on the paper with the white crayon using firm pressure.
- Wet the paper lightly with the spray bottle and paint over it with blue watercolor.
- Let dry for 15 minutes then cover both sides with contact paper, smoothing out bubbles.
- Trim the edges and stick the finished art to a window.


14. Pipe Cleaner Snowflakes
Easy
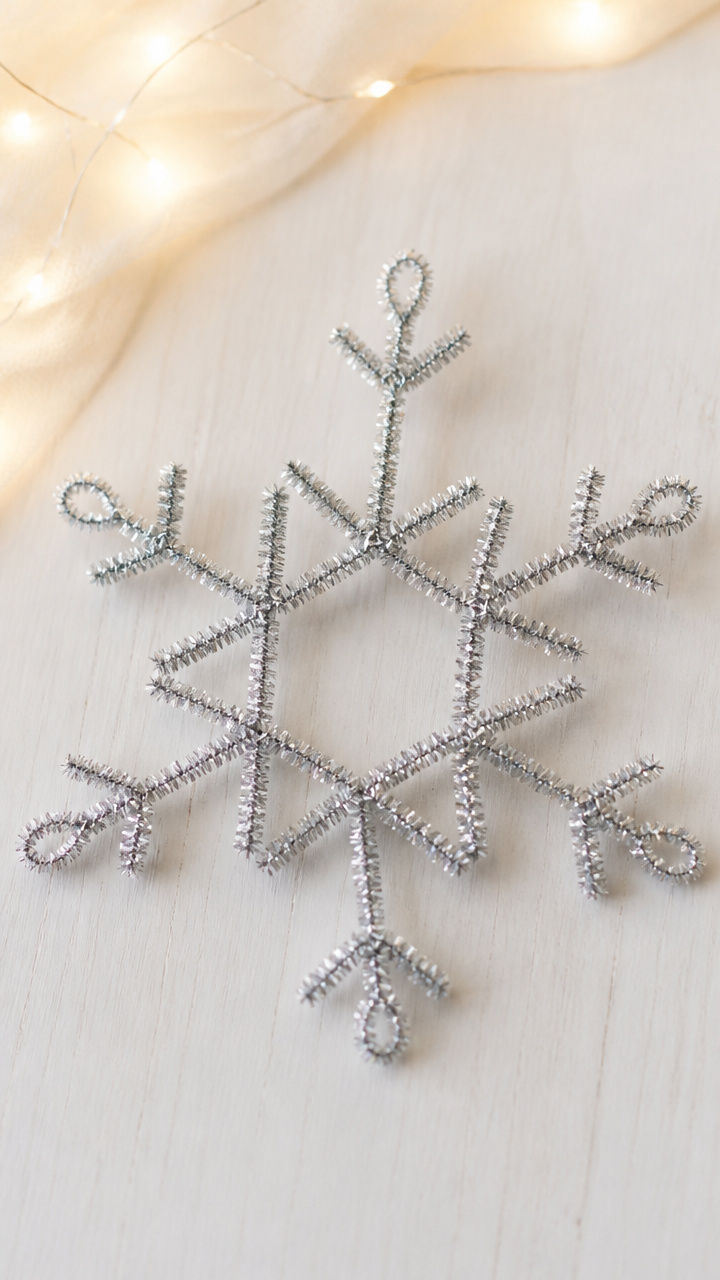
Twisted silver wires form geometric snowflakes with dangling arms. These shine when hung near light.
Materials Needed
- Silver chenille stems, 3 per snowflake
- Round-nose pliers
- Glitter spray (optional)
How to Make It
- Lay one pipe cleaner straight and bend the other two into zigzag arms at 60-degree angles.
- Weave the bent stems through the center of the straight one to form six points.
- Twist the wires together at the middle with pliers to lock them in place.
- Spray lightly with glitter if desired and let dry for 10 minutes.


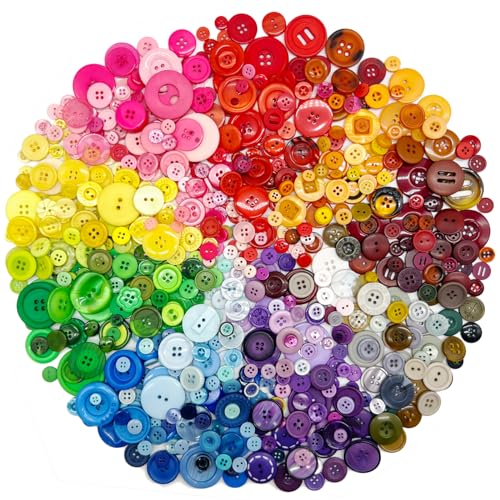
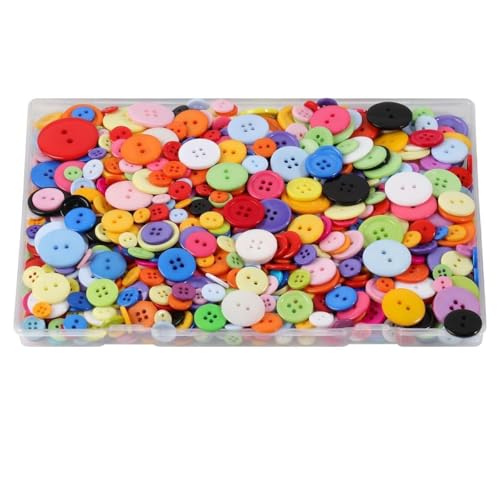
15. Button Blizzard Cards
Easy
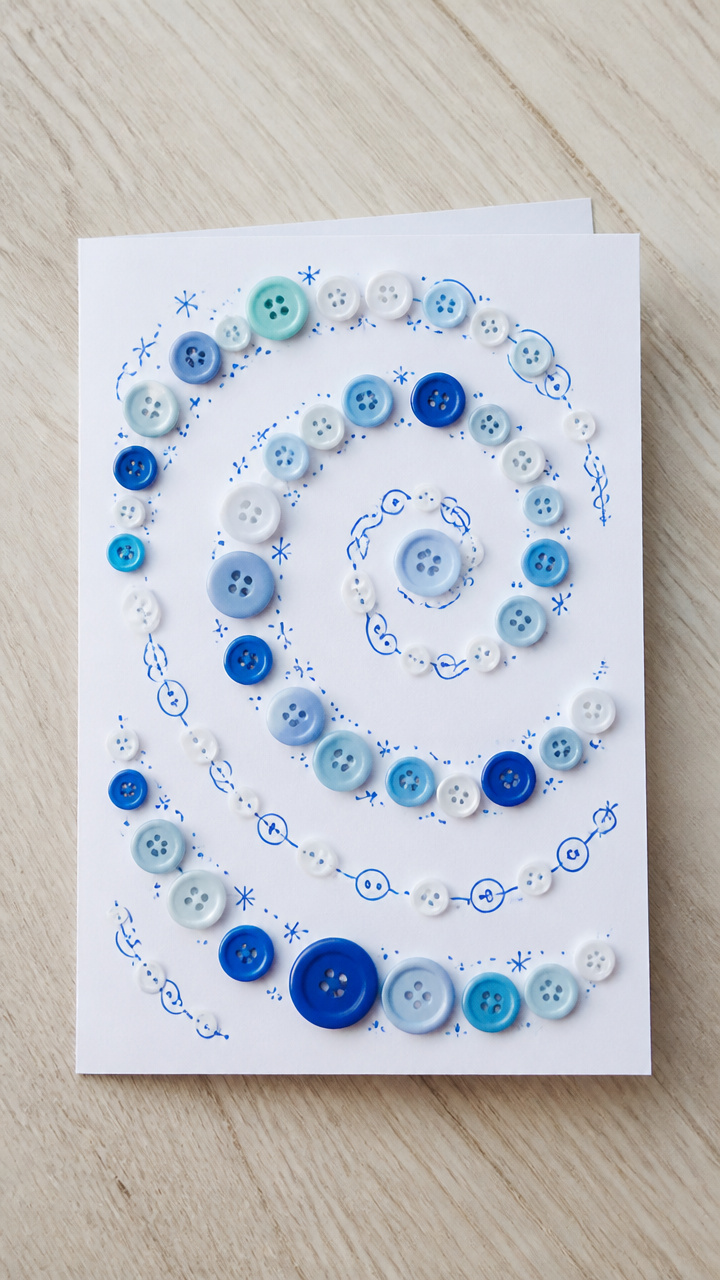
Winter cards burst with colorful buttons glued in swirling patterns. Each one feels bumpy and bright.
Materials Needed
- A5 white cardstock folded in half
- Assorted round buttons, 15 per card
- White school glue
- Paintbrush
- Blue gel pen
How to Make It
- Open the card and plan a spiral layout of buttons starting from the top left.
- Use the paintbrush to apply a dot of glue under each button and press firmly.
- Let dry for 20 minutes then draw 'Happy Winter' in cursive with the gel pen.
- Add tiny dots around buttons to mimic falling snow.

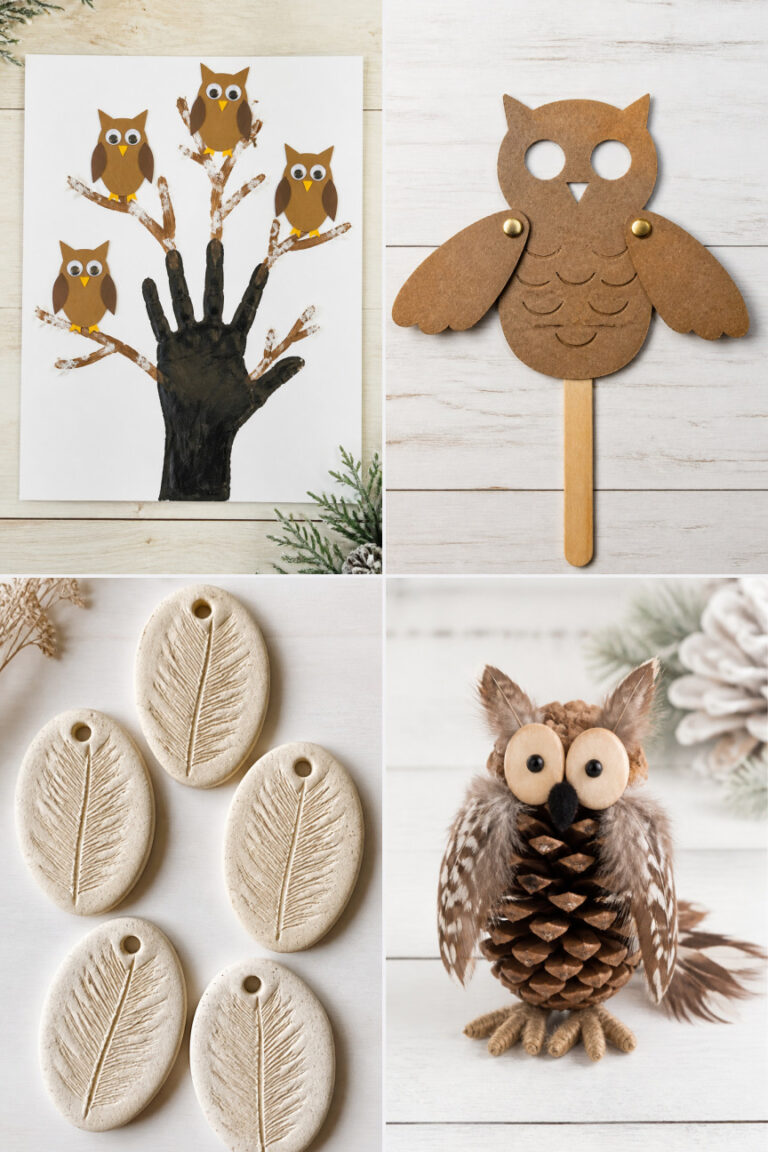
16. Pinecone Owls
Moderate
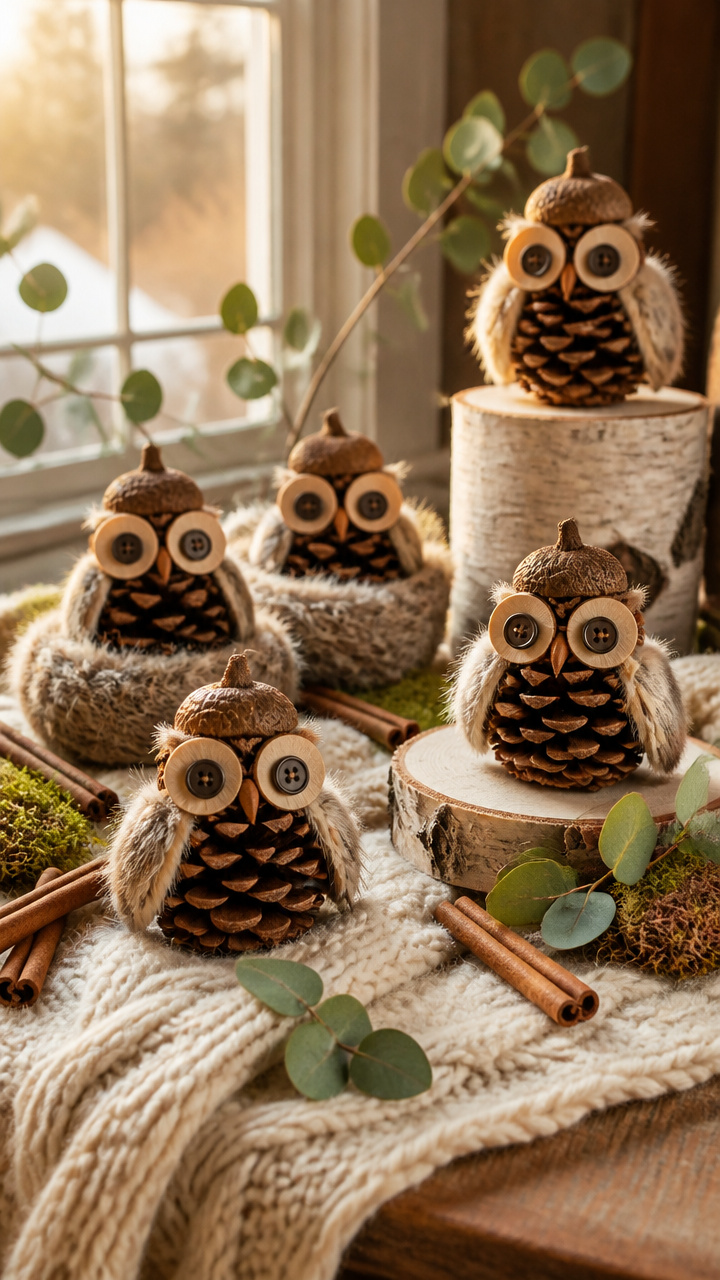
Brown cones sprout feathered faces with felt eyes and beaks. These perch naturally on branches.
Materials Needed
- Medium pinecones, 1 per owl
- Orange craft foam
- White and brown felt scraps
- Hot glue gun and glue sticks
- Black craft paint
- Small paintbrush
How to Make It
- Cut two large circle eyes from white felt and smaller pupils from black paint-smeared felt.
- Glue the eyes near the top of the closed end of the pinecone.
- Cut a small triangle beak from orange foam and glue it below the eyes.
- Cut feather tufts from brown felt and glue them above each eye to form brows.
17. Edible Snow Cookies
Advanced
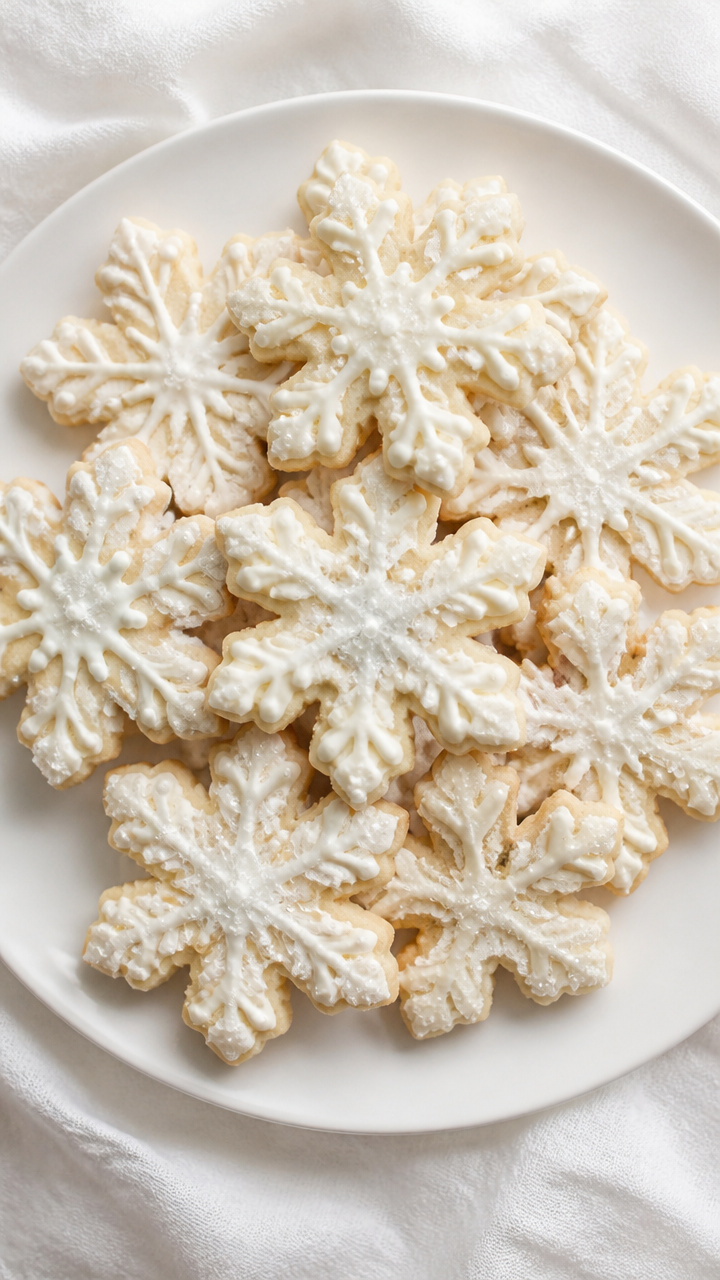
Buttery sugar cookies shaped like snow piles get powdered sugar dustings. Kids love helping roll and sprinkle.
Materials Needed
- 1 batch sugar cookie dough (homemade or refrigerated)
- Flour for dusting
- Round cookie cutter, 2 inches
- Baking sheet
- Parchment paper
- Powdered sugar, 1/4 cup
How to Make It
- Preheat oven to 350°F and line the baking sheet with parchment paper.
- Roll dough 1/4 inch thick on floured surface and cut into circles.
- Place 2 inches apart on the sheet and bake for 8–10 minutes until edges are pale gold.
- Cool completely then dust heavily with powdered sugar using a sieve.


18. Tissue Paper Lanterns
Moderate
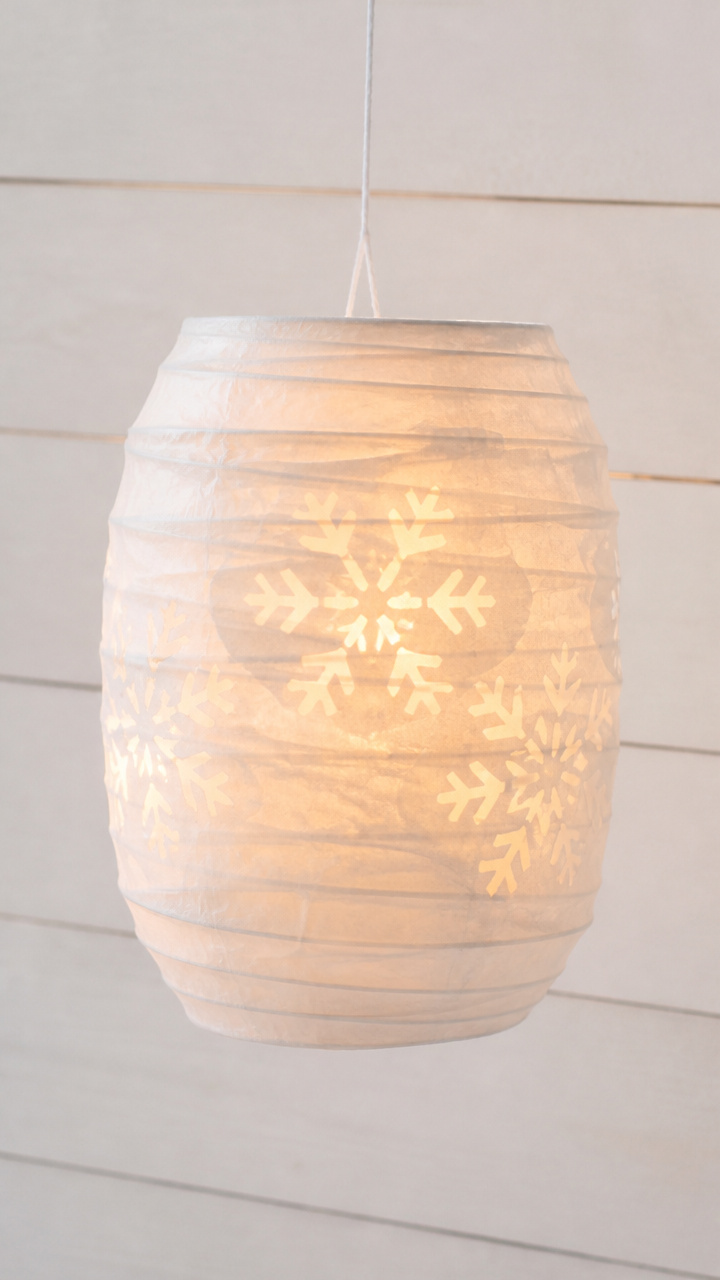
Layered tissue squares stretch into glowing paper lanterns. When lit, they cast soft snowy shadows.
Materials Needed
- White tissue paper, 10 sheets 20×20 inches
- Scissors
- Ruler
- White string, 24 inches
- Clothespin
- Glue stick
How to Make It
- Stack all tissue sheets and fold accordion-style every 1 inch using the ruler for accuracy.
- Cut rounded ends on both sides with scissors to form a crescent shape.
- Unfold slightly and staple the string across the center back to hang.
- Fan out both directions and glue the outer edges together with the glue stick.


19. Crumpled Paper Snowbanks
Easy
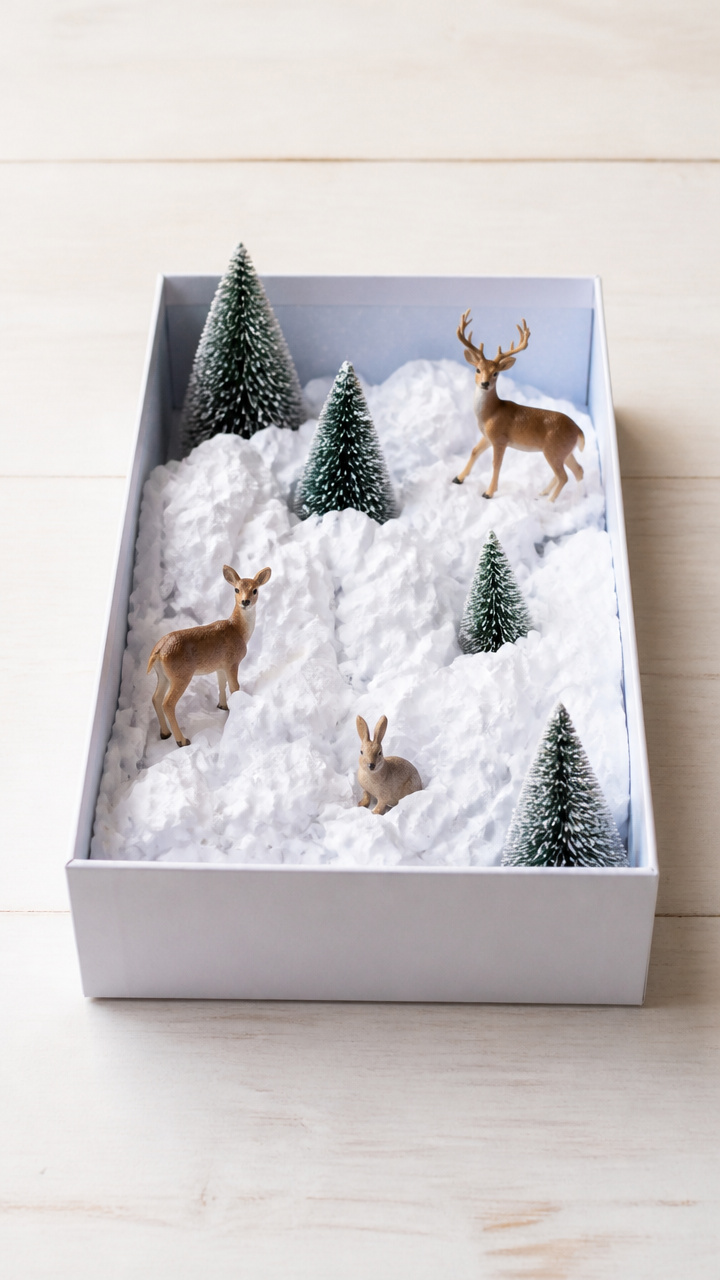
Rolled newspaper bits form drifts along a shoebox diorama. Add toy animals to complete the scene.
Materials Needed
- One empty shoebox
- White scrap paper, 5 pages
- School glue
- Paintbrush
- Miniature deer or rabbit figures
How to Make It
- Crumple paper into small balls about the size of a walnut and set aside 20.
- Brush glue lightly on one side of the shoebox floor and begin placing paper balls close together.
- Continue layering until the entire base is covered and looks like a windblown bank.
- Set toy animals on top and let the glue dry for 30 minutes.


20. Ice Tray Frozen Stars
Easy
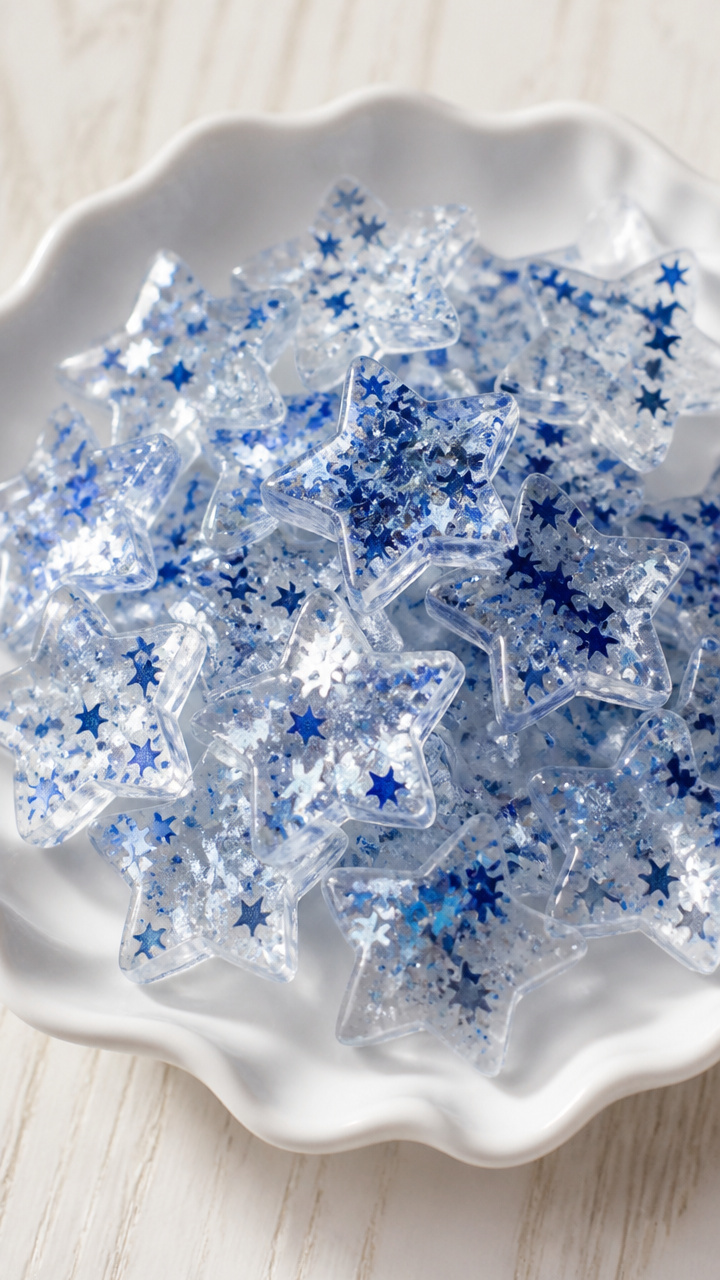
Mini star confetti floats in clear ice cubes made from a silicone mold. They sparkle like captured sky bits.
Materials Needed
- Silicone star ice tray
- Distilled water
- Blue and silver star sequins, 5 per cube
- Small funnel
- Freezer
How to Make It
- Place one sequin of each color into every star cavity of the tray.
- Use the funnel to fill each section to the top with distilled water.
- Set the tray flat in the freezer and freeze for 4 hours or overnight.
- Pop out the stars and display in a glass bowl near a sunny window.
Grab your glue, gather the kids, and let the snow fall where you want it—in your living room, on your fridge, in your hands.