15 Cute Mini Pumpkin Craft Ideas

Autumn light glows a little brighter when you add handmade charm to your space. These mini pumpkin crafts bring cozy joy with simple materials and clear steps you can follow at your own pace.
Each idea is crafted to feel special, not fussy. You’ll use everyday supplies in fresh ways, creating keepsakes that look great on shelves, windowsills, or as sweet gifts.
1. Painted Speckled Pumpkins
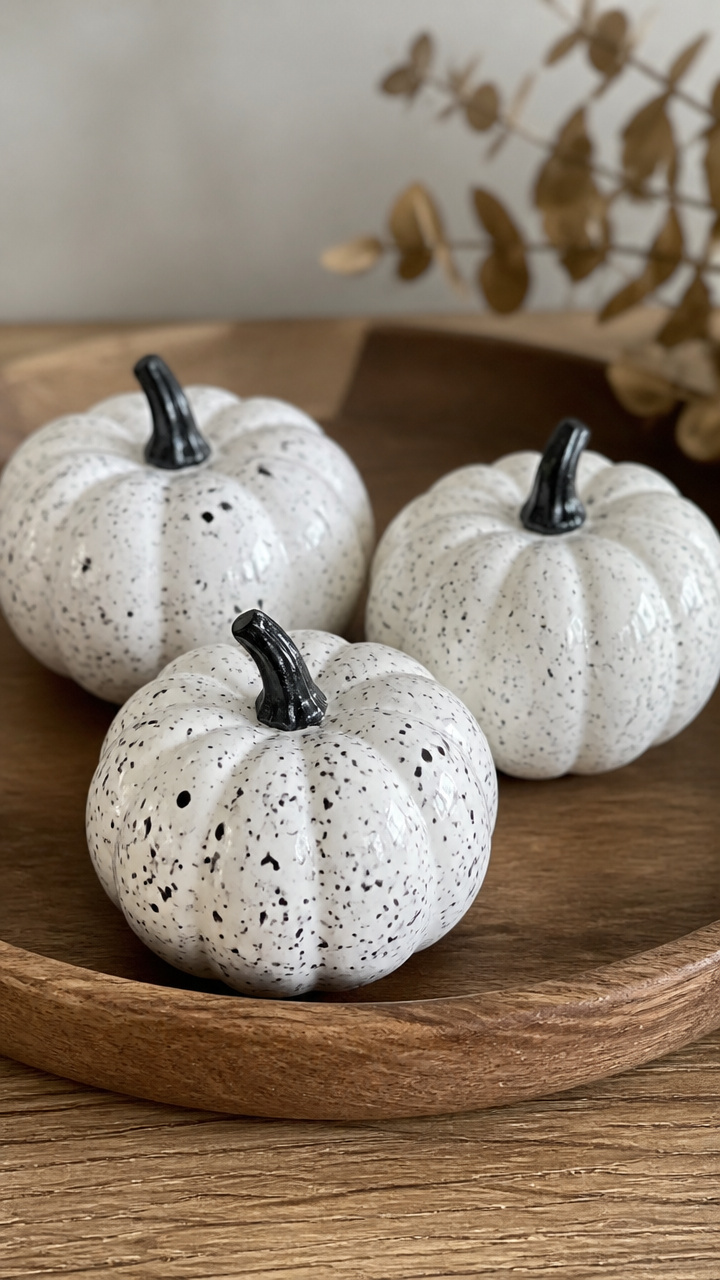
Tiny white pumpkins dotted with rhythmic flecks of black paint give a modern twist on fall decor. The speckled finish looks artistic but takes just minutes.
Materials Needed
- 3 mini faux pumpkins (white plastic)
- Black acrylic paint
- Toothbrush (soft bristle)
- Parchment paper
- Small bowl of water
- Paper towel
How to Make It
- Lay parchment paper on your work surface and place the pumpkins on top.
- Dip the toothbrush bristles in black paint then run your thumb from base to tip to flick tiny dots onto each pumpkin.
- Let the paint dry completely for 20 minutes before touching up any sparse areas.


2. Twine-Wrapped Mini Pumpkins
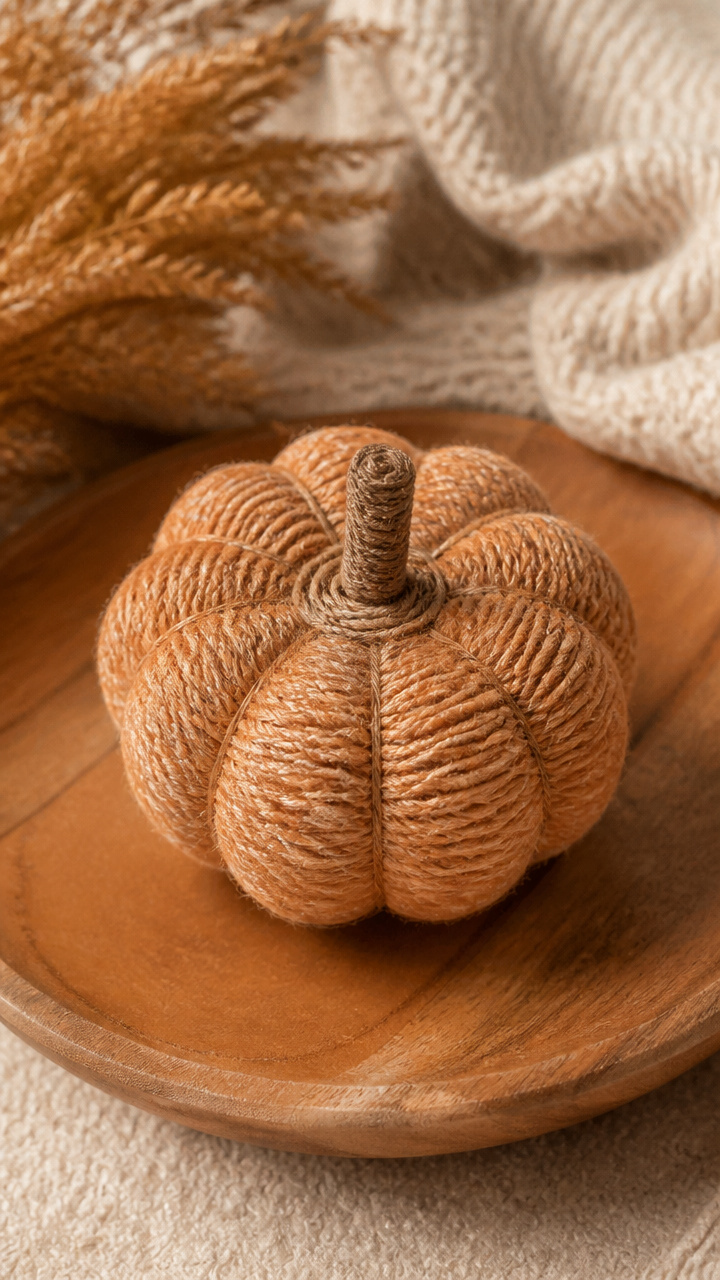
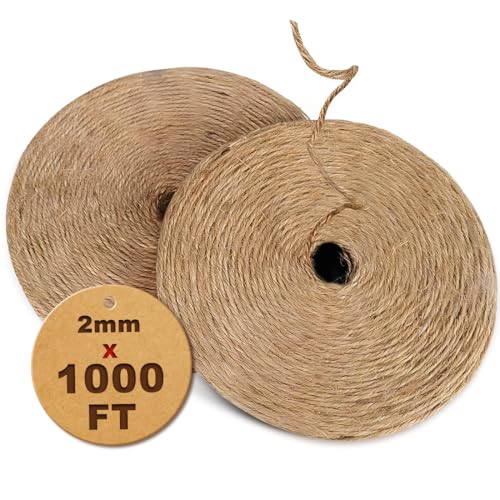
Natural jute twine spirals around orange pumpkins for a rustic farmhouse look. The wrapped texture adds warmth without overpowering your space.
Materials Needed
- 4 mini faux pumpkins (orange plastic)
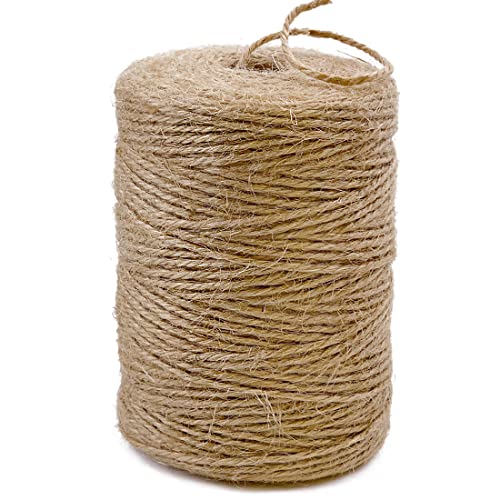
- Jute twine (size 3, 50 yards)
- Hot glue gun
- Glue sticks (low-temp)
- Scissors
How to Make It
- Apply a small dot of hot glue to the bottom of the pumpkin and press the end of the twine into it.
- Wrap the twine tightly in a spiral from bottom to top, adding a drop of glue every inch to secure.
- Cut the twine at the stem and glue the end in place, letting it dry for 5 minutes.

3. Watercolor Wash Pumpkins
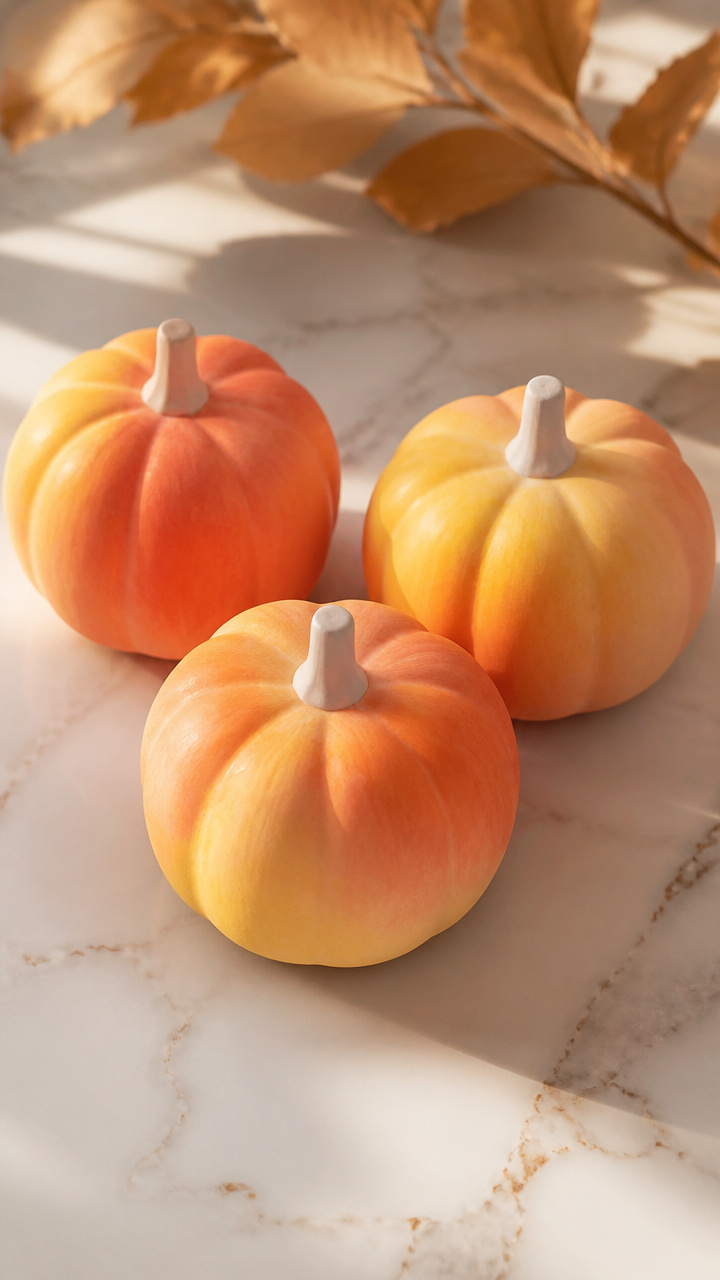
Soft blends of orange and yellow watercolor create a dreamy ombre effect on smooth ceramic pumpkins. These glow in afternoon light.
Materials Needed
- 3 mini ceramic pumpkins (unglazed white)
- Watercolor set (tubes: cadmium orange, gamboge yellow)
- Round watercolor brush (size 6)
- Cup of clean water
- Paper plate
- Paper towel
How to Make It
- Squeeze pea-sized drops of orange and yellow paint onto the plate and wet your brush.
- Start at the base with orange, brushing upward and blending into yellow near the top.
- Let each pumpkin dry flat for 1 hour before handling or displaying.


4. Felt Leaf Accents
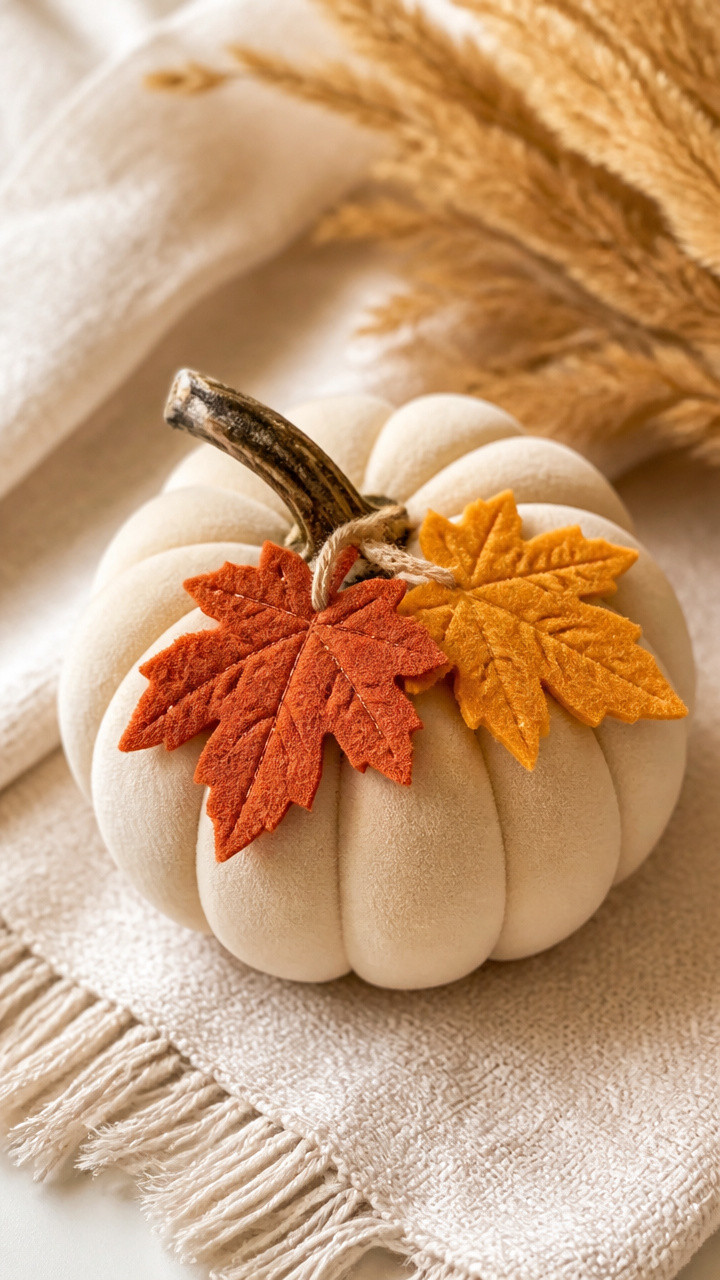
Hand-cut felt leaves in warm rust and gold attach to plain pumpkins for seasonal flair. The soft fabric pops against hard surfaces.
Materials Needed
- 3 mini foam pumpkins (beige)
- Felt sheets (1 rust, 1 gold, 9×12 inches)
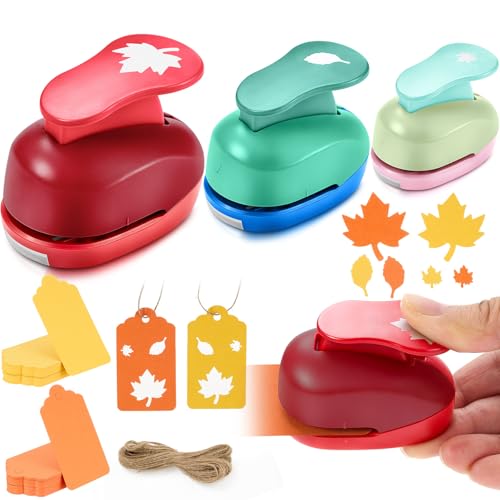
- Leaf-shaped craft punch
- Fabric glue (permanent bond)
- Tweezers
- Ruler
How to Make It
- Use the punch to cut 6 leaves total—3 from each felt color.
- Apply a pea-sized drop of fabric glue to the back of each leaf using tweezers for grip.
- Press one leaf near the base of each pumpkin and let dry undisturbed for 2 hours.


5. Glitter Stem Rings
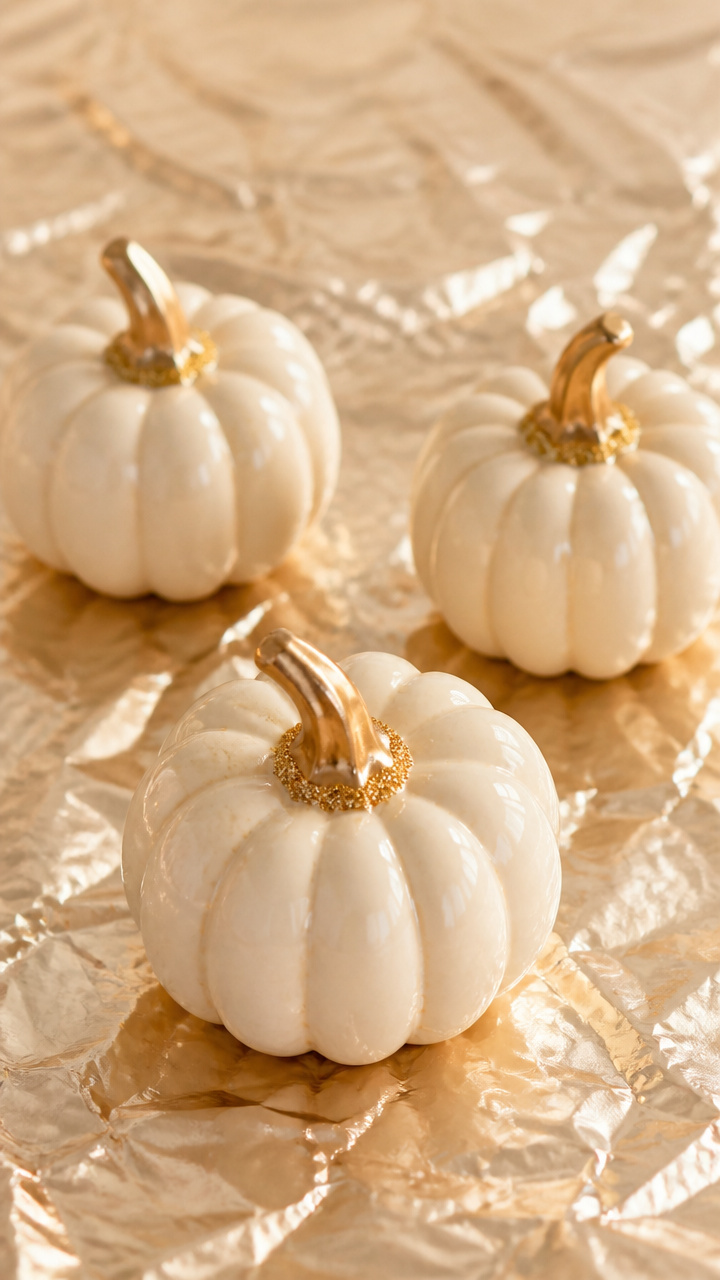
Thin bands of gold glitter wrap around the stems of cream pumpkins for subtle sparkle. This detail catches light without being flashy.
Materials Needed
- 5 mini resin pumpkins (cream)
- Fine gold glitter (polyester, 1 oz)
- Clear-drying craft glue (precision tip bottle)
- Toothpick
- Aluminum foil
- Small paintbrush (1/4 inch)
How to Make It
- Place foil under each pumpkin to catch stray glitter.
- Use the toothpick to apply a thin ring of glue just below each stem.
- Sprinkle glitter over the glue, then tap off excess and let dry 15 minutes.


6. Chalkboard Paint Tops
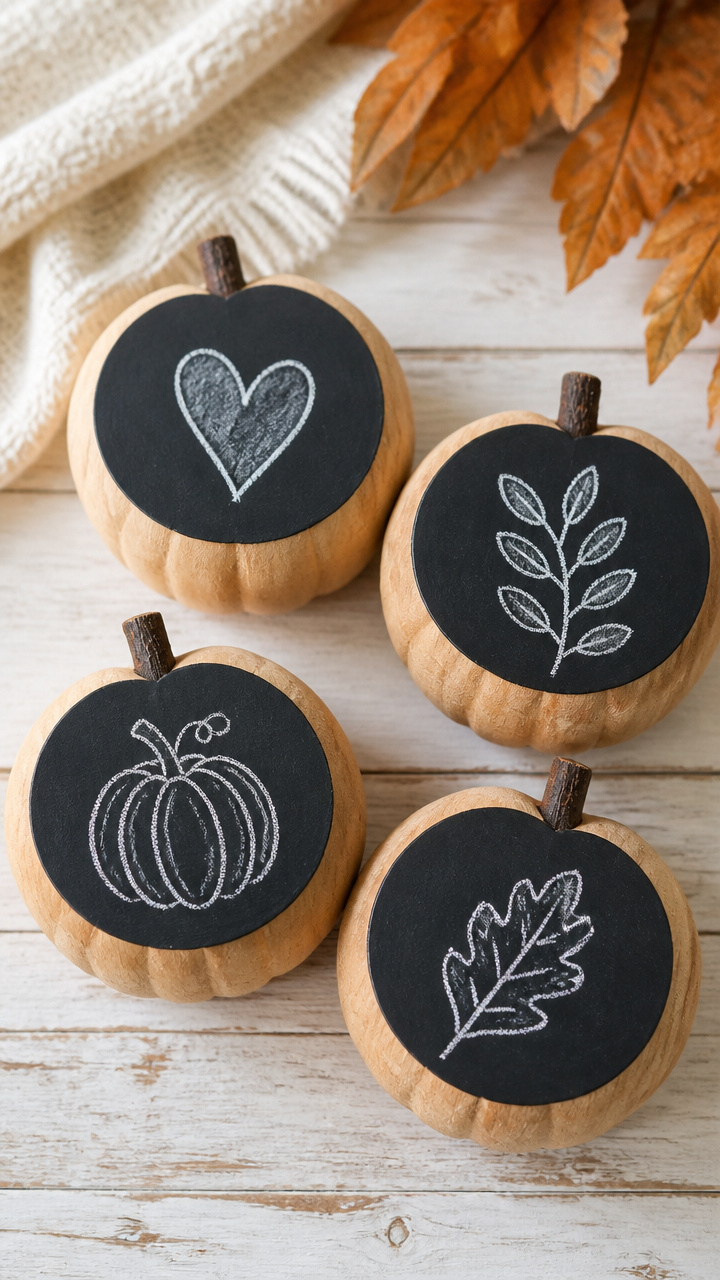
Flat black circles painted on pumpkin crowns mimic chalkboard tags. Write names or short words with chalk for personalized decor.
Materials Needed
- 4 mini wooden pumpkins
- Black chalkboard paint (acrylic, 2 oz)
- Foam brush (1 inch)
- White chalk stick
- Painter’s tape (1/2 inch)
- Paper plate
How to Make It
- Cut four 1-inch strips of painter’s tape and press them flat across the top of each pumpkin.
- Pour a dime-sized pool of paint on the plate and use the foam brush to coat the exposed circle.
- Peel tape after 10 minutes and let paint cure 24 hours before writing with chalk.


7. Button Cluster Stems
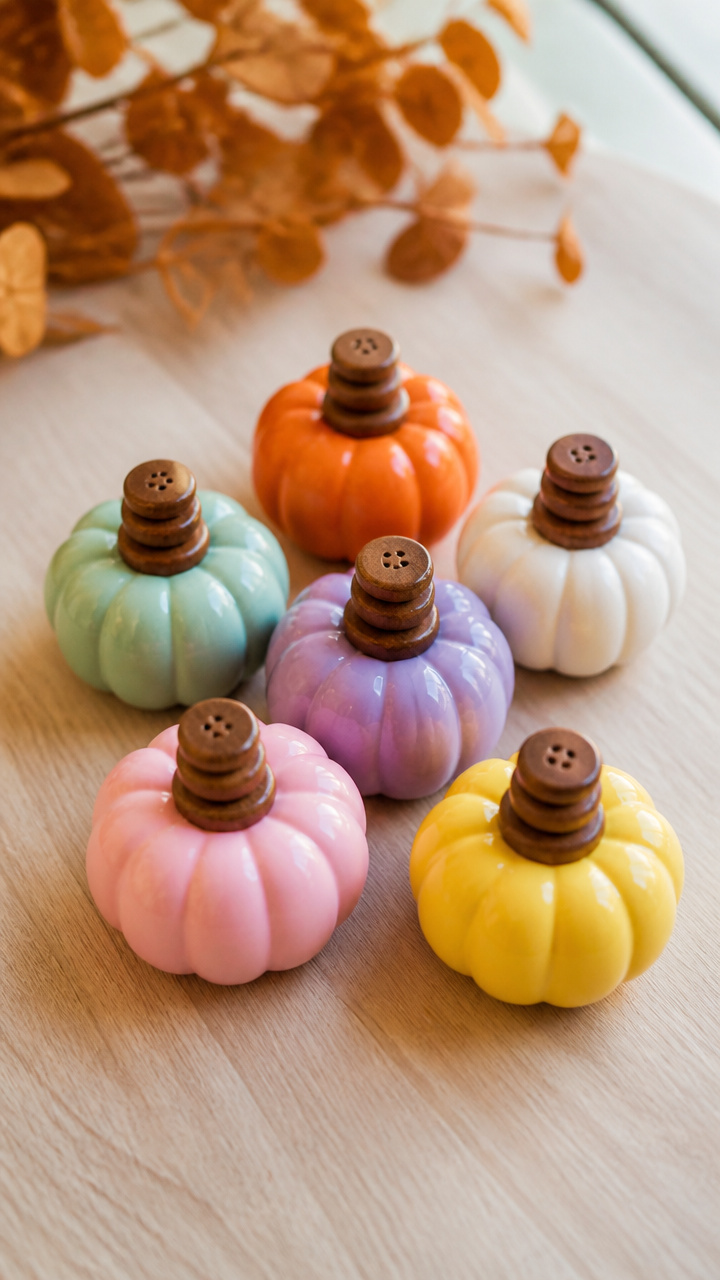
Tiny brown buttons stacked like beads form chunky new stems. This playful swap turns ordinary pumpkins into whimsical characters.
Materials Needed
- 6 mini plastic pumpkins (any color)
- Wooden buttons (5/8 inch, brown, 18 total)
- Strong tacky glue (dries clear)
- Chopstick
- Paper cup
How to Make It
- Lay out three buttons per pumpkin and apply glue to the back of each.
- Stack them centered on the original stem, pressing gently with the chopstick to align.
- Rest each pumpkin upside down in a cup to dry for 3 hours without shifting.


8. Washi Tape Stripes
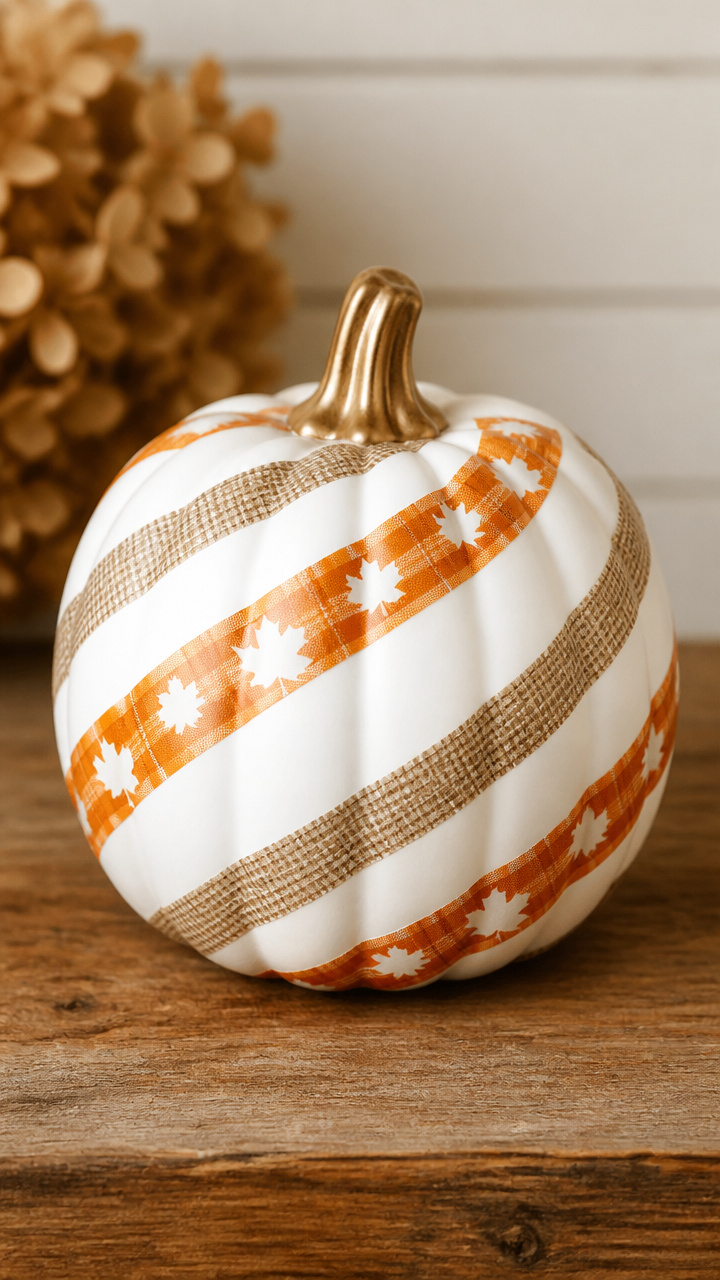
Crisp diagonal lines of autumn-patterned washi tape crisscross white pumpkins. The clean design feels modern and festive.
Materials Needed
- 4 mini ceramic pumpkins (white)
- Washi tape (3 rolls: plaid orange, maple leaf, burlap print, 3/4 inch wide)
- Scissors
- Pencil
- Ruler
How to Make It
- Use pencil and ruler to lightly mark a diagonal line from base to stem on each pumpkin.
- Cut 8-inch lengths of each tape and lay them centered on the pencil line, pressing firmly.
- Overlap ends neatly at the back and rub tape edges with your fingertip to seal.


9. Salt Dough Miniatures
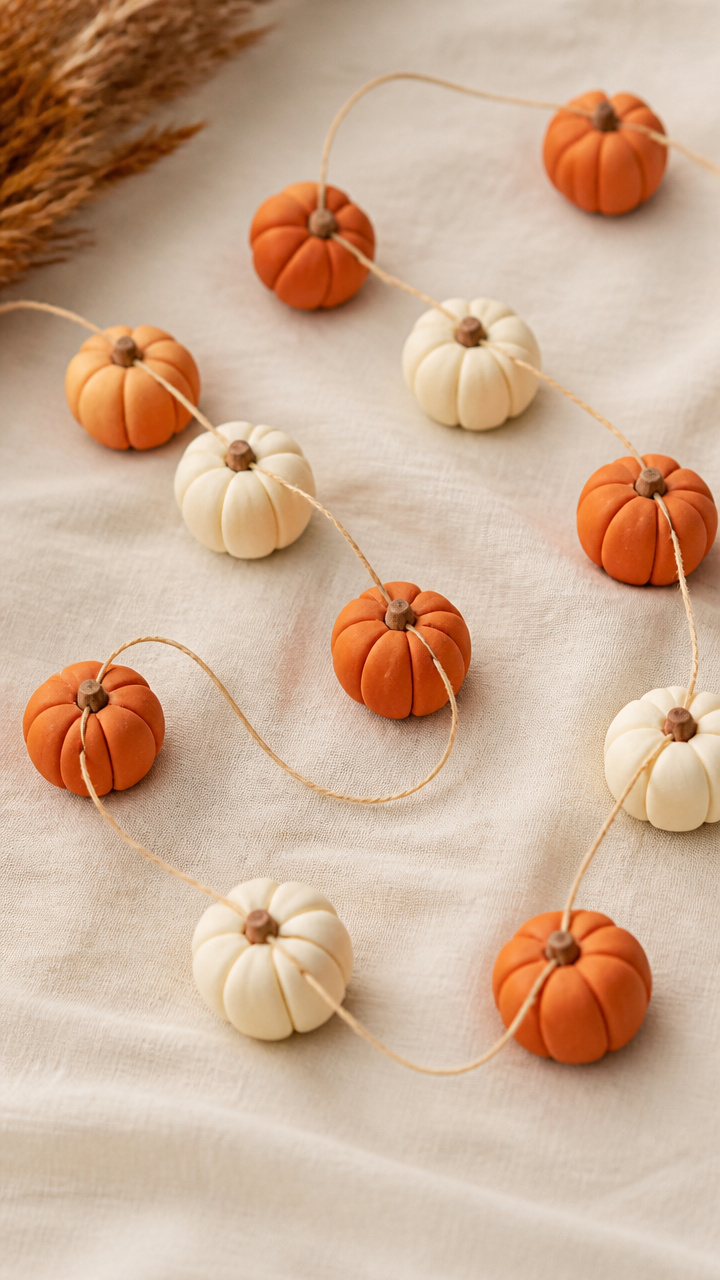
Oven-baked salt dough forms tiny pumpkins with hand-pressed ridges. These lightweight versions are perfect for garlands or tree ornaments.
Materials Needed
- All-purpose flour (1 cup)
- Table salt (1/2 cup)
- Warm water (1/3 cup)
- Mixing bowl
- Rolling pin
- Straw (for hole punching)
- Baking sheet
- Parchment paper
How to Make It
- Mix flour, salt, and water in the bowl until a smooth dough forms, kneading 2 minutes by hand.
- Roll dough to 1/2 inch thick and cut into 12 small circles using a juice glass.
- Pinch each circle into a pumpkin shape, press grooves with a butter knife, and poke a hole at the top with a straw.
- Bake on parchment-lined sheet at 250°F for 2 hours, then cool completely.


10. Yarn Tassel Caps
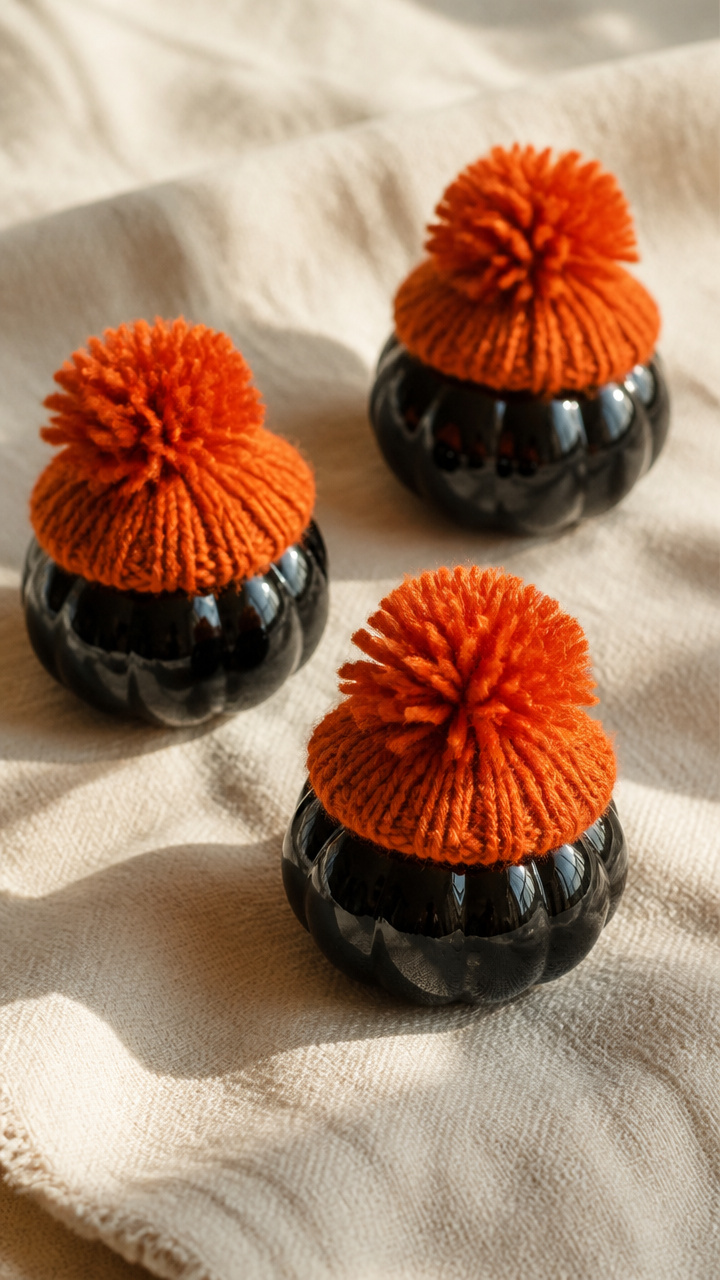
Fluffy orange yarn tassels sit like hats on glossy black pumpkins. The contrast of matte and shine makes these stand out on mantels.
Materials Needed
- 3 mini glass pumpkins (black)
- Orange wool yarn (medium weight, 50 yards)
- Scissors
- Cardboard scrap (3×3 inch)
- Craft glue
How to Make It
- Wrap yarn 25 times around the cardboard and slide it off carefully.
- Tie a piece of yarn tightly around the center and cut both ends to form a tassel.
- Glue the tied end directly onto the pumpkin’s stem area and let dry 45 minutes.


11. Pressed Flower Coating
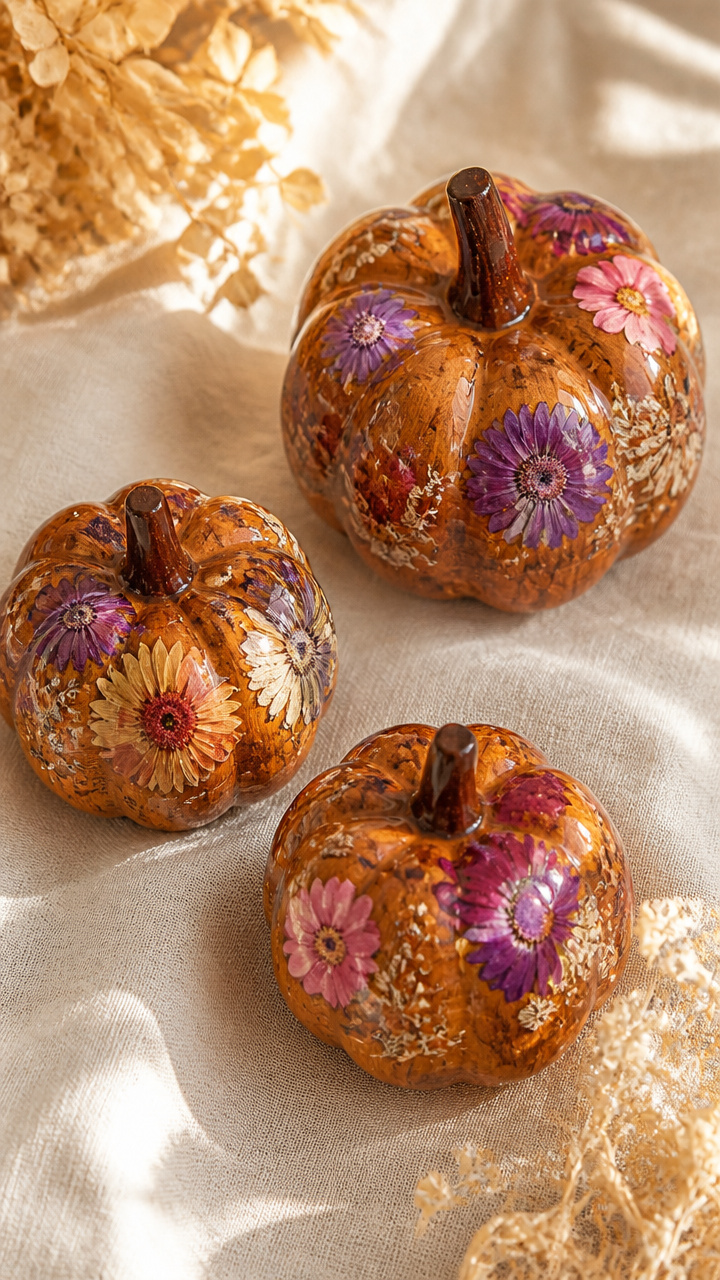
Real dried flowers sealed in resin create jewel-like pumpkins. Each one holds tiny blooms like a preserved moment.
Materials Needed
- 3 mini MDF wood pumpkins
- Dried flowers (mini zinnia, statice, 9 total)
- Clear epoxy resin (2-part, 4 oz kit)
- Disposable plastic cups (3 oz, 2 needed)
- Stir sticks
- Gloves
- Level drying rack
How to Make It
- Arrange three flowers face-up on each pumpkin, keeping within the outer edge.
- Mix resin according to package directions in a cup and stir 2 minutes slowly.
- Pour a thin layer over each pumpkin to fully cover the flowers and let cure on a level rack for 24 hours.


12. Pom-Pom Vines
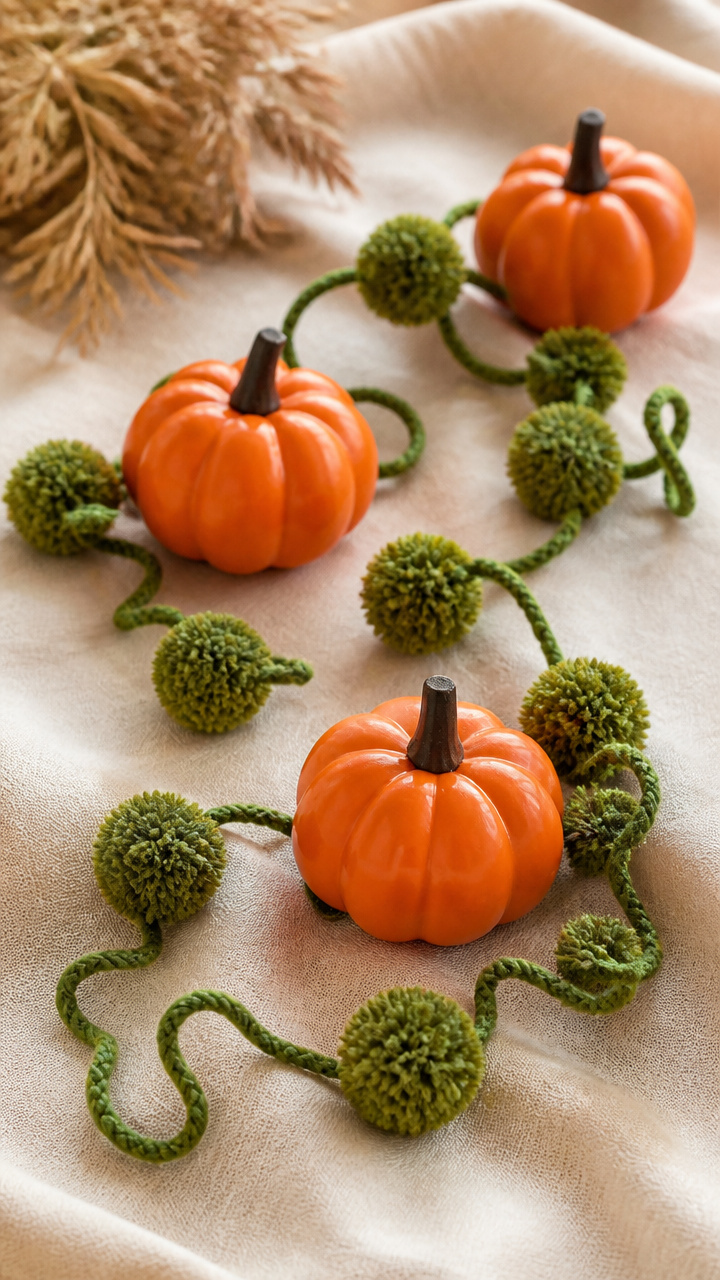
Green yarn pom-poms strung together curl like vines from pumpkin stems. These add soft movement and kid-friendly texture.
Materials Needed
- 5 mini plastic pumpkins
- Green yarn (light worsted, 30 yards)
- Pom-pom maker (small, 1.5 inch)
- Scissors
- Needle (tapestry, blunt tip)
- White craft glue
How to Make It
- Make five pom-poms using the pom-pom maker and trim any long strands.
- Thread the needle with a 12-inch yarn strand and tie a knot at one end.
- Pass the needle through the center of each pom-pom and glue the starting knot to the stem base.
- Arrange the vine in loose loops and let glue set for 20 minutes.


13. Crayon Drip Finish
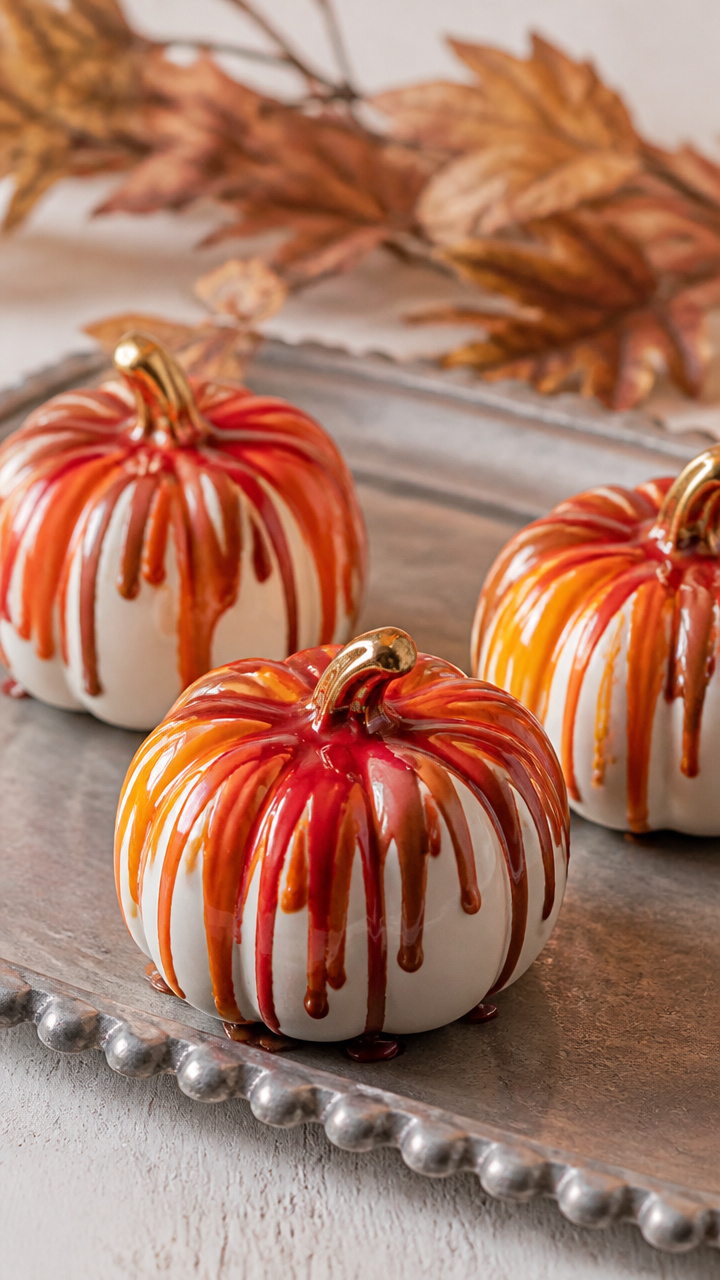
Melted crayon shavings run down pumpkin sides in streaks of autumn color. Heat creates organic patterns no brush can match.
Materials Needed
- 4 mini ceramic pumpkins (white)
- Crayons (red, orange, brown, 1 each)
- Vegetable peeler
- Heat gun
- Aluminum tray
- Oven mitt
How to Make It
- Use the peeler to make fine shavings from each crayon into a small pile.
- Place a pumpkin on the tray and sprinkle shavings along the top ridge.
- Aim the heat gun from 6 inches away and melt the wax slowly so it drips downward.
- Wait 5 minutes between colors to avoid mixing, and let cool fully before moving.


14. Mini Clothespin Owls
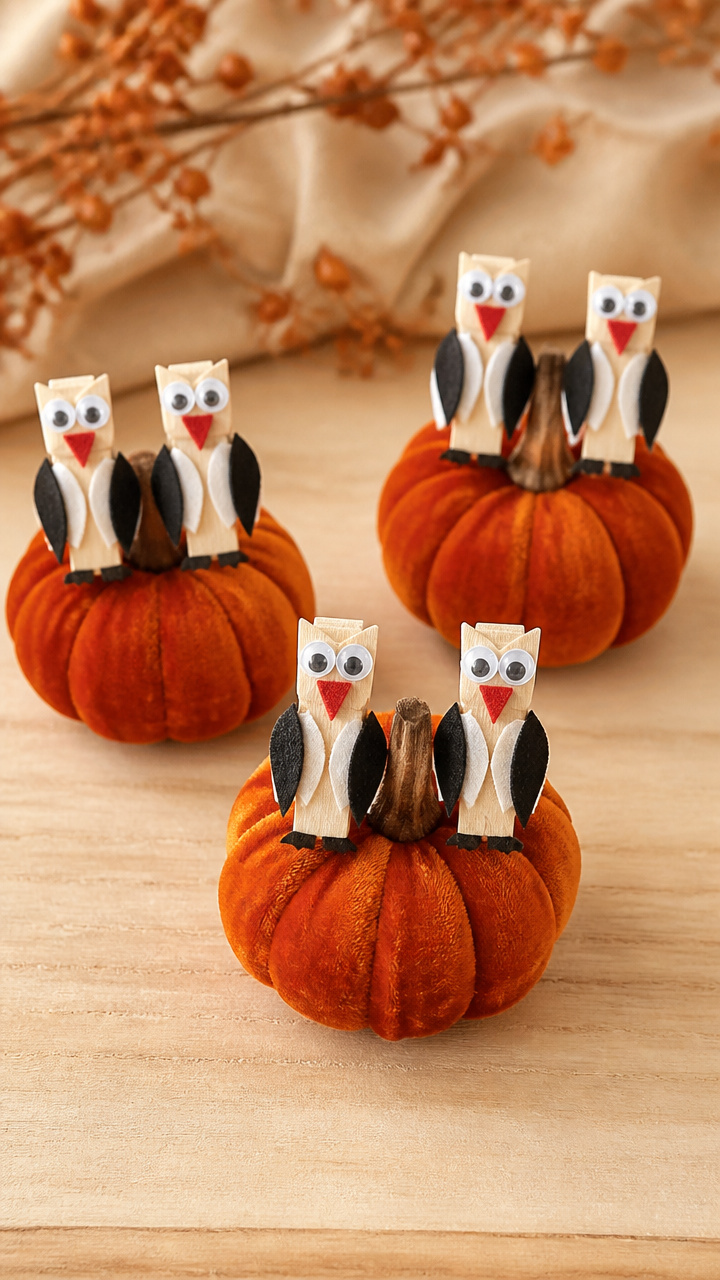
Wooden clothespins become owl faces glued to pumpkin bases. These pint-sized creatures perch cutely in groups.
Materials Needed
- 6 mini foam pumpkins (rust)
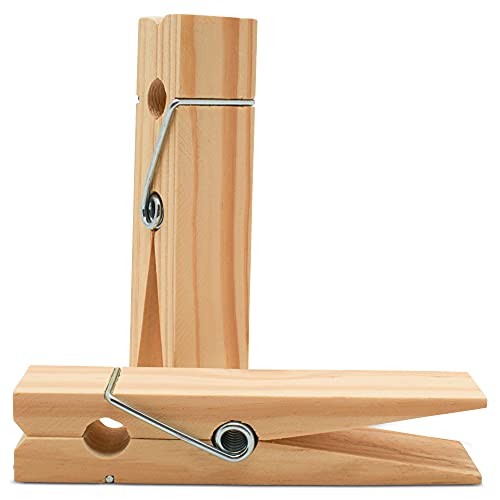
- Wooden clothespins (natural, 6)
- Black and white craft foam sheets (6×9 inch)
- Googly eyes (6 mm, 12 pairs)
- Red felt (small scrap)
- Craft glue
- Scissors
How to Make It
- Cut small wing shapes from white foam and tiny beaks from red felt.
- Glue a clothespin vertically to the front of each pumpkin.
- Add wings to the sides, glue on eyes and beak, and let all pieces dry 1 hour.


15. Tea Bag Stain Pumpkins
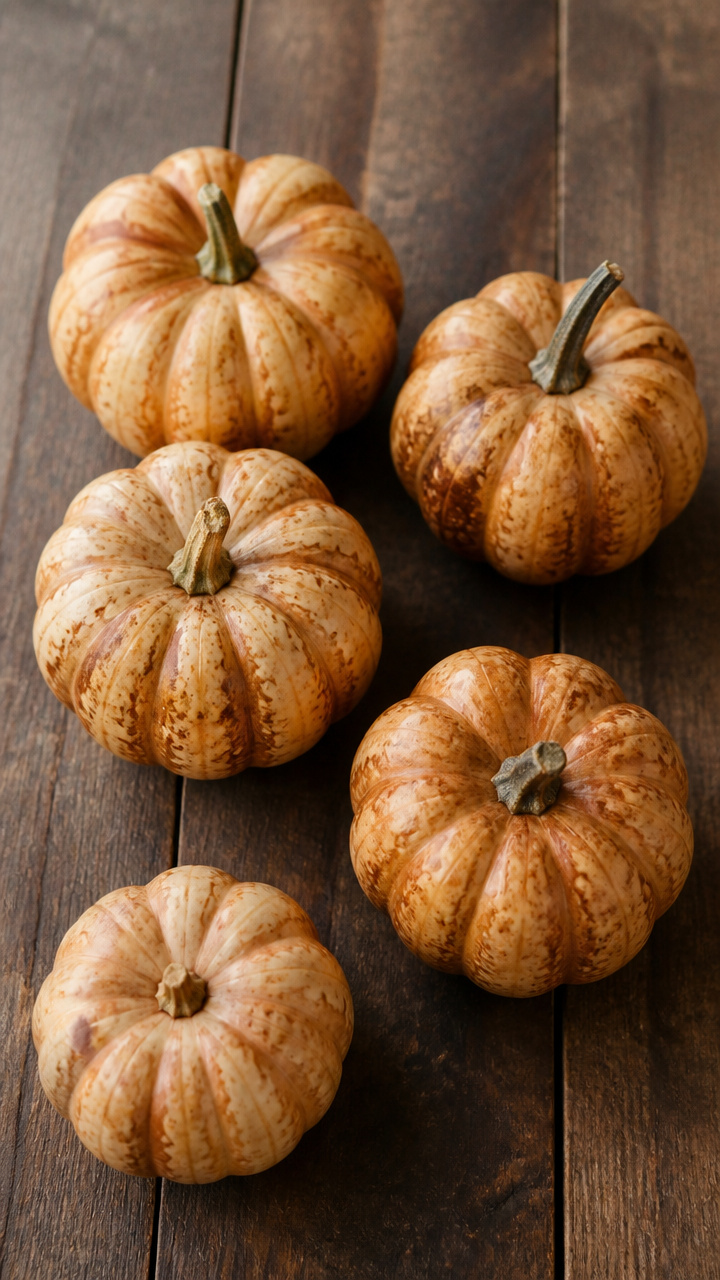
Used tea bags tint natural gourds with earthy sepia tones. The stain highlights texture and smells faintly of bergamot.
Materials Needed
- 5 real mini gourds (hard-shell, uncarved)
- Black tea bags (5, plain)
- Boiling water (2 cups)
- Ceramic bowl
- Tongs
- Paper towel
How to Make It
- Pour boiling water over tea bags in the bowl and steep 10 minutes.
- Remove bags and place gourds in the liquid, turning with tongs every 5 minutes.
- Soak for 30 minutes total, then lift out and dry on paper towel for 2 hours.


You’ve got everything you need to start right now. Grab a few supplies and let your hands find their rhythm with these little projects.