15 No-Carve Pumpkin Crafts for Adults

Fall brings a quiet magic, and decorating with pumpkins doesn’t have to mean carving. You can enjoy the season with creative projects that skip the mess and knives, focusing instead on texture, color, and thoughtful details. These crafts invite you to slow down and make something beautiful with your hands.
Each idea is made for adults who appreciate precision and charm. They work perfectly for centerpieces, gifts, or quiet evenings spent crafting with intention.
1. Glitter-Dipped Mini Pumpkins
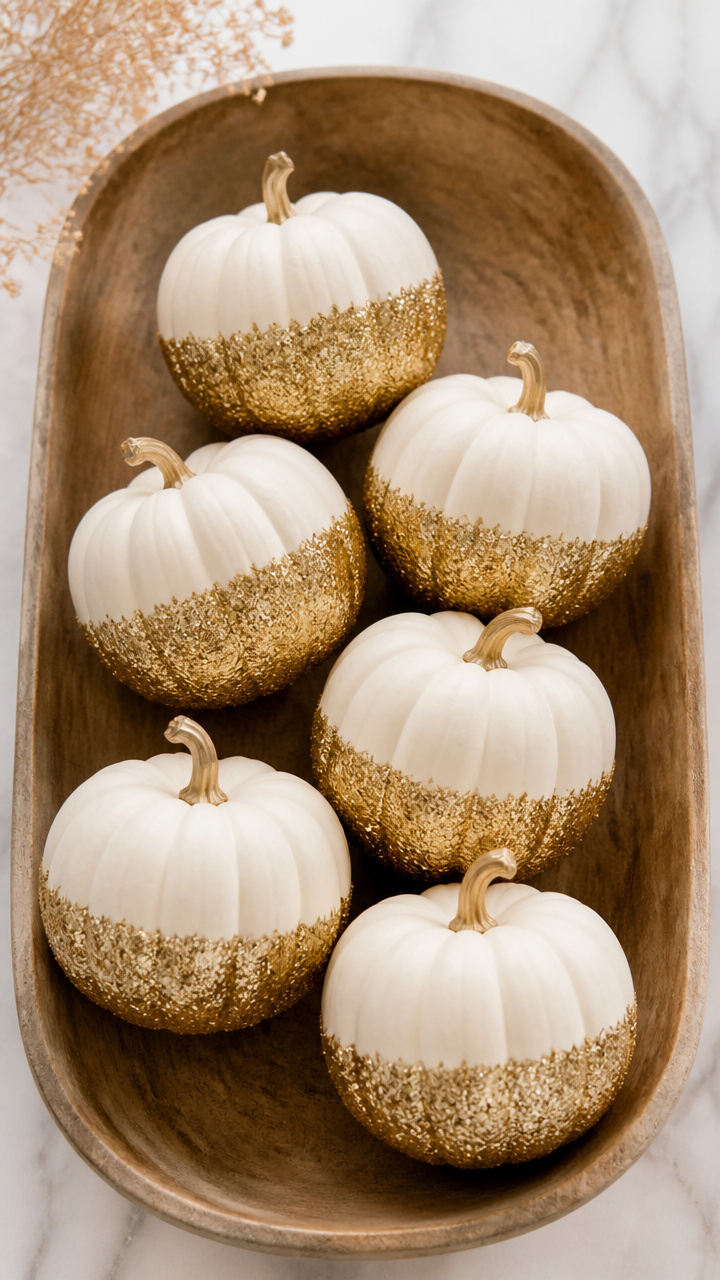
Smooth glitter coating gives tiny pumpkins a touch of sparkle that catches the light just right. These look elegant grouped on a tray or windowsill.
Materials Needed
- 6 mini faux pumpkins (3-inch, matte finish)
- Gold fine glitter (1/4 cup)
- Clear craft glue (4 oz)
- Small foam brush (1-inch width)
- Wax paper (12×12 inch sheet)
- Disposable bowl (8 oz)
How to Make It
- Pour 3 tablespoons of craft glue into the disposable bowl.
- Dip the top half of each pumpkin into the glue, rotating it slowly to coat evenly.
- Sprinkle glitter over the glued section while holding it over wax paper to catch excess.
- Set each pumpkin on the wax paper to dry for 2 hours, undisturbed.


2. Washi Tape Striped Pumpkin
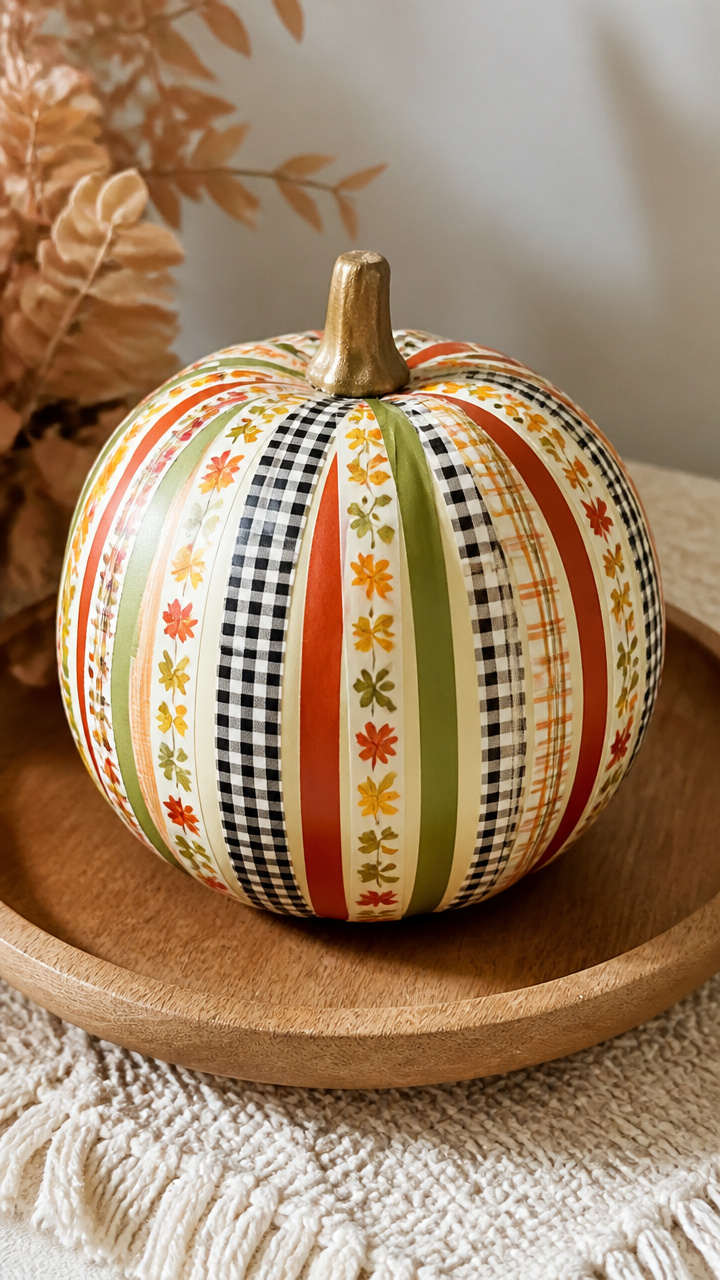
Crisp lines of patterned tape wrap around a smooth pumpkin for a modern, tidy look. Choose autumnal colors for seasonal charm.
Materials Needed
- 1 medium faux pumpkin (6-inch, smooth surface)
- 3 rolls of washi tape (1/2 inch wide, plaid, striped, and leaf pattern)
- Ruler
- Scissors
- Pencil
How to Make It
- Use the ruler and pencil to lightly mark horizontal lines 1 inch apart from top to bottom.
- Cut 6-inch lengths of each washi tape type.
- Press each strip across the pumpkin following the pencil lines, smoothing with your fingertip to avoid bubbles.
- Overlap tape ends slightly at the back to hide seams.


3. Black Lace Wrap Pumpkin
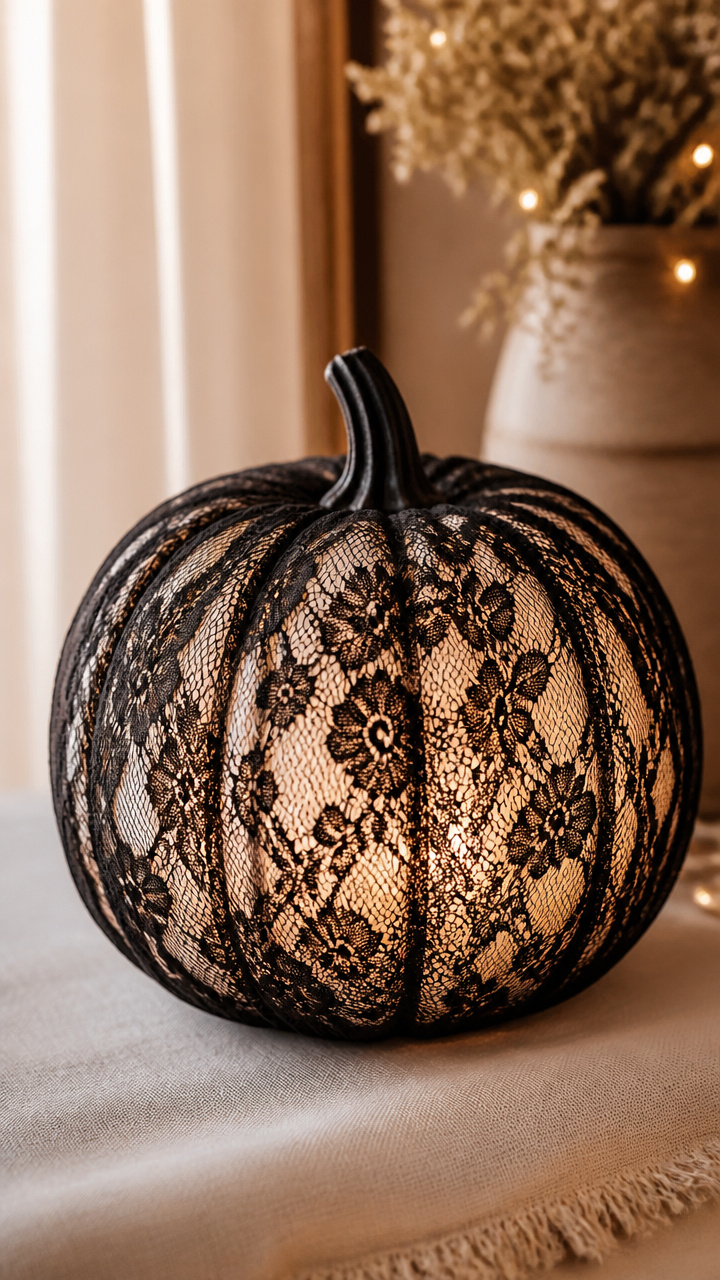
Delicate lace wrapped tightly around a pumpkin casts soft shadows when lit from within. It feels romantic and timeless.
Materials Needed
- 1 medium faux pumpkin (5-inch, white)
- Black cotton lace trim (1 yard, 1.5-inch width)
- Fabric glue (2 oz)
- Fine-tip applicator bottle
- Clothespin
How to Make It
- Attach the applicator tip to the fabric glue bottle.
- Run a thin line of glue along the top ridge of the pumpkin.
- Press the start of the lace into the glue and let it dry for 3 minutes.
- Wrap the lace tightly around the pumpkin, adding glue every 2 inches to secure, using the clothespin to hold tension.


4. Gold Leaf Accent Pumpkin
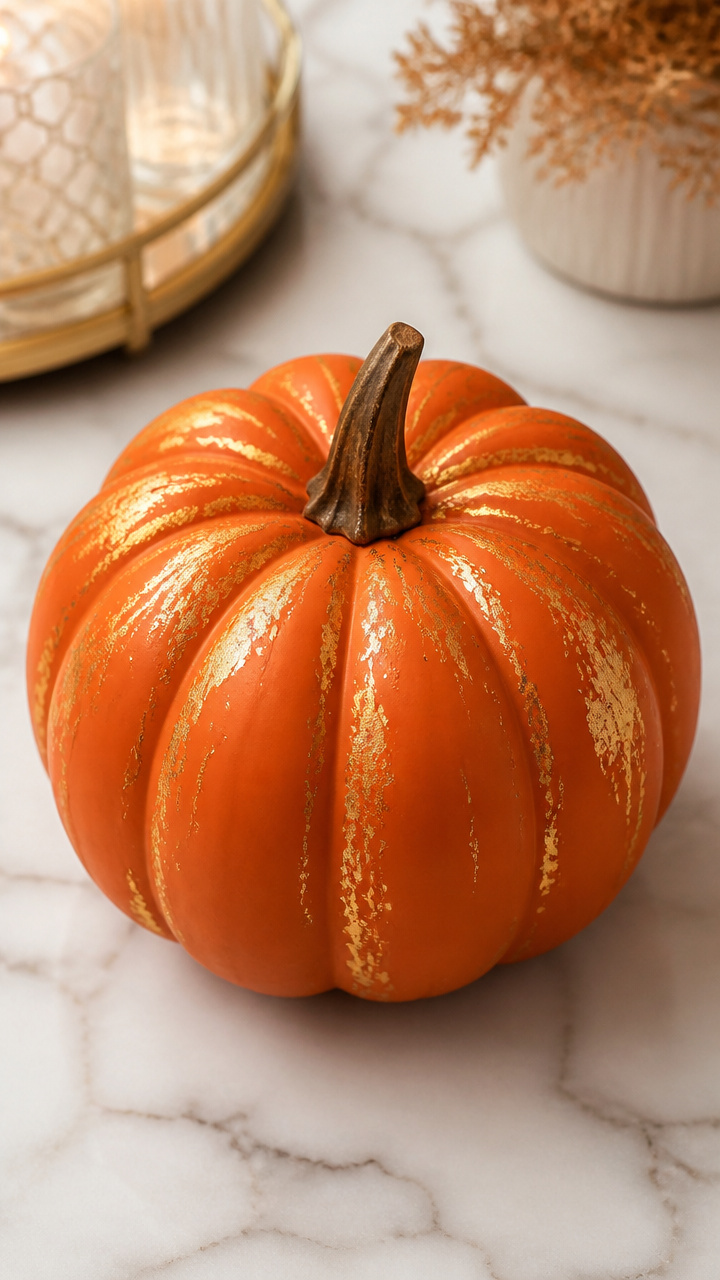
Subtle gold leaf highlights the ridges of a pumpkin for a luxurious, hand-finished effect. It looks expensive but takes just one evening.
Materials Needed
- 1 large faux pumpkin (8-inch, deep orange)
- 22-karat gold leaf sheets (3 sheets, 3×3 inches)
- Leaf adhesive (1 oz, slow-dry formula)
- Soft bristle brush (1/2 inch)
- Cotton gloves
- Craft knife
How to Make It
- Wear cotton gloves to avoid transferring oils to the surface.
- Use the brush to apply adhesive along every vertical ridge of the pumpkin.
- Let the adhesive become tacky for 90 seconds, then gently lay a gold leaf sheet over a ridge.
- Press lightly with the brush and lift excess with the knife blade, repeating for all ridges.


5. Felt Flower Cluster Pumpkin
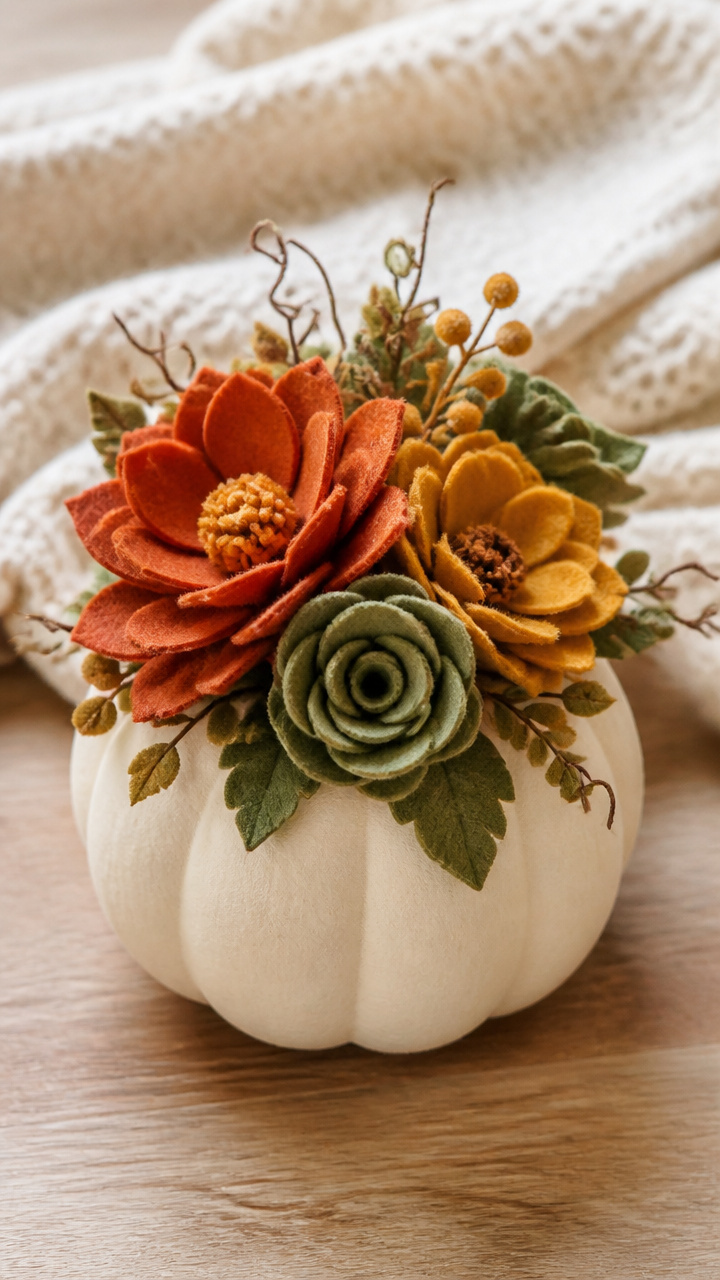
Handmade wool felt flowers bloom from the top of a pumpkin like a fresh bouquet. The texture is soft and inviting.
Materials Needed
- 1 faux pumpkin (6-inch, cream color)
- Wool felt sheets (1 each in rust, mustard, olive green, 9×12 inches)
- Hot glue gun (low-temp)
- Scissors
- Floral wire (22-gauge, 12 inches)
- Pencil
How to Make It
- Draw five 2-inch flower shapes on each felt color and cut them out.
- Stack one flower from each color, offsetting the petals, and twist the center with floral wire.
- Repeat to make 3 clusters.
- Apply hot glue to the base of each cluster and press firmly onto the pumpkin’s top, letting dry 5 minutes.


6. Chalkboard Paint Pumpkin
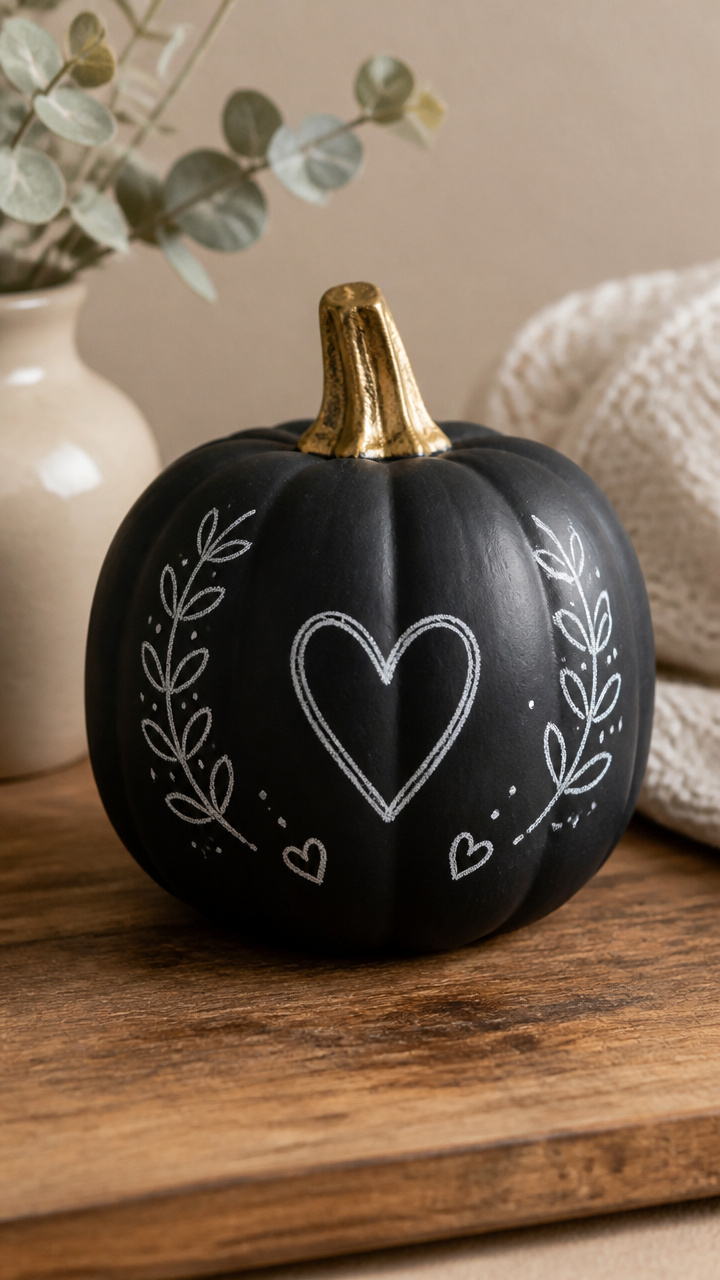
A pumpkin painted like a tiny chalkboard lets you write seasonal messages or doodles. It’s interactive and changes with your mood.
Materials Needed
- 1 medium faux pumpkin (5-inch, smooth)
- Black chalkboard paint (2 oz)
- Foam brush (1-inch)
- Chalk (white, 1 stick)
- Painter’s tape (1/4 inch, 1 yard)
How to Make It
- Place painter’s tape around the middle of the pumpkin to divide it in half.
- Paint the top half with one coat of chalkboard paint using the foam brush.
- Let dry for 1 hour, then remove the tape and write on the surface with chalk.


7. Twine-Wrapped Neutral Pumpkin
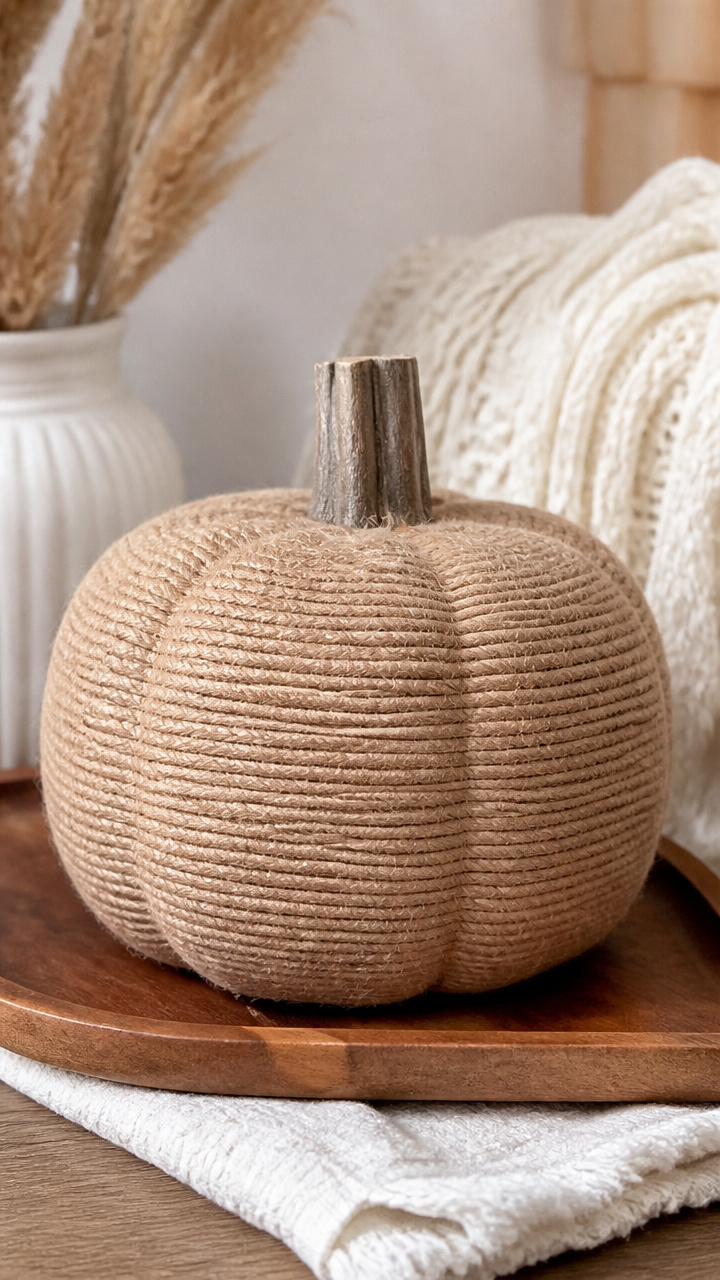
Natural jute twine spirals around a pale pumpkin for a rustic, cabin-style accent. It pairs well with linen and wood.
Materials Needed
- 1 faux pumpkin (7-inch, beige)
- Jute twine (100 feet, 1/8 inch thickness)
- Tacky glue (2 oz)
- Clothespin
- Small bowl
How to Make It
- Place a drop of tacky glue at the pumpkin’s stem base.
- Press the end of the twine into the glue and hold 30 seconds.
- Wrap the twine tightly in a spiral downward, adding a dot of glue every 4 inches.
- Secure the end with a final glue dot and clip excess with scissors.


8. Watercolor Ombre Pumpkin
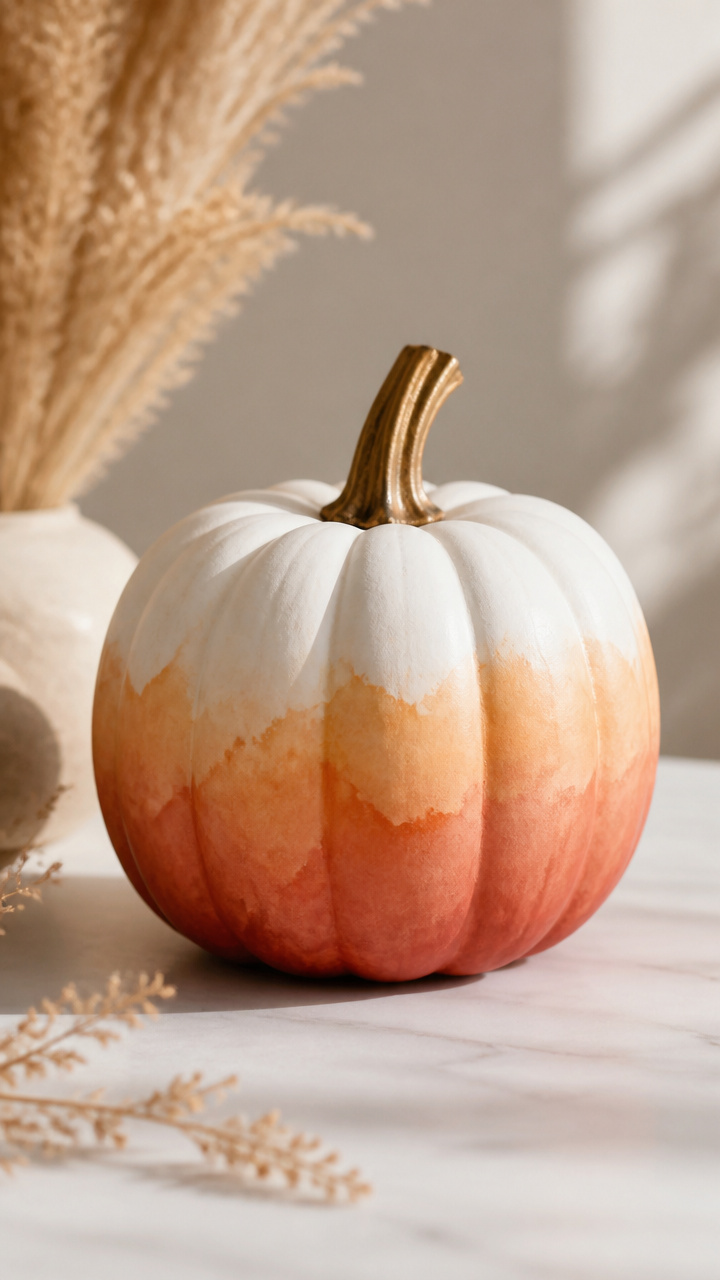
Soft washes of watercolor blend across the surface for a painterly, artistic result. Each one becomes a tiny canvas.
Materials Needed
- 1 smooth faux pumpkin (6-inch, white)
- Watercolor set (pan style, warm tones: burnt sienna, ochre, terracotta)
- Round watercolor brush (size 6)
- Small water jar
- Paper towel
How to Make It
- Wet the brush and pick up burnt sienna from the pan.
- Paint a ring around the pumpkin’s base, leaving the top white.
- Clean the brush, pick up ochre, and blend upward into the wet sienna.
- Add a touch of terracotta at the bottom and let dry for 3 hours on a paper towel.


9. Pressed Botanical Pumpkin
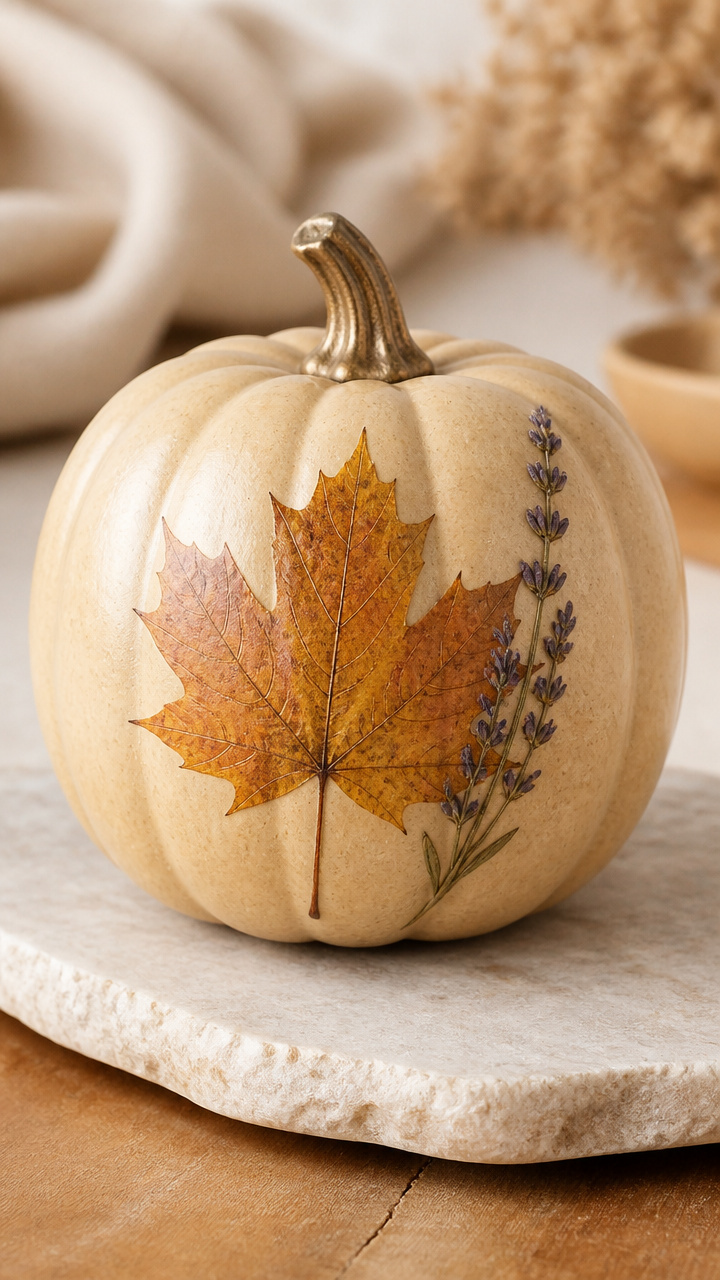
Real dried leaves and flowers adhere to a pumpkin’s surface for a garden-fresh keepsake. It captures the season’s fleeting beauty.
Materials Needed
- 1 faux pumpkin (5-inch, light tan)
- Pressed maple leaf (1, 3-inch span)
- Pressed lavender sprig (1)
- Mod Podge (2 oz, matte)
- Foam brush (1/2 inch)
- Clear packing tape (2-inch wide, 6 inches)
How to Make It
- Position the leaf and lavender on the pumpkin where you want them.
- Brush a thin layer of Mod Podge under each botanical piece.
- Press them into place and cover the top with another layer of Mod Podge.
- Cut a piece of packing tape and smooth it over the botanicals to protect them, then seal the back with glue.


10. Metallic Sticker Monogram Pumpkin
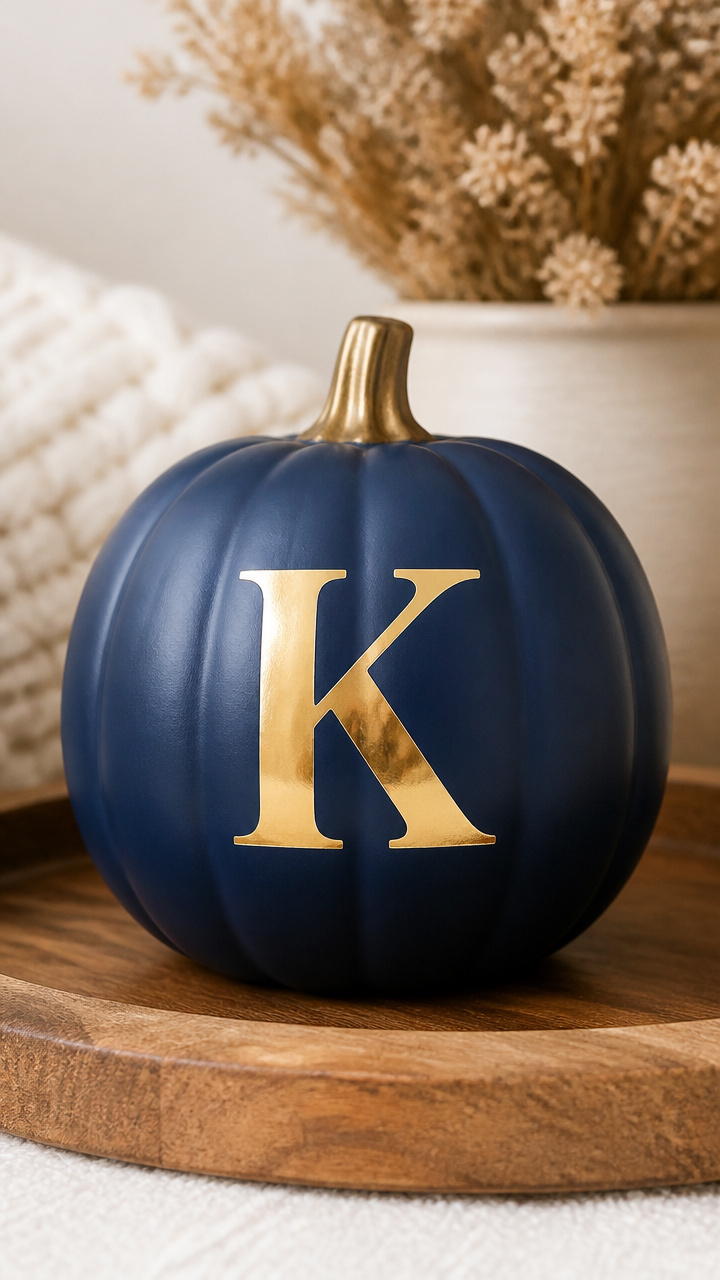
A single foil sticker with a letter turns a pumpkin into a personalized decor piece. It’s simple but feels intentional.
Materials Needed
- 1 faux pumpkin (6-inch, navy blue)
- Self-adhesive gold foil sticker (1 letter, 3-inch height)
- Lint-free cloth
- Ruler
How to Make It
- Wipe the pumpkin’s front with the lint-free cloth to remove dust.
- Measure 2 inches down from the top and center the ruler horizontally.
- Align the sticker on the mark and press from the center outward with your fingertip.
- Rub gently with the cloth to ensure full adhesion.


11. Yarn Tassel Top Pumpkin
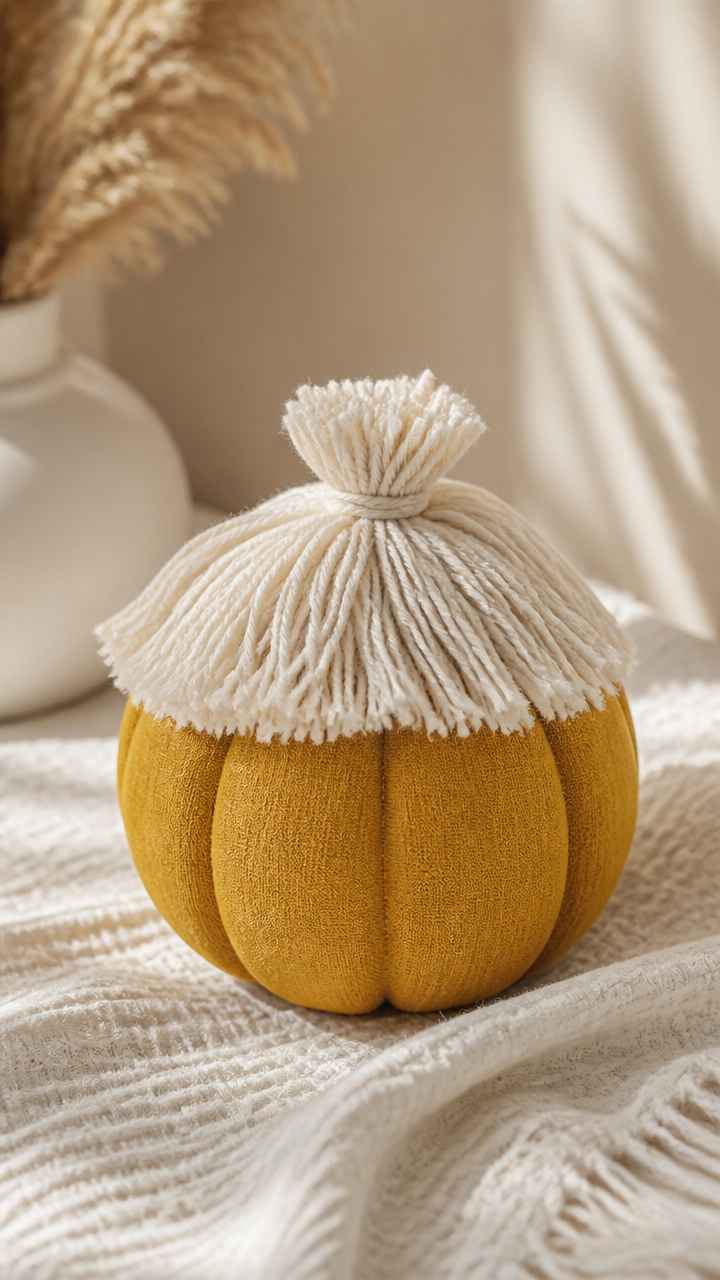
A fluffy tassel made of chunky yarn replaces the stem for a cozy, textured look. It sways slightly when touched.
Materials Needed
- 1 faux pumpkin (5-inch, mustard yellow)
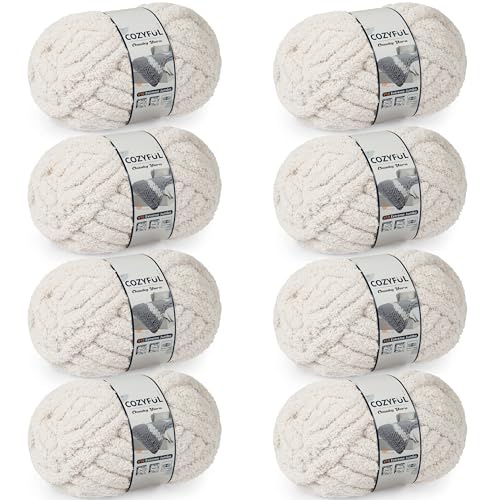
- Chunky cream yarn (1 skein, 100 yards)
- Scissors
- Cardboard (3×3 inch square)
- Hot glue gun
How to Make It
- Wrap yarn around the cardboard 25 times.
- Slide the loop off and tie another piece of yarn tightly around the middle.
- Cut both ends to create a tassel.
- Glue the tied end to the pumpkin’s top, covering the original stem, and let dry 10 minutes.


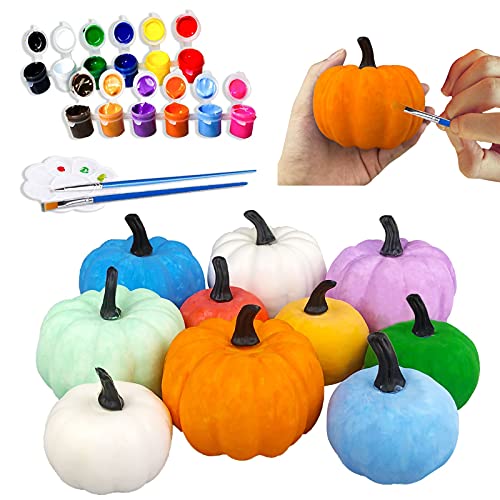
12. Geometric Painted Pumpkin
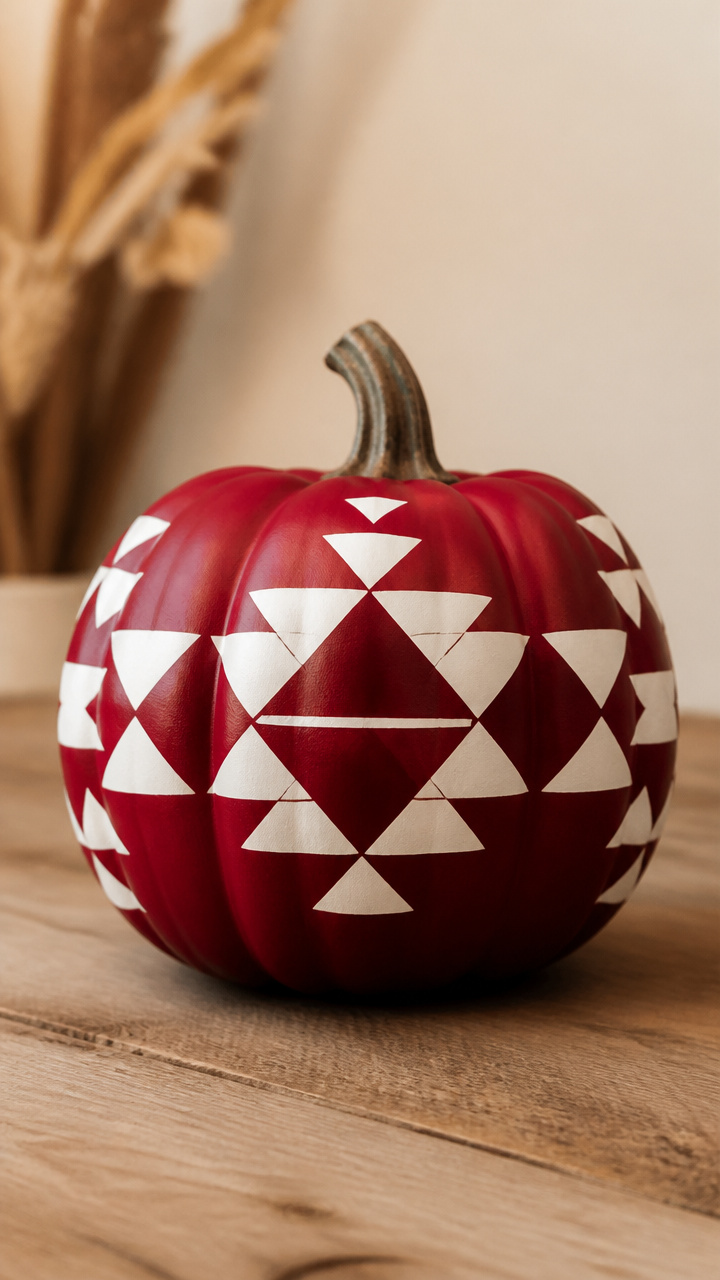
Sharp triangles in contrasting paint create a modern pattern that stands out on a shelf. Precision makes it look store-bought.
Materials Needed
- 1 faux pumpkin (6-inch, deep red)
- White acrylic paint (1 oz)
- Painter’s tape (1/2 inch, 3 feet)
- Angled brush (1/4 inch)
- Ruler
- Pencil
How to Make It
- Use the pencil and ruler to lightly mark three evenly spaced vertical lines from top to bottom.
- Place painter’s tape along each line, pressing edges firmly.
- Use the angled brush to fill each triangle section with white paint.
- Peel off the tape after 20 minutes and let the pumpkin dry completely for 2 hours.
13. Cork Slice Accent Pumpkin
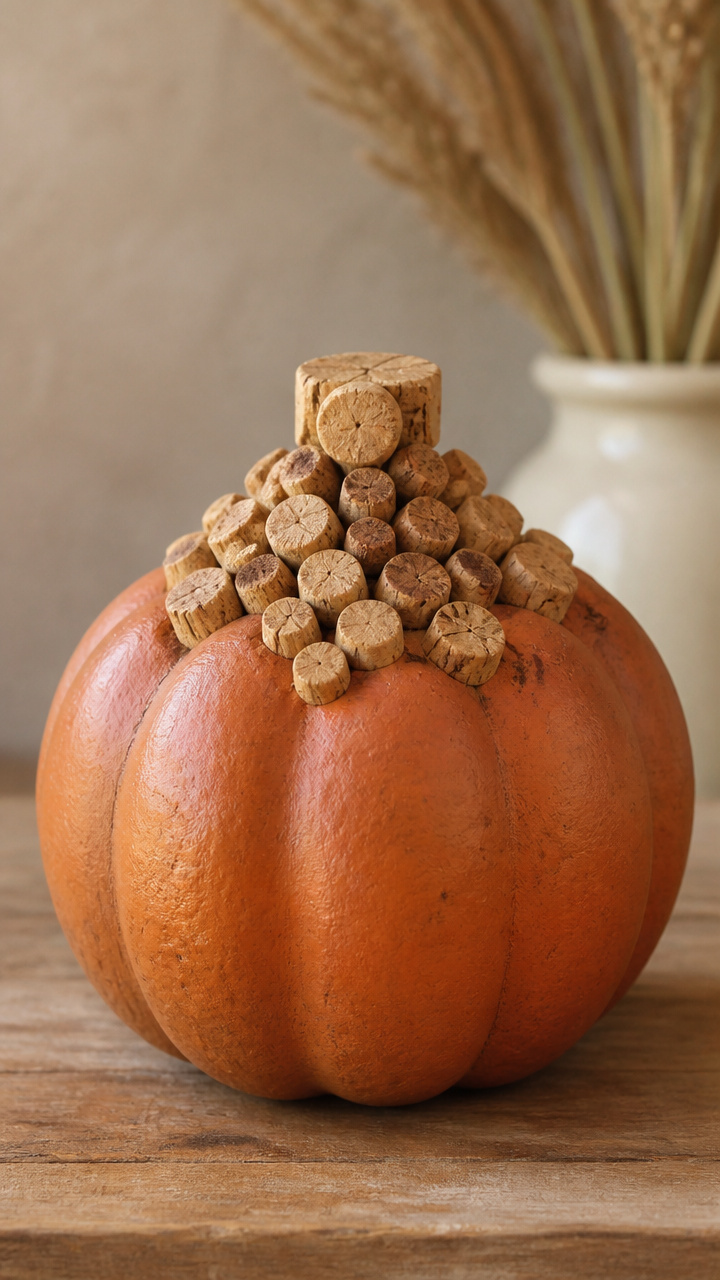
Real wine corks sliced and glued to the top mimic a natural stem with character. It’s a quiet nod to slow living.
Materials Needed
- 1 faux pumpkin (5-inch, terracotta)
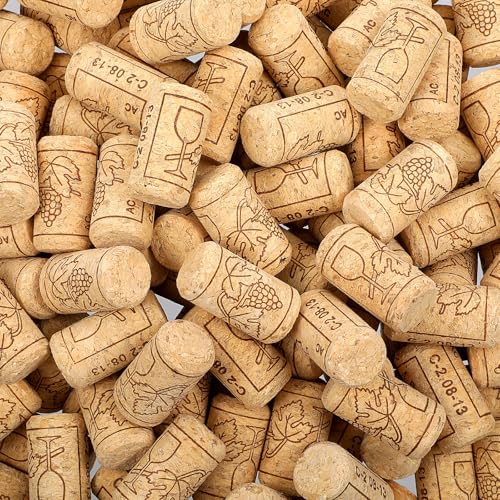
- Wine corks (6, standard size)
- Craft knife
- Hot glue gun
- Cutting mat
How to Make It
- Slice each cork in half lengthwise on the cutting mat using the craft knife.
- Lay the pumpkin on its side and apply hot glue to the flat side of one cork half.
- Press it onto the top center, flat side down, and repeat around the stem in a circle.
- Let the glue set for 5 minutes before moving.


14. Embroidery Hoop Mini Wreath Pumpkin
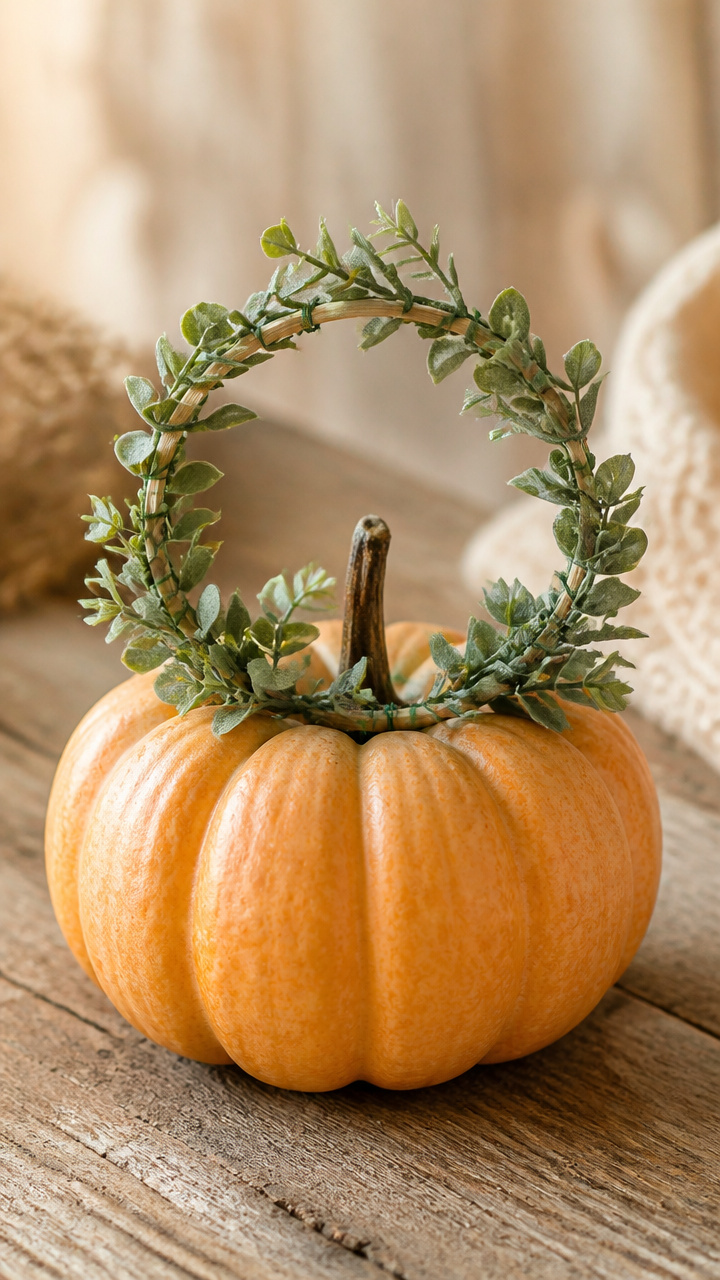
A tiny wooden hoop wrapped in greenery sits atop a pumpkin like a crown. It feels festive without being flashy.
Materials Needed
- 1 faux pumpkin (4-inch, pale orange)
- 3-inch wooden embroidery hoop (1 set)
- Artificial eucalyptus sprig (6 inches long)
- Floral wire (6 inches, green)
- Scissors
- Hot glue
How to Make It
- Separate the inner and outer hoop and set the outer ring aside.
- Wrap the eucalyptus sprig around the inner hoop, overlapping stems.
- Secure the ends with floral wire twisted at the back.
- Glue the inner hoop to the pumpkin’s top, nestling it over the stem.


15. Marble Contact Paper Pumpkin
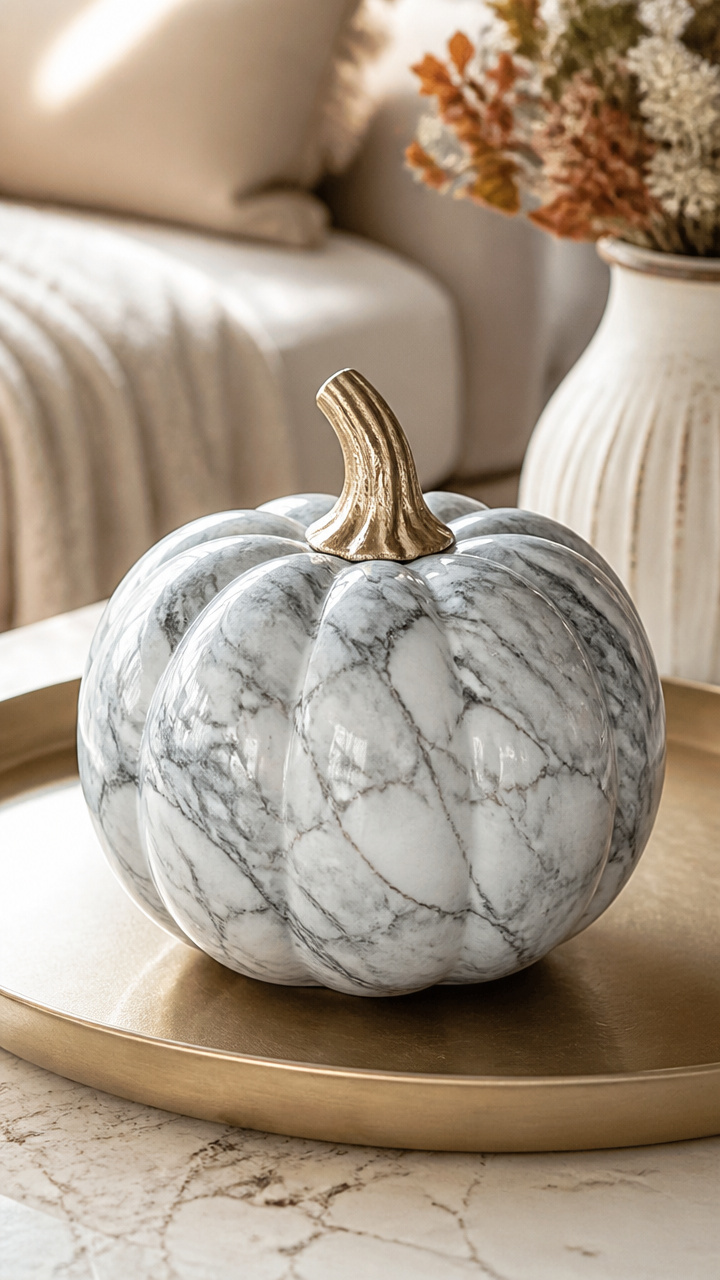
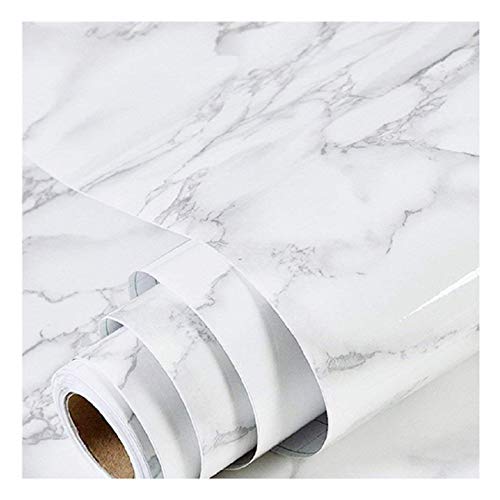
Self-adhesive marble-pattern paper wraps around a pumpkin for a sleek, modern finish. It looks like stone but weighs nothing.
Materials Needed
- 1 faux pumpkin (6-inch, smooth)
- Marble contact paper (12×12 inch sheet)
- Ruler
- Scissors
- Squeegee tool (or old credit card)
How to Make It
- Cut a 6-inch square of contact paper.
- Peel the backing halfway and align the top edge with the pumpkin’s crown.
- Press the paper in place and slowly peel the rest while smoothing with the squeegee.
- Wrap around the sides, trimming excess at the base with scissors.


You’ve got everything you need to start, whether you choose glitter, paint, or pressed leaves. These crafts are meant to be enjoyed slowly, one thoughtful step at a time. Pick your favorite and let your hands do something kind for your space.