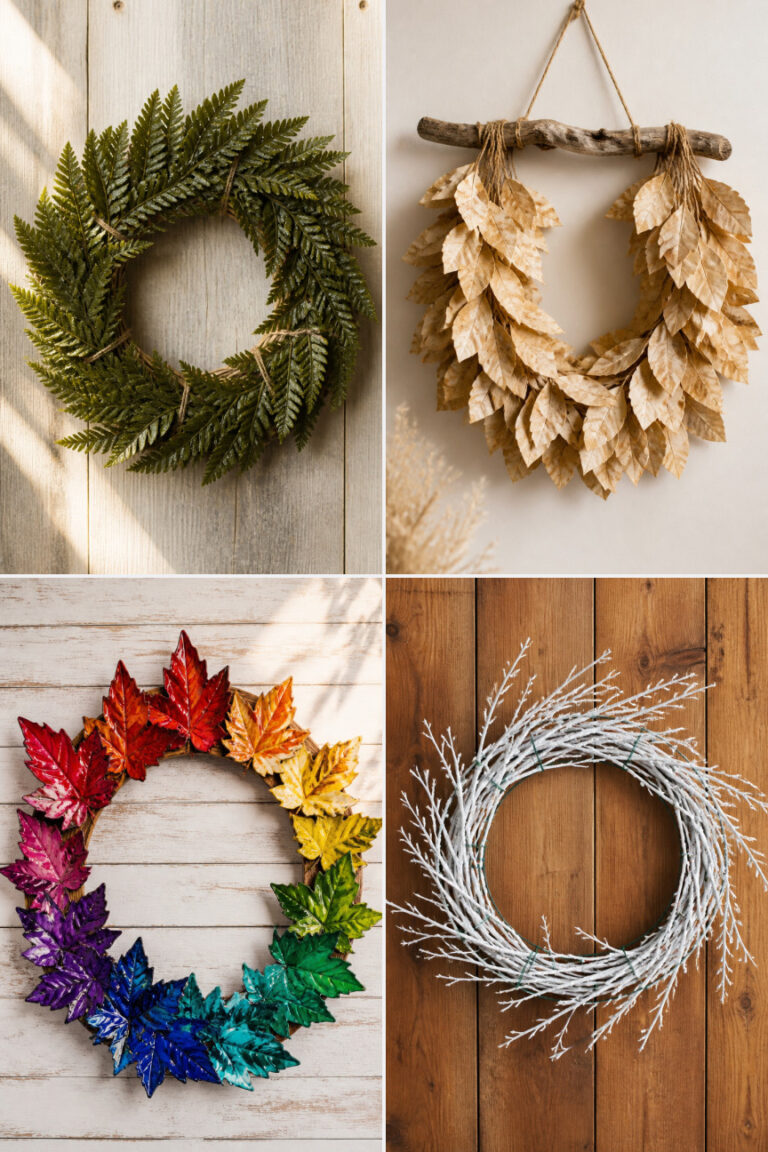
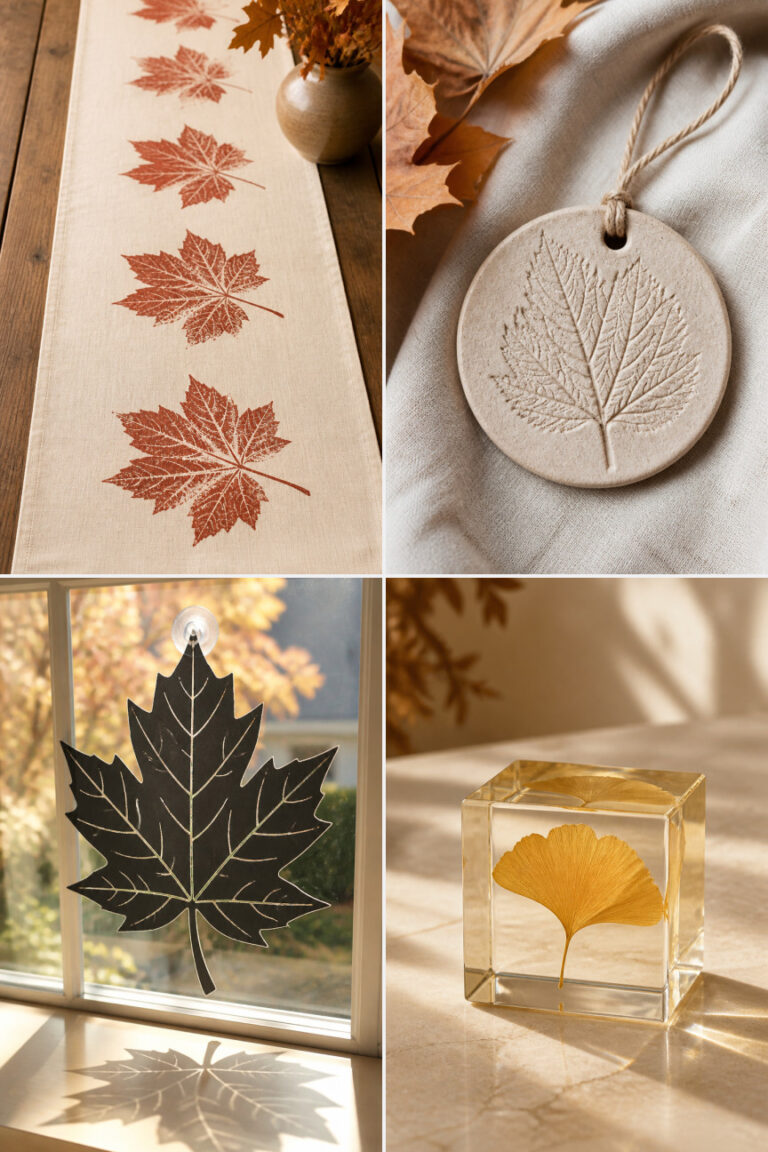
18 Scrap Fabric Fall Crafts

Autumn brings a quiet magic that settles into your hands when you start creating with cozy textures and warm colors.
With just a few leftover fabric scraps, you can make thoughtful handmade pieces that bring comfort to your home and joy to your season.
These projects use what you already have and turn them into something beautiful and useful.
1. Patchwork Leaf Pillow
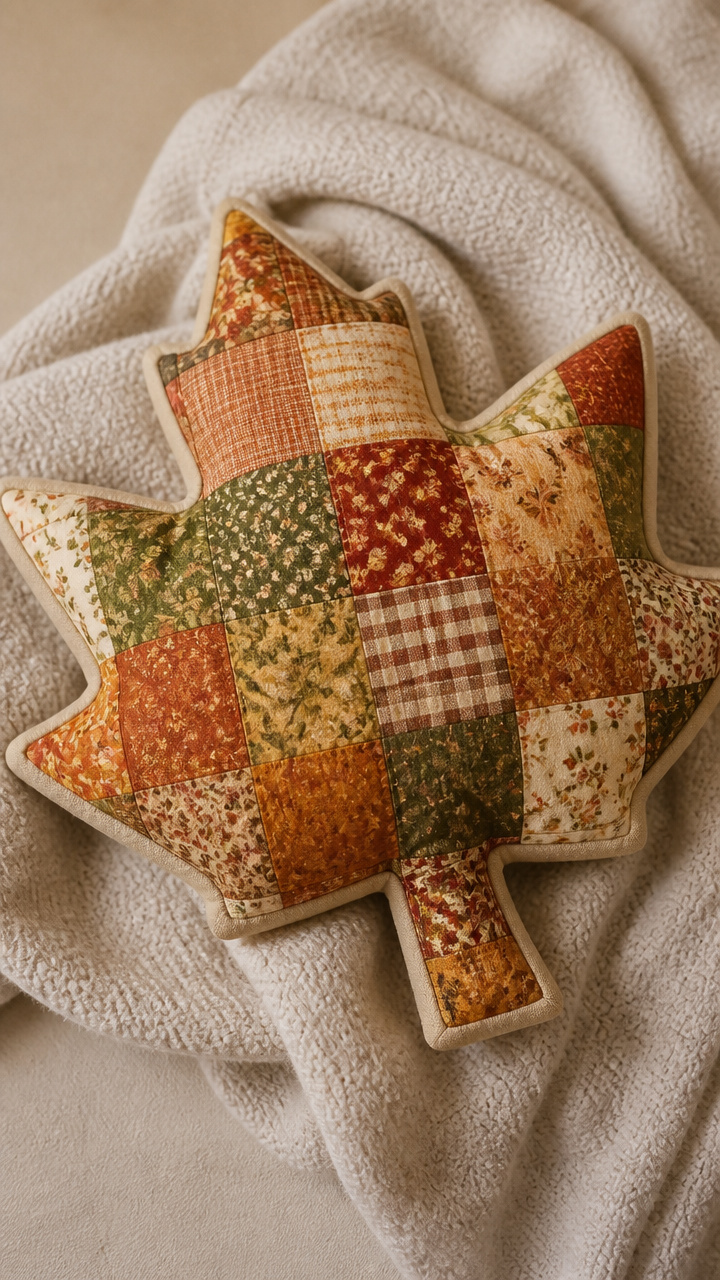
Soft cotton squares stitched into a maple leaf shape create a cushion that feels like fall in your hands. This pillow adds charm to any couch or chair without needing a pattern.
Materials Needed
- 4 different cotton fabric scraps, each at least 6 x 6 inches
- 12 x 12 inch piece of muslin for backing
- 12 x 12 inch piece of fusible fleece
- Coordinating thread
- Scissors
- Sewing machine
- Straight pins
- Iron
How to Make It
- Cut each cotton scrap into 3 x 3 inch squares, making nine squares total.
- Arrange the squares in a 3×3 grid to form a leaf shape, rotating corners slightly to suggest points.
- Pin adjacent squares right sides together and sew them with a 1/4 inch seam allowance, row by row.
- Press seams open, then place the patchwork top on the fusible fleece and iron to bond.
- Place the muslin backing on top, pin around edges, and sew with a 1/2 inch seam, leaving a 3 inch gap.
- Turn right side out, push out corners gently, and hand stitch the gap closed.


2. Burlap and Flannel Tree Banner
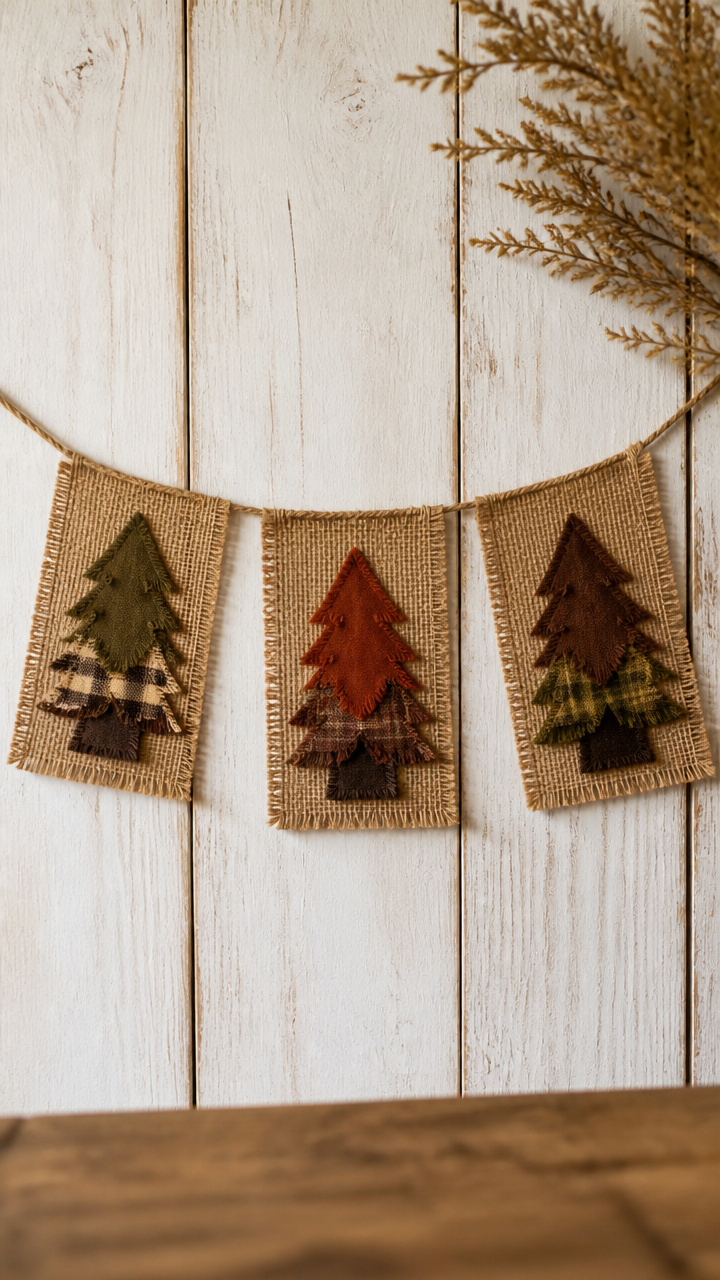
A rustic banner with layered fabric trees hangs lightly on a twine string, showing off autumn’s earthy palette. Each tree is unique and built from small fabric remnants.
Materials Needed
- 3 burlap scraps, each 5 x 7 inches
- Assorted flannel scraps in brown, rust, and olive
- Twine, 36 inches long
- Fabric glue
- Scissors
- Pencil
- Ruler
How to Make It
- Draw a simple pine tree shape 4 inches tall on one burlap scrap and cut it out.
- Repeat to make three tree shapes.
- Cut flannel into wavy horizontal strips, each about 0.5 inches tall and 3 inches wide.
- Glue the flannel strips vertically onto each burlap tree, overlapping slightly to create texture.
- Let dry completely, then space the trees evenly along the twine and tie securely at both ends.


3. Felt Acorn Ornaments
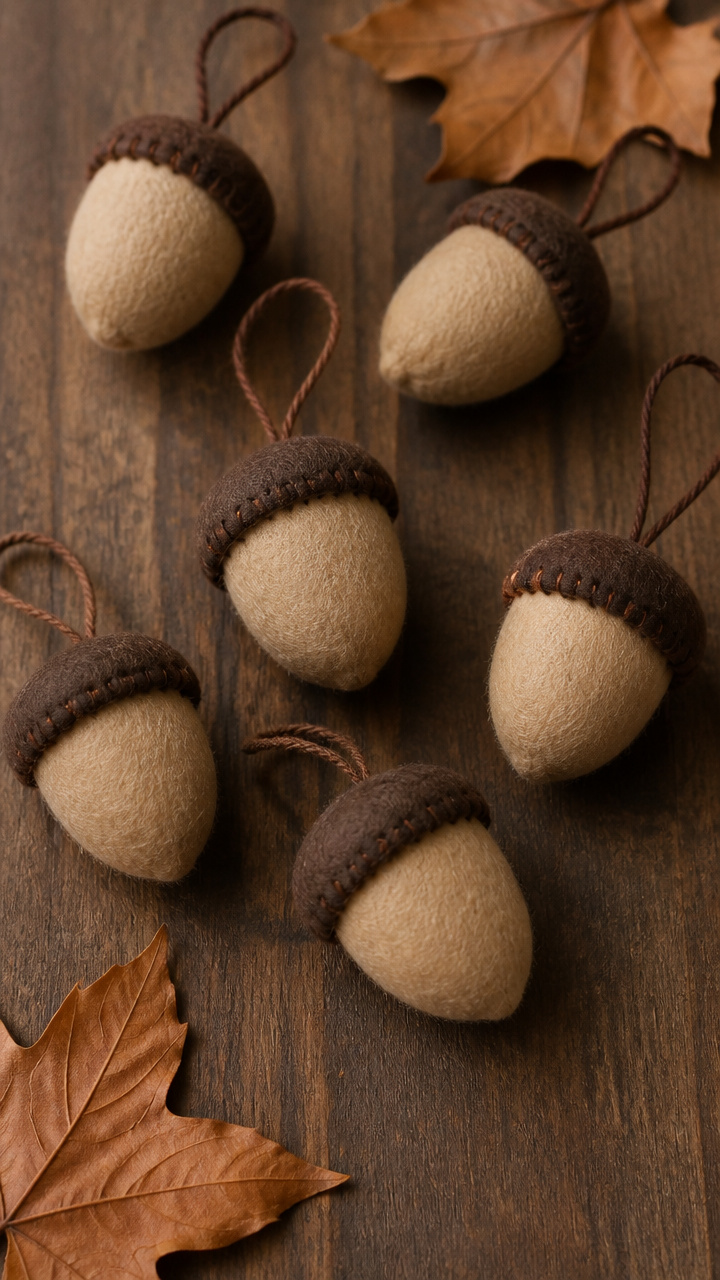
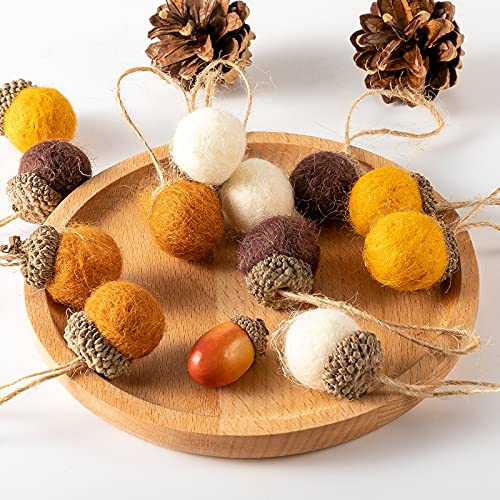
Tiny acorns made from wool blend felt sit in your palm like real ones, perfect for filling bowls or hanging on a tree. These hold their shape well and take up almost no storage space.
Materials Needed
- Brown wool blend felt scrap
- Tan wool blend felt scrap
- Embroidery floss in dark brown
- Needle
- Scissors
- Polyester fiberfill, 1/4 cup
- Small wooden bead, 8 mm diameter
How to Make It
- Cut two acorn cap shapes from tan felt, each 1 inch wide and 0.75 inches tall with scalloped edges.
- Cut one acorn body shape from brown felt, 1.25 inches long with a rounded bottom and flat top.
- Roll the brown piece into a cone, overlap the edge, and whip stitch closed with dark brown floss.
- Stuff lightly with a pinch of fiberfill, then insert the wooden bead into the opening.
- Sew the cap pieces back to back over the bead, hiding the join with tight stitches.


4. Plaid Pocket Wall Pouch
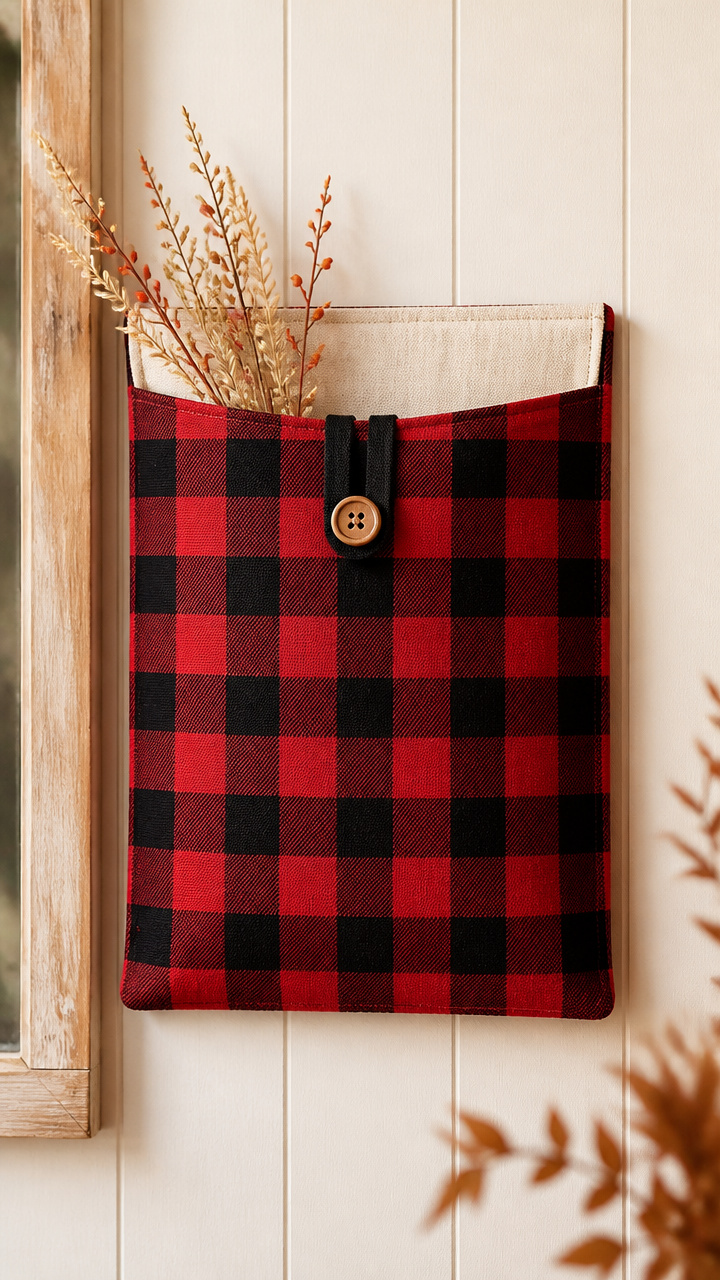
A lined fabric pouch with a plaid front and button closure mounts on the wall to hold letters or seasonal notes. It combines durability with a classic fall look.
Materials Needed
- Red and black plaid cotton scrap, 8 x 10 inches
- Neutral cotton lining scrap, 8 x 10 inches
- 1-inch wide ribbon, 12 inches long
- One 3/4 inch button
- Thread to match plaid
- Sewing machine
- Pins
- Scissors
How to Make It
- Place the plaid and lining fabrics right sides together and pin around all edges.
- Sew around three sides with a 1/2 inch seam, leaving the top open.
- Turn right side out and press flat.
- Fold the raw edges of the top inward 1/2 inch and press, then topstitch around the entire rectangle 1/8 inch from the edge.
- Sew the ribbon loop to the center top back of the pouch, then sew the button to the front flap so it fastens neatly.


5. Striped Table Runner
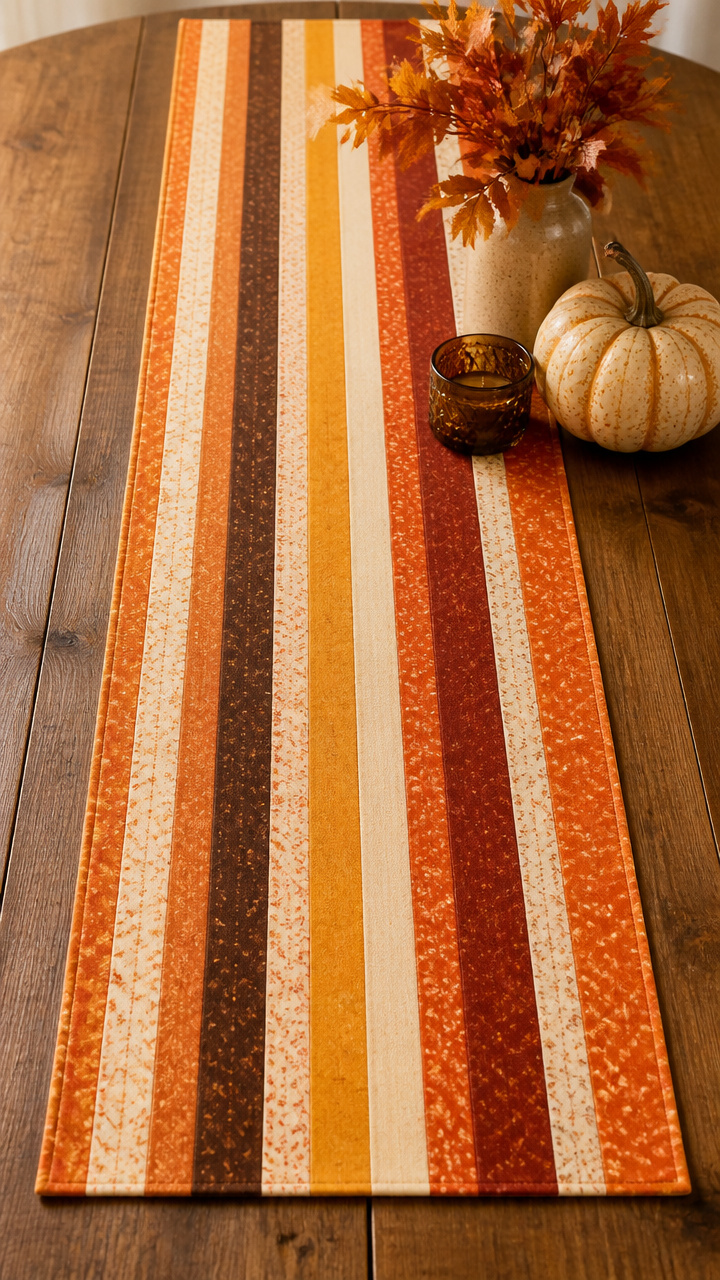
Long vertical strips of cotton in harvest shades form a narrow runner that brightens your table. The straight seams make this ideal for beginners.
Materials Needed
- Five fabric scraps in orange, mustard, brown, cream, and rust, each 3 x 18 inches
- Iron-on adhesive hem tape, 1 roll
- Iron
- Ruler
- Scissors
- Seam ripper or craft knife
How to Make It
- Lay the five strips side by side in your chosen order, right sides up.
- Butt edges together and place a 6 inch length of hem tape between each strip.
- Cover with parchment paper and iron firmly for 10 seconds per seam to bond.
- Trim the ends evenly to 14 inches long if needed.
- Fold each short end 1/2 inch toward the back and secure with hem tape, pressing again to finish.


6. Woven Log Holder Mat
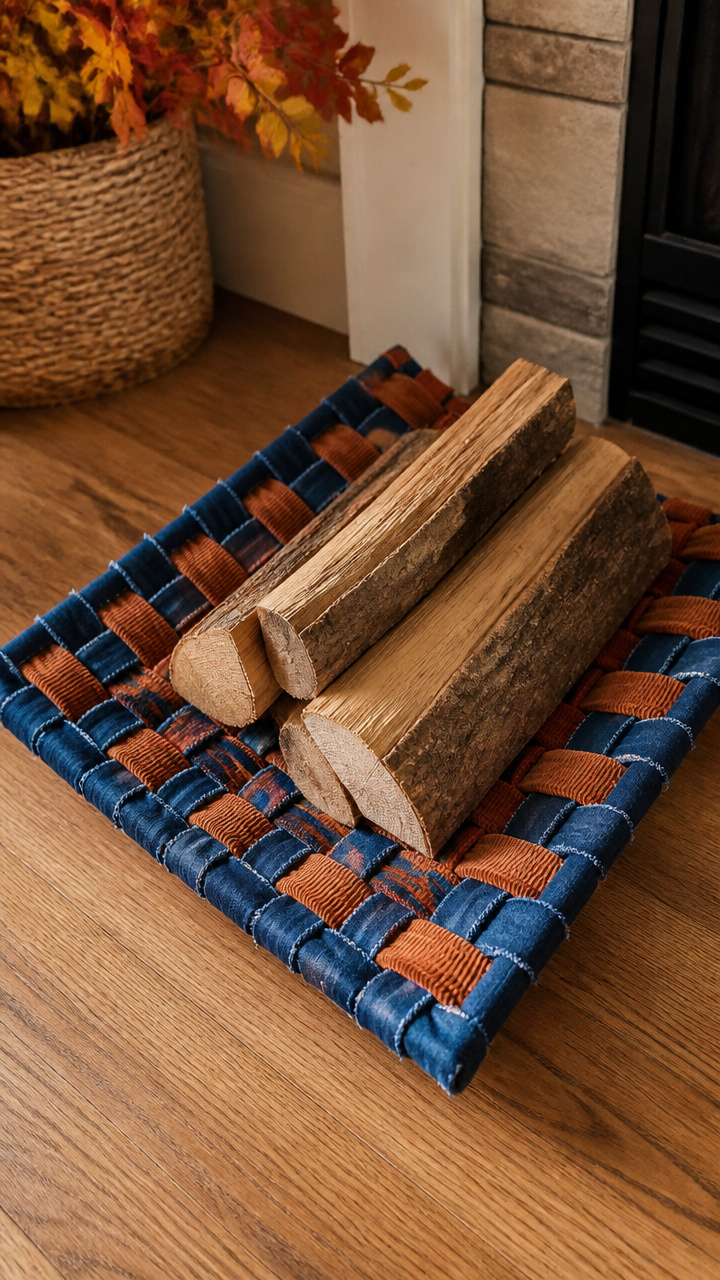
Tightly woven strips of denim and corduroy create a thick mat that holds firewood logs neatly by the hearth. It resists dirt and stays flat under weight.
Materials Needed
- Eight blue denim strips, each 1 x 18 inches
- Eight rust corduroy strips, each 1 x 18 inches
- Fabric glue
- Scissors
- Ruler
- Cardboard base, 12 x 6 inches
How to Make It
- Lay four denim strips vertically on the cardboard, spaced 1 inch apart and glued at both ends.
- Weave a corduroy strip horizontally over the first vertical strip, under the next, alternating across.
- Press each weft strip down firmly and glue the ends to the back of the cardboard.
- Repeat with remaining corduroy strips, starting the second row with an over instead of under to lock the weave.
- After all strips are woven, trim any excess and remove the cardboard carefully.


7. Quilted Oven Mitt
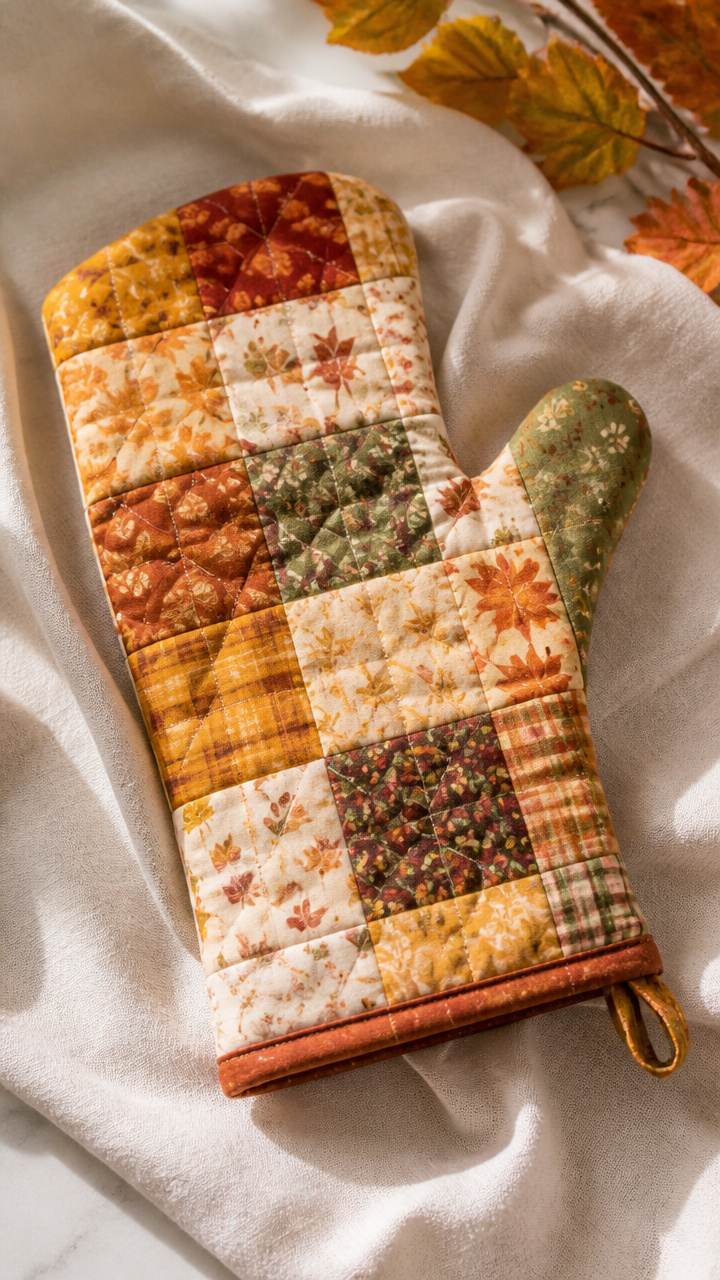
Three layers of insulated fabric form a mitt that protects your hands when pulling pies from the oven. It uses up odd-sized pieces and lasts for years.
Materials Needed
- Two outer fabric scraps, each 8 x 14 inches (cotton with fall print)
- One insulating batting scrap, 8 x 14 inches
- One cotton flannel scrap, 8 x 14 inches
- Thread
- Sewing machine
- Chalk pencil
- Scissors
- Safety pin
How to Make It
- Layer the outer fabric right side up, then batting, flannel, and second outer fabric right side down on top.
- Pin all layers together and trace a mitt shape using your hand as a guide, adding 1/2 inch seam allowance.
- Cut around the shape through all layers.
- Sew around the edge with a 1/2 inch seam, leaving a 3 inch gap on one side.
- Turn right side out through the gap, push out fingers gently, then topstitch around the entire mitt 1/4 inch from the edge to seal.


8. Felt Pumpkin Centerpiece
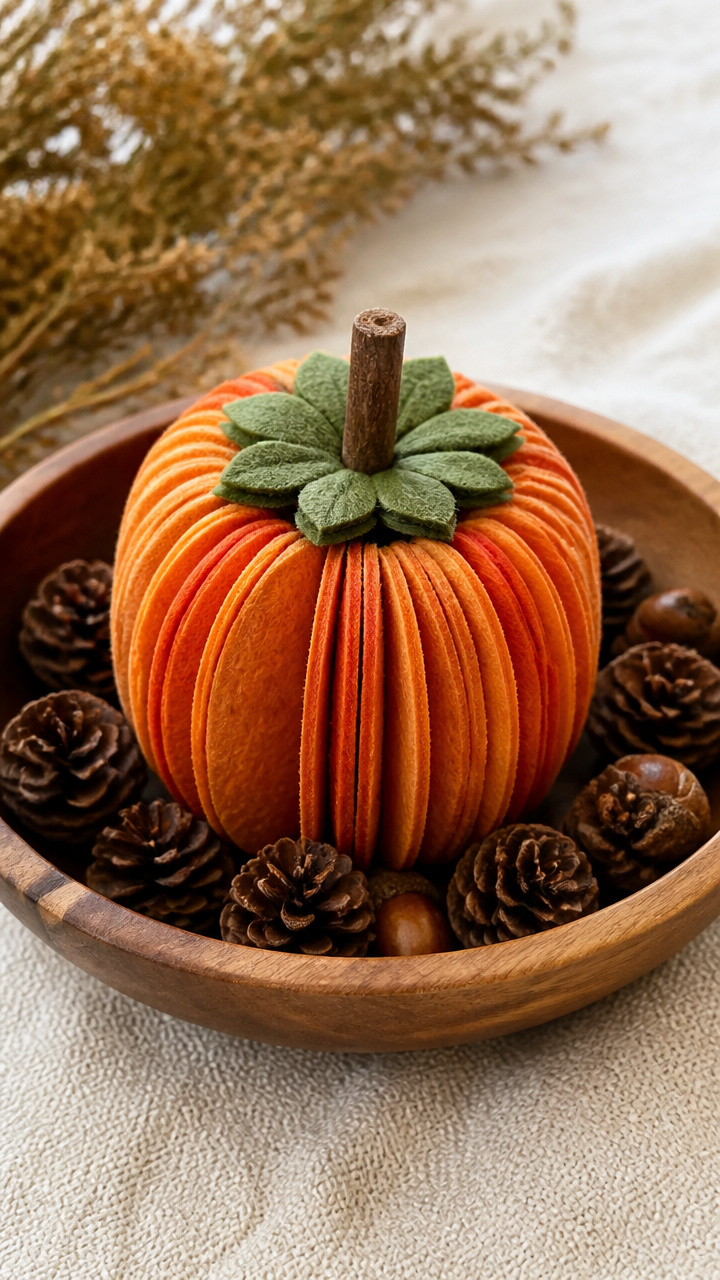
Stacked orange and green felt discs form a plush pumpkin that sits in a bowl or tray without tipping. No sewing required, just precise layering.
Materials Needed
- Orange wool blend felt scrap
- Olive green wool blend felt scrap
- Hot glue gun and glue sticks
- Compass or round lid, 3 inches diameter
- Scissors
- Pencil
How to Make It
- Trace the lid onto orange felt and cut out six circles.
- Trace a 1 inch circle on green felt and cut out two.
- Stack the orange circles, offsetting each one slightly to create volume.
- Glue each disc to the one below, holding for 5 seconds until set.
- Pinch the top disc gently to dome it, then glue one green circle flat on top and the other vertically at the stem base.



9. Button-Up Coasters
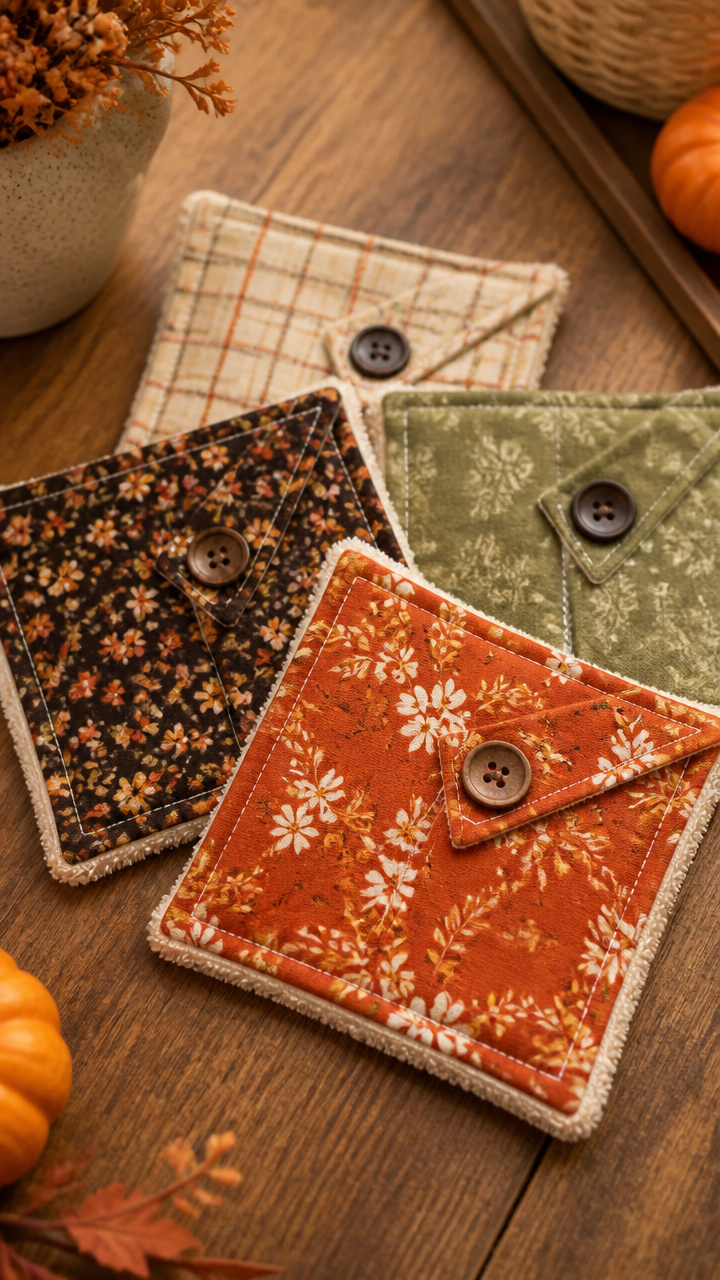
Square cotton tops with button closures wrap around absorbent inner pads for easy washing. These stay put on tables and protect surfaces beautifully.
Materials Needed
- Four 4.5 inch squares of cotton fabric for tops
- Four 4 inch squares of terry cloth
- Four 4 inch squares of cotton flannel
- Two buttons per coaster
- Thread
- Sewing machine
- Scissors
- Pins
How to Make It
- Layer each terry cloth square between two flannel squares and quilt with cross stitching.
- Center the quilted pad on the wrong side of a cotton square, leaving equal borders.
- Fold one corner of the cotton over the pad and sew a button near the edge.
- Fold the opposite corner over and mark where the button aligns, then sew the second button there.
- Repeat for all four coasters, ensuring buttons fasten snugly over the pad.


10. Braided Yarn Wreath Base
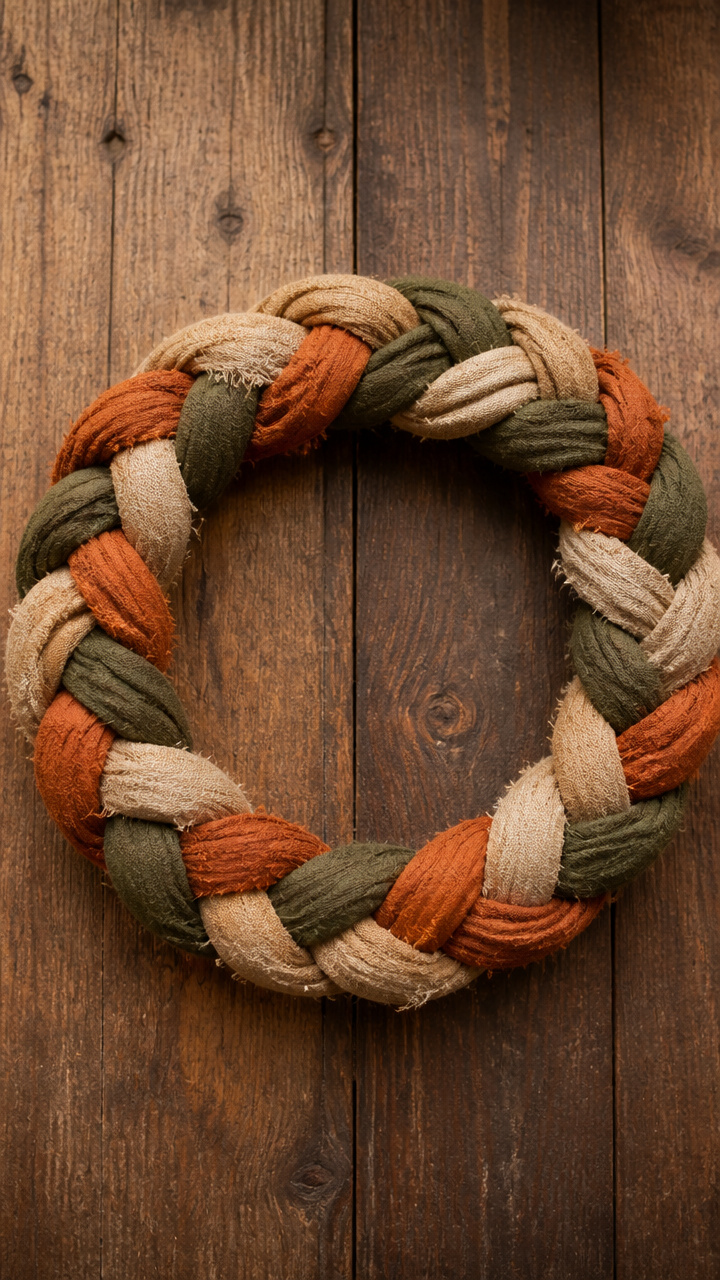
Three long fabric strips twisted into a braid form a sturdy wreath frame ready for embellishing. This base holds decorations without sagging.
Materials Needed
- Three fabric strips, each 3 x 36 inches (use wool blend for structure)
- Scissors
- Ruler
- Hot glue gun
- Wire wreath frame, 10 inches diameter
How to Make It
- Cut each strip lengthwise to ensure even width.
- Hold all three strips together at one end and knot tightly.
- Braid loosely but evenly, keeping tension steady along the length.
- When 30 inches are braided, coil the braid around the wire frame, starting at the outer edge.
- Secure each loop with hot glue every 2 inches until the entire frame is covered.


11. Envelope-Style Gift Wrap
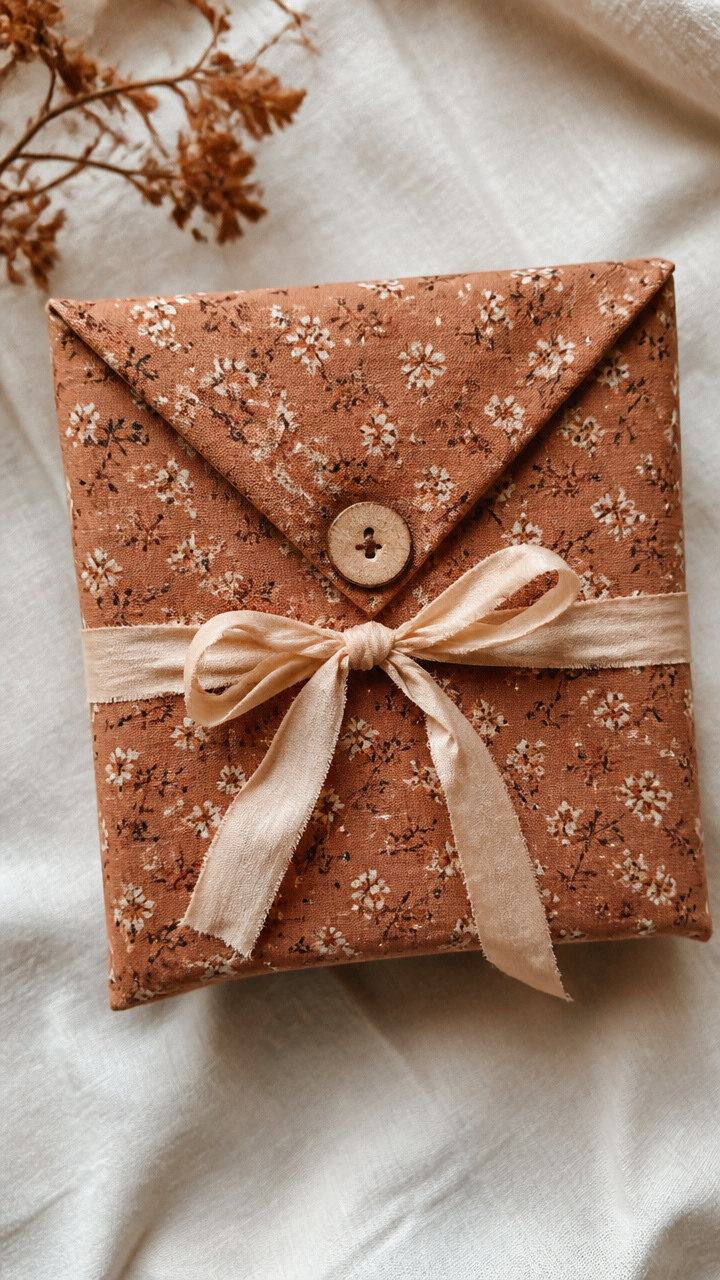
Foldable fabric wraps with a tucked flap and button close like an envelope, replacing paper entirely. They work for boxes of any height.
Materials Needed
- One cotton fabric scrap, size based on box: add 6 inches to height and 8 inches to width
- One 1 inch wide ribbon, 10 inches long
- One button
- Needle and thread
- Scissors
- Pins
How to Make It
- Lay the fabric right side down and center the box on it.
- Fold the left and right sides inward so they meet in the middle, pinning if needed.
- Fold the bottom flap up over the box, then fold the top flap down to overlap it by 2 inches.
- Sew the ribbon loop to the center of the top flap.
- Sew the button to the front so it fastens through the ribbon when wrapped.


12. Stuffed Maple Pods
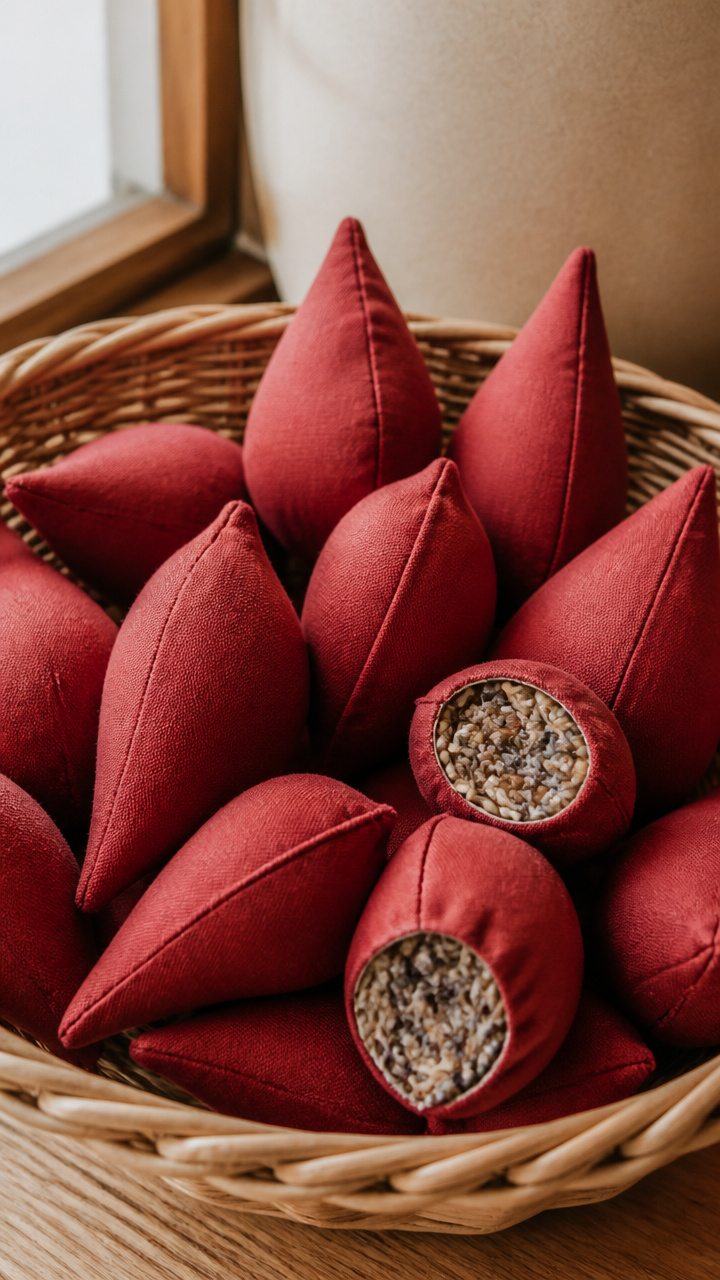
Small teardrop-shaped pods filled with rice nestle into baskets or line windowsills. They retain warmth and release subtle herbal scent when heated.
Materials Needed
- Two red cotton scraps, each 3 x 5 inches
- Unscented dried rice, 1/3 cup
- Dried lavender buds, 1 teaspoon
- Thread
- Sewing machine
- Scissors
- Funnel
How to Make It
- Place the cotton scraps right sides together and pin along the curved edge.
- Sew along the curve with a 1/4 inch seam, backstitching at both ends.
- Clip the curve gently every half inch, then turn right side out.
- Mix rice and lavender, then use a funnel to fill the pod halfway.
- Hand stitch the opening closed with a ladder stitch.


13. Hanging Harvest Mobile
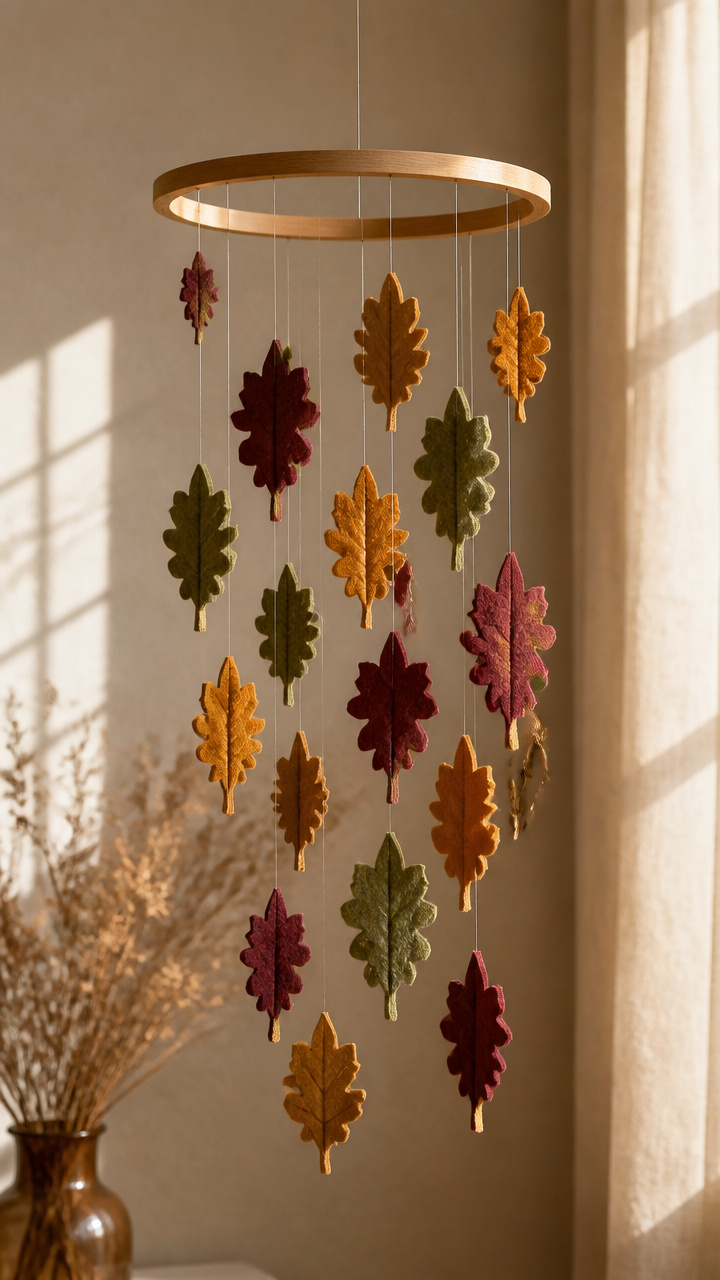
Lightweight felt shapes dangle at different lengths on clear thread, catching light and spinning slowly above a table. It moves with the air like falling leaves.
Materials Needed
- Felt scraps in gold, burgundy, and moss green
- Clear nylon thread, 3 spools
- Wooden embroidery hoop, 6 inches diameter
- Scissors
- Needle
- Ruler
How to Make It
- Cut one leaf, one wheat stalk, and one apple shape from each color, making nine shapes total.
- Thread the needle with nylon thread and tie a knot at one end.
- Sew each shape to a different length of thread—6, 9, and 12 inches—and tie the other end to the hoop.
- Space the threads evenly around the hoop, securing knots with a drop of fabric glue.
- Tie a 10 inch loop of thread to the top for hanging.


14. Lined Fabric Napkin Rings
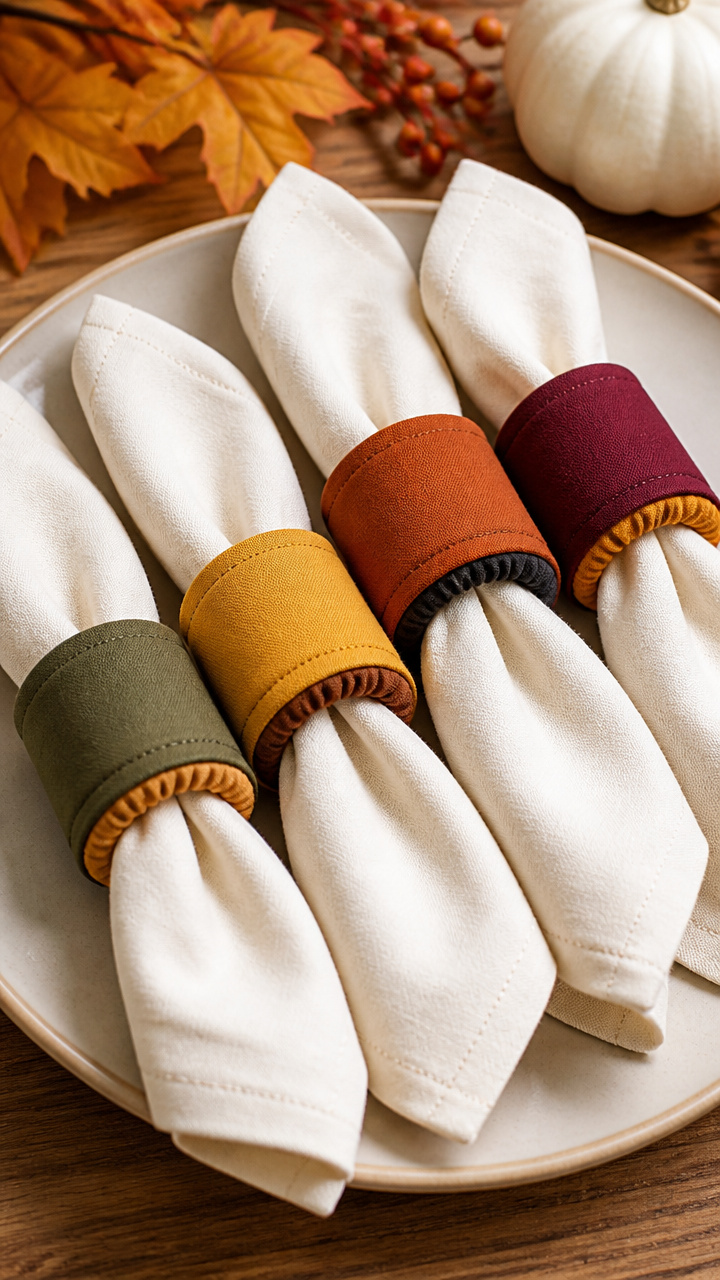
Narrow fabric tubes with elastic ends slip over cloth napkins and keep them tidy on the table. Lining prevents fraying and adds polish.
Materials Needed
- Four 3 x 8 inch strips of outer fabric
- Four 3 x 8 inch strips of lining fabric
- Elastic, 1/4 inch wide, cut into four 3 inch pieces
- Thread
- Sewing machine
- Pins
- Scissors
How to Make It
- Place one outer and one lining strip right sides together and sew along one long edge with a 1/4 inch seam.
- Press the seam open, then fold the strip in half lengthwise, wrong sides together.
- Sew along both short ends with a 1/4 inch seam, enclosing the raw edges.
- Turn the tube right side out using a safety pin to pull it through.
- Insert one elastic piece into each end and hand stitch the openings closed.


15. Appliquéd Denim Jacket Patch
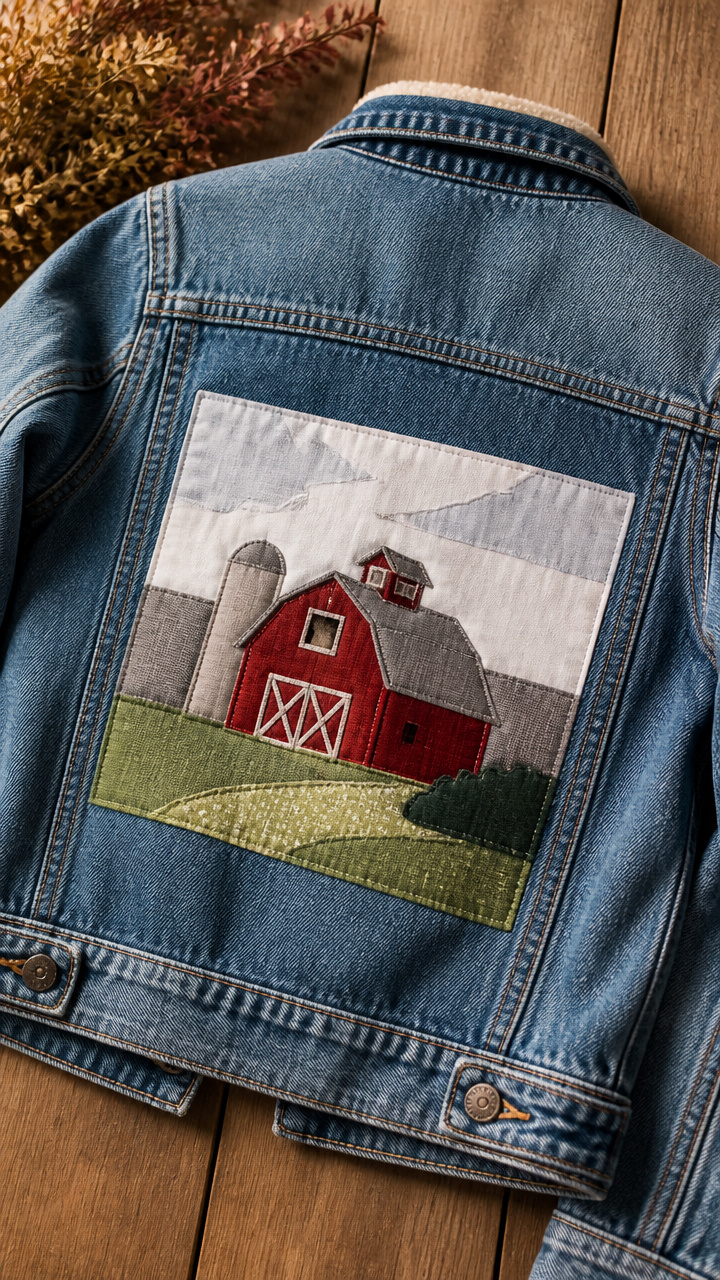
A layered fabric design of a barn and silo adheres to a jacket back for a personal touch. Fusible web makes it stick without stitching.
Materials Needed
- Denim jacket
- Red cotton scrap for barn
- Gray cotton scrap for silo
- Green cotton scrap for roof
- Fusible web sheet, 4 x 6 inches
- Iron
- Scissors
- Pencil
How to Make It
- Draw a simple barn shape 3 inches tall on the paper side of the fusible web and cut it out.
- Iron the web to the wrong side of the red fabric, then cut out the barn.
- Repeat for silo (gray) and roof (green), arranging pieces so the roof overlaps the barn top.
- Peel the paper backing and position the design centered on the jacket back.
- Cover with parchment paper and iron firmly for 15 seconds to bond.


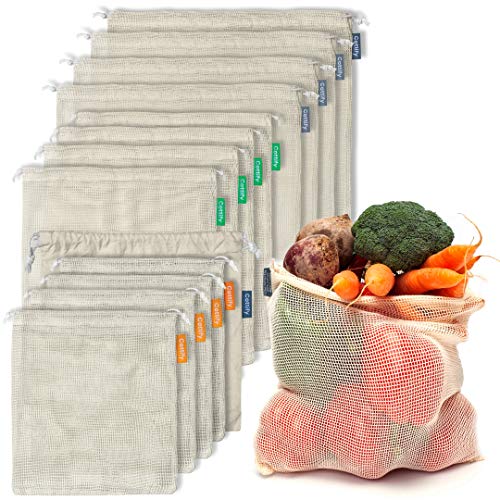
16. Twine-Tied Produce Bag
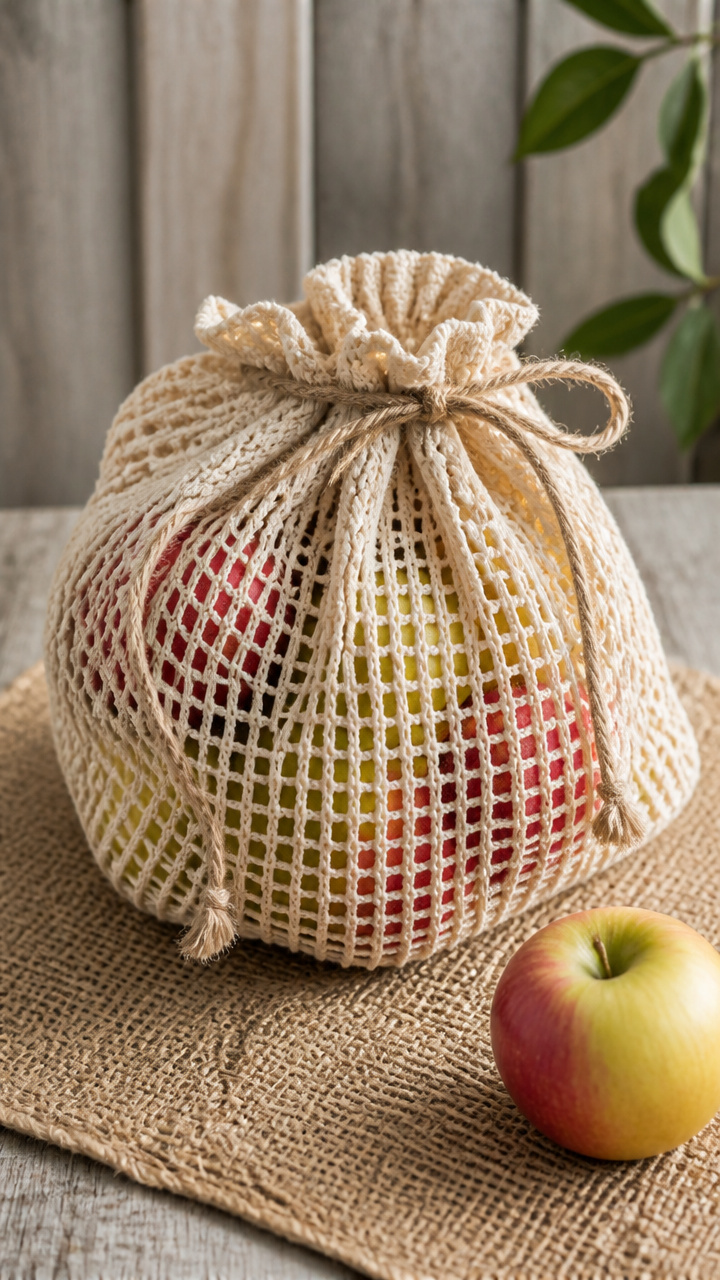
A breathable cotton bag with a drawstring holds apples or squash from the market. The twine closure adds rustic strength.
Materials Needed
- One 10 x 12 inch cotton mesh scrap
- Cotton twine, 24 inches long
- Thread
- Sewing machine
- Scissors
- Safety pin
How to Make It
- Fold the mesh in half with right sides together and pin the side edges.
- Sew both sides with a 1/2 inch seam, backstitching at start and end.
- Turn right side out and press gently.
- Fold the top edge 1/2 inch inward and press, then fold again 1 inch to create a channel.
- Sew along the bottom edge of the fold, leaving a 1 inch gap to insert the twine, then thread it through with a safety pin.


17. Fabric-Covered Clothespins
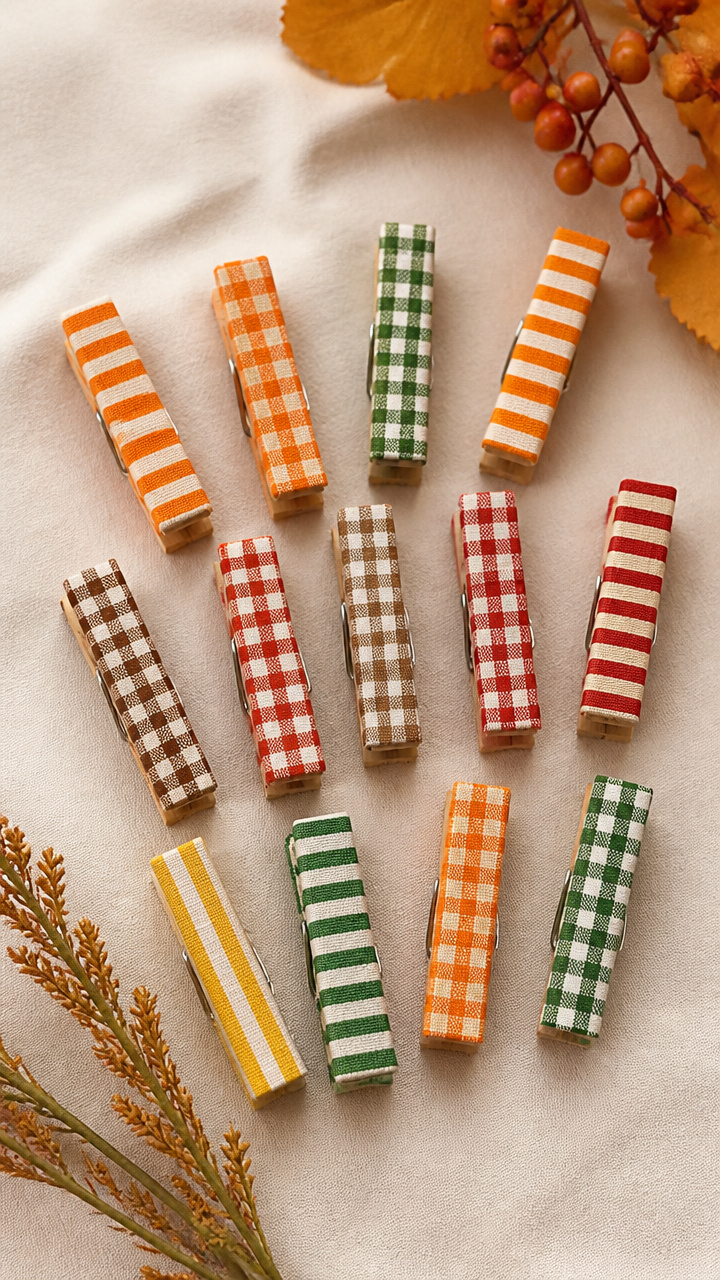
Mini clothespins wrapped in striped and checked cotton become decorative clips for photos or lists. They grip firmly and look cheerful.
Materials Needed
- 12 wooden mini clothespins
- Assorted cotton fabric scraps, cut into 1 x 3 inch strips
- White craft glue
- Paintbrush
- Scissors
How to Make It
- Brush glue along one long edge of a fabric strip.
- Wrap the strip tightly around the clothespin, covering the spring and ends.
- Overlap the end and press firmly to adhere.
- Repeat for all clothespins using different fabrics.
- Let dry flat for 30 minutes before use.


18. Stitched Journal Cover
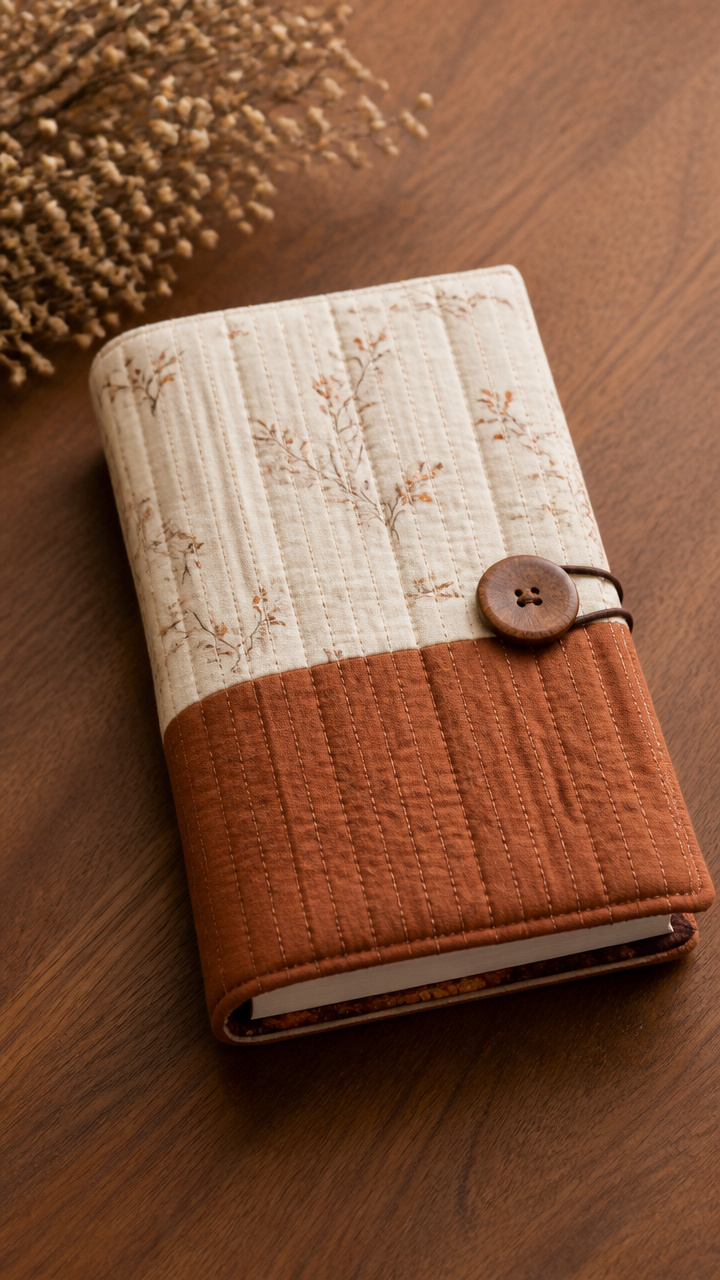
A padded fabric sleeve with a button closure holds a standard notebook and protects its corners. Quilting adds softness and structure.
Materials Needed
- Two 6 x 8 inch cotton fabric scraps
- One 6 x 8 inch batting scrap
- One 6 x 8 inch fusible fleece scrap
- One button
- 3 inch ribbon loop
- Thread
- Sewing machine
- Pins
- Scissors
How to Make It
- Layer one cotton piece, batting, fleece, and second cotton piece with right sides together.
- Pin all layers and quilt in diagonal lines from corner to corner.
- Trim edges evenly, then place the ribbon loop at the center top edge of one half and pin.
- Place both halves right sides together and sew around all edges with a 1/2 inch seam, leaving a 3 inch gap on one side.
- Turn right side out, press, then hand stitch the gap closed and sew the button opposite the ribbon.


You already have everything you need to begin. Let these ideas spark your creativity and bring a little handmade warmth into your season.