25 Beautiful Fall Leaf Craft Ideas

The trees are turning, the air is crisp, and your hands are ready to create. Gather up those fallen leaves and bring a little autumn warmth into your home with these thoughtful handmade projects.
Each idea uses simple tools and clear steps so you can enjoy the process as much as the result. These crafts celebrate the season in quiet, meaningful ways.
1. Pressed Maple Leaf Bookmarks
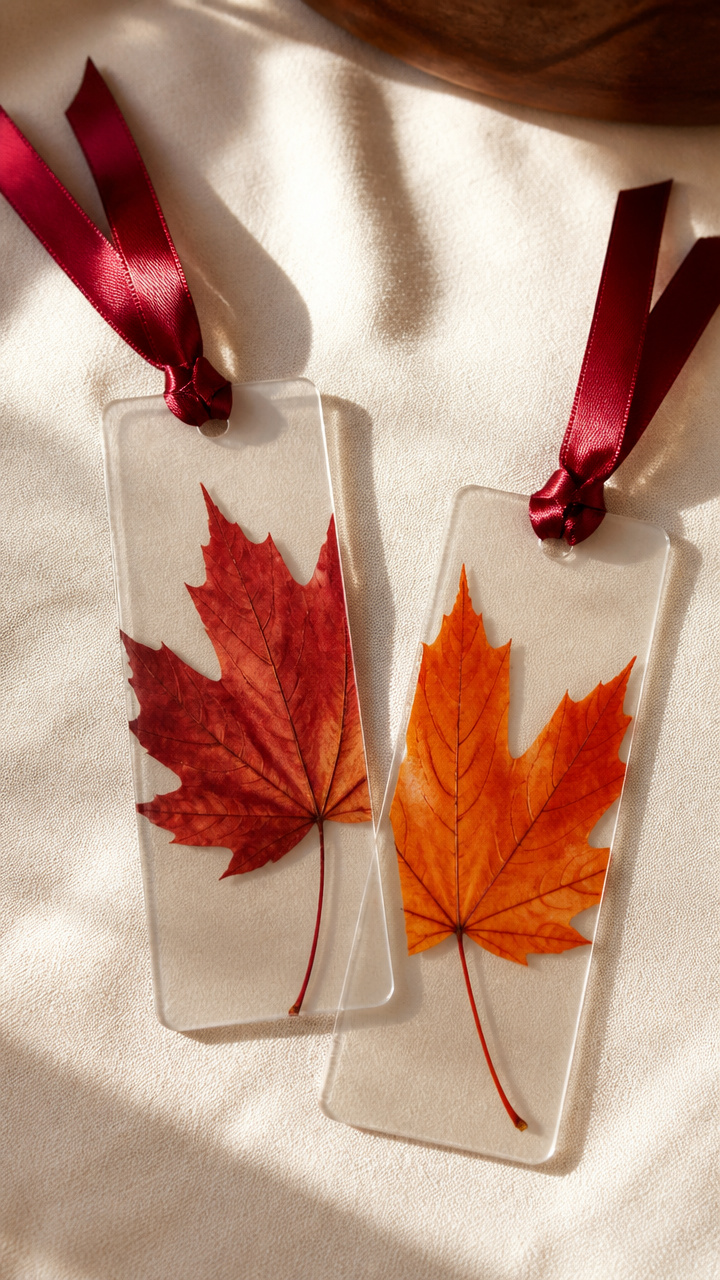
Crisp maple leaves pressed between contact paper become durable bookmarks that hold color for years. They make heartfelt gifts tucked into novels or journals.
Materials Needed
- 5 fresh red or orange maple leaves, undamaged
- Scissors
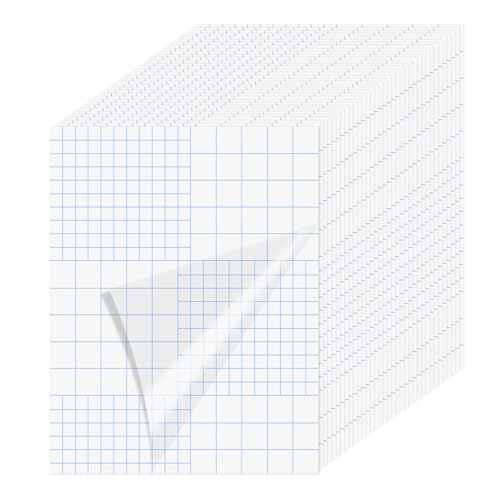
- One 12×18 inch sheet clear contact paper
- Hole punch
- Ribbon, 12 inches burgundy satin
How to Make It
- Lay each leaf flat on a clean surface, veins facing up.
- Cut two rectangles of contact paper, each 3×8 inches, and peel the backing from one.
- Place a leaf at one end of the sticky side, then smooth the second piece over top to seal.
- Trim excess contact paper around the leaf, leaving a quarter-inch border, then punch a hole at the top end.
- Thread ribbon through the hole and tie a knot.


2. Leaf Print Pillow Covers
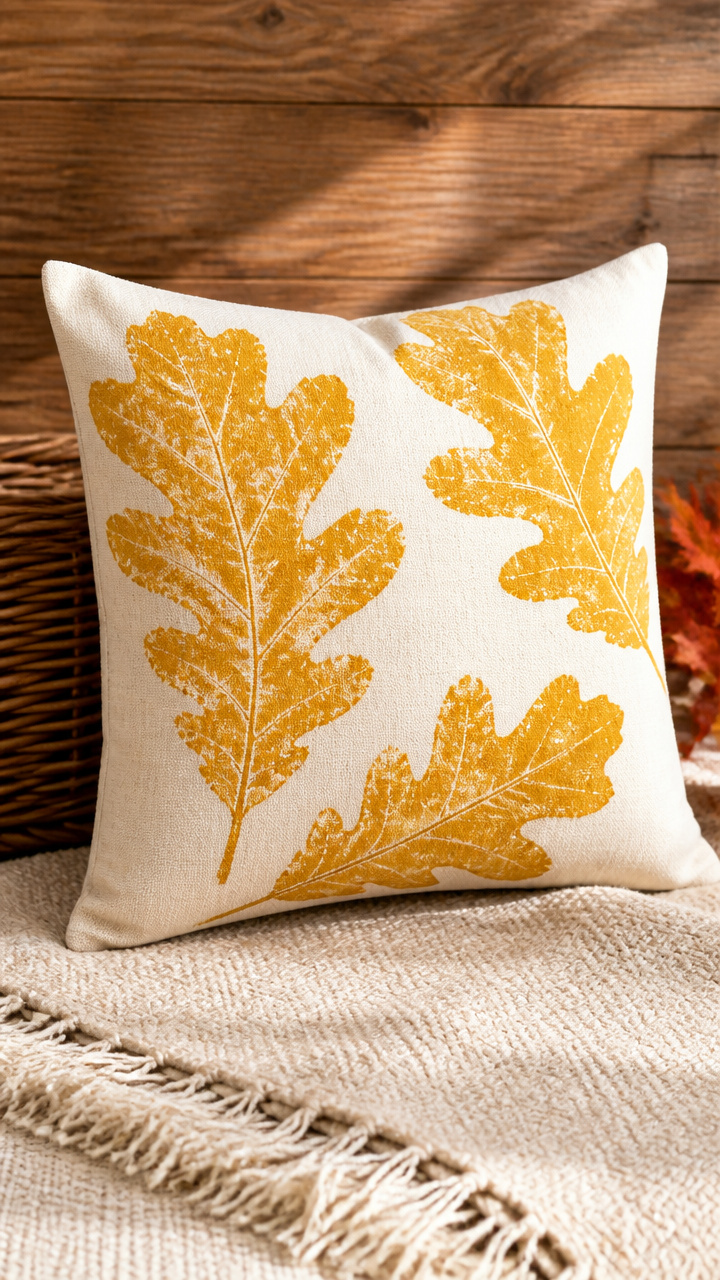
Real oak leaves leave bold, natural imprints on cotton pillow covers using fabric paint. Each cover shows the unique texture of autumn foliage.
Materials Needed
- One 16×16 inch natural cotton pillow cover
- 3 large green or brown oak leaves, firm
- Fabric paint, 4 oz mustard yellow
- Paintbrush, 1 inch flat
- Plastic wrap, 12×12 inch square
- Iron
How to Make It
- Lay the pillow cover on a flat surface, fabric smooth and taut.
- Brush paint evenly onto the back of an oak leaf, covering all veins.
- Press the painted side firmly onto the fabric, hold for 10 seconds, then lift straight off.
- Repeat with two more leaves in staggered positions, let dry 2 hours.
- Cover design with plastic wrap and iron on cotton setting for 30 seconds to set paint.


3. Leaf Mosaic Picture Frame
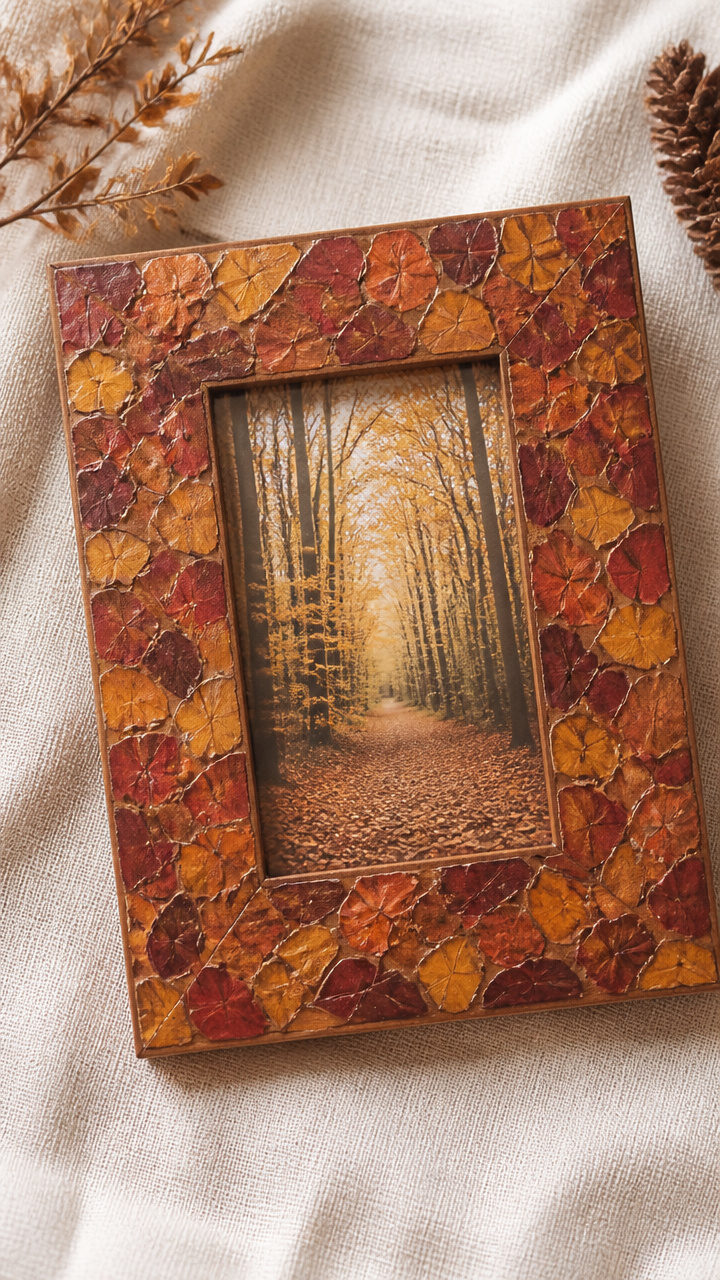
Tiny pieces of dried multicolored leaves form a mosaic pattern around a plain wood frame. The result feels rustic and seasonal on any wall.
Materials Needed
- One 5×7 inch unfinished pine picture frame
- Glue, white craft glue, 4 oz bottle
- 15 assorted dried leaves (red, yellow, orange), crumbled into small pieces
- Tweezers
- Small paintbrush
- Clear acrylic sealer spray, matte finish
How to Make It
- Use tweezers to arrange leaf fragments edge-to-edge along the outer rim of the frame front.
- Dip the brush in glue and dab it under each fragment, pressing gently to secure.
- Leave gaps between pieces for a mosaic effect, let dry 3 hours.
- Hold sealer spray 10 inches away and apply one even coat over the entire mosaic.
- Let cure overnight before inserting a photo.


4. Leaf Skeleton Window Clings
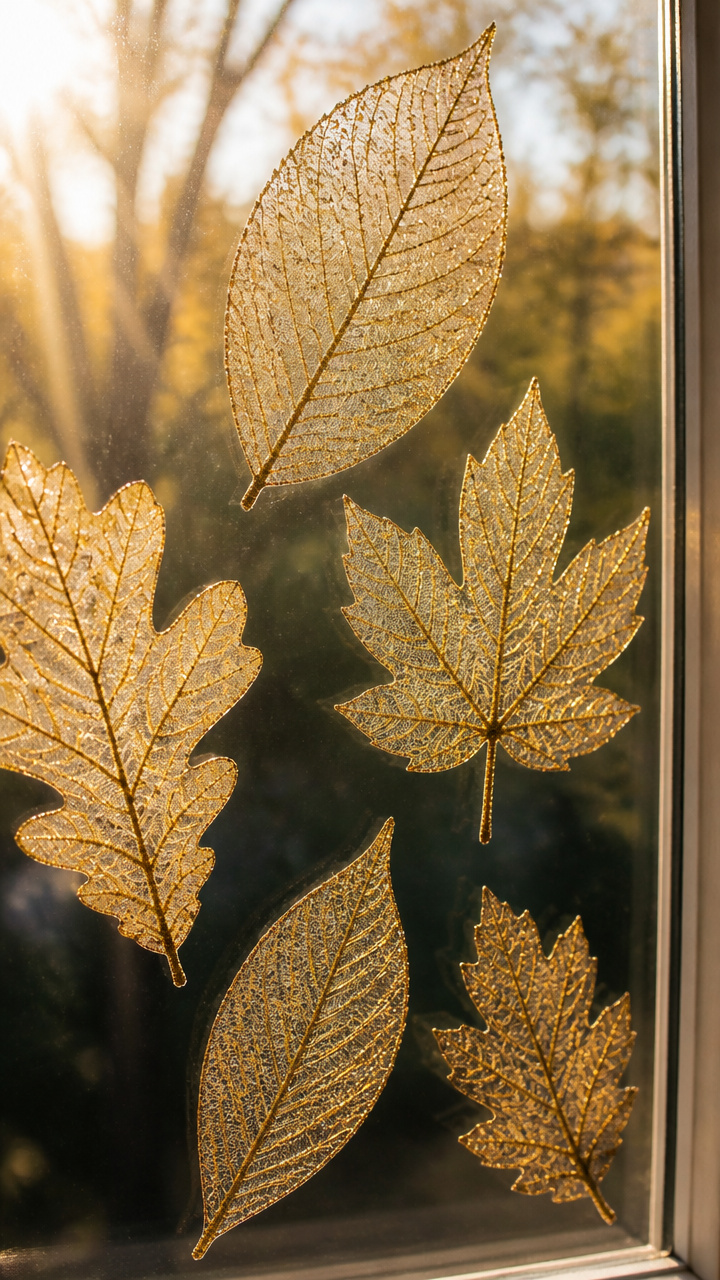
Delicate leaf skeletons dipped in glue and sprinkled with glitter cling to glass with static. They catch sunlight like tiny stained-glass panels.
Materials Needed
- 5 leaf skeletons (stripped of soft tissue, only veins remain)
- White school glue, 3 oz
- Fine gold glitter
- Shallow tray
- Toothpick
- Paper towel
How to Make It
- Pour glue into the tray to a depth of 1/8 inch.
- Use the toothpick to lower a leaf skeleton into the glue, turn to coat both sides.
- Lift out and let excess drip for 10 seconds, then lay flat on paper towel.
- Sprinkle gold glitter evenly over both sides while wet.
- Dry overnight, then press gently against a clean window to cling.


5. Leaf Rubbing Wall Art
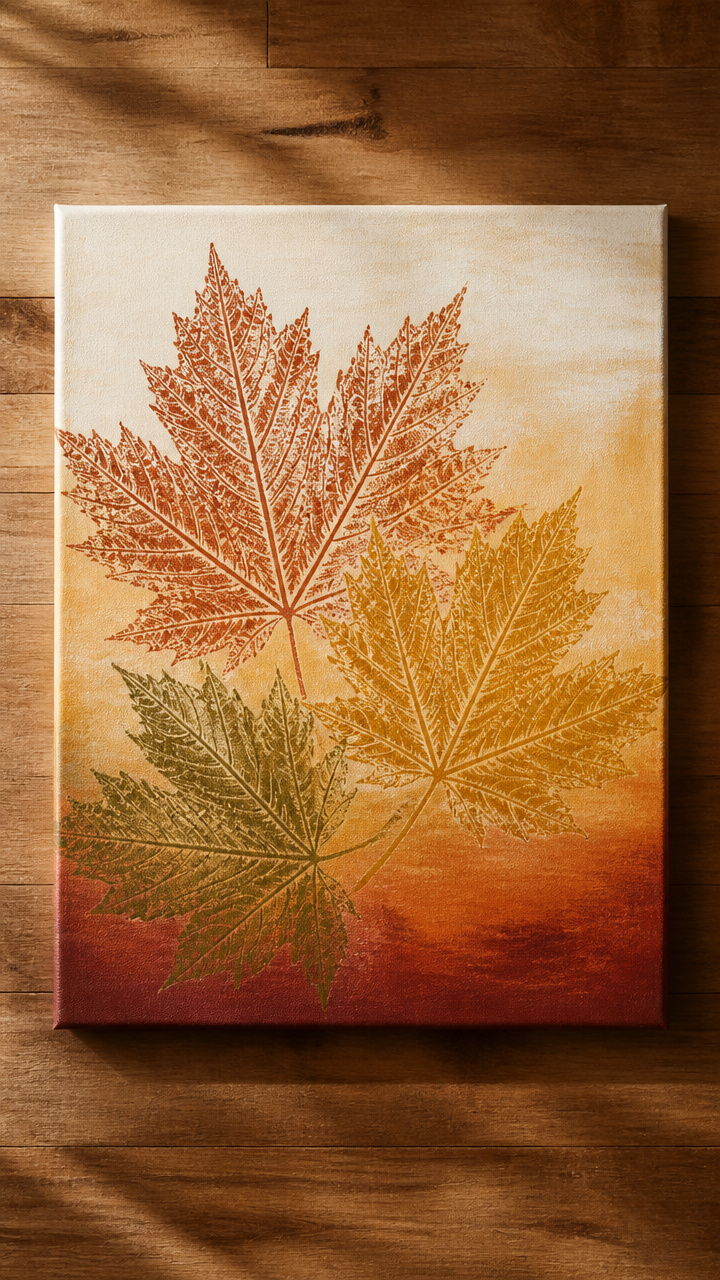
Crayon rubbings of real sycamore leaves create textured art mounted on canvas. The layered colors mimic fall sunsets.
Materials Needed
- One 9×12 inch stretched canvas
- 5 sycamore leaves, medium size
- White drawing paper, 9×12 inch
- Crayons: burnt sienna, goldenrod, olive green
- Double-sided tape
- Scissors
How to Make It
- Place a leaf under the drawing paper, lay flat on a hard surface.
- Peel paper from double-sided tape and stick one corner of paper to canvas to hold it in place.
- Unwrap crayon and rub firmly over the leaf area using side of crayon, not point.
- Repeat with different colored crayons and leaves in overlapping positions.
- Trim edges if needed and tape paper directly to canvas with remaining tape strips.


6. Leaf Crown with Wire Base
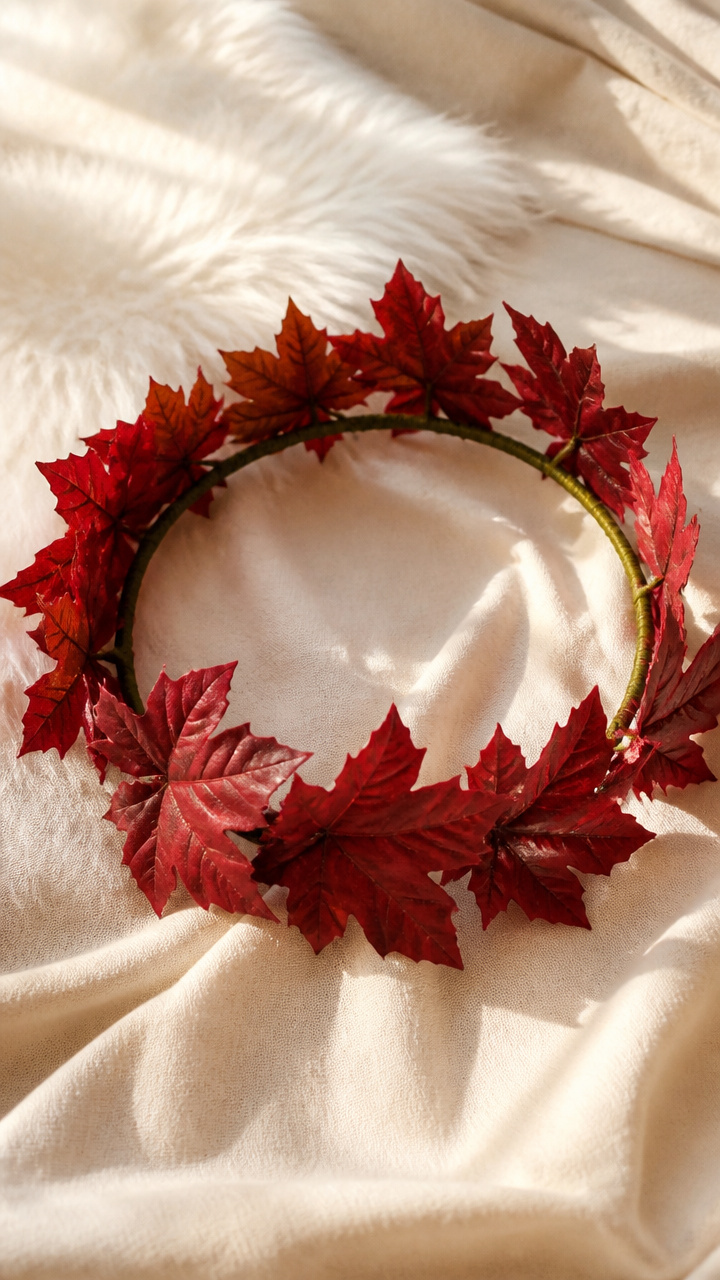
A flexible wire crown holds real dyed leaves in a circular arrangement. It’s lightweight and perfect for seasonal photos or parties.
Materials Needed
- Floral wire, 18 gauge, 36 inches long
- Pliers
- 10 artificial maple leaves, dyed deep red
- Floral tape, green
- Hot glue gun
- Glue sticks, 2
How to Make It
- Shape wire into a circle that fits your head, twist ends together to secure.
- Apply hot glue to the base of one leaf and attach it to the wire, shiny side out.
- Space each leaf half an inch apart, overlapping slightly as you go around.
- Wrap floral tape tightly from the base of each leaf down the wire to reinforce.
- Let cool completely before placing on your head.


7. Leaf-Shaped Felt Ornaments
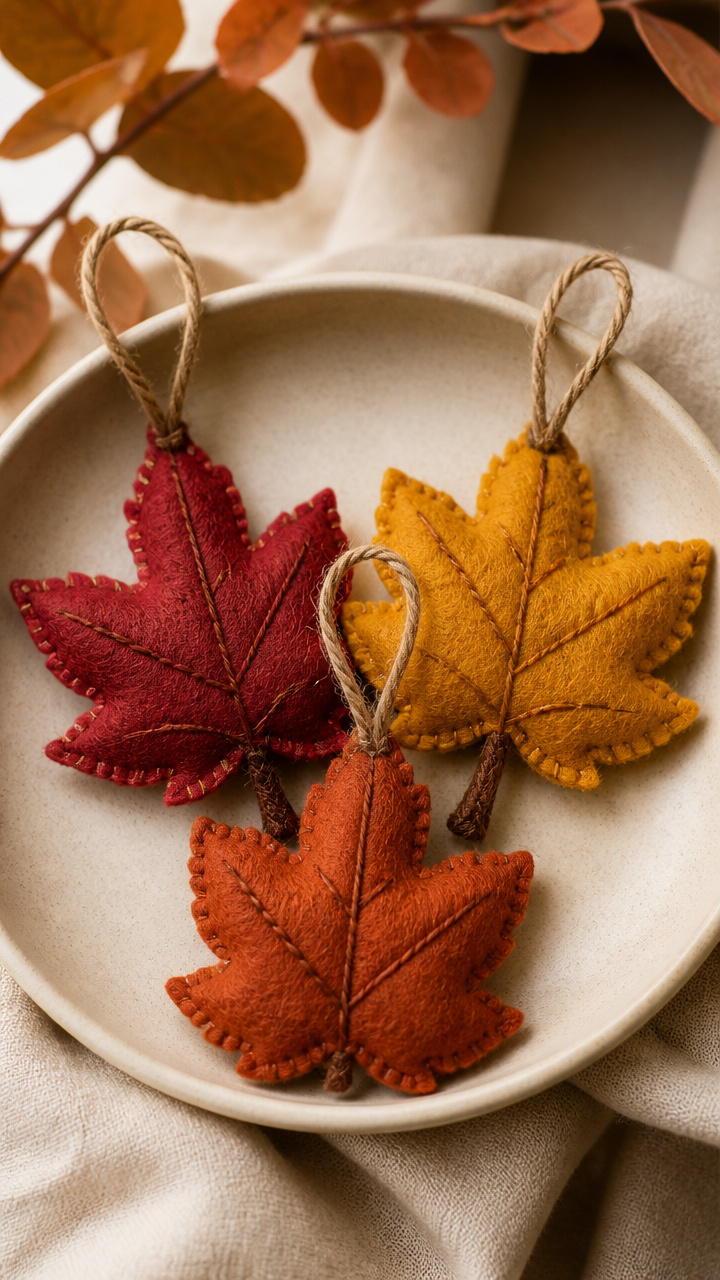
Soft felt cut into leaf shapes hangs with twine from branches or a tree. These reusable ornaments keep their color year after year.
Materials Needed
- Felt sheets: crimson, mustard, rust, 9×12 inches each
- Scissors
- Twine, 24 inches per ornament
- Needle
- Embroidery floss, brown
- Leaf stencil, 4 inches tall
How to Make It
- Trace the stencil twice on each felt color and cut out eight total leaves.
- Stack two matching leaves and thread needle with 18 inches of floss.
- Sew around the edge with small running stitches, leaving the stem open.
- Knot floss at the end and trim excess.
- Thread twine through the stem opening and tie a loop for hanging.

8. Leaf Imprint Coasters
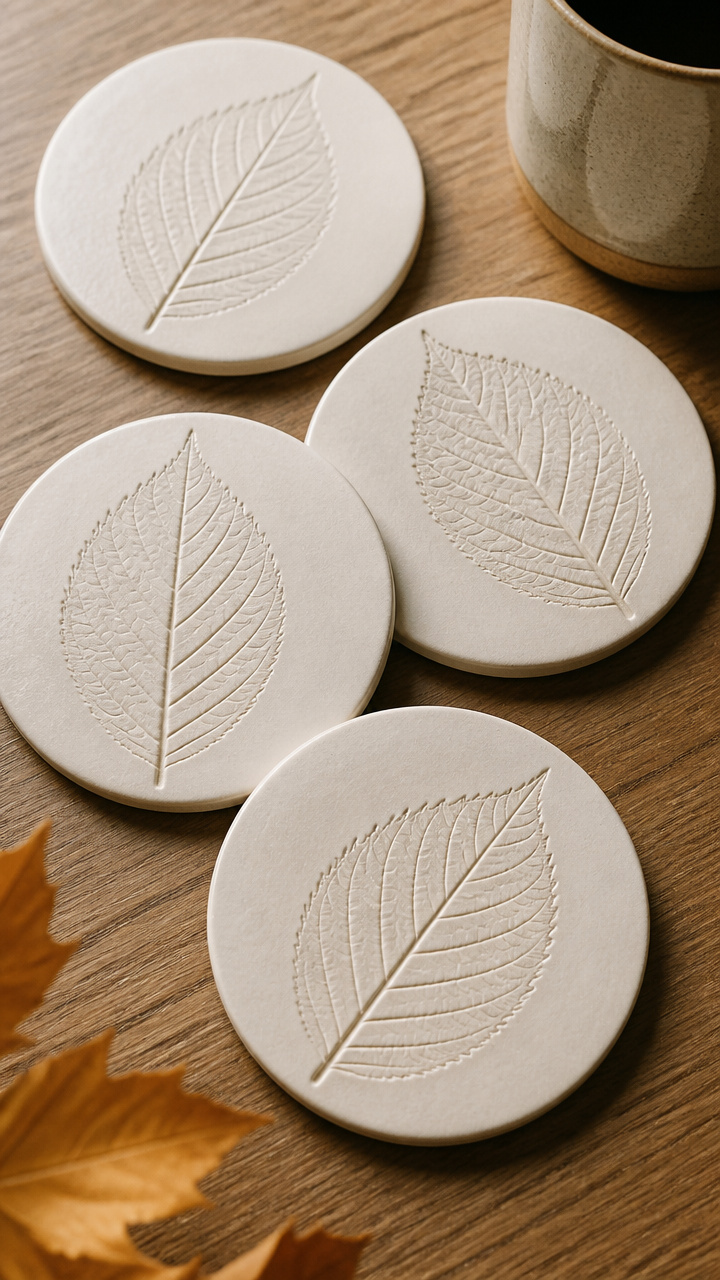
Air-dry clay shaped in molds captures every vein of a beech leaf. Once sealed, they protect tables with natural charm.
Materials Needed
- Air-dry clay, 1 lb white
- Rolling pin
- Beech leaf, large and flat
- Craft knife
- Clear varnish, water-based, 2 oz
- Paintbrush, small
How to Make It
- Roll clay to 1/4 inch thickness on a floured surface.
- Press the beech leaf firmly into the clay, veins down, hold 5 seconds.
- Carefully lift the leaf, then use the craft knife to cut a 4 inch square around the imprint.
- Let clay dry on a rack for 24 hours until hard.
- Brush one coat of varnish over the surface and let dry 2 hours.


9. Leaf Lanterns with Mason Jars
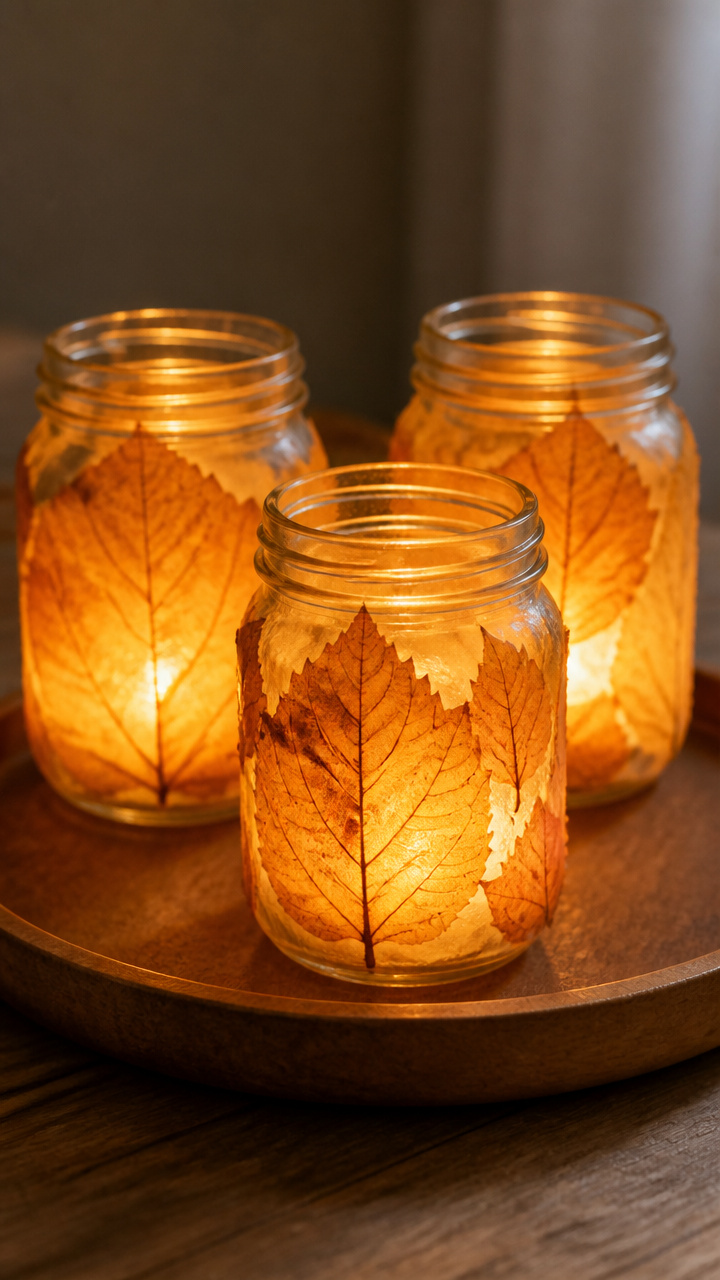
Leaves glued to glass jars glow warmly when tea lights shine through. They look lovely lined up on a porch or table.
Materials Needed
- Three 8 oz mason jars
- Decoupage glue, 6 oz
- 12 real birch leaves, medium
- Paintbrush, 2 inch
- Battery-operated tea lights, 3
- Scissors
How to Make It
- Clean jars with soapy water and dry completely.
- Brush a layer of decoupage glue on the outside of a jar.
- Place three leaves on the glue, slightly overlapping, press gently to adhere.
- Brush another layer of glue over the top of the leaves to seal.
- Repeat for all jars, let dry 3 hours, then place a tea light inside each.


10. Leaf Wreath with Grapevine Base
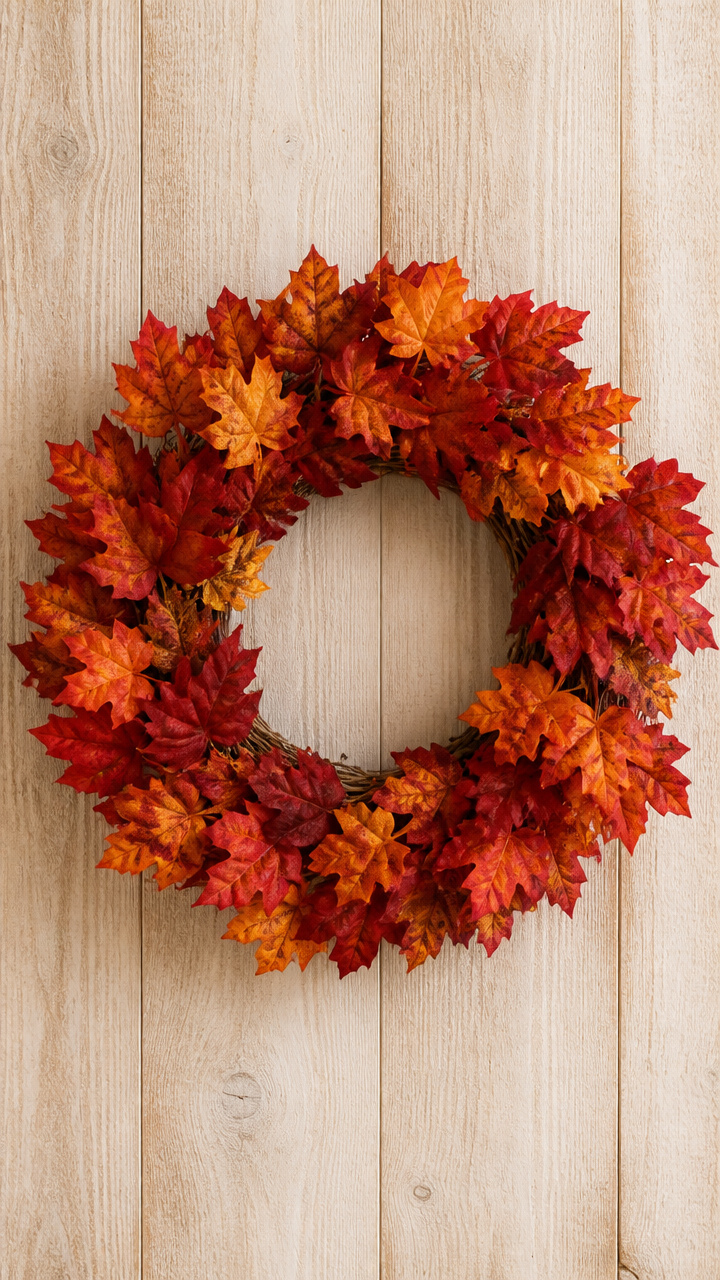
A grapevine wreath base accepts silk leaves wired into full, natural-looking clusters. This wreath lasts through multiple seasons.
Materials Needed
- Grapevine wreath base, 12 inch diameter
- Silk maple leaves, 20 pieces, mixed red and orange
- Floral wire, 24 gauge, 12 inches per cluster
- Wire cutters
- Work gloves
How to Make It
- Group five silk leaves into a fan shape, aligning stems.
- Wrap floral wire around the base of the bundle and twist tight to secure.
- Insert the wire ends into the grapevine base and twist to anchor.
- Repeat every two inches around the wreath, alternating colors.
- Wear gloves to protect hands from vine thorns during assembly.


11. Leaf Confetti Table Scatter
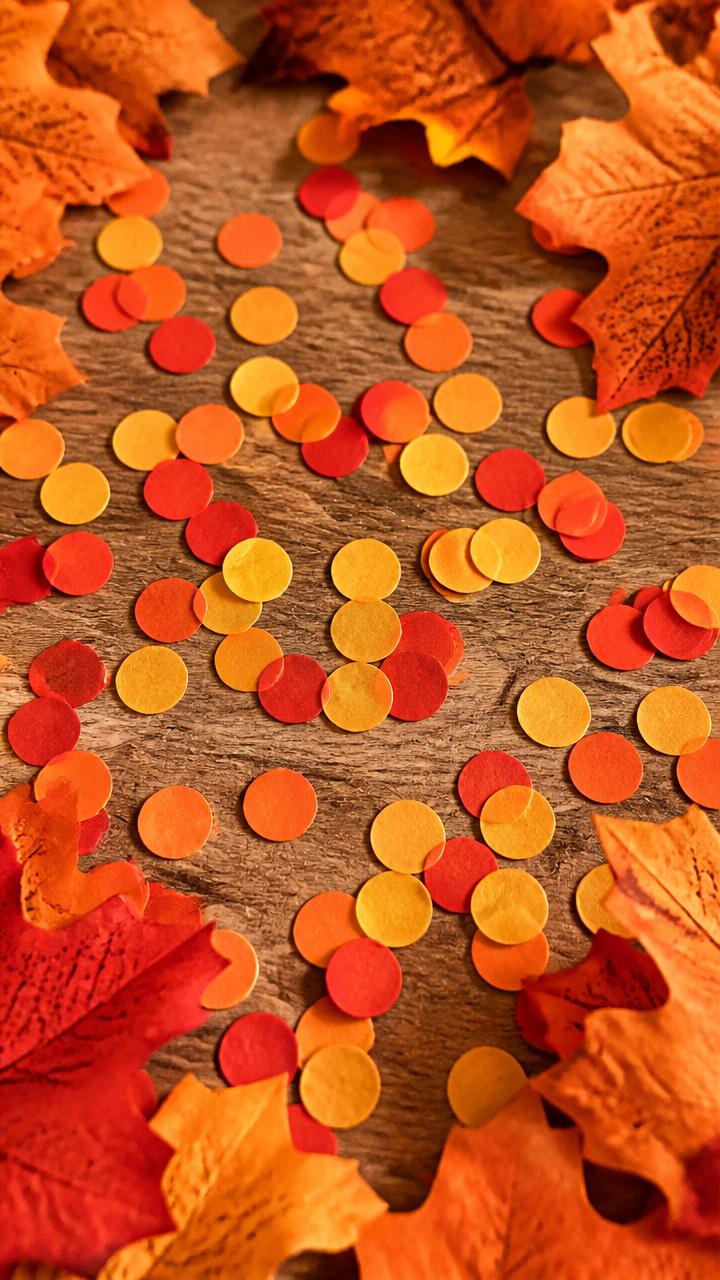
Tiny punched circles of colored paper mimic falling leaves across tables. They add subtle seasonal flair without cleanup hassle.
Materials Needed
- Circle punch, 3/4 inch
- Construction paper: scarlet, gold, burnt orange, 5 sheets each
- Large bowl
- Tray for catching scraps
How to Make It
- Stack one sheet each of scarlet, gold, and orange paper.
- Feed the stack into the circle punch and press down firmly to cut.
- Repeat until you have 150 confetti circles.
- Empty scraps from tray between punches to avoid jams.
- Scatter circles evenly over tables before guests arrive.


12. Leaf Garland with Twine
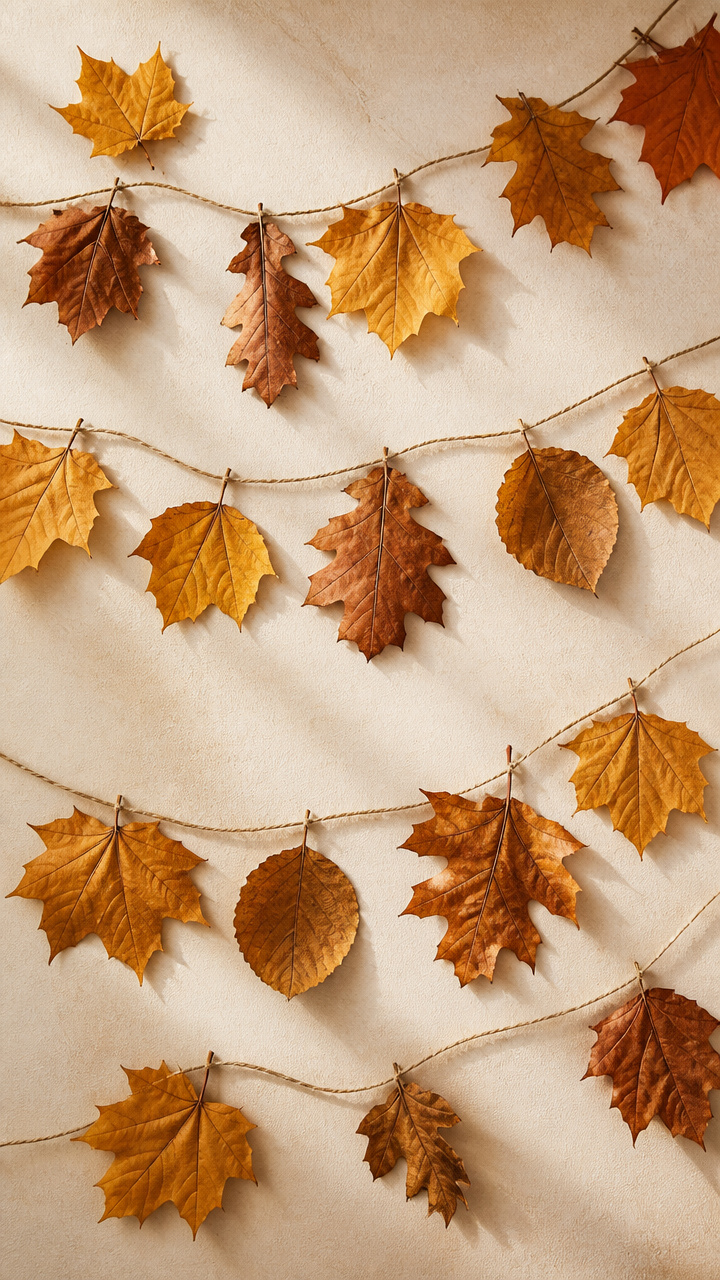
Flat dried leaves strung on twine flutter gently in a breeze. Hang it across a mantel or window for movement and color.
Materials Needed
- Twine, 6 feet long
- 15 flat dried leaves (oak, maple, aspen)
- Needle, large-eye
- Craft glue, clear
How to Make It
- Thread the needle with twine and tie a knot at the end.
- Push the needle through the stem end of a leaf, about 1/4 inch from the base.
- Slide the leaf down to the knot, add a dot of glue to secure it in place.
- Continue threading leaves 2 inches apart along the twine.
- Hang by tying both ends to nails or hooks.

13. Leaf-Shaped Salt Dough Ornaments
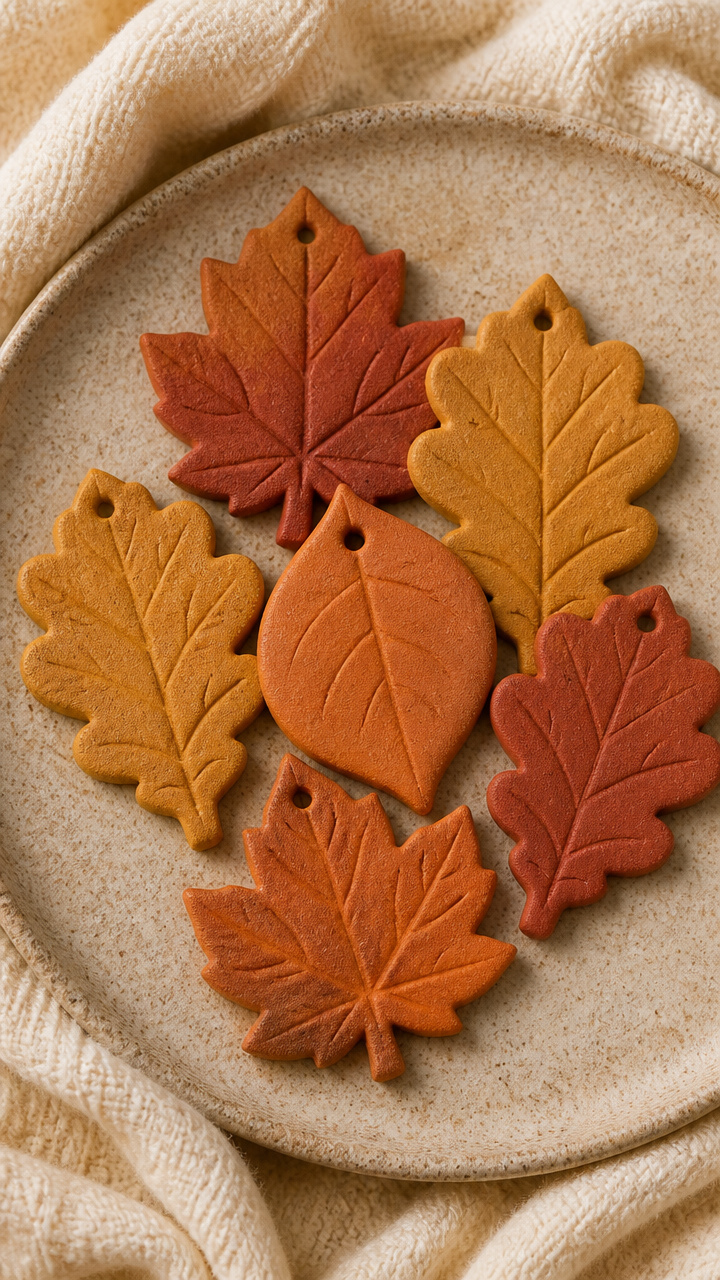
Salt dough shaped with leaf cookie cutters bakes into sturdy keepsakes. Write names and dates on the back for yearly traditions.
Materials Needed
- Salt dough: 1 cup flour, 1/2 cup salt, 1/2 cup water
- Leaf-shaped cookie cutter, 3 inches
- Rolling pin
- Straw
- Baking sheet
- Acrylic paint: terracotta, ochre
How to Make It
- Mix flour, salt, and water in a bowl until smooth, knead 2 minutes.
- Roll dough to 1/4 inch thick on a floured surface.
- Cut out shapes with the leaf cutter, then press a straw near the top to make a hanging hole.
- Bake on a baking sheet at 200°F for 3 hours until hard.
- Cool completely, then paint both sides and let dry 1 hour.


14. Leaf Print Napkins
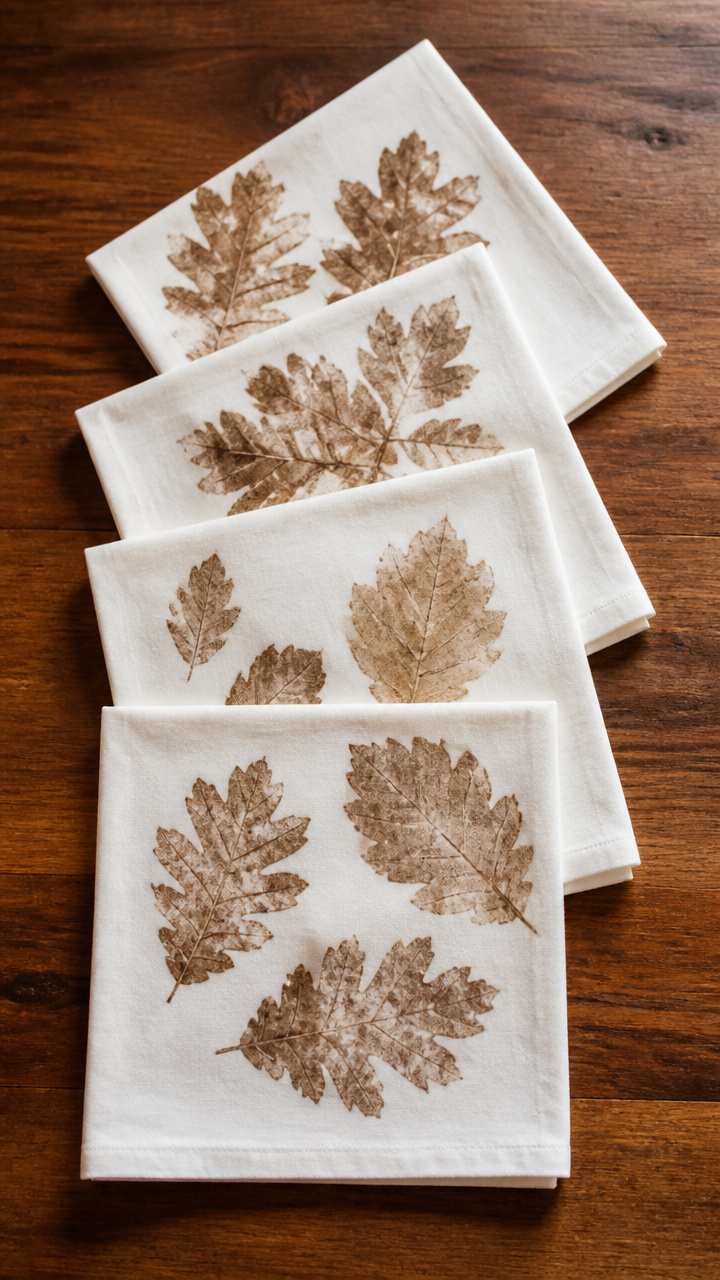
Cotton napkins stamped with real hickory leaves show soft, earthy patterns. They elevate everyday meals with handmade grace.
Materials Needed
- Four 14×14 inch white cotton napkins
- Hickory leaves, 8 pieces, firm
- Fabric ink pad, walnut brown
- Bone folder
- Iron
How to Make It
- Lay one napkin flat on a table, smooth out wrinkles.
- Press a hickory leaf firmly onto the ink pad, coating the back evenly.
- Place the leaf on the napkin and press down with the bone folder for 10 seconds.
- Lift straight off, repeat three times per napkin with clean areas.
- Let dry 1 hour, then iron on cotton setting to set the ink.


15. Leaf Candle Holders
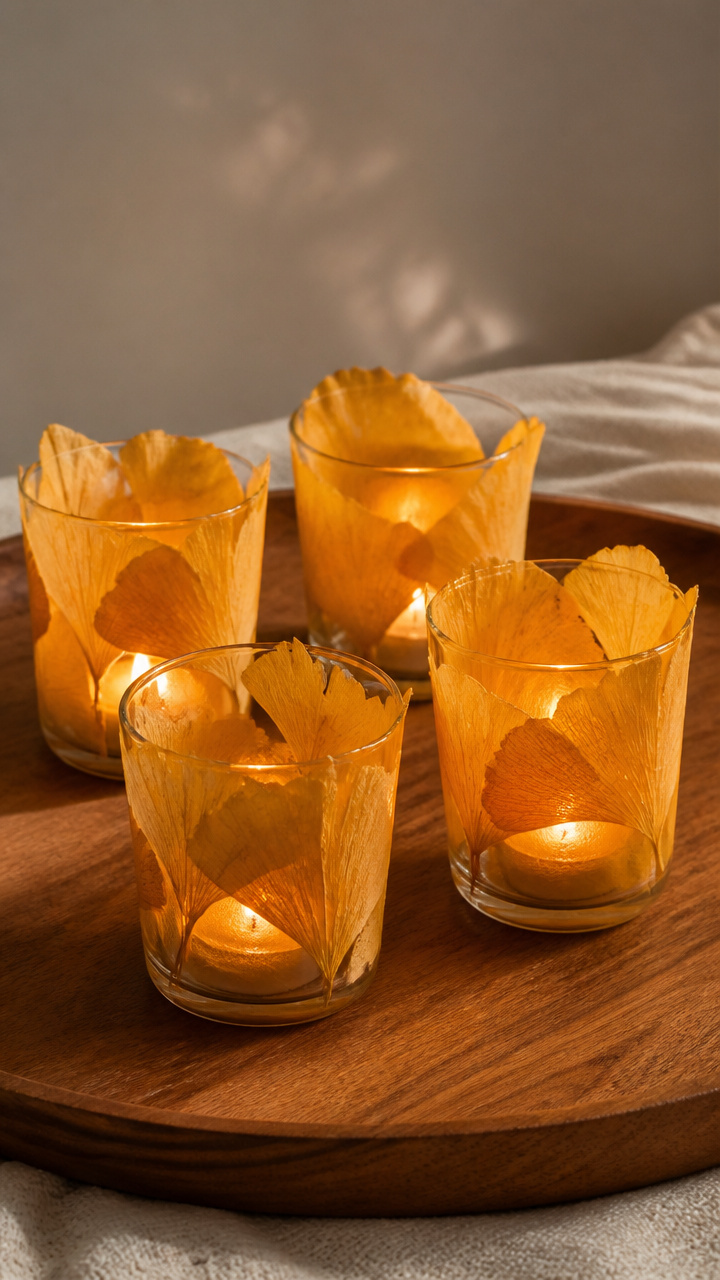
Leaves wrapped around glass votive holders stay put with mod podge. When lit, they cast delicate shadows.
Materials Needed
- Four glass votive holders
- Mod Podge, 4 oz
- 16 real ginkgo leaves, bright yellow
- Paintbrush, 1 inch
- Tea lights, 4
How to Make It
- Clean each holder with rubbing alcohol and dry.
- Brush a thin layer of Mod Podge on the lower third of the glass.
- Press four ginkgo leaves around the glass, tips pointing up, overlapping slightly.
- Brush another layer of Mod Podge over the leaves to seal.
- Let dry 2 hours, then place a tea light inside.
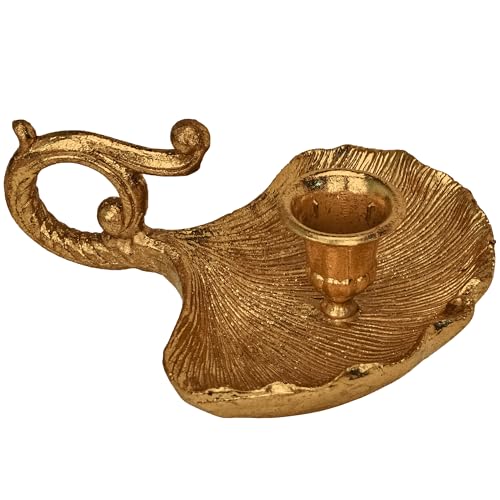


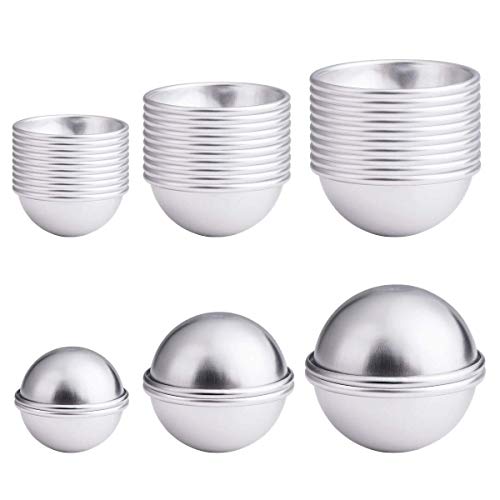
16. Leaf-Shaped Bath Bombs
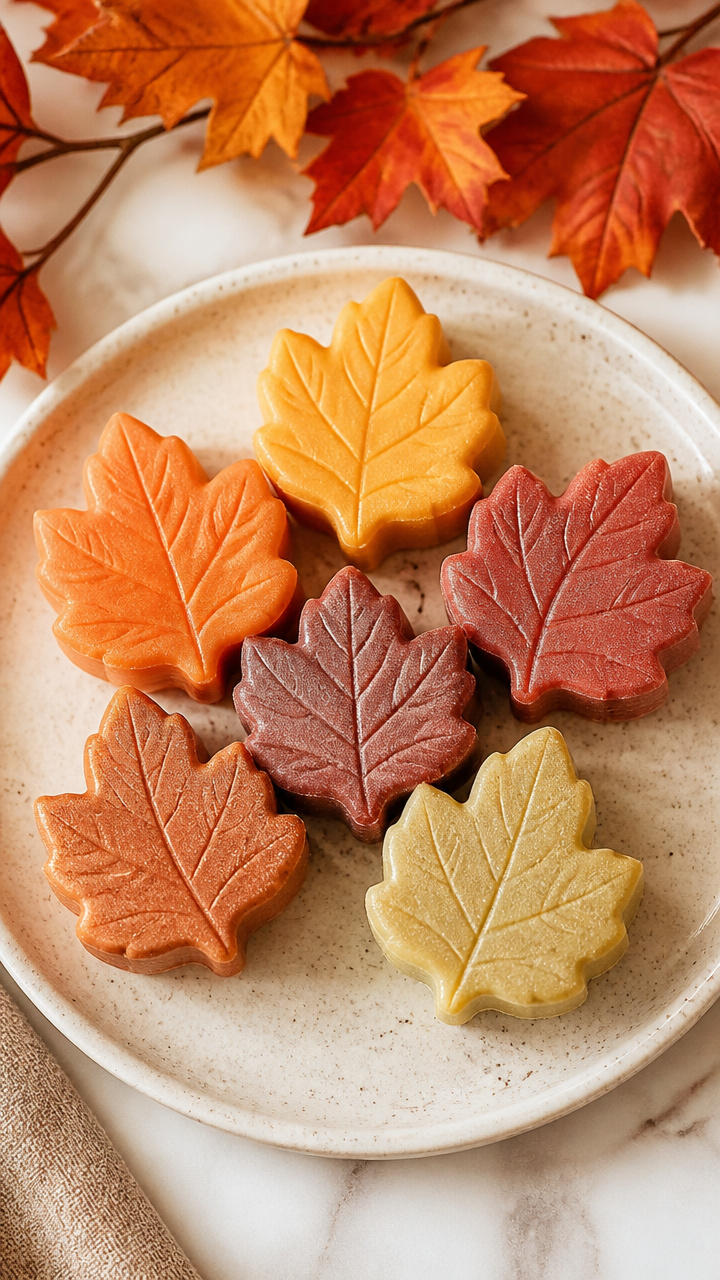
Bath bombs molded in leaf-shaped silicone trays fizz with autumn scent. They make soothing, fragrant gifts.
Materials Needed
- Silicone leaf mold, 6 cavities
- Bath bomb mix: 1 cup baking soda, 1/2 cup citric acid, 1/2 cup cornstarch
- Coconut oil, 2 tablespoons melted
- Essential oil: cinnamon bark, 10 drops
- Spray bottle with water
How to Make It
- Mix baking soda, citric acid, and cornstarch in a bowl.
- Add coconut oil and essential oil, stir with fingers until clumps form.
- Spritz mixture with 3 sprays of water and press firmly into each mold cavity.
- Let sit 4 hours until solid, then pop out gently.
- Store in an airtight container until use.


17. Leaf Pressed Resin Pendants
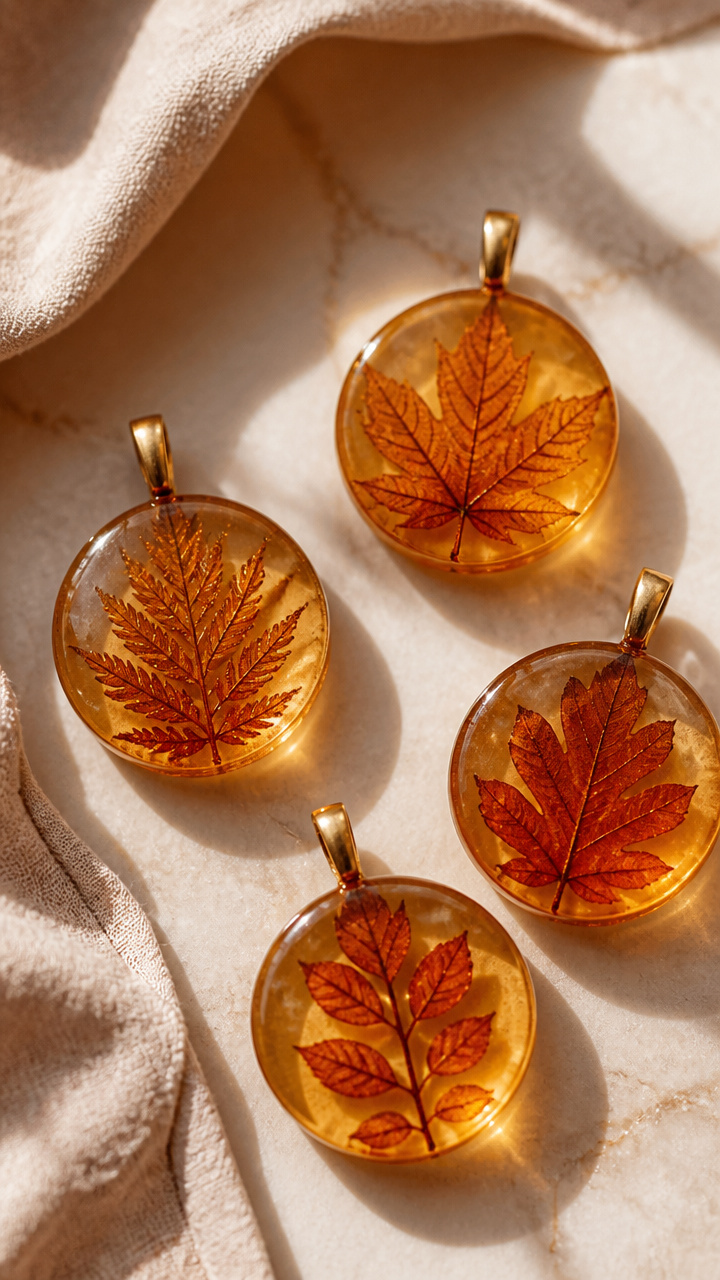
Tiny preserved leaves suspended in round resin form wearable art. Each pendant glows like amber when held to light.
Materials Needed
- Resin kit, 2 oz, includes hardener
- Silicone pendant molds, round 1 inch, 5 pcs
- Miniature dried leaves, 5 pieces
- Toothpicks
- Jewelry bail, 5
- Glue, E6000
How to Make It
- Mix resin and hardener in a cup according to package instructions.
- Pour a thin layer into one mold, insert a leaf with toothpick, submerge in resin.
- Fill mold to top, let sit 5 minutes to release bubbles.
- Cure 24 hours at room temperature, then unmold carefully.
- Glue a bail to the back of each pendant and let dry 2 hours.


18. Leaf Collage Journal Cover
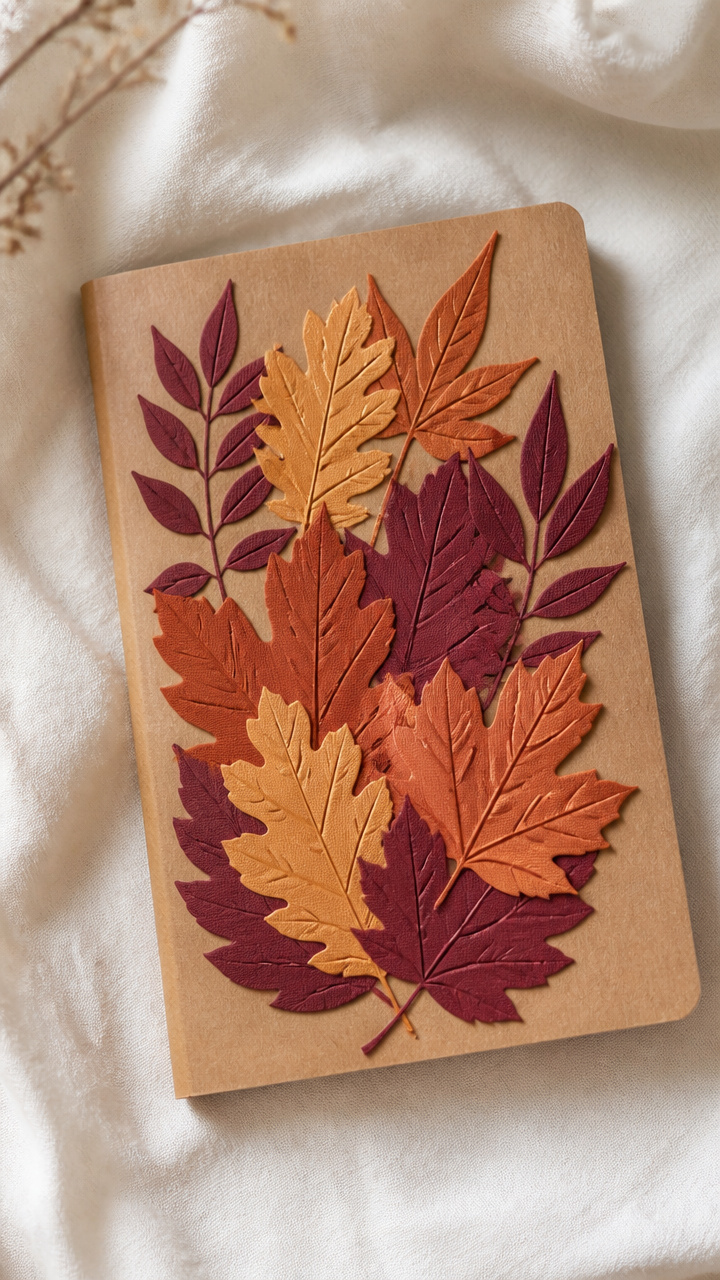
A plain notebook gets a custom cover made from layered leaf cutouts. It becomes a personal keepsake for writing or sketching.
Materials Needed
- Plain notebook, A5 size, kraft cover
- Colored cardstock: maroon, amber, sienna, 5 sheets
- Glue stick
- Leaf stencil, 2 inch
- Scissors
How to Make It
- Trace the stencil 12 times on cardstock, mixing colors, then cut out all leaves.
- Arrange them on the notebook cover in a loose cascade from corner to center.
- Lift each leaf and run a glue stick on the back, reposition quickly.
- Press each leaf flat with your palm for 10 seconds.
- Let dry 30 minutes before writing on the first page.


19. Leaf-Shaped Notecards
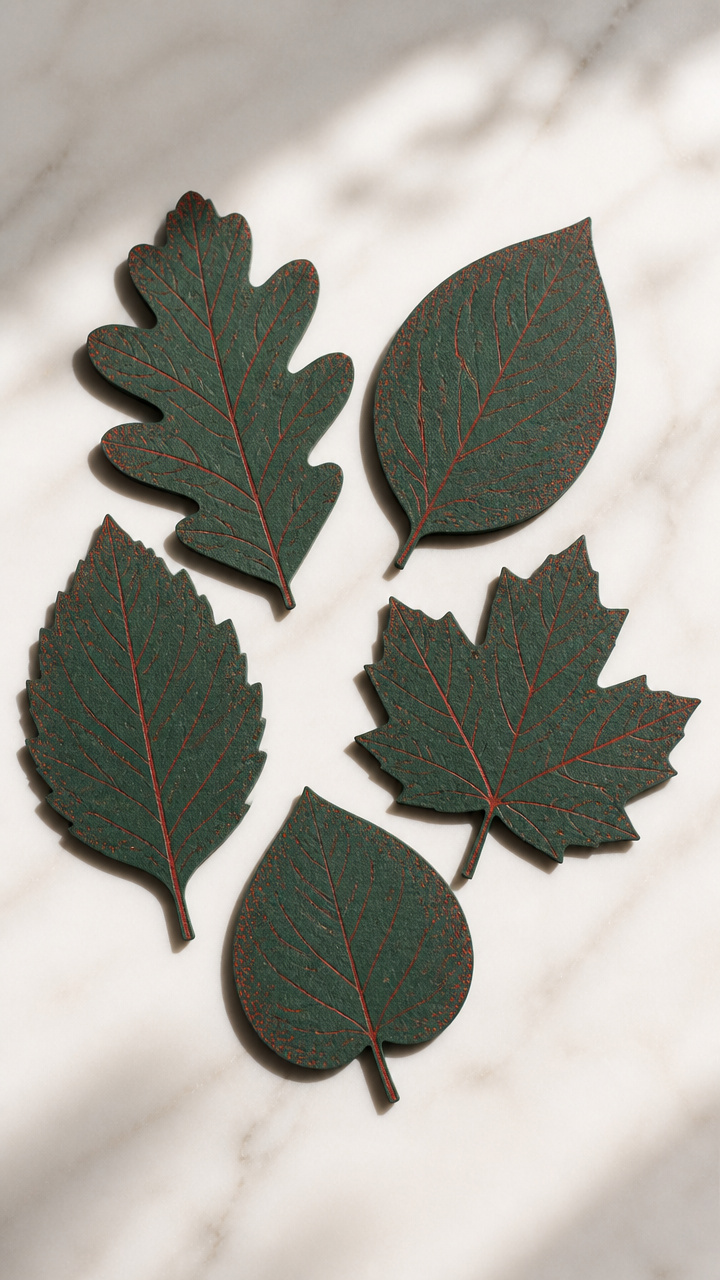
Thick watercolor paper cut into leaf outlines makes elegant notecards. Write short notes or tuck them into bouquets.
Materials Needed
- Watercolor paper, 140 lb, 9×12 inch, 5 sheets
- Leaf template, 5 inch
- Craft knife
- Cutting mat
- Envelopes, A2, 5 pcs
- Red fountain pen ink
How to Make It
- Place the template on watercolor paper and trace 5 times.
- Secure paper on cutting mat and cut along lines with craft knife.
- Smooth edges lightly with fingernail.
- Write a message on each with red ink, let dry 2 minutes.
- Slide into envelopes for gifting or saving.

20. Leaf Shadow Box Display
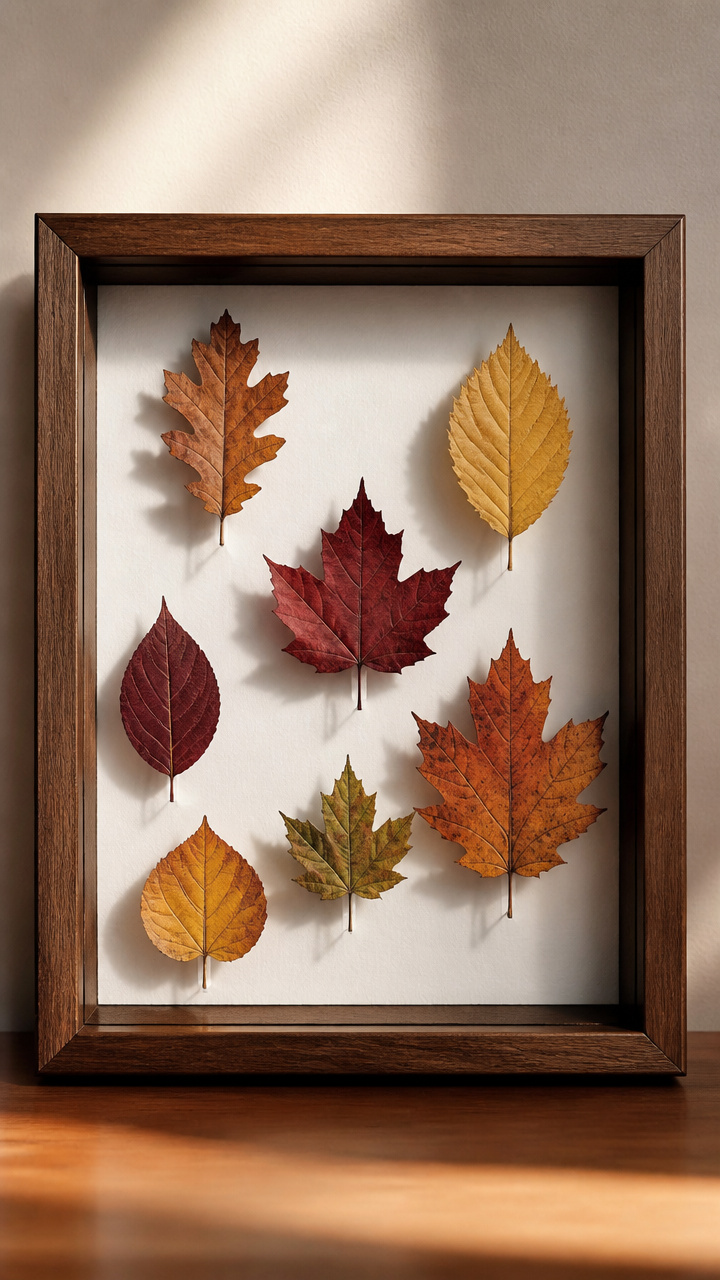
Leaves arranged in a deep box frame create a 3D gallery of fall. Shadows play across the background throughout the day.
Materials Needed
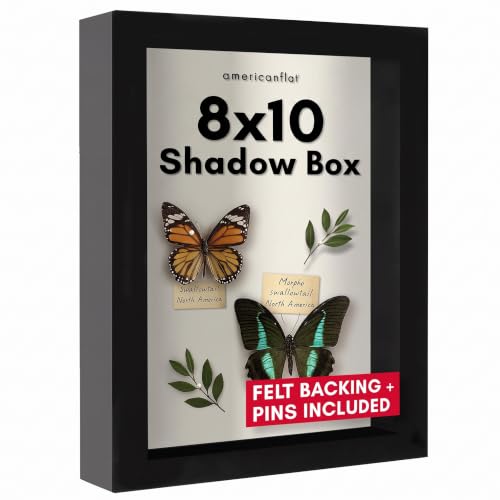
- Shadow box frame, 8×10 inch, 1.5 inch depth
- 7 preserved leaves, varying sizes and colors
- Foam adhesive squares, 10
- Tweezers
- White tissue paper, 8×10 inch sheet
How to Make It
- Line the back of the frame with tissue paper using tape at corners.
- Use tweezers to position one leaf in the center, lift edges slightly.
- Press a foam square under each raised section to create height.
- Add six more leaves around it, each on its own foam layer.
- Close and seal the frame, then hang where light can reach it.


21. Leaf Stamped Gift Tags
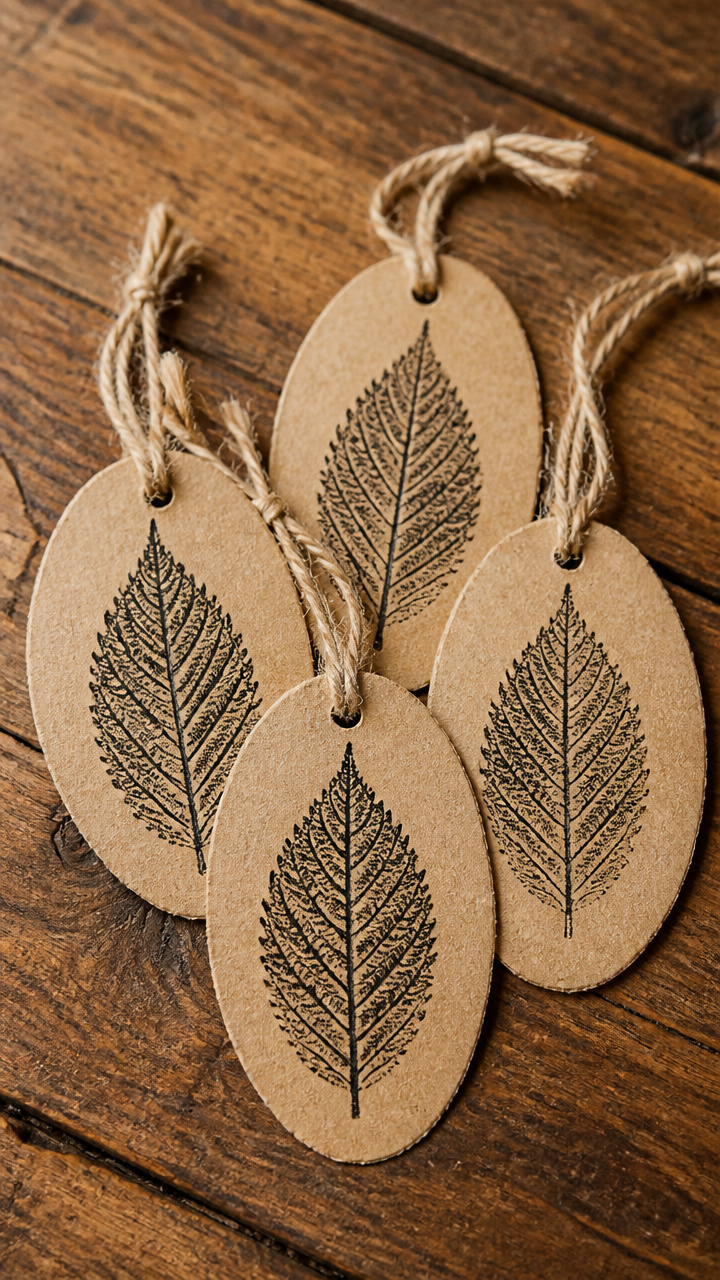
Recycled cardboard tags stamped with real leaves carry a personal touch. Tie them to presents for warmth and care.
Materials Needed
- Cardboard, cereal box thickness, 5×8 inch sheet
- Scissors
- Hole punch
- Real elm leaf, medium
- Black stamp pad
- Twine, 10 inches
How to Make It
- Cut cardboard into five 2×3 inch tags, punch a hole in the top left.
- Press the elm leaf onto the stamp pad, coating the back evenly.
- Press firmly onto one tag, hold 3 seconds, lift straight off.
- Repeat for all tags, let dry 10 minutes.
- Thread twine through each hole for tying.


22. Leaf-Shaped Bread Rolls
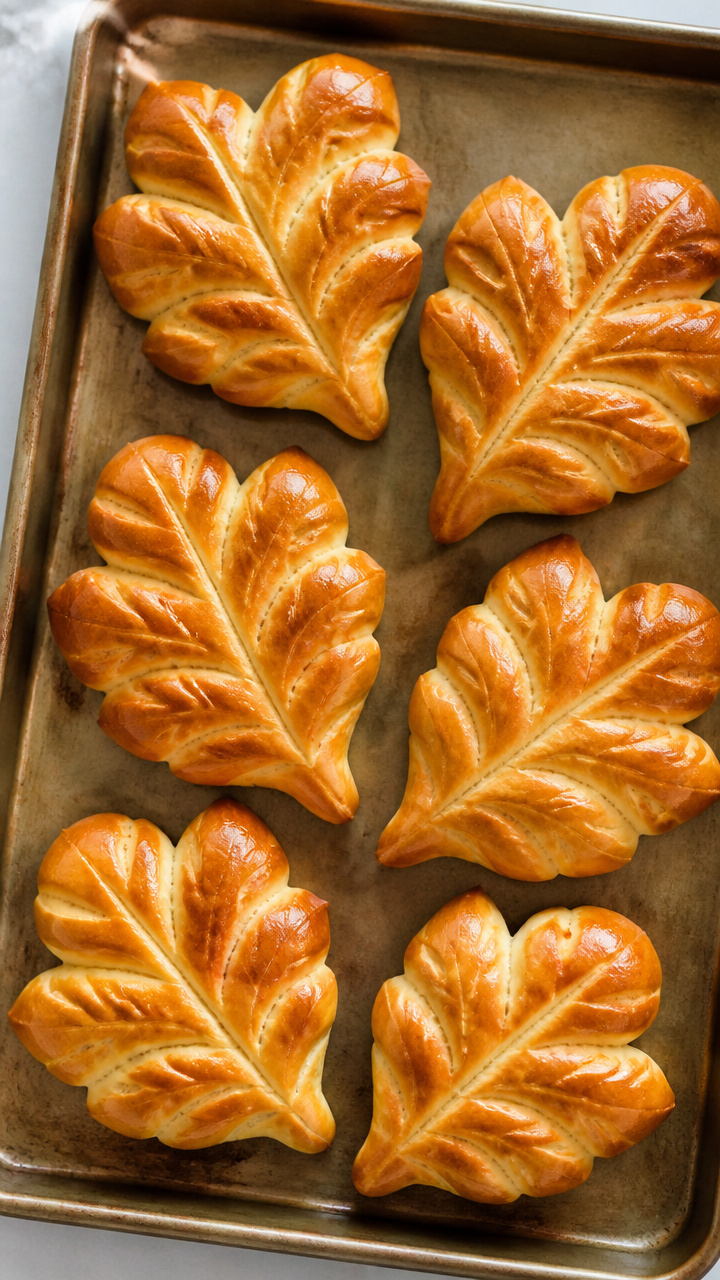
Yeast dough rolled and shaped by hand rises into soft, golden bread leaves. They fill the kitchen with warmth and scent.
Materials Needed
- Bread dough: 2 cups flour, 1 packet yeast, 3/4 cup warm water, 1 tbsp sugar, 1 tsp salt
- Rolling pin
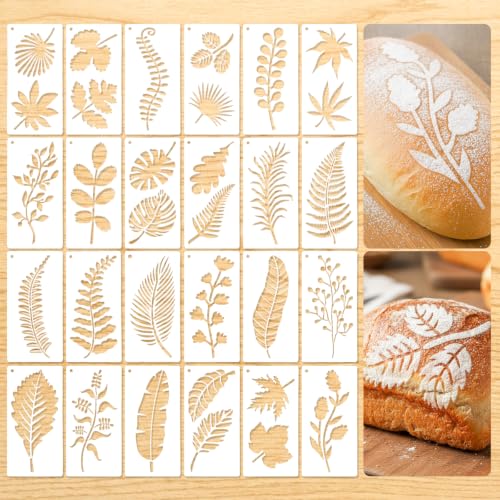
- Leaf stencil, 4 inch
- Egg wash: 1 egg + 1 tbsp water
- Baking sheet
- Parchment paper
How to Make It
- Mix dough ingredients and knead 5 minutes, let rise 1 hour in a greased bowl.
- Roll dough to 1/4 inch thick on floured surface.
- Cut out 8 leaves with the stencil, place on parchment-lined baking sheet.
- Brush with egg wash, let rise 20 minutes uncovered.
- Bake at 375°F for 15 minutes until golden.


23. Leaf Mobile with Driftwood
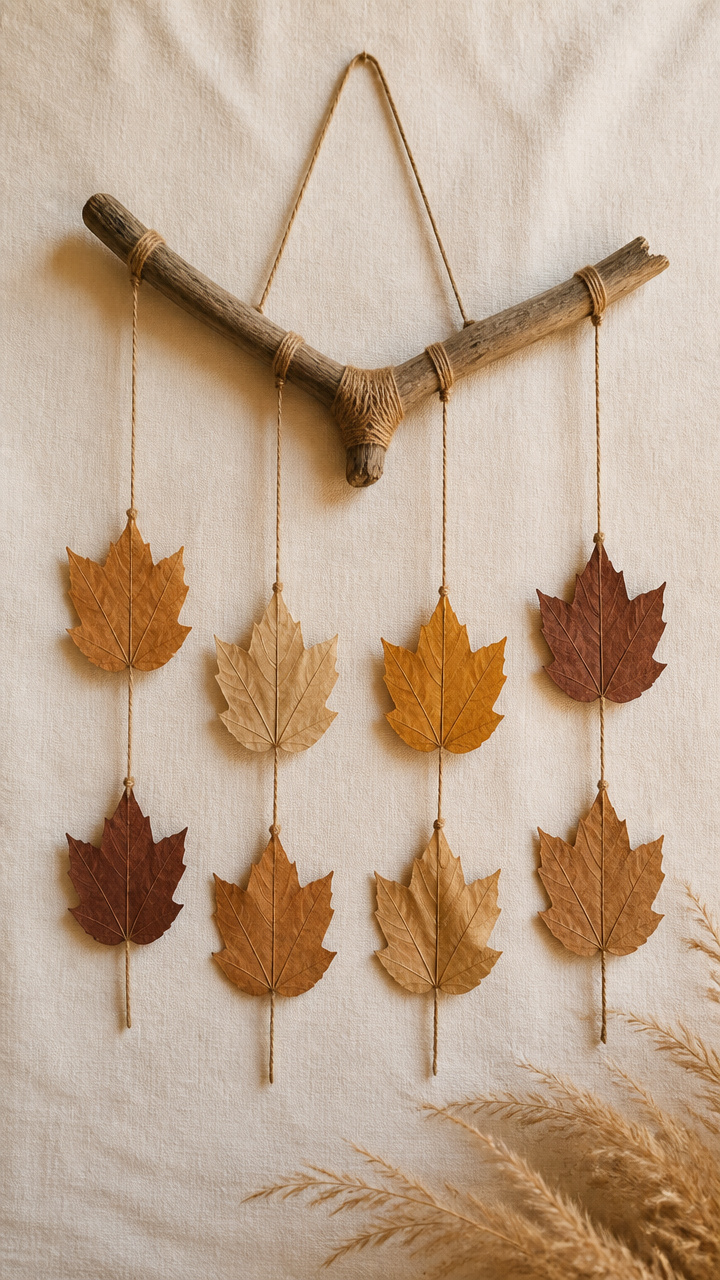
Lightweight leaves dangle from twine tied to a curved driftwood branch. It spins slowly in gentle currents of air.
Materials Needed
- Driftwood branch, 12 inches long, Y-shaped
- Twine, 36 inches, 4 strands
- 8 pressed leaves, 3 inches wide
- Scissors
- Glue, clear drying
How to Make It
- Cut four lengths of twine, each 9 inches long.
- Tie one end of each to a leaf stem with a double knot, add a dot of glue to secure.
- Tie the other end of each twine to the driftwood, spacing knots evenly.
- Use the main branch curve as a hanger, tie a loop at the top center.
- Hang near a window where air can move it freely.

24. Leaf Painted Rock Stack
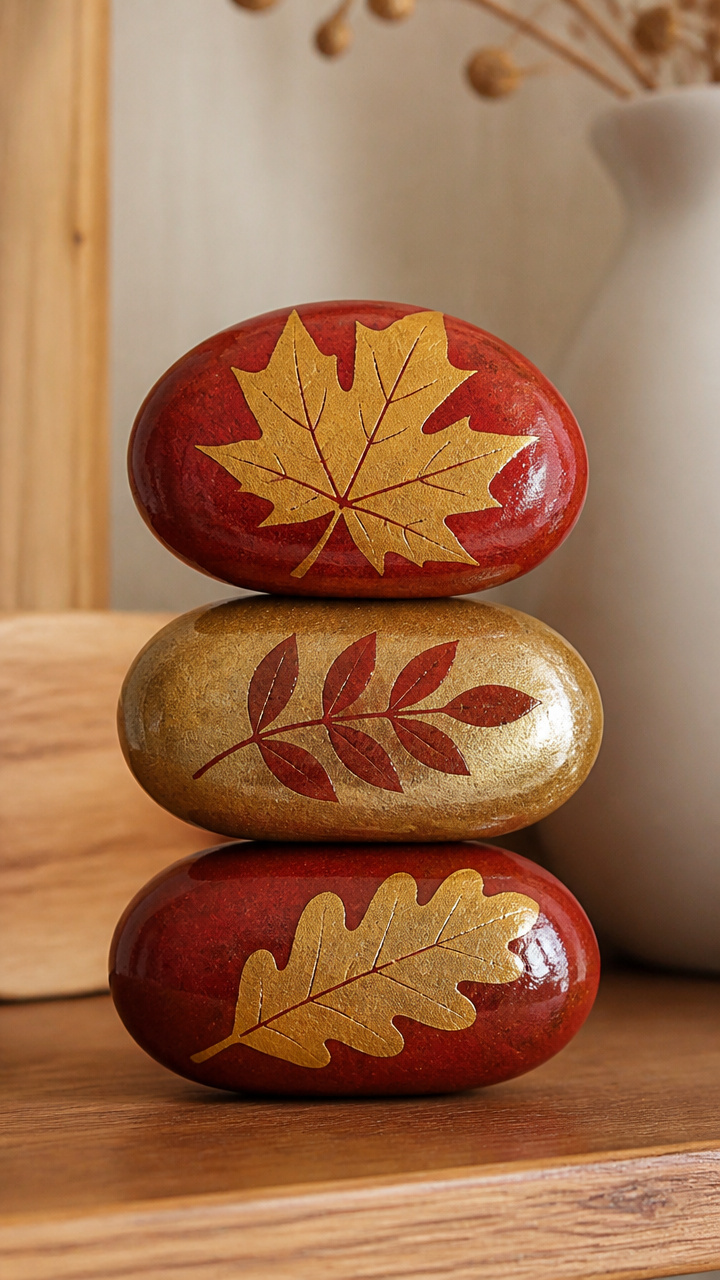
Smooth river rocks painted with leaf silhouettes stack into a stable column. It stands quietly on shelves or desks.
Materials Needed
- 3 river rocks, fist-sized, flat on one side
- Acrylic paint: crimson, gold, 2 oz each
- Paintbrush, small round
- Palette or plate
- Clear spray sealer
How to Make It
- Lay rocks on newspaper, flat side up.
- Mix paint on palette, dip brush and paint a leaf shape on each rock.
- Let first side dry 1 hour, then flip and paint the back.
- Apply one coat of sealer from 10 inches away, let dry 2 hours.
- Stack rocks flat side down in order, largest at bottom.


25. Leaf-Inspired Knit Headband
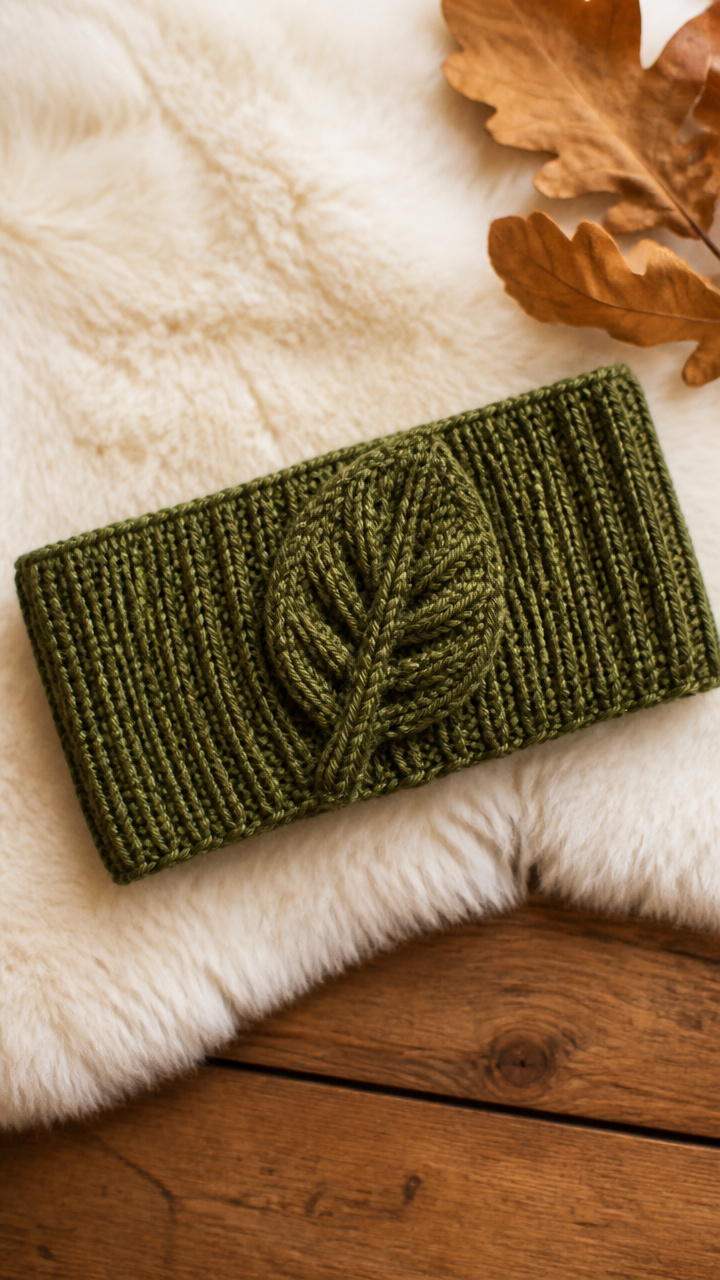
A ribbed knit headband features a single cable-knit leaf motif. It combines warmth with delicate detail.
Materials Needed
- Knitting needles, size 7
- Worsted weight yarn, olive green, 100 yards
- Cable needle
- Scissors
- Yarn needle
How to Make It
- Cast on 60 stitches, knit in 2×2 rib for 6 inches.
- Follow cable chart to cross 6 center stitches with cable needle for leaf twist.
- Knit 2 more inches, then bind off loosely.
- Seam ends together with yarn needle and tail.
- Weave in all loose ends securely.


You’ve got everything you need right outside your door and in your craft drawer. Pick one idea, gather your materials, and let the season guide your hands.