20 Leaf Art Projects for Fall

The trees begin to shift, and your walks now leave you with pockets full of crisp leaves in reds, golds, and ambers. These colors don't need to fade on the sidewalk. Bring them indoors and turn each one into a small celebration of the season.
With simple tools and a little patience, you can preserve their shapes, trace their veins, and build art that feels rooted in nature. These projects use real leaves or draw inspiration from their forms, offering something quiet and satisfying for every kind of maker.
1. Pressed Leaf Journal Covers
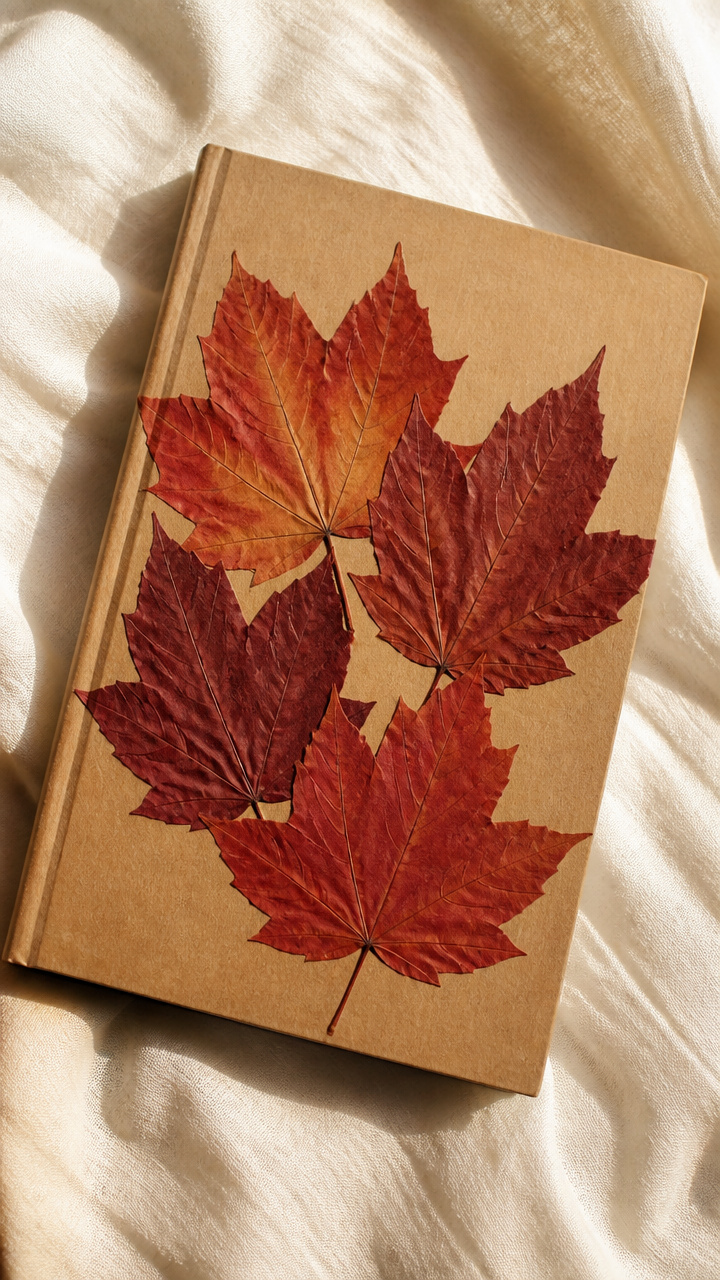
A handmade journal wrapped in real pressed maple leaves becomes a keepsake that holds both words and the feel of autumn. The leaves form a textured mosaic that stays vibrant for years.
Materials Needed
- 4 medium red maple leaves, undamaged
- A5 kraft cardstock cover (front and back)
- PVA glue
- Small foam brush
- Wax paper sheet (8×10 inches)
- Heavy book
How to Make It
- Lay the cardstock covers flat on your work surface. Arrange the maple leaves on the front cover so they overlap slightly and fill the space.
- Use the foam brush to apply a thin layer of PVA glue to the back of each leaf. Press each into place on the cardstock, vein side down.
- Cover the leaves with wax paper and place the heavy book on top. Let sit for 24 hours until fully dry.
- Remove the wax paper. Apply one final coat of PVA glue over the top of the leaves and let dry for another 6 hours.

2. Leaf Vein Watercolor Study
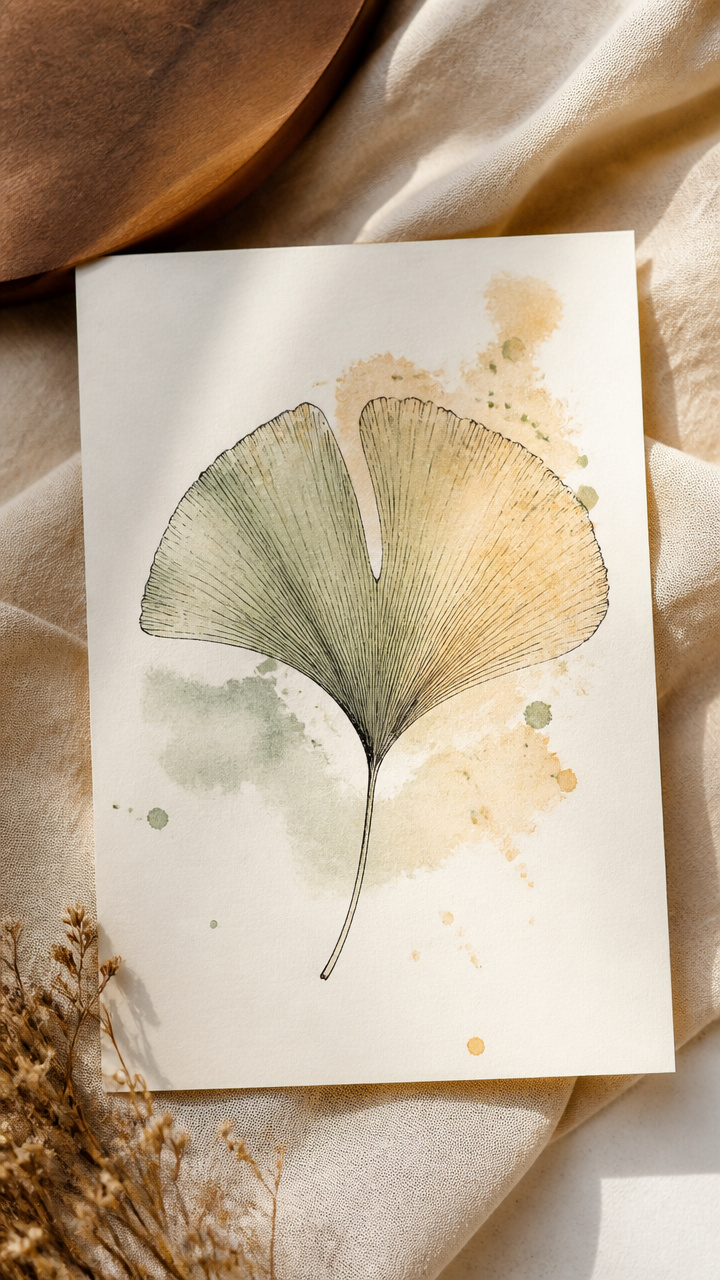
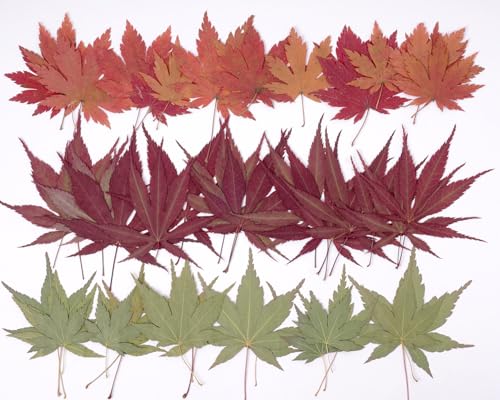
Delicate ink lines trace the intricate paths of a ginkgo leaf’s skeleton, turning its natural structure into a detailed botanical drawing. This piece works beautifully framed in a simple black frame.
Materials Needed
- 1 dried ginkgo leaf
- White drawing paper (9×12 inches)
- Fine-tip waterproof black ink pen (0.1 mm)
- Watercolor set
- Round size 2 watercolor brush
- Pencil
How to Make It
- Place the ginkgo leaf upside down on the drawing paper. Lightly rub a pencil over the surface to transfer the vein pattern.
- Use the fine-tip ink pen to go over the transferred lines, pressing gently to capture every branch and curve.
- Dilute yellow and soft green watercolors. Use the round brush to add subtle washes along the base and tips of the veins.
- Let the paint dry completely before erasing any remaining pencil marks beneath the inked lines.


3. Crayon Leaf Rubbings Garland
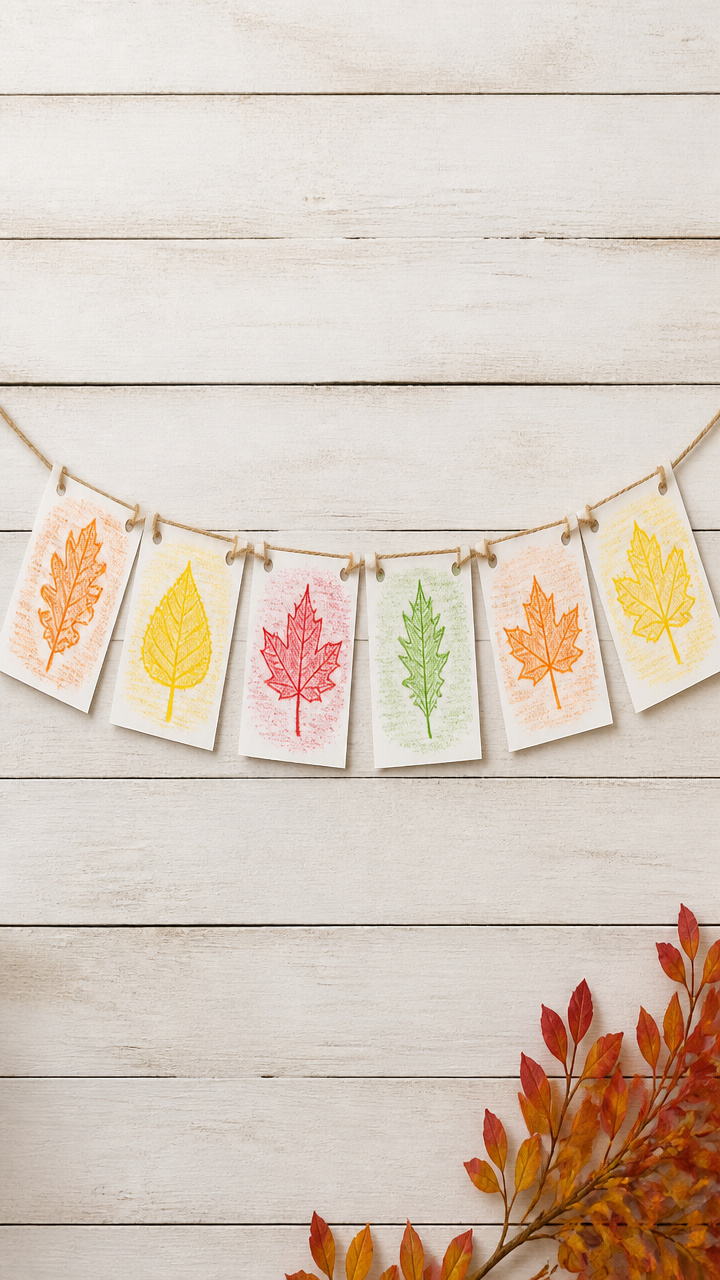
Bright waxy impressions of oak, birch, and sycamore leaves string together into a garland that flutters with fall color. Each rubbing captures texture you can almost feel.
Materials Needed
- 6 assorted real leaves (flat and dry)
- White drawing paper (cut into 4×6 inch rectangles, 6 pieces)
- Assorted fall-colored crayons (peeled)
- Twine (3 feet)
- Hole punch
- Clothespins
How to Make It
- Lay one leaf under a paper rectangle. Hold it flat with one hand while using the side of a peeled crayon to rub firmly over the surface.
- Repeat with different leaves and crayon colors on each paper rectangle.
- Punch two holes at the top corners of each rubbed page. Thread twine through and tie knots to secure.
- Hang the garland with clothespins on a mantel or wall, spacing the pages evenly.


4. Leaf Print Clay Ornaments
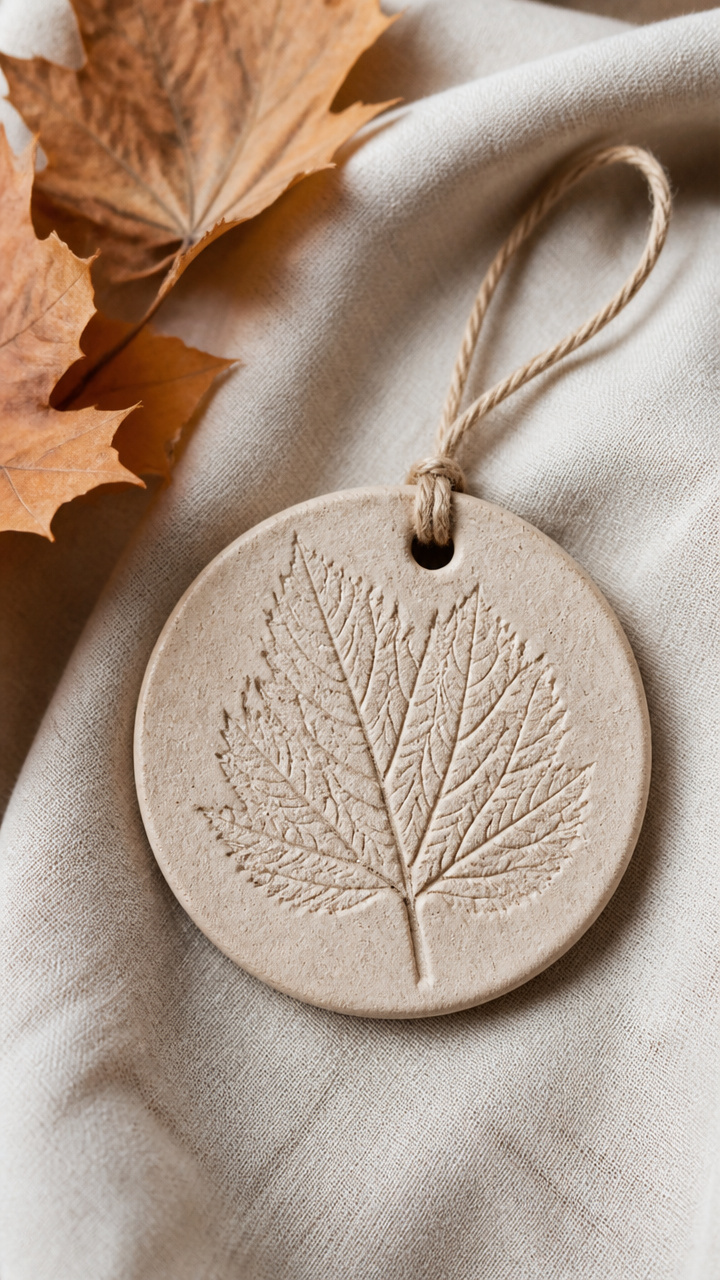
Soft air-dry clay takes an exact impression of a real leaf, then bakes into a lightweight ornament that carries every ridge and stem. String them with linen cord for a rustic tree decoration.
Materials Needed
- Air-dry clay block (2 oz)
- Real elm leaf
- Rolling pin
- Circular cookie cutter (2-inch diameter)
- Toothpick
- Linen cord (6 inches per ornament)
- Acrylic sealer spray
How to Make It
- Roll the clay to 1/8 inch thickness using the rolling pin. Cut out a circle with the cookie cutter.
- Press the elm leaf firmly, vein side down, onto the clay. Gently lift to reveal the impression.
- Use the toothpick to poke a hole near the top edge for hanging. Let the clay dry upright for 24 hours.
- Spray lightly with acrylic sealer on both sides. Thread linen cord through the hole once dry.


5. Maple Seed Mobile
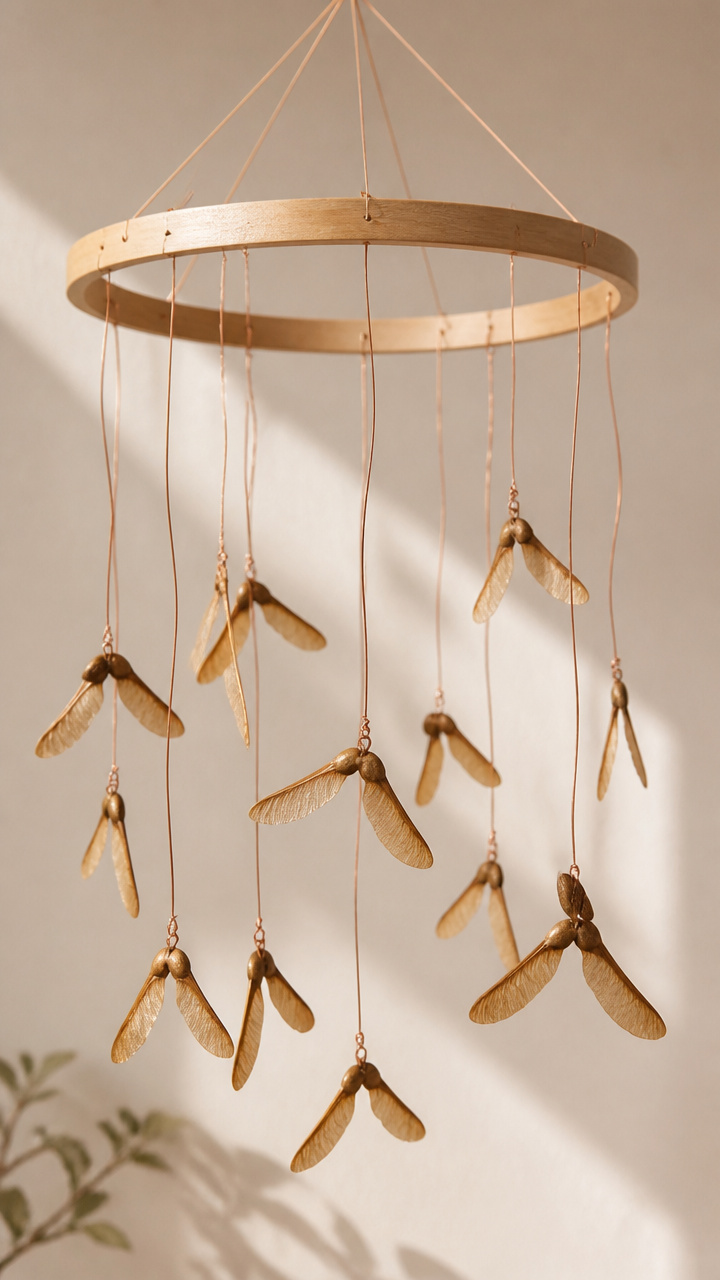
Real maple seeds dangle from thin copper wires, spinning slowly like tiny propellers when touched by a breeze. This mobile catches light and motion in a quiet corner.
Materials Needed
- 8 mature maple seeds (intact wings)
- Copper wire (24 gauge, 2 feet)
- Wooden embroidery hoop (6 inches)
- Needle-nose pliers
- Clear fishing line (12 inches)
- Scissors
How to Make It
- Cut the copper wire into four 6-inch strands. Wrap one end of each around the seed's body, securing with pliers.
- Bend the free end of each wire into a small hook. Hang two seeds from opposite sides of the embroidery hoop.
- Repeat until all eight seeds are paired and attached to the hoop.
- Tie fishing line to the top of the hoop and secure to a ceiling hook or shelf edge.


6. Leaf Mosaic Stepping Stone
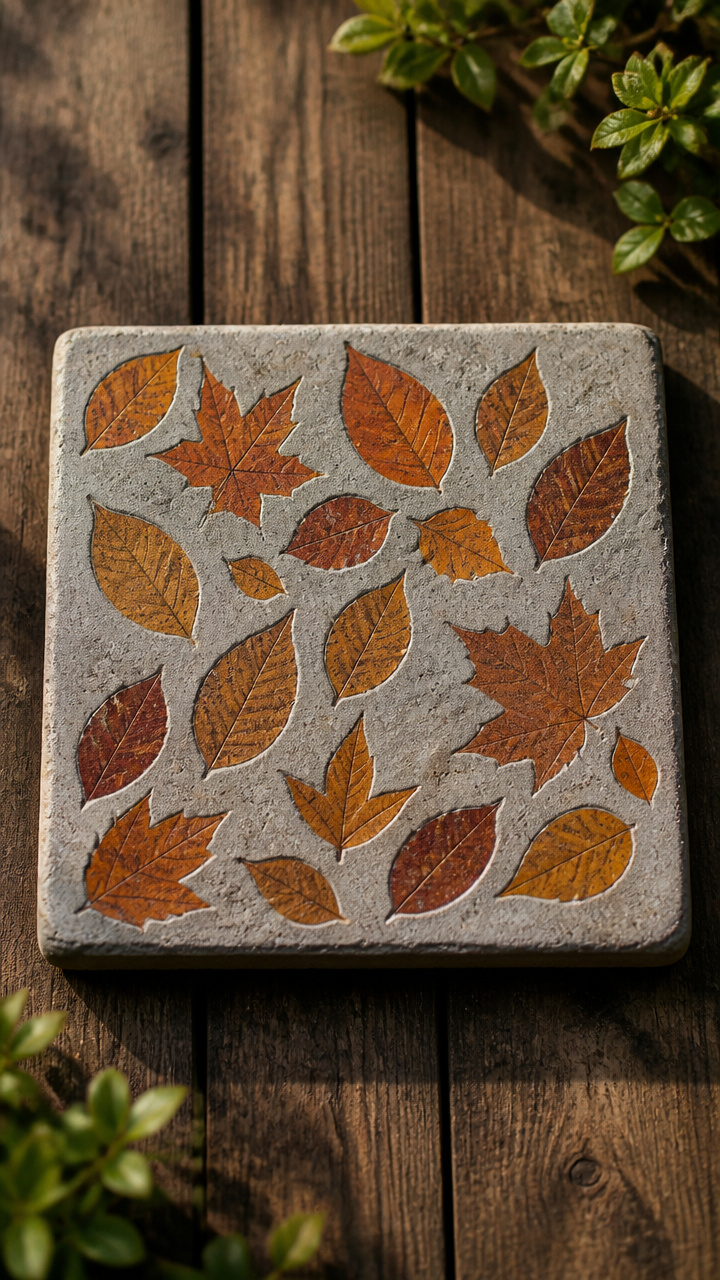
Crushed leaves mix with concrete to form a garden stone where flecks of amber and rust peek through gray. It stands up to rain and foot traffic while holding autumn close.
Materials Needed
- Quick-set concrete mix (10 oz)
- Water (5 oz)
- Plastic container (8-inch square)
- 5 crushed sugar maple leaves
- Stirring stick
- Gloves
- Sandpaper (120 grit)
How to Make It
- Mix concrete and water in the container according to package instructions. Stir until smooth like thick oatmeal.
- Add the crushed maple leaves and stir gently to distribute without breaking them apart.
- Pour mixture into the container. Tap the sides to release air bubbles. Let cure for 48 hours.
- Unmold the stone and lightly sand rough edges with sandpaper. Place in your garden path.

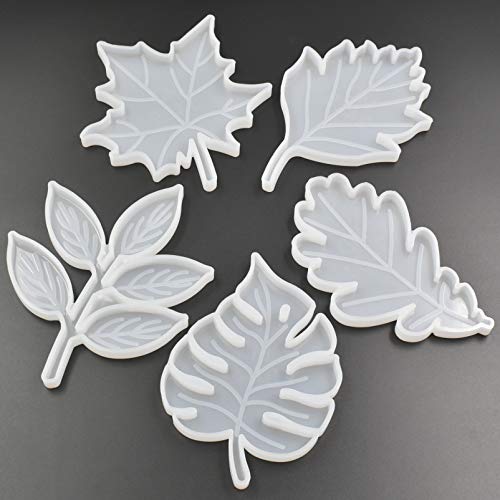

7. Leaf Skeleton Dip Dye Art
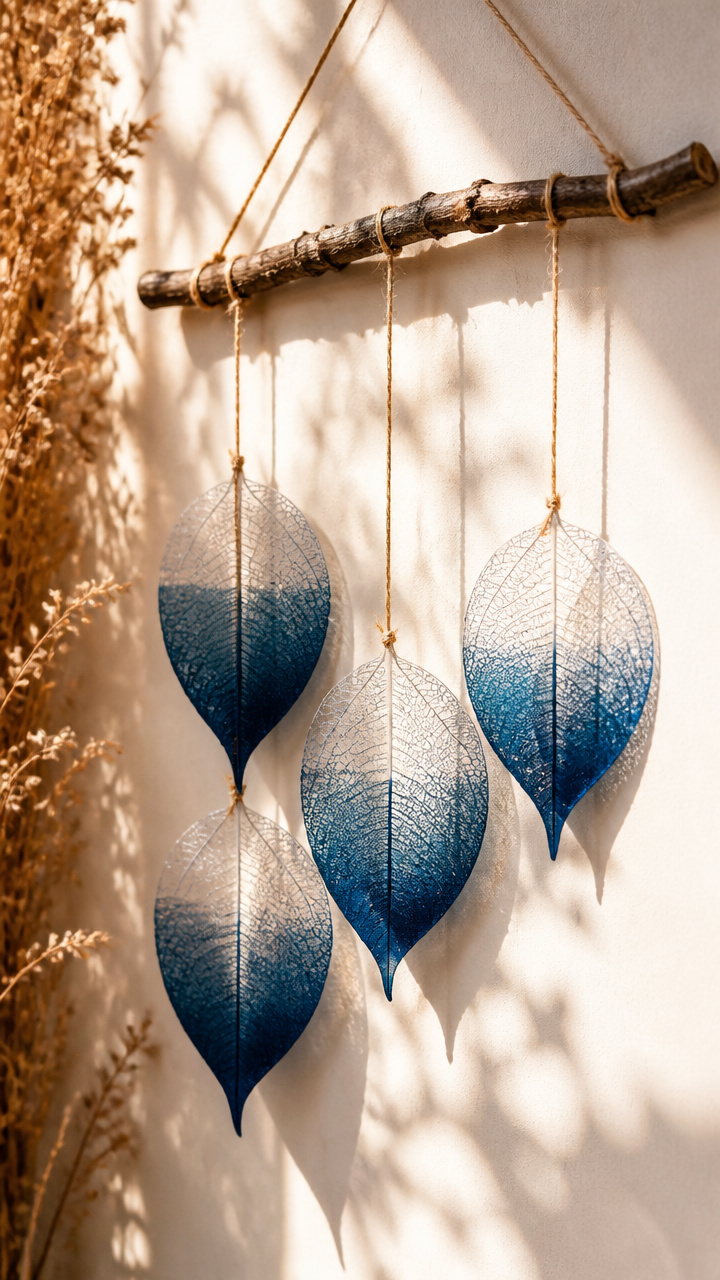
Delicate leaf skeletons soak in indigo dye, emerging with deep blue lacework that looks like stained glass when hung in sunlight. The fragile beauty is surprisingly durable.
Materials Needed
- 3 leaf skeletons (cleaned of pulp)
- Indigo dye bath (prepared, 1 quart)
- Plastic tongs
- Plastic tray
- String (12 inches)
- Clothesline clip
How to Make It
- Submerge one leaf skeleton in the indigo dye bath using tongs. Leave for 3 minutes.
- Lift and let excess dye drip off for 30 seconds. Clip to the clothesline with the string and hang to oxidize for 10 minutes.
- Repeat the dip and hang cycle two more times for deeper color.
- After the final oxidization, let dry flat for 4 hours before display.


8. Foil-Embellished Leaf Coasters
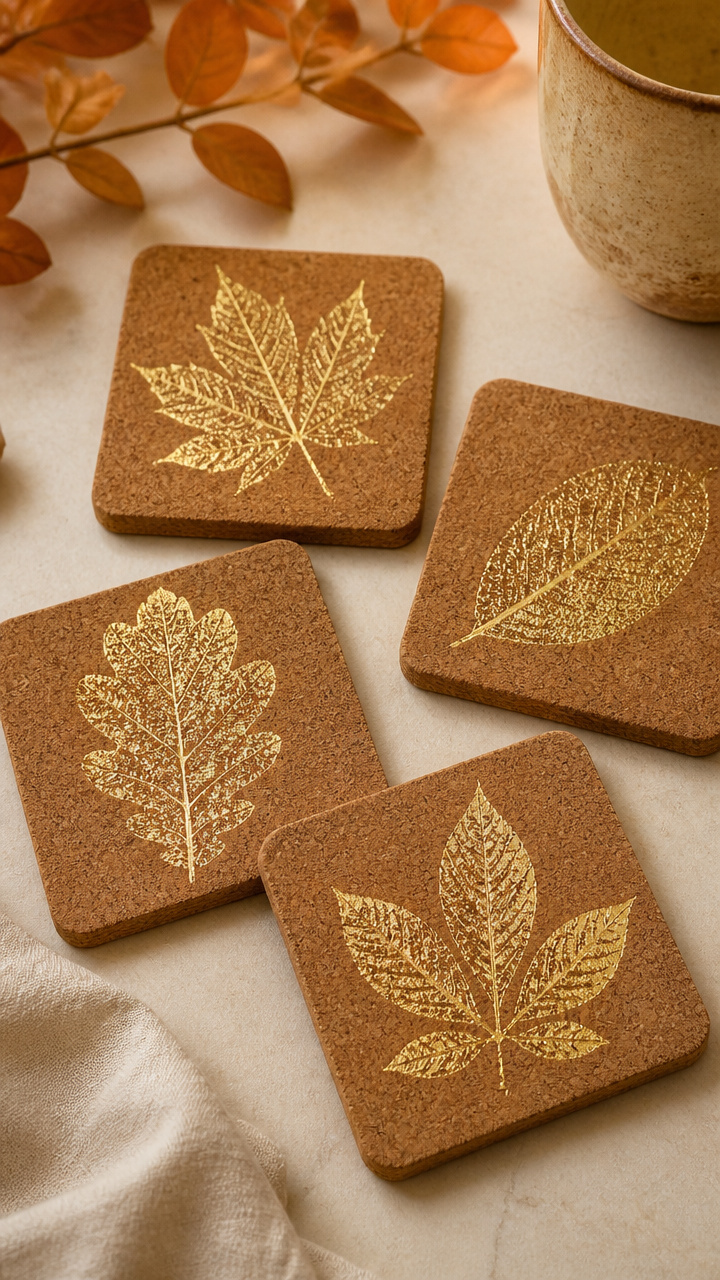
Smooth cork tiles hold laser-printed leaf images enhanced with gold foil accents along the veins. These coasters protect surfaces while adding warm metallic glints.
Materials Needed
- Cork tile (4×4 inches, 4 pieces)
- Laser-printed leaf image (on transfer paper)
- Iron
- Gold foil sheet (3×5 inches)
- Parchment paper
- Craft glue
How to Make It
- Place the transfer paper face down on the cork tile. Cover with parchment paper.
- Press the iron on high heat for 30 seconds, moving in slow circles. Let cool completely.
- Peel off the backing to reveal the printed leaf. Lay the gold foil over the main veins.
- Cover again with parchment and re-iron for 10 seconds. Remove foil to show adhered gold lines. Glue edges if needed.


9. Leaf-Shaped Felt Bookmarks

Soft wool blend felt in crimson and mustard cuts into perfect leaf silhouettes, finished with a satin stitch border. Slide one into your current read as a seasonal marker.
Materials Needed
- Red wool blend felt sheet
- Yellow wool blend felt sheet
- Leaf-shaped template (hazel leaf outline)
- Embroidery needle
- Satin thread (brown)
- Fabric scissors
- Straight pins
How to Make It
- Pin the template to each felt sheet and cut out two identical leaves from each color.
- Stack one red and one yellow leaf. Pin together around the edge.
- Use the embroidery needle and brown thread to sew a satin stitch along the perimeter, about 1/8 inch from the edge.
- Trim any loose threads. Use as a bookmark with the stitched side facing out.


10. Leaf Resin Paperweights
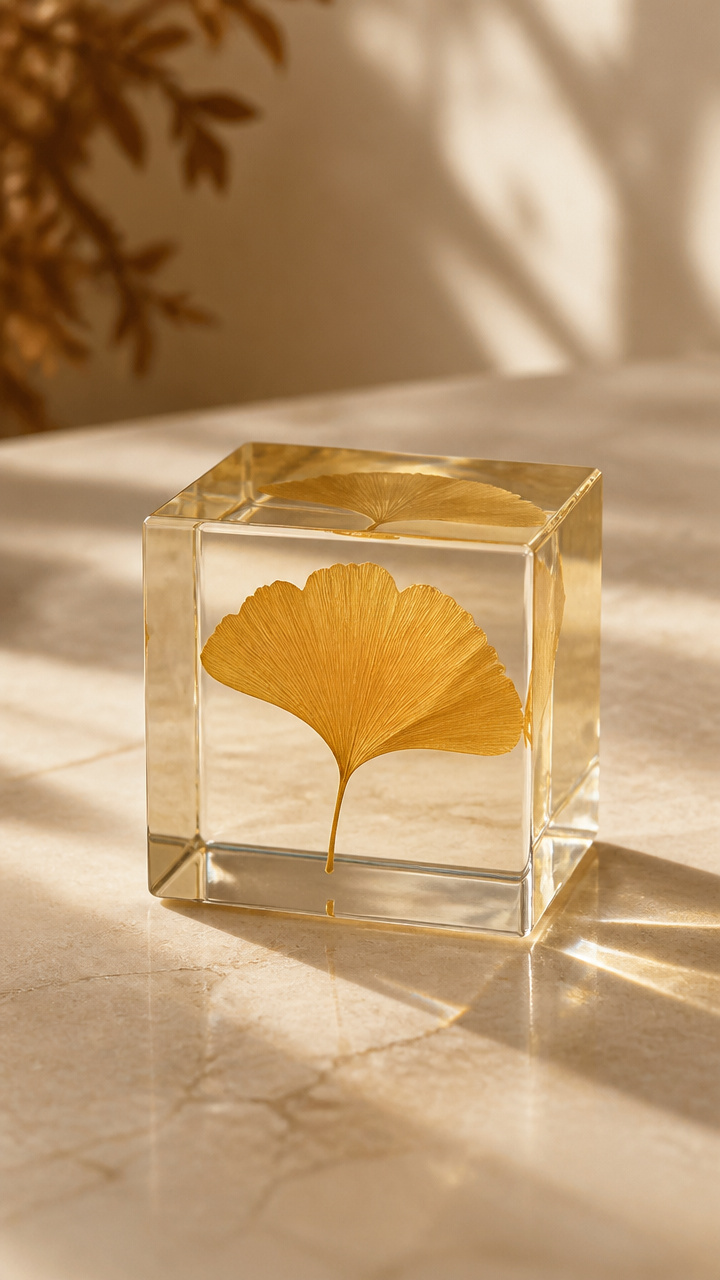
A real gingko leaf floats inside crystal-clear resin, sealed in a small mold that magnifies its fan shape. Set it on a desk to anchor your workspace with calm.
Materials Needed
- Silicone mold (2-inch cube)
- Epoxy resin kit (for casting)
- Gingko leaf (flat, dry)
- Disposable cups (2 oz, 2)
- Stir sticks
- Heat gun
How to Make It
- Mix resin and hardener in a cup according to kit instructions. Stir slowly for 2 minutes.
- Pour a thin layer into the mold. Let sit for 5 minutes to reduce bubbles.
- Place the gingko leaf on the surface, stem pointing down. Pour remaining resin to fill the mold.
- Pass the heat gun slowly over the surface to pop bubbles. Cure for 24 hours before unmolding.


11. Leaf Trace Suncatchers
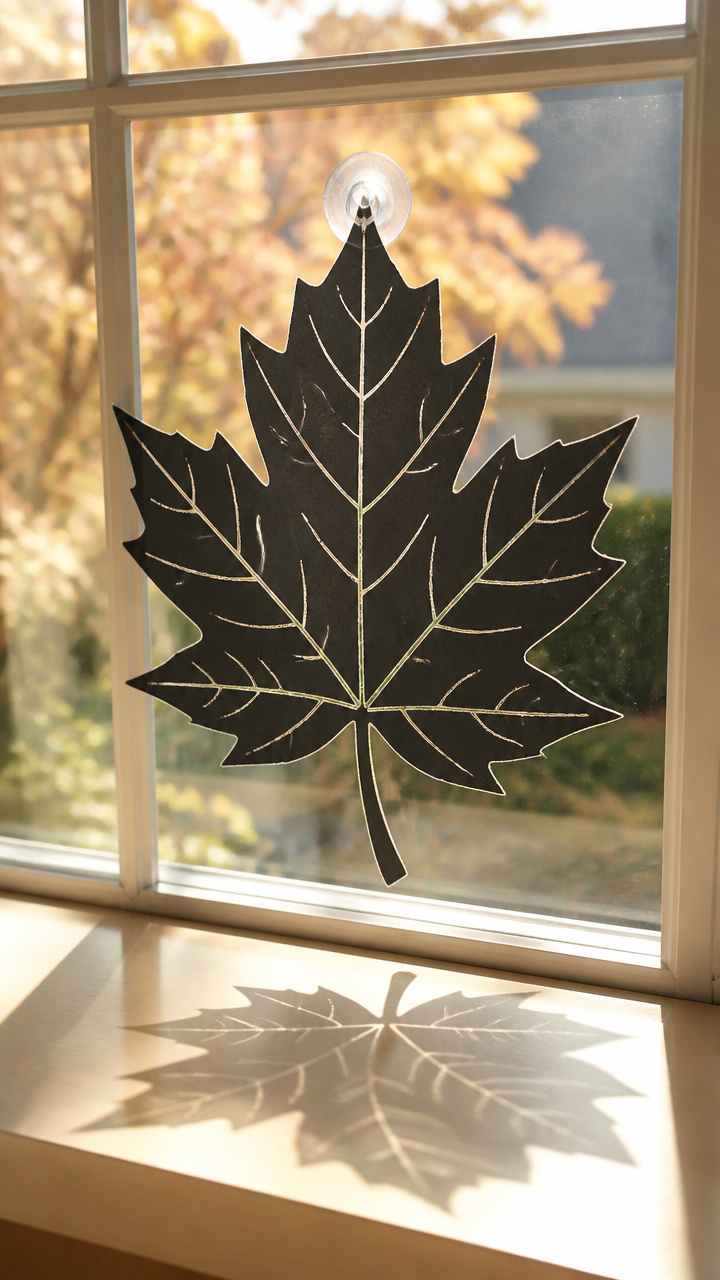
Black construction paper hosts white chalk outlines of real leaves, backlit by window light to mimic shadows on snow. Hang with clear tape where the sun hits.
Materials Needed
- Black construction paper (8.5×11 inches)
- White chalk pastel stick
- Real oak leaf
- Double-sided tape
- Scissors
- Clear adhesive shelf liner (12×12 inches)
How to Make It
- Cut the construction paper to fit the shelf liner. Tape it in place on the sticky side.
- Lay the oak leaf on the paper. Hold it steady and rub the chalk sideways across the surface to trace the shape.
- Remove the leaf to reveal a soft white silhouette.
- Peel the liner backing and stick the suncatcher directly to a clean window.


12. Leaf Stamp Table Runner
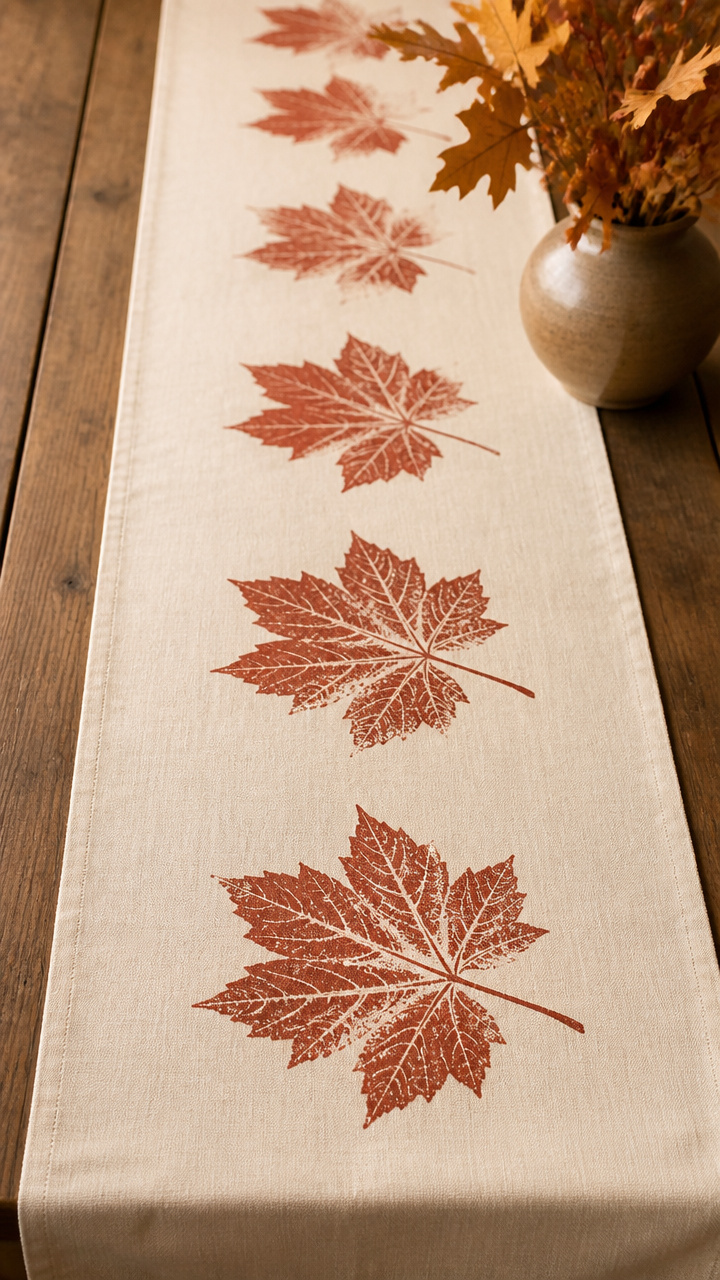
A long cotton runner gets stamped repeatedly with a carved linoleum block shaped like a sycamore leaf. The repeating pattern grounds your table in the season.
Materials Needed
- Unbleached cotton fabric (12×36 inches)
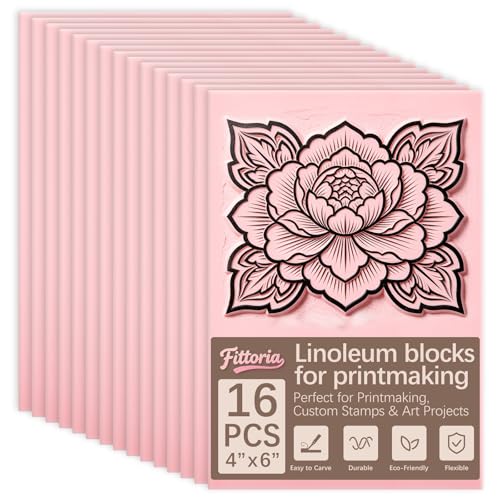
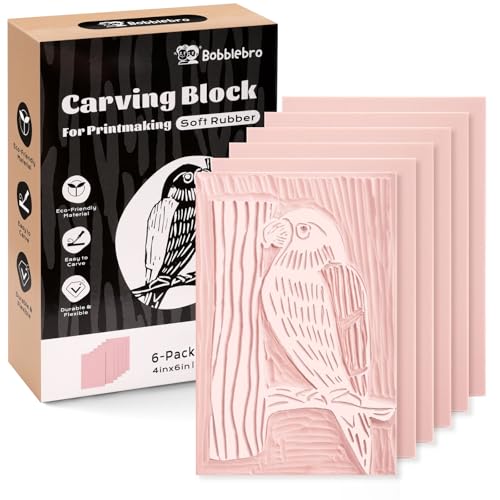
- Linoleum carving block (3×3 inches)
- Carving tools (set of 3)
- Fabric ink pad (burnt sienna)
- Brayer
- Iron
How to Make It
- Sketch a sycamore leaf on the linoleum block. Use carving tools to cut away the outer area, leaving the leaf raised.
- Roll the brayer over the ink pad until evenly coated. Roll over the carved block to apply ink.
- Press the block firmly onto one end of the fabric. Repeat, aligning each print closely but not touching.
- Let dry for 8 hours. Heat-set with an iron on cotton setting for 3 minutes.

13. Leaf-Inspired Knit Scarf
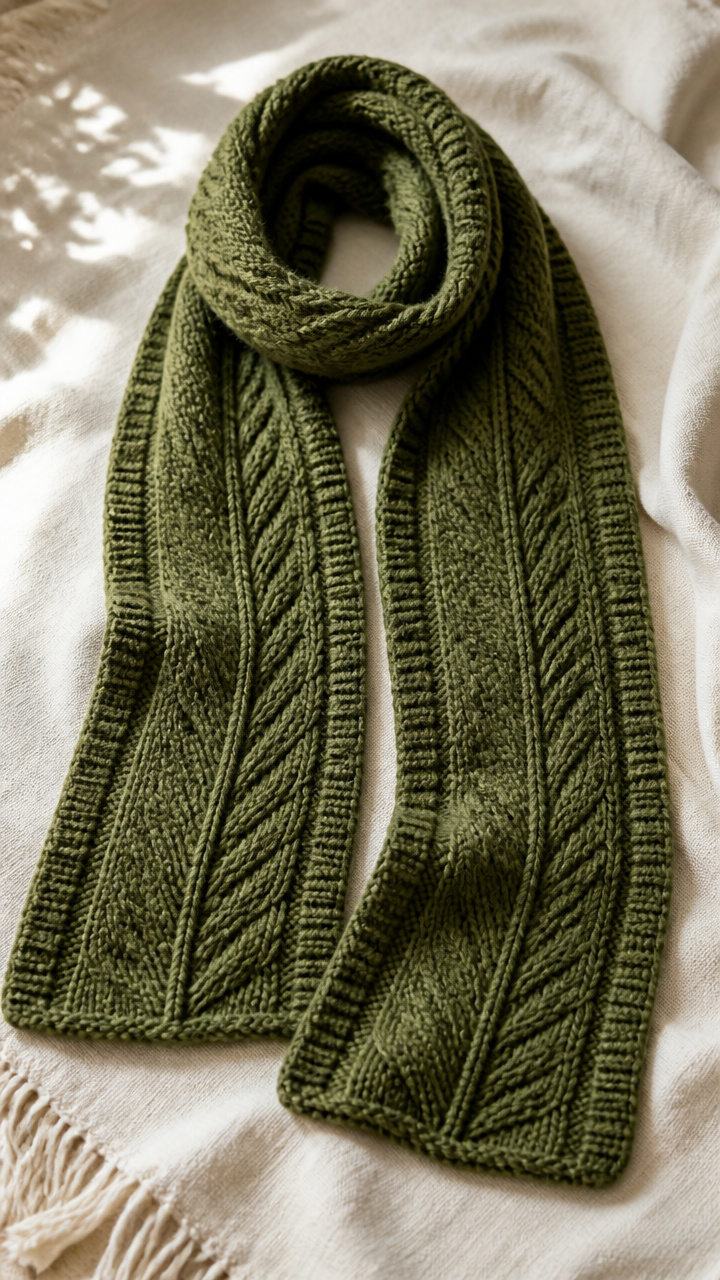
Mossy green yarn knits into a scarf with a central cable twist that mimics a leaf’s midrib. The ribbed edges curl like real foliage in the cold.
Materials Needed
- Worsted weight yarn (moss green, 200 yards)
- Knitting needles (size 7)
- Cable needle
- Scissors
- Yarn needle
How to Make It
- Cast on 24 stitches. Knit every row for 2 inches to create the ribbed edge.
- Begin the cable pattern: knit 8, slip 4 stitches to cable needle and hold in back, knit 4, then knit 4 from cable needle.
- Continue this pattern for 18 inches, keeping the first and last 8 stitches in knit for borders.
- Bind off loosely. Weave in ends with the yarn needle.


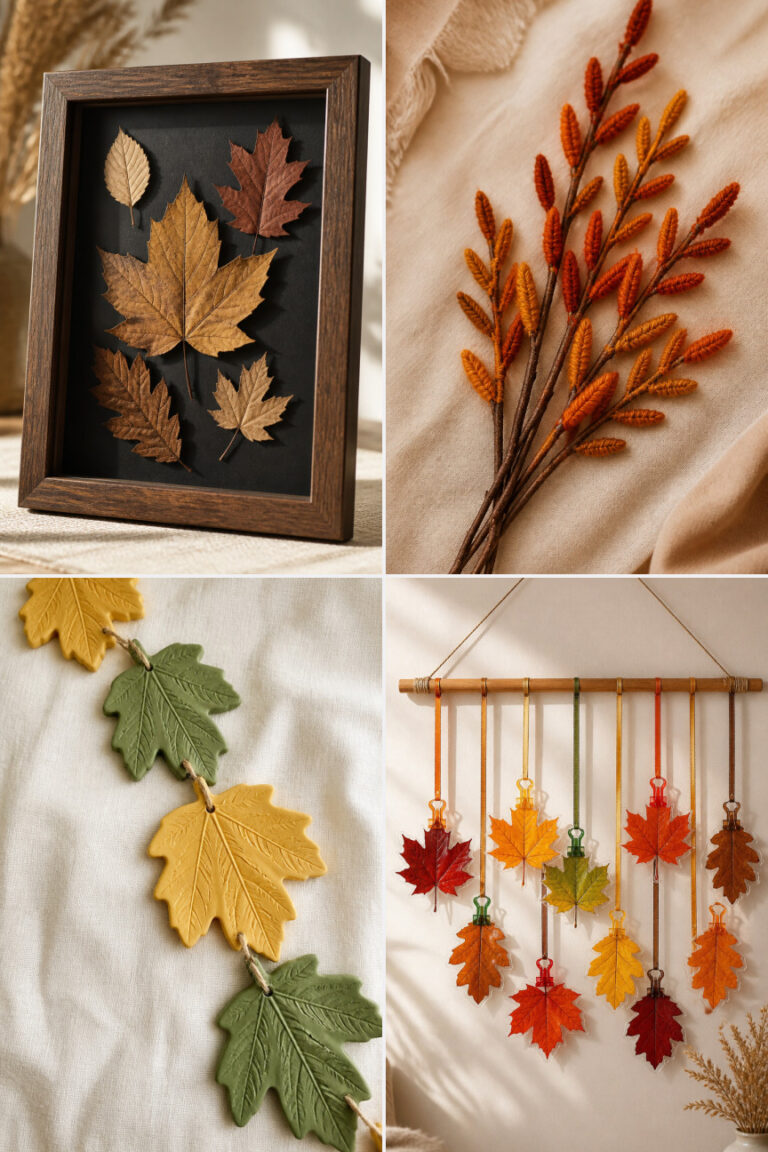
14. Leaf Shadow Box Display
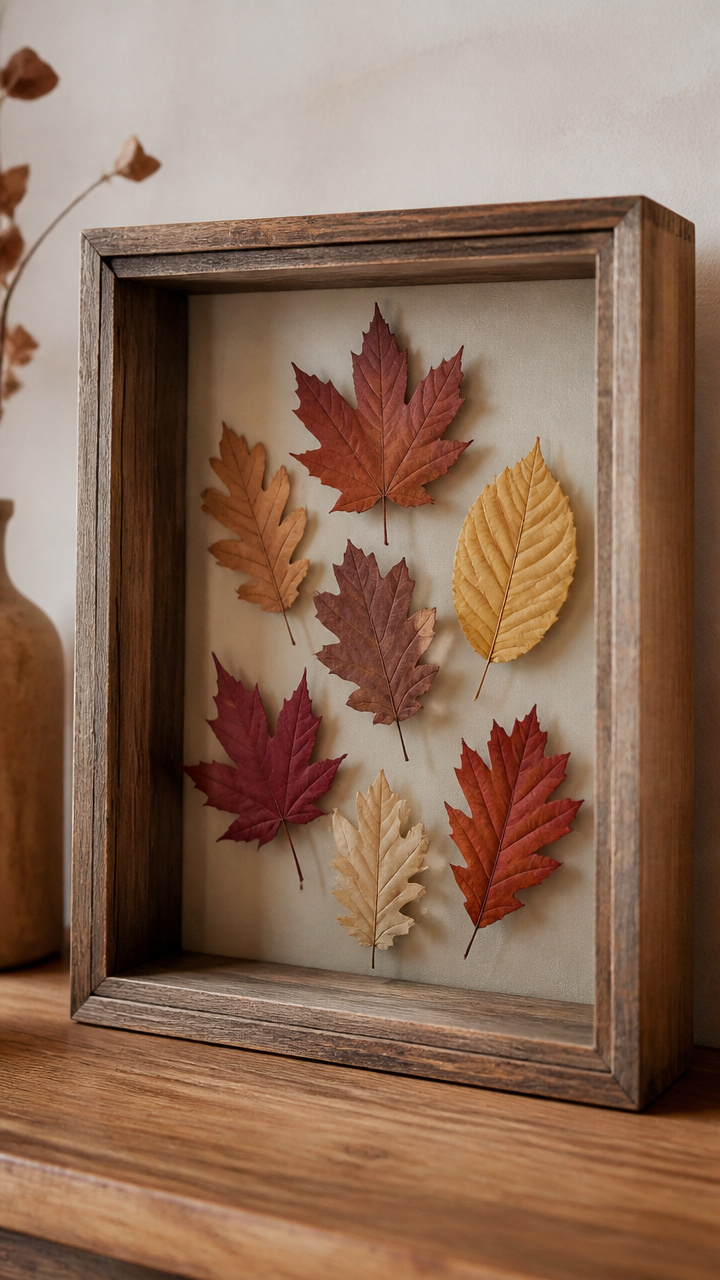
Seven real leaves mount at slight angles inside a deep wooden shadow box, creating layered depth and cast shadows. Natural variations make each arrangement unique.
Materials Needed
- Wooden shadow box (8×10 inches, 1.5 inch depth)
- 7 preserved leaves (mixed species)
- Hot glue gun
- Glue sticks
- Tweezers
- Level
How to Make It
- Arrange the leaves on a table to plan placement, overlapping slightly and varying heights.
- Heat the glue gun. Use tweezers to pick up each leaf and apply a pea-sized dab of glue to the bottom edge.
- Press each leaf into the shadow box, starting from the back. Hold for 10 seconds until set.
- Check alignment with the level. Close and hang the box on a wall with indirect light.


15. Leaf-Dyed Linen Napkins
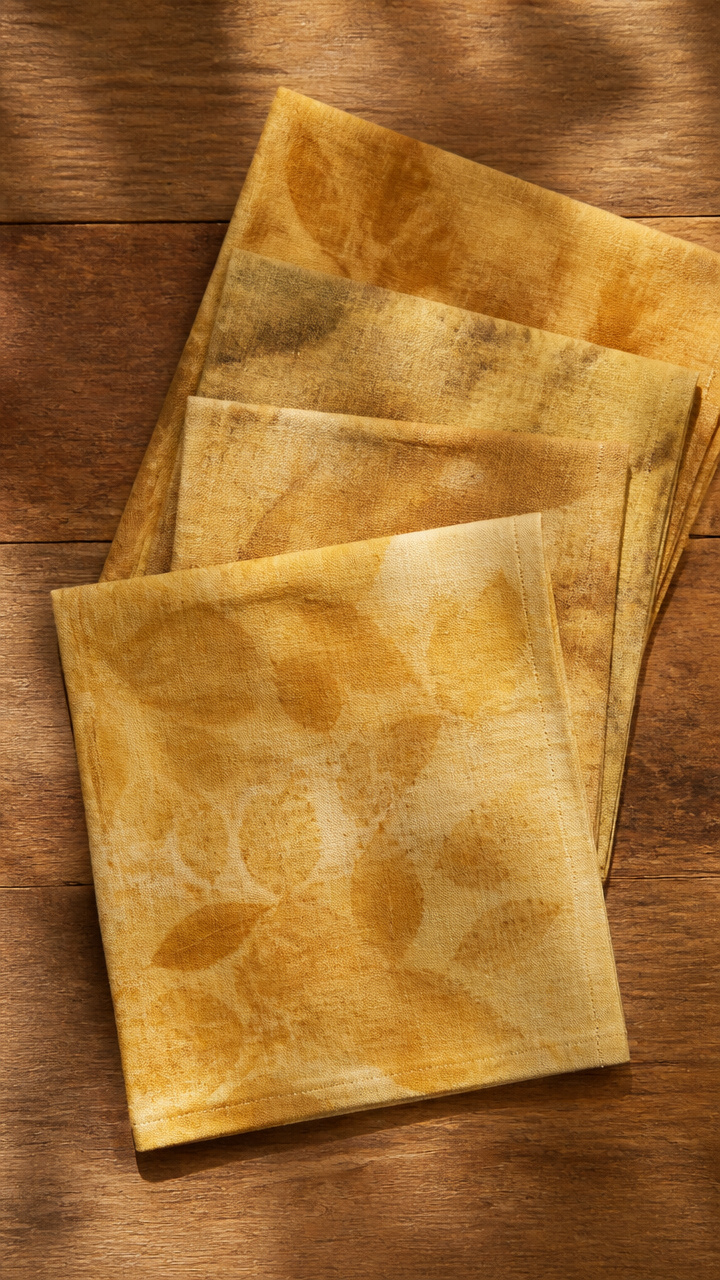
Butternut leaves simmer into a dye bath that stains cotton napkins in soft ochre tones. Each napkin absorbs color uniquely, like a fingerprint of fall.
Materials Needed
- Cotton napkins (white, 12×12 inches, 4)
- Fresh butternut leaves (10 handfuls)
- Large stainless steel pot
- Water (4 quarts)
- White vinegar (1 cup)
- Tongs
- Clothesline
How to Make It
- Bring water to a boil in the pot. Add butternut leaves and simmer for 45 minutes.
- Strain out leaves. Return liquid to pot and add vinegar. Submerge napkins and simmer for 30 minutes.
- Lift napkins with tongs and rinse under cool water until it runs clear.
- Hang to dry on the clothesline. Iron before use.


16. Leaf Vein Embroidery Hoop
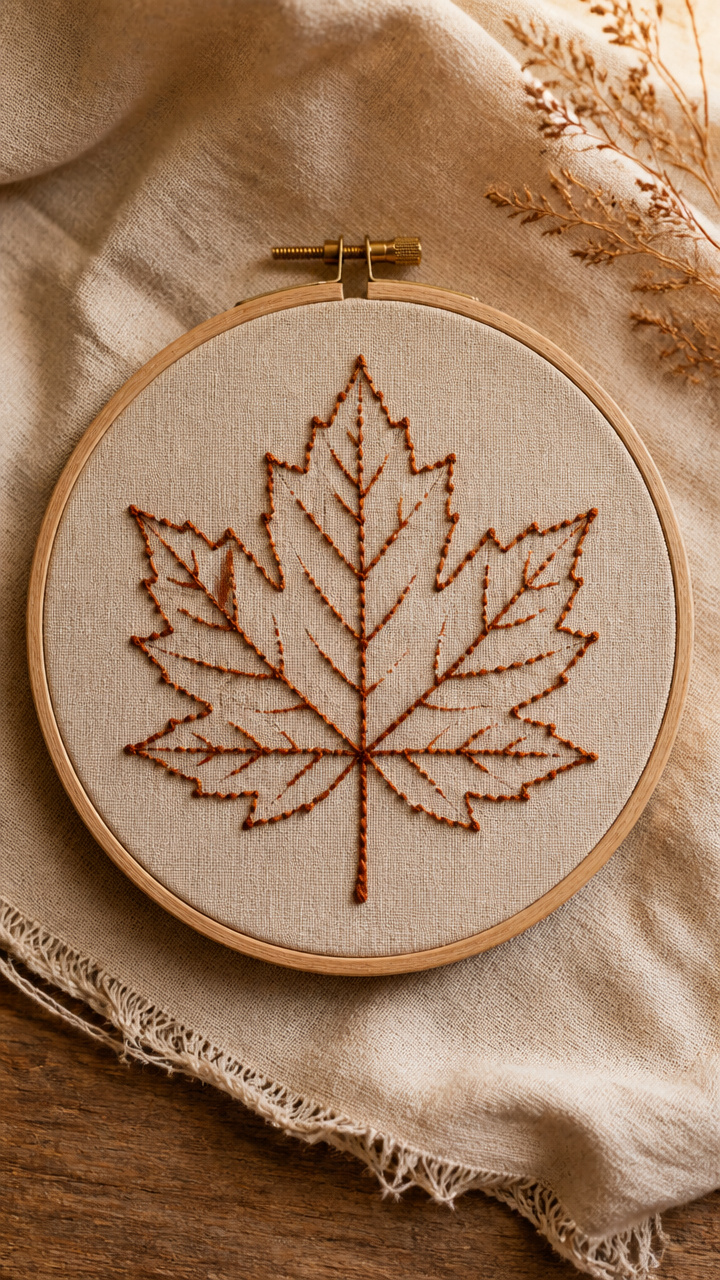
Raw linen stretches in an embroidery hoop, embroidered with French knots along a traced leaf vein. The texture invites touch and slows the eye.
Materials Needed
- Linen fabric (7 inches square)
- Embroidery hoop (6 inches)
- Embroidery floss (russet, 1 strand)
- Embroidery needle
- Pencil
- Real tulip poplar leaf
How to Make It
- Place the tulip poplar leaf under the linen. Trace the central vein lightly with pencil.
- Stretch the linen in the hoop tightly. Knot the floss at one end.
- Follow the pencil line with close French knots: bring needle up, wrap thread twice, pull through center to form a bump.
- Work from base to tip. Trim thread at the end and remove from hoop after finishing.


17. Leaf Mold Candles
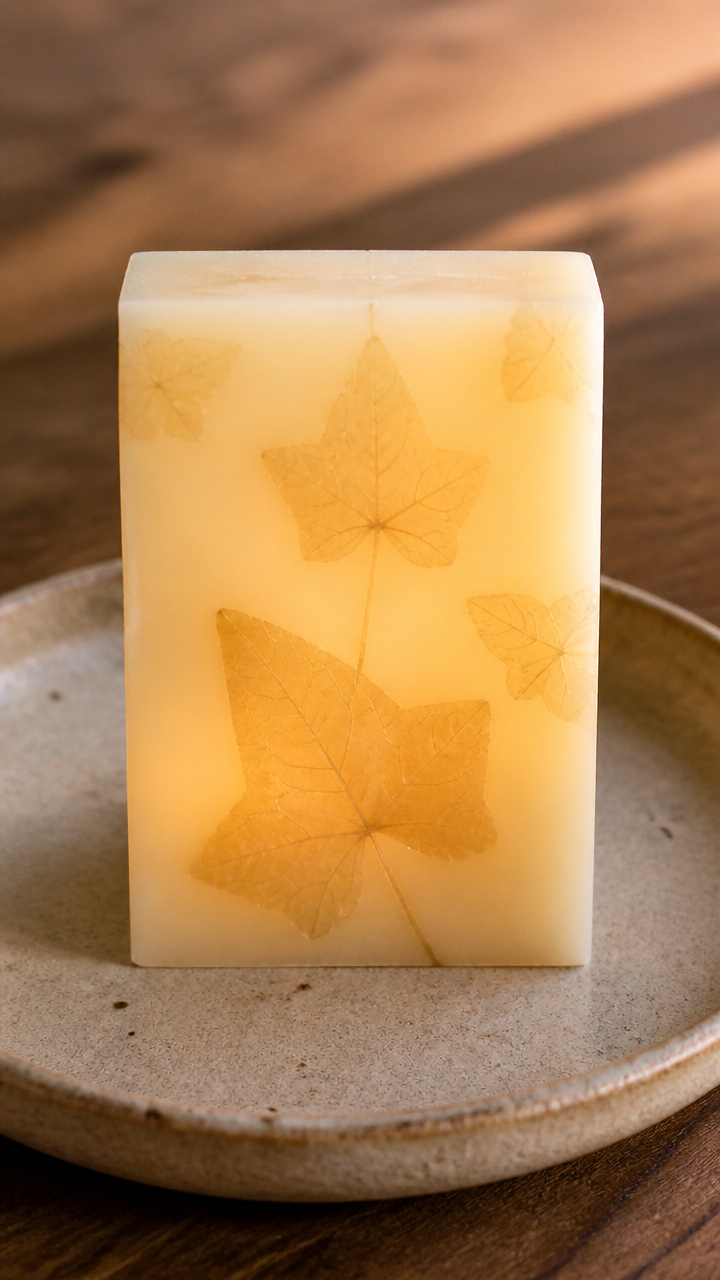
Real leaves press into soft candle wax, leaving behind negative-space imprints that glow when lit. The flicker makes the veins dance on nearby walls.
Materials Needed
- Paraffin wax blocks (8 oz)
- Wick (pre-tabbed, 3 inches)
- Aluminum candle mold (3×4 inches)
- Double boiler
- Real ivy leaf
- Paintbrush
- Scissors
How to Make It
- Melt wax in the double boiler over medium heat. Stir occasionally until fully liquid.
- Brush the inside of the mold with a thin layer of melted wax. Let harden for 5 minutes.
- Press the ivy leaf into the coating, vein side out. Carefully pour wax to fill the mold, leaving 1/2 inch at the top.
- Insert the wick into the center. Cool for 4 hours. Unmold and trim wick to 1/4 inch.


18. Leaf Print Gift Tags
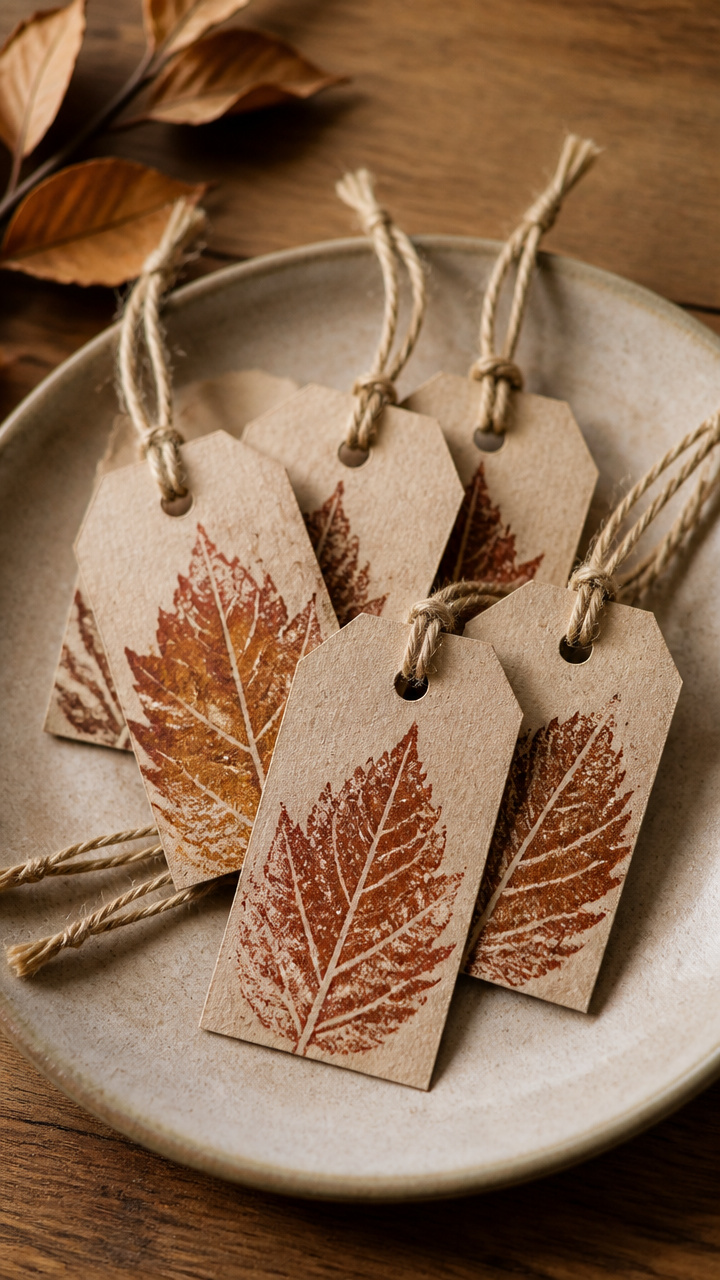
Tiny prints of real beech leaves stamp onto recycled card tags, tied with jute for a natural finish. These add a personal touch to any wrapped gift.
Materials Needed
- Recycled cardstock (2×3 inch tags, 10)
- Beech leaf (small)
- Acrylic paint (burnt umber, small dollop)
- Foam sponge (1 inch square)
- Jute twine (12 inches per tag)
- Hole punch
How to Make It
- Dab the sponge into the paint. Lightly tap off excess on scrap paper.
- Press the beech leaf paint-side down onto a tag. Lift straight up to avoid smudging.
- Repeat for all tags. Let dry for 2 hours.
- Punch a hole at the top. Thread jute twine through and knot.


19. Leaf Weaving Wall Hanging
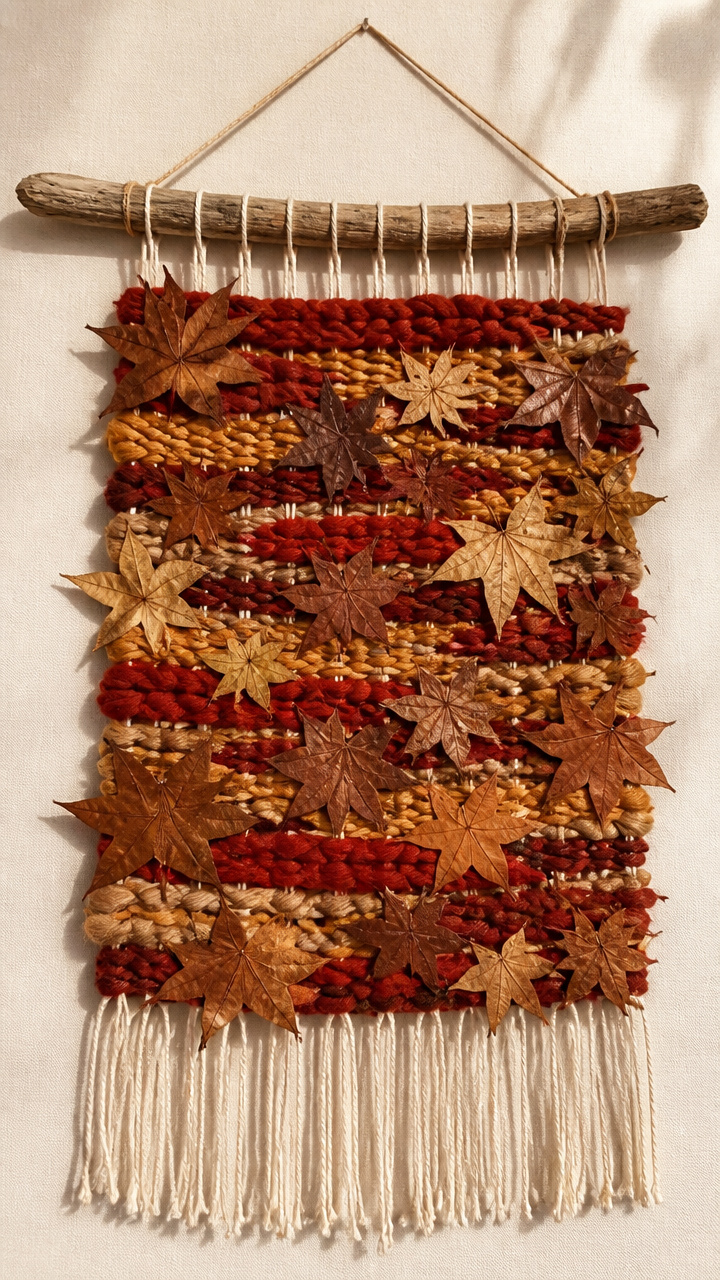
Thin strips of dyed wool weave around vertical cords, accented with real pressed leaves tucked into the pattern. The result hangs like a tapestry of the forest floor.
Materials Needed
- Driftwood branch (10 inches long)
- Cotton warp cord (6 strands, 18 inches long)
- Wool yarn strips (red, gold, 1/2 inch wide, 12 inches each)
- Pressed sweetgum leaves (3)
- Scissors
- Tapestry needle
How to Make It
- Tie the warp cords to the driftwood at even intervals. Stretch them vertically downward.
- Weave red and gold yarn horizontally through the cords using an over-under pattern. Pack each row snugly.
- Slide a pressed sweetgum leaf between rows at three points, letting it peek from the weave.
- Thread the needle to secure loose ends. Trim excess yarn.


20. Leaf Ice Lantern

Leaves tuck between layers of water as it freezes into a bowl-shaped lantern. When lit from within, the ice glows with suspended gold and crimson.
Materials Needed
- Plastic bowl (6 inch diameter)
- Water (3 cups)
- Assorted colorful leaves (5)
- Tealight candle (battery-operated)
- Freezer
- Rubber gloves
How to Make It
- Fill the bowl halfway with water. Float 2 leaves on the surface. Freeze for 4 hours.
- Add another cup of water and place 3 more leaves on top. Freeze for 6 hours.
- Run warm water over the outside of the bowl to release the ice. Wear gloves to handle.
- Place the tealight in the center. Set the lantern outside on a stable surface at dusk.


You don’t need a studio or rare supplies to make something that feels true to the season. With leaves gathered from your walk and tools from the cupboard, you’ve got everything you need to begin. Pick one project and start today.