20 Apple Craft Ideas for Fall

The crisp air and golden light of fall bring a quiet joy that settles into your hands when you start creating. Apples, with their rich reds and soft curves, become more than fruit, they turn into inspiration for cozy handmade moments.
Each of these crafts uses apples in a different way, from printing with slices to building tiny scenes with dried cores. You’ll find projects that fill your home with warmth and others that make thoughtful gifts wrapped in autumn’s charm.
1. Apple Slice Salt Dough Ornaments
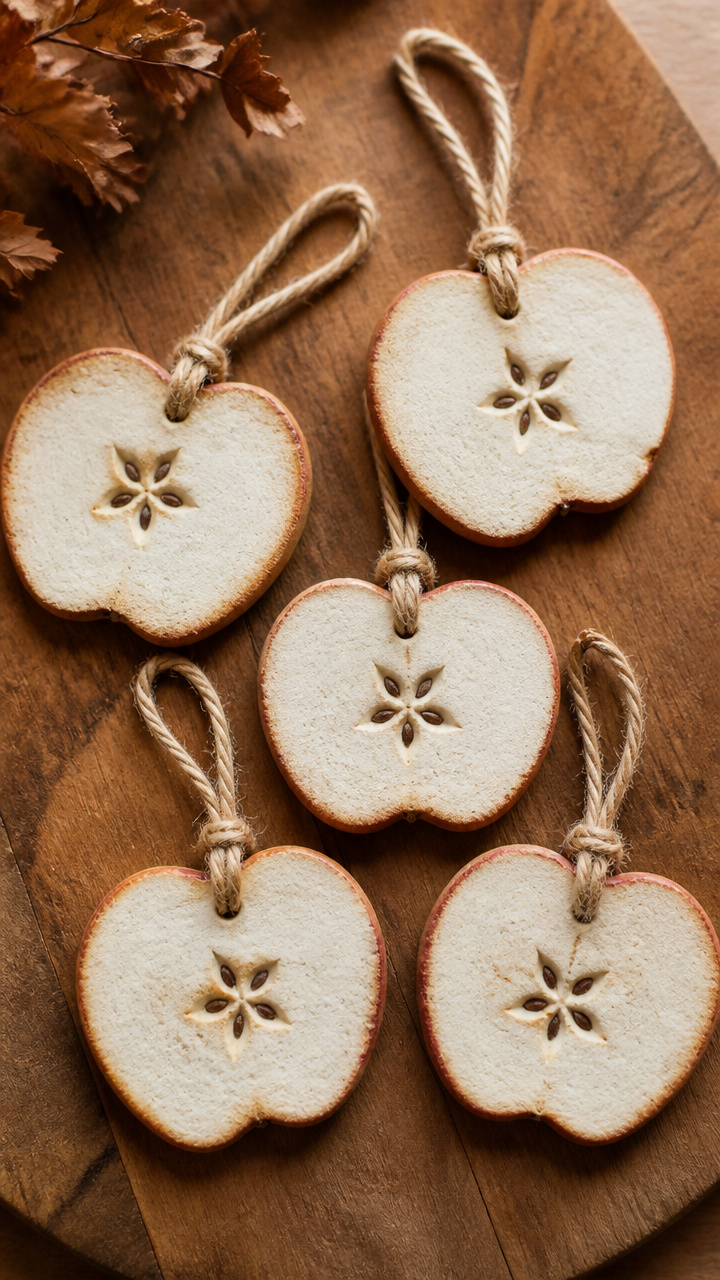
Crisp apple slice shapes hold the memory of fall in textured dough that dries firm and light. Thread them with twine and hang them on a mantel or tree.
Materials Needed
- 2 cups all-purpose flour
- 1 cup fine sea salt
- 1 cup warm water
- 1 medium apple
- Paring knife
- Drinking straw
- Baking sheet
- Parchment paper
- Ribbon or jute twine
How to Make It
- Mix flour, salt, and warm water in a bowl until a smooth dough forms, kneading by hand for 3 minutes.
- Roll the dough to 1/4 inch thickness on a floured surface using a rolling pin.
- Cut out apple shapes with a 3-inch apple-shaped cookie cutter, re-rolling scraps as needed.
- Press a thin apple slice gently into the center of each ornament to imprint texture, then lift carefully.
- Use a drinking straw to punch a hole at the top edge for hanging.
- Place ornaments on a parchment-lined baking sheet and bake at 200°F for 3 hours, turning once halfway through.
- Let cool completely, then thread with ribbon or twine.


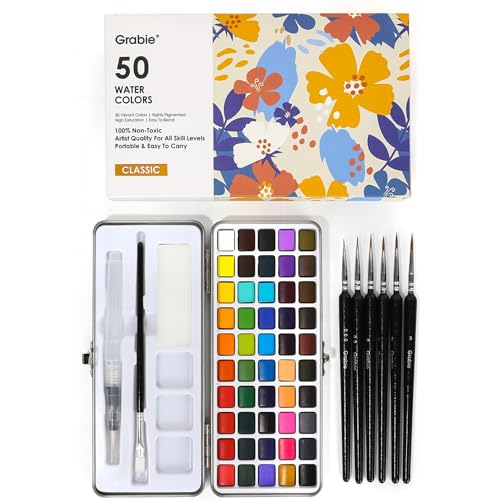
2. Watercolor Apple Branch Wall Art
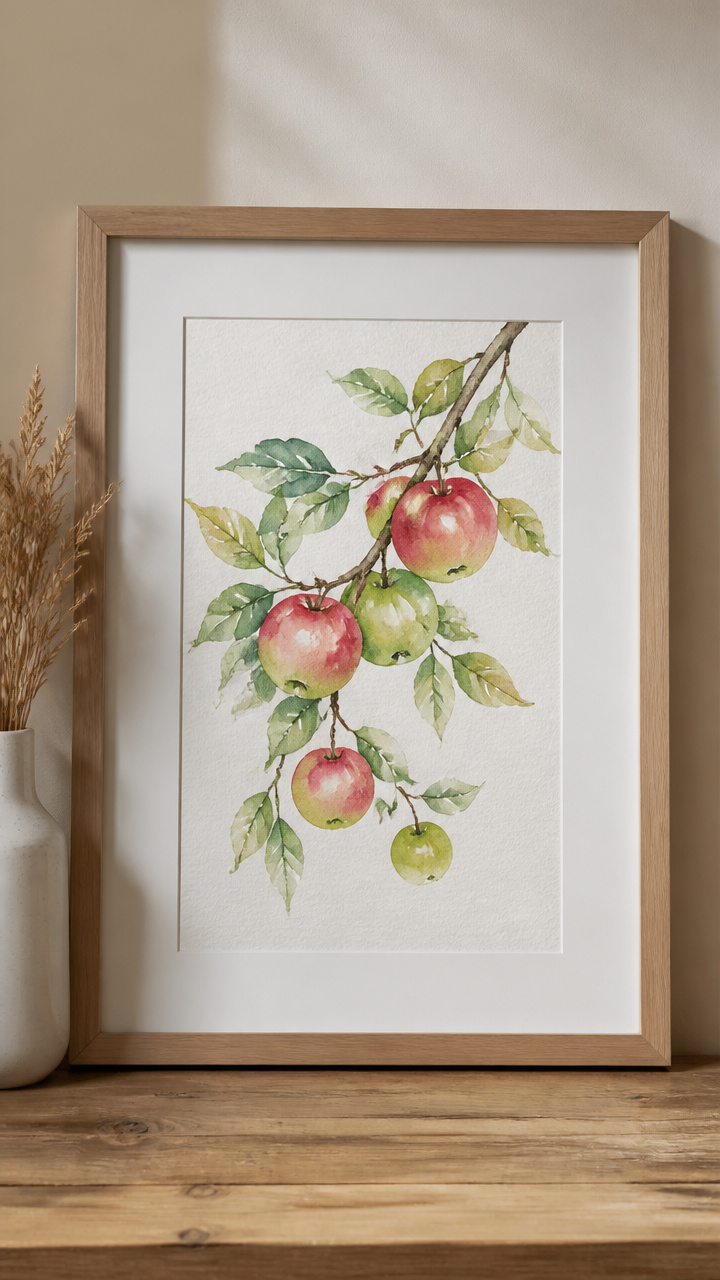
Soft washes of red and green bloom across heavy paper to form a graceful apple branch. This framed piece brings gentle color to any room.
Materials Needed
- 9×12 inch watercolor paper
- Red watercolor paint
- Green watercolor paint
- Brown watercolor paint
- Size 6 round watercolor brush
- Jar of water
- Paper towel
- Black fine-tip waterproof pen
- 8×10 inch picture frame
How to Make It
- Wet the watercolor paper lightly with clean water using the brush, focusing on where the branch will go.
- Mix red watercolor with water to a light consistency and paint apple shapes along an imagined diagonal line.
- Add touches of green for unripe apples, letting colors bleed slightly into one another.
- Use brown paint to draw a twisting branch connecting the apples, varying line thickness for realism.
- Let dry completely, then go over key lines with the black pen to define stems and edges.
- Trim to fit the frame and insert into the 8×10 inch picture frame.


3. Apple Core Pomanders
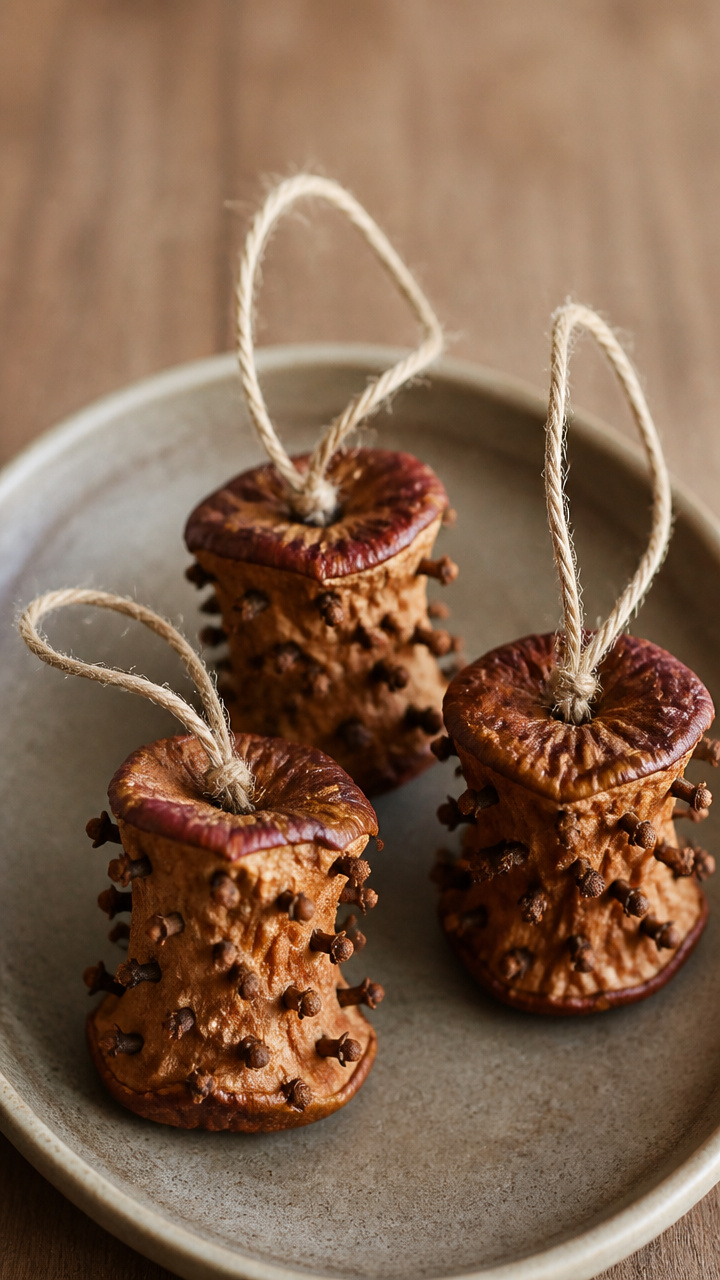
Dried apple cores studded with cloves release a spicy-sweet scent that lingers for weeks. These small spheres are natural air fresheners with vintage charm.
Materials Needed
- 4 apple cores (from medium apples)
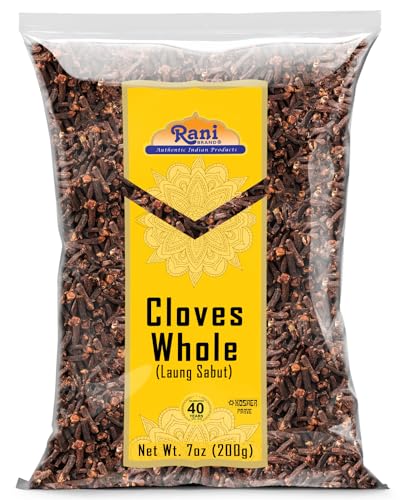
- Whole cloves
- Small bowl of ground cinnamon
- Toothpicks
- Twine
- Baking sheet
- Parchment paper
How to Make It
- Push cloves into each apple core using your fingers or a toothpick, covering the surface densely in a spiral pattern.
- Roll each clove-studded core in ground cinnamon to coat completely.
- Place on a parchment-lined baking sheet and bake at 175°F for 6 hours, turning every 2 hours.
- Let cool, then tie a loop of twine around each for hanging in closets or drawers.


4. Felt Apple Pin Cushions
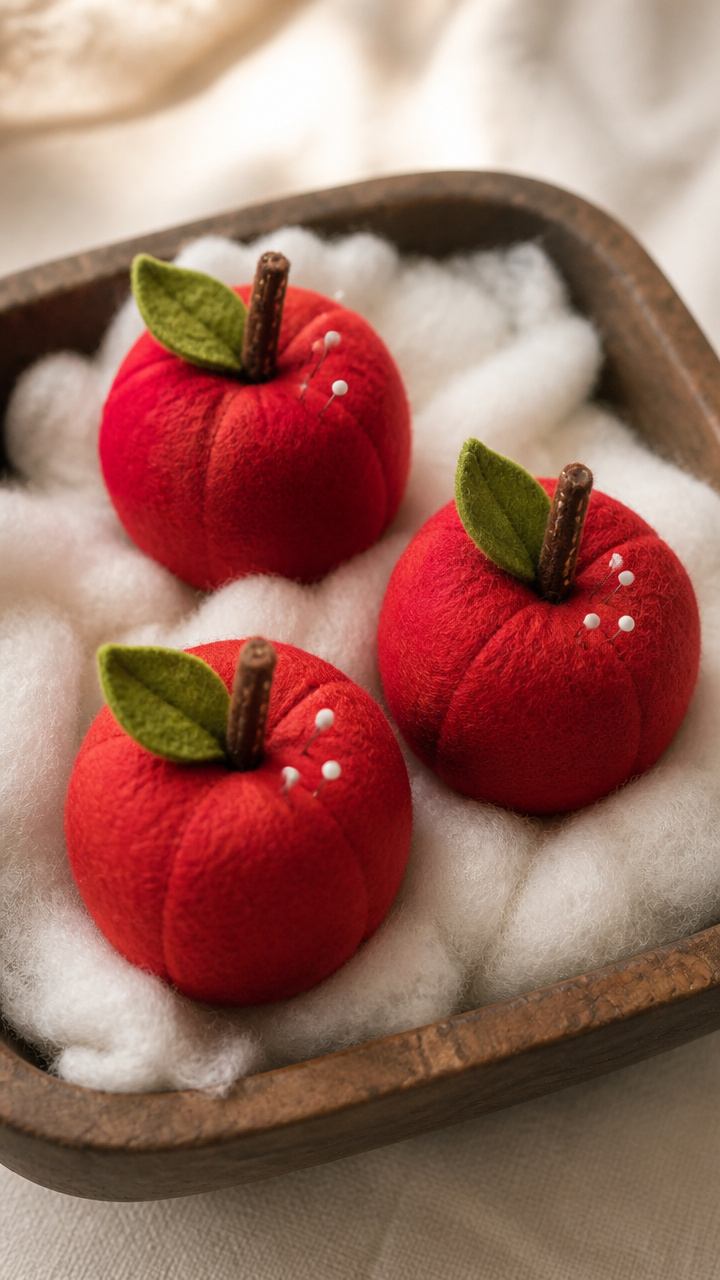
Plump red felt apples with brown stems sit snugly on your sewing table. They cushion pins and add a pop of harvest color.
Materials Needed
- Red wool-blend felt sheet
- Green craft felt
- Brown embroidery floss
- Polyester fiberfill
- Sharp scissors
- Embroidery needle
- Straight pins
- Tailor's chalk
How to Make It
- Draw two 3-inch apple shapes on the red felt using tailor's chalk and cut them out.
- Cut a 1-inch green leaf shape and a 2-inch brown stem piece from their respective felts.
- Sew the leaf to the top center of one apple piece using a running stitch with green thread.
- Sew the stem below the leaf with brown floss using small backstitches.
- Place both red pieces right sides together and sew around the edge with a whipstitch, leaving a 1-inch gap.
- Turn right side out, stuff firmly with fiberfill, then close the gap with a ladder stitch.


5. Apple Stamp Gift Tags
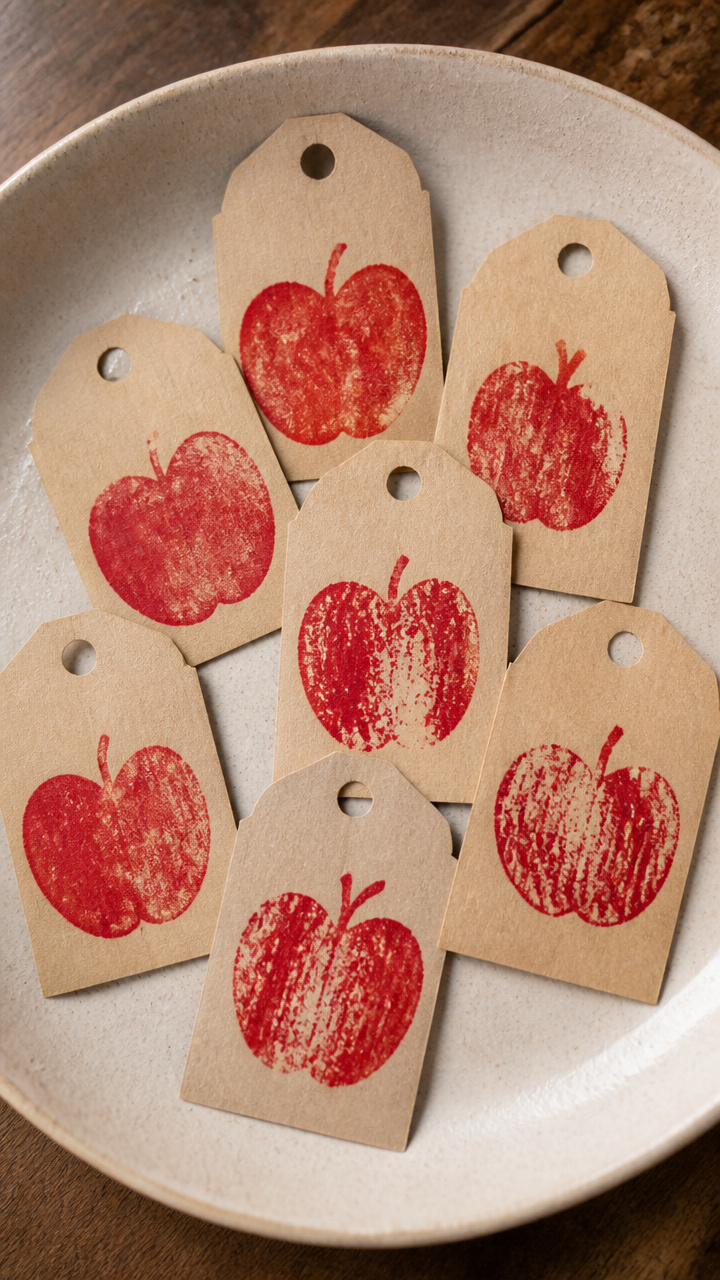
Fresh apple halves pressed in ink create unique gift tags with organic patterns. Each print varies slightly, making every tag one of a kind.
Materials Needed
- 2 red apples
- Kitchen knife
- Red rubber stamp pad
- 20 kraft paper gift tags
- Black fine-tip marker
- Hole punch
- Jute string
How to Make It
- Cut each apple in half crosswise through the core using a sharp kitchen knife.
- Press one apple half firmly onto the red stamp pad to coat the flesh evenly.
- Stamp the apple half onto a kraft tag, applying even pressure without sliding.
- Repeat for all tags, re-inking the apple every 2 to 3 stamps.
- Let dry for 5 minutes, then write names or messages with the black marker.
- Punch a hole in the top corner of each tag and thread with a 6-inch piece of jute string.


6. Mini Apple Wreath
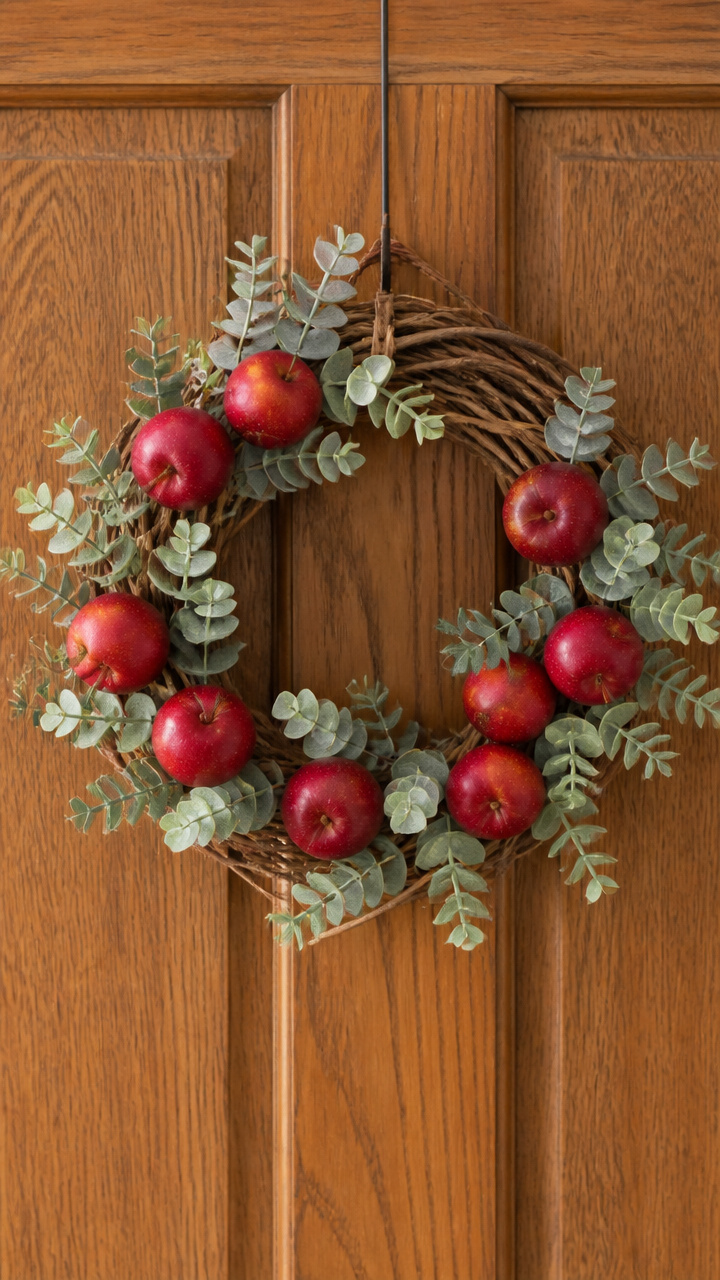
Tiny faux apples nestle into a grapevine base to form a door wreath full of autumn texture. It hangs lightly and lasts season after season.
Materials Needed
- 8-inch grapevine wreath base
- 12 miniature red foam apples (1 inch diameter)
- Hot glue gun
- Hot glue sticks
- Wire cutters
- Preserved eucalyptus sprigs (6)
- Floral wire (18 gauge)
How to Make It
- Trim eucalyptus sprigs to 3 inches using wire cutters and set aside.
- Apply a dot of hot glue to the bottom of each foam apple and press it into the grapevine base, spacing them evenly around the lower half.
- Tuck eucalyptus sprigs between apples, securing each with a dab of hot glue.
- Wrap floral wire around the top of the wreath to form a hanger, twisting ends tightly at the back.


7. Apple Seed Mosaic Frame
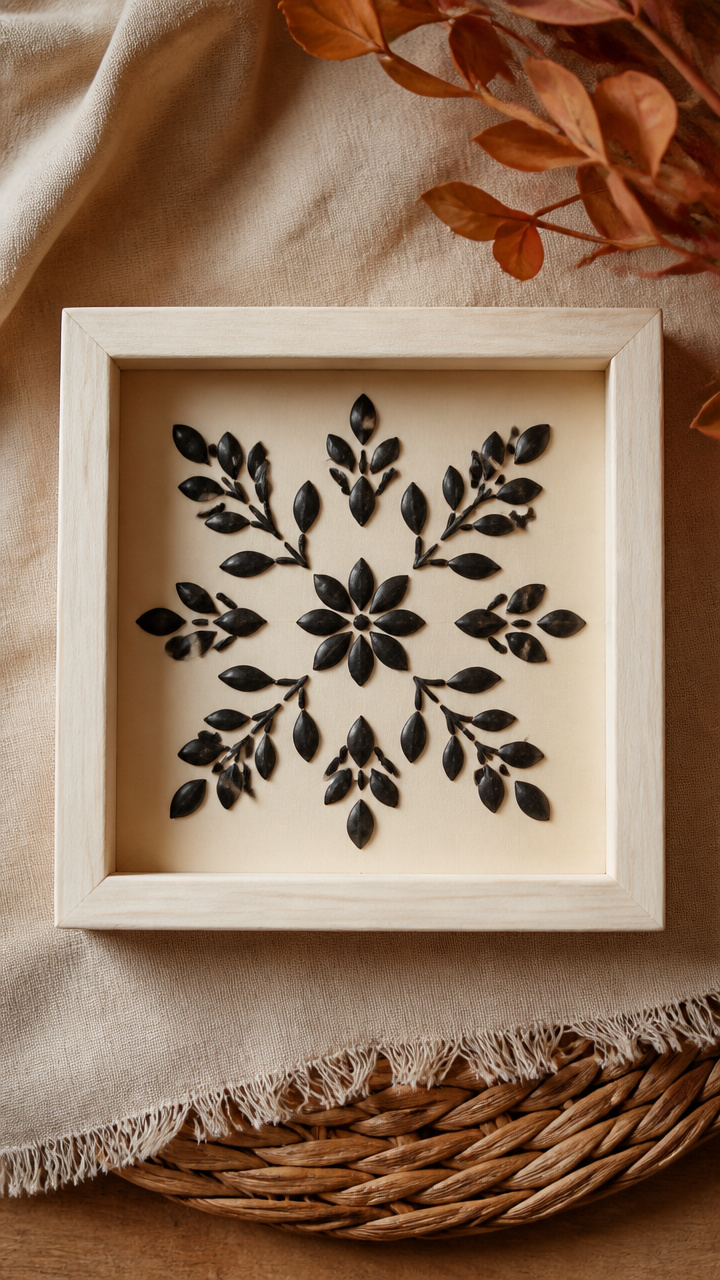
Dark apple seeds form delicate patterns inside a wooden frame’s border. The contrast of black seeds against pale wood creates quiet elegance.
Materials Needed
- 6×6 inch unfinished wooden shadow box frame
- Seeds from 5 apples
- White craft glue
- Toothpicks
- Tweezers
- Small bowl
- Paper plate
How to Make It
- Lay the frame face down and apply a thin line of white craft glue along the outer edge of the front border using a toothpick.
- Pick up one seed at a time with tweezers and place it flat-side down into the glue, pressing gently.
- Continue placing seeds side by side in a single row all around the frame, using a paper plate to catch drips.
- Let dry for 4 hours undisturbed before standing upright.


8. Apple Cinnamon Simmer Pot
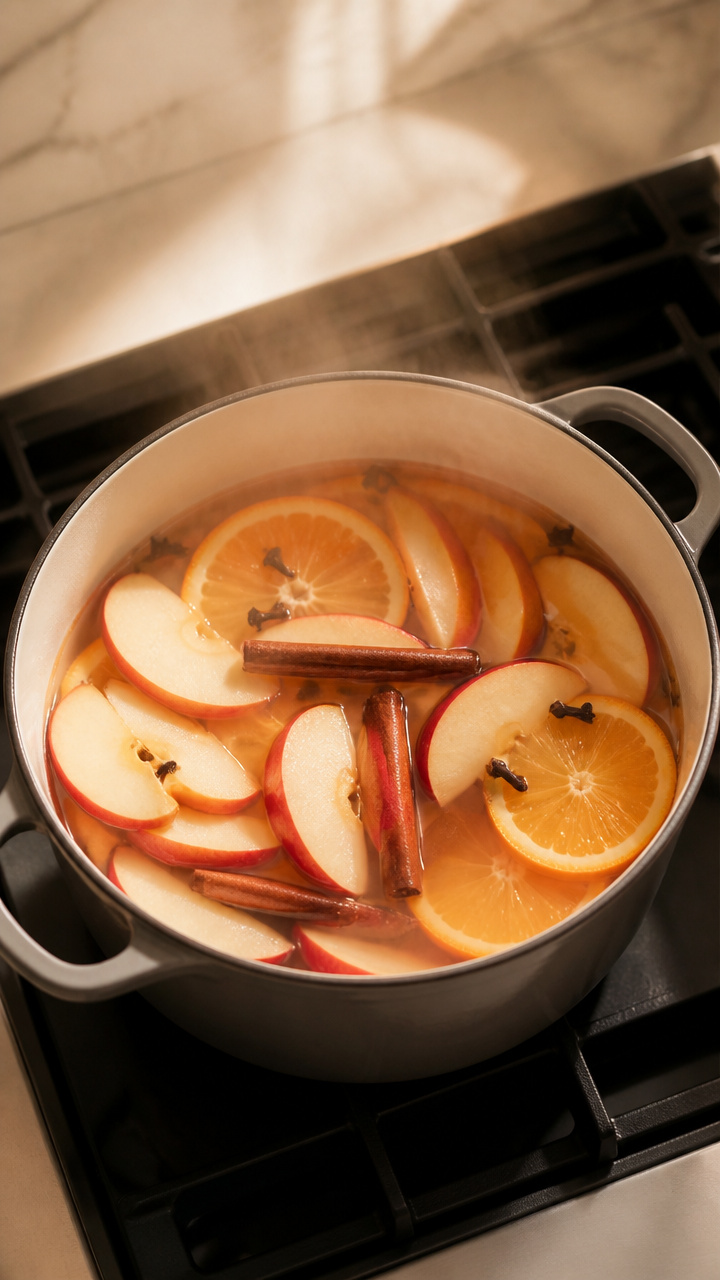
Sliced apples and cinnamon sticks bubble gently on your stove to scent the house with fall. This no-waste pot simmers for hours and costs almost nothing.
Materials Needed
- 2 apples
- 2 cinnamon sticks (3 inches long)
- 1 orange
- 10 whole cloves
- Large saucepan
- 4 cups water
How to Make It
- Slice both apples into 1/4 inch rounds and place them in the saucepan.
- Cut the orange into quarters and add to the pot with the cinnamon sticks and cloves.
- Pour in 4 cups of water to cover the ingredients.
- Bring to a boil over medium heat, then reduce to low and simmer uncovered for 2 to 3 hours, adding water if level drops below ingredients.


9. Apple Peel Cord
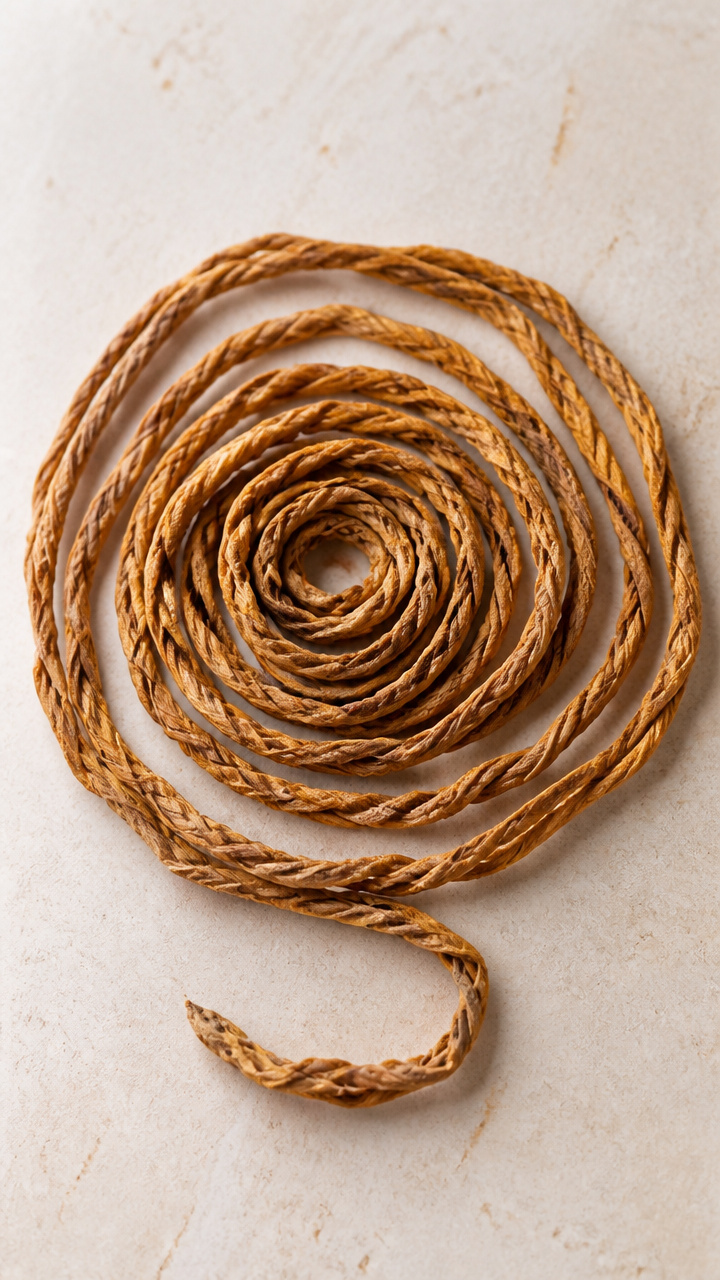
Long, spiraled apple peels are dried and twisted into rustic cord for wrapping small jars or bundling herbs. The natural tan coils like vine.
Materials Needed
- Peels from 6 red apples
- Vegetable peeler
- Baking sheet
- Parchment paper
- Glass bottle (8 oz)
- Scissors
How to Make It
- Use a vegetable peeler to remove peels from apples in one continuous strip per apple.
- Lay peels flat on a parchment-lined baking sheet without overlapping.
- Dry in an oven set to 170°F for 2 hours, checking often to prevent browning.
- Remove and let cool for 5 minutes, then twist two strips together to form a cord.
- Wrap loosely around an 8 oz glass bottle to shape, then unwind and cut to desired lengths with scissors.
10. Apple Core Clay Sculptures
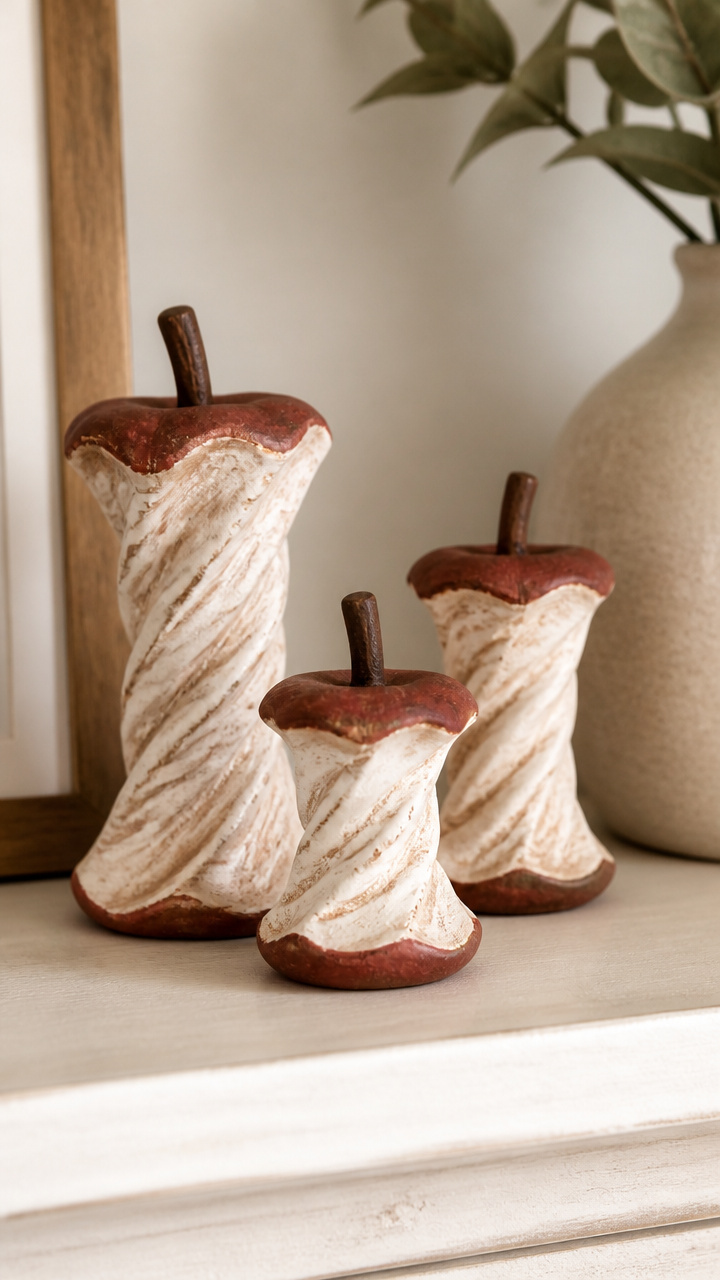
Air-dry clay shaped like apple cores sits on shelves as whimsical decor. The spiral grooves mimic real cores and hold tiny details.
Materials Needed
- White air-dry clay (8 oz block)
- Apple core reference photo
- Craft knife
- Sandpaper (220 grit)
- Acrylic paint: brown and beige
- Paintbrush size 2
- Varnish (matte finish)
How to Make It
- Knead the clay until soft, then roll it into a cone shape 3 inches tall.
- Use the craft knife to carve a spiral groove down the center, widening slightly at the base.
- Shape five seed pockets inside the groove using the tip of the knife.
- Let dry for 24 hours, then smooth rough edges with sandpaper.
- Paint the interior seeds beige and the outer surface mottled brown with the brush.
- Once dry, seal with one coat of matte varnish.


11. Apple Wax Dipped Leaves
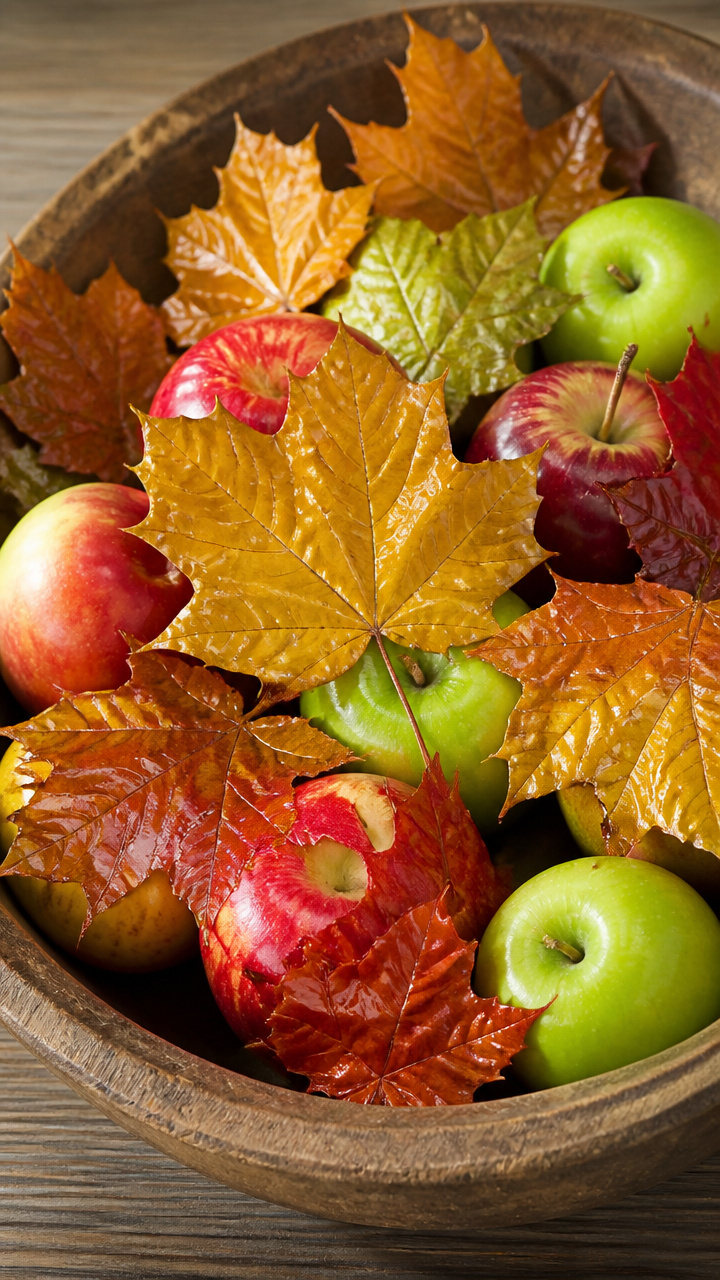
Real maple leaves dipped in paraffin wax stay supple and shiny for months. Nestle them among apples in a bowl centerpiece.
Materials Needed
- 5 fresh maple leaves
- 1 lb paraffin wax flakes
- Double boiler
- Tongs
- Parchment paper
- Cardboard box
How to Make It
- Fill the double boiler with water and heat over medium until steaming, then add wax flakes and stir until fully melted.
- Use tongs to dip each leaf into the wax for 3 seconds, letting excess drip off.
- Lay each leaf flat on parchment paper and let harden for 2 minutes.
- Store flat in a cardboard box away from heat until ready to use.


12. Apple Slice Garland
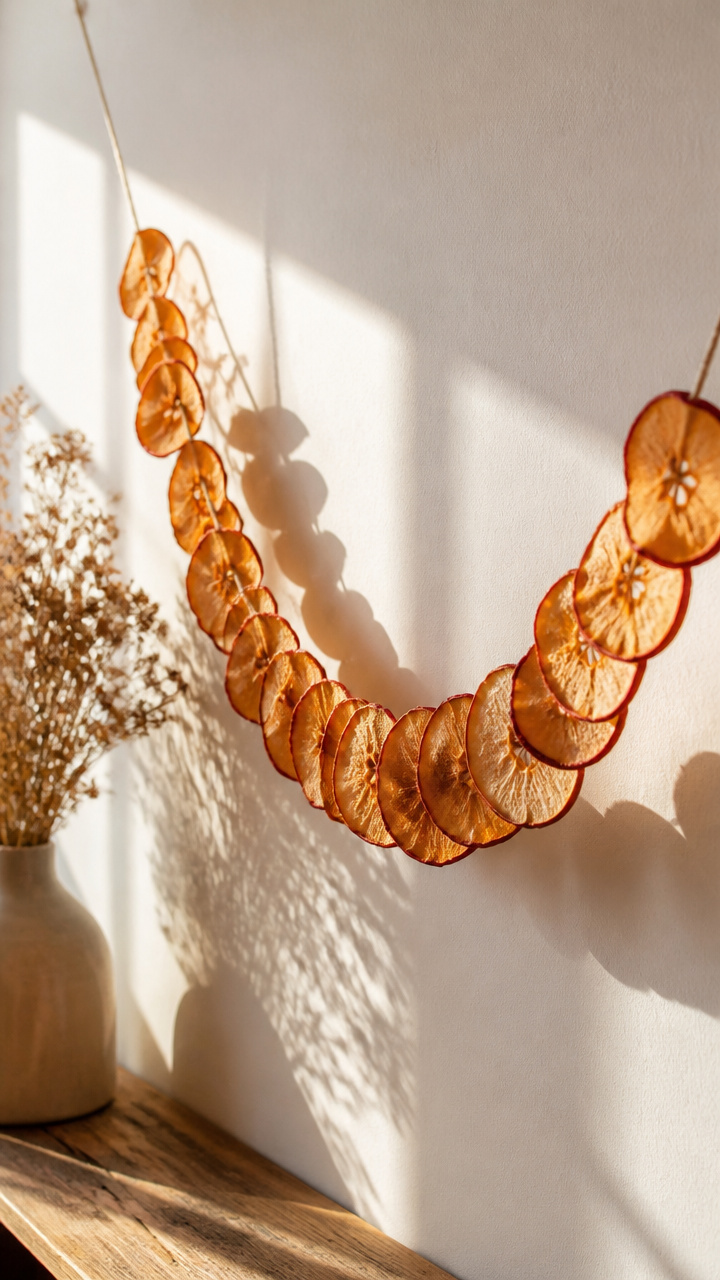
Thin apple rounds shrink and darken as they bake into lightweight garland discs. String them across a window or beam for sunlit texture.
Materials Needed
- 5 apples
- Chef's knife
- Cutting board
- Baking sheet
- Parchment paper
- Straw
- 2 yards cotton yarn
- Needle with large eye
How to Make It
- Slice each apple into 1/4 inch rounds using a chef's knife on a cutting board.
- Remove seeds with the tip of the knife.
- Arrange slices on a parchment-lined baking sheet without touching.
- Bake at 200°F for 1 hour, flip, then bake 1 more hour until leathery but not brittle.
- Let cool, then use a straw to poke a hole through the center of each slice.
- Thread slices onto cotton yarn using a needle, spacing them 1 inch apart.
13. Apple Crisp Soap Bars
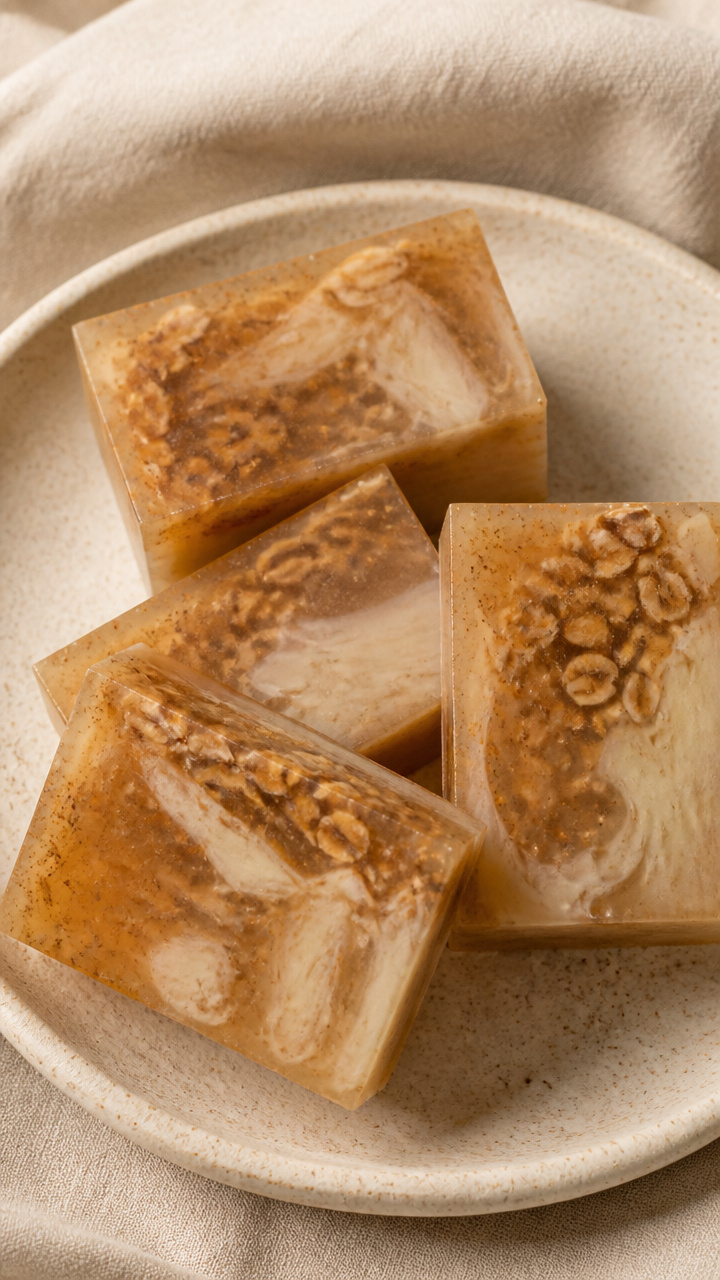
Oatmeal and cinnamon swirl into ivory soap base for bars that look like dessert. They lather softly and scent your sink with spice.
Materials Needed
- 1 lb clear glycerin soap base
- 1 tablespoon rolled oats
- 1/2 teaspoon ground cinnamon
- 5 drops yellow food coloring
- Soap mold (6-bar rectangular)
- Microwave-safe bowl
- Silicone spatula
How to Make It
- Chop the glycerin soap into 1-inch cubes and place in a microwave-safe bowl.
- Microwave in 30-second intervals for 1 minute 30 seconds, stirring between each, until fully melted.
- Stir in oats, cinnamon, and food coloring with the spatula until evenly distributed.
- Pour mixture into the soap mold and tap gently on the counter to release bubbles.
- Let sit undisturbed for 2 hours until completely hardened, then pop out bars.


14. Apple Paper Quilled Centerpiece
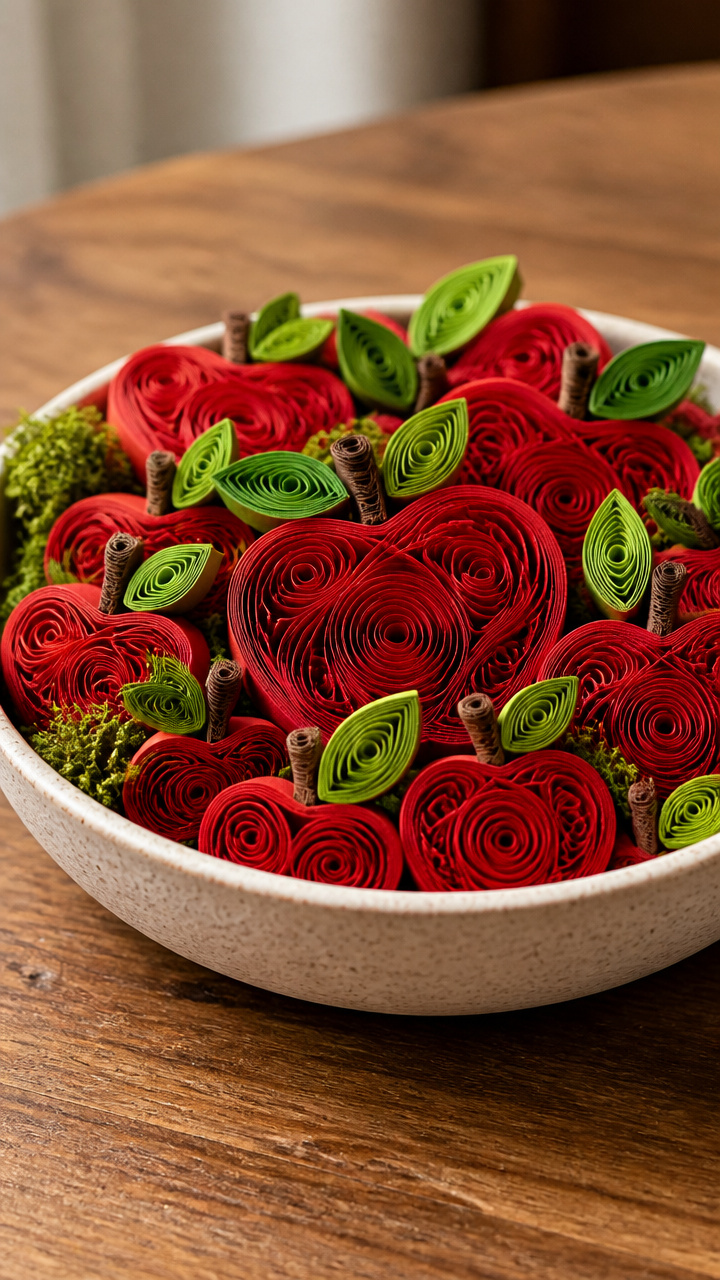
Tightly coiled strips of red and green paper form dimensional apples in a low bowl. This centerpiece stays fresh-looking year-round.
Materials Needed
- Red quilling paper strips (1/4 inch wide, 12 inches long, 10 pieces)
- Green quilling paper strips (same size, 4 pieces)
- Brown quilling paper strip (1 piece)
- Quilling tool
- White craft glue
- Low ceramic bowl
- Tweezers
How to Make It
- Wrap one red strip around the quilling tool and slide it off, pinching one end to form a teardrop shape, then glue the end.
- Repeat with 9 more red strips to make 10 apple shapes.
- Make 4 green leaves by rolling a green strip partway, gluing the base, and shaping the tip into a point.
- Cut the brown strip into four 1-inch pieces and curl slightly to make stems.
- Glue one stem to the top of each apple and attach a leaf beside it with glue.
- Arrange all apples in the ceramic bowl using tweezers for placement.


15. Apple Core Shadow Box
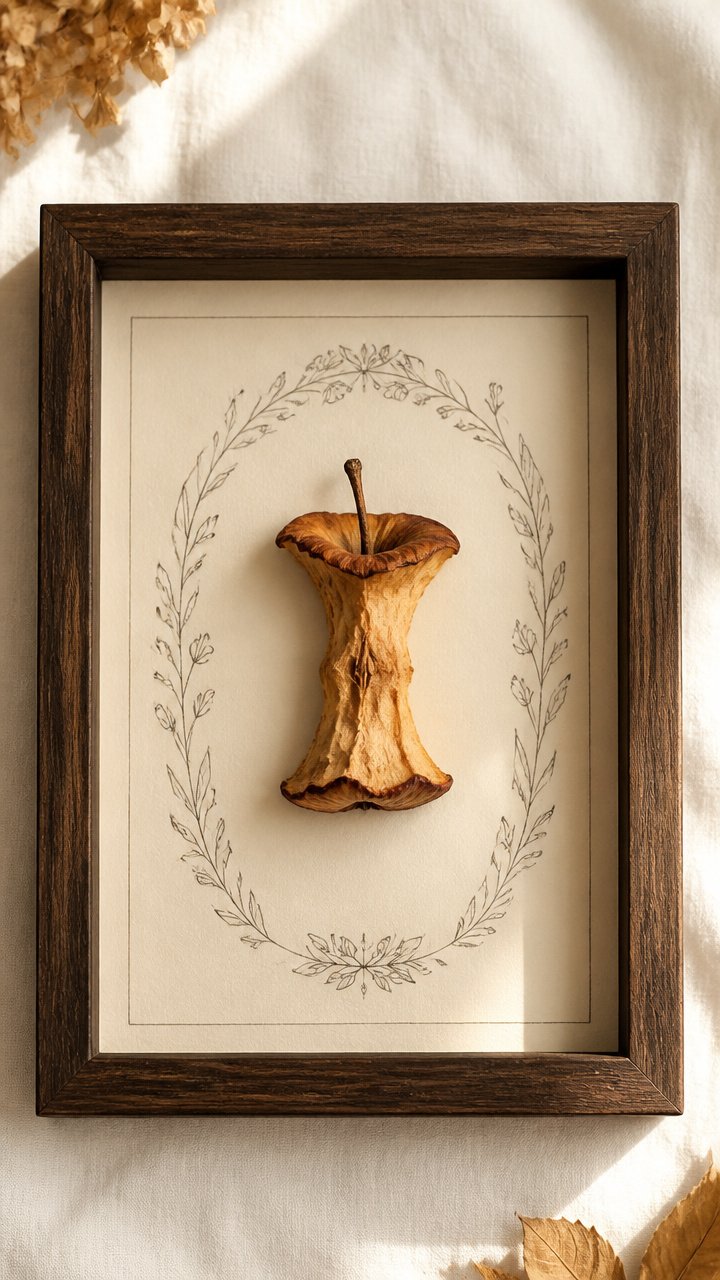
A real dried apple core rests under glass in a deep frame, surrounded by a hand-drawn botanical label. It’s a curious keepsake from a favorite snack.
Materials Needed
- One apple core
- Small paintbrush
- Borax solution (1 tablespoon borax in 1 cup hot water)
- Shallow dish
- 8×10 inch shadow box frame
- Cardstock (4×6 inch, cream)
- Pen with black ink
How to Make It
- Place the apple core in a shallow dish and cover with borax solution, letting it soak for 48 hours to dry and preserve.
- Remove and let air dry on a paper towel for 6 hours.
- Write “Malus domestica – Apple Core” on the cardstock with the black pen in neat script.
- Place the dried core in the center of the shadow box and position the label beneath it.
- Close and seal the shadow box frame according to manufacturer instructions.


16. Apple Painted Rock Trio
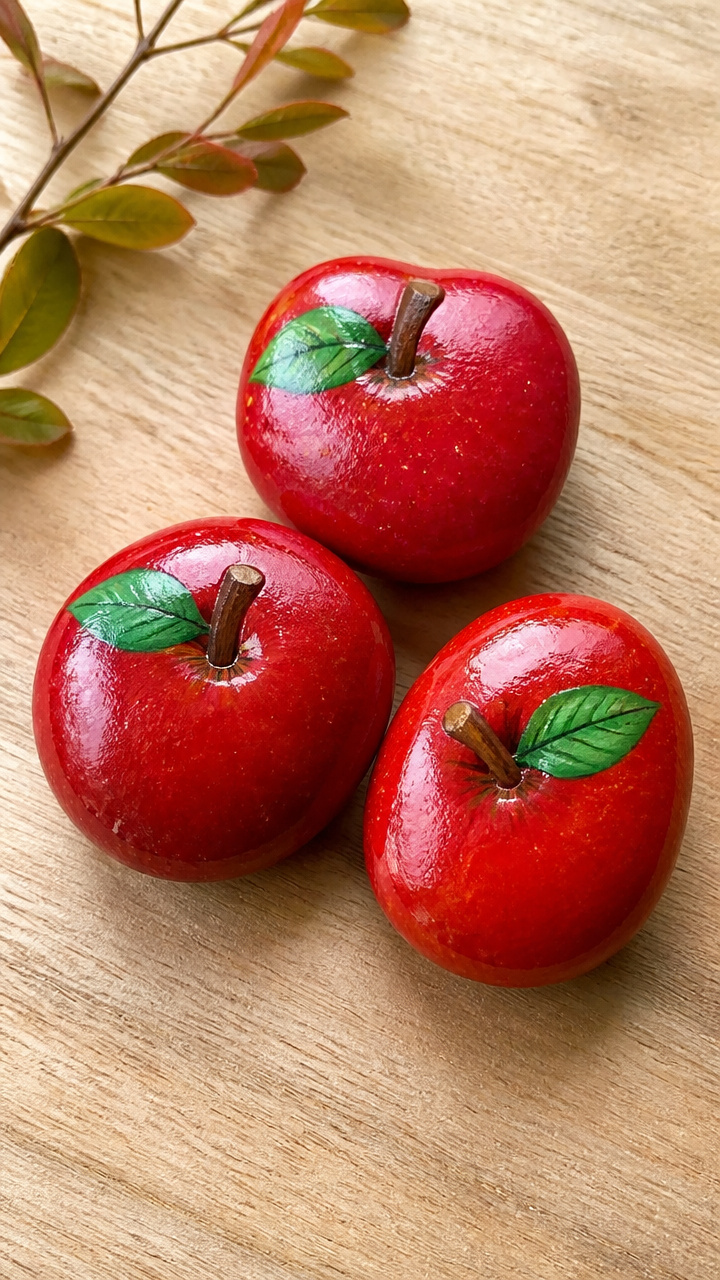
Smooth river rocks become glossy apples with hand-painted stems and shine. Group them in a bowl or garden for cheerful pops of red.
Materials Needed
- 3 palm-sized river rocks
- Red acrylic paint
- Green acrylic paint
- Brown acrylic paint
- Fine paintbrush
- Clear acrylic sealer spray
- Paper plate
- Rubbing alcohol
How to Make It
- Wipe each rock with a cloth dampened with rubbing alcohol and let dry.
- Paint the entire surface of each rock with red acrylic paint using the brush, let dry 20 minutes, then apply a second coat.
- Paint a short vertical brown line at the top for the stem and a small green leaf beside it.
- Let dry for 1 hour, then spray lightly with acrylic sealer on a paper plate outdoors, holding 10 inches away.
- Wait 10 minutes between coats and apply two total.


17. Apple Core Bookmark
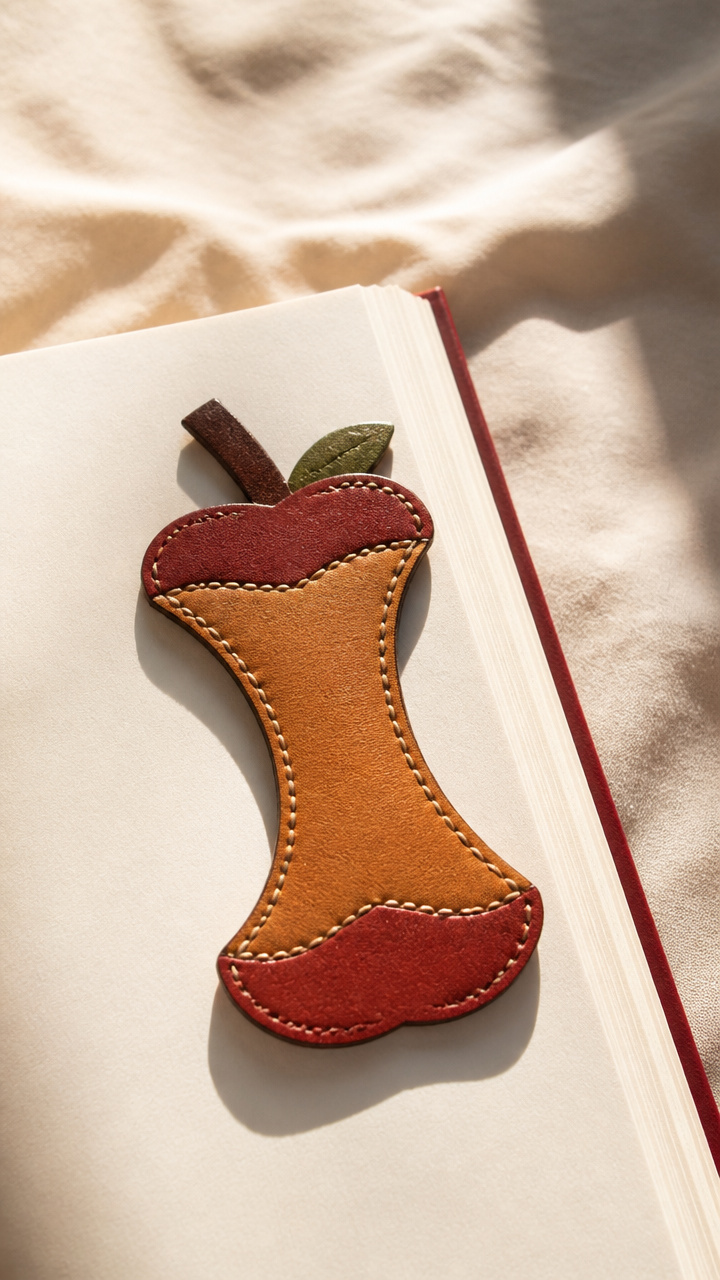
A slender strip of leather bends into a core shape to mark your page. The supple brown flap tucks neatly over the edge.
Materials Needed
- 1 piece vegetable-tanned leather (2×6 inches)
- Leather hole punch
- Ruler
- Pro stitching awl
- Waxed linen thread (brown, 1 yard)
- Needle for leather
- Edge beveler
How to Make It
- Use the ruler to mark a spiral curve from the top center to the bottom right of the leather, mimicking a core.
- Cut along the line with scissors, then smooth edges with the edge beveler.
- Punch three holes along the inner curve using the stitching awl.
- Thread the needle and sew through the holes with a saddle stitch, pulling tight.
- Let the stitched side face inward when closed so it grips the page securely.


18. Apple Scented Candle Jars
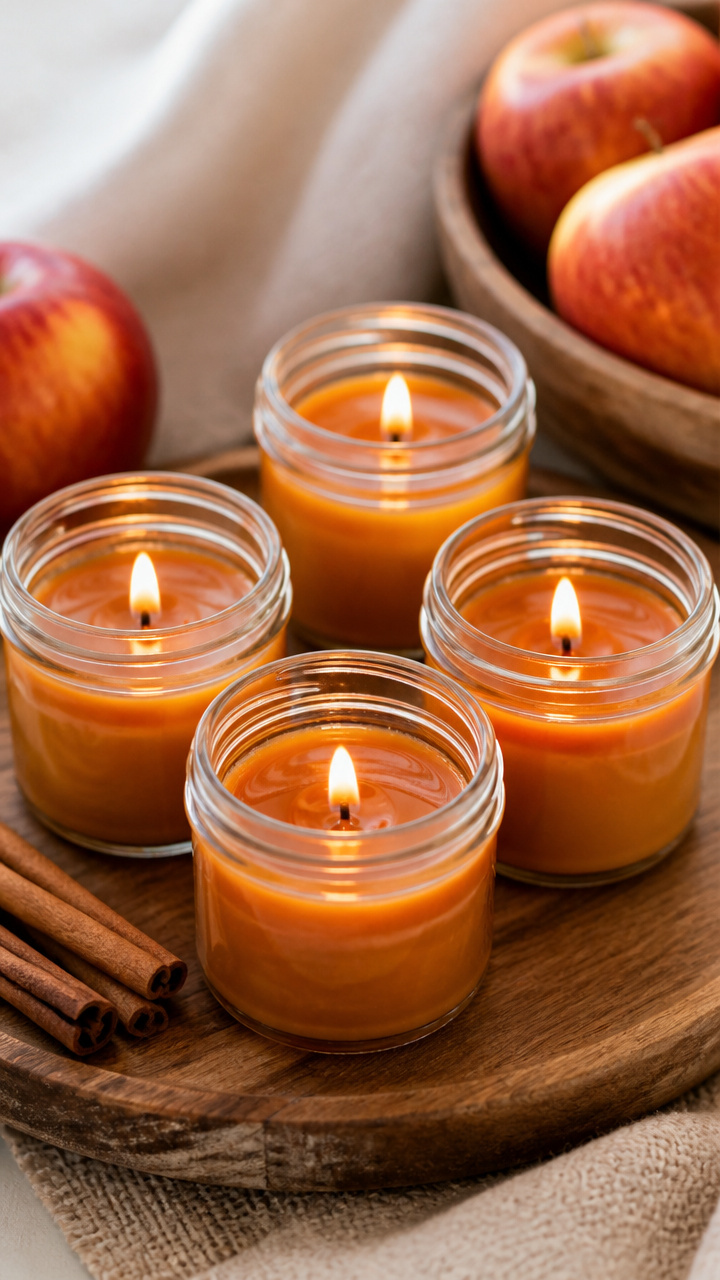
Mason jars filled with spiced apple-scented wax glow warmly on tables. The aroma fills a room without overpowering.
Materials Needed
- 4 small mason jars (4 oz)
- Soy wax flakes (12 oz)
- Apple cinnamon fragrance oil (1 oz)
- Wick tabs
- Pre-waxed wicks (3 inches)
- Double boiler
- Glue dots (2 per jar)
How to Make It
- Place a glue dot on the bottom of each wick tab and press it into the center of each jar’s base.
- Stand the wick upright and wrap the excess around a pencil laid across the jar opening.
- Melt soy wax in the double boiler over medium heat, stirring until clear.
- Remove from heat and stir in 1 oz of apple cinnamon fragrance oil.
- Carefully pour wax into each jar to within 1/2 inch of the top.
- Let cool at room temperature for 4 hours without moving.

19. Apple Pressed Flower Coaster
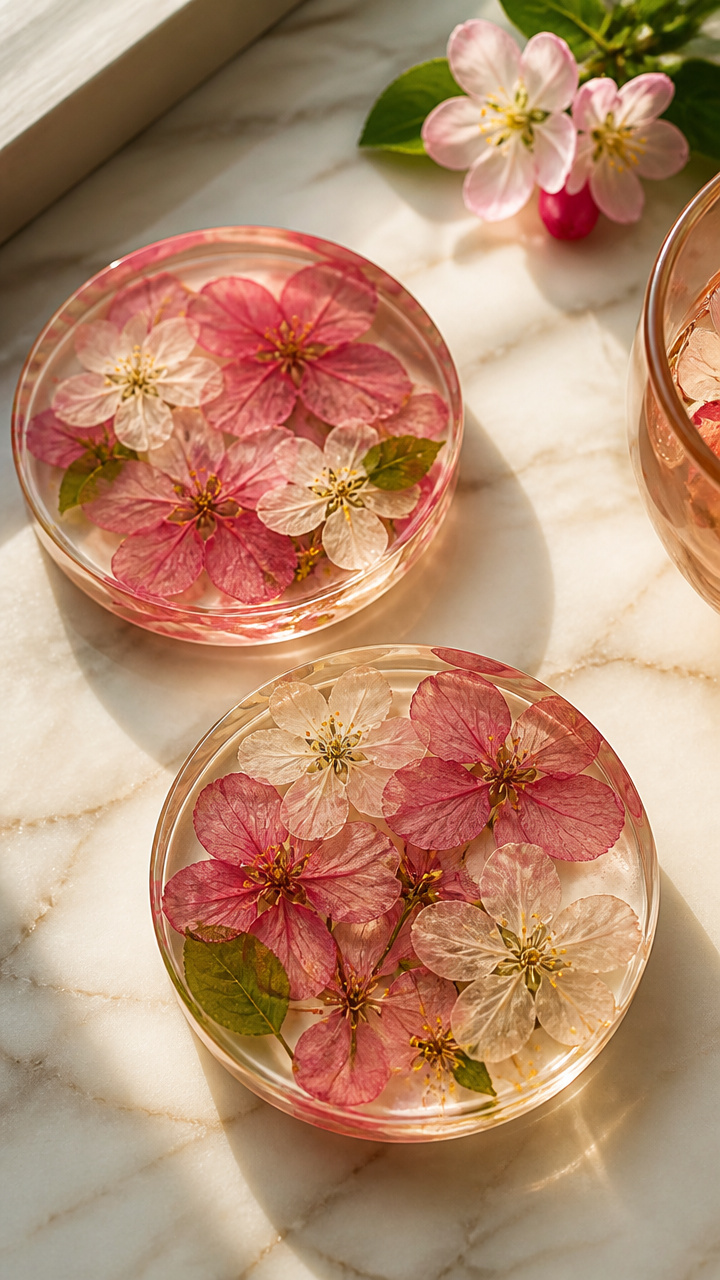
Real apple blossoms sealed in resin form durable coasters that catch light like stained glass. They protect surfaces while celebrating spring’s promise.
Materials Needed
- 4 silicone coaster molds
- Epoxy resin kit (makes 8 oz)
- Fresh apple blossoms (8 small clusters)
- Disposable gloves
- Stir sticks
- Heat gun
How to Make It
- Arrange two blossom clusters in each silicone mold, keeping them flat and centered.
- Mix resin and hardener in a 1:1 ratio in a cup using a stir stick for 2 minutes.
- Pour a thin layer of resin into each mold to cover the flowers, filling to the rim.
- Pass a heat gun slowly over the surface to pop any bubbles.
- Let cure for 24 hours in a dust-free area before unmolding.


20. Apple Core Button Brooch
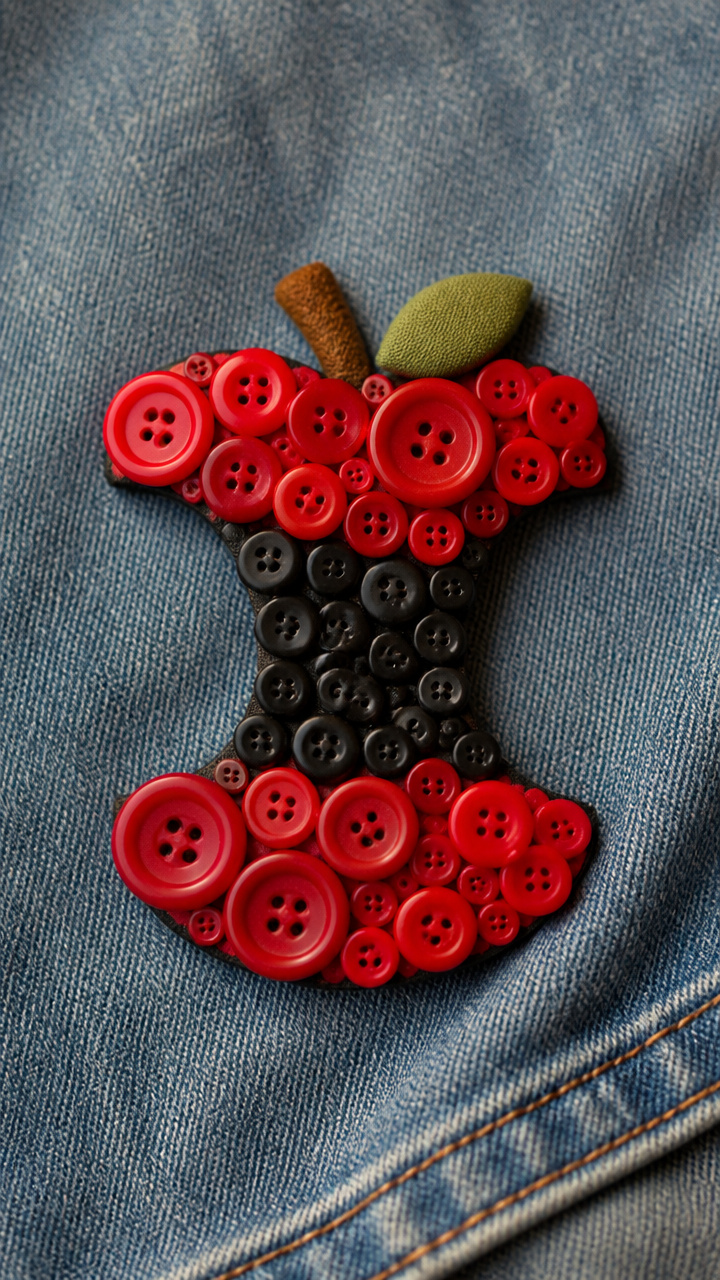
Vintage buttons in red and black cluster into a whimsical apple core shape pinned to a denim jacket or bag. The texture catches eyes and starts conversations.
Materials Needed
- 7 red shirt buttons (1/2 inch)
- 3 black buttons (1/4 inch)
- Fabric-covered button (1 inch, green)
- Strong fabric glue
- Pin backing (2 inches)
- Tacky mat
- Needle-nose pliers
How to Make It
- Arrange 5 red buttons vertically on the tacky mat to form the core’s body, then place 2 on the sides for dimension.
- Glue 3 black buttons in a triangle at the center to represent seeds.
- Attach the green fabric-covered button at the top for the calyx.
- Let dry for 30 minutes, then glue the pin backing to the back with strong fabric glue.
- Hold in place with pliers for 1 minute until secure.


You’ve got everything you need right here to bring a little orchard magic into your home. Pick one idea, gather your things, and let your hands begin.