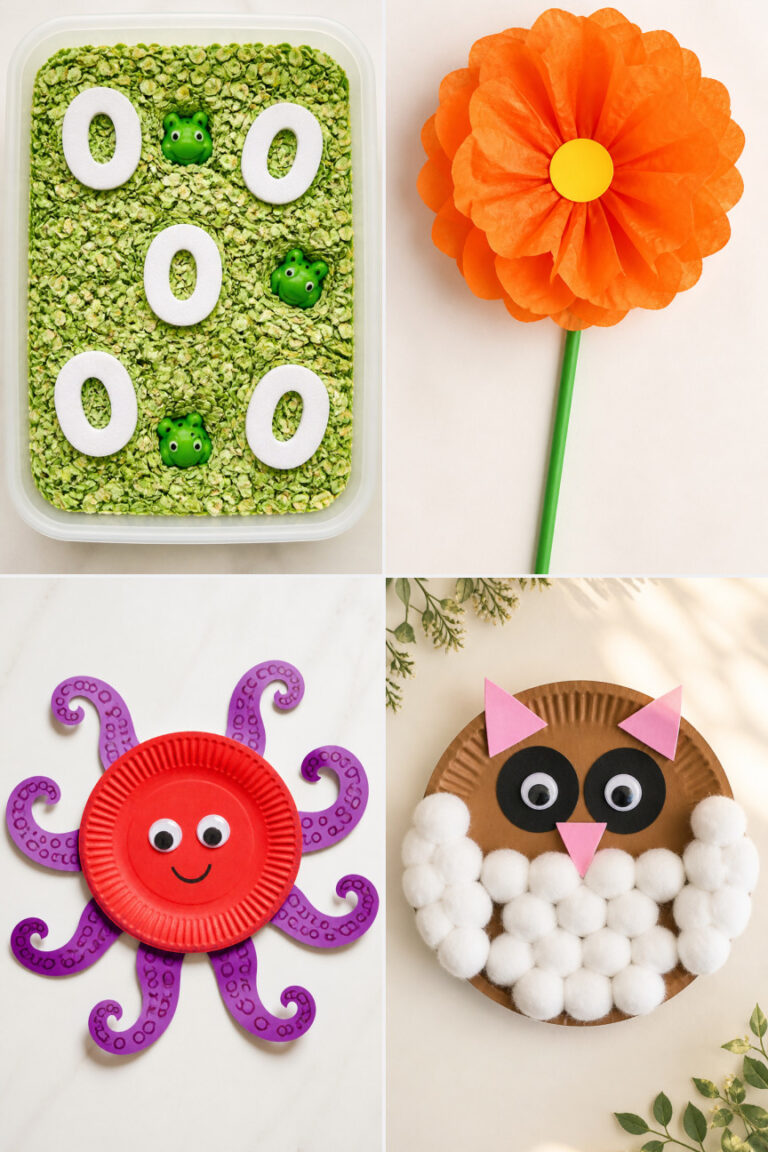
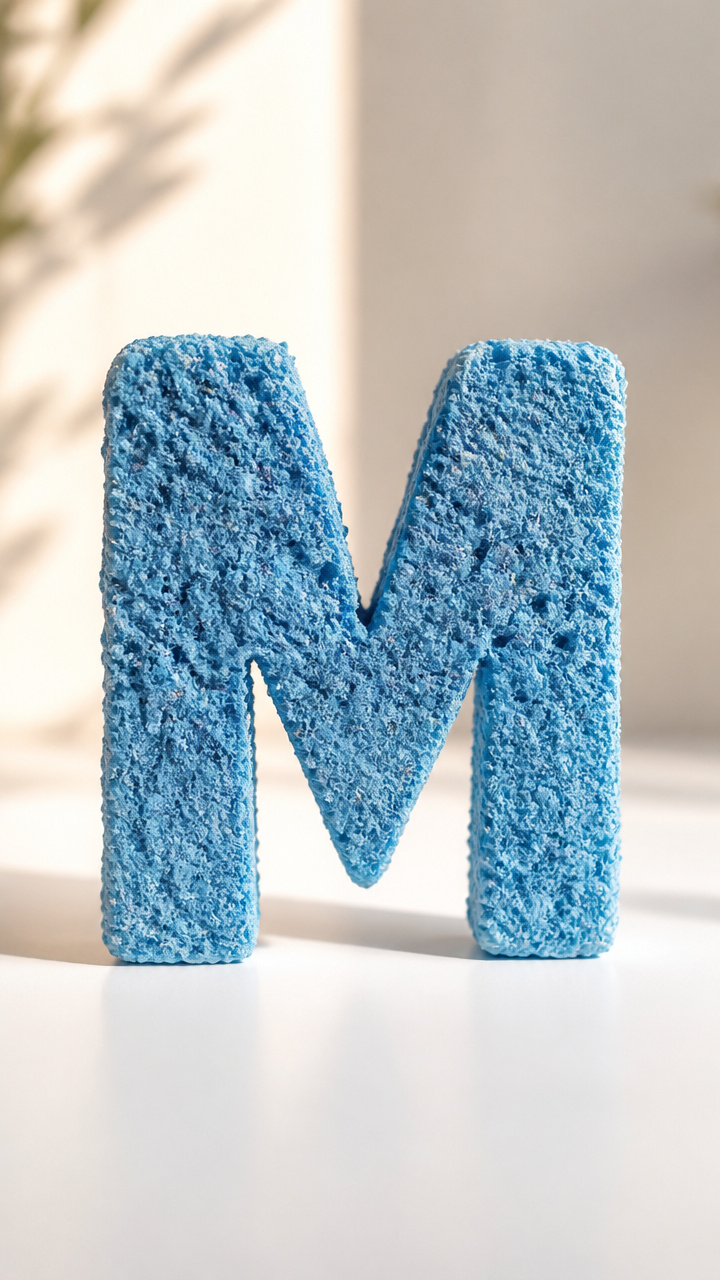
15 Cute Letter M Crafts for Preschoolers
Little hands love making things that start with their favorite letters, and the letter M offers so many playful possibilities. From marshmallow prints to marching bugs, these crafts invite curiosity, build fine motor skills, and make learning feel like playtime.
Each project uses simple supplies you likely have at home and is designed for small fingers and big imaginations. These are not just cute activities—they’re meaningful moments in disguise.
1. Marbled Milk M
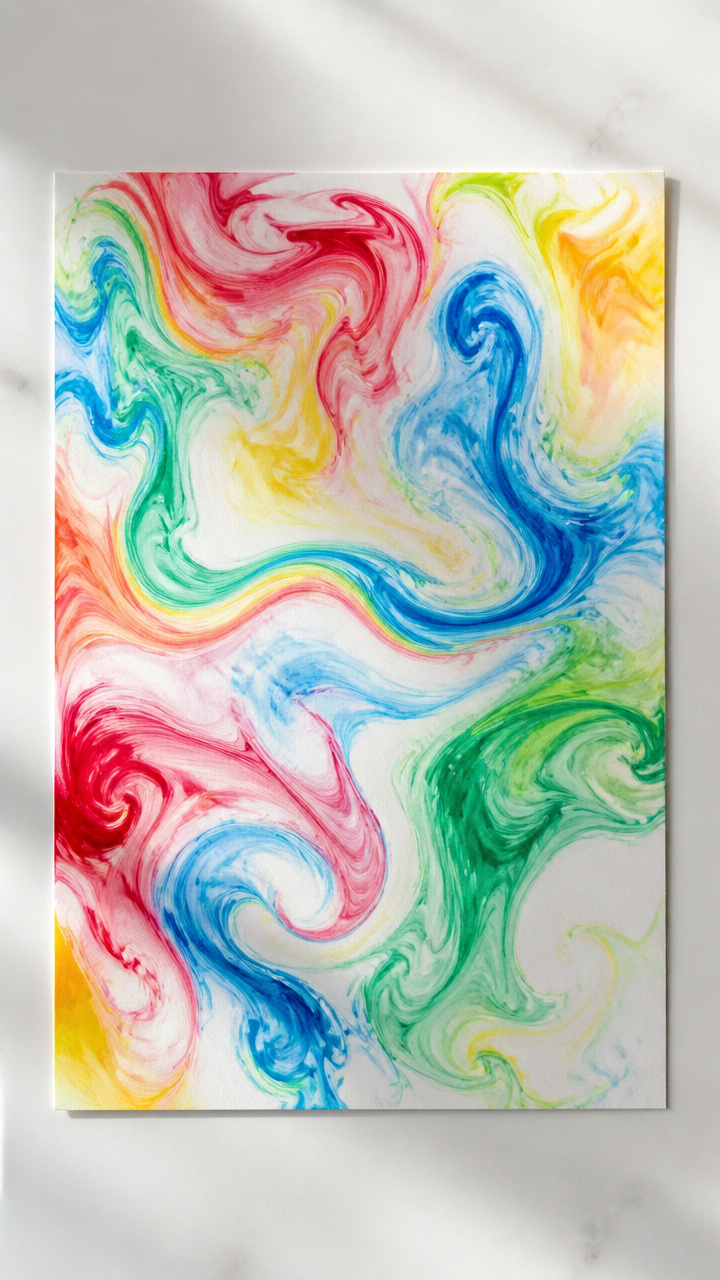
Swirls of color bloom across a tray of milk to create one-of-a-kind letter M art. This sensory-rich craft teaches cause and effect while dazzling young eyes.
Materials Needed
- Shallow baking tray, 9×13 inches
- Whole milk, 1 cup
- Cotton swabs, 5 count
- Liquid food coloring in red, blue, yellow, green (4 bottles)
- Dropper or squeeze bottle
- White cardstock, 8.5×11 inches, 1 sheet
- Paper towels, 2 sheets
How to Make It
- Pour milk into the baking tray to cover the bottom evenly.
- Add 3 drops each of red, blue, yellow, and green food coloring in different spots on the milk surface.
- Touch the tip of a cotton swab to one color, then swirl it gently through the milk to mix colors.
- Place one corner of the cardstock onto the swirled milk and slowly lay it flat to transfer the design.
- Lift the paper after 10 seconds and set it on paper towels to dry completely.


2. M is for Moon Rock Painting
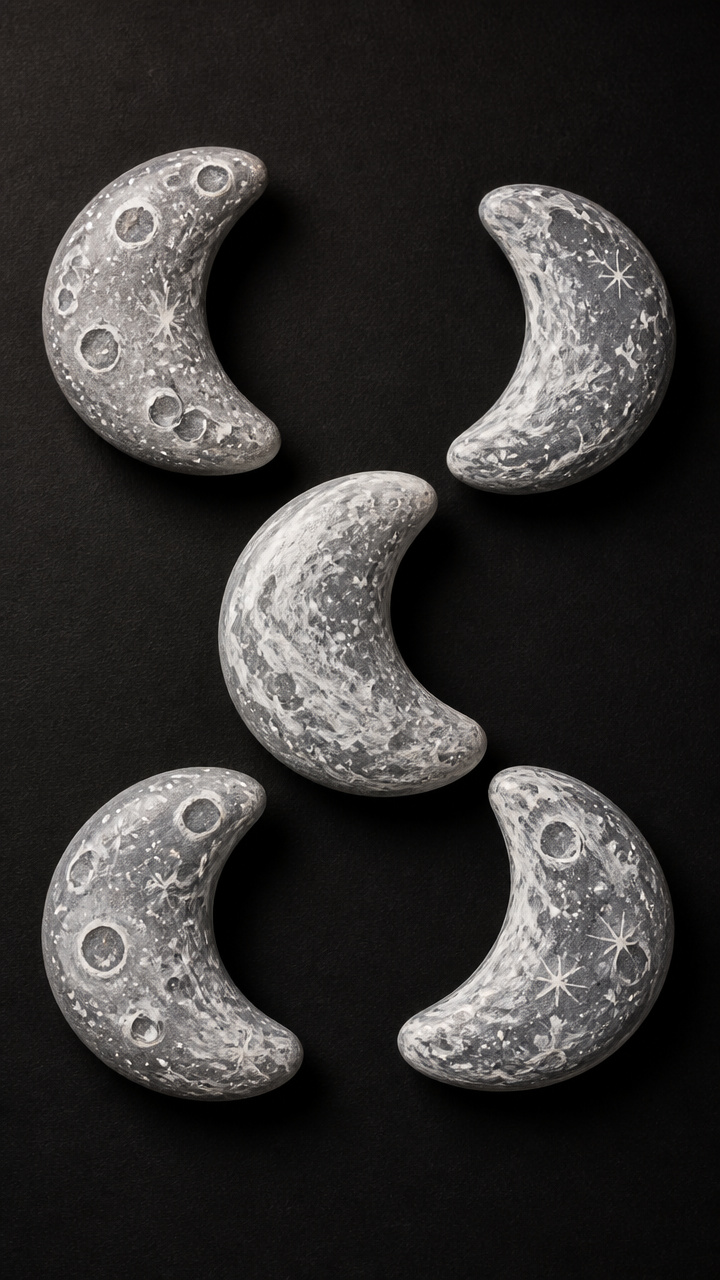
Smooth river stones become glowing moons with soft pastel paint. Kids love turning rocks into celestial M-themed treasures.
Materials Needed
- Flat river stones, 3 inches wide, 5 pieces
- Gray acrylic paint
- White acrylic paint
- Small paintbrush, size 4 round
- Pencil
- Black construction paper, 9×12 inches, 1 sheet
How to Make It
- Use the pencil to lightly draw a capital M on each stone.
- Paint inside the M shape with gray acrylic paint using the brush.
- Add small dabs of white paint around the M to mimic craters.
- Let stones dry for 20 minutes on a flat surface.
- Glue each painted stone onto black construction paper to display like space art.


3. Mashed Potato Texture M
Fluffy mashed potatoes double as paint for a bumpy, tactile letter experience. Safe to touch and fun to squish, this craft delights sensory seekers.
Materials Needed
- Instant mashed potato flakes, 1/4 cup
- Water, 1/3 cup
- Blue food coloring, liquid, 5 drops
- Mixing bowl, medium
- Spoon
- Cardboard letter M cutout, 6 inches tall
- Heavyweight white drawing paper, 9×12 inches, 1 sheet
How to Make It
- Mix mashed potato flakes and water in the bowl until thick and lump-free.
- Stir in blue food coloring until evenly tinted.
- Place the cardboard M in the center of the drawing paper.
- Use the spoon to spread the mixture over the top of the cutout, pressing down gently.
- Carefully lift the cardboard M straight up to reveal the textured shape and let dry 1 hour.


4. Magazine Letter Collage M
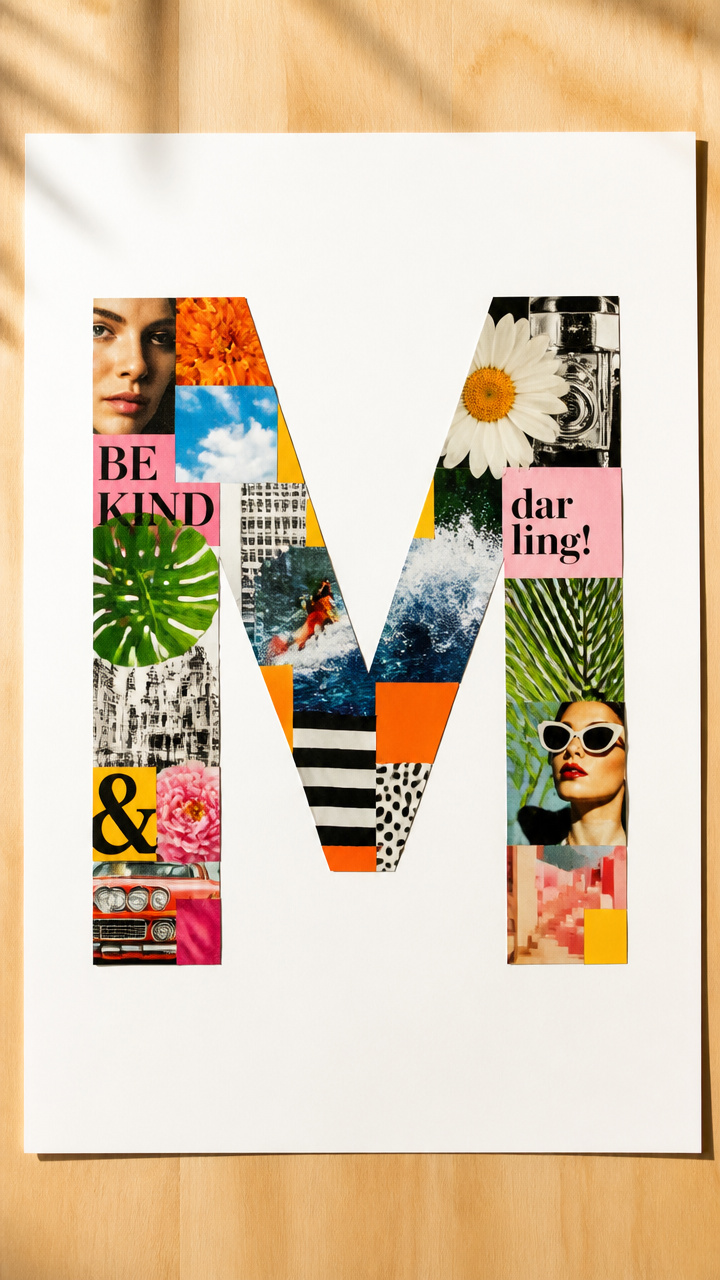
Bright scraps from old magazines form a mosaic-style letter M. This craft builds scissor skills and introduces texture mixing.
Materials Needed
- Old magazines, 3 different titles
- Scissors, child-safe, 1 pair
- Glue stick
- Pencil
- Large white poster board, 11×14 inches, 1 sheet
- Ruler
How to Make It
- Draw a bold capital M on the poster board using the pencil and ruler for straight lines.
- Cut magazine pages into 1-inch squares, mixing colorful ads and photo sections.
- Outline the pencil M with glue using the glue stick.
- Press magazine squares edge to edge within the M shape, overlapping slightly.
- Let the collage sit flat for 15 minutes to set before handling.


5. Mini Marshmallow M Print
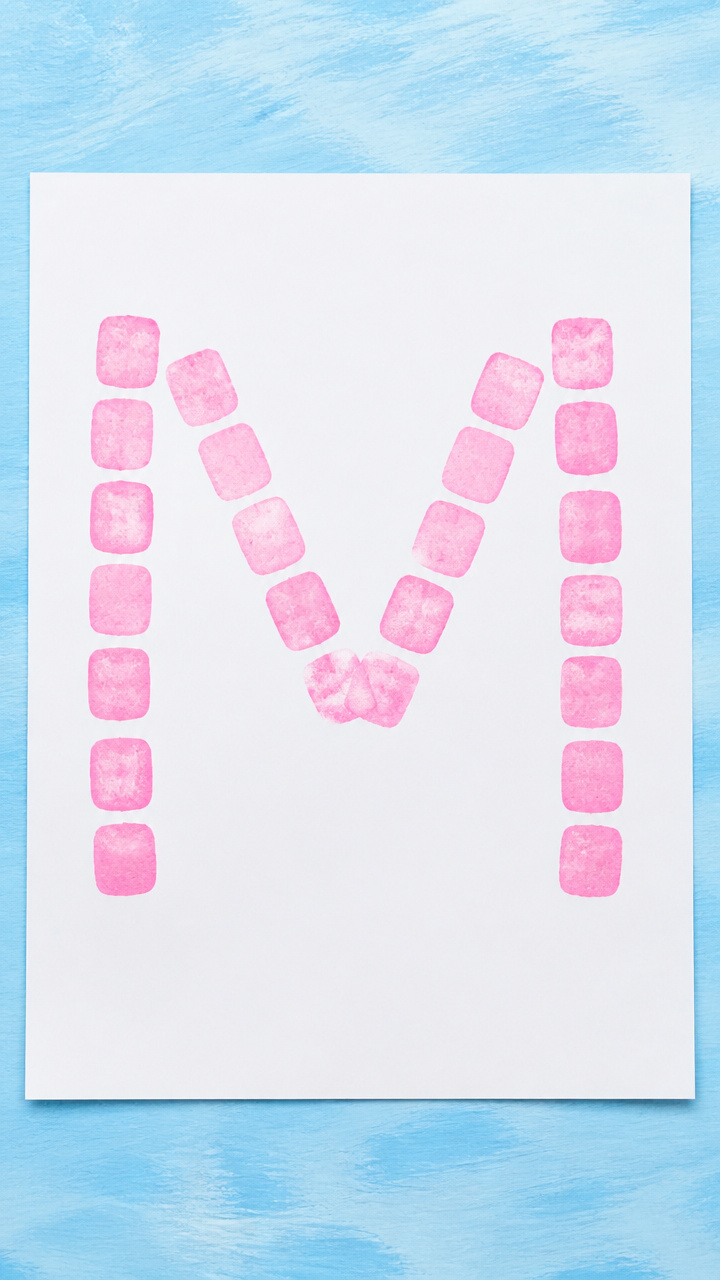
Plump marshmallows stamp perfect M shapes in rows of pastel dots. A sweet-smelling activity that doubles as a counting game.
Materials Needed
- Mini marshmallows, 20 count
- Pink acrylic paint
- Light blue acrylic paint
- Two small plastic plates
- Paintbrush, flat, size 6
- White drawing paper, 8.5×11 inches, 1 sheet
- Pencil
How to Make It
- Draw a large block letter M on the paper with pencil.
- Pour pink paint on one plate and light blue on the other.
- Use the brush to coat a marshmallow in pink paint, covering one flat side.
- Press the painted side onto the paper along the left stroke of the M.
- Repeat with blue marshmallows on the right stroke, alternating colors down each line.


6. Molded Macaroni M

Curved macaroni noodles glue together into a glittery 3D letter M. This craft strengthens hand control and creates a keepsake.
Materials Needed
- Elbow macaroni, uncooked, 25 pieces
- White school glue
- Glitter, gold, 2 tablespoons
- Craft glue, clear, 1 ounce
- Black construction paper, 9×12 inches, 1 sheet
- Tweezers, small, 1 pair
How to Make It
- Spread craft glue on a plate and roll 15 macaroni pieces in it to coat fully.
- Sprinkle gold glitter over the glued noodles and shake off excess.
- Let glittered noodles dry for 15 minutes on wax paper.
- Draw a capital M on black paper with pencil.
- Use tweezers to place dried macaroni along the M outline, tips touching, and glue ends with school glue.
- Let the full M dry flat for 30 minutes before moving.


7. Melting Crayon M
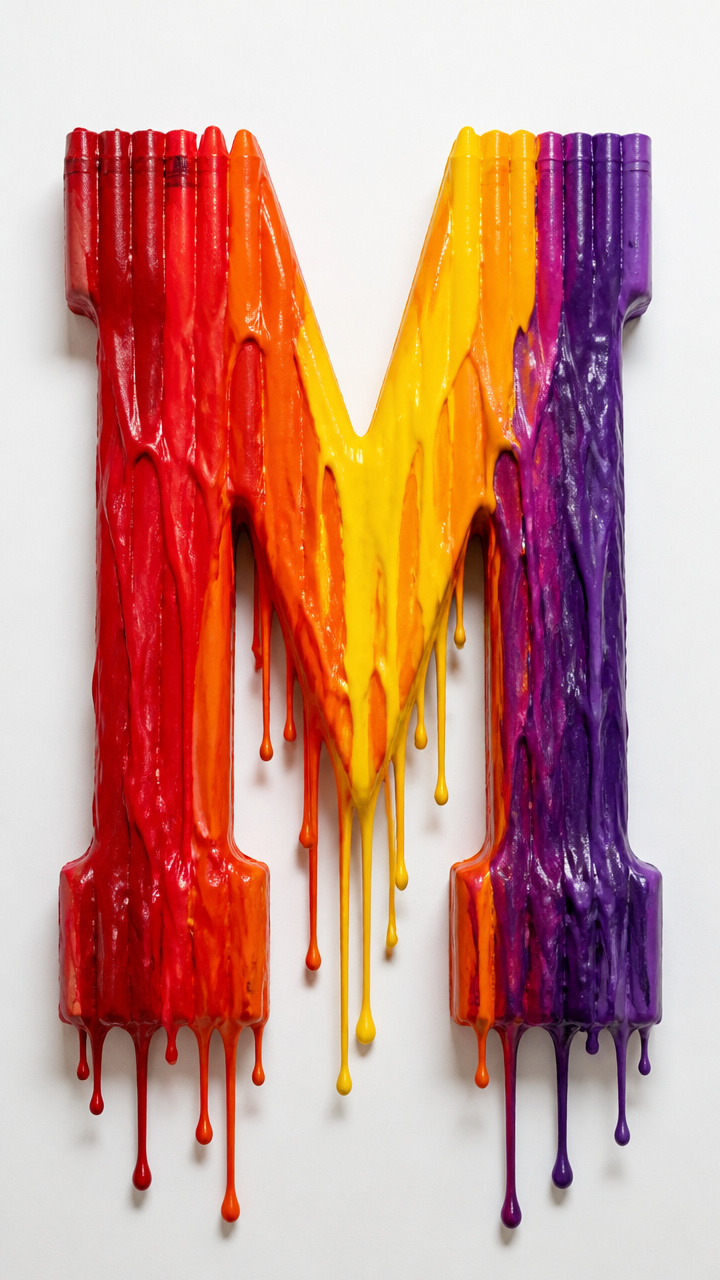
Warm air reshapes crayon shavings into a wild rainbow letter. This science-meets-art project captures attention with motion and color.
Materials Needed
- Crayons in red, orange, yellow, purple (4 count)
- Vegetable peeler
- Aluminum foil, 12 inches long
- Clothesline, 2 feet long
- Clothespins, 2
- Hairdryer
- Cardboard base, 6×8 inches, 1 piece
How to Make It
- Peel thin shavings from each crayon onto a plate.
- Shape foil into a capital M and attach both ends to the clothesline with clothespins.
- Lay the M foil shape on the cardboard base under the clothesline.
- Sprinkle crayon shavings evenly over the foil M.
- Hold the hairdryer 6 inches away and blow warm air down for 45 seconds until wax melts and runs.
![Crayola Inspiration Art Case Coloring Set, 140pc Space Theme – Art Kit for Kids, Crayons, Markers, Pencils, Gift for Boys & Girls, Ages 5, 6, 7, 8 [Amazon Exclusive]](https://m.media-amazon.com/images/I/512fTojPeRL._SL500_.jpg)


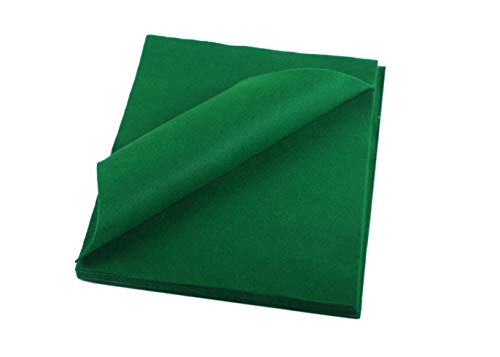
8. Monster Mouth M
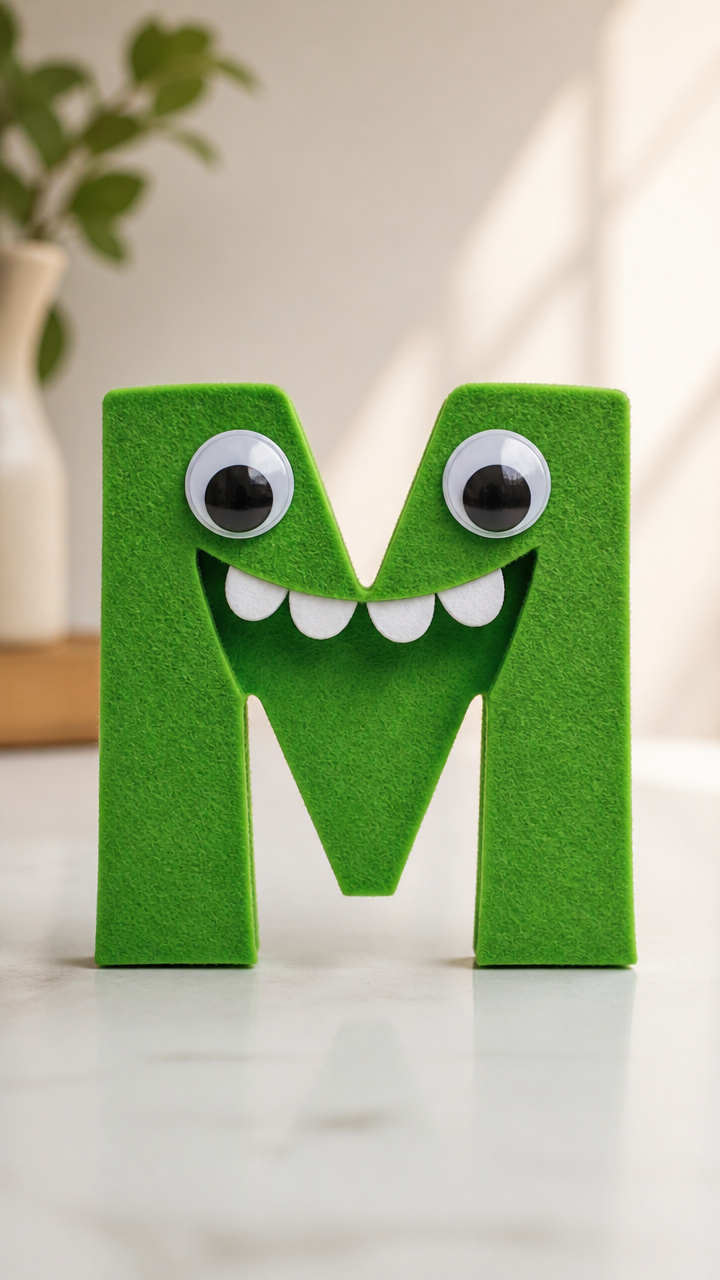
A fuzzy green letter M opens wide with googly eyes and sharp teeth. This silly puppet invites storytelling and letter sound practice.
Materials Needed
- Green felt sheet, 9×12 inches, 1 piece
- Scissors
- Pencil
- Hot glue gun and 1 glue stick
- White craft foam, 1 sheet
- Googly eyes, 1 inch diameter, 2
- Black marker
How to Make It
- Draw a thick capital M on the felt with pencil, 8 inches tall.
- Cut out the M shape carefully with scissors.
- Draw two fangs and two smaller teeth on white foam and cut them out.
- Use hot glue to attach teeth along the bottom edge of the M, points facing up.
- Glue googly eyes near the top and draw pupils with the black marker.


9. Mirror M Rubbing

Foil-covered letter shapes reveal shimmering outlines when rubbed with crayons. This craft blends light play with tactile discovery.
Materials Needed
- Cardboard letter M, 5 inches tall, 1 piece
- Aluminum foil, 6×6 inches
- Tape, clear, 2 pieces
- Purple crayon, unwrapped
- White drawing paper, 8.5×11 inches, 1 sheet
How to Make It
- Lay the foil shiny side up and place the cardboard M in the center.
- Wrap the foil tightly over the M and tape it flat on the back.
- Place the foil M under the drawing paper.
- Use the side of the purple crayon to rub firmly over the paper above the M shape.
- Lift the paper to see the mirrored silver M revealed in wax.
![Pokanic Aluminum Foil Pans [6" Round] x [25 Pack] with Clear Dome Lids Recyclable Disposable Containers Straight Walls for Storing, Baking, Meal Prep & Reheating Freezer Oven Safe (25 Pack, 6 inch)](https://m.media-amazon.com/images/I/41jgPmAvKnL._SL500_.jpg)
10. Milk Cap Magnets

Bright plastic caps turn into mini letter Ms with permanent markers and magnetic backs. These tiny treasures stick proudly on fridges.
Materials Needed
- Plastic milk bottle caps, 2 inch diameter, 4 count
- Red permanent marker
- Blue permanent marker
- Small magnets, 1 inch round, 4
- Craft glue, strong hold, 1 ounce
- Cotton ball
How to Make It
- Clean and dry each milk cap thoroughly with a cotton ball.
- Use the red marker to draw a capital M on the inside of each cap.
- Outline the M with the blue marker for a border.
- Put a dot of craft glue on the back of each cap.
- Press a magnet into the glue and let dry face-up for 1 hour.


11. Measuring Tape M
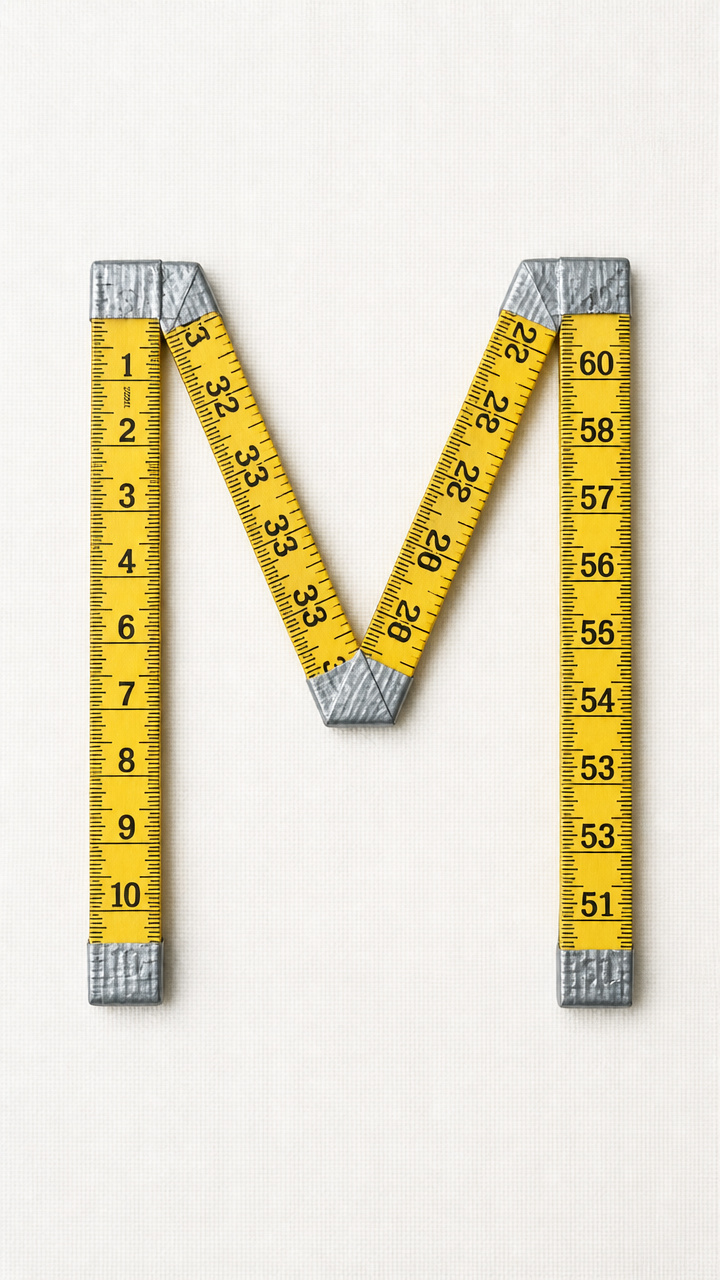
Flexible measuring tape bends into a sturdy wireframe letter. This craft introduces measurement tools in a creative way.
Materials Needed
- Fabric measuring tape, 60 inches long, 1
- Silver duct tape, 1 roll
- Scissors
- Cardboard, 8×10 inches, 1 sheet
- Glue gun
How to Make It
- Bend the measuring tape into a capital M shape, aligning the ends at the base.
- Wrap silver duct tape tightly around each joint where the tape crosses or ends.
- Trim any excess tape with scissors.
- Glue the M frame onto the cardboard backing with hot glue.
- Let cool for 2 minutes before touching.


12. Mosaic M with Buttons
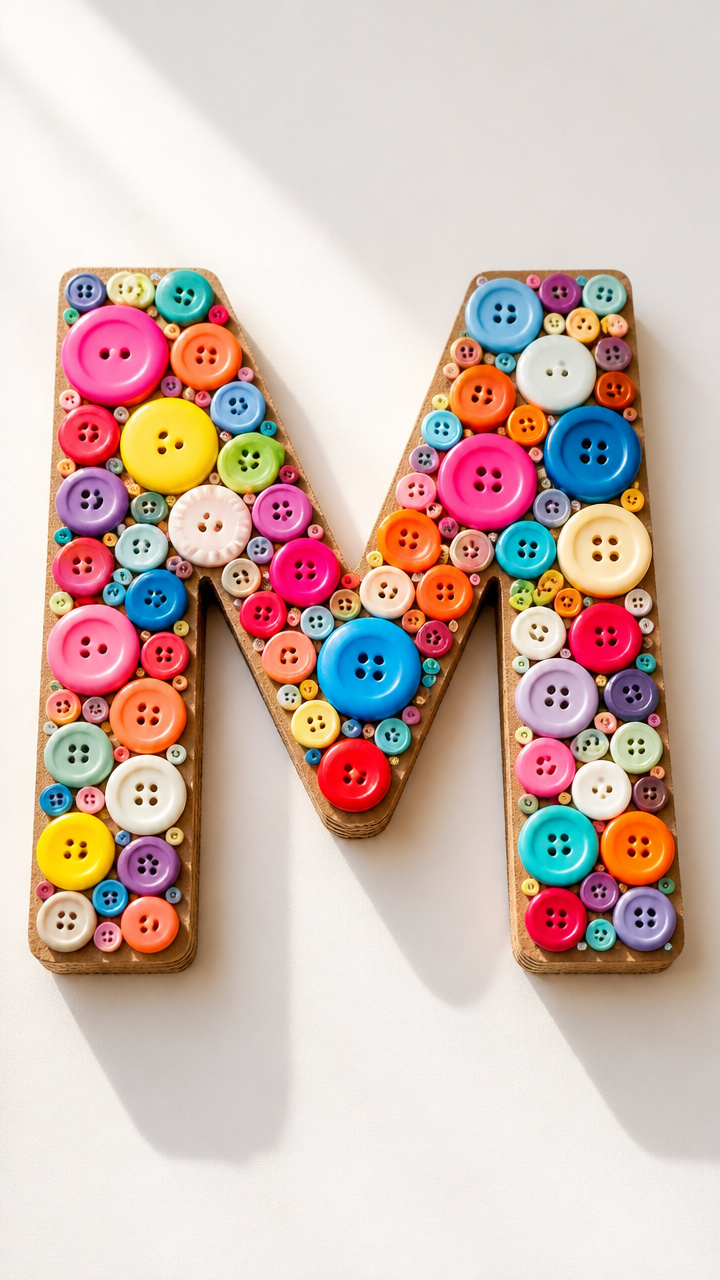
Colorful mismatched buttons fill a letter outline to make a clackety, textured artwork. Sorting and placing boosts coordination.
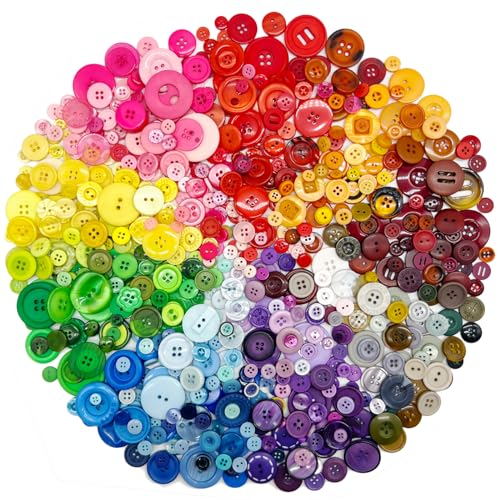
Materials Needed
- Assorted buttons, 20 count, various sizes
- Thick cardboard, 9×12 inches, 1 piece
- Pencil
- White glue
- Paintbrush, flat, size 4
- Ruler
How to Make It
- Use ruler and pencil to draw a large capital M, 1/2 inch thick, on cardboard.
- Apply a small dot of white glue inside the M outline with the brush.
- Press one button into each glue spot, filling the shape from top to bottom.
- Leave gaps no larger than a pea between buttons.
- Let the M dry flat for 45 minutes before display.


13. Musical Note M

Pipe cleaners twist into a singing letter M with built-in notes. This bendable craft doubles as a rhythm toy.
Materials Needed
- Green pipe cleaner, 12 inches, 2 count
- Yellow pipe cleaner, 12 inches, 1 count
- Hole punch
- Cardstock, teal, 8.5×11 inches, 1 sheet
- Scissors
How to Make It
- Fold one green pipe cleaner in half and twist the bottom to form the left side of an M.
- Repeat with the second green pipe cleaner for the right side, connecting tops in the center.
- Cut the yellow pipe cleaner into three 2-inch pieces.
- Twist one yellow piece onto each peak of the M to look like musical notes.
- Punch a hole in the cardstock and thread the M through to stand upright.


14. Mitten Trace M
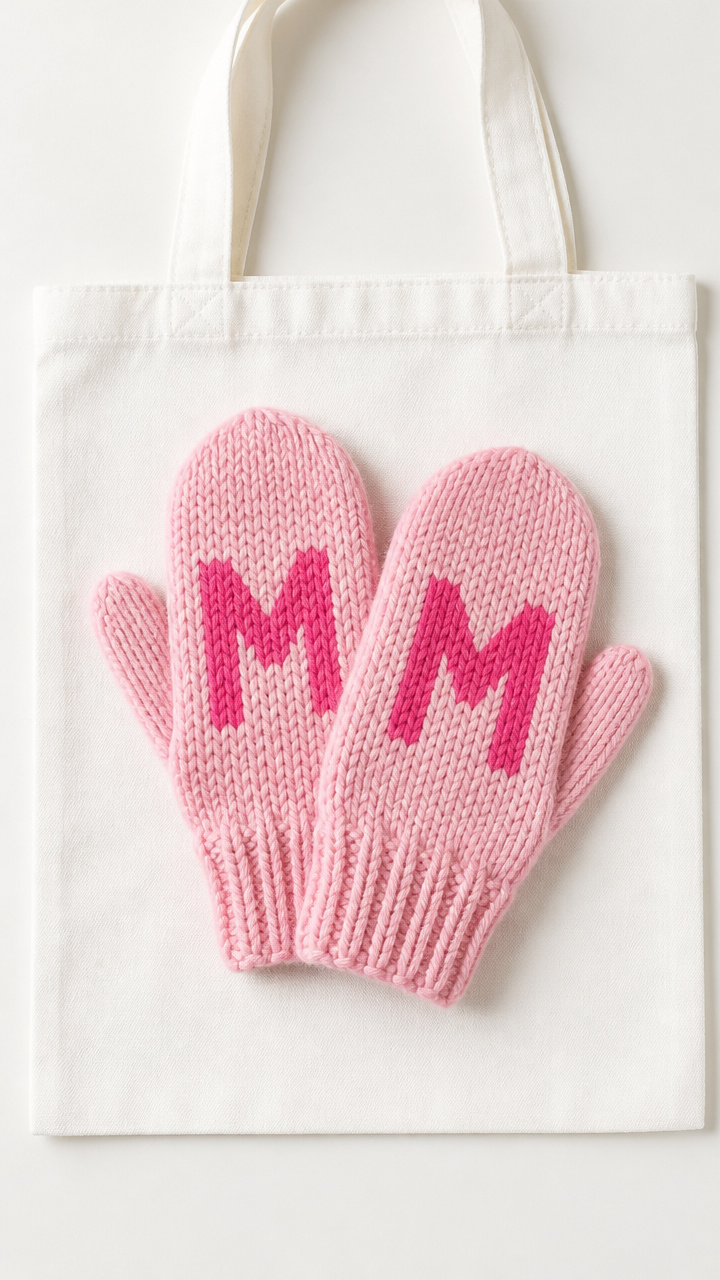
A real winter mitten stamps a fluffy letter shape in fabric paint. This cozy craft feels personal and seasonal.
Materials Needed
- Child-sized knit mitten, clean, 1
- Pink fabric paint
- Paint tray
- Paint sponge, 2×2 inches
- White cotton tote bag, 10×12 inches, 1
- Pencil
How to Make It
- Draw a large M lightly on the tote with pencil.
- Pour fabric paint into the tray and dampen the sponge slightly.
- Dip the mitten’s palm into the paint using the sponge to spread evenly.
- Press the mitten firmly inside the M outline, holding for 5 seconds.
- Lift straight up and let the tote dry flat for 2 hours before use.


15. Maple Leaf Mosaic
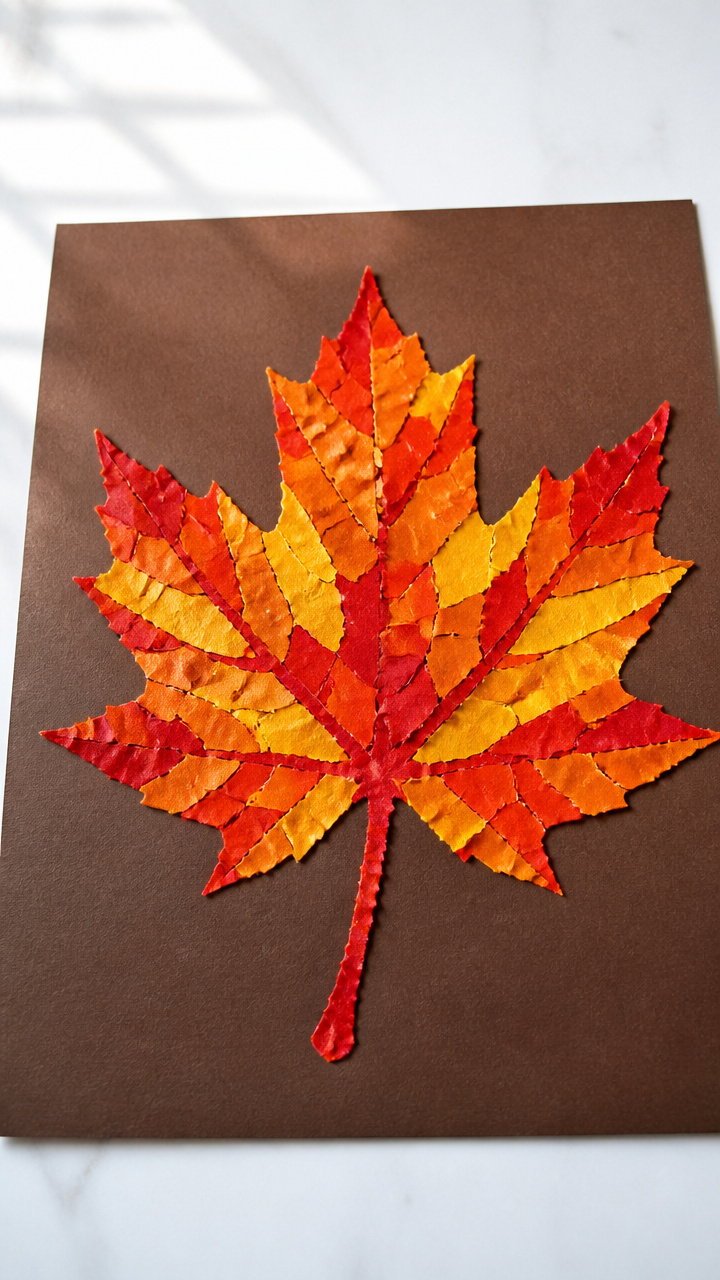
Tiny paper leaves layer into a nature-inspired letter M. This craft celebrates autumn textures and color blending.
Materials Needed
- Orange, red, and yellow tissue paper, 6 sheets total
- Scissors
- Glue diluted with water, 1:1 ratio, 1/4 cup
- Paintbrush, size 6
- Brown construction paper, 9×12 inches, 1 sheet
- Leaf stencil, 3 inches wide, 1
How to Make It
- Cut tissue paper into 1-inch squares in all three colors.
- Place the leaf stencil on the brown paper and trace a capital M made of 7 connected leaves.
- Brush a small section of the M with the glue mixture.
- Press 5–6 tissue squares onto the wet area, overlapping edges slightly.
- Repeat until the entire M is filled and let dry for 30 minutes.


You’ve got everything you need right in your craft drawer to bring these letter M ideas to life. Grab your scissors, pour the glue, and let those little hands create something joyful today.