15 Creative Letter K Crafts for Preschoolers
Little hands love to explore letters through touch, color, and play. Shaping the letter K with everyday materials turns learning into something joyful and memorable.
Each of these crafts invites curiosity while building fine motor skills and letter recognition. You’ll find surprises in textures, movements, and creative twists that keep young minds engaged.
1. K Is for Kite Collage
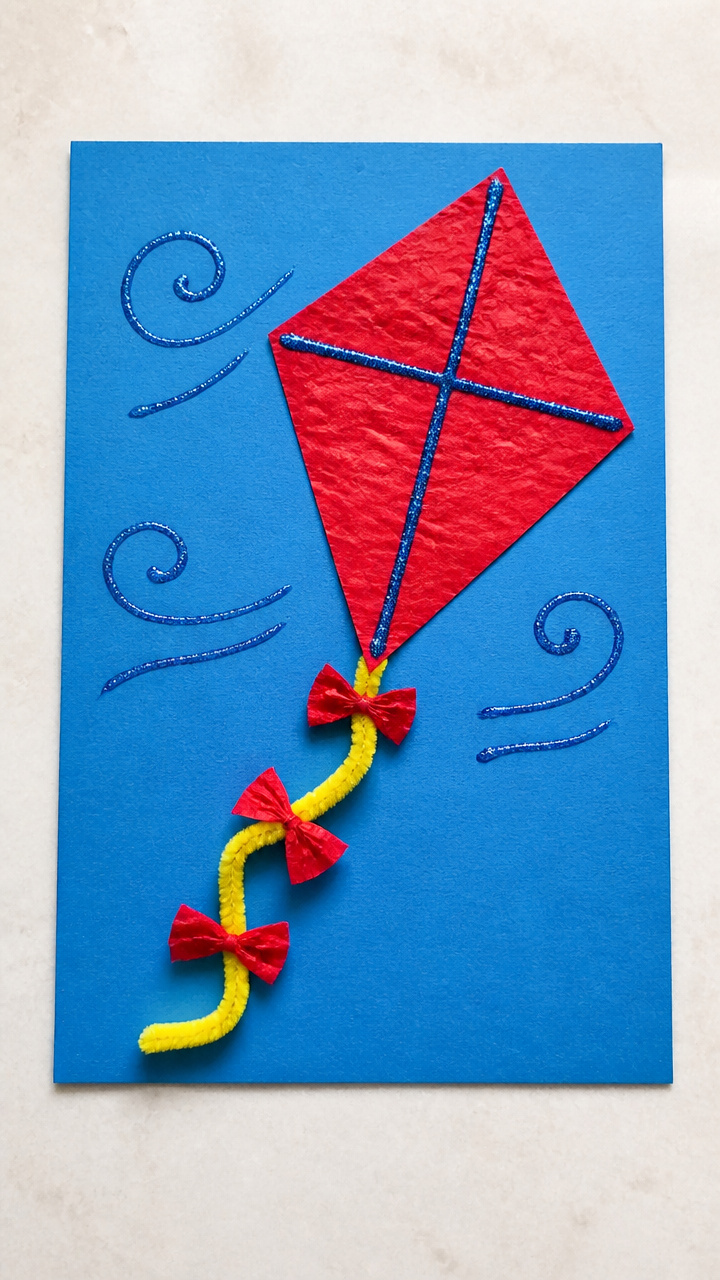
A bright paper kite shaped like the letter K flutters with streamers and sparkles. This craft doubles as a fine motor workout and a colorful wall display.
Materials Needed
- A4 blue construction paper
- Red tissue paper, one 12×12 inch sheet
- Yellow pipe cleaner, one
- White glue
- Scissors
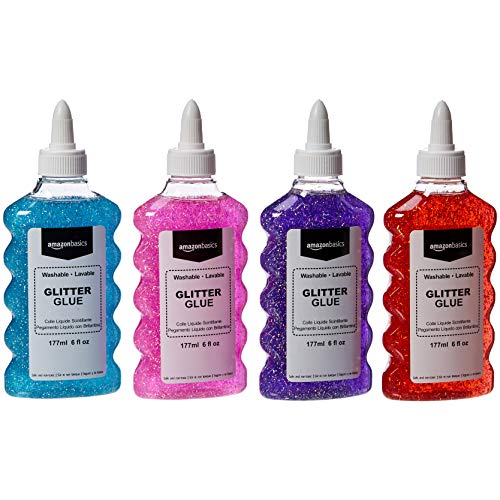
- Glitter glue, blue
- Pencil
How to Make It
- Draw a large lowercase k on the blue paper using the pencil, about 8 inches tall.
- Cut the red tissue paper into 1-inch strips, then crumple each into a small ball.
- Glue the tissue paper balls along the spine and lower leg of the k to form a tail.
- Bend the pipe cleaner in half and twist the ends around the top of the k to make the kite’s frame.
- Squeeze blue glitter glue along the edges of the k and let dry for 20 minutes.


2. Kinetic Sand K Tracing Tray
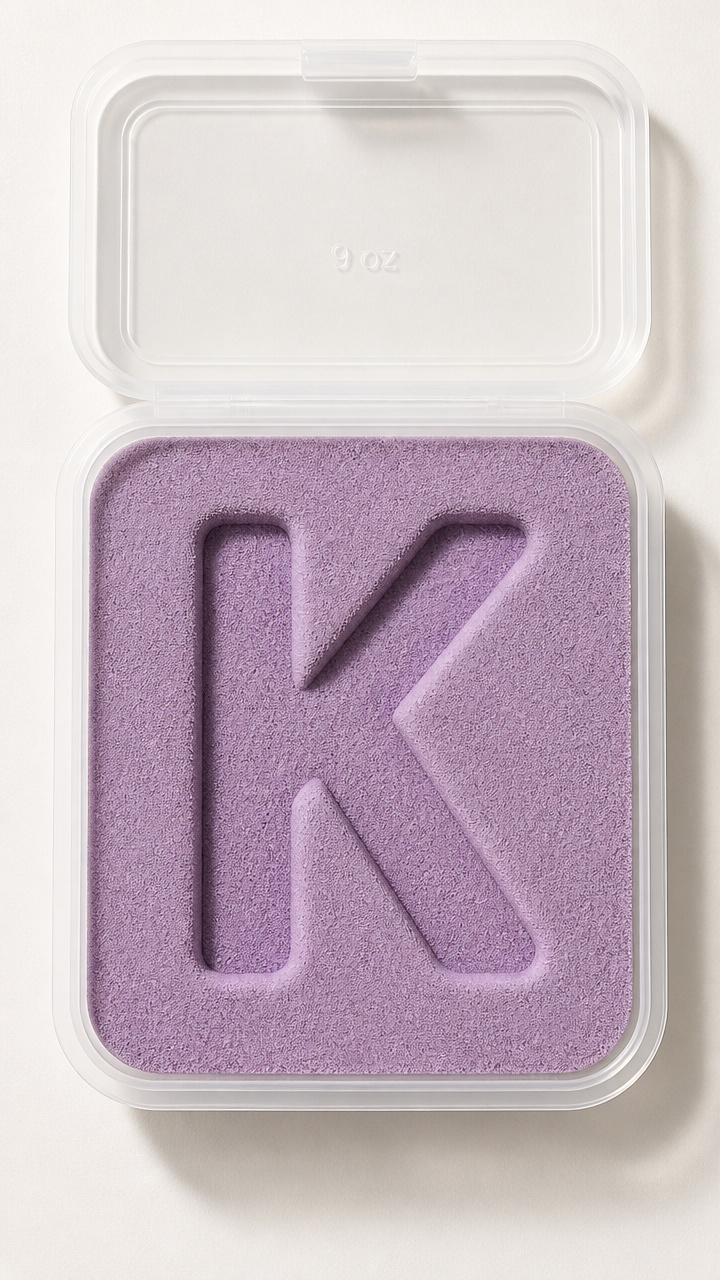
A sensory tray filled with homemade kinetic sand gives fingers a chance to trace and retrace the letter K. Calming and educational, it supports pre-writing skills.
Materials Needed
- 1 cup fine white sand
- 1 tablespoon cornstarch
- 1/4 cup clear school glue
- 9 oz plastic container with lid
- Plastic spoon
- Letter K stencil, 3 inches tall
How to Make It
- Mix sand and cornstarch in the container until evenly blended.
- Add glue and stir with the spoon until the mixture clumps but is not sticky.
- Let sit uncovered for 1 hour to dry slightly, stirring once halfway through.
- Press the K stencil into the surface of the sand.
- Use your index finger to trace inside the impression, lifting and repeating five times.


3. Kangaroo Paper Bag Puppet
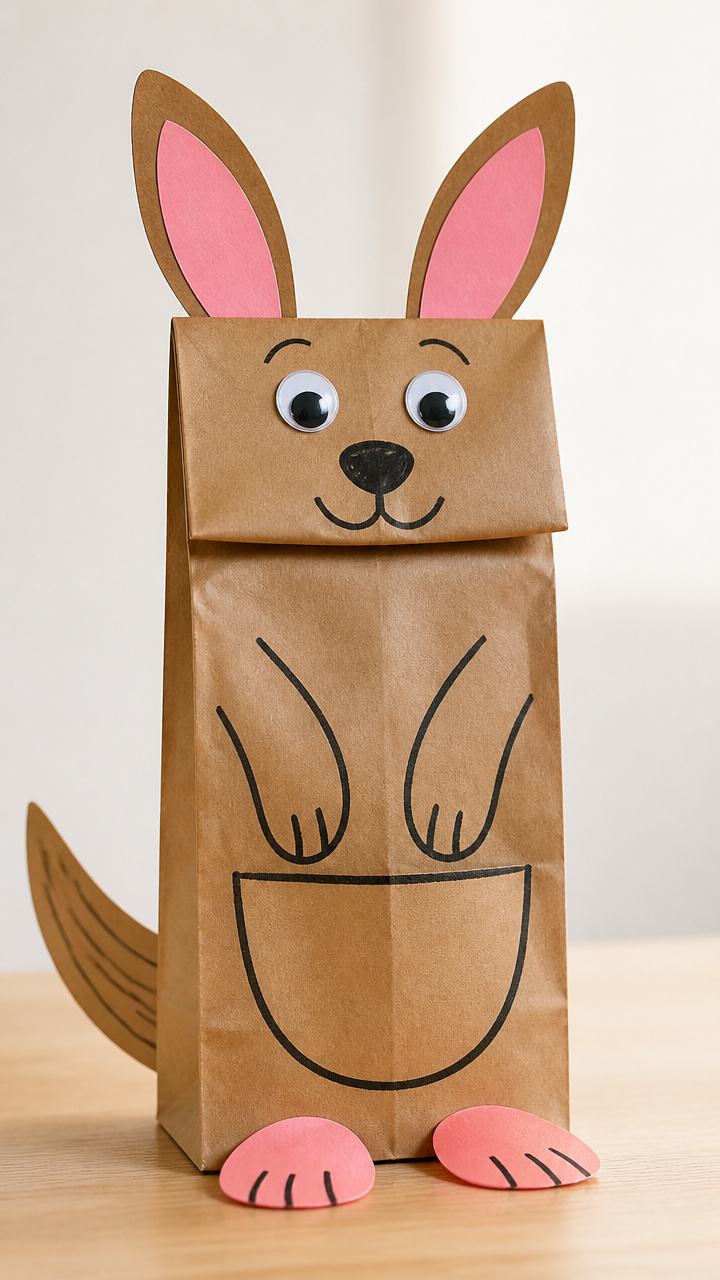
A bouncy kangaroo with a bold K on its pouch hops to life from a lunch bag and markers. Kids love slipping their hand inside to tell stories.
Materials Needed
- Brown paper lunch bag
- Pink construction paper, 6×6 inch square
- Black marker
- Googly eyes, two 10mm
- Glue stick
- Scissors
- Orange crayon
How to Make It
- Draw a large uppercase K on the front of the bag at chest level using the black marker.
- Cut two ear shapes from the brown bag flap and glue them to the top corners.
- Cut a small oval from pink paper for the pouch and glue it below the K.
- Stick googly eyes above the K and draw a smile with the orange crayon.
- Let glue dry 5 minutes before sliding your hand inside to wiggle the puppet.


4. K Is for Key Stamp
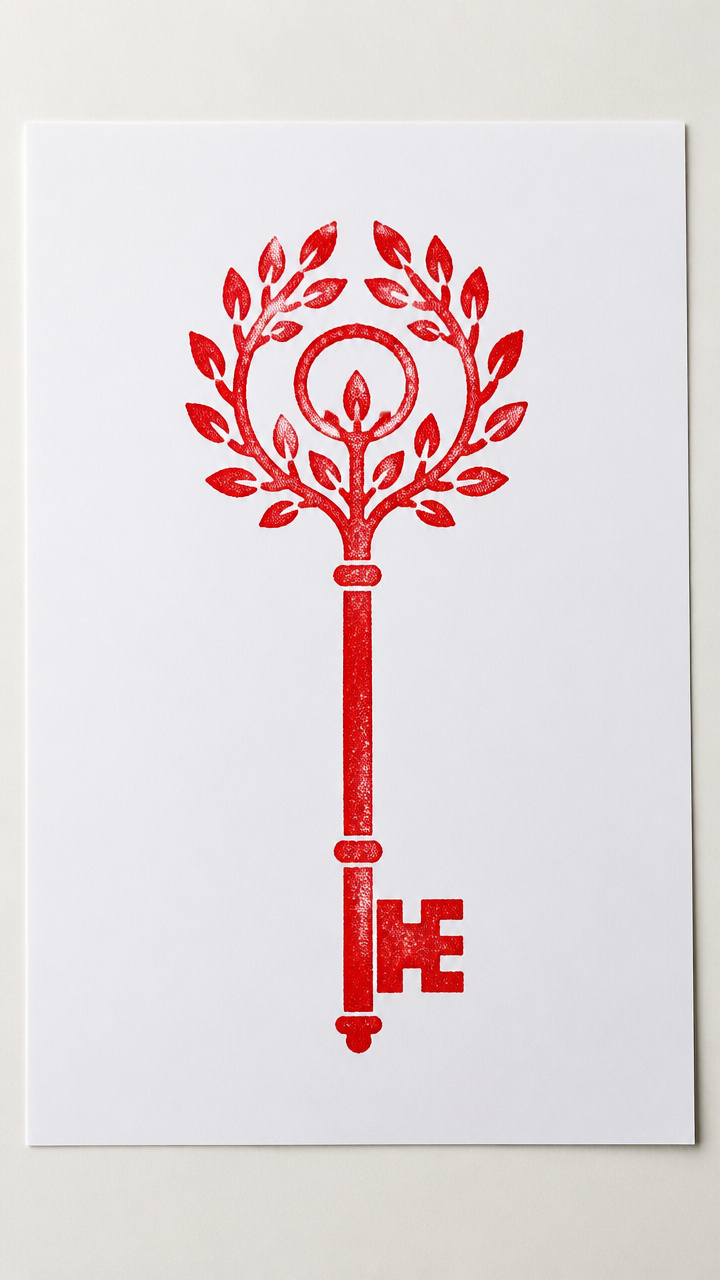
Carved foam sheets turn into letter K stamps that leave crisp prints on paper. Stamping builds hand strength and pattern awareness.
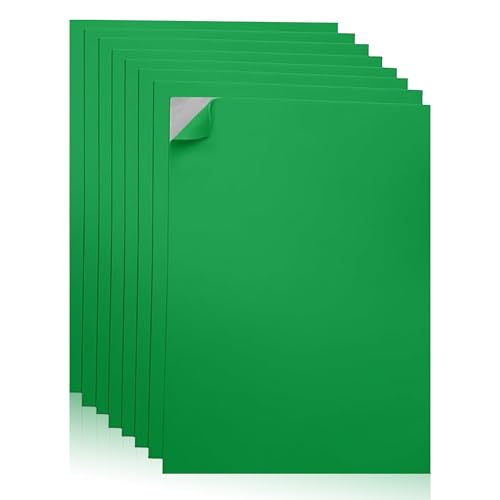
Materials Needed
- EVA foam sheet, 6×9 inch, green
- Pencil
- Scissors
- Red acrylic paint
- Paintbrush, size 4 round
- A4 white drawing paper
- Plastic plate
How to Make It
- Sketch a thick uppercase K on the foam with the pencil, making it 3 inches tall.
- Cut out the K shape carefully with scissors, following the line exactly.
- Pour a dime-sized amount of red paint onto the plate.
- Use the brush to coat the foam K evenly with paint.
- Press the painted side firmly onto the drawing paper and lift straight up. Let dry 10 minutes.


5. Kazoo Sound Tube Craft
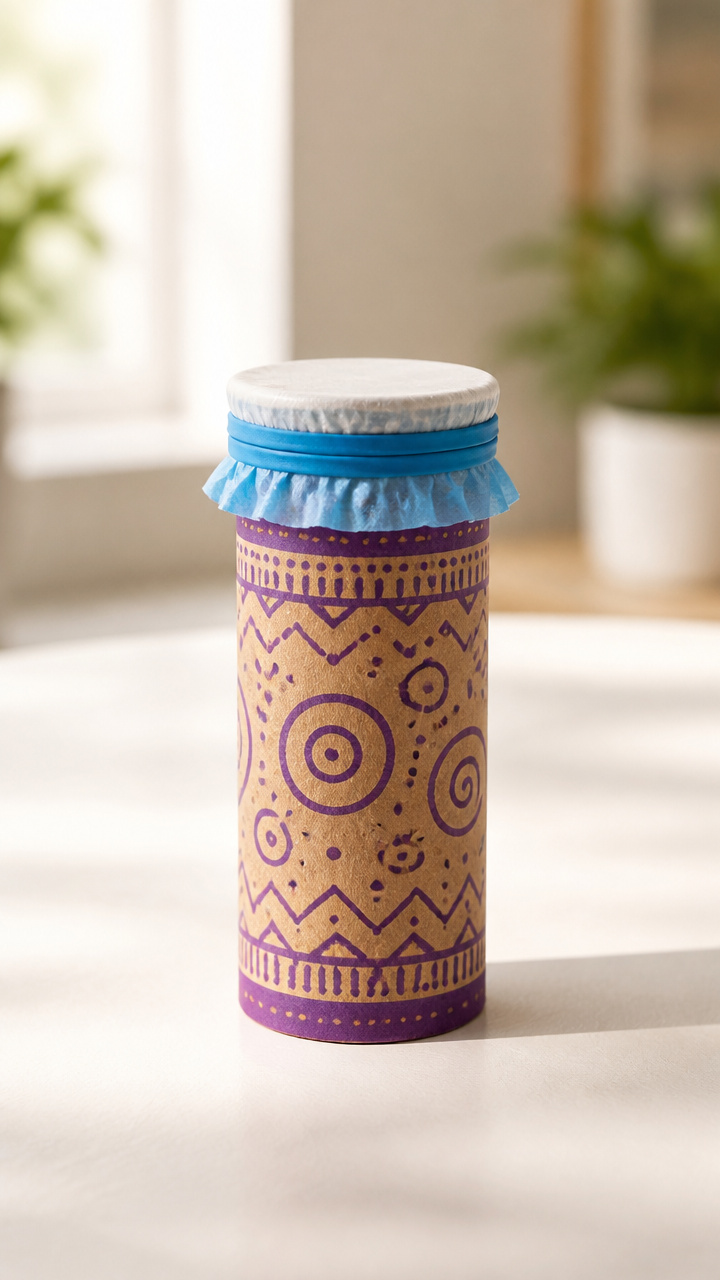
A buzzing kazoo made from cardboard and wax paper sings the sound of /k/. Blowing into this instrument teaches sound-letter connection through vibration.
Materials Needed
- Paper towel tube, one
- Wax paper, 6×6 inch square
- Rubber band, wide
- Purple markers
- Hole punch
- Tissue paper, blue
How to Make It
- Color the entire tube purple using the markers and let dry for 3 minutes.
- Stretch wax paper tightly over one end of the tube and secure with the rubber band.
- Punch one hole just below the wax paper with the hole punch.
- Decorate the tube with swirling blue tissue paper glued around the middle.
- Hum or say ‘kuh’ into the open end to feel the buzz through the wax paper.
6. Kite Tail Ribbon Wand
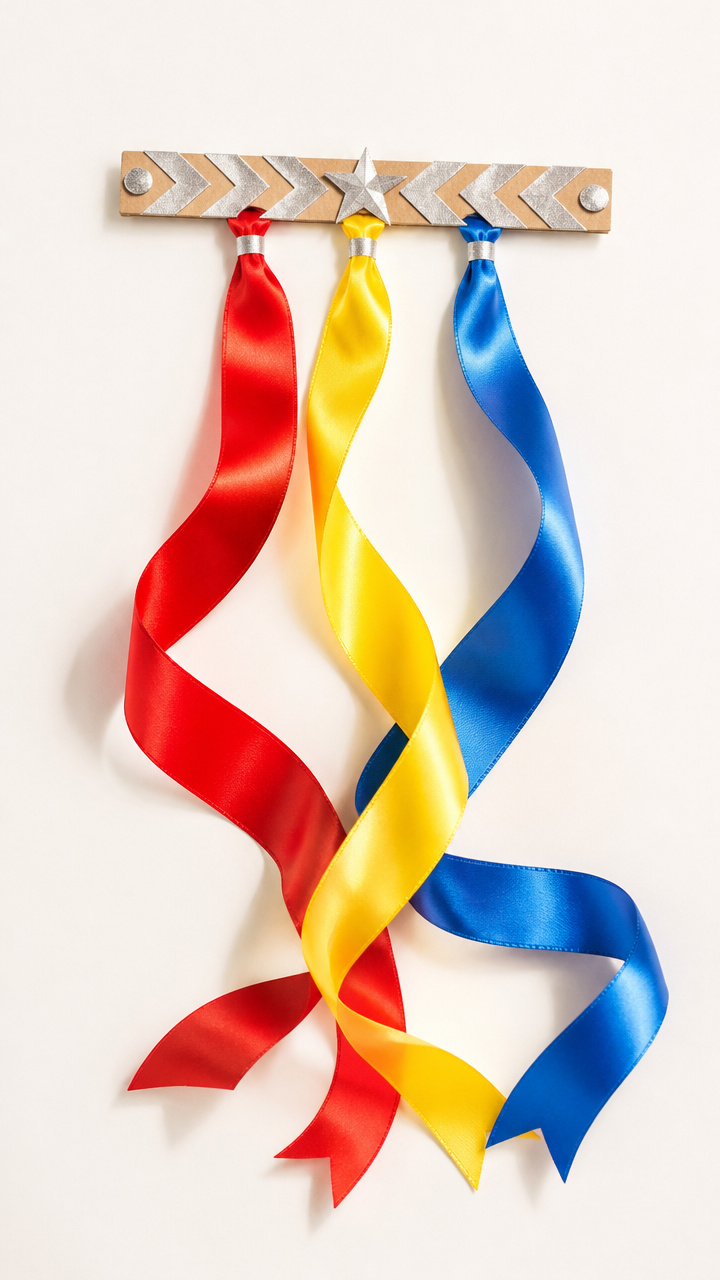
A lightweight wand shaped like a K swirls with ribbons when waved. Perfect for movement breaks and outdoor letter play.
Materials Needed
- Cardboard strip, 1×12 inches
- Hot glue gun and glue stick
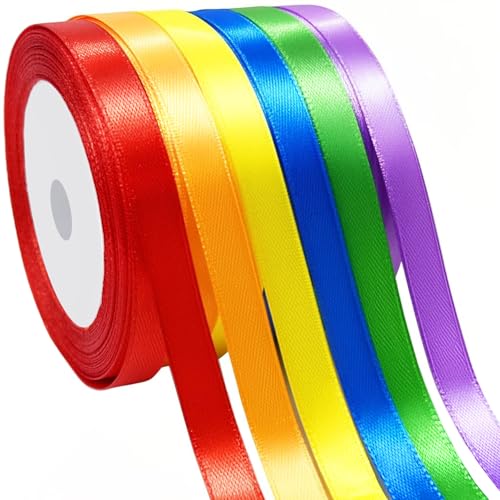
- Three satin ribbons, each 18 inches long (red, yellow, blue)
- Silver metallic marker
- Ruler
- Scissors
How to Make It
- Bend the cardboard into a K shape using the ruler to measure equal legs of 6 inches.
- Use hot glue to seal the joint where the two lines meet in the center.
- Cut each ribbon to 18 inches and tie one to each tip of the K with a double knot.
- Draw over the cardboard edges with the silver marker to highlight the letter.
- Let glue cool 3 minutes before waving in wide circles outdoors.

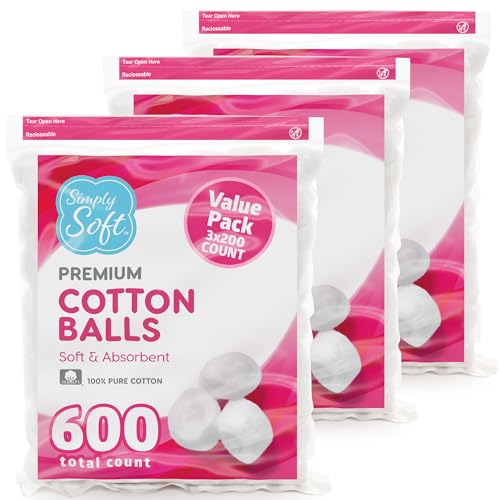
7. Koala Craft with Cotton Balls
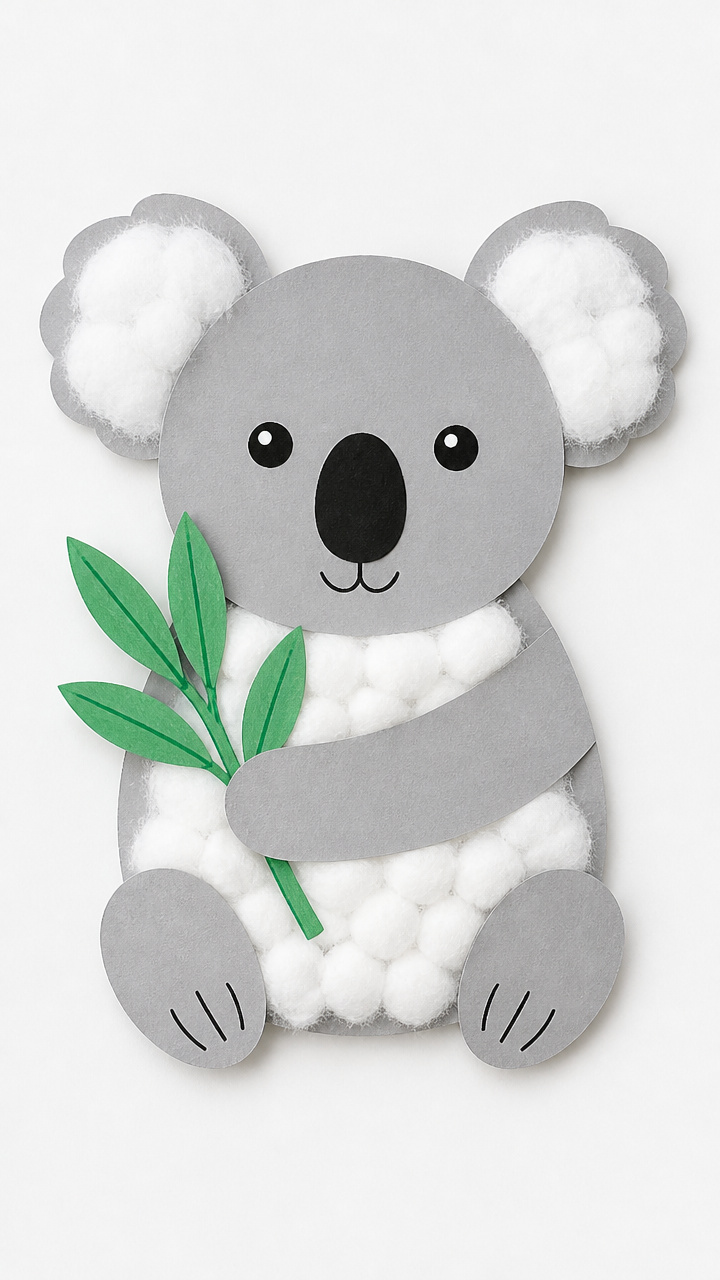
A fuzzy koala clings to a eucalyptus branch shaped like the letter K. Soft cotton balls invite gentle pinching and placing.
Materials Needed
- Gray cardstock, A4
- Green crayon
- Cotton balls, ten
- Black dot stickers, two
- White glue
- Pencil
How to Make It
- Draw a large cursive K on the gray cardstock with the pencil, 7 inches tall.
- Color the inside of the K with the green crayon to look like leaves.
- Dot glue along the upper curve of the K.
- Pinch one cotton ball at a time and press it onto the glued area to form the koala’s body.
- Stick black dot stickers near the top for eyes and let dry 15 minutes.

![McKesson Cotton Balls [2000 Count] Bulk, 100% Pure Cotton Balls for Face, Nail Polish Remover, Makeup, Medium](https://m.media-amazon.com/images/I/312YQNHbahL._SL500_.jpg)
8. K Is for Kettle Dot Art
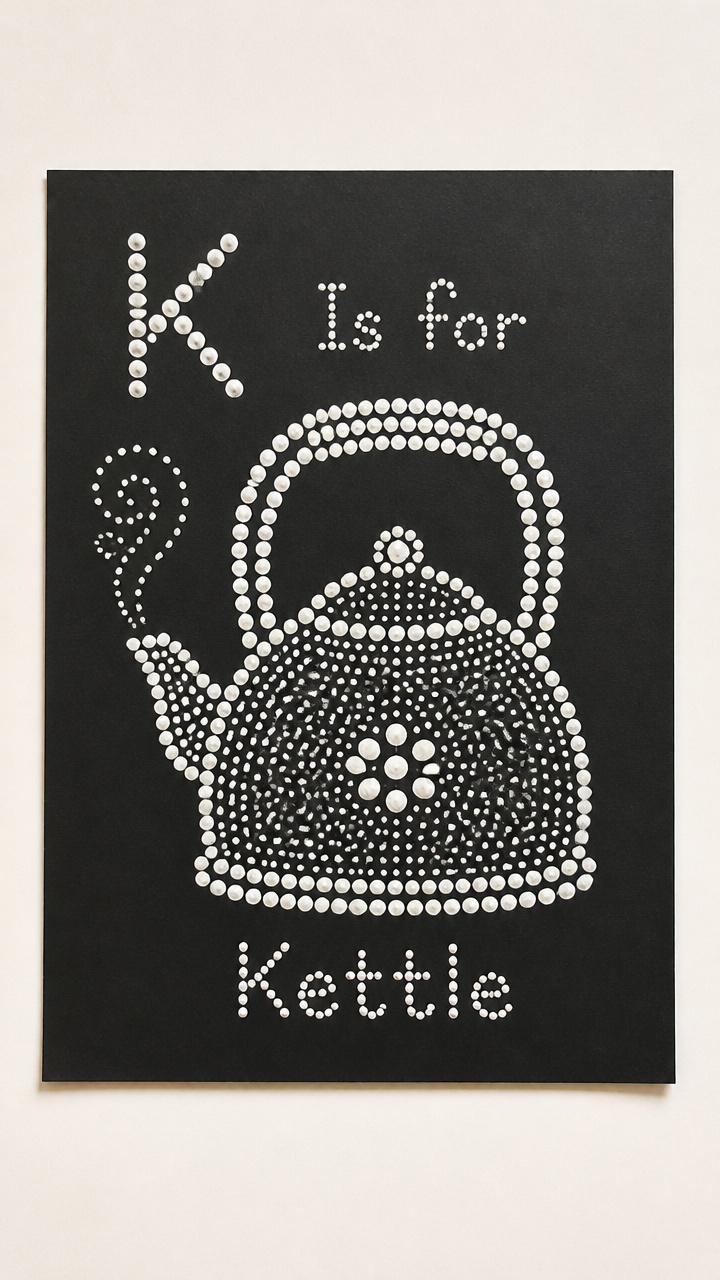
A shiny black kettle takes shape through careful dot painting with a q-tip. This slow, focused craft improves control and concentration.
Materials Needed
- Black poster board, 9×12 inch
- White paint
- Q-tips, five
- Plastic cup
- Pencil
- Eraser
How to Make It
- Lightly sketch a simple kettle outline in the shape of a K using the pencil.
- Pour a nickel-sized pool of white paint into the cup.
- Dip one end of a q-tip into the paint and dot along the pencil line to fill the kettle shape.
- Use the eraser to clean any smudges on the board.
- Let artwork dry flat for 25 minutes before displaying.


9. Kaleidoscope Viewfinder
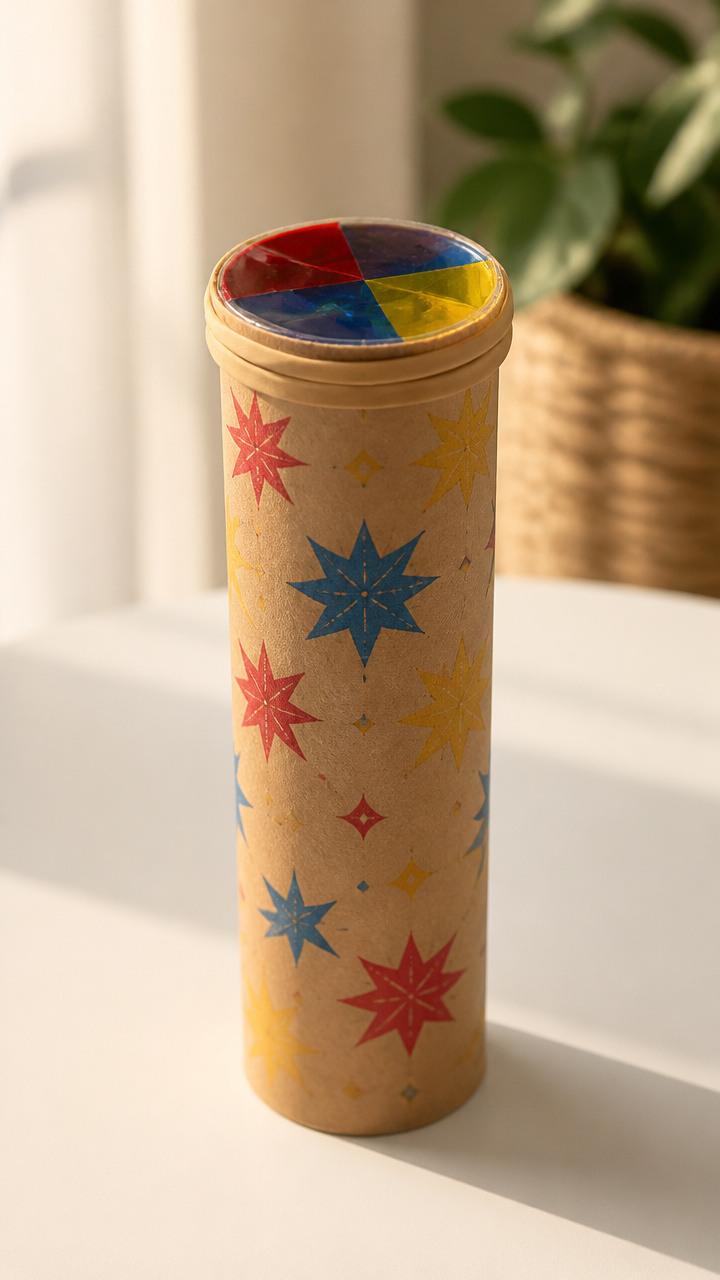
A handheld viewer with colored cellophane layers creates shifting patterns when turned. It starts conversations about symmetry and light.
Materials Needed
- Cardboard tube, 4 inches long
- Clear plastic lid from yogurt cup
- Red, blue, and yellow cellophane, each 3×3 inch
- Rubber band
- Scissors
- Tape, clear
How to Make It
- Cut the cellophane squares into confetti-sized pieces and mix in a bowl.
- Place the plastic lid on one end of the tube and tape securely around the edge.
- Sprinkle the cellophane bits onto the lid, filling it loosely.
- Cover the top with a second piece of plastic lid and seal with tape.
- Wrap a rubber band around the viewing end to mark it and twist to shift colors.


10. K Is for King Crown
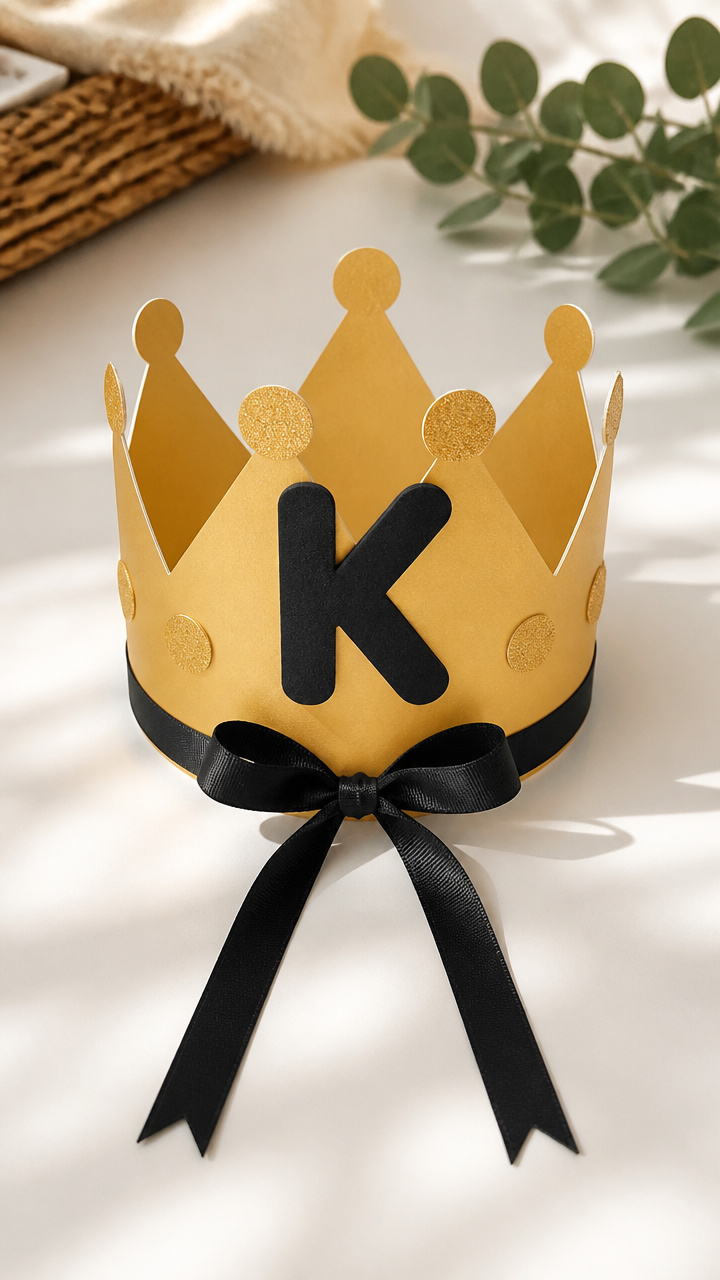
A golden crown stamped with bold letter K’s fits perfectly on a preschooler’s head. Wearing it builds confidence and letter pride.
Materials Needed
- Gold cardstock, 8.5×11 inch
- Black ink pad
- Foam letter K stamp
- Ribbon, 1/4 inch wide, 14 inches long
- Hole punch
- Scissors
How to Make It
- Wrap the gold cardstock around the child’s head to measure fit and mark with pencil.
- Cut 1 inch off the length to allow overlap, then trim jagged crown peaks along the top edge.
- Press the foam K stamp into the ink pad and stamp three K’s across the front panel.
- Punch one hole on each side near the bottom edge.
- Thread the ribbon through both holes and tie in a bow at the back.
11. Knitting with Yarn Strips
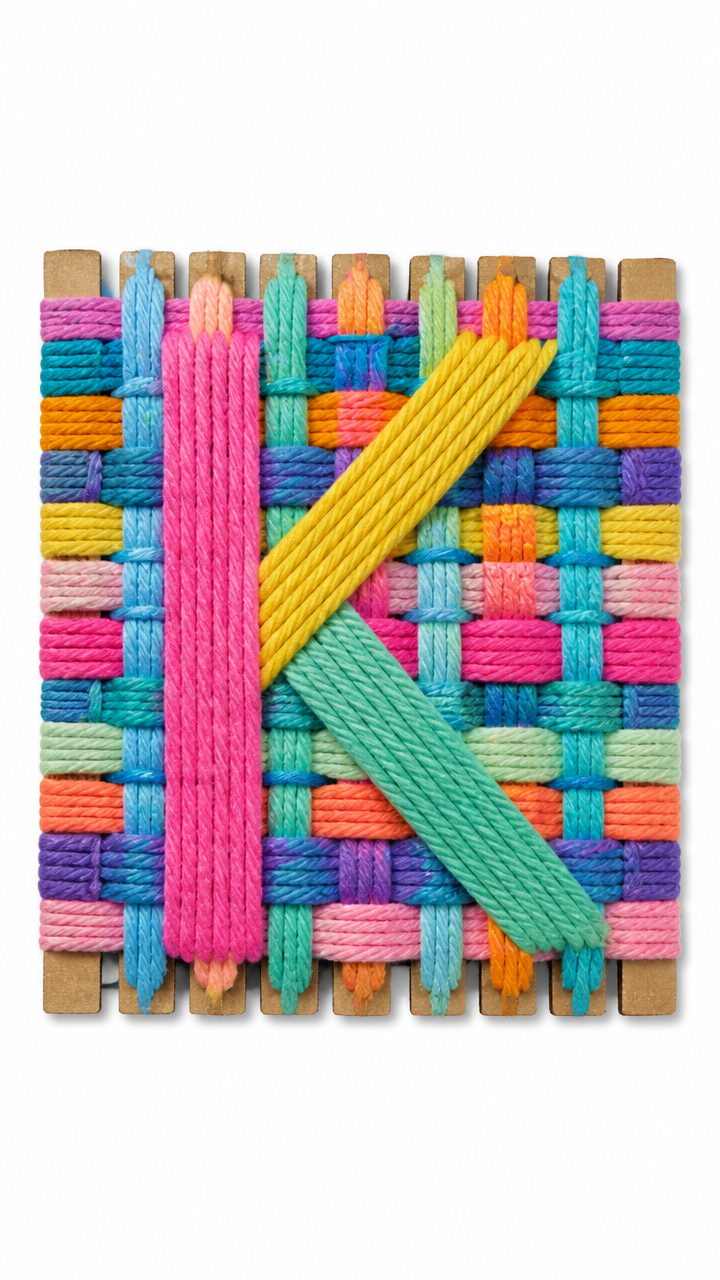
A cardboard loom weaves thick yarn strips into a K-shaped ruglet. This simplified knitting builds rhythm and coordination.
Materials Needed
- Cardboard, 6×6 inch square
- Pencil
- Ruler
- Craft knife (adult use only)
- Five yarn strips, each 1 inch wide and 18 inches long (assorted colors)
- Tape
How to Make It
- Draw a K on the cardboard using the ruler to keep lines straight and 5 inches tall.
- With a craft knife, cut slits every 1/2 inch along both legs of the K, deep enough to hold yarn.
- Tape one end of a yarn strip to the back of the cardboard.
- Weave the strip up and down through the slits, going over, under, over.
- After all strips are woven, gently slide the piece off and hang with tape on the wall.


12. Ketchup Bottle Painting
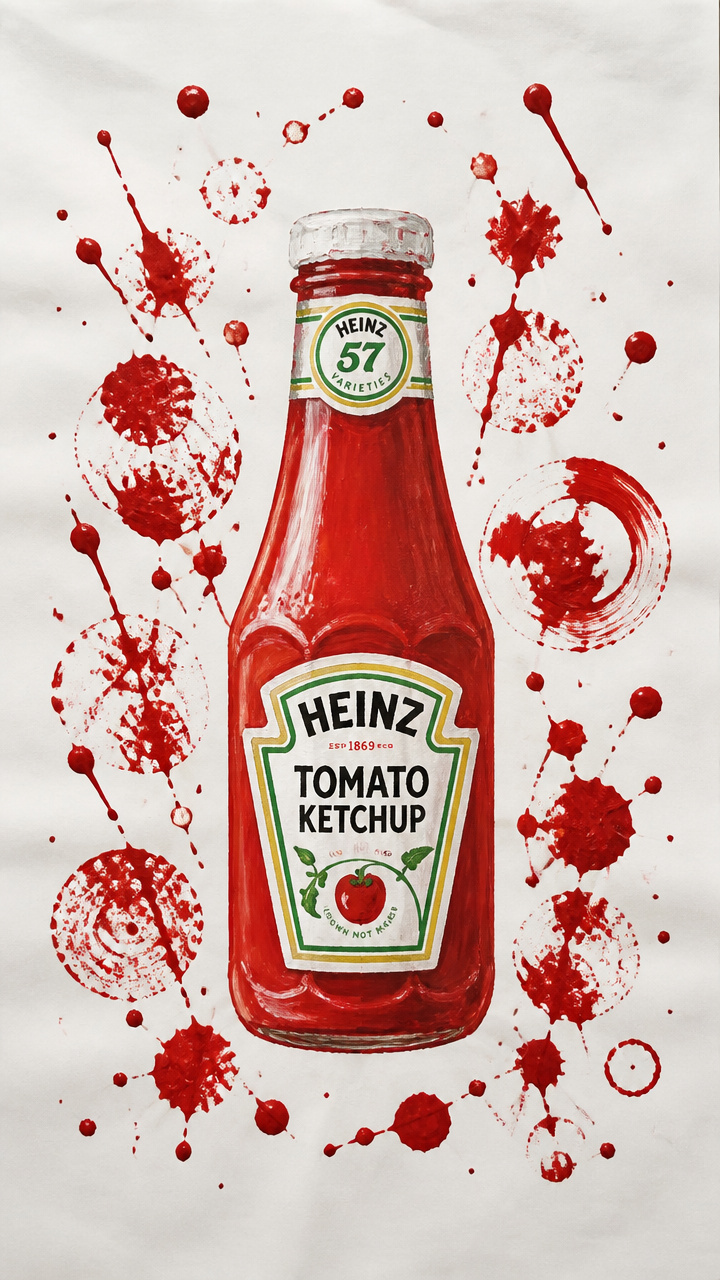
Empty condiment bottles filled with paint squirt curvy K trails on paper. Squeezing strengthens little hands and delights the senses.
Materials Needed
- Clean empty ketchup bottle, one
- Red tempera paint
- Funnel
- A4 white butcher paper
- Painter’s tape
- Smock
How to Make It
- Put on a smock and lay the butcher paper on a flat surface.
- Use painter’s tape to secure the paper corners to the table.
- Insert the funnel into the ketchup bottle and pour in red tempera paint until half full.
- Hold the bottle over the paper and gently squeeze while moving your hand to form a large K.
- Let the paint dry completely for 30 minutes before touching.


13. K Is for Koi Fish
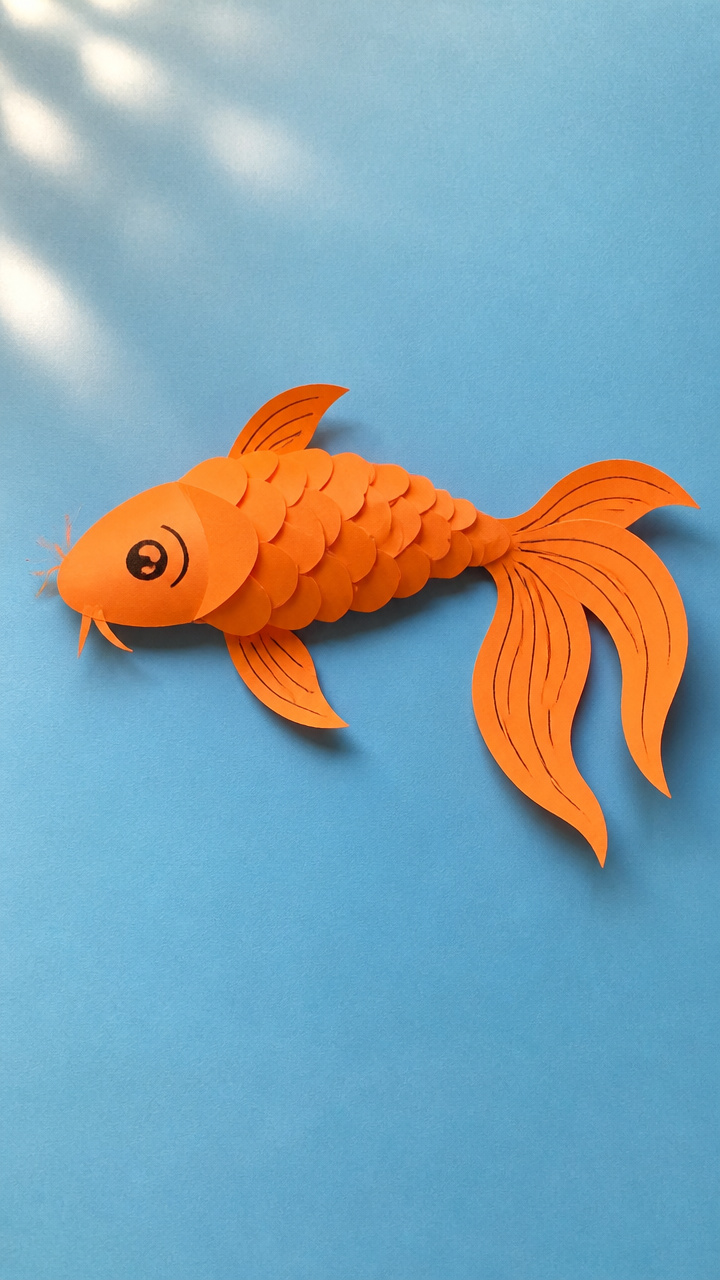
A pond-ready koi fish swims with a scaled body formed by folded paper fans. The shimmering orange contrasts beautifully with dark lines.
Materials Needed
- Orange construction paper, 6×6 inch
- Black marker
- Glue stick
- Blue A4 paper
- Ruler
- Scissors
How to Make It
- Fold the orange paper in half lengthwise, then make accordion folds 1/2 inch wide along the rectangle.
- Unfold once and draw a fish head at the open end, then cut it out with scissors.
- Refold the body into fans and glue the tail end to the blue paper.
- Draw a curved uppercase K behind the fish with the black marker to look like water ripples.
- Let dry 5 minutes before adding more fish nearby.


14. K Is for Keyboard Buttons
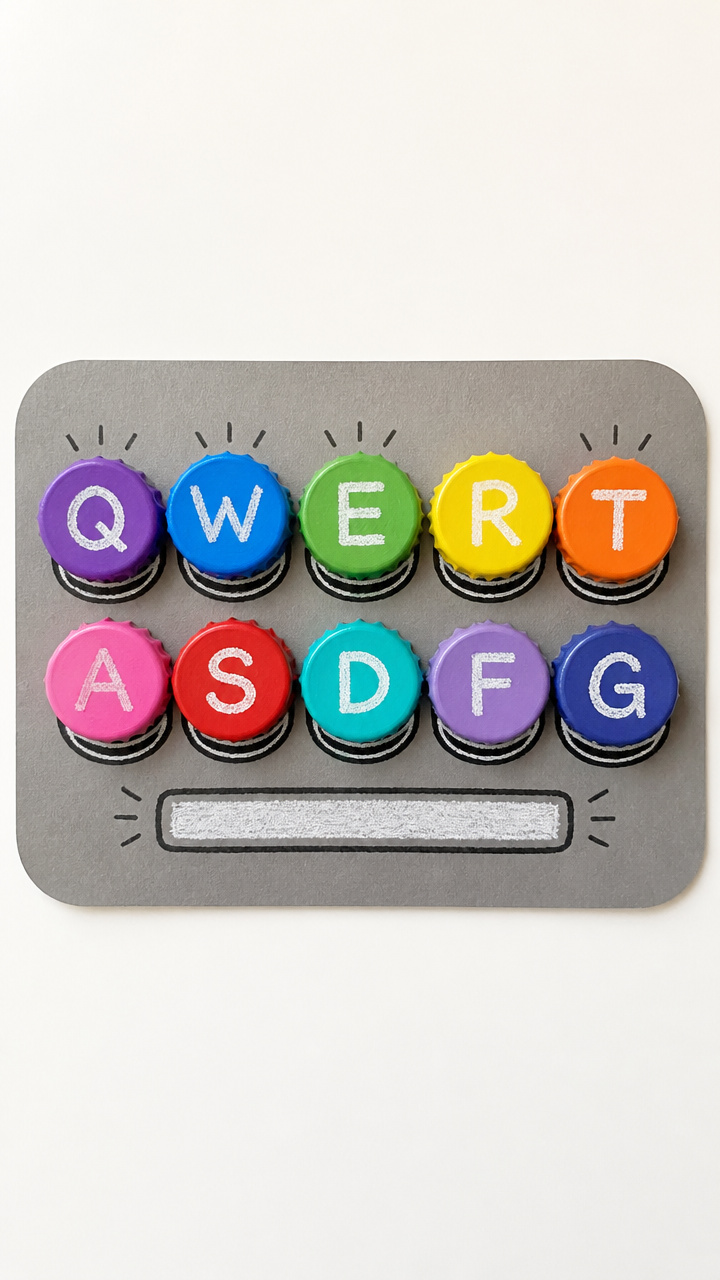
Cardboard keys labeled with the letter K click into place on a paper keyboard. This interactive set boosts matching and sorting skills.
Materials Needed
- Gray cardstock, 9×12 inch
- White crayon
- Black marker
- Ten bottle caps, plastic
- Glue stick
- Scissors
How to Make It
- Draw a keyboard grid on the gray cardstock with 12 rectangles, each 1×1.5 inches, using the black marker.
- Write a lowercase k inside three of the rectangles spaced apart.
- Trace the bottle caps on white paper using the crayon and cut out the circles.
- Glue a white circle inside each bottle cap to make a keytop.
- Set the caps beside the board so kids can match and snap them over the k keys.
15. Kangaroo Pocket Pouch

A stuffed kangaroo has a soft pouch that holds mini K flashcards. Sewing with yarn introduces basic stitch patterns.
Materials Needed
- Brown felt sheet, 9×12 inch
- Pink felt sheet, 6×6 inch
- Yarn, 24 inches long, dark brown
- Tapestry needle
- Scissors
- Cardstock, cut into 2×2 inch squares, five
- Black marker
How to Make It
- Draw a kangaroo outline 6 inches tall on the brown felt and cut two identical pieces.
- Cut a small oval from pink felt for the pouch.
- Thread the yarn through the needle and tie a knot at the end.
- Place the pink oval on one kangaroo piece and sew around the edge with a running stitch.
- Lay the second kangaroo piece on top and stitch around the outside, leaving the pouch open. Let the cards go inside.


You’ve got everything you need to bring the letter K to life in fun, hands-on ways. Pick one craft, gather your supplies, and watch those little eyes light up with discovery.