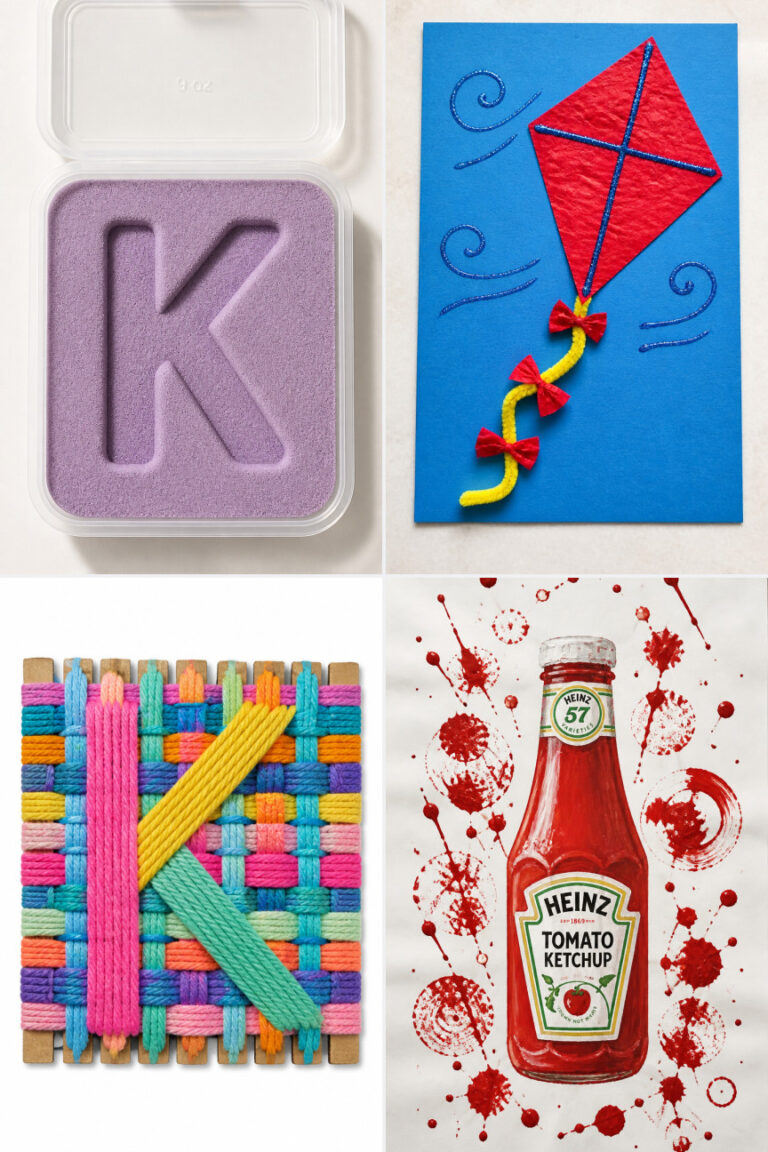
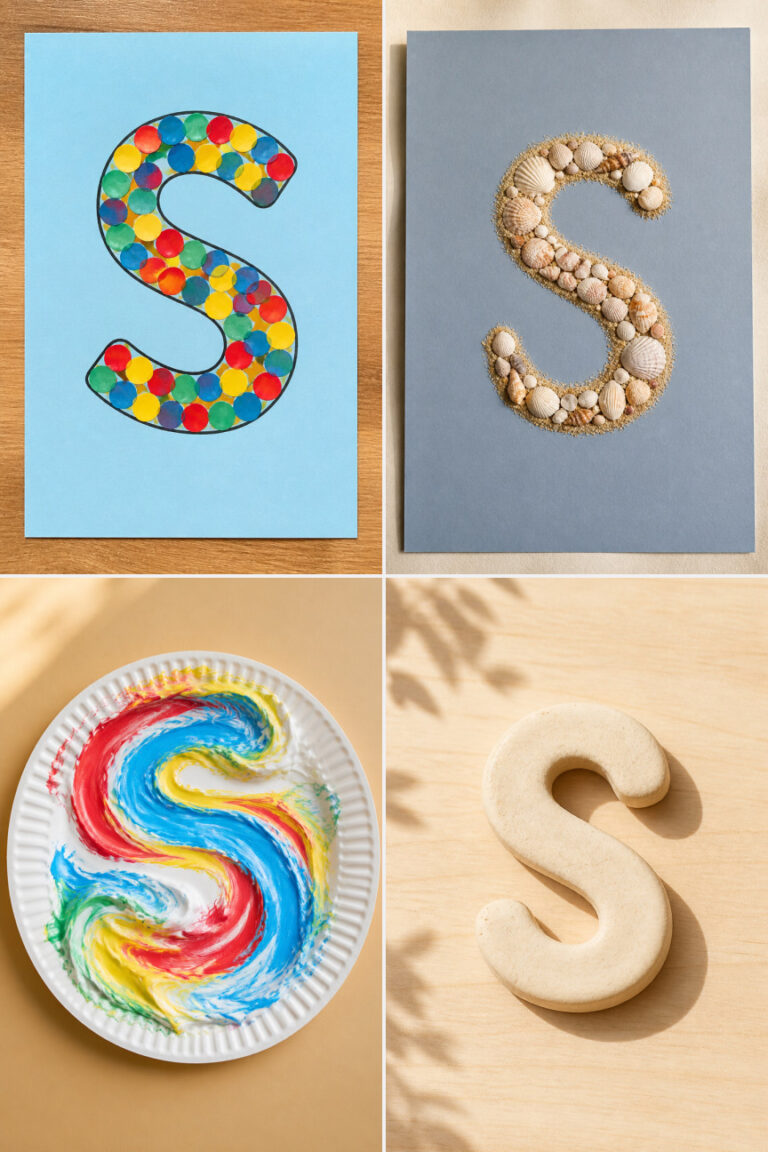
15 Fun Letter R Crafts for Preschoolers

Introducing the letter R through hands-on play makes learning feel like an adventure. These crafts use simple materials you likely have at home and turn recognition into something joyful and memorable.
Each project builds fine motor skills while focusing on the shape, sound, and presence of the letter R in a playful way. You’ll find textures, movements, and surprises that keep little hands busy and minds engaged.
1. R is for Rainbow Paper Fan
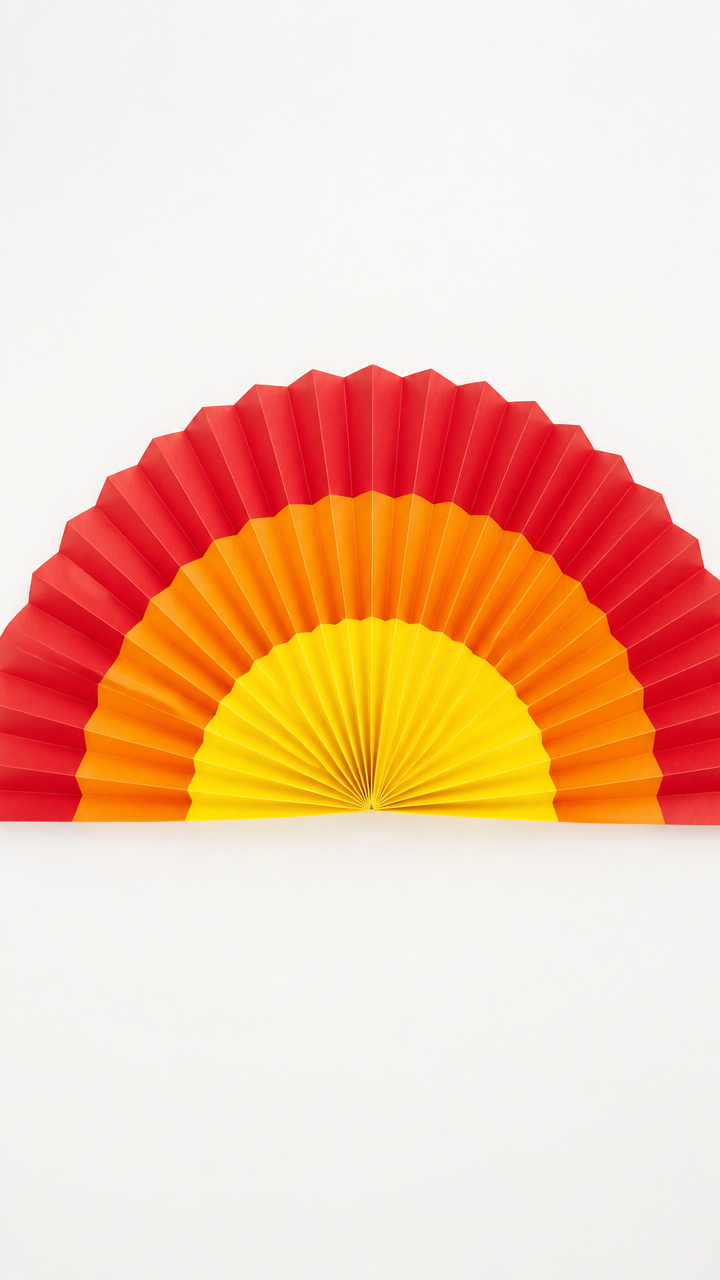
A colorful accordion-folded fan fans out to reveal red, orange, and yellow stripes, each labeled with the word 'Rainbow' in bold print. This craft doubles as a decoration and a tactile way to practice the /r/ sound.
Materials Needed
- 3 sheets A4 colored construction paper (red, orange, yellow)
- 1 glue stick
- 1 black fine-tip marker
- 12-inch ruler
- 1 pair child-safe scissors
How to Make It
- Lay one sheet flat and fold it lengthwise into 1.5-inch pleats, back and forth like an accordion, using the ruler to crease each fold sharply.
- Repeat with the other two sheets, then glue the short ends of the red and orange sheets together, followed by the orange and yellow.
- Once dry, write 'Rainbow' in large letters across the front panel using the marker, emphasizing the capital R.


2. Rattle-in-a-Cup Shaker
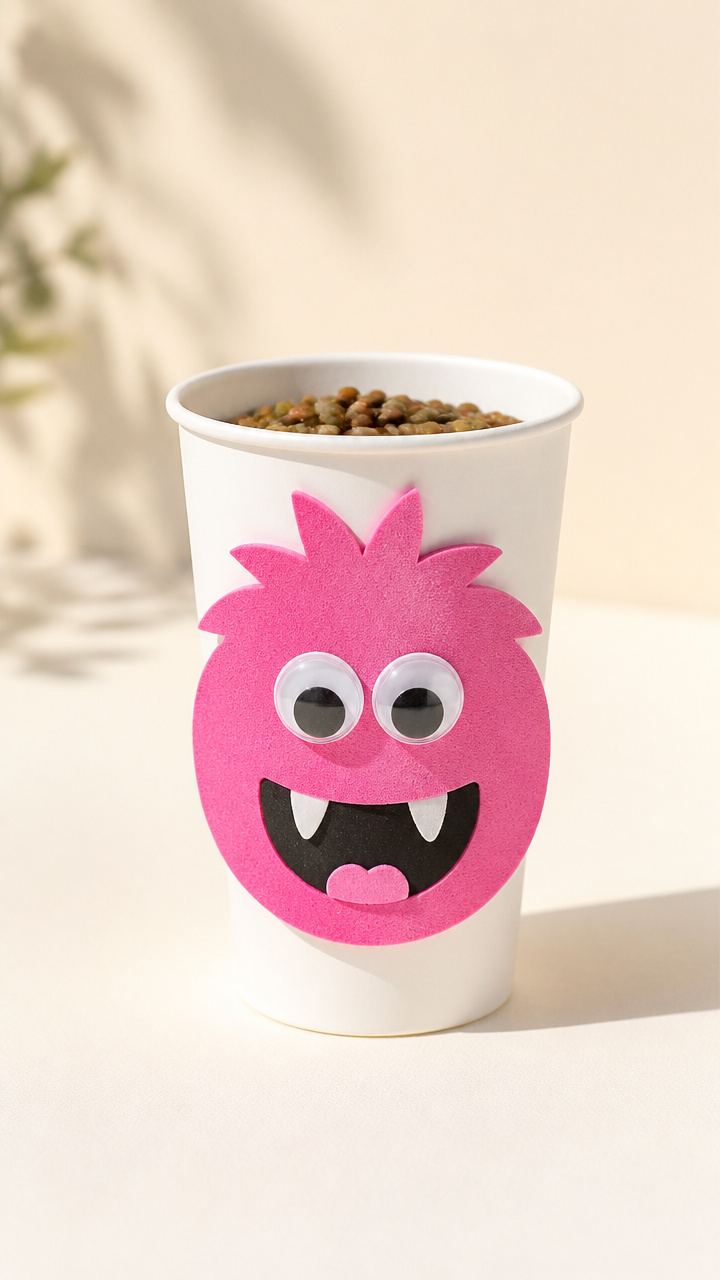
A sturdy paper cup filled with dried beans becomes a musical shaker shaped like the letter R, complete with a hand-drawn face and yarn hair. It jingles with every shake and invites rhythm play.
Materials Needed
- 1 white paper cup (9 oz)
- 1 tablespoon dried lentils
- 1 piece pink craft foam (3×3 inches)
- 2 googly eyes (10 mm)
- 1 glue stick
- 1 black fine-tip marker
- 6 inches yarn (red)
How to Make It
- Pour the lentils into the cup, then stretch plastic wrap tightly over the top and secure it with a rubber band.
- Cut the foam into a rounded R shape and glue it over the plastic wrap so the curve faces outward.
- Glue on the eyes above the R, draw a smiling mouth with the marker, and tape the yarn to the back for hair.


3. Rubber Band Wrapped R Frame
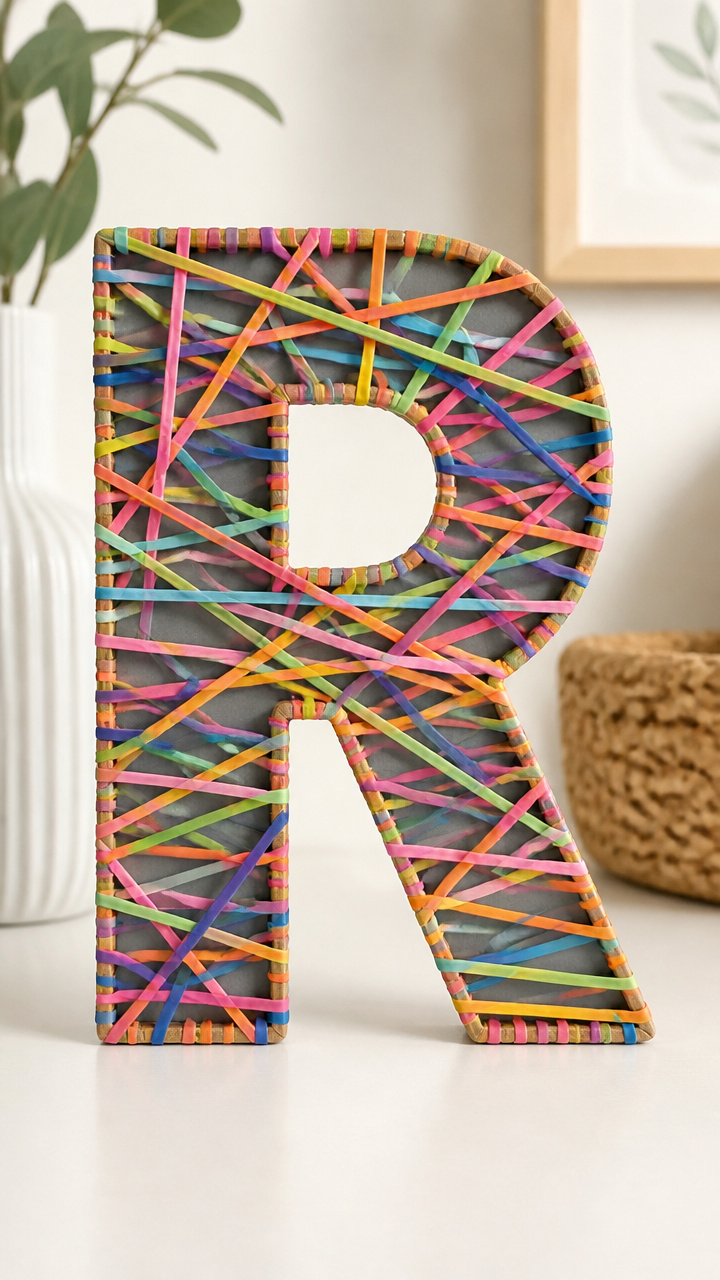
A thick cardboard letter R wrapped tightly with multicolored rubber bands creates a textured art piece that catches light and shadow. It’s a satisfying wrap-and-create project with no drying time.
Materials Needed
- 1 pre-cut cardboard letter R (6 inches tall)
- 20 assorted colored rubber bands
- 1 clothespin
- 1 sheet gray cardstock (for backing)
How to Make It
- Hold the bottom of the R with the clothespin to stabilize it while wrapping rubber bands around the upright stem and curved shoulder.
- Layer bands side by side until the entire surface is covered, leaving no cardboard visible.
- Press the finished R onto the center of the gray cardstock to create a framed display piece.


4. Red Pom-Pom Rain Art
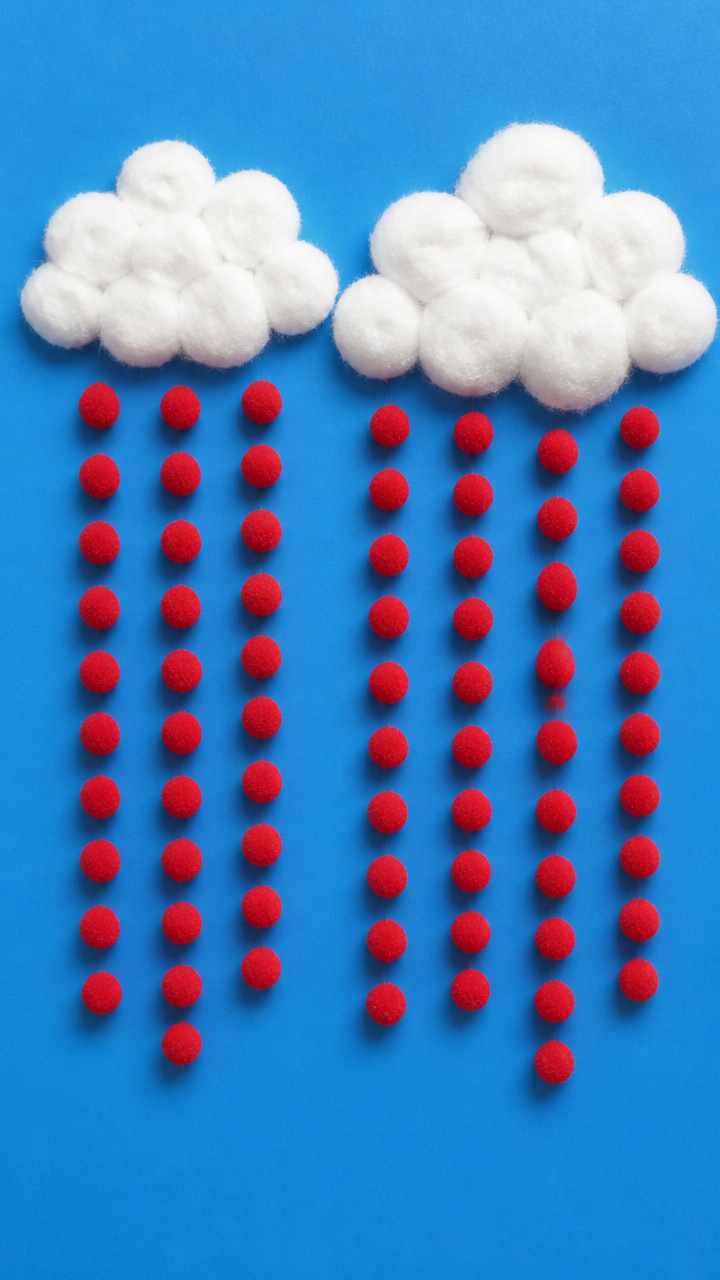
Cotton balls dipped in glue form fluffy clouds at the top of blue paper, with red pom-poms tumbling down like drops in a storm. This sensory-rich scene highlights the 'R' in rain and red.
Materials Needed
- 1 sheet A4 blue construction paper
- 5 white cotton balls
- 1 small jar white school glue
- 10 red pom-poms (8 mm)
- 1 paintbrush (½ inch wide)
How to Make It
- Use the paintbrush to spread a thin layer of glue on the cotton balls and press them near the top corner of the blue paper to form a cloud.
- Dip the red pom-poms lightly in glue and drop them in a diagonal line from the cloud to the bottom edge to mimic falling rain.
- Let the artwork dry flat for 20 minutes before displaying.


5. Ribbon-Tail Rooster Puppet
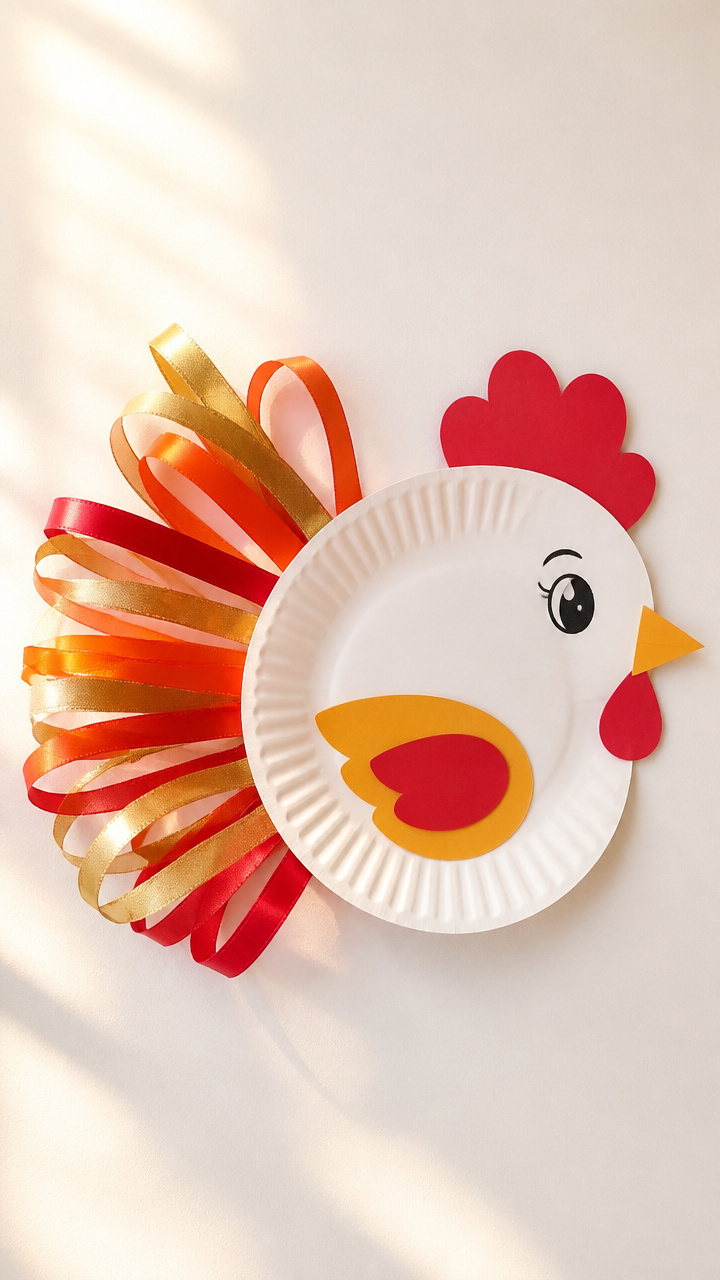
A paper plate base becomes a bold rooster with a feathery ribbon tail and a big red comb. Slipping your hand underneath brings the /r/ sound to life with every strut.
Materials Needed
- 1 white paper plate
- 1 red construction paper (half sheet)
- 3 ribbons (12 inches each, red, gold, orange)
- 1 glue stick
- 1 black fine-tip marker
- 1 pair child-safe scissors
How to Make It
- Cut the red paper into jagged strips for the comb and glue them along the top edge of the plate.
- Glue the three ribbons side by side at the back edge of the plate to form the tail.
- Draw eyes and a beak below the center of the plate with the marker, then let your hand enter from behind to operate the puppet.


6. Rock & Roll R Sculpture
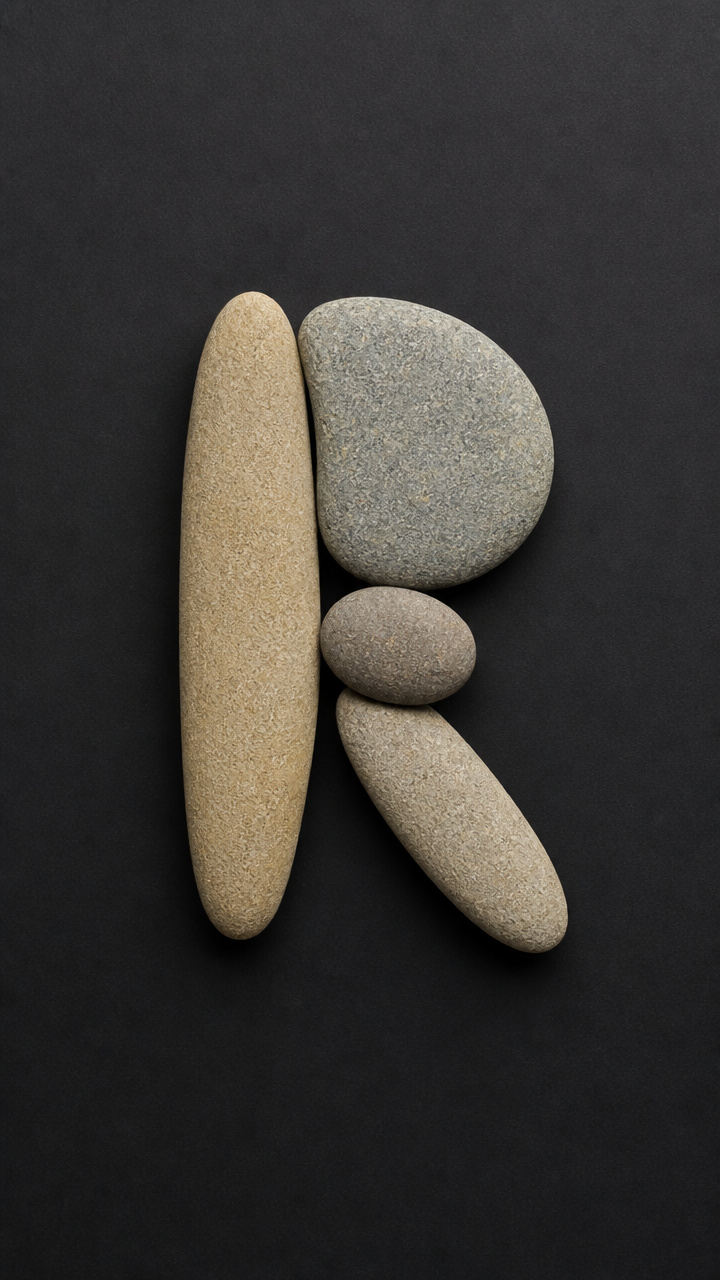
Smooth river rocks stacked and glued into the shape of a curving letter R become a weighty desktop sculpture. The cool texture and balance challenge focus and coordination.
Materials Needed
- 5 smooth river rocks (1–2 inches long)
- 1 sheet black cardstock (A4)
- 1 bottle tacky glue (non-toxic)
- 1 pencil
- 1 paintbrush (¼ inch)
How to Make It
- Sketch a large cursive R lightly on the cardstock using the pencil, making sure the lower loop has space for rock placement.
- Apply a dot of glue to the bottom of each rock and place them end to end along the pencil lines, starting at the top and curving down.
- Use the paintbrush to dab extra glue where rocks meet, then let dry undisturbed for 1 hour.


7. Rolling R Dice Game
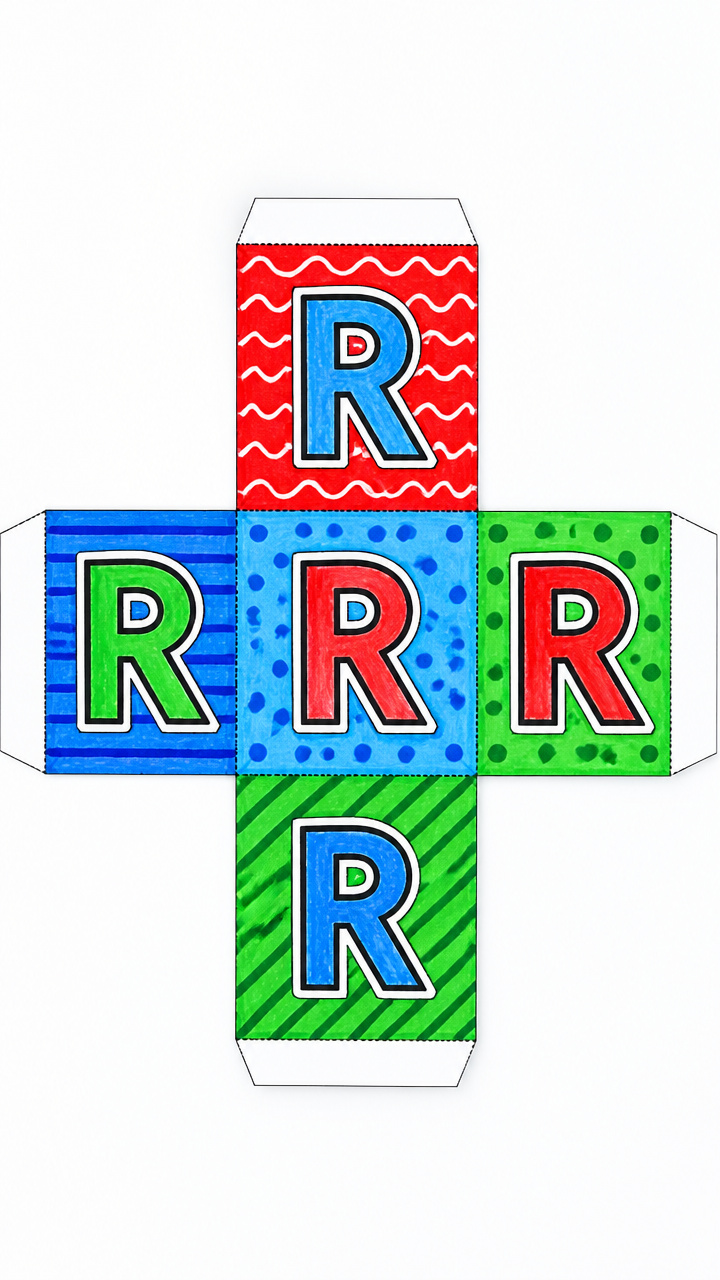
A handmade cube die with letter Rs on three sides encourages movement when rolled—roar, run, or rap. Kids decorate the die first, then play the action game after.
Materials Needed
- 1 printable cube template (on A4 white cardstock)
- 1 pair child-safe scissors
- 1 glue stick
- 1 set washable markers (red, blue, green)
- 1 small ruler
How to Make It
- Color three sides of the cube with large red Rs using the markers, leaving the others blank for now.
- Cut out the template along the solid lines, fold on the dotted lines, and glue the flaps to form a cube.
- Once assembled, roll the die and if it lands on R, do the action: roar like a lion, run in place, or tap-rap a beat on the table.


8. Rope-Wrapped R Letters
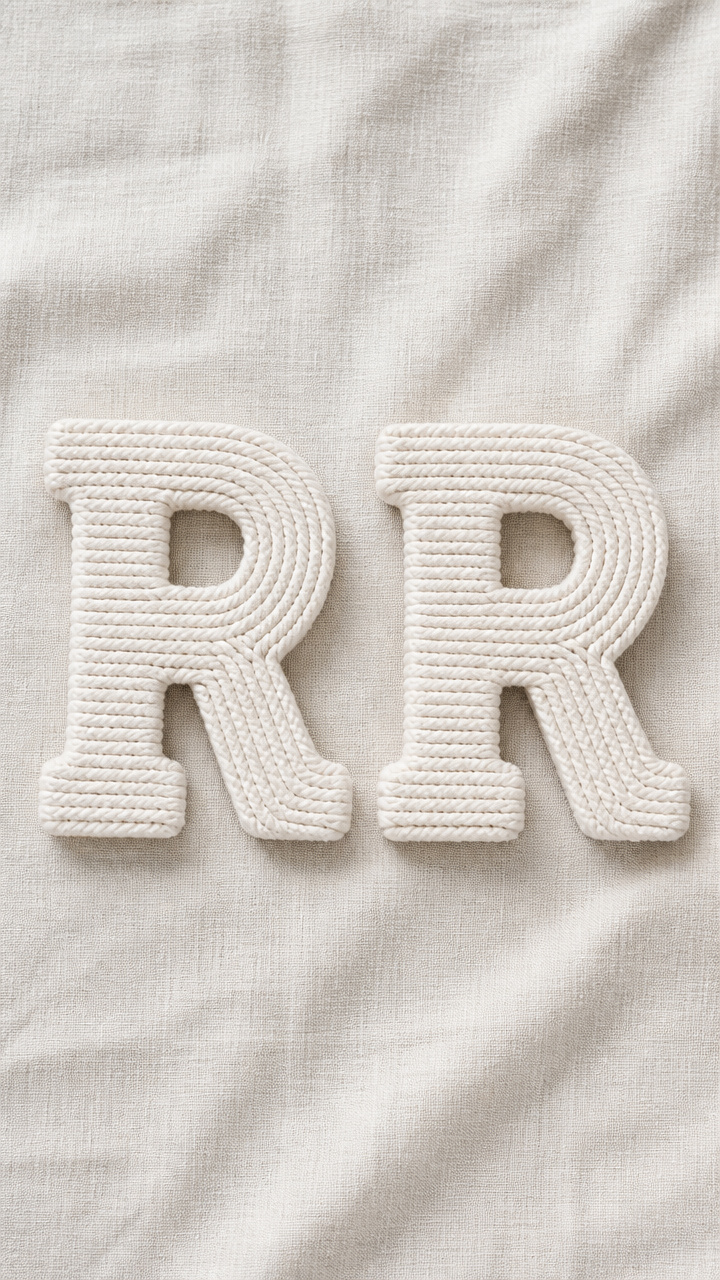
Stiff letter cutouts wrapped tightly with thin white rope give a nautical feel and build grip strength. The rough texture helps anchor the shape of R in memory.
Materials Needed
- 2 cardboard letter Rs (5 inches tall)
- 2 meters thin white cotton rope (3 mm diameter)
- 1 bottle white school glue
- 1 paintbrush (½ inch)
How to Make It
- Brush a small section of glue along the outer edge of one R, starting at the top straight line.
- Press the end of the rope into the glue and wind it tightly around the cardboard, moving slowly around the curve and down the leg.
- Add more glue as needed and clip the rope at the end with scissors, pressing the tip down to secure.


9. Raisin Mosaic Name Tiles
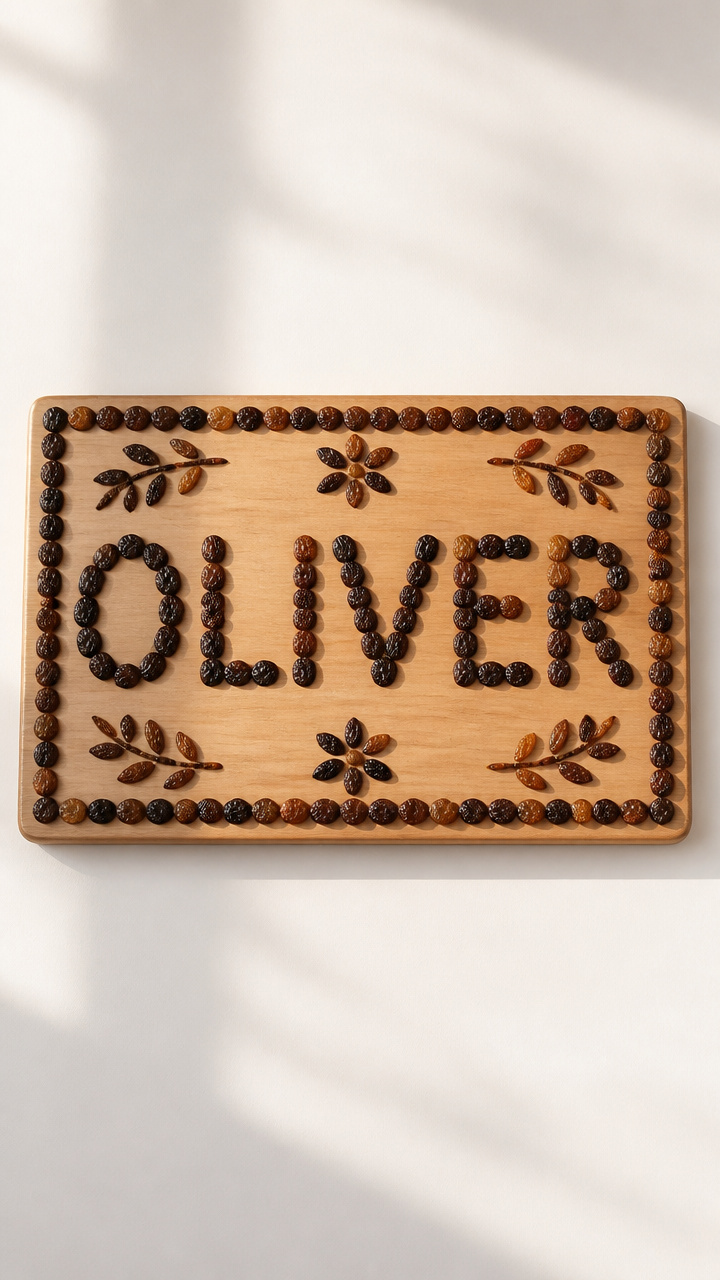
Tiny brown raisins pressed into glue form textured initials on square tiles, with the child's name beginning with R. The sweet scent adds another sensory layer.
Materials Needed
- 1 wooden tile (4×4 inches)
- 10 raisins
- 1 small bowl
- 1 teaspoon water
- 1 paintbrush (½ inch)
- 1 bottle clear school glue
How to Make It
- Write a large R in pencil on the tile, filling most of the surface.
- Mix a few drops of water into the glue to thin it slightly, then brush a layer over the pencil R.
- Use fingers to place raisins close together within the glued shape, covering the entire letter, then let dry for 30 minutes.


10. Ribbon Weaving R Card
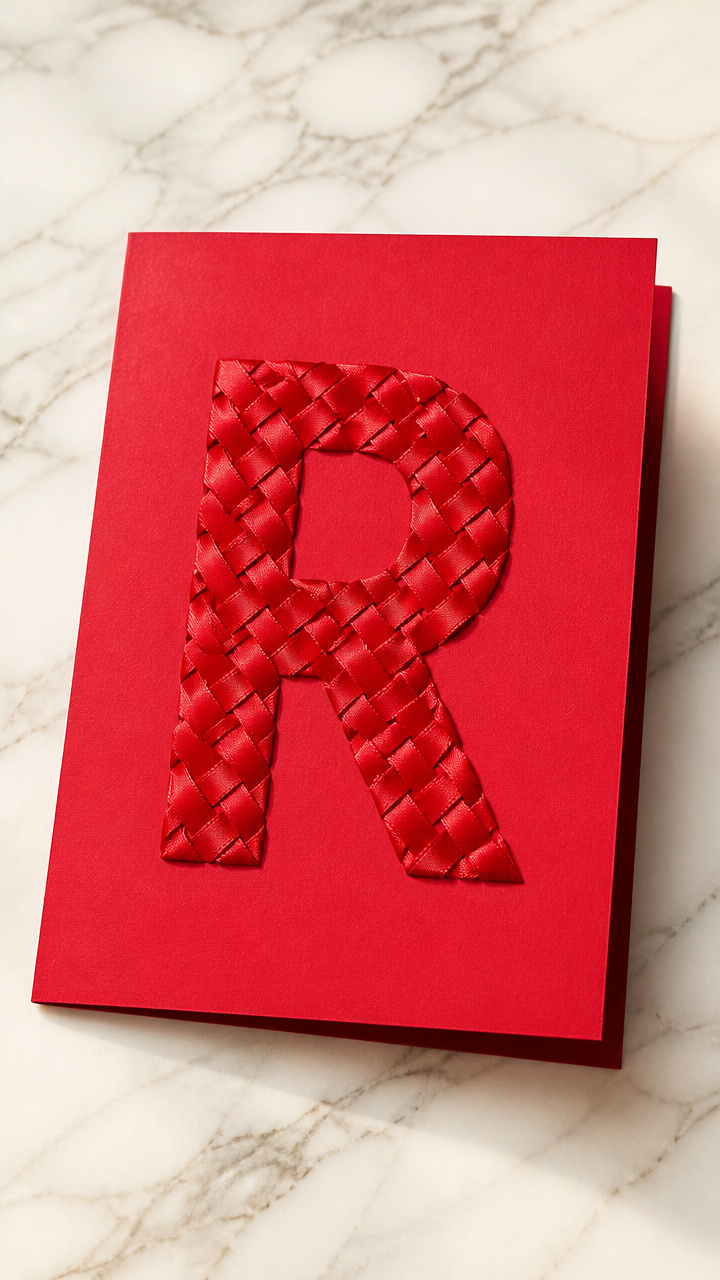
A folded card with vertical slits holds woven red ribbon that spells out the letter R in fabric. The weaving motion supports hand-eye coordination and pattern recognition.
Materials Needed
- 1 sheet red construction paper (folded in half to 5.5×4.25 inches)
- 1 pair child-safe scissors
- 1 ruler
- 1 red ribbon (12 inches long, ½ inch wide)
- 1 pencil
How to Make It
- Open the card and use the pencil and ruler to mark six evenly spaced dots ½ inch apart along the bottom fold line.
- Cut a ¾ inch slit upward from each dot, then close the card and thread one end of the ribbon through the second slit from the left.
- Weave the ribbon up and over, under, over across the slits to form the upright and curve of an R, tucking the end under a flap when done.


11. Rice-Counting R Tray
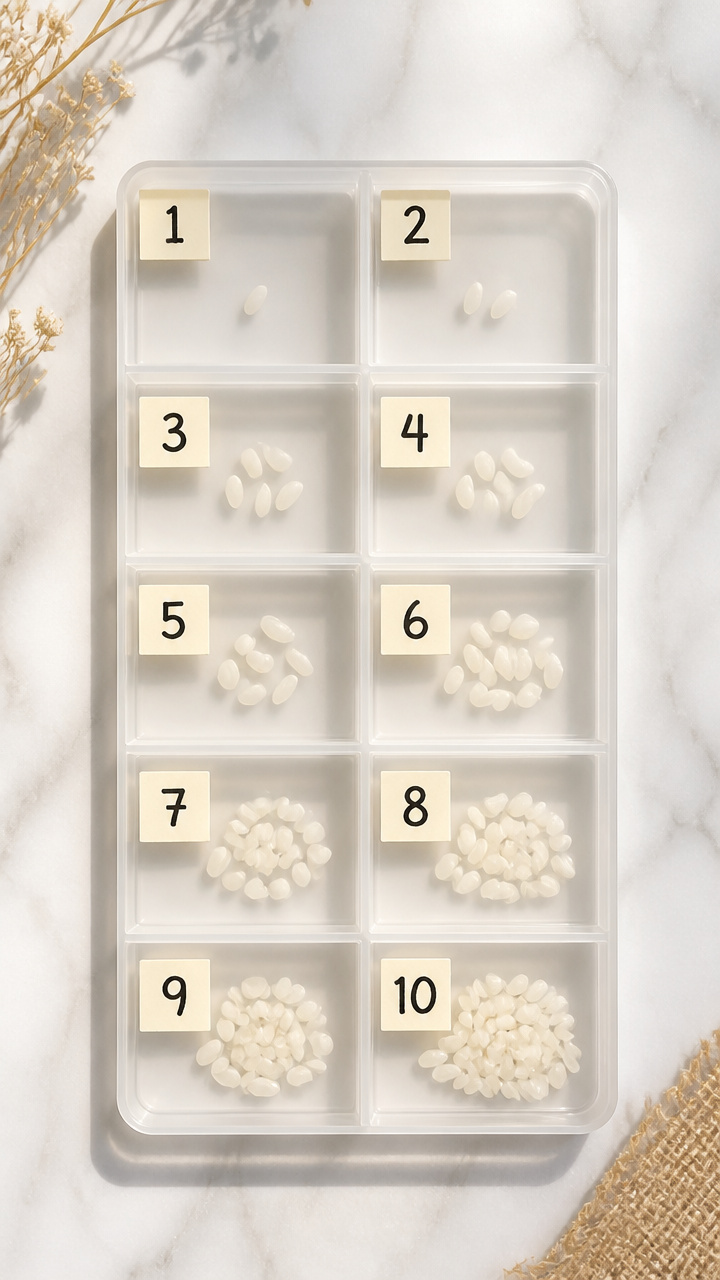
A divided tray holds ten compartments, each labeled with a number and an R word like 'rat' or 'rose'. Scooping rice into each teaches counting and vocabulary.
Materials Needed
- 1 ten-compartment craft tray (plastic, 8×6 inches)
- 1 cup uncooked white rice
- 1 black permanent marker
- 1 small scoop (1 tablespoon size)
- 1 sheet sticky labels (1×1 inch, 10 pieces)
How to Make It
- Write one R word on each label—rat, rug, run, red, ram, rose, rib, row, rot, rip—and stick one in each tray compartment.
- Place the rice in a bowl nearby and give the child the scoop to transfer exactly one scoop into each labeled section.
- Say each word aloud while scooping to connect sound, spelling, and action.


12. Ribbon Streamer Ribbon Dance
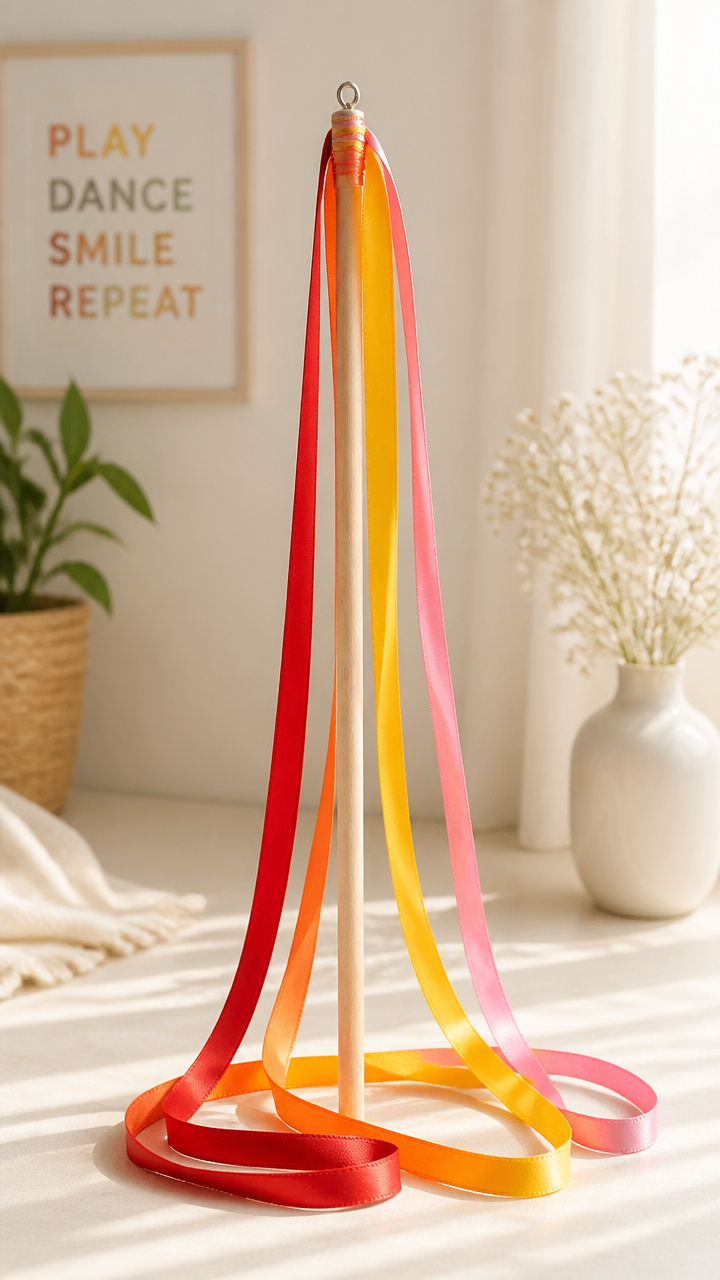
A wooden dowel topped with fluttering ribbons becomes a dancing letter R when twirled in wide arcs. Movement reinforces the curving shape of the letter.
Materials Needed
- 1 wooden dowel (12 inches long, ¼ inch diameter)
- 4 ribbons (18 inches each, red, orange, yellow, pink)
- 1 hole punch
- 1 drill with 3/16-inch bit (adult use only)
- 1 screw eye hook
How to Make It
- An adult drills a small hole through one end of the dowel and screws in the eye hook securely.
- Thread each ribbon through the hole and knot the ends together beneath the hook.
- Twirl the wand in large R-shaped motions through the air, tracing the letter in space with flowing color.


13. Recycled Bottle Rocket
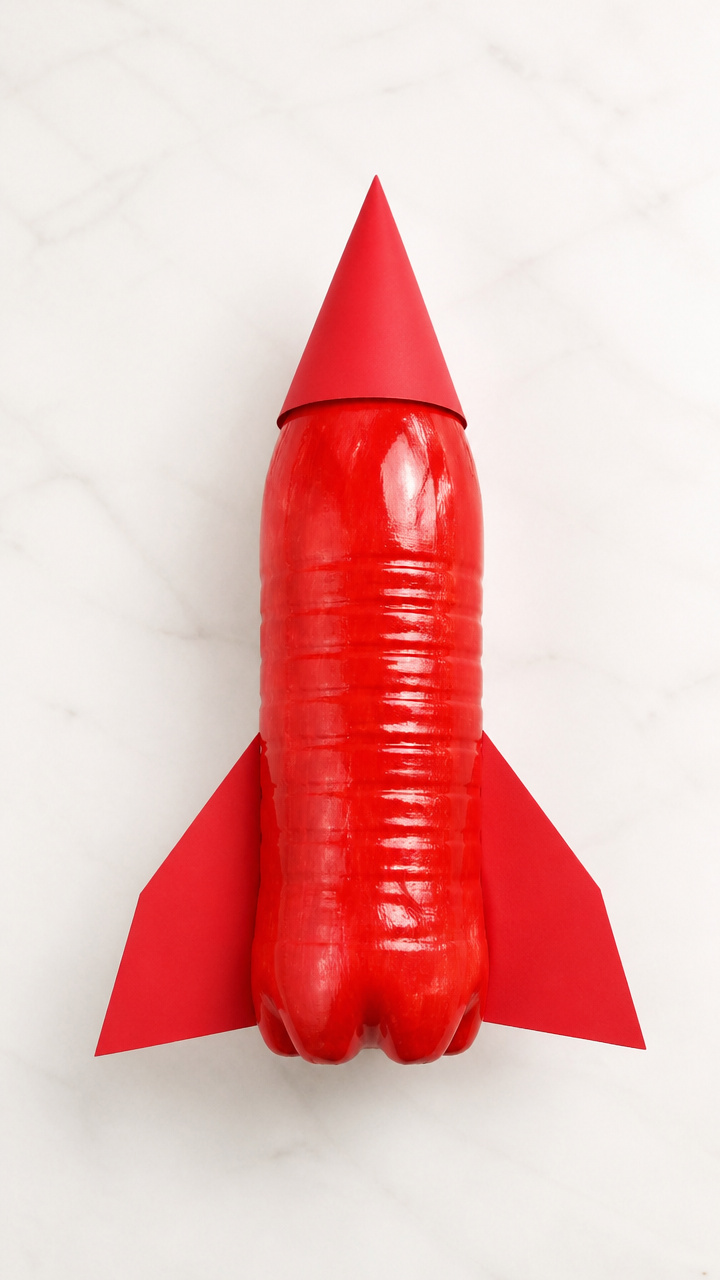
A plastic bottle transforms into a roaring rocket with fins and flames made from painted cardboard. The project celebrates reuse and the explosive /r/ sound.
Materials Needed
- 1 empty 8 oz plastic bottle (clear)
- 1 sheet red construction paper
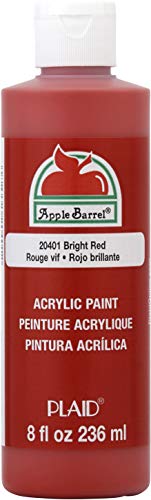
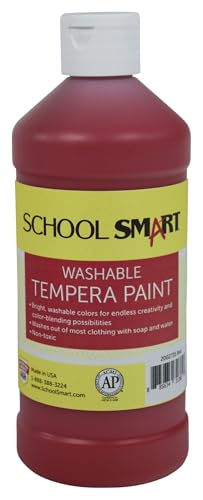
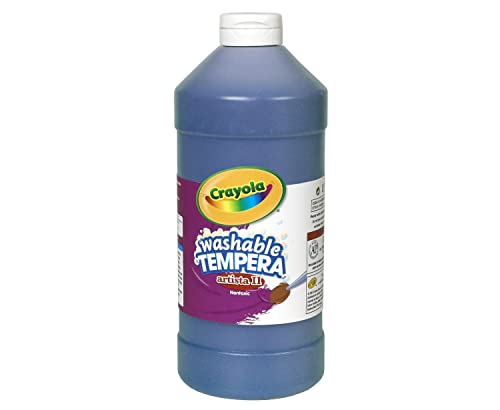
- 1 bottle red tempera paint
- 1 paintbrush (1 inch)
- 1 glue stick
- 1 pair child-safe scissors
How to Make It
- Cut three triangle fins from the red paper and glue them evenly spaced around the lower third of the bottle.
- Paint flame shapes in red at the bottom of the bottle and let dry for 15 minutes.
- Write 'ROCKET' in bold letters on the side, emphasizing the two Rs, then display upright on a shelf.

14. Raisin Print Raindrops
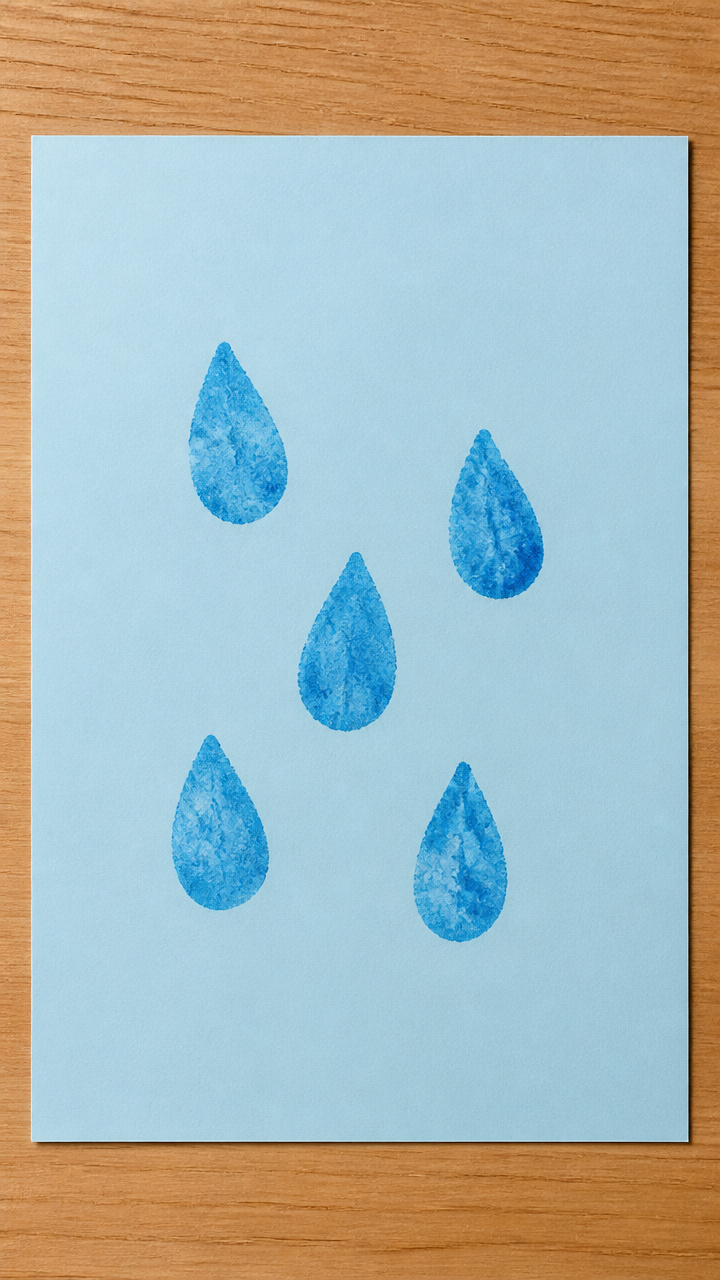
Halved raisins dipped in blue paint stamp wobbly rows of raindrops across a sky-blue background. Each print carries the scent and texture of real fruit.
Materials Needed
- 5 raisins
- 1 knife (adult use only)
- 1 bottle blue washable paint
- 1 paint tray
- 1 sheet A4 light blue construction paper
- 1 pair tweezers (optional)
How to Make It
- An adult cuts each raisin in half lengthwise to create flat printing surfaces.
- Place the halves in the paint tray and use fingers or tweezers to press each cut side into the blue paint.
- Stamp the raisin halves in diagonal lines across the paper to look like falling rain, then let dry for 10 minutes.


15. Ribbon Loop Letter R
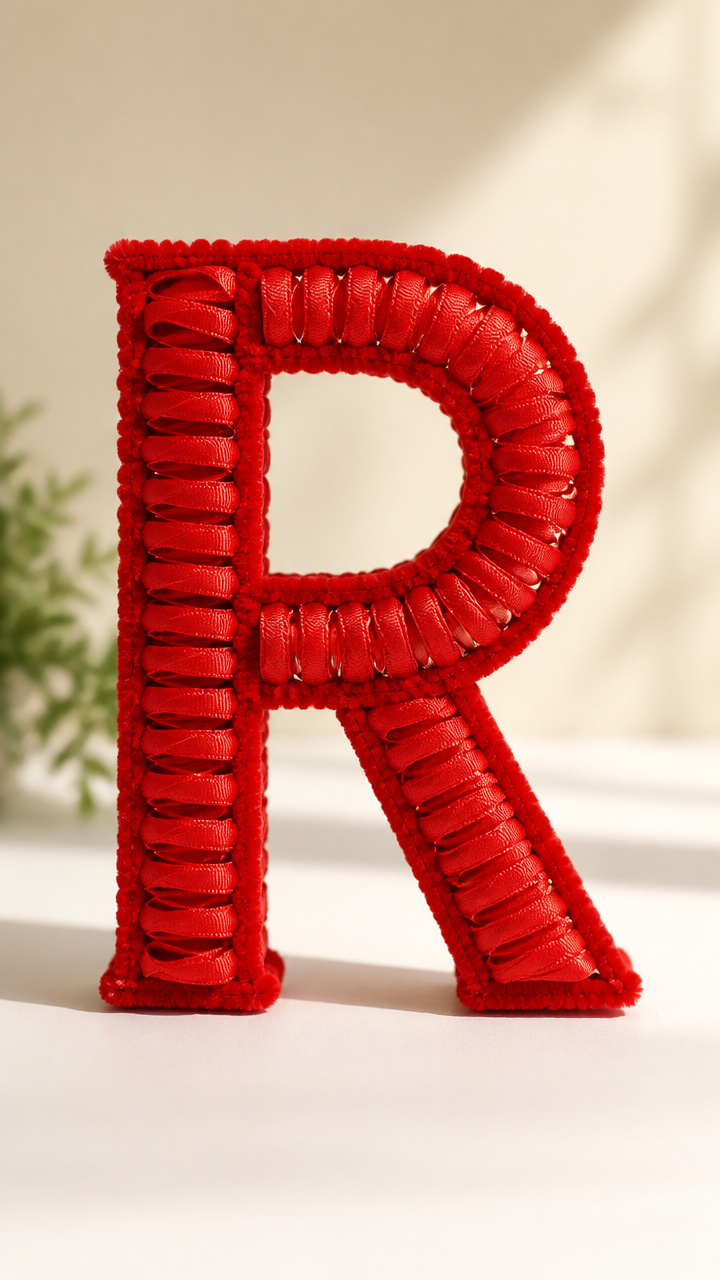
A thick wire bent into the shape of R gets wrapped with soft chenille stems to form glowing loops. The bendable frame lets kids reshape it gently with their hands.
Materials Needed
- 1 aluminum wire (12 inches long, 1/8 inch thick)
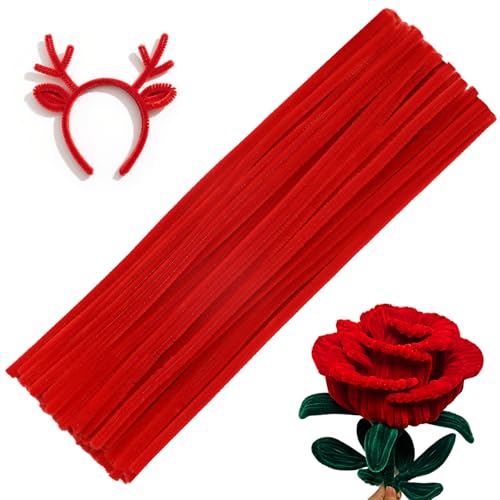
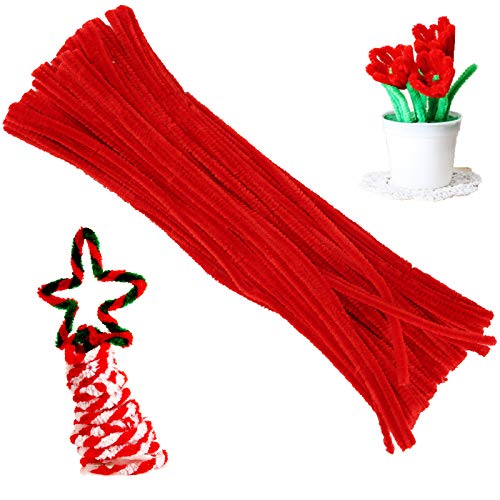
- 3 pipe cleaners (red)
- 1 pair needle-nose pliers (adult use only)
- 1 marker (black)
How to Make It
- An adult uses the pliers to bend the wire into a capital R shape, making the leg straight and the curve smooth.
- Twist one end of a pipe cleaner to the base of the wire R, then wrap it tightly around the upright stem and curved head.
- Continue with the other two pipe cleaners until the entire wire is covered, overlapping slightly for full coverage.

You’ve got everything you need to bring the letter R to life in ways that spark curiosity and joy. Grab your supplies, invite your preschooler, and let the fun begin—one craft at a time.