15 Cute Letter C Crafts for Preschoolers
Little hands love to explore letters through play and creativity. Crafting the letter C opens up sweet opportunities for coloring, cutting, and building with care.
Each of these projects uses simple materials you likely have at home. They’re designed to support fine motor growth while making learning feel like a joyful adventure.
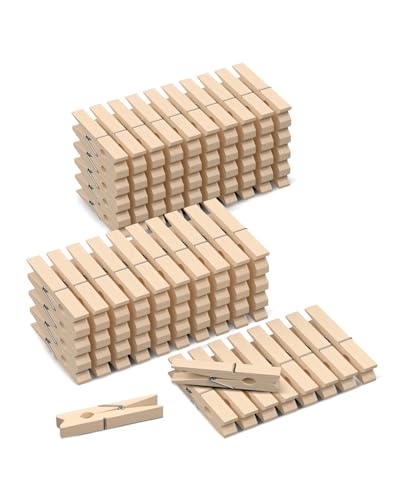
1. Caterpillar Clothespin Craft
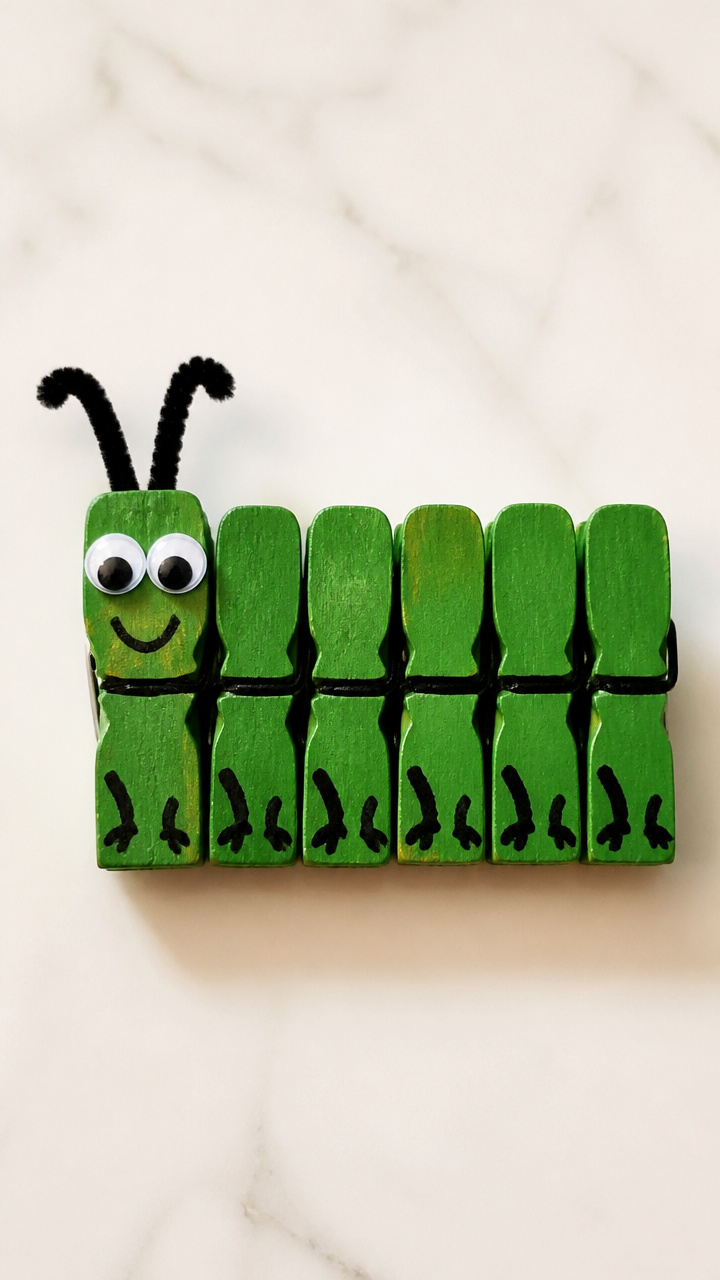
Bright clothespins become a wiggly letter C caterpillar with googly eyes and pipe cleaner antennae. This one doubles as a fine motor workout and a shelf buddy.
Materials Needed
- 6 wooden clothespins
- Green acrylic paint
- Paintbrush
- Black glue pen
- 2 small googly eyes
- 1 black pipe cleaner
- White craft glue
- Scissors
How to Make It
- Paint each clothespin green and let dry completely on a paper plate for 20 minutes.
- Arrange the clothespins in a curved line so the clips face outward to form a C shape, then glue them together at the tips using white craft glue.
- Use the black glue pen to draw tiny legs under each body segment.
- Cut the pipe cleaner in half and twist one piece into a spiral for each antenna, then glue them to the head clothespin.
- Glue on the goog在玩家中 eyes just below the top clip.


2. Cotton Ball Cloud C
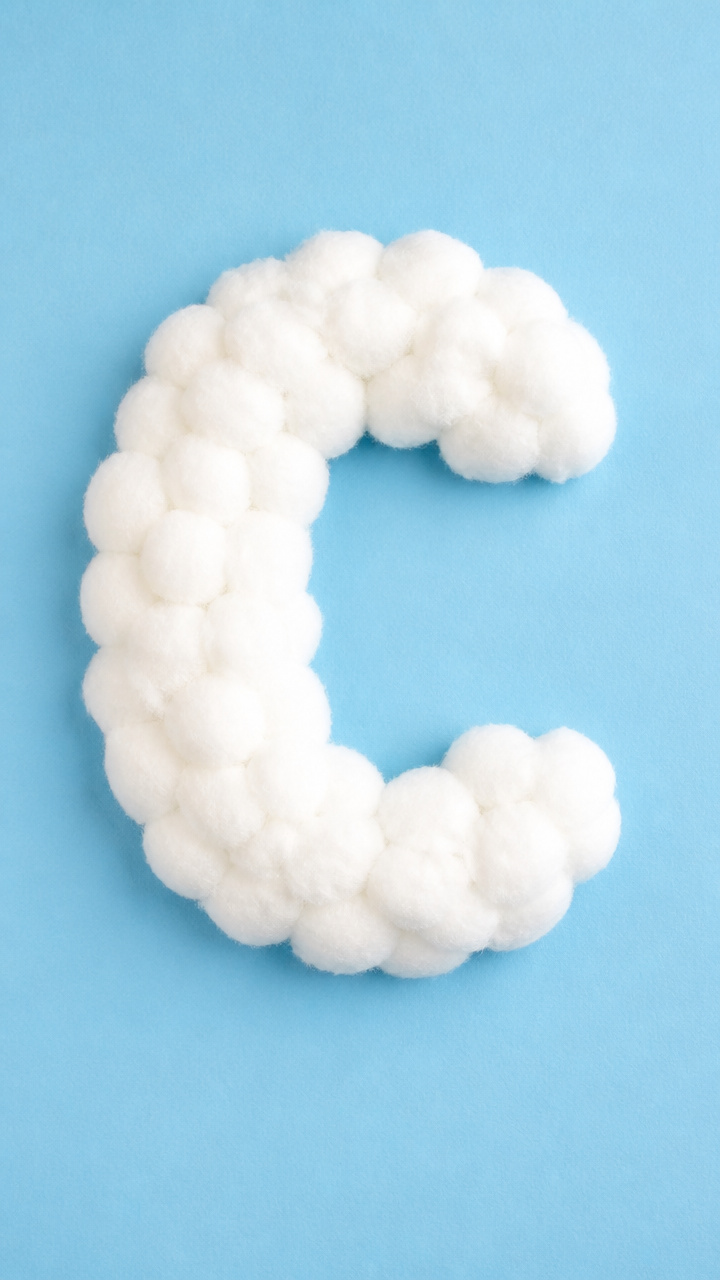
Puffy cotton balls fill a curvy cardboard C to make a soft cloud that floats on the wall. It’s perfect for pairing letter shape with weather themes.
Materials Needed
- Cardboard letter C, 8 inches tall
- White school glue
- Cotton balls (about 30)
- Blue construction paper, 12×18 inches
- Glue brush
- Scissors
How to Make It
- Lay the cardboard C on the blue paper and trace around it lightly with pencil.
- Brush a thin layer of white school glue along the inside edge of the cardboard C using the glue brush.
- Press cotton balls into the glued area, overlapping slightly until the entire C shape is covered.
- Let dry flat for 1 hour, then trim the blue paper 1 inch around the outside edge for a sky border.
- Display with tape or hang with string.


3. Cheerio Cereal Circle
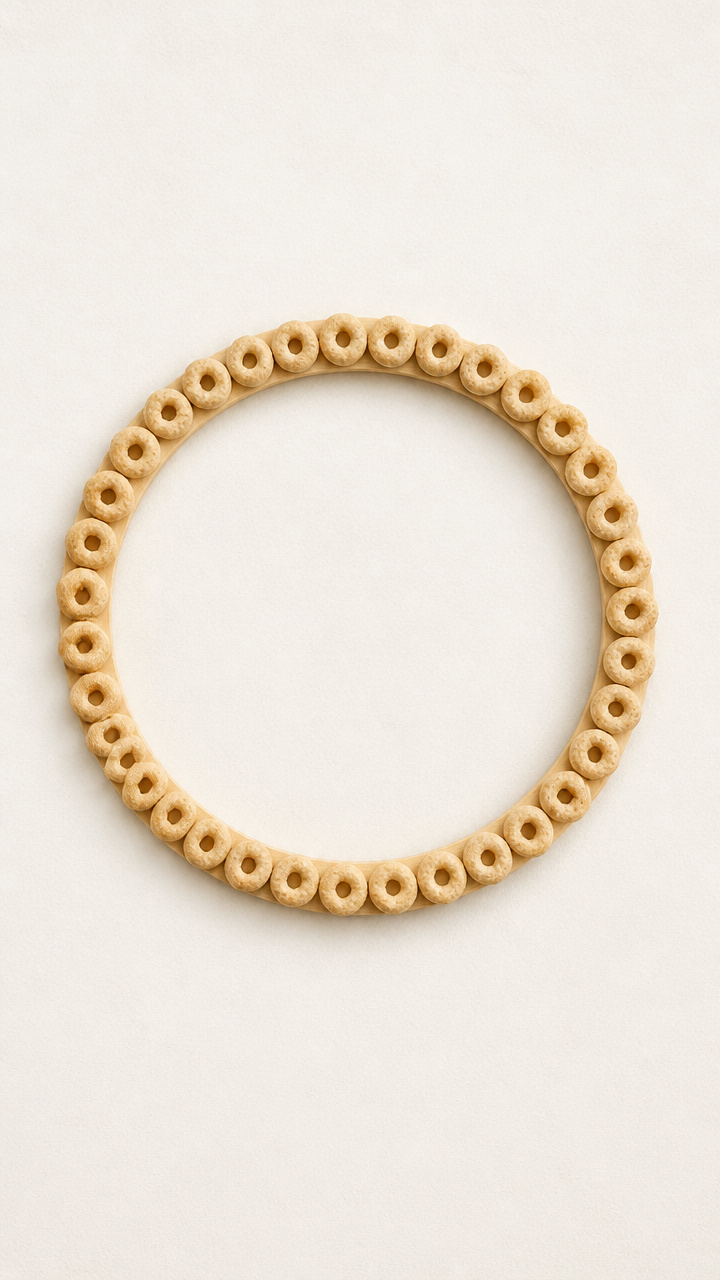
Tongue depressors and Cheerios make a crunchy, colorful letter C that teaches counting and pattern skills. Kids love threading the cereal like tiny beads.
Materials Needed
- 2 tongue depressors
- White glue
- Glue brush
- About 40 Cheerios
- Ruler
- Pencil
- Plastic tray
How to Make It
- Place one tongue depressor flat and use the ruler to mark the center point at 3 inches.
- Glue the second tongue depressor at a right angle to the first, forming a backward L, aligning one end at the center mark.
- Bend the structure gently into a C shape and hold for 30 seconds while glue sets slightly.
- Brush glue along both sticks and begin threading Cheerios from one end to the other, covering all exposed wood.
- Let dry overnight on the tray before handling.


4. Construction Paper Crown
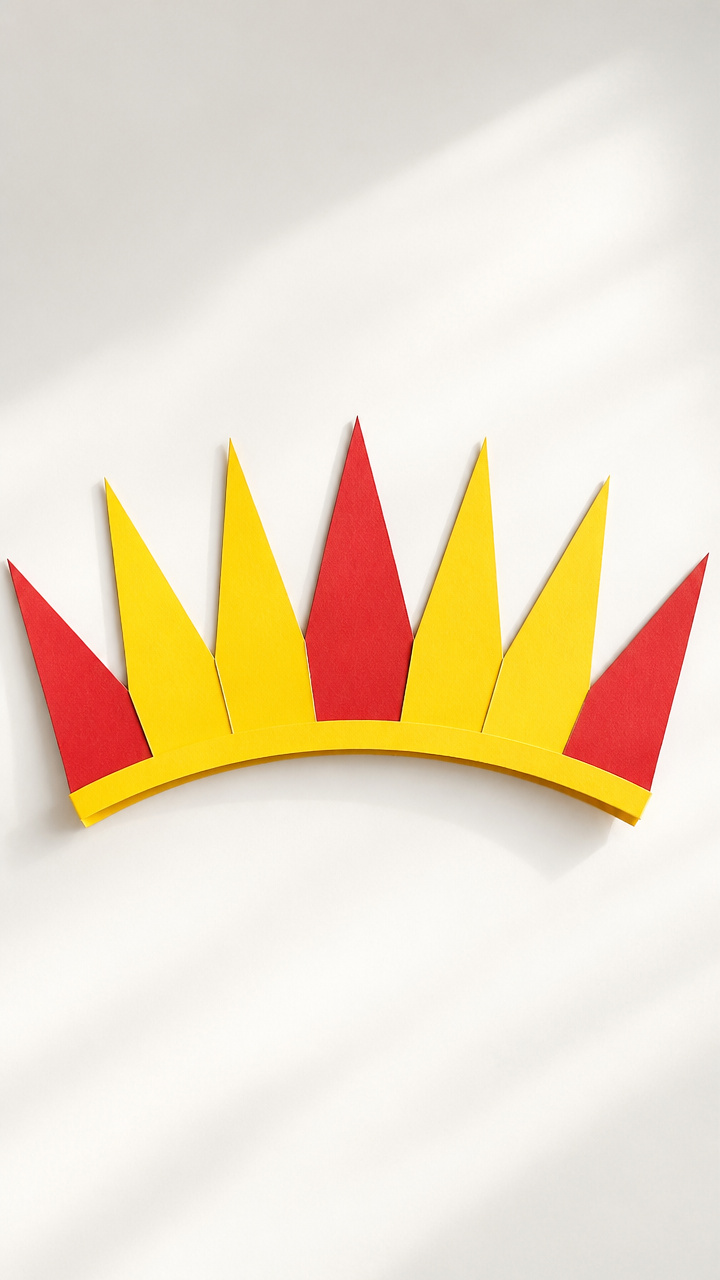
A bold red C stands tall on a striped paper crown that fits preschool heads perfectly. Wear it during alphabet story time or letter-of-the-day celebrations.
Materials Needed
- Red construction paper, 9×12 inches
- Yellow construction paper, 9×12 inches
- Headband measuring tape
- Scissors
- Glue stick
- Black marker
- Ruler
How to Make It
- Measure the child’s head with the tape and cut the red paper into a strip 2 inches wide and long enough to overlap by 1 inch.
- Cut 10 yellow strips 1 inch wide and 2 inches long.
- Glue the yellow strips vertically along the front half of the red band, spacing evenly.
- Cut a large C from leftover red paper using the black marker as a guide for smooth curves.
- Glue the C to the center front of the crown and fasten the ends with staples or tape.


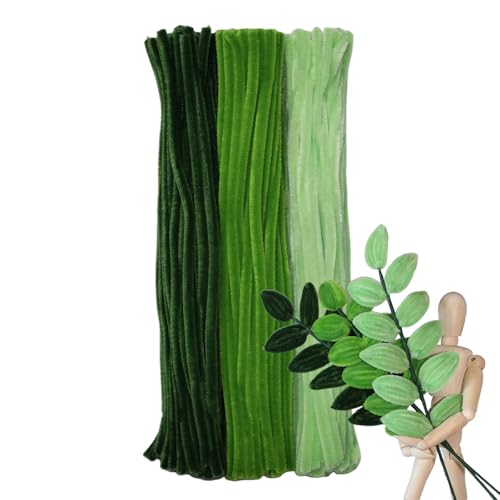
5. Crinkle Paper Cactus
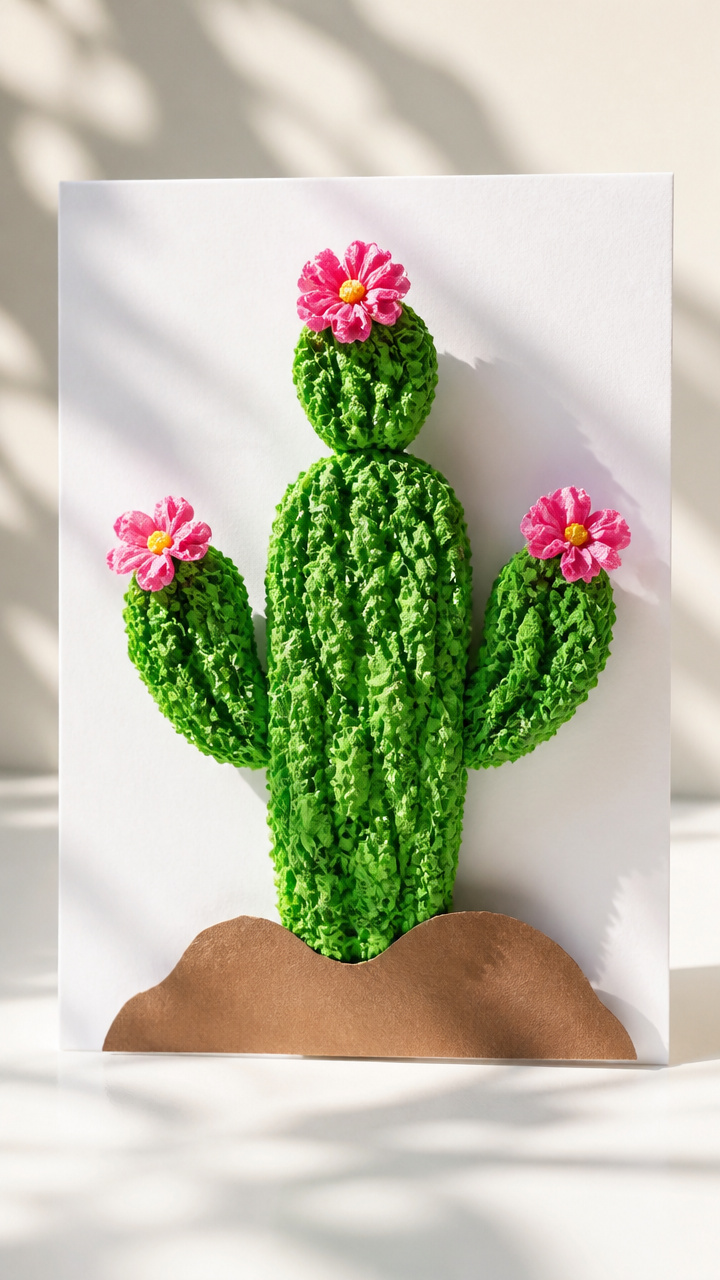
Torn green tissue paper gives texture to a desert cactus shaped like a C. This tactile project builds hand strength and color recognition.
Materials Needed
- Green crinkle paper, 9×12 sheet
- Brown construction paper, 6×9 inches
- White cardstock, 8.5×11 inches
- School glue
- Glue brush
- Scissors
- Black marker
How to Make It
- Draw a C shape on the white cardstock using the black marker, making it about 6 inches high.
- Cut the brown paper into a 2×6 inch strip for the base.
- Tear the crinkle paper into 1 inch strips, then scrunch each into a little ball.
- Brush glue inside the C outline and press the crumpled pieces close together to fill the shape.
- Glue the brown base at the bottom curve and let dry 30 minutes before display.


6. Clay Corn Kernel Art
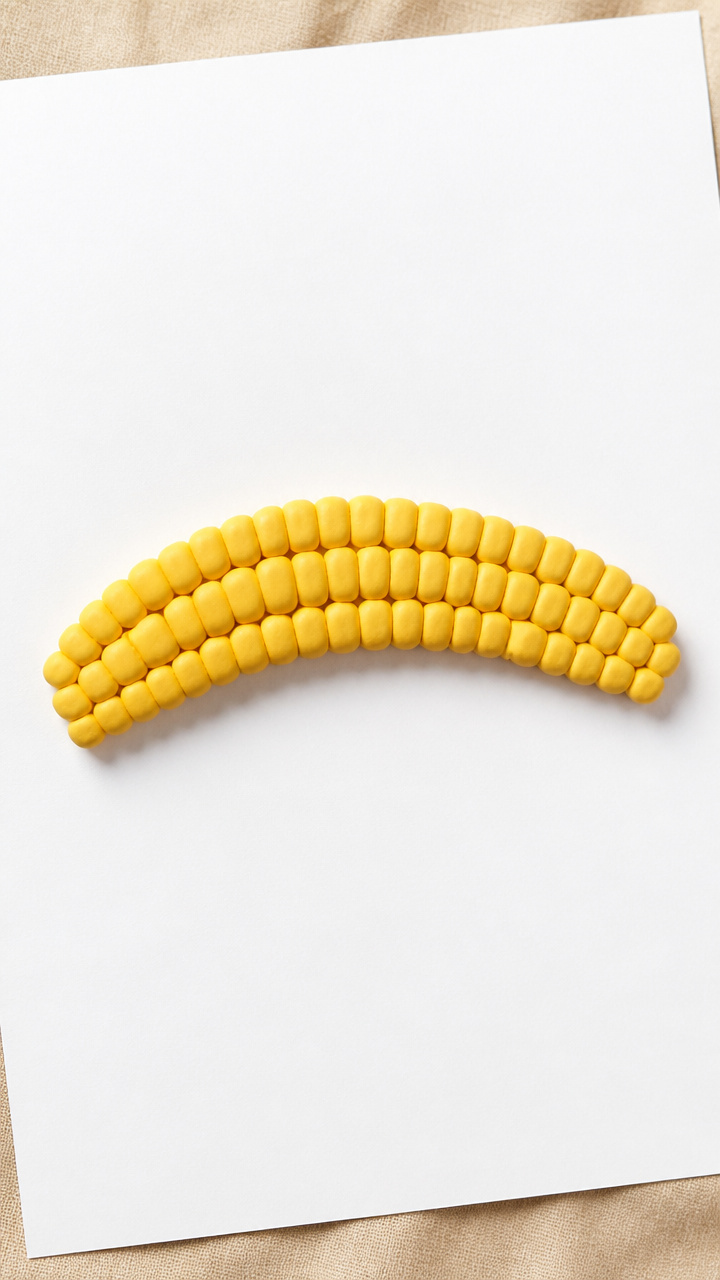
Yellow modeling clay forms plump corn kernels along a drawn C line. This sensory craft strengthens finger muscles and introduces farm themes.
Materials Needed
- Yellow air-dry clay, 4 ounces
- Pencil
- White drawing paper, 8.5×11 inches
- Ruler
- Plastic knife
- Wet wipe
How to Make It
- Use the ruler to draw a straight vertical line 5 inches long on the left side of the paper.
- Curve the line to the right and draw a parallel arc 1 inch away to form a thick C.
- Roll 15 small clay balls no bigger than a pea using flat palms.
- Press each clay ball onto the outlined C, spacing evenly like real corn kernels.
- Flatten slightly with the plastic knife and let clay dry 24 hours before moving.


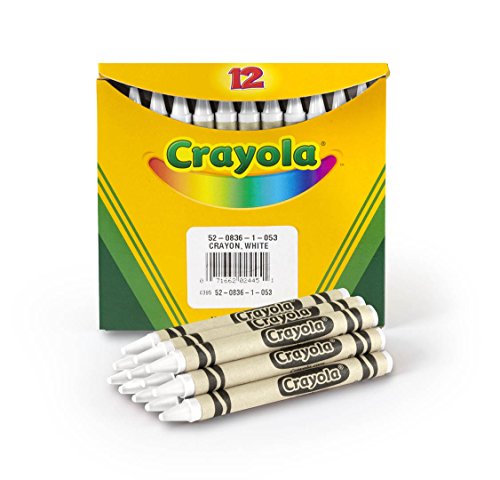
7. Crayon Resist Card
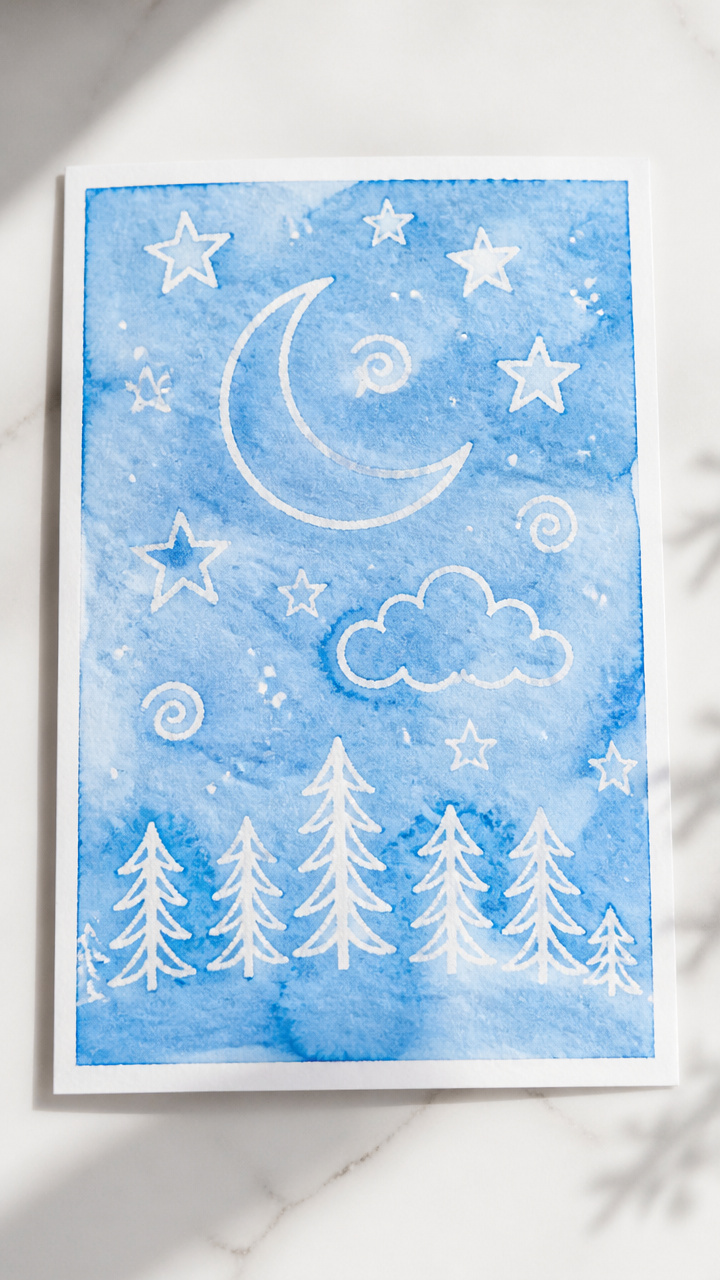
A hidden wax C reveals when painted over with watercolor. This science-friendly trick delights kids and teaches about textures and solubility.
Materials Needed
- White cardstock, 5×7 inches
- Unwrapped white crayon
- Blue watercolor paint
- Watercolor brush
- Small bowl of water
- Paper towel
How to Make It
- Use the white crayon to draw a thick C on the cardstock, pressing firmly to leave visible wax lines.
- Dip the brush in water and swirl in the blue paint to make a watery mix.
- Paint over the entire cardstock surface, covering the crayon C completely.
- Watch the wax resist the paint and lift the C into view as the color spreads.
- Lay flat on paper towel to dry for 20 minutes.


8. Cupcake Liner Chimney
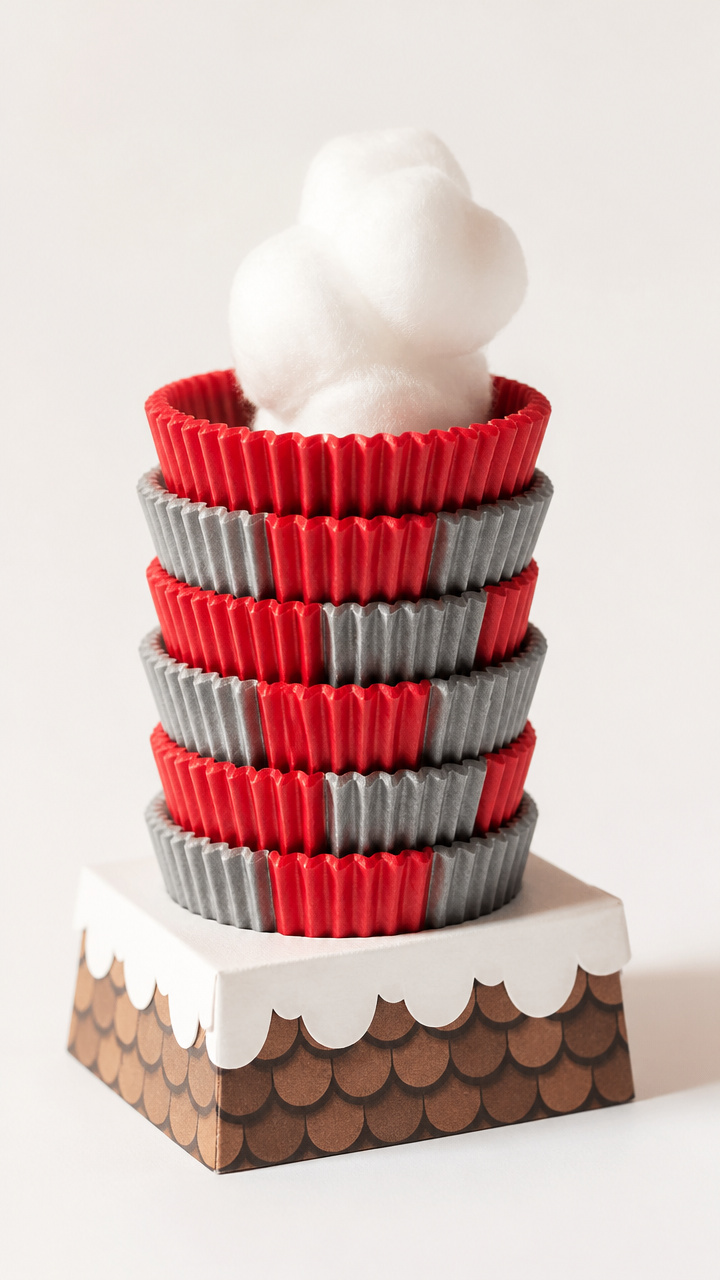
Red and gray cupcake liners stack into a brick-patterned chimney shaped like a C. It’s a clever way to recycle party supplies into learning art.
Materials Needed
- 6 red cupcake liners
- 6 gray cupcake liners
- White glue
- Glue brush
- Gray cardstock, 8×10 inches
- Scissors
How to Make It
- Flatten all cupcake liners and cut each in half to make 24 half-circles.
- Draw a thick C shape on the gray cardstock, 5 inches high and 1 inch wide.
- Brush glue along the bottom third of the C and start laying red half-circle liners with the curved edge facing out.
- Alternate rows with gray liners, staggering like real bricks, until the C is fully covered.
- Let dry 45 minutes before touching.


9. Chenille Stem Spiral
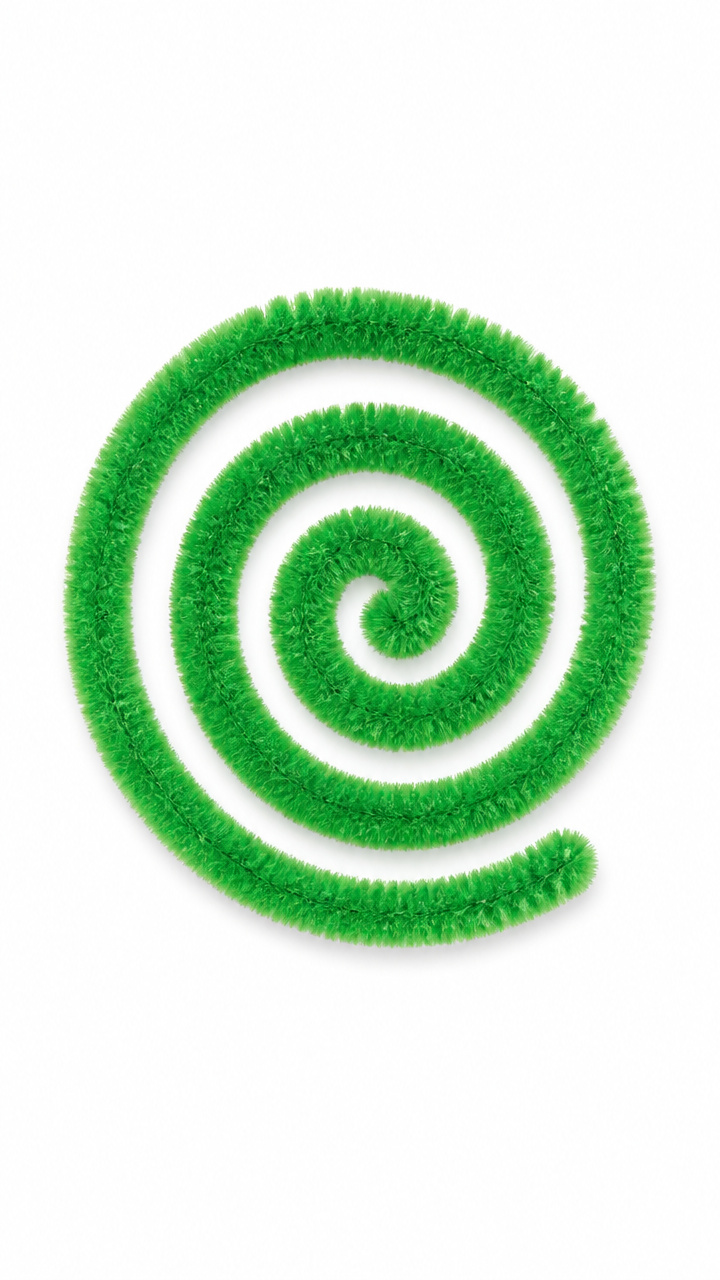
A single green chenille stem bends easily into a curly C that holds its shape. This wire craft improves grip control and makes a cute decoration.
Materials Needed
- 1 green chenille stem
- Ruler
- Pencil
- Scissors
- Craft board
How to Make It
- Lay the chenille stem straight and measure 2 inches from one end.
- Bend the short end at a right angle using fingers.
- Curve the long section into a smooth C shape, bringing the end near the bent tip.
- Twist the two ends together tightly where they meet to lock the shape.
- Place on craft board to cool and set for 1 minute.


10. Colorful Confetti Collage
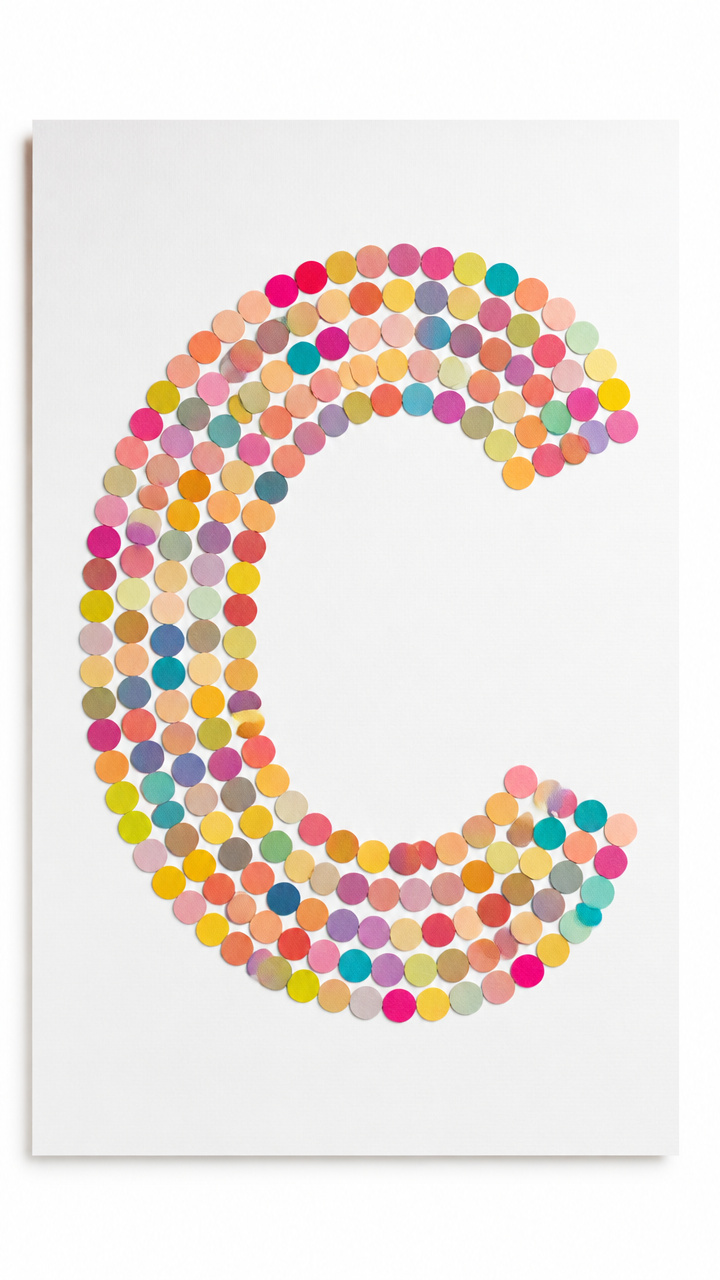
Rainbow confetti dots fill a giant C drawn with glue. The result is a bright, speckled poster that teaches color sorting and precision.
Materials Needed
- White poster board, 11×14 inches
- White school glue
- Glue bottle with fine tip
- Assorted color confetti dots, 1/4 inch
- Small bowls (3)
- Tweezers
How to Make It
- Draw a large C on the poster board using the glue bottle, making the line about 1 inch thick.
- Sort confetti by color into three small bowls.
- Use tweezers to pick up one dot at a time and press it into the glue line.
- Fill the entire C with tightly packed dots, alternating colors in a pattern.
- Let dry flat for 1 hour before hanging.


11. Crayon C Path Maze
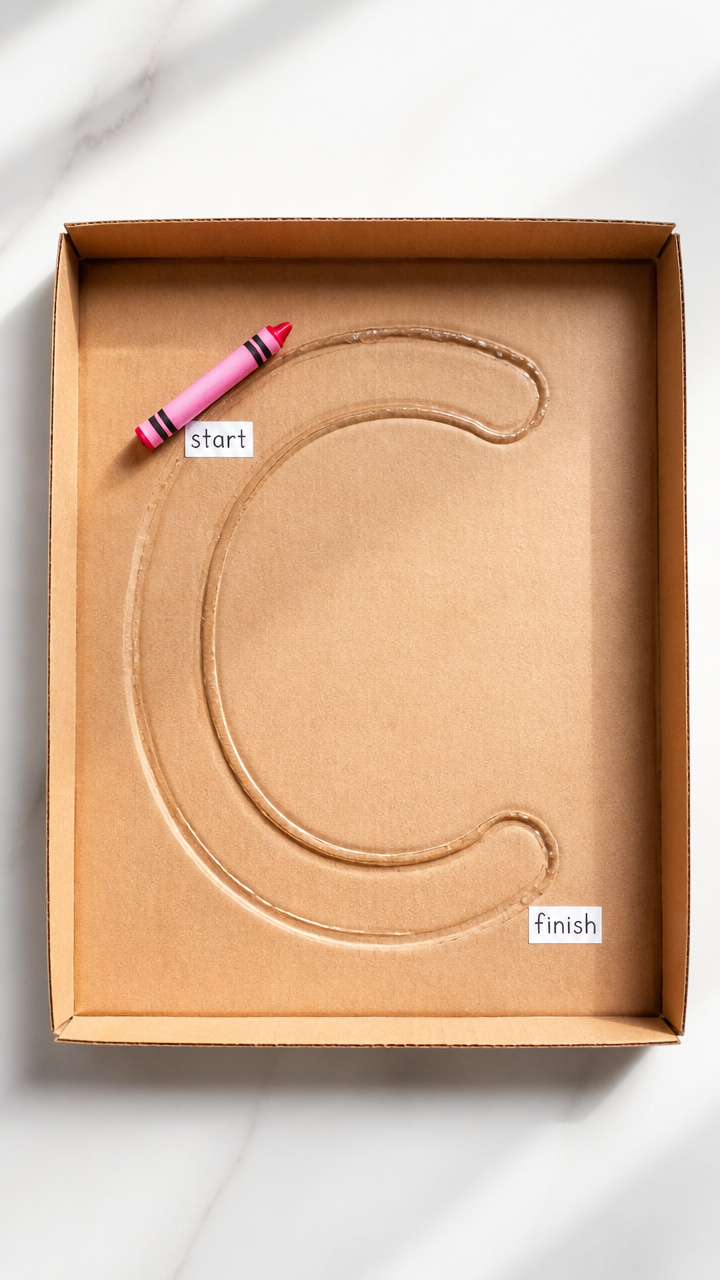
A hand-drawn C maze guides a rolling crayon with help from cardboard bumpers. This craft blends art with cause-and-effect play.
Materials Needed
- Cardboard shoebox lid
- Hot glue gun
- Glue sticks
- Unwrapped crayon
- Black marker
- Ruler
- Scissors
How to Make It
- Use the ruler and black marker to draw a C-shaped path inside the shoebox lid, 1 inch wide and following the curve.
- Cut 6 small cardboard rectangles, 1/2 x 1 inch, from leftover box flaps.
- Apply hot glue along the path edges and stick the rectangles upright as bumpers every inch.
- Test the maze by tilting the lid to roll the crayon from start to finish.
- Let glue cool 5 minutes before playing.


12. Cotton Swab Castle
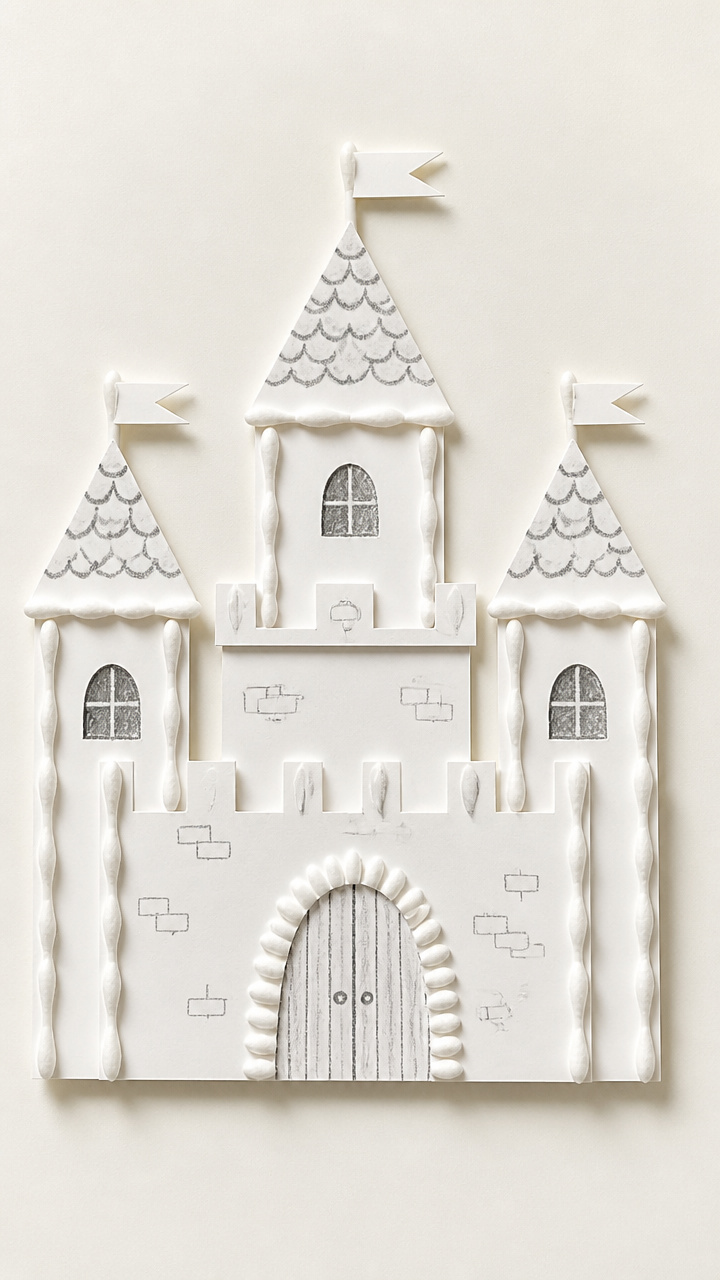
Cotton swabs stand upright in a C formation to build a spiky castle wall. This orderly craft builds patience and spatial awareness.
Materials Needed
- White cardstock, 8.5×11 inches
- White school glue
- Glue brush
- About 30 cotton swabs
- Gray crayon
- Pencil
How to Make It
- Draw a thick C on the cardstock with pencil, making it 6 inches high and 3/4 inch wide.
- Brush a thin line of glue along the inside of the C shape.
- Press cotton swabs upright into the glue, placing them side by side with the cotton ends up.
- Continue until the entire C is lined with swabs.
- Color the cotton tips gray with the crayon to look like stone towers and let dry 40 minutes.


13. Cinnamon Stick Centerpiece
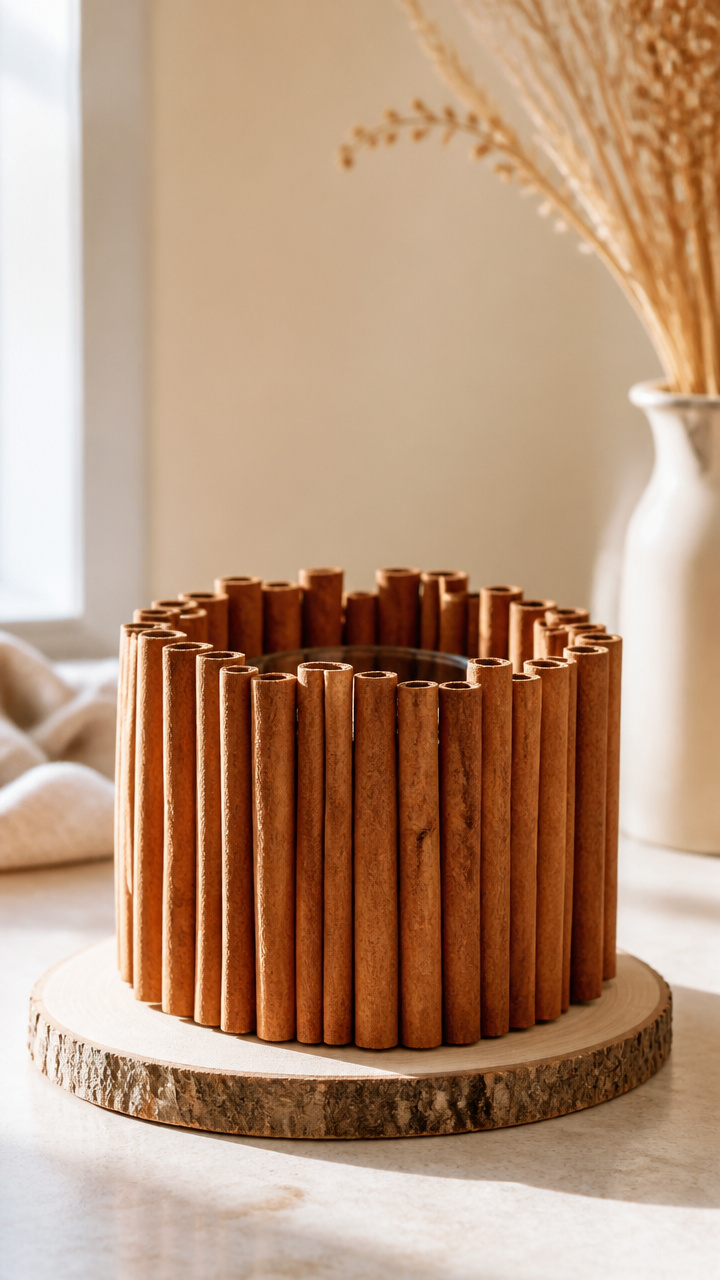
Real cinnamon sticks glue into a fragrant C that smells like cookies. It’s a sensory-rich craft great for fall or holiday classroom decor.
Materials Needed
- 5 cinnamon sticks
- Craft glue
- Glue brush
- Brown construction paper, 9×12 inches
- Ruler
- Pencil
- Clear varnish spray
How to Make It
- Lay the cinnamon sticks in a curved line on the paper to form a C, adjusting until they fit snugly.
- Trace lightly around the group with pencil to mark the shape.
- Apply craft glue along the back edge of each stick using the glue brush.
- Press each stick firmly onto the paper within the traced outline.
- Let dry 2 hours, then spray lightly with varnish to preserve and boost shine.


14. Chalkboard C Drawing
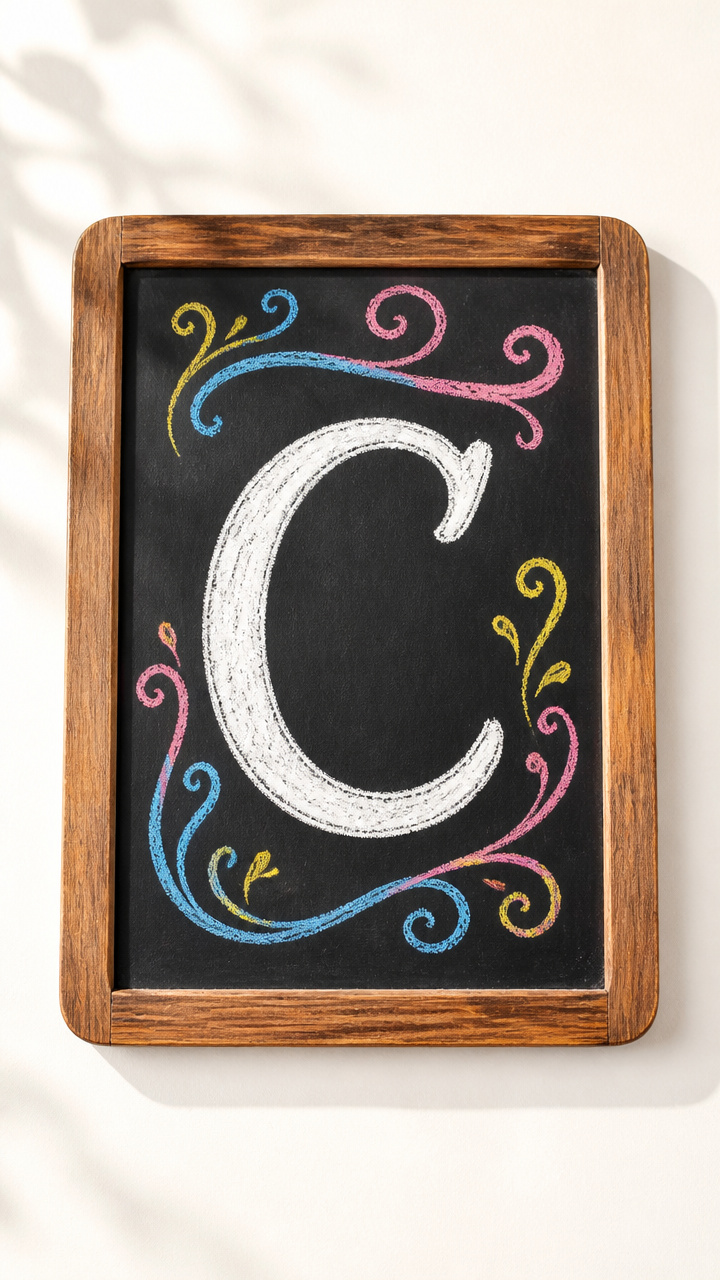
A mini chalkboard gets a bold white C drawn with colored chalk. This reusable craft encourages repeated tracing and outdoor play.
Materials Needed
- Small wooden chalkboard, 6×8 inches
- White chalk
- Pink, blue, and yellow chalk
- Ruler
- Pencil
- Damp cloth
How to Make It
- Use the ruler and pencil to lightly mark a C shape 4 inches high on the chalkboard.
- Trace over the pencil line with white chalk, pressing firmly to make a clear guide.
- Outline the C with pink chalk, then fill the inside with blue and yellow swirls.
- Erase with the damp cloth and redraw daily to build muscle memory.
- Store flat with chalk in a small bag.


15. Clothesline Clip Chain
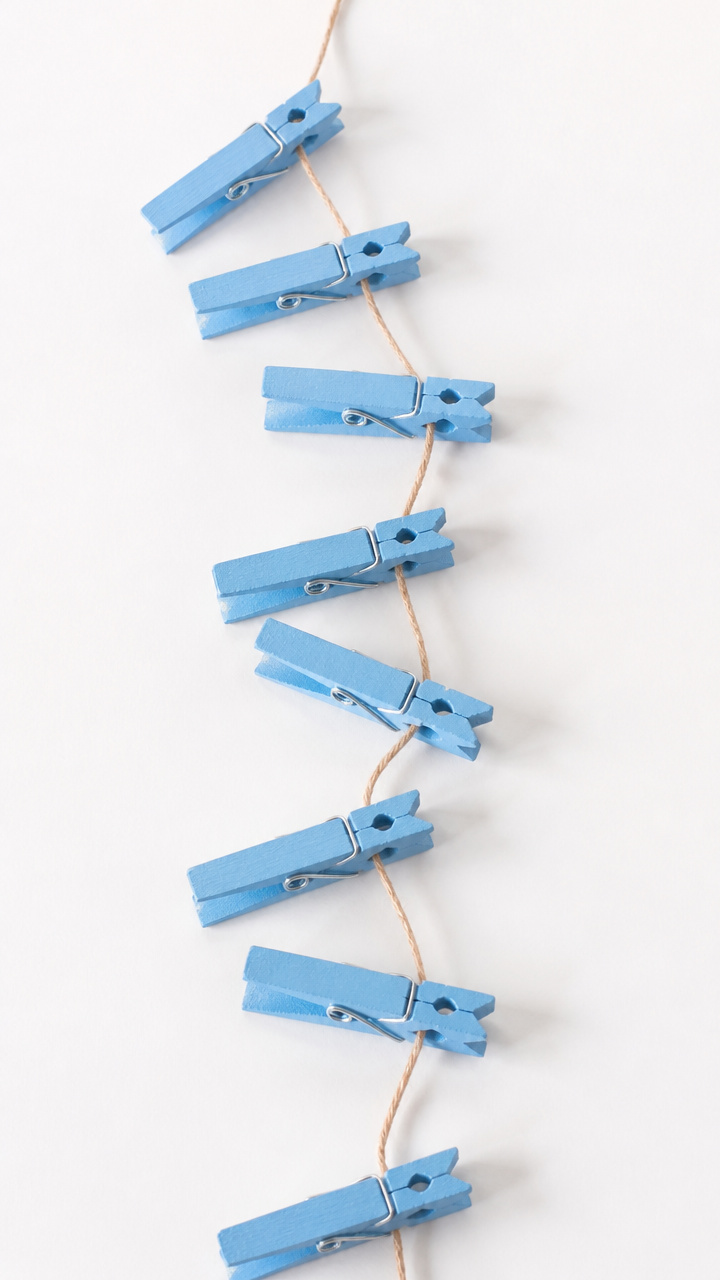
Painted clothespins clip together in a dangling C chain. This movable craft teaches connection and balance while doubling as room decor.
Materials Needed
- 10 wooden clothespins
- Blue acrylic paint
- Paintbrush
- Paper plate
- String, 24 inches long
- Hole punch
- Tape
How to Make It
- Paint each clothespin blue on the clamping side and let dry on the paper plate for 20 minutes.
- Once dry, clip the first clothespin onto the end of the string and secure with a knot.
- Clip the next clothespin onto the dangling tip of the first, letting it hang freely.
- Continue linking clothespins in a curved C pattern until all ten are connected.
- Hang the chain by taping the top string end to a wall or shelf.


These letter C crafts bring joy and learning together with everyday materials and big imagination. Pick one that matches your child’s mood today and let the creativity begin.