15 Easy Letter N Crafts for Preschoolers
Introducing the letter N can be a joyful moment in early learning, especially when it comes with hands on fun. These crafts invite little fingers to explore shapes, textures, and creativity while building recognition of the letter in a playful way.
Each project uses simple materials you likely have at home and focuses on fine motor skills, color play, and storytelling. They’re designed to be doable in one sitting with minimal prep and maximum delight.
1. N is for Nest Craft
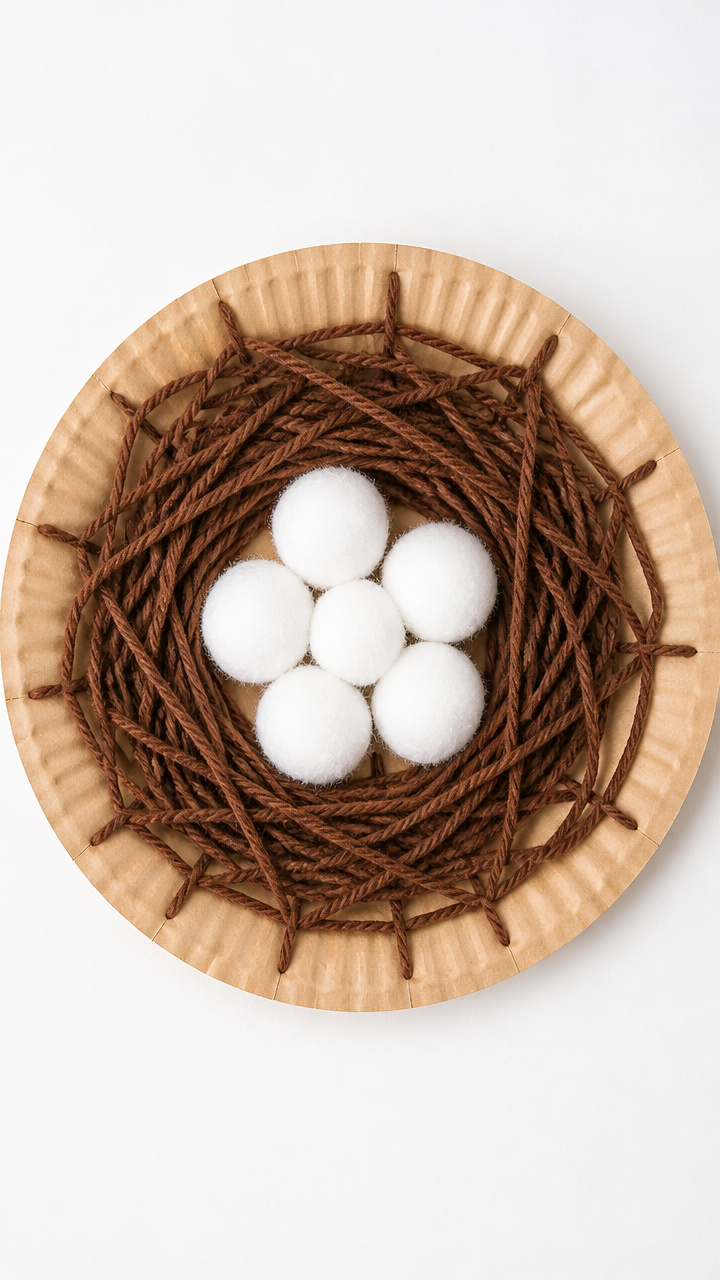
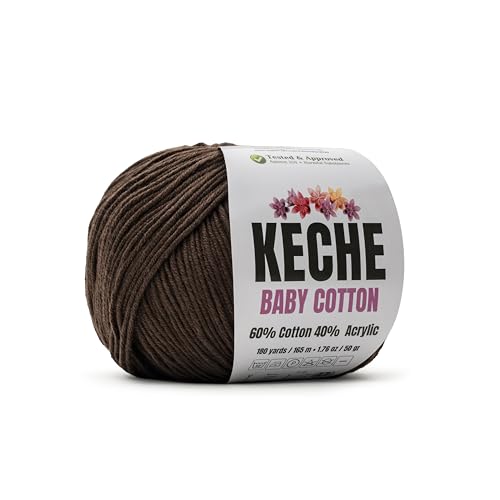
Brown yarn wrapped into a cozy swirl becomes a bird’s nest holding cotton ball eggs, perfect for teaching soft textures and spring themes. This craft builds hand strength and shape awareness.
Materials Needed
- One 6-inch paper plate
- 2 yards brown yarn
- Glue stick
- 5 small cotton balls
- Scissors
How to Make It
- Cut small slits every inch around the edge of the paper plate to create tabs.
- Apply glue to each tab and bend them slightly upward to form the nest rim.
- Wrap the brown yarn around the inside of the plate, pressing it into the glued tabs to secure.
- Place five cotton balls in the center to resemble eggs.


2. Noisy N Shaker
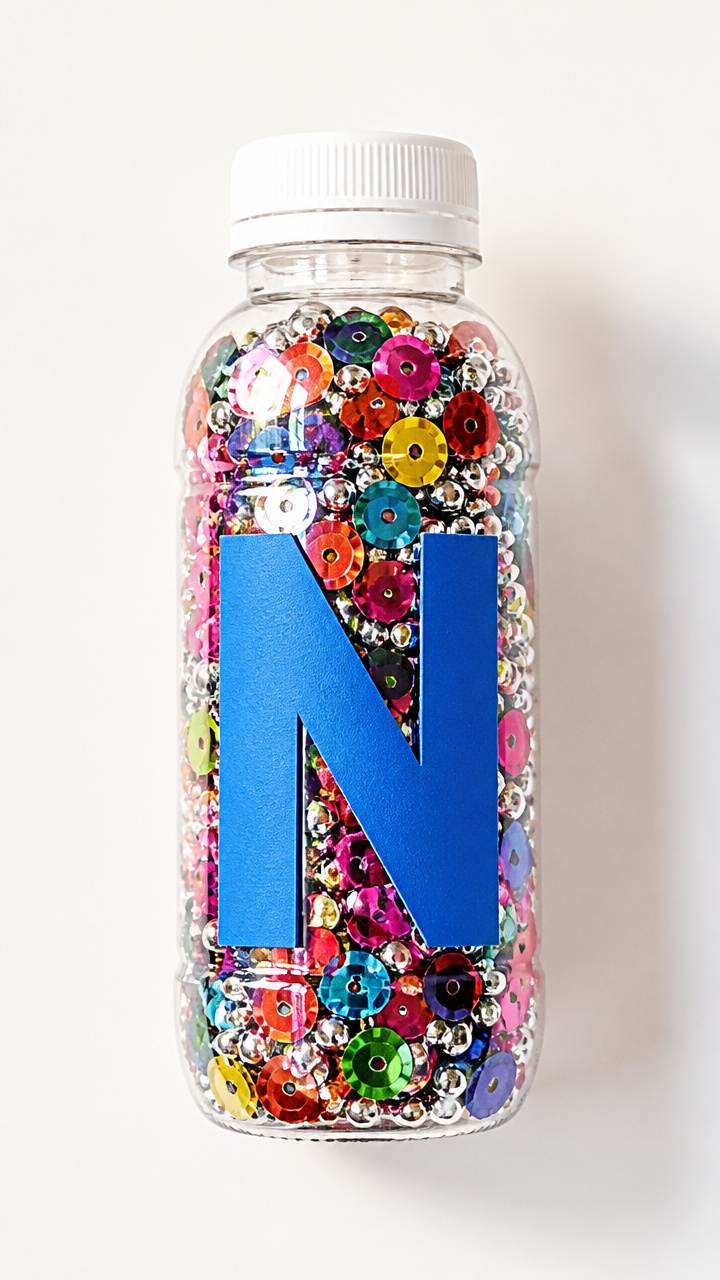
A recycled bottle filled with beads rattles with every shake, linking sound and letter recognition. Kids love the sensory feedback and rhythm play.
Materials Needed
- One empty 8 oz plastic water bottle with cap
- 1 tablespoon rainbow sequins
- 1 teaspoon silver beads
- White school glue
- Blue construction paper
- Scissors
- Glue stick
How to Make It
- Fill the bottle with sequins and beads, then tightly screw the cap on.
- Use white glue to seal the cap shut for safety.
- Cut the blue paper into a capital N shape measuring 4 inches tall.
- Glue the N to the front of the bottle using the glue stick.


3. Nail Art Nameplate
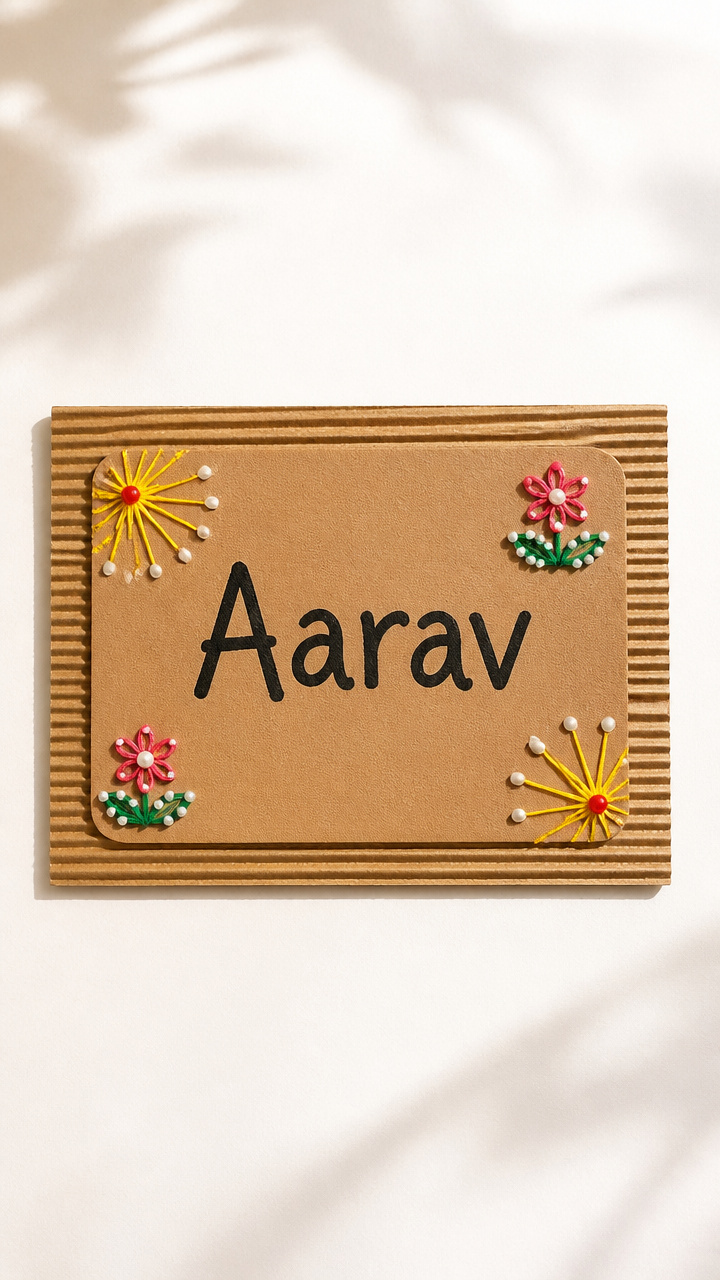
Foam letters mounted on wood grain paper give a rustic look that stands out on any preschool wall. This craft introduces names and letter pride.
Materials Needed
- One 5×7 inch piece of light brown craft foam
- One 6×8 inch sheet of tan corrugated cardboard
- Black marker
- Glue dots
- Ruler
- Scissors
How to Make It
- Use the ruler to measure and draw a 5-inch capital N on the craft foam.
- Cut out the N with scissors.
- Draw a rectangle frame on the cardboard using the black marker.
- Attach the foam N inside the frame using two glue dots.


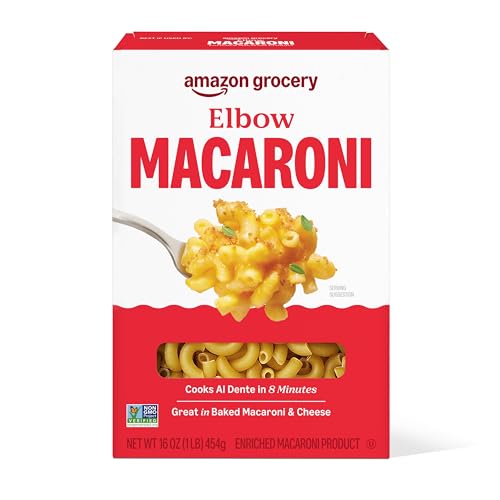
4. Noodle Necklace
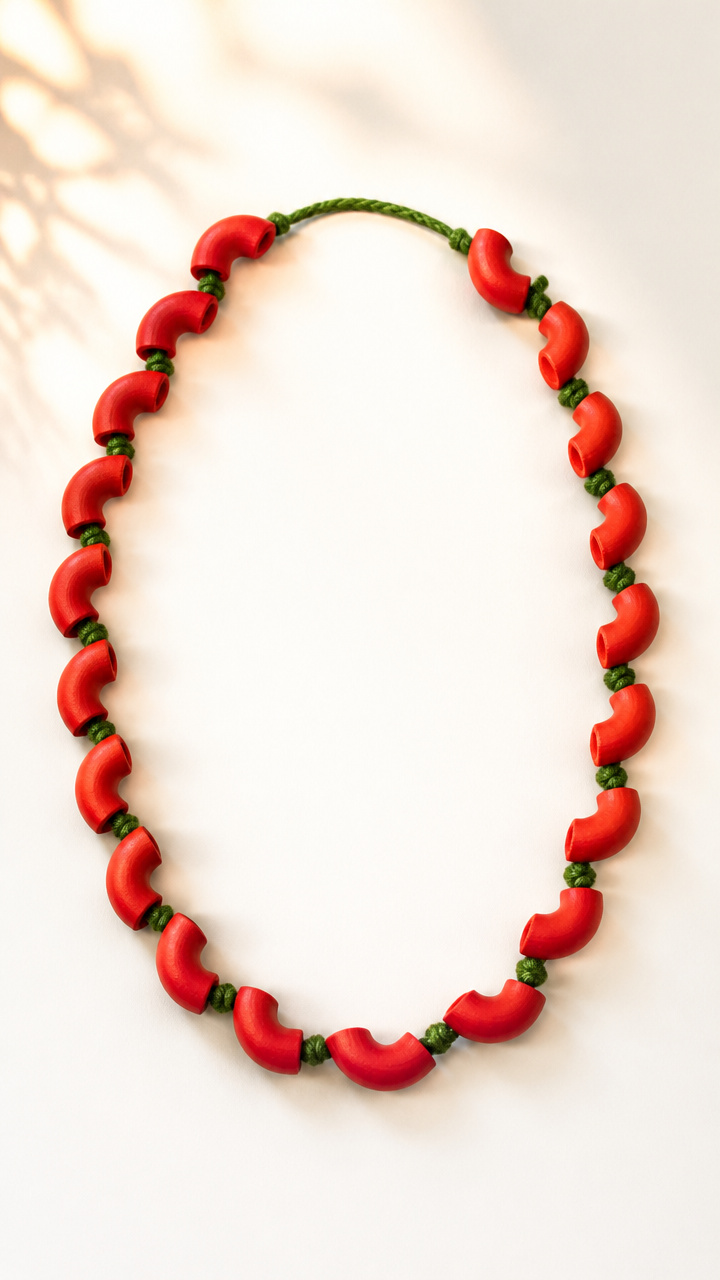
Large macaroni painted bright colors becomes wearable art shaped like the letter N. Threading builds coordination and patience.
Materials Needed
- 10 elbow macaroni noodles
- Red acrylic paint
- Paintbrush
- Popsicle stick
- 1 yard green yarn
- Tape
How to Make It
- Paint all noodles red using the paintbrush and let dry for 20 minutes.
- Use tape to attach one end of the yarn to a popsicle stick to make threading easier.
- Thread five noodles onto the yarn, then knot the yarn into an N shape.
- Tie the ends together to complete the necklace.


5. Newt Finger Puppet
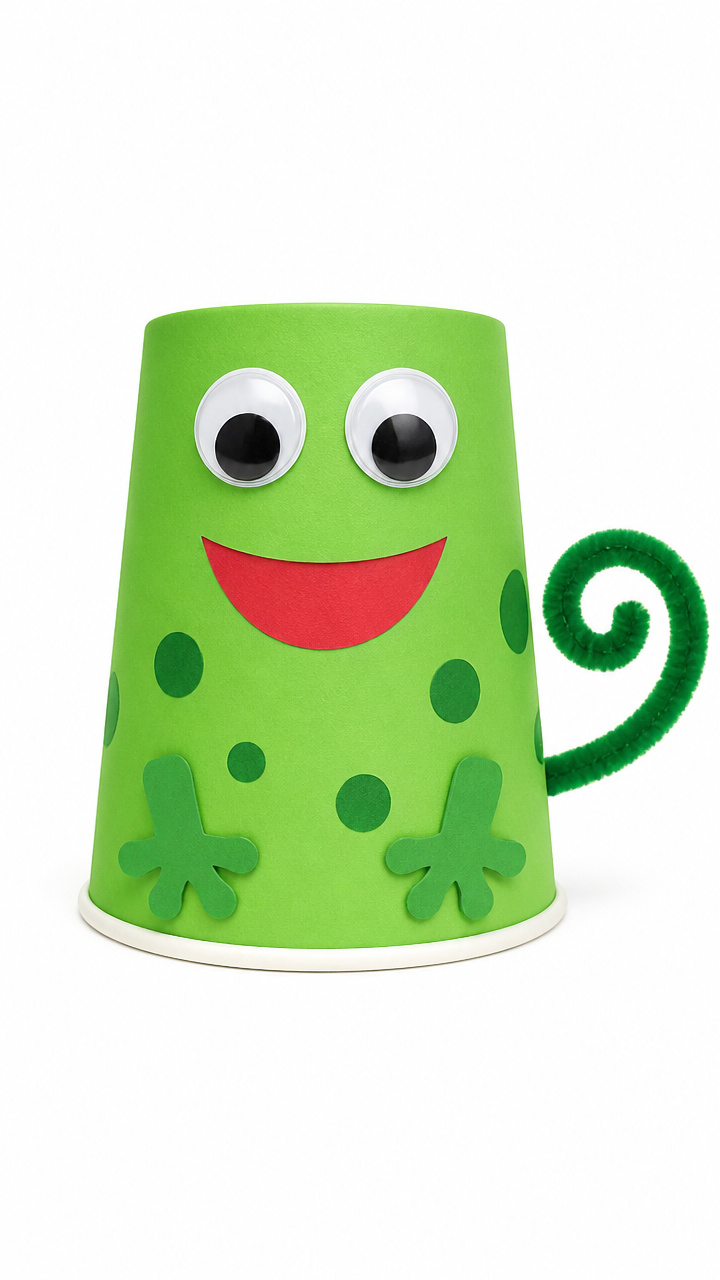
A wiggly green puppet with googly eyes peeks from a cup, encouraging storytelling and movement. It's a playful way to learn about amphibians.
Materials Needed
- One green paper cup
- Two 1-inch googly eyes
- Green pipe cleaner
- Glue stick
- Scissors
- Red construction paper
How to Make It
- Cut the pipe cleaner in half and twist one piece into a spiral for the tail.
- Glue the tail to the outside bottom of the cup.
- Attach the googly eyes near the cup’s rim with the glue stick.
- Cut a small tongue from red paper and glue it inside the cup opening.


6. Nature N Collage
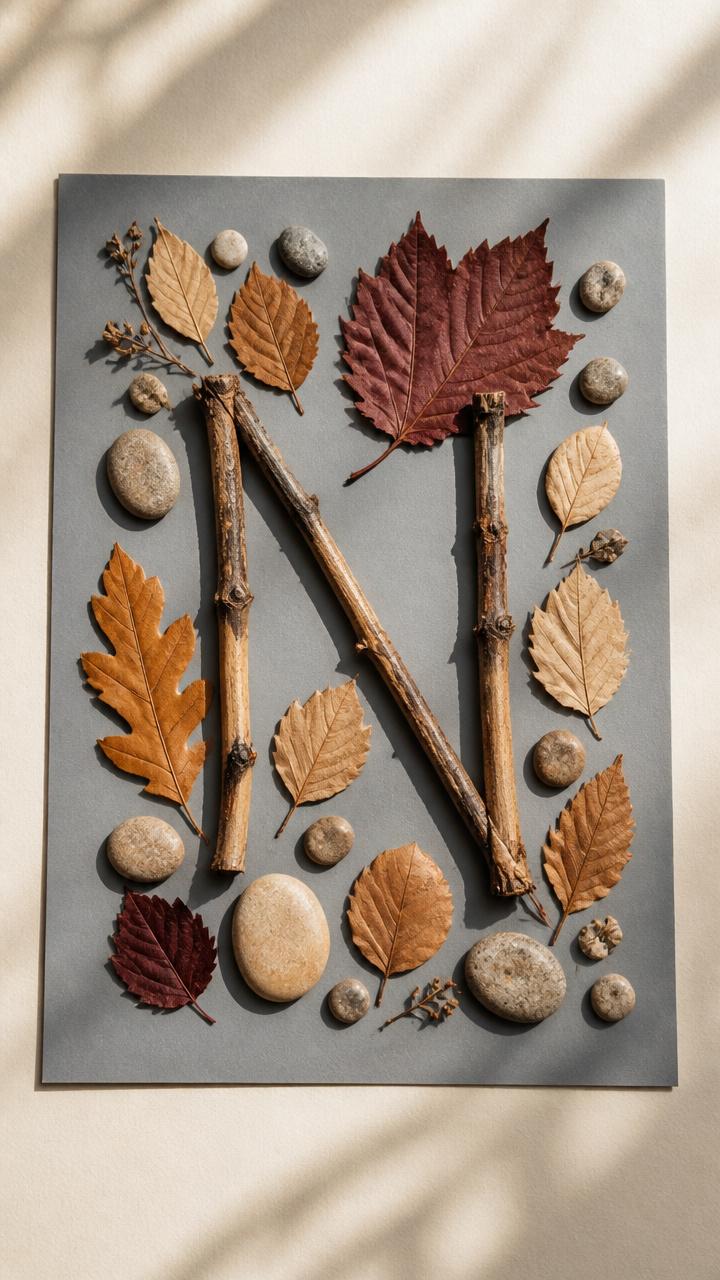
Twigs, leaves, and pebbles arranged into a large N connect outdoor discovery with letter learning. This craft celebrates natural textures and sorting.
Materials Needed
- One 9×12 inch sheet of gray cardstock
- 5 small twigs (each 3 inches long)
- 8 dried leaves
- 4 smooth pebbles
- White school glue
- Pencil
How to Make It
- Sketch a large N lightly with the pencil in the center of the cardstock.
- Glue the twigs along the diagonal lines of the N.
- Place leaves along the outer edges of the twigs to fill the shape.
- Press pebbles into the corners where the lines meet.


7. N is for Night Sky
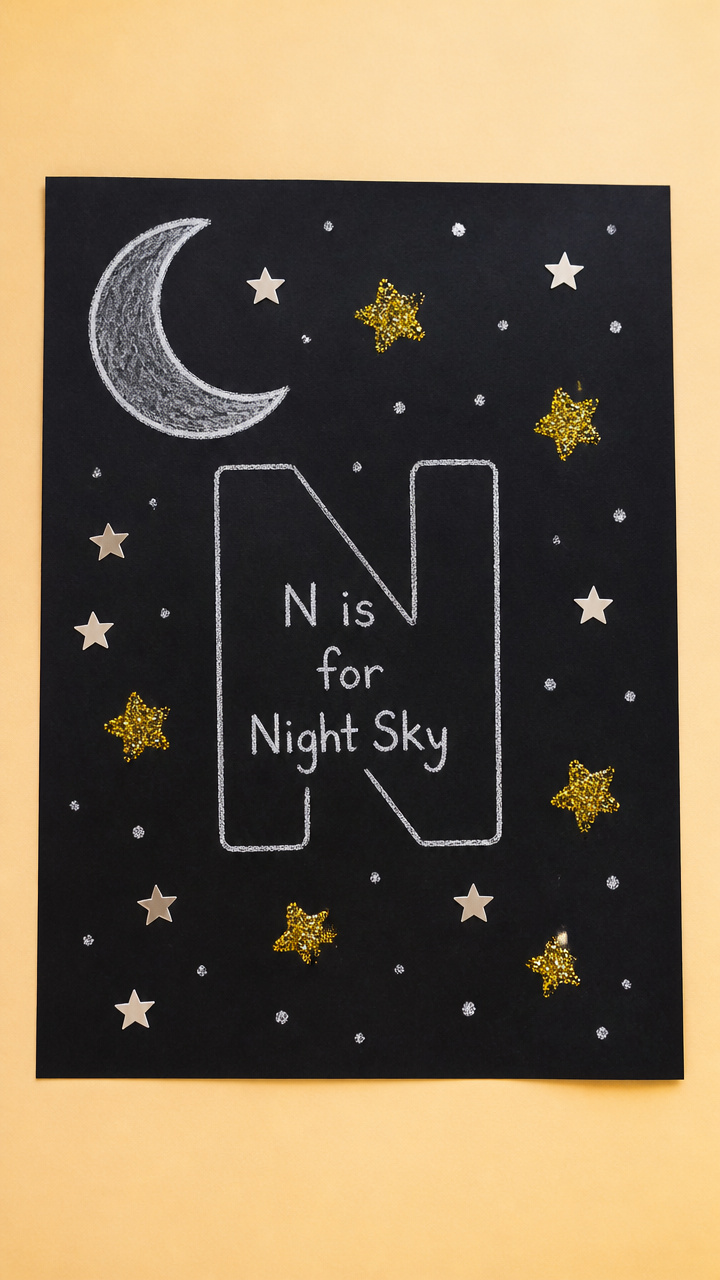
Black paper sprinkled with glitter stars forms a glowing N constellation. This calming craft works well before nap or story time.
Materials Needed
- One 8×10 inch sheet of black construction paper
- White chalk
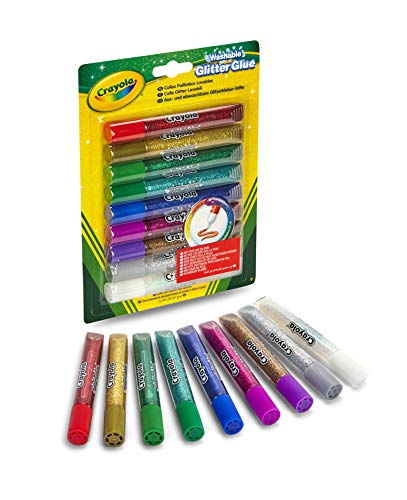
- Glitter glue pen
- Star stickers (10 count)
- Cotton swab
How to Make It
- Use white chalk to lightly draw a large N on the paper.
- Trace over the chalk line with the glitter glue pen.
- Dot small stars along the glitter line using the cotton swab and extra glue.
- Add star stickers around the N once the glue begins to dry.


8. Napkin N Stamp
Folded napkins dipped in paint create a textured N with a surprise print effect. This method teaches pattern and repetition.
Materials Needed
- Two white facial tissues
- One sheet of A4 white cardstock
- Blue tempera paint
- Shallow plastic tray
- Pencil
- Ruler
How to Make It
- Fold each tissue into a 2-inch square pad and set aside.
- Draw a 5-inch capital N on the cardstock with pencil and ruler.
- Pour blue paint into the tray and dip one tissue pad into it.
- Stamp along the pencil line to fill the N shape, re-dipping as needed.


9. Number N Puzzle
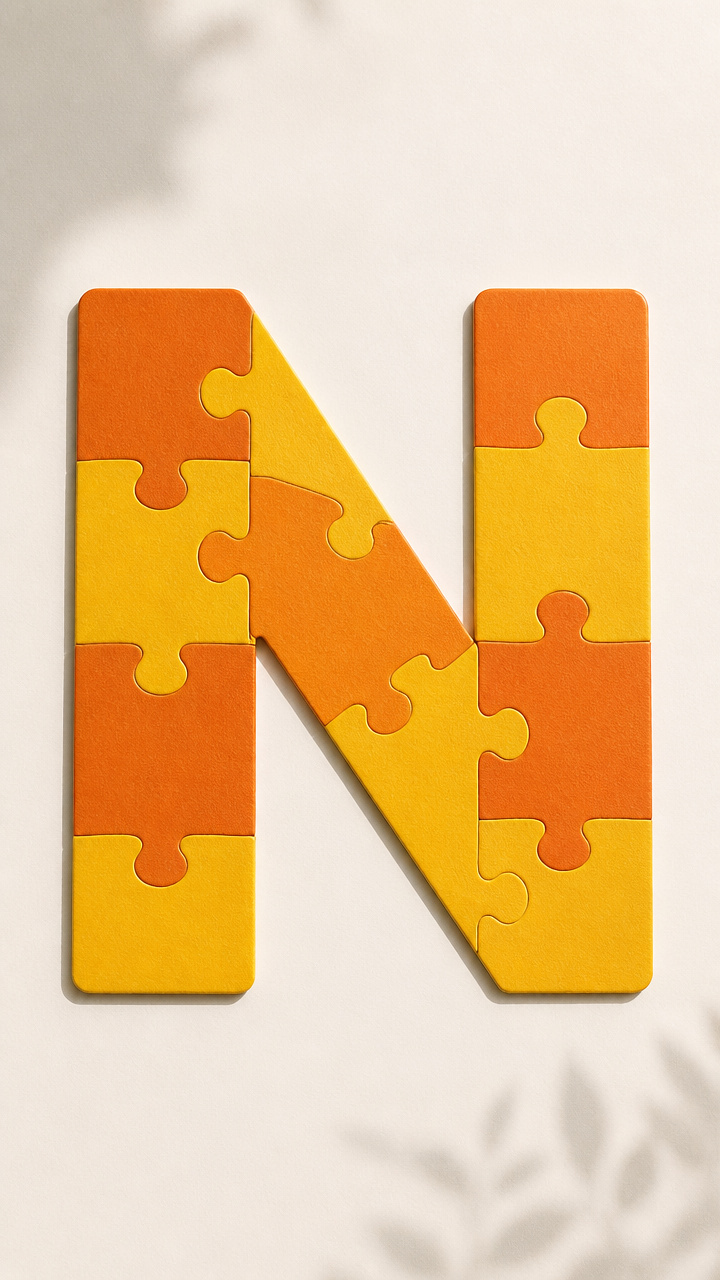
Cardboard strips layered in an N pattern form a tactile puzzle that fits together by shape. This craft boosts spatial reasoning.
Materials Needed
- One 6×6 inch square of orange cardstock
- One 6×6 inch square of yellow cardstock
- Glue stick
- Scissors
- Black marker
How to Make It
- Cut the orange square into three 1-inch wide vertical strips.
- Lay two strips diagonally on the yellow square to form the N, gluing each end down.
- Place the third strip vertically between them to complete the shape.
- Outline the N with the black marker to emphasize the edges.


10. Narwhal Paper Plate
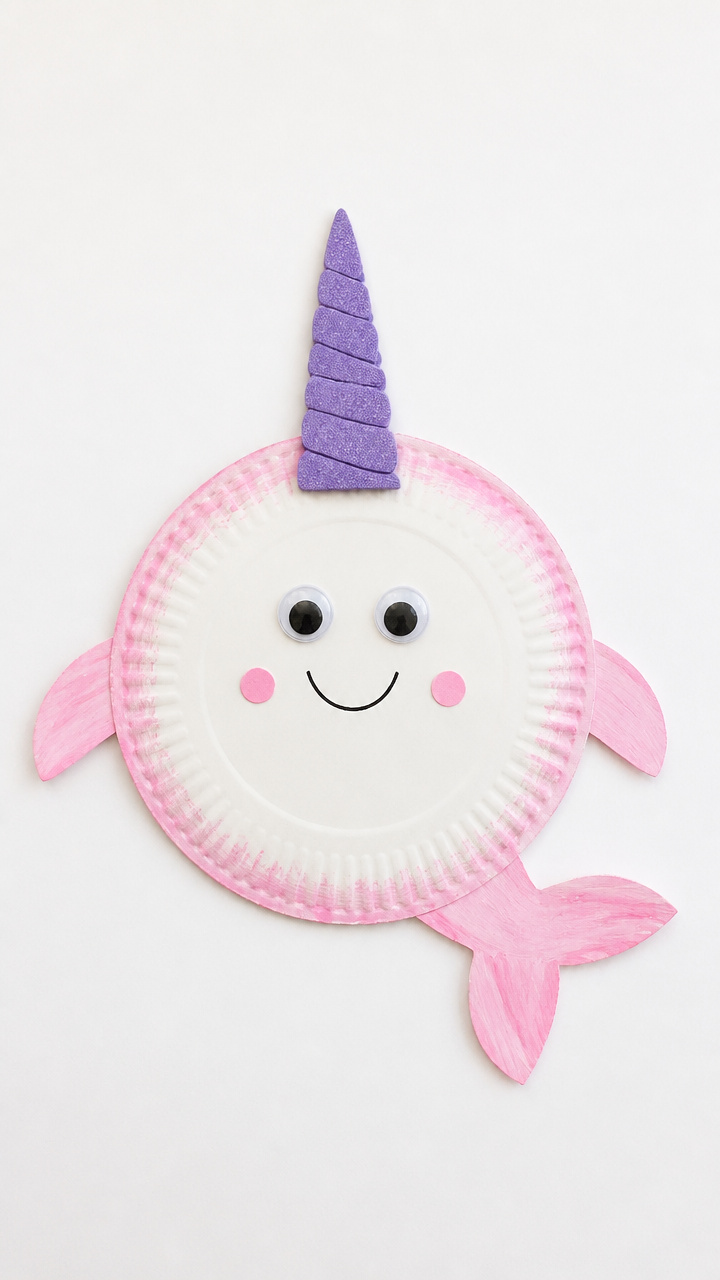
A paper plate turns into a smiling narwhal with a swirling horn and sparkly tail. This imaginative craft invites ocean-themed talk.
Materials Needed
- One white paper plate
- Pink paint
- Paintbrush
- One purple craft foam spiral (2 inches long)
- Glue stick
- Two googly eyes
- Silver glitter
How to Make It
- Paint the back of the plate pink and let dry for 15 minutes.
- Glue the spiral horn to the left side of the plate face down.
- Stick the googly eyes above the horn.
- Dab glue on the right edge and sprinkle silver glitter for the tail.


11. N is for Net Weaving
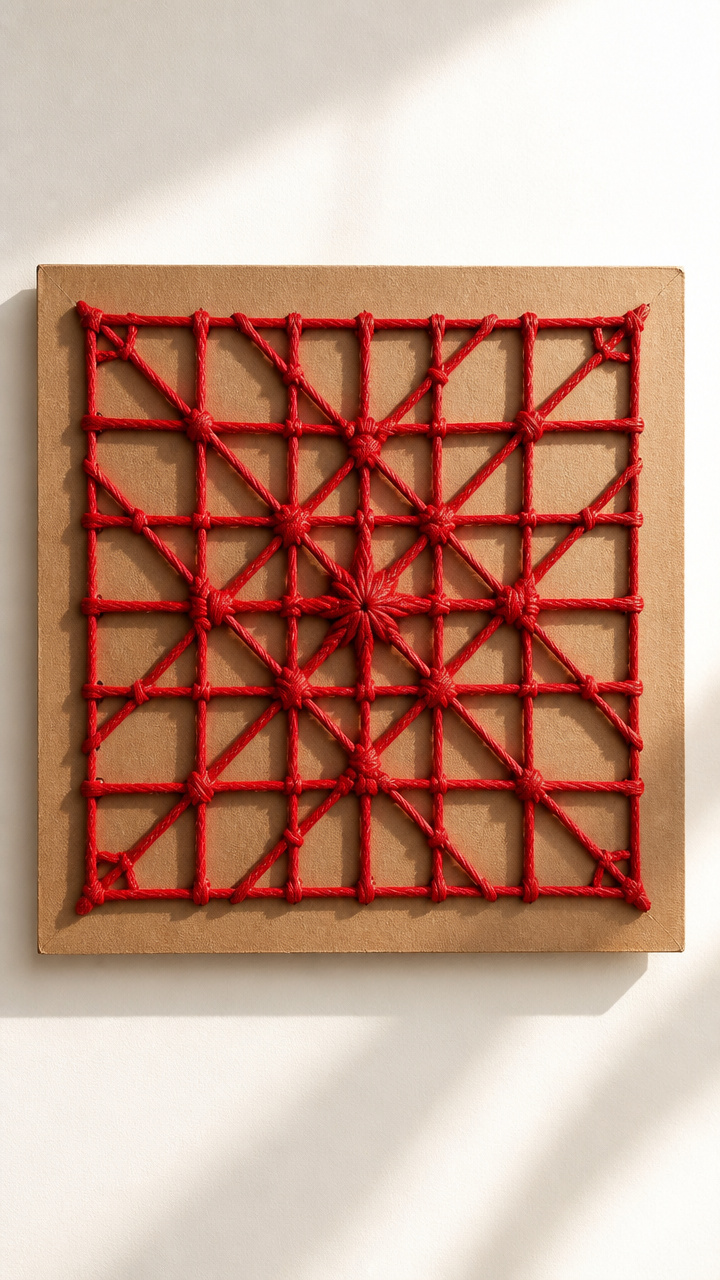
Yarn threaded through cardboard slots makes a real woven net in N shape. This project strengthens focus and hand eye coordination.
Materials Needed
- One 5×5 inch square of stiff cardboard
- Red yarn (1 yard)
- Scissors
- Pencil
- Ruler
- Tape
How to Make It
- Draw a capital N on the cardboard and mark 10 evenly spaced dots along each line.
- Cut a slit at each dot just deep enough to hold yarn.
- Tape one end of the yarn to the back at the top left point.
- Weave the yarn across from slit to slit following the N path until full.


12. Name Banner Flag
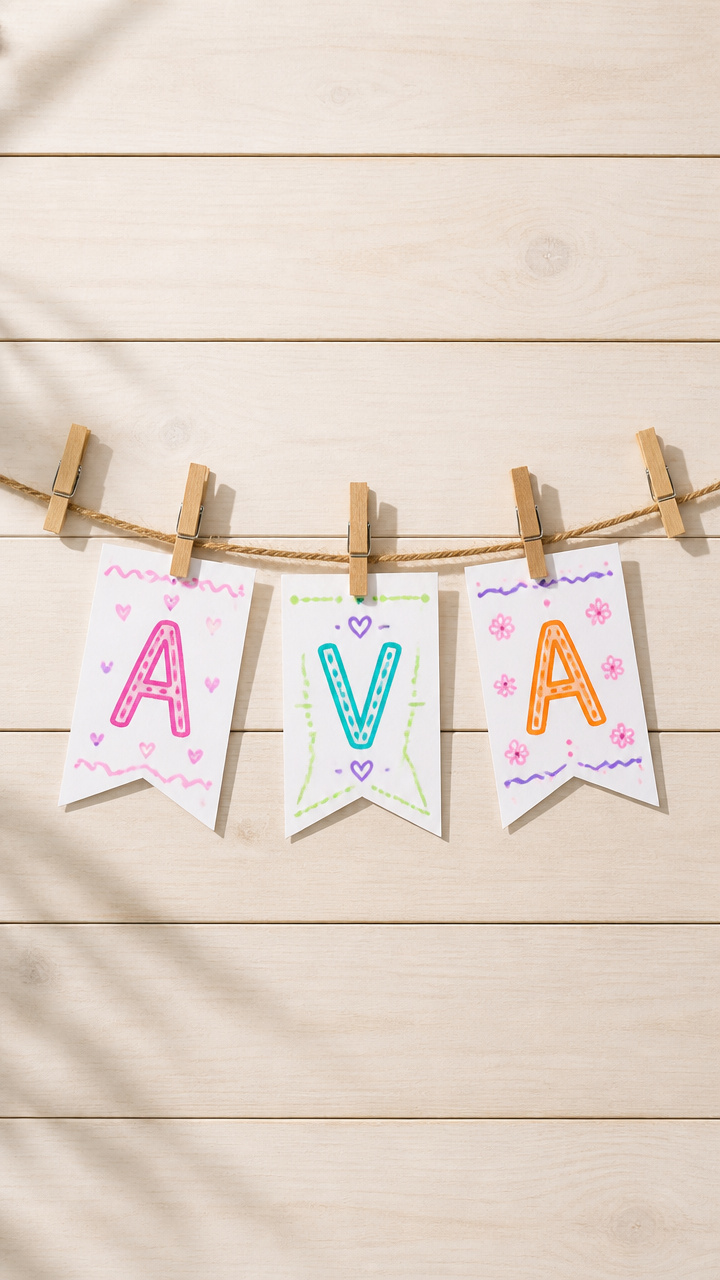
Mini clothespins clipped to twine spell names starting with N using decorated tags. This craft personalizes letter learning.
Materials Needed
- One 2 foot length of jute twine
- Five wooden clothespins
- Three 2×3 inch tags
- Markers
- Tape
- Hole punch
How to Make It
- Write a child’s name starting with N on the tags using markers.
- Punch one hole in the top of each tag.
- Tape the ends of the twine to a flat surface to keep taut.
- Clip the clothespins onto the twine and hang the tags by the holes.


13. Nestling Egg Dyeing
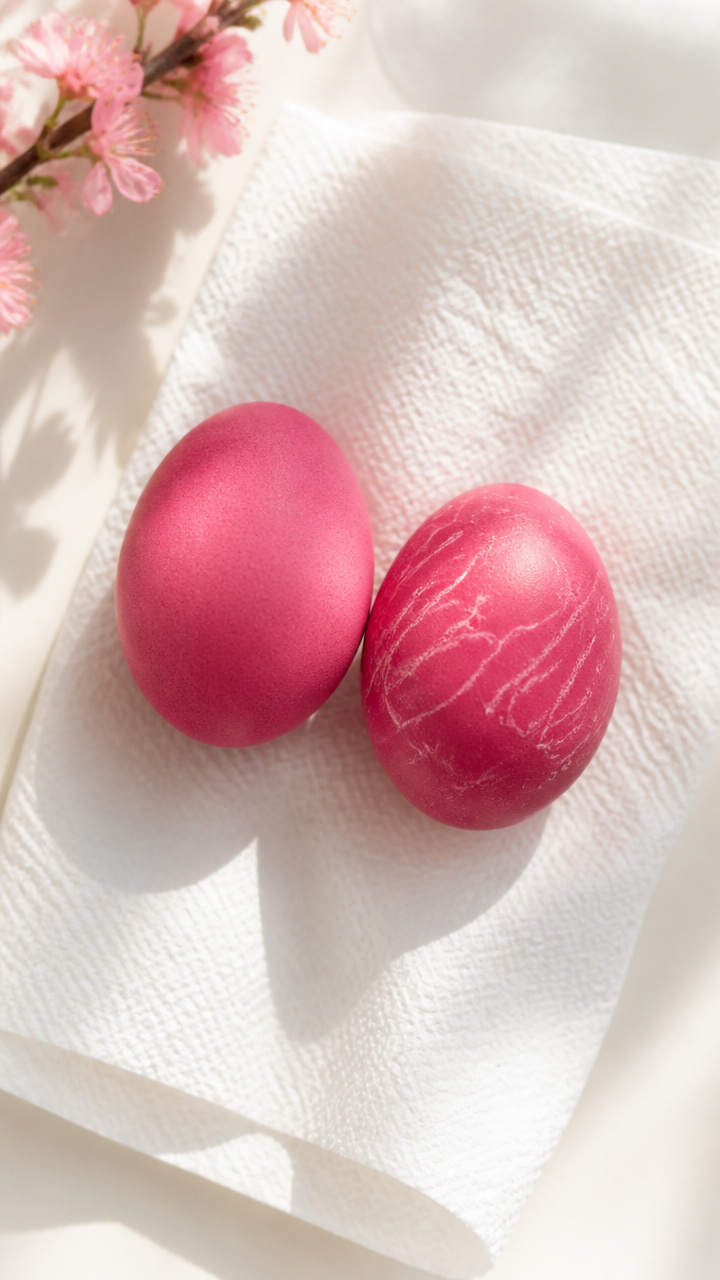
Hard boiled eggs colored with crayon rubbings mimic speckled bird eggs for a spring themed N activity. It blends science and art.
Materials Needed
- Two hard boiled eggs
- One white crayon
- One bowl of cooled beet juice
- Tongs
- Paper towel
How to Make It
- Draw small dots and lines on the eggs with the white crayon.
- Lower one egg into the beet juice with tongs and leave for 3 minutes.
- Remove and dry on a paper towel.
- Repeat with the second egg for deeper color.


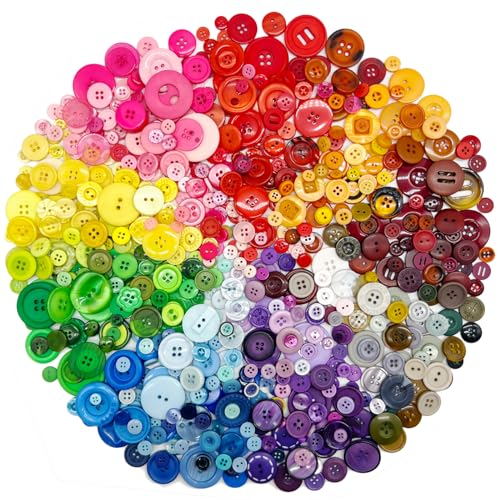
14. N Button Mosaic
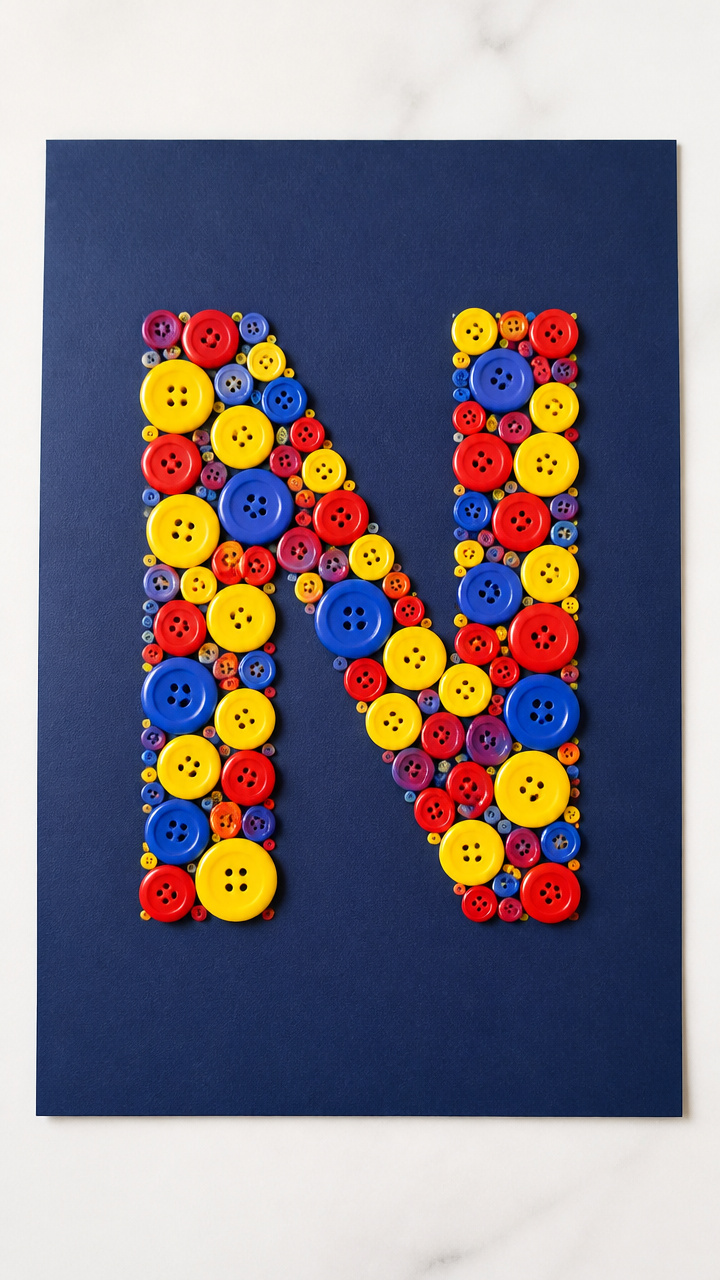
Colorful buttons pressed into glue form a bumpy N that begs to be touched. This craft adds dimension to letter practice.
Materials Needed
- One 6×8 inch sheet of navy blue paper
- 20 assorted buttons (red, yellow, blue)
- White school glue
- Pencil
- Ruler
How to Make It
- Draw a 4-inch capital N on the paper with pencil and ruler.
- Squeeze glue along the line to fill the shape.
- Press buttons into the glue, covering the entire N.
- Let dry flat for 1 hour before display.


15. N is for Notebook
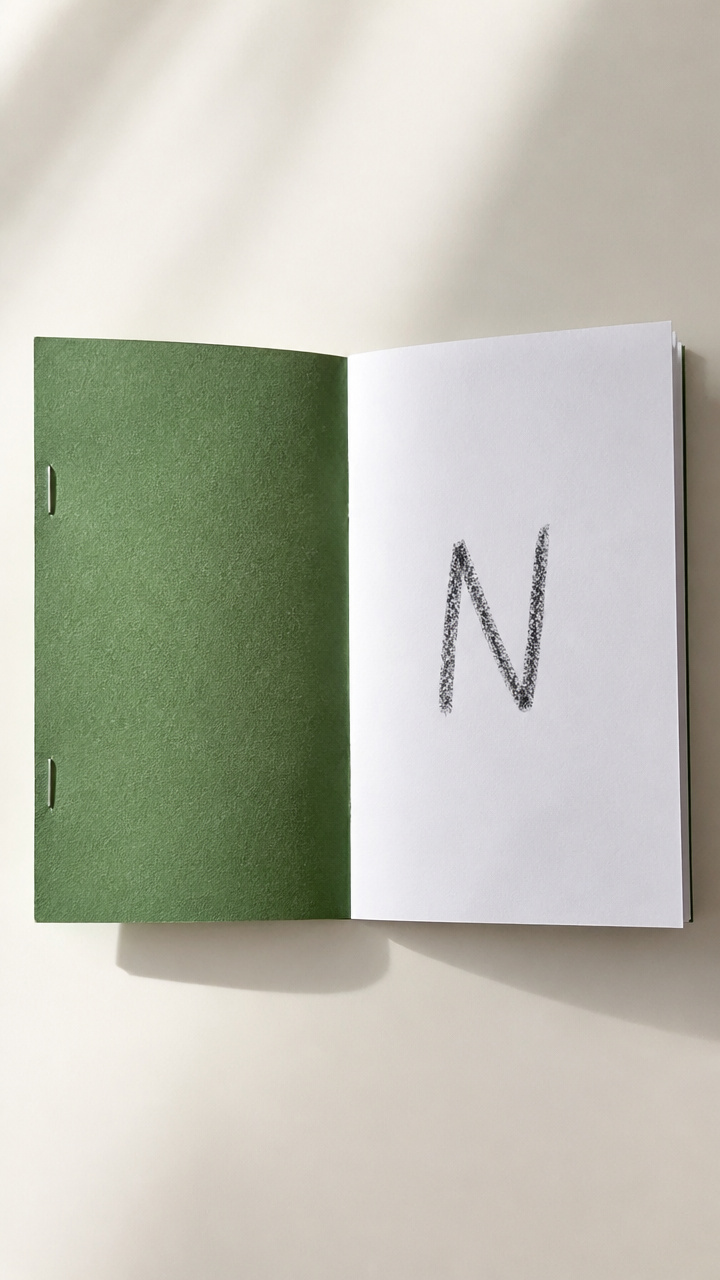
A stapled stack of pages with a handwritten N cover becomes a keepsake for drawing and writing. This craft fosters literacy confidence.
Materials Needed
- Four sheets of 6×9 inch white drawing paper
- One sheet of green construction paper
- Stapler
- Black crayon
- Ruler
How to Make It
- Stack the white papers and place the green sheet on top as a cover.
- Align the edges and staple twice along the left side.
- Use the ruler to draw a 3-inch N on the cover.
- Color the N with the black crayon.


These letter N crafts bring learning to life with color, touch, and imagination. Pick one that matches your child’s mood today and watch their confidence grow with every cut, paste, and proud show and tell moment.