15 Fun Letter O Crafts for Preschoolers
Introducing the letter O to little learners can be joyful and hands-on with these playful crafts. Each one builds fine motor skills while making phonics memorable through color, texture, and creativity.
These activities use simple supplies you likely have at home and are designed for ease and fun. From painting to cutting to stamping, your child will explore the shape and sound of O in fresh, engaging ways.
1. O is for Owl Collage
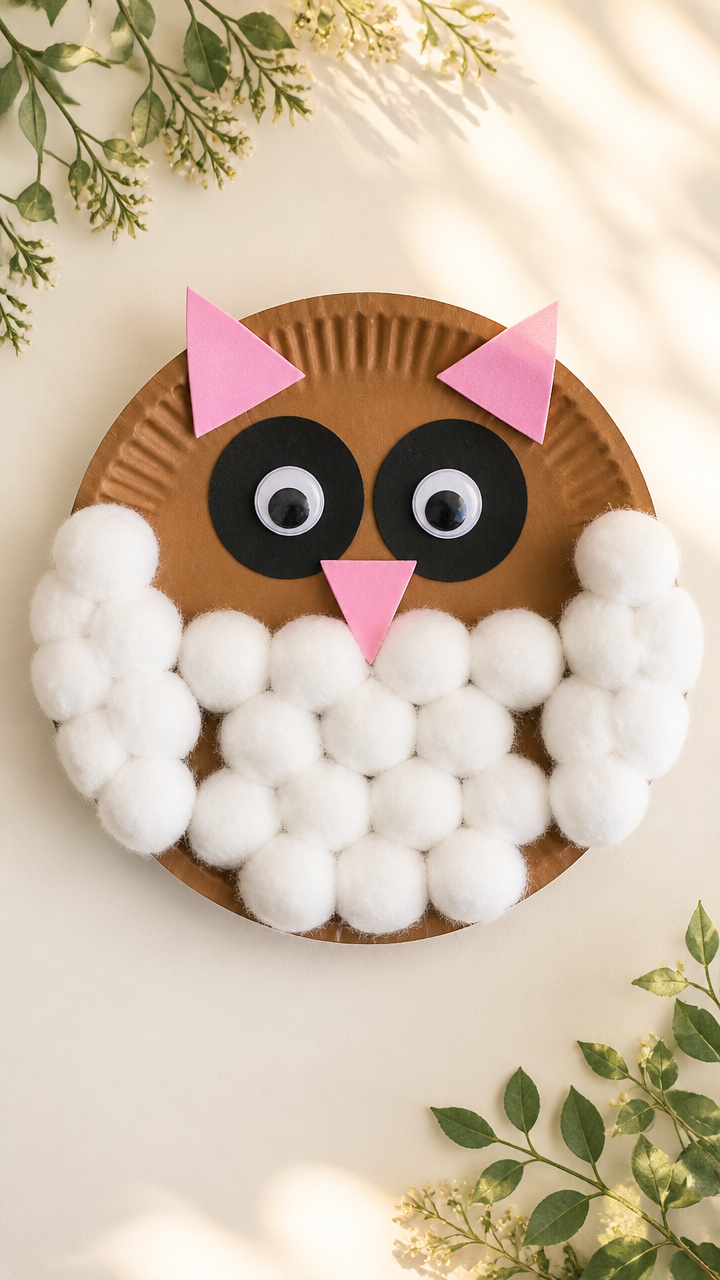
Big paper eyes and fluffy feathers bring this friendly owl to life. This collage reinforces circular shapes while encouraging storytelling about forest animals.
Materials Needed
- Two 3-inch black cardstock circles (for eyes)
- One 5-inch brown paper plate
- Six pink craft foam triangles (1 inch tall, for ears and beak)
- Ten white cotton balls
- Glue stick
- Googly eyes (12mm, two per owl)
- Scissors
- Black marker
How to Make It
- Lay the paper plate flat and place one googly eye in the center of each side.
- Cut two small slits near the top rim of the plate and insert a pink foam triangle into each slit to form ears.
- Glue the large black circles around each googly eye to create the outer eye ring.
- Glue the remaining pink triangle below the eyes for the beak.
- Press cotton balls all over the plate body, overlapping slightly, to make feathery texture.


2. Orange Painted Octopus
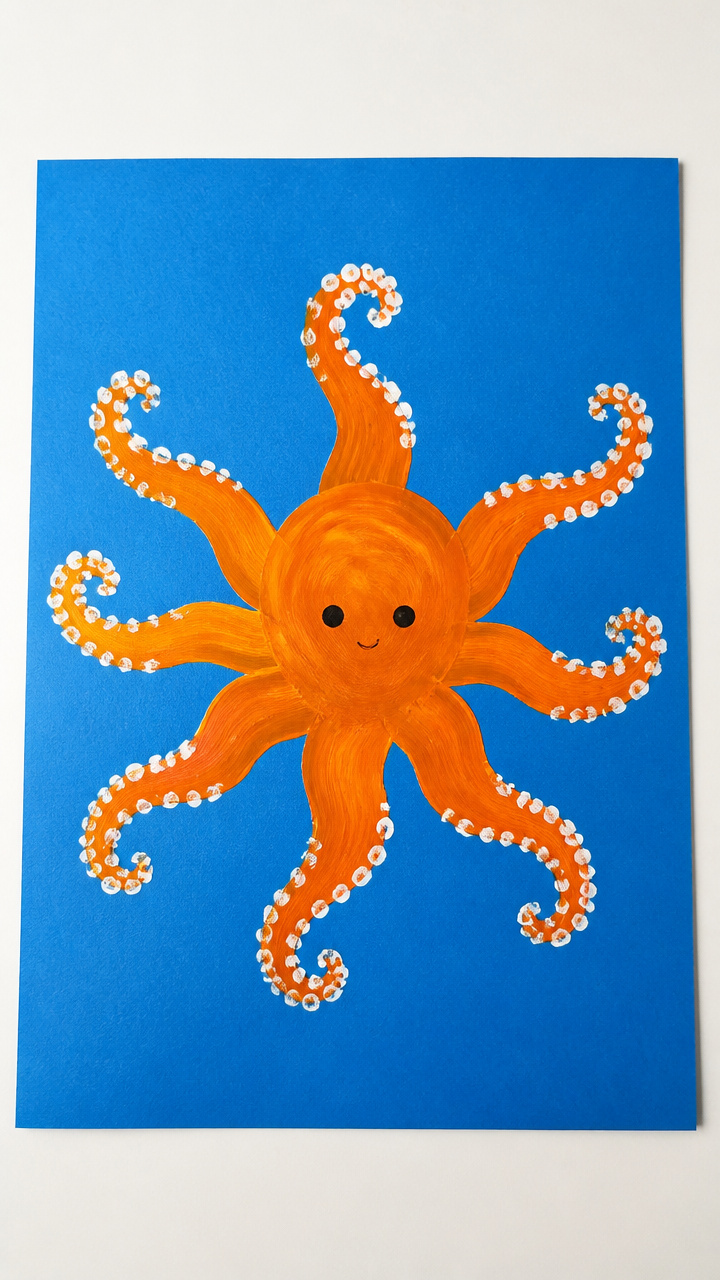
Eight wiggly arms made from handprints turn this octopus into a keepsake. The bold orange paint highlights the letter O in ocean life.
Materials Needed
- A4 blue construction paper
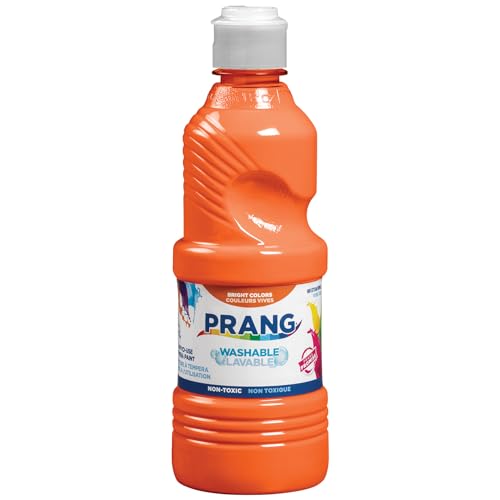
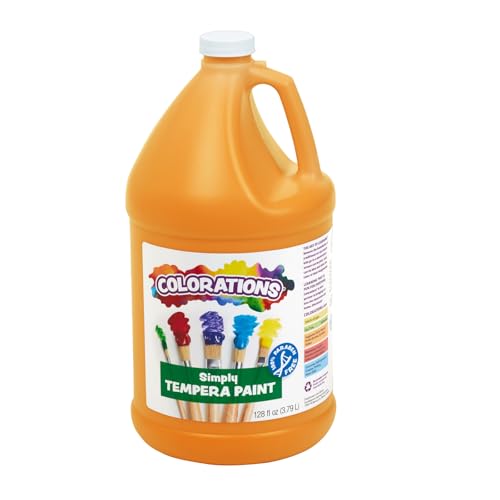
- Orange tempera paint
- Paint tray
- Black fine-tip marker
- Cotton swab
- Ruler
- Paper towel
How to Make It
- Pour a pool of orange paint onto the tray and have your child press one hand into it, fingers together.
- Stamp the handprint eight times in a semi-circle beneath a large circle drawn lightly in pencil at the top of the blue paper.
- Wipe the hand clean with a paper towel between stamps.
- Use the ruler to draw a 4-inch diameter circle at the center top for the head.
- Once dry, draw two eyes with the marker and add a smile with the cotton swab dipped in white paint.

3. Oval Bubble Wrap Printing
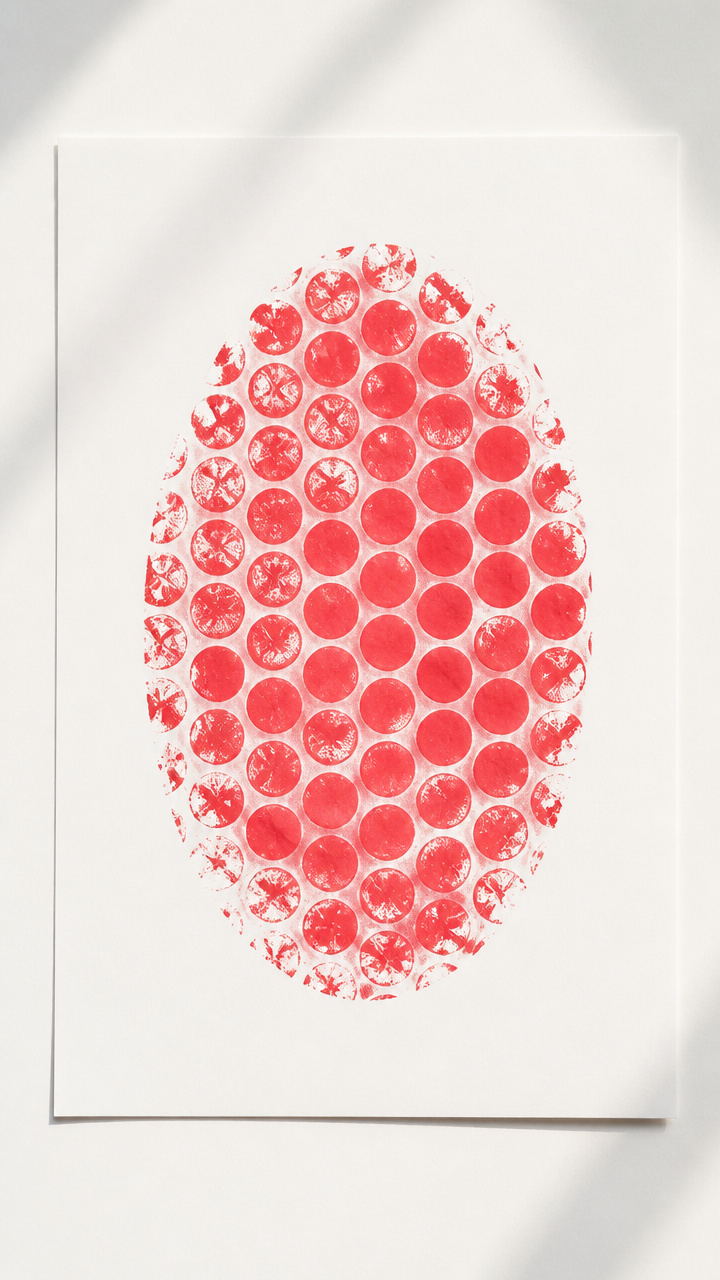
Rolling bubble wrap across paint creates a dotted oval with surprise texture. This sensory activity teaches shape recognition through motion.
Materials Needed
- Bubble wrap sheet (8×10 inches, flat side up)
- Rubber band
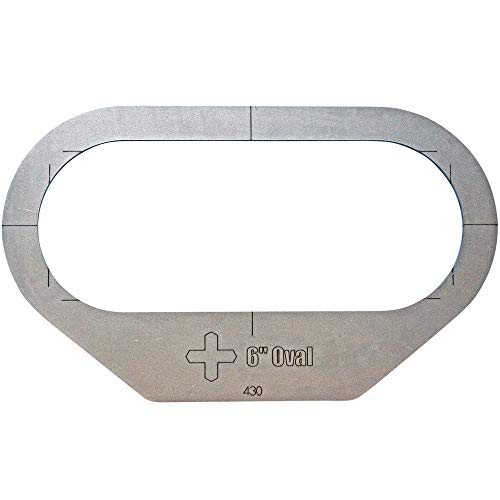
- Oval stencil (6 inches long)
- Red acrylic paint
- Paintbrush (1 inch wide)
- A4 white drawing paper
- Cardboard tube (toilet paper roll)
How to Make It
- Secure the bubble wrap around the cardboard tube with the rubber band, bumpy side out.
- Place the oval stencil on the drawing paper and trace lightly with pencil.
- Paint red acrylic paint onto the bubble wrap roller using the brush.
- Roll the tube within the oval outline, pressing gently to transfer the dotted pattern.
- Let dry completely before removing the stencil.

4. Oreo Ball Cookie Craft
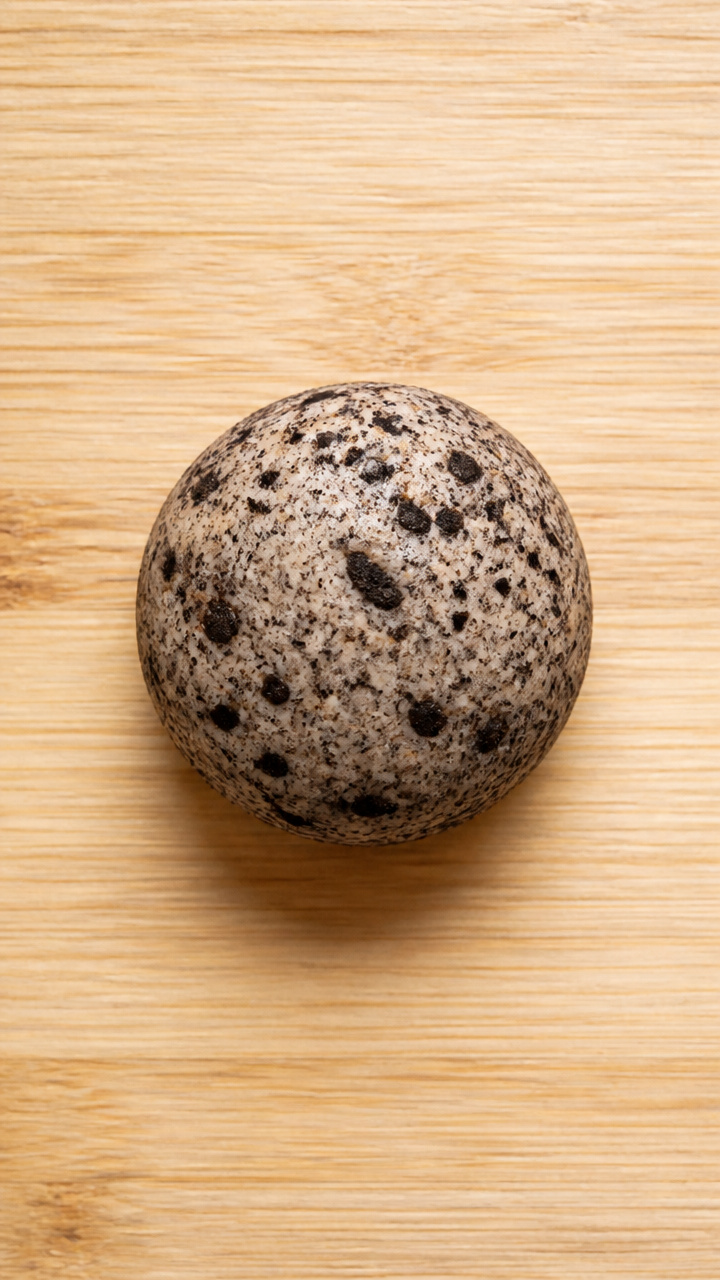
Edible clay shaped into creamy cookie sandwiches teaches symmetry and stacking. Kids love shaping and pretending with these sweet treats.
Materials Needed
- 1 cup white modeling dough
- 1 tablespoon cocoa powder
- Small mixing bowl
- Plastic knife
- Measuring spoon
- Cookie cutter (round, 2 inches)
How to Make It
- Divide the white dough in half and mix cocoa powder into one half until evenly brown.
- Roll both doughs into thin sheets about 1/4 inch thick.
- Use the cutter to stamp out four white circles and four brown circles.
- Flatten each brown circle slightly and sandwich between two white circles.
- Press the plastic knife across the center of each ball to mimic a real Oreo.


5. Ocean Bottle Shaker
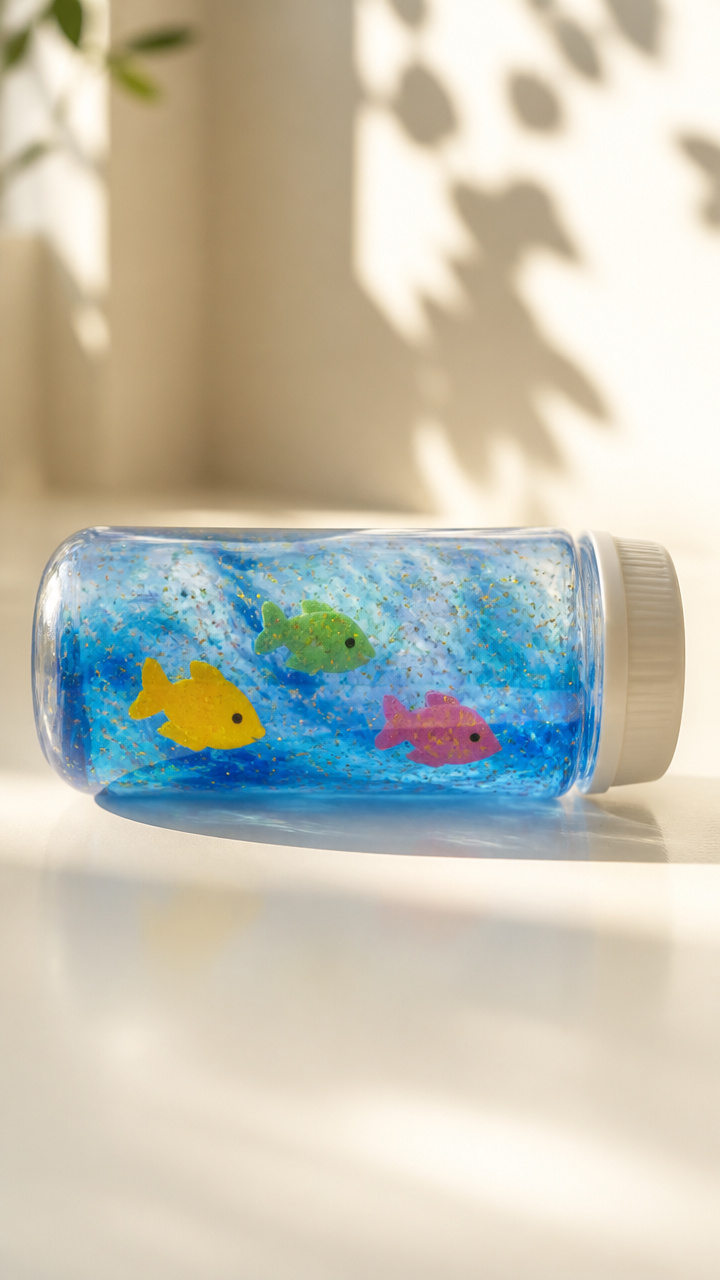
A swirling underwater scene in a sealed bottle doubles as a calming tool. Watching blue water move around foam fish reinforces the letter O’s shape.
Materials Needed
- Clear 8 oz plastic bottle with screw cap
- Blue liquid watercolor (2 tablespoons)
- Water (6 oz)
- Clear glue (1 tablespoon)
- Glitter (gold, 1 teaspoon)
- Foam fish cutouts (three, 1.5 inches long)
- Hot glue gun
How to Make It
- Fill the bottle with water, then add blue watercolor and stir gently with a spoon.
- Mix in clear glue and glitter, cap the bottle, and shake lightly to blend.
- Drop the foam fish inside and secure the cap tightly with hot glue to prevent leaks.
- Tilt and shake the bottle slowly to watch the fish swirl in ocean waves.


6. Owl Button Matching Game
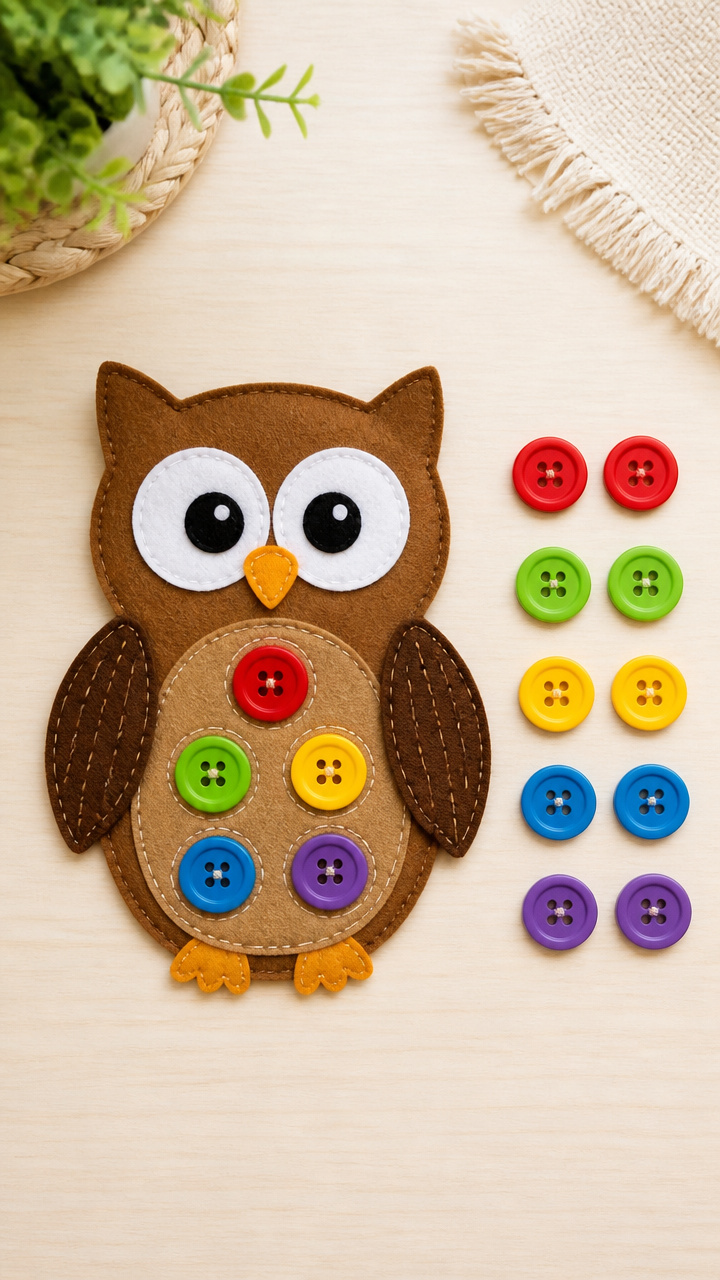
Color-coordinating buttons onto felt wings sharpens pincer grasp and visual sorting. This quiet activity fits perfectly in waiting areas or calm time.
Materials Needed
- Brown felt sheet (9×12 inches)
- Five colors of round buttons (8 mm, 5 per color)
- White chalk
- Scissors
- Fabric glue
- Ruler
How to Make It
- Draw two 5-inch owl wings on the felt using chalk and cut them out.
- Arrange five buttons in a row on each wing, matching colors on both sides.
- Glue each button firmly to the felt, spacing them evenly.
- Let dry for 30 minutes before letting your child remove and reattach during play.


7. Oil Pastel Overlays
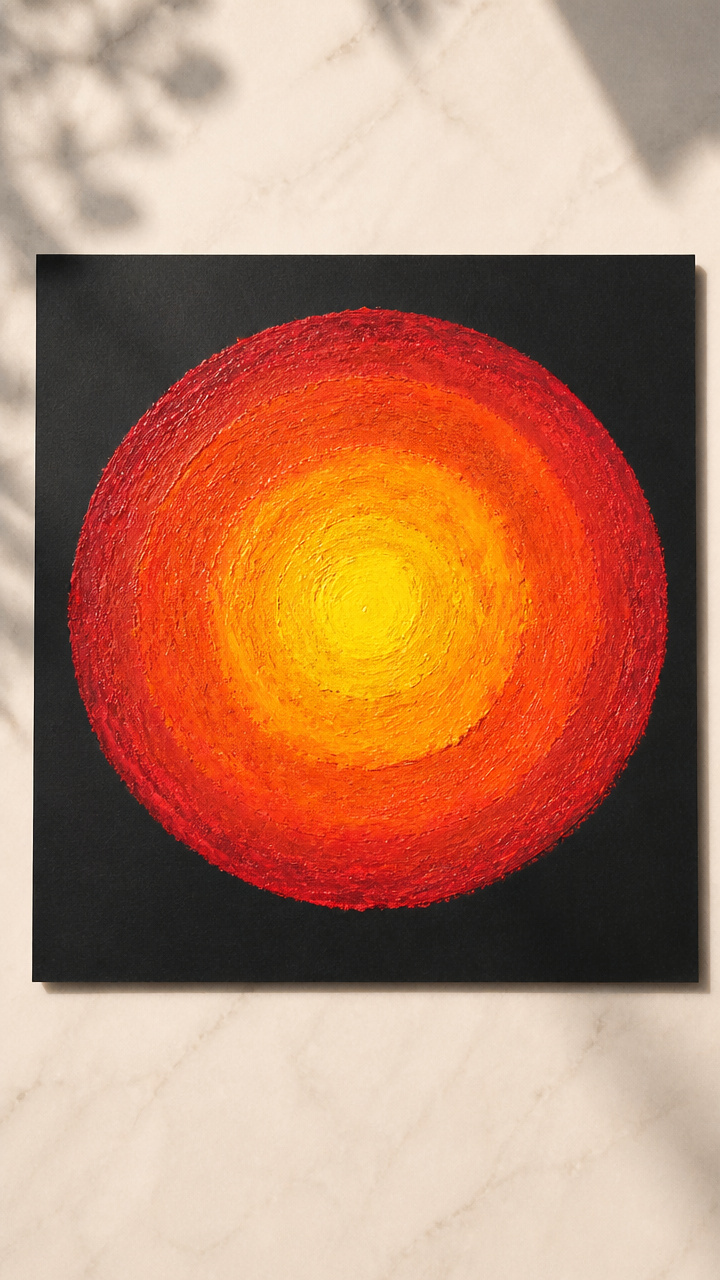
Layering bright oil pastels over black crayon resists creates glowing O-shaped suns. This technique introduces contrast and blending.
Materials Needed
- Black wax crayon
- Yellow, orange, and red oil pastels
- Circle stencil (4 inches)
- A4 black cardstock
- Pencil
How to Make It
- Trace the circle stencil twice on the black cardstock with pencil and connect them with wavy lines to form a double sunburst.
- Color over the entire design with the black crayon using firm pressure.
- Use yellow, orange, and red oil pastels to layer color over the black, pressing hard to cover completely.
- Blend colors with fingertips where they meet to create a glowing effect.


8. Oatmeal Sensory Bin
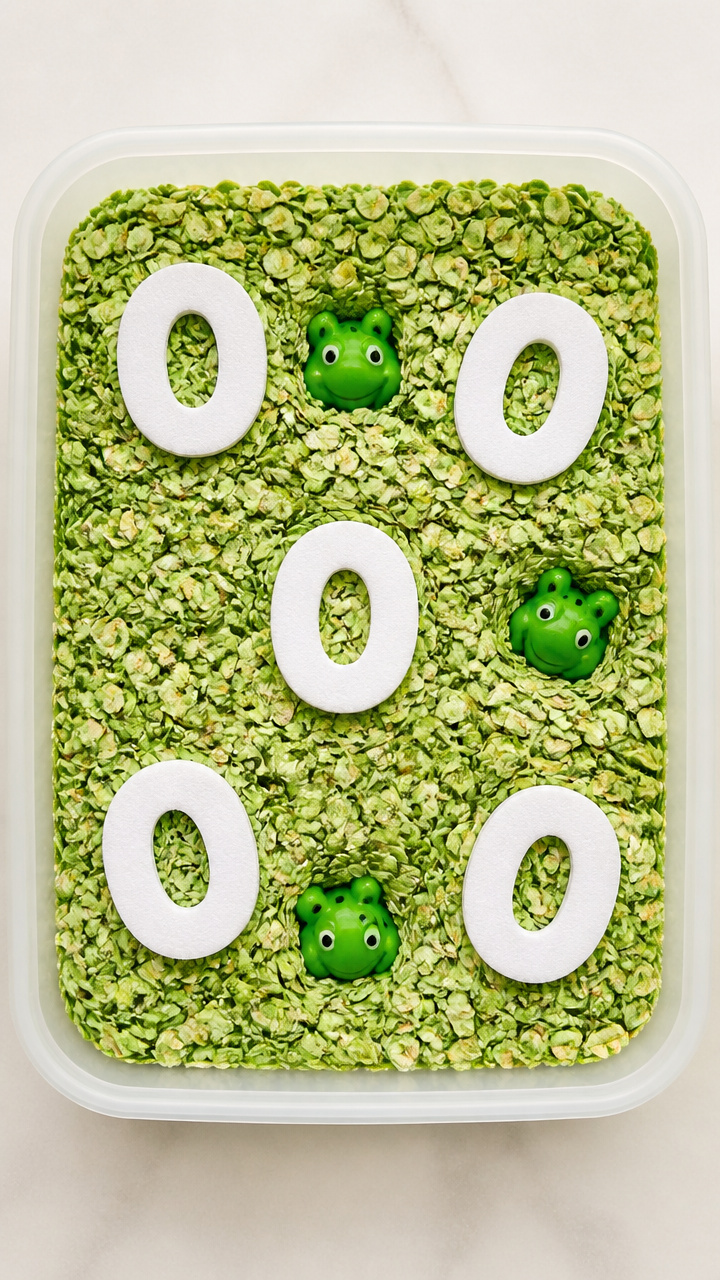
A bowl of dyed oats hides letter O tokens and tiny toys. Scooping and sifting build tactile awareness and vocabulary.
Materials Needed
- 2 cups rolled oats
- Green food coloring (10 drops)
- Plastic bin (10×8 inches)
- Small tongs
- Letter O foam cutouts (five)
- Mini plastic frogs (three)
- Measuring cup
How to Make It
- Mix oats and food coloring in a bowl with hands until evenly tinted, then spread on paper to dry for 1 hour.
- Pour the oats into the plastic bin.
- Bury the foam Os and frogs throughout the oats.
- Give your child the tongs and measuring cup to hunt and sort the hidden items.

9. Octopus Paper Plate Puppet
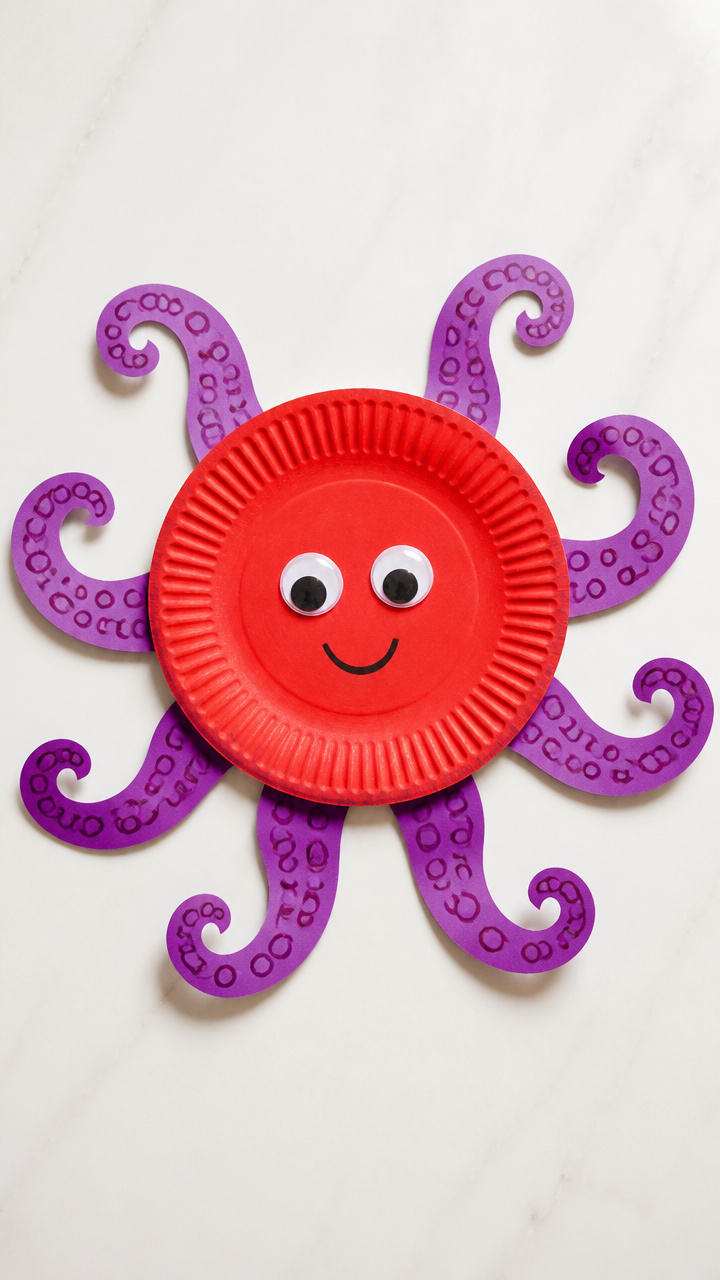
Wiggling arms made from fringed paper strips animate this sea creature. Slipping fingers under the plate makes reading interactive.
Materials Needed
- One red paper plate
- Scissors
- Two wiggle eyes (15mm)
- Glue stick
- Purple construction paper (6×6 inches)
- Hole punch
How to Make It
- Cut 16 fringe lines around the edge of the plate, stopping 1 inch from the rim, to form arms.
- Bend each arm outward gently to give movement.
- Glue the wiggle eyes just above the center of the plate.
- Cut two 2-inch purple strips and crumple slightly for suction cups, glue to underside of arms.
- Punch two holes near the bottom rim and tie a craft stick between them for support.


10. Open-Ended Dot Art
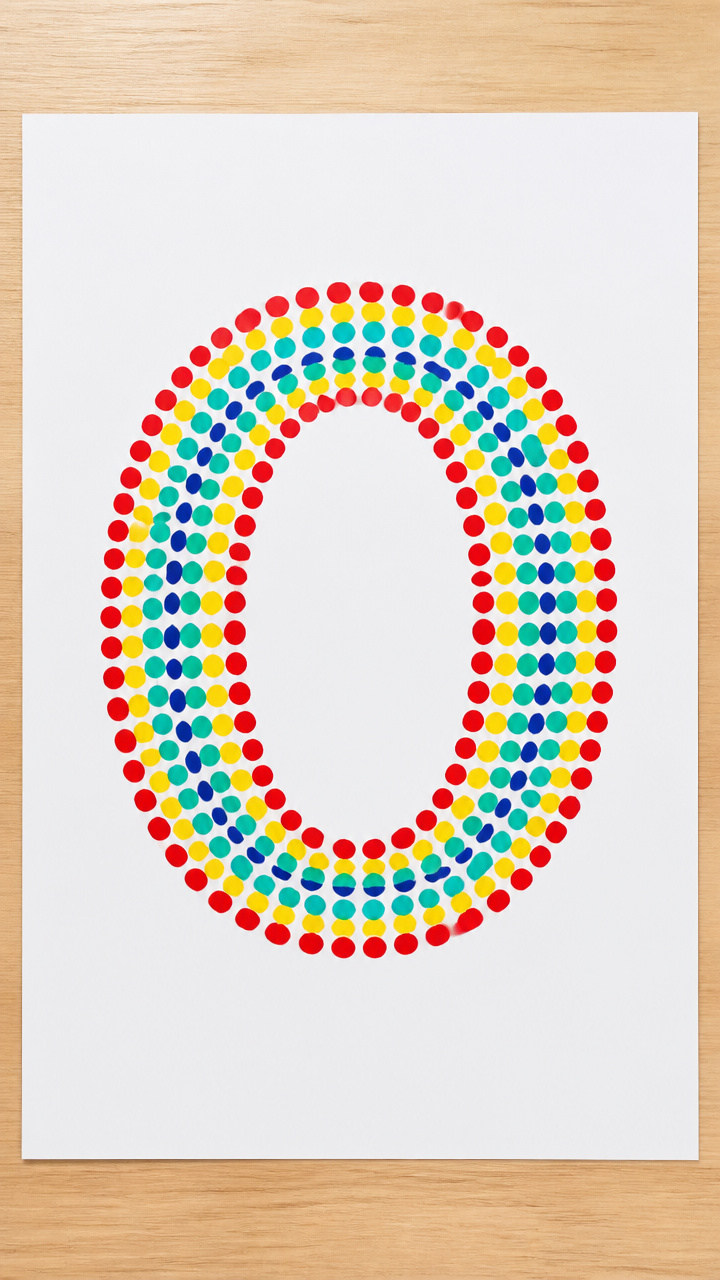
Using dot stickers inside a giant O builds precision and color patterns. This open-ended art invites creativity without rules.
Materials Needed
- Giant O stencil (10 inches tall)
- A4 white printer paper
- Colored dot stickers (red, yellow, blue, green, 100 total)
- Pencil
- Ruler
How to Make It
- Trace the giant O stencil onto the paper with pencil, leaving a thick border.
- Choose one color at a time and place dot stickers along the inside edge of the O.
- Alternate colors or create stripes, ensuring full coverage within the border.
- Leave space in the center for a name or date if gifting.


11. Owl Nest Weaving
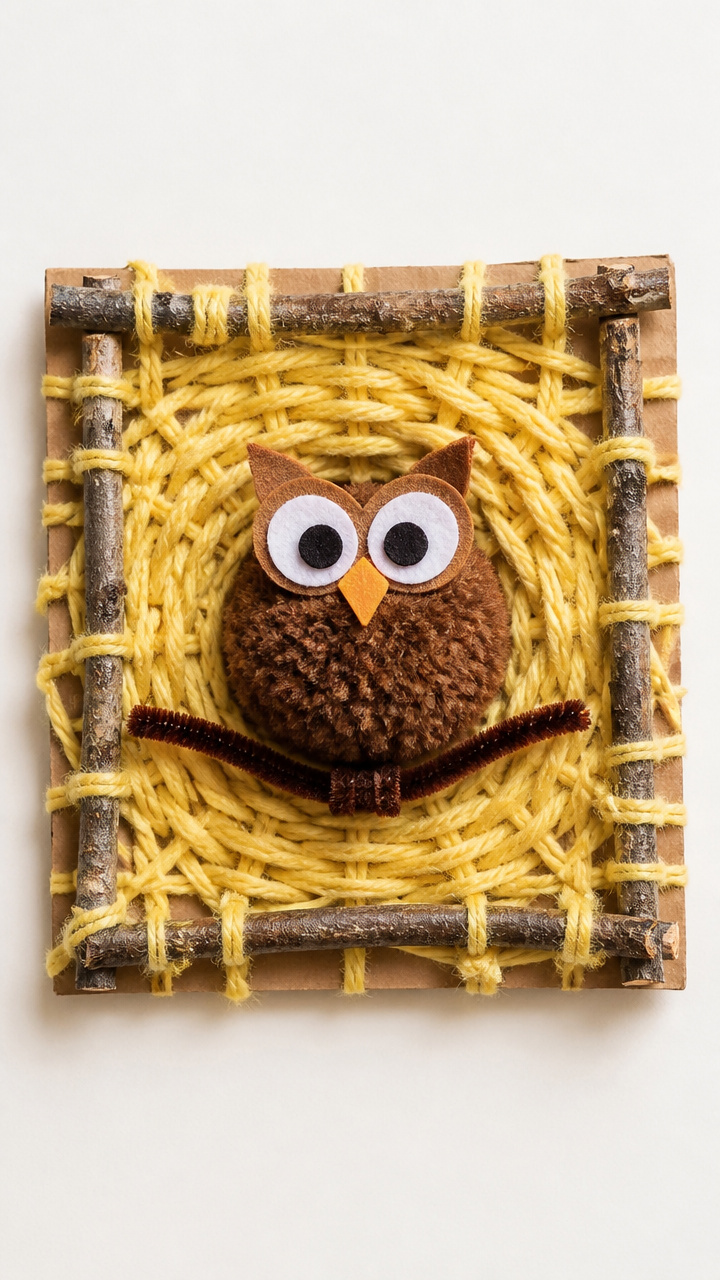
Yarn woven through a cardboard loom forms a cozy nest base. Adding twigs and pompoms completes a textured habitat scene.
Materials Needed
- Cardboard square (6×6 inches)
- Craft knife (adult use only)
- Yellow yarn (2 meters)
- Brown pipe cleaner (one)
- Small twigs (five, 2 inches long)
- Brown pompom (1 inch)
- Scissors
How to Make It
- Make 10 evenly spaced vertical slits along the top and bottom edges of the cardboard.
- Tie one end of the yarn to the bottom left slit and weave it up and down through each slit to create warp threads.
- Weave the yellow yarn horizontally over and under the vertical threads, packing rows tightly.
- Remove the weaving by cutting the bottom loops and sliding it off, then tie ends to secure.
- Tuck the pipe cleaner, twigs, and pompom into the center to form a nest.


12. Oval Object Sorting Tray
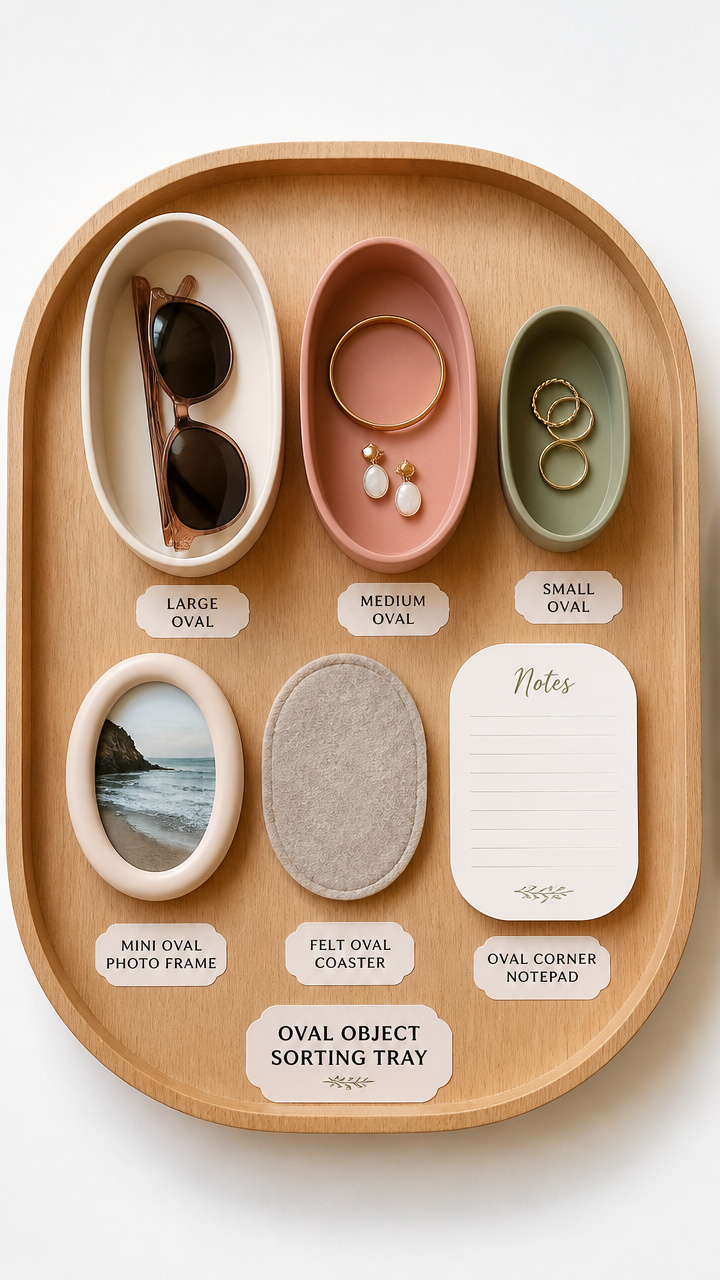
Grouping real household ovals by size and material sharpens observation. This Montessori-inspired tray turns daily items into learning tools.
Materials Needed
- Shallow wooden tray (12×8 inches)
- Plastic oval containers (three sizes: small, medium, large)
- Oval photo frame (mini, 3×2 inches)
- Oval coaster (felt, one)
- Notepad with oval corners (one)
- Label stickers (three)
How to Make It
- Place the tray on a table and arrange all oval objects inside.
- Invite your child to group items by material—plastic, wood, fabric, paper.
- Use label stickers to mark each group with a written category.
- Discuss why each object is an oval and how it's used at home.


13. Orange Tissue Flower
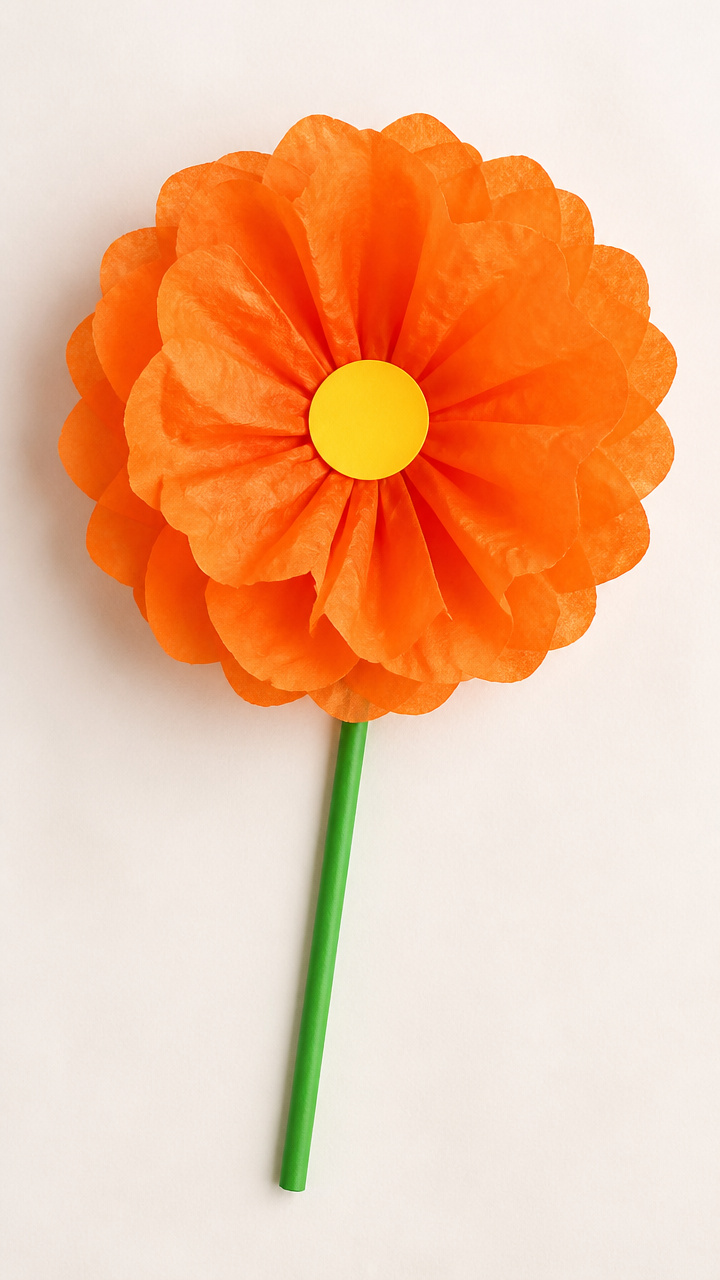
Layered tissue petals burst from a green straw stem. This 3D flower teaches folding and symmetry around a central O shape.
Materials Needed
- Orange tissue paper (4 sheets, 12×12 inches)
- Green drinking straw
- Scissors
- Round sticker (2 inches, yellow)
- Glue stick
- Ruler
How to Make It
- Stack the tissue paper and fold accordion-style with 1-inch pleats.
- Wrap the center of the folded stack around the top of the straw and secure with glue.
- Fan out each layer of tissue on both sides to form rounded petals.
- Press the yellow sticker to the center where the layers meet.
- Gently pull each layer upward to create a full, blooming look.


14. Owl Mask with Feathers
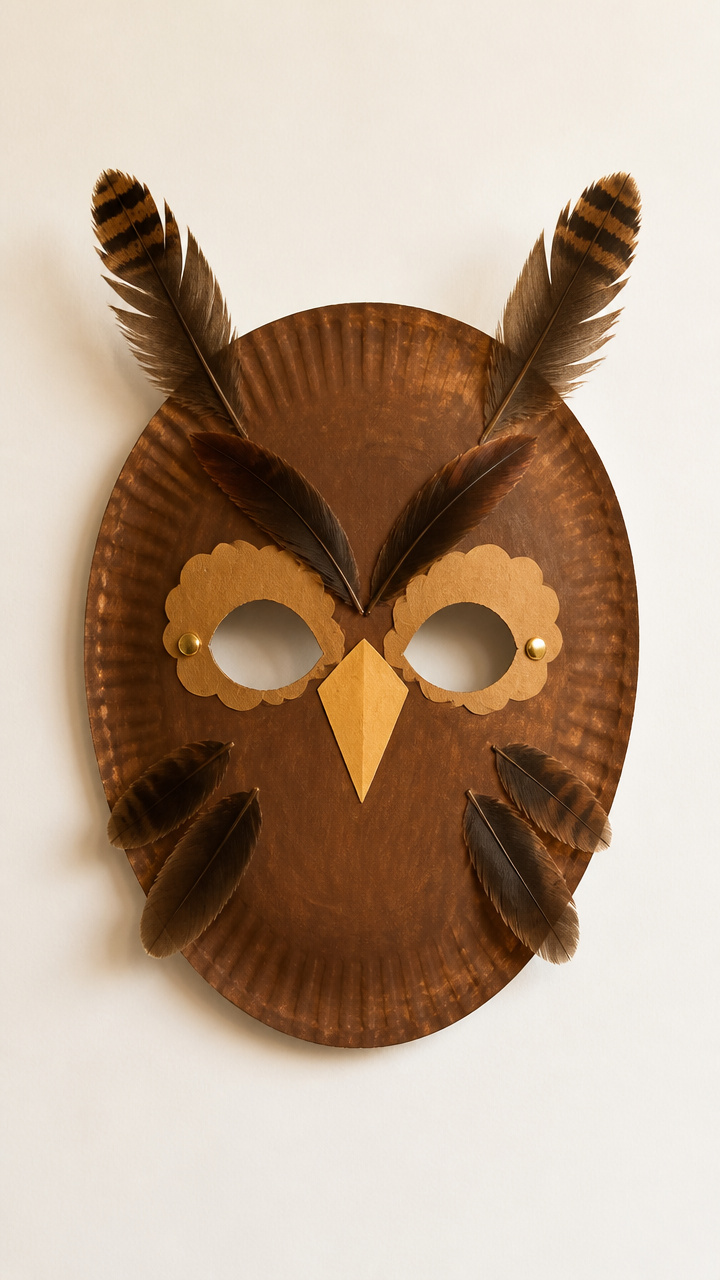
A wearable mask with rotating eyes captures imagination during play. Feathers glued to the edges add soft movement.
Materials Needed
- Oval paper plate
- Brown acrylic paint
- Paintbrush (small)
- Two brass fasteners (size 8)
- Feathers (six, assorted browns)
- Elastic string (14 inches)
- Hole punch
How to Make It
- Paint the entire plate brown and let dry for 20 minutes.
- Punch two holes near the center for eyes and attach rotating cardboard eyes with brass fasteners.
- Glue three feathers to each side of the plate, pointing outward.
- Punch one hole on each side of the plate and thread elastic through, knotting the ends securely.


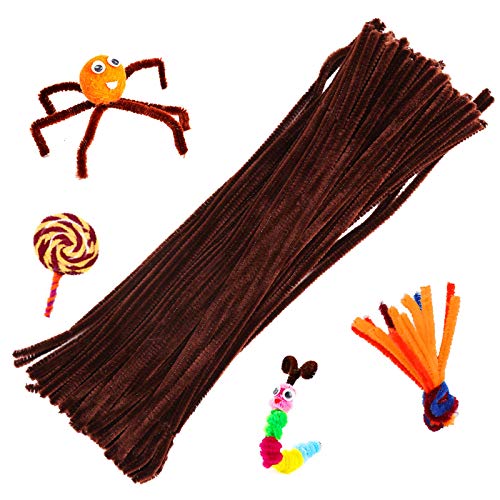
5. Outlining with Pipe Cleaners

Bending a fuzzy wire into a perfect O builds hand strength and shape memory. The tactile twist helps kinesthetic learners.
Materials Needed
- One black pipe cleaner
- Glue stick
- A4 light blue paper
- Ruler
- Pencil
How to Make It
- Draw a 5-inch circle lightly in pencil on the blue paper.
- Bend the pipe cleaner to follow the circular line, pinching ends together at the top.
- Glue the wrapped ends and any loose sections to the paper.
- Press gently with fingers to ensure full adhesion and let dry 10 minutes.


Each of these crafts offers a new way to experience the letter O through touch, sight, and play. Gather what you have and let your child’s curiosity lead the way.