15 Fun Letter U Crafts for Preschoolers

Introducing the letter U to little learners can be joyful and hands on. These crafts invite curiosity through color, texture, and play while building early literacy skills.
Each project uses simple materials you likely have at home and focuses on fine motor development, creativity, and letter recognition.
1. Umbrella Paper Plate Craft
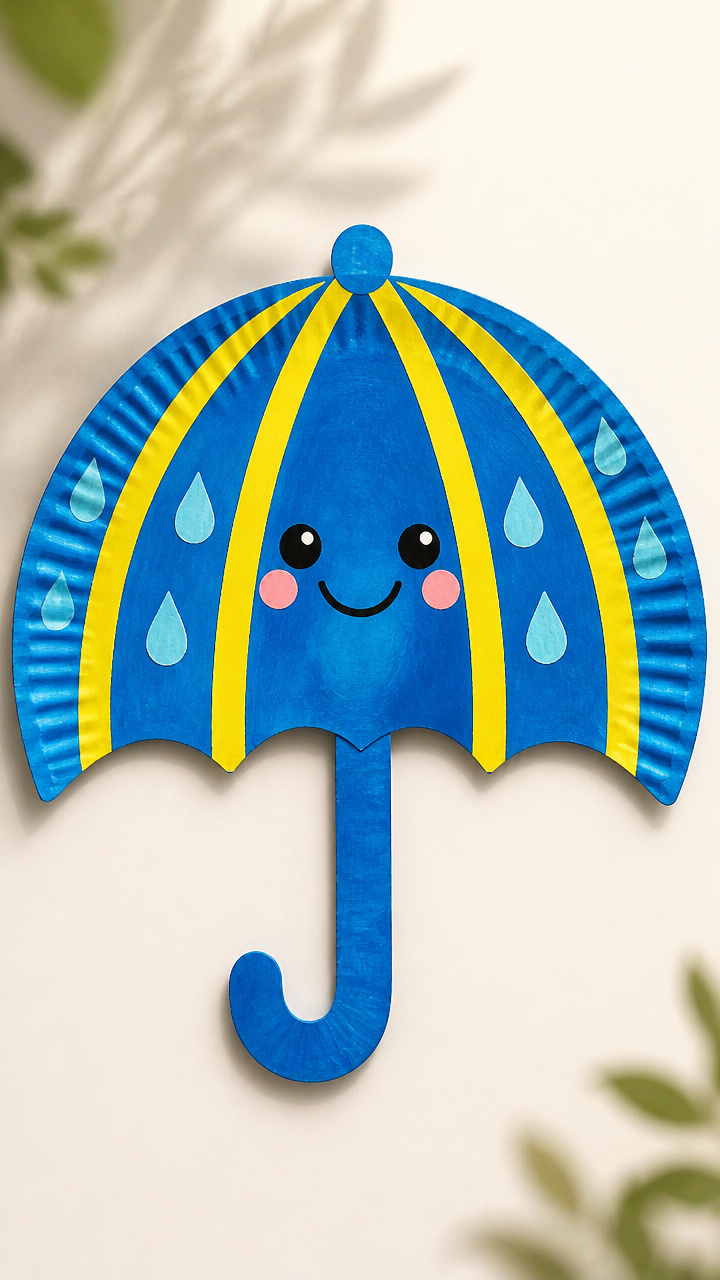
A cheerful umbrella made from a paper plate shows how paint and pattern come together around the letter shape. Kids love adding raindrops with flicking brushes.
Materials Needed
- 1 white paper plate per child
- Blue acrylic paint
- Yellow acrylic paint
- Paintbrushes (one small, one medium)
- Black marker
- Scissors
- Glue stick
- Ruler
- Popsicle stick
How to Make It
- Cut the edge off the paper plate to form a half-circle umbrella canopy.
- Use the medium brush to paint the outer half of the canopy blue and the inner part yellow, meeting in a curved line down the middle.
- Let the paint dry completely, about 20 minutes on a flat surface.
- Draw a thick black 'U' shape along the straight edge of the canopy using the marker.
- Glue the popsicle stick vertically to the back center as the umbrella handle.


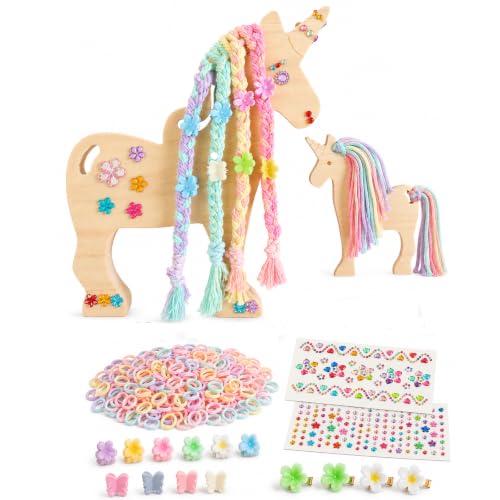
2. Unicorn Popsicle Stick Puppet
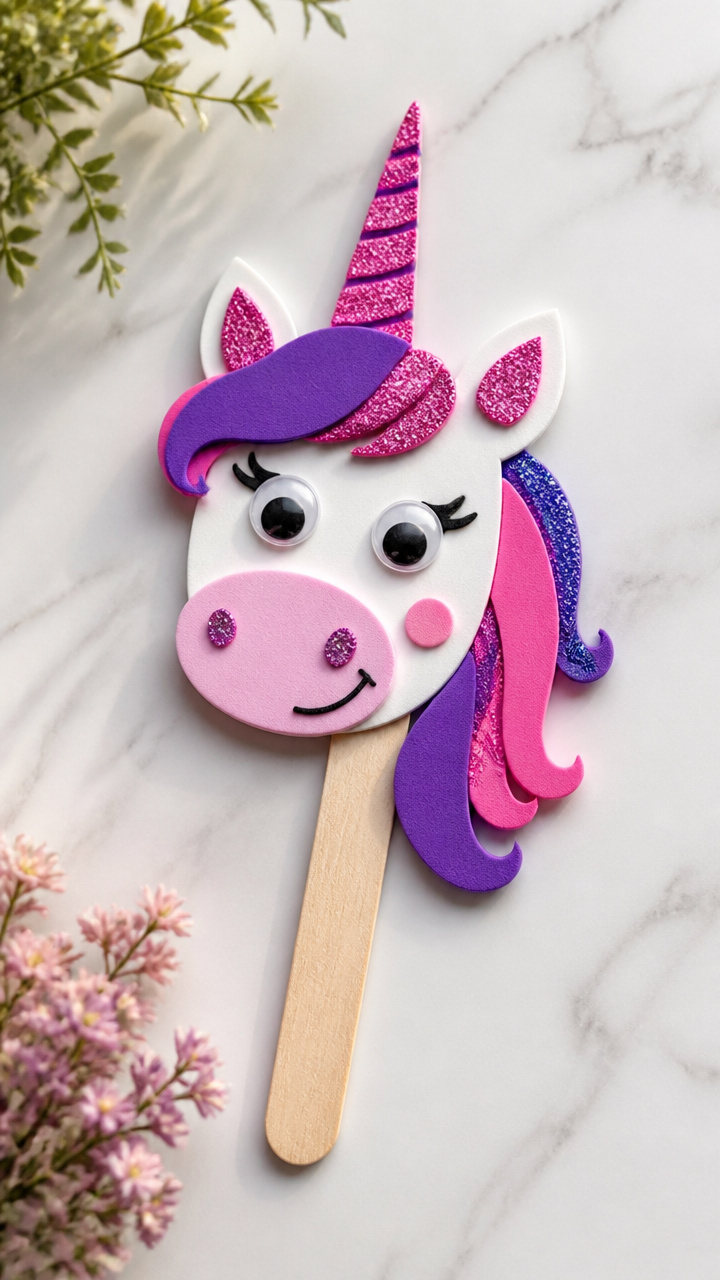
A sparkly unicorn face on a stick lets preschoolers bring the letter U to life through storytelling and pretend play. Glitter glue adds just enough magic.
Materials Needed
- 1 large popsicle stick per child
- Pink craft foam sheet
- White craft foam sheet
- Purple craft foam sheet
- Googly eyes (12mm, 1 pair)
- Glitter glue (pink)
- Scissors
- Tacky glue
- Pencil
How to Make It
- Trace and cut a unicorn horn from the pink foam: a long triangle 3 inches tall.
- Cut two ear shapes from the purple foam and a muzzle oval from the white foam.
- Glue the horn to the top of the popsicle stick, then add ears on each side near the top.
- Attach the muzzle below the horn and press googly eyes onto it.
- Squeeze pink glitter glue along the horn and let dry for 30 minutes.

![Popsicle Stick Cottage Model Kit – 350+ Pre-Cut Wooden Pieces – Rustic DIY House Craft for Kids and Adults – Complete Kit [Everything Included] by POPSI KITS](https://m.media-amazon.com/images/I/41ipWx9Y9CL._SL500_.jpg)

3. Underwater Cotton Ball Scene
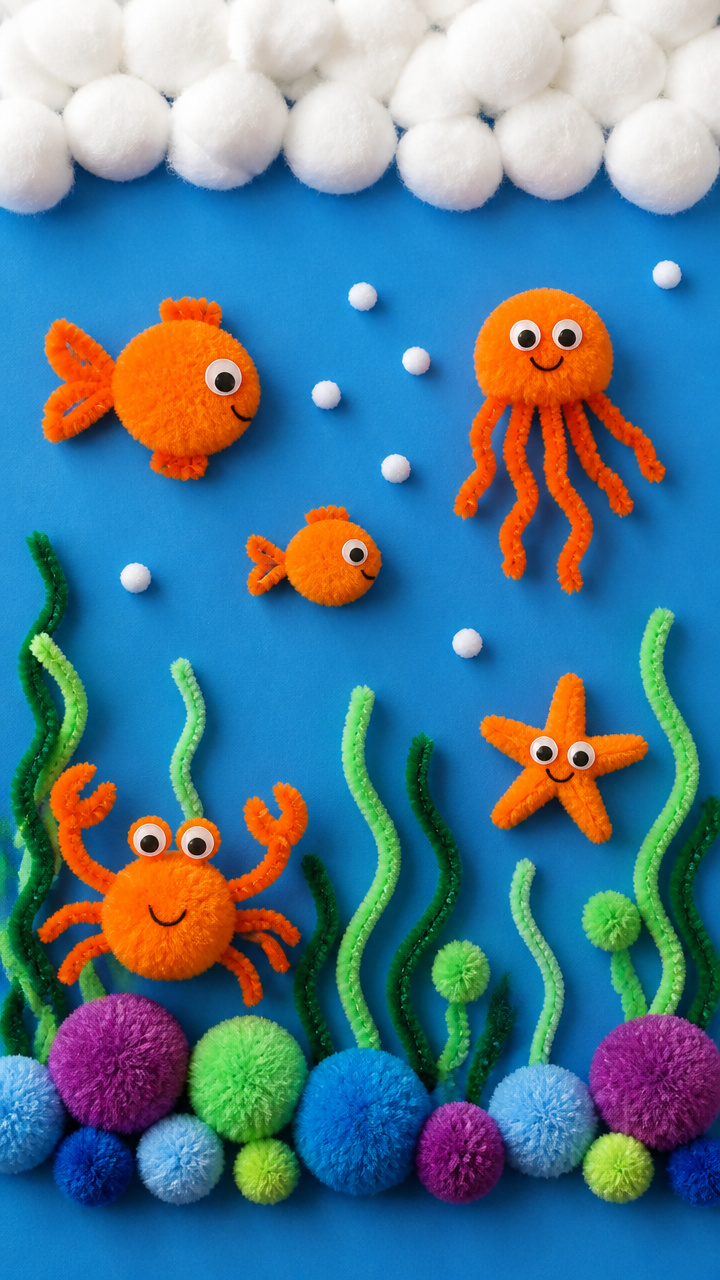
Cotton balls become fluffy clouds under a sea of blue paper, forming a soft U-shaped coral reef. This tactile scene builds vocabulary and finger strength.
Materials Needed
- 9×12 inch blue construction paper
- White cotton balls (about 20 per child)
- Green pipe cleaners (2 per child)
- Orange pom-poms (6mm, 5 per child)
- Glue stick
- Scissors
- Gold glitter (fine)
How to Make It
- Draw a large backward-facing U shape on the blue paper using pencil, filling the lower third.
- Cover the outline with glue from the glue stick, staying within the line.
- Press cotton balls densely along the glued curve to form textured coral.
- Cut one pipe cleaner in half and twist the ends to look like seaweed, then glue beside the coral.
- Dot tacky glue on five spots and press on orange pom-poms as fish eggs, sprinkle with gold glitter.


4. Unicorn Horn Headband
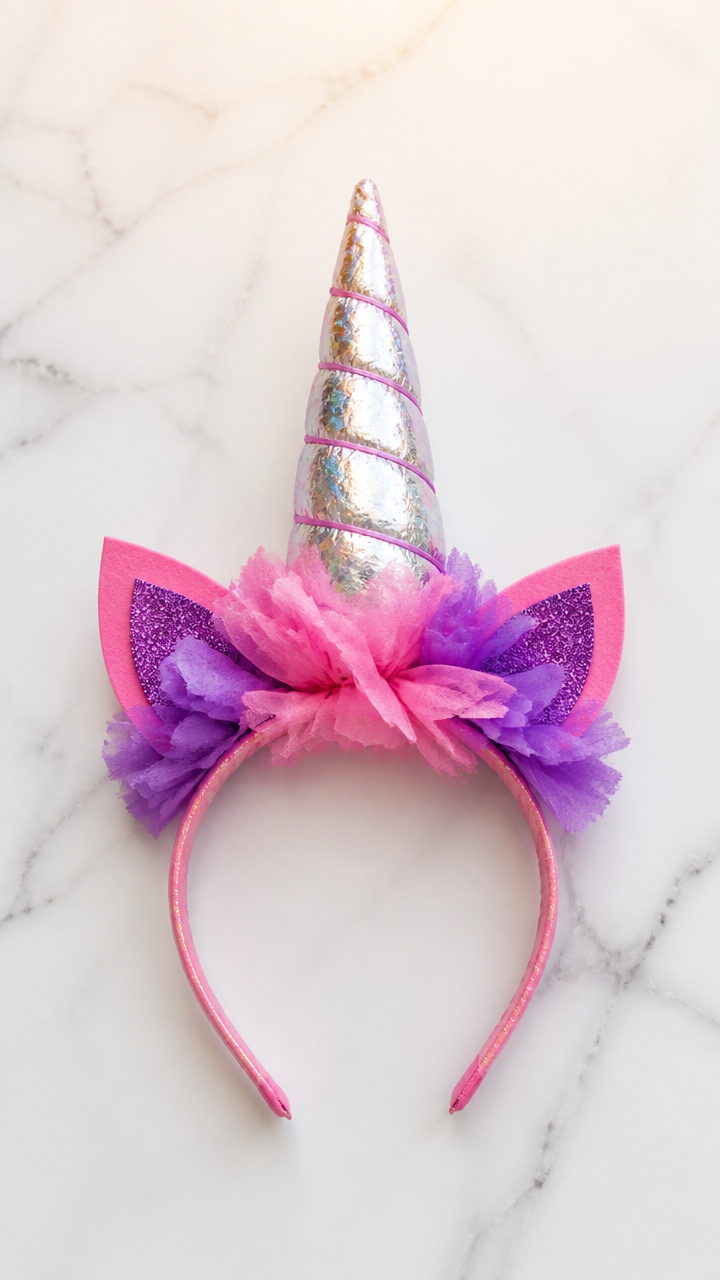
A wearable headband with a spiral horn helps children embody the magic of U words. Rolling foil into a cone makes it sturdy and light.
Materials Needed
- Cardboard headband base (pre-cut, 1 per child)
- Aluminum foil
- Pink and purple tissue paper (6×6 inch squares)
- Glue stick
- Scissors
- Hot glue gun (adult use only)
- Elastic string (12 inches, 1 per child)
How to Make It
- Roll aluminum foil into a tight cone 5 inches long, taping the end to secure.
- Cut tissue paper into 1 inch strips, about 20 per color.
- Apply glue in bands down the foil cone and wrap strips around to cover completely.
- Let dry 10 minutes, then hot glue the cone tip to the center front of the headband.
- Tie elastic string to both ends of the headband to fit around the child’s head.


5. U-Shaped Pipe Cleaner Frame
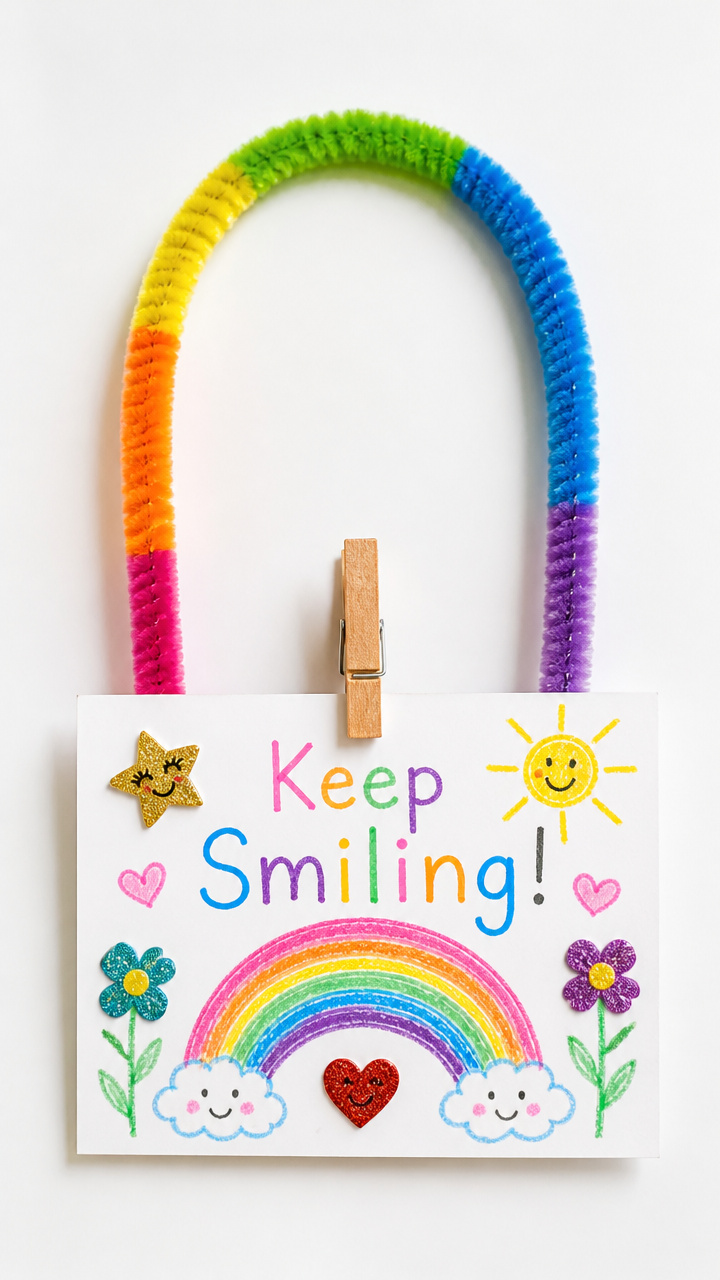
A bendable wire frame shaped like a U holds a child's drawing inside. Shaping the wire builds hand control and pride in display.
Materials Needed
- Large U-shaped pipe cleaner (jumbo size, 1 per child)
- Small clothespin (1 per child)
- Crayons
- White printer paper (cut to 4×6 inch rectangle)
- Markers
- Glitter stickers (assorted)
How to Make It
- Bend the ends of the pipe cleaner outward slightly so it stands on a flat surface.
- Draw a simple picture on the 4×6 inch paper using crayons or markers.
- Clip the clothespin over the top edge of the drawing and attach it to the curved center of the U.
- Decorate the pipe cleaner arms with glitter stickers spaced evenly.

6. Upcycle Bottle Cap Letters
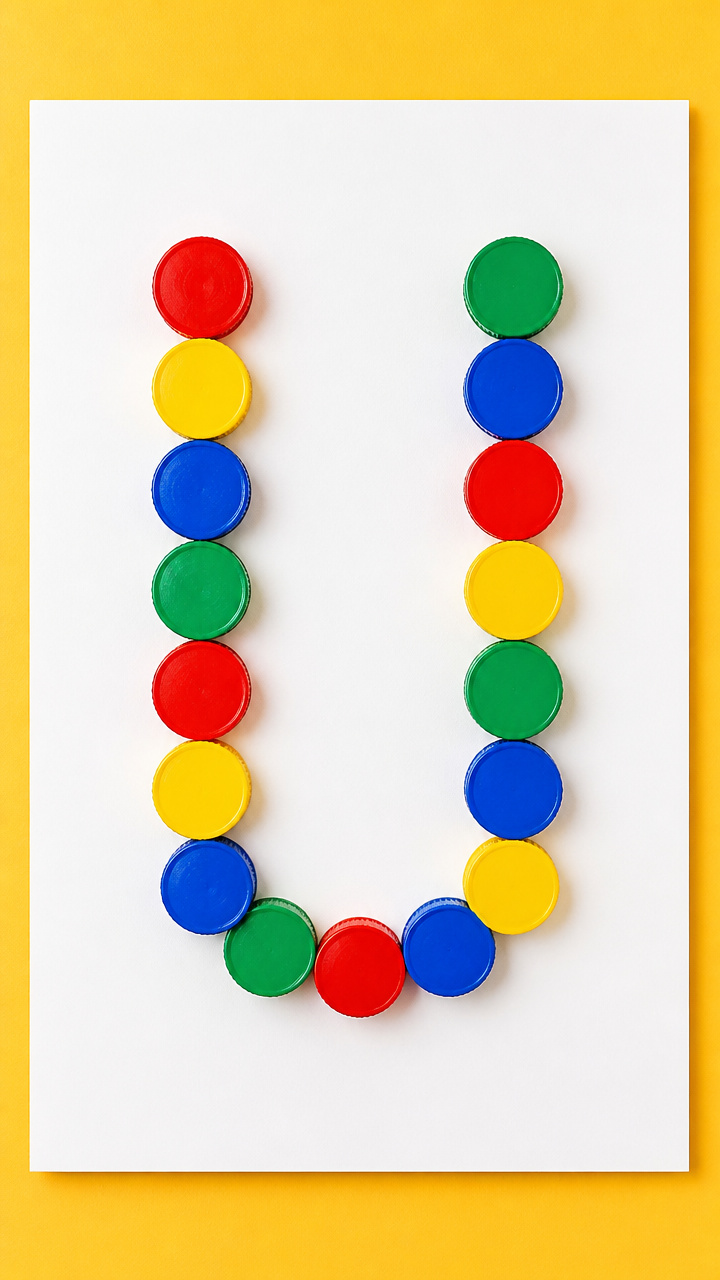
Repurposed bottle caps painted and glued into a giant U give texture and eco-friendly fun. Sorting caps by color adds an extra learning layer.
Materials Needed
- Clean plastic bottle caps (15 per child)
- White poster board
- Pencil
- Acrylic paint (red, yellow, blue, green)
- Paintbrushes (small)
- Tacky glue
- Ruler
How to Make It
- Draw a large U shape on the poster board using pencil, 8 inches tall.
- Sort caps into colors and paint each group a solid color, letting them dry 20 minutes flat.
- Apply a dot of tacky glue to the underside of each cap.
- Glue caps edge to edge along the pencil line to fill the U shape completely.
- Set aside to dry for 30 minutes before displaying.


7. Unicorn Tail Braid Craft
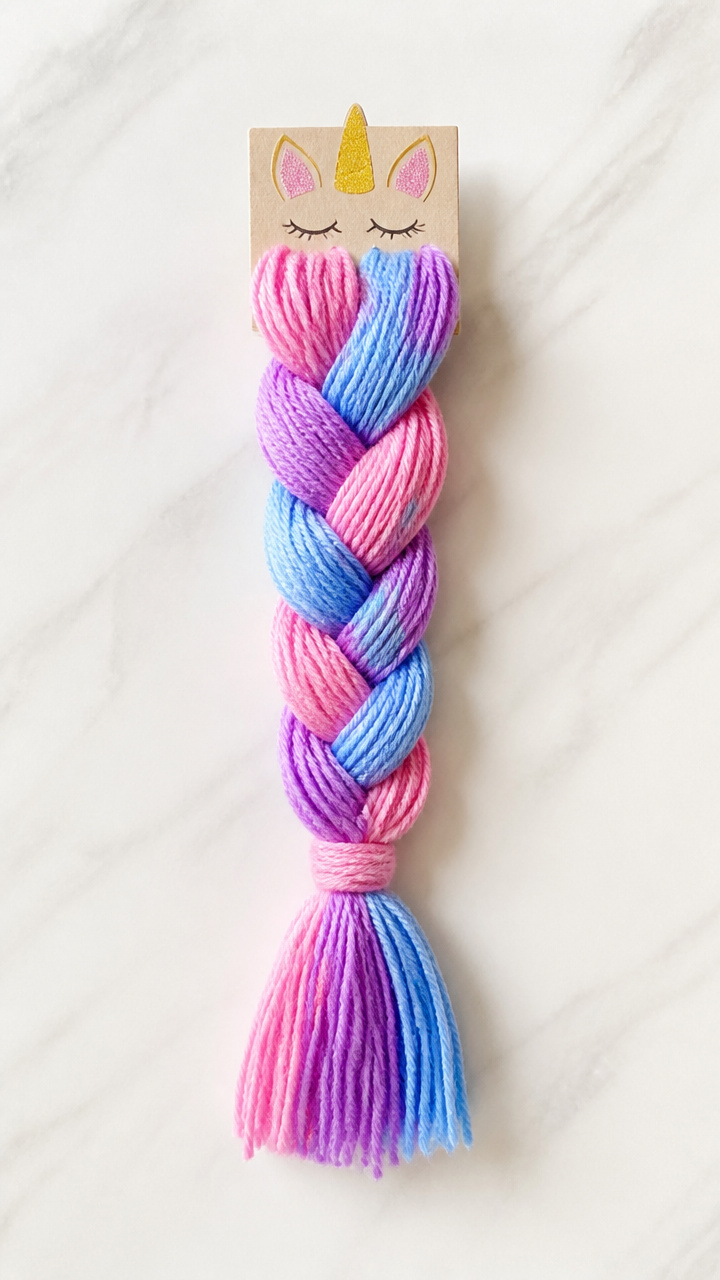
Three yarn strands braided into a silky tail teach fine motor rhythm and end with a U-letter tag. The braid stays soft and playable.
Materials Needed
- Yarn in pink, purple, and blue (each 18 inches long, 1 strand per color)
- Cardboard strip (2×6 inches)
- Scissors
- Glue stick
- White sticker label (1.5 inch circle)
- Marker
How to Make It
- Line up the three yarn strands and tape the ends to the cardboard strip.
- Begin braiding from the taped end, crossing right over center, then left over center.
- Continue braiding until 3 inches remain, then knot the end tightly.
- Trim fringe evenly, remove tape, and fold the cardboard around the knot to hide it.
- Write a bold U on the sticker and glue it to the cardboard base.

8. Umbrella Dot Art Design
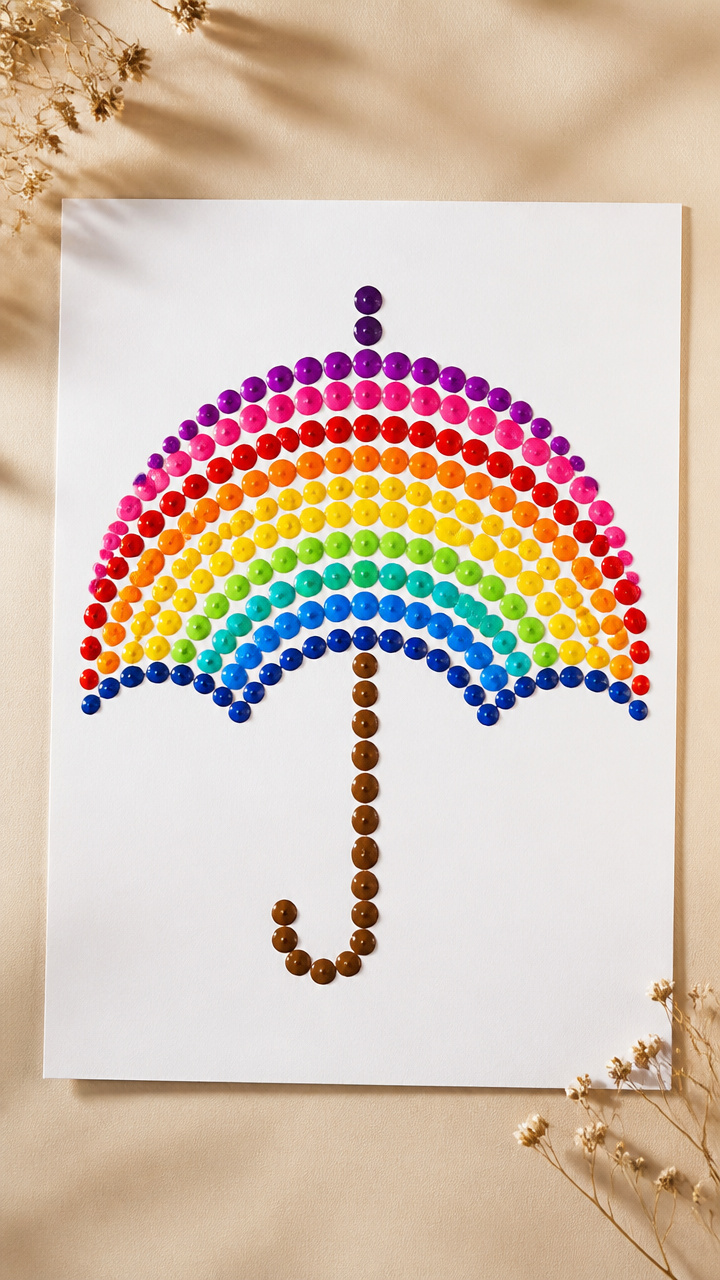
Cotton swabs and colorful dots create a rainbow umbrella canopy in a satisfying repetitive motion. Children discover patterns while reinforcing the U outline.
Materials Needed
- Cotton swabs (10 per child)
- White drawing paper (8.5×11 inch)
- Red, yellow, blue, green washable paint
- Pencil
- Ruler
- Tray or plate for paint
How to Make It
- Draw a large U shape with a flat top to resemble an umbrella canopy using pencil.
- Pour small dabs of each paint color onto the tray.
- Dip one end of a swab into a paint color and dot it along the inside of the U line.
- Repeat with different colors, alternating to make a rainbow effect.
- Let dry completely before displaying, about 25 minutes.


9. Unicorn Face Mask
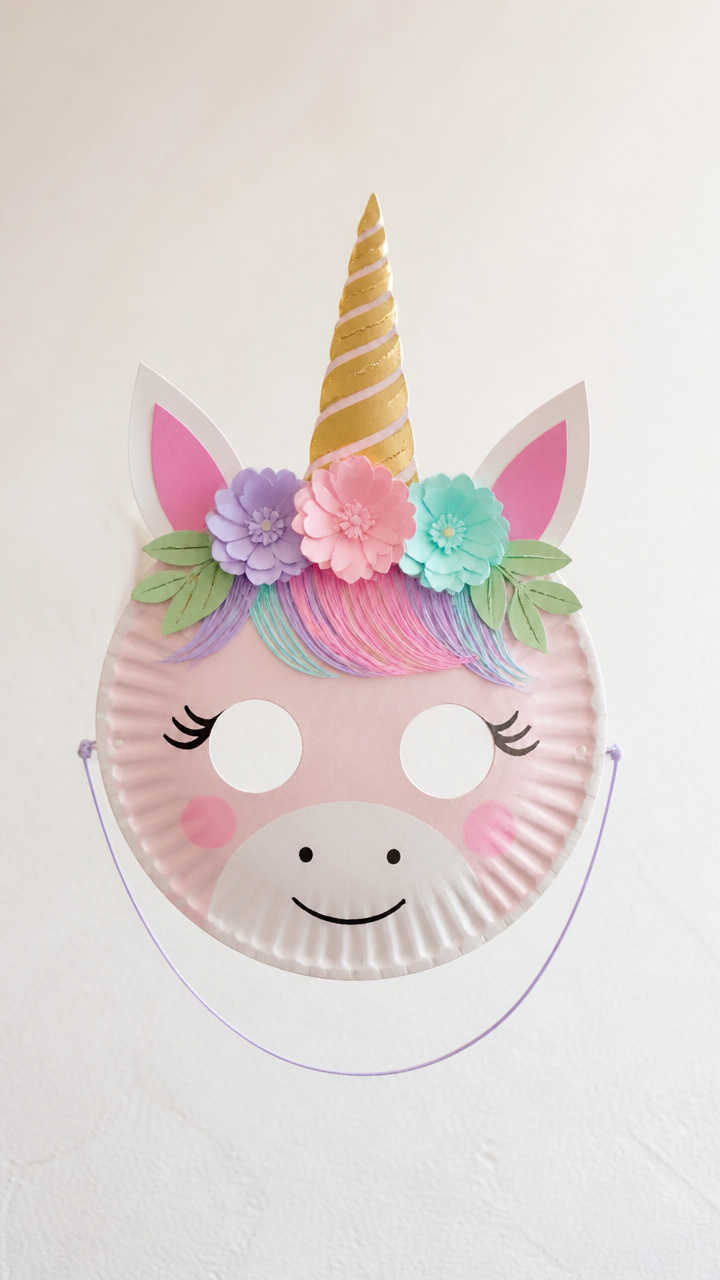
A paper plate mask with floppy ears and a glittery horn turns kids into joyful unicorns. Cutting slits for eyes makes it fit perfectly.
Materials Needed
- White paper plate (1 per child)
- Hole punch
- Scissors
- Pencil
- Pink acrylic paint
- Paintbrush
- Glitter glue (gold)
- Elastic string (14 inches)
- Craft glue
- Purple felt scraps
How to Make It
- Draw two eye circles on the plate with pencil, about 2 inches apart near the rim.
- Cut out the eye holes carefully with scissors.
- Paint the entire plate pink and let dry for 20 minutes.
- Cut two ear shapes from purple felt and glue them to the top edge of the plate.
- Squeeze gold glitter glue along the center top edge for the horn base and attach a foil cone, then thread elastic through both sides and tie knots.


10. U is for Ukulele Craft
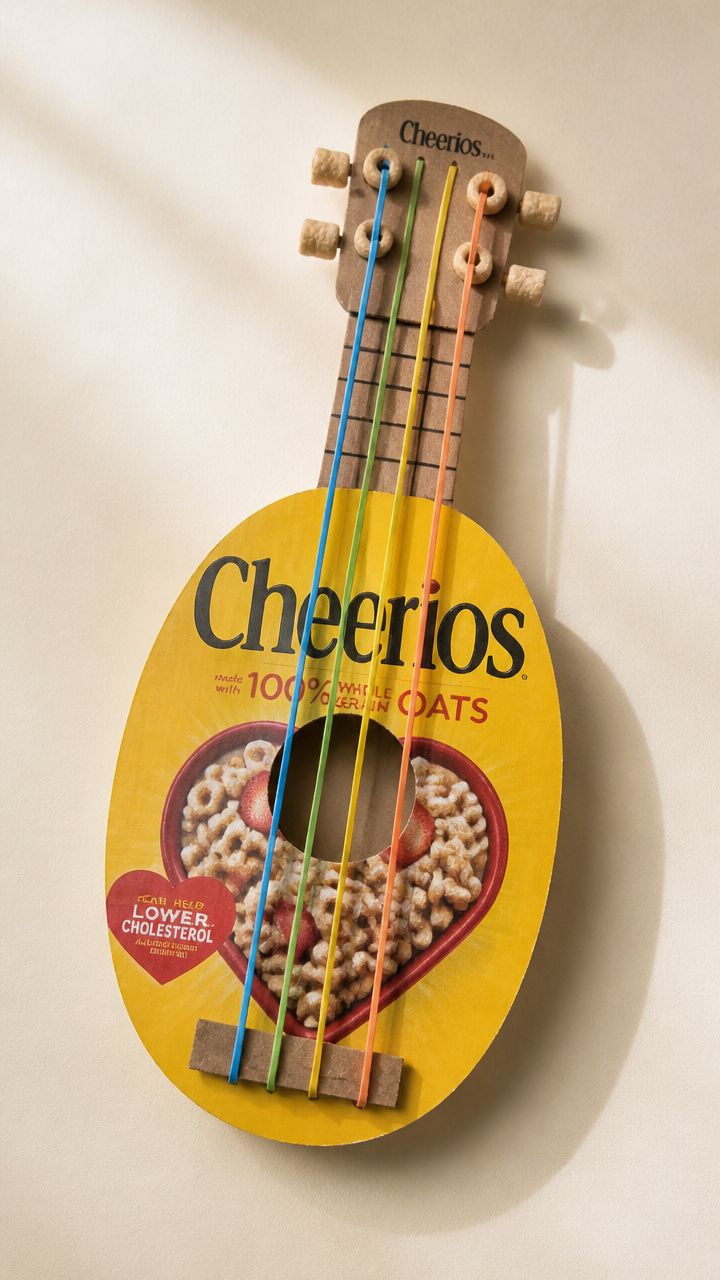
A cardboard ukulele with rubber band strings introduces sound and shape. Plucking the bands gives instant musical feedback that delights little fingers.
Materials Needed
- Oval cereal box front (cut to 6×8 inch oval)
- 4 rubber bands (different thicknesses)
- Pencil
- Ruler
- Craft knife (adult use only)
- Glue stick
- Construction paper (green, 6×6 inch square)
How to Make It
- Mark four evenly spaced dots along the top short edge of the oval.
- An adult uses the craft knife to make a small slit at each dot.
- Slide one end of each rubber band into a slit and stretch it across to the bottom edge.
- Tuck the other end into a corresponding slit at the bottom to keep it taut.
- Cut a neck shape from green paper and glue it behind the top to complete the instrument.


11. Under the Sea Letter Dive
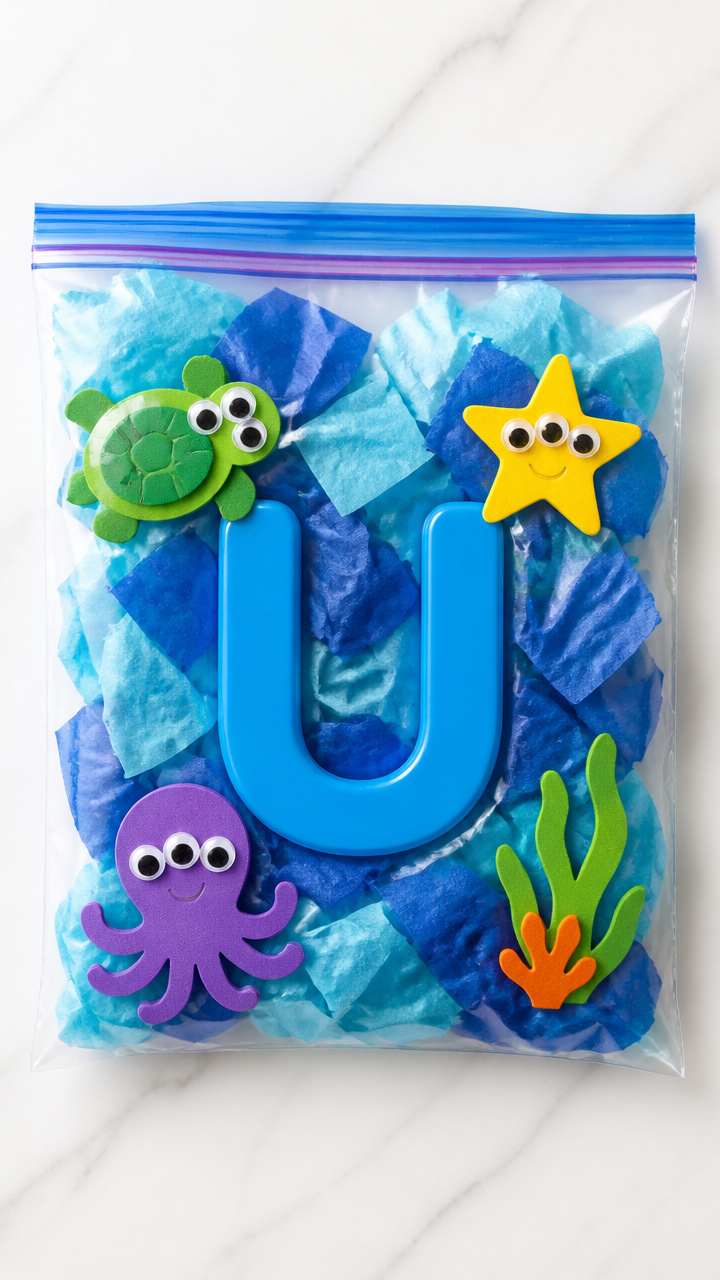
A clear plastic bag filled with floating sea creatures and a submerged U teaches transparency and layering. It becomes a wiggly window decoration.
Materials Needed
- Zip-top sandwich bag (quart size, 1 per child)
- Blue tissue paper (4 sheets)
- Googly eyes (6mm, 3 pairs)
- White school glue
- Scissors
- Plastic letter U (foam, 1 inch)
- Permanent marker
How to Make It
- Crumple blue tissue paper and place it inside the bag to fill the bottom half.
- Add three small sea creatures: draw fish, jellyfish, and octopus shapes on scrap paper, cut out, and glue googly eyes on.
- Place the foam U on top of the tissue layer.
- Drizzle 2 teaspoons of glue over everything inside, then slowly fill the bag halfway with water.
- Seal the bag tightly and wipe the outside, then tape it to a sunny window.

12. U-Turn Road Track
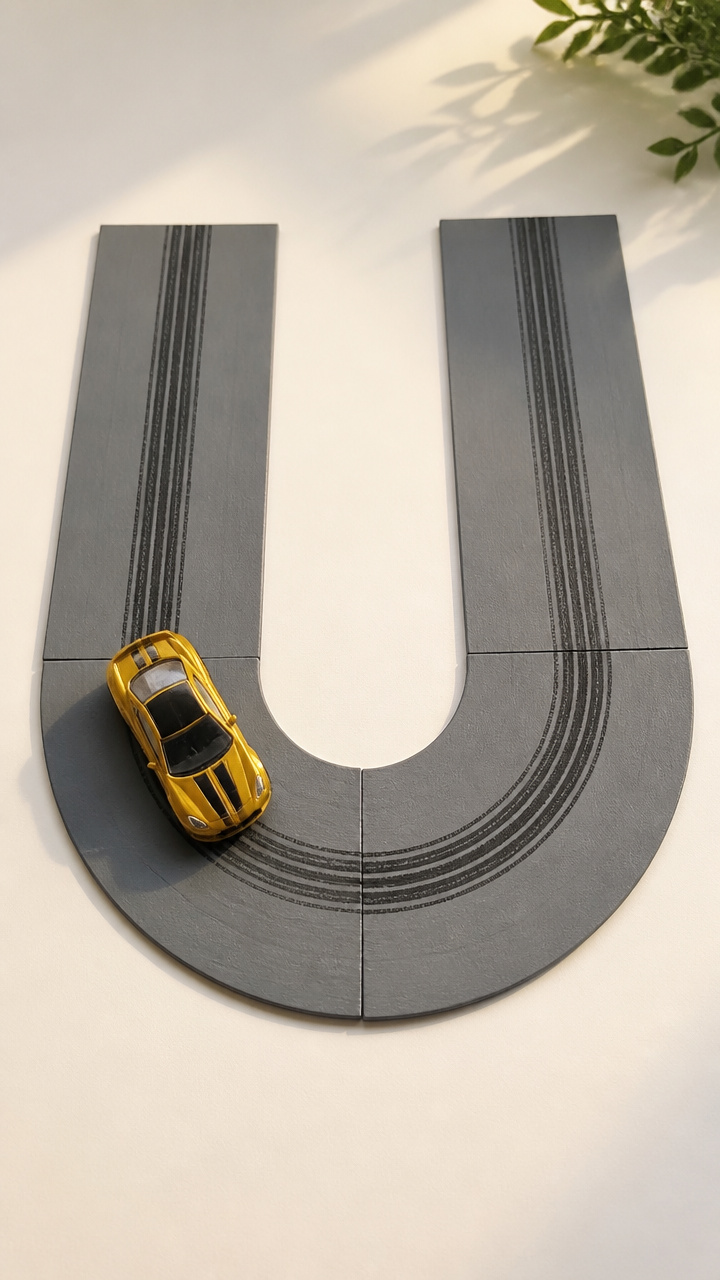
A U-shaped race track made from cardboard strips invites toy cars to zoom around corners. Drawing lane lines adds detail and focus.
Materials Needed
- Cardboard strips (1 inch wide, 12 inches long, 3 per child)
- Tape
- Gray acrylic paint
- Paintbrush
- Toy car (1 per child)
- Black marker
- Shoebox lid
How to Make It
- Arrange two cardboard strips vertically on the shoebox lid and one horizontally to connect their bottoms, forming a U.
- Tape all joints securely to the lid.
- Paint the entire track gray and let dry for 25 minutes.
- Draw two black lane lines down each straight section with the marker.
- Test the track by rolling the toy car around the turn.


13. Unicorn Horn Sensory Bottle
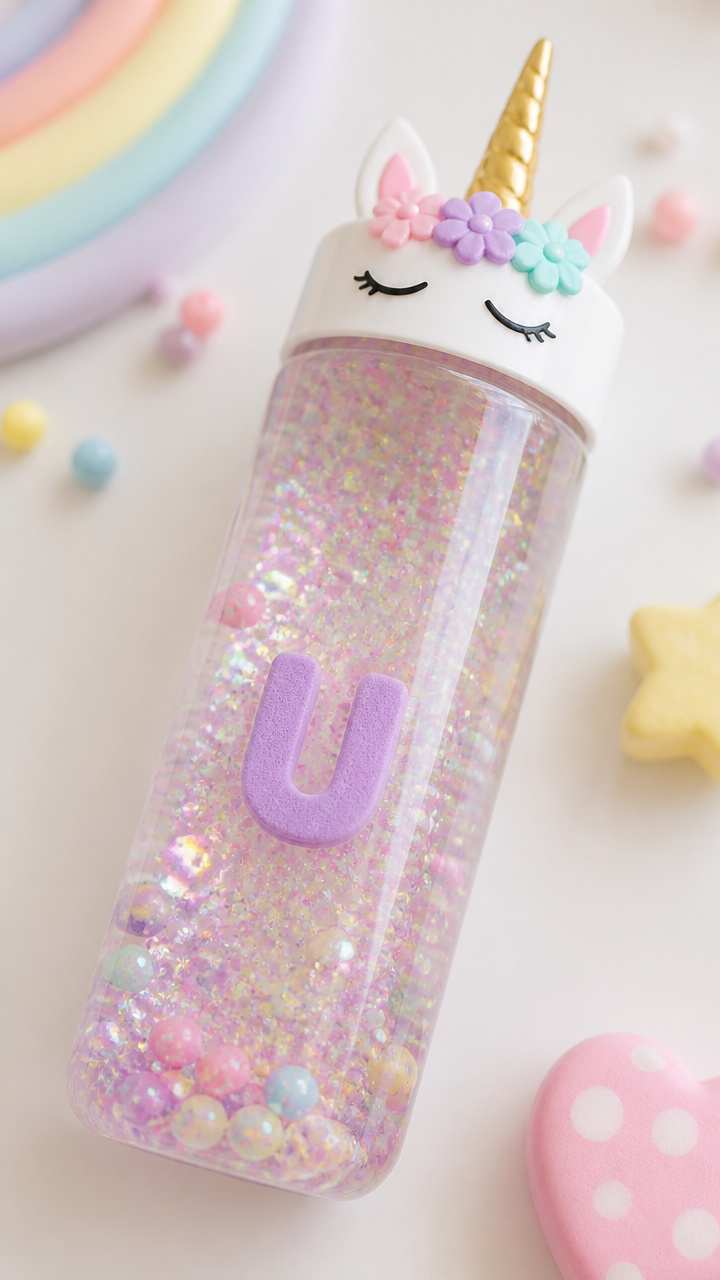
A swirling sensory bottle with glitter, beads, and a hidden U calms and captivates. Swirling motion helps regulate little emotions.
Materials Needed
- Clear plastic bottle with lid (8 oz, 1 per child)
- Warm water
- Clear glue (4 ounces)
- Fine rainbow glitter
- Plastic beads (assorted colors, 1 tablespoon)
- Foam letter U (1 inch)
- Funnel
- Super glue
How to Make It
- Use the funnel to pour 4 ounces of clear glue into the bottle.
- Add warm water to fill the bottle within half an inch of the top.
- Sprinkle in glitter generously and add the beads and foam U.
- Screw the lid on tightly, then seal the edge with super glue to prevent opening.
- Turn the bottle upside down and watch the swirls move slowly like magic snow.


14. Umbrella Stained Glass Window Art
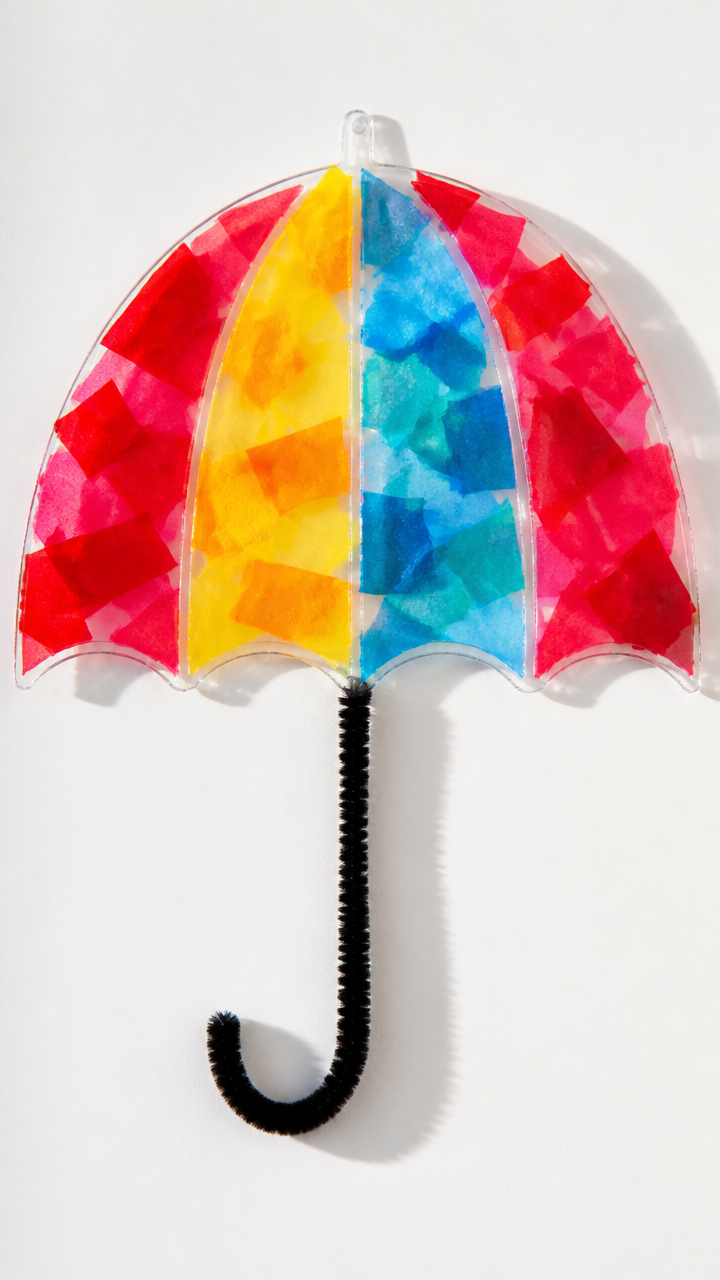
Tissue paper layered on contact paper forms a bright umbrella that sticks right to the window. Sunlight turns it into glowing classroom art.
Materials Needed
- Clear contact paper (8×10 inch sheet)
- Rolling pin
- Tissue paper (red, yellow, blue, 2 sheets each)
- Scissors
- Black chenille stem (pipe cleaner)
- Circle stencil (3 inch)
How to Make It
- Peel the backing off the contact paper and lay it sticky side up on a flat table.
- Use the stencil to trace a large U shape, then cut it out with scissors.
- Cut tissue paper into 1 inch squares and fill the U opening with colorful pieces, pressing gently to stick.
- Cover with a second 8×10 inch contact paper sheet, sandwiching the tissue, and roll with the pin to seal.
- Trim excess and attach a black pipe cleaner across the top back as a hanger.


15. Ugly Bug Garden Critter
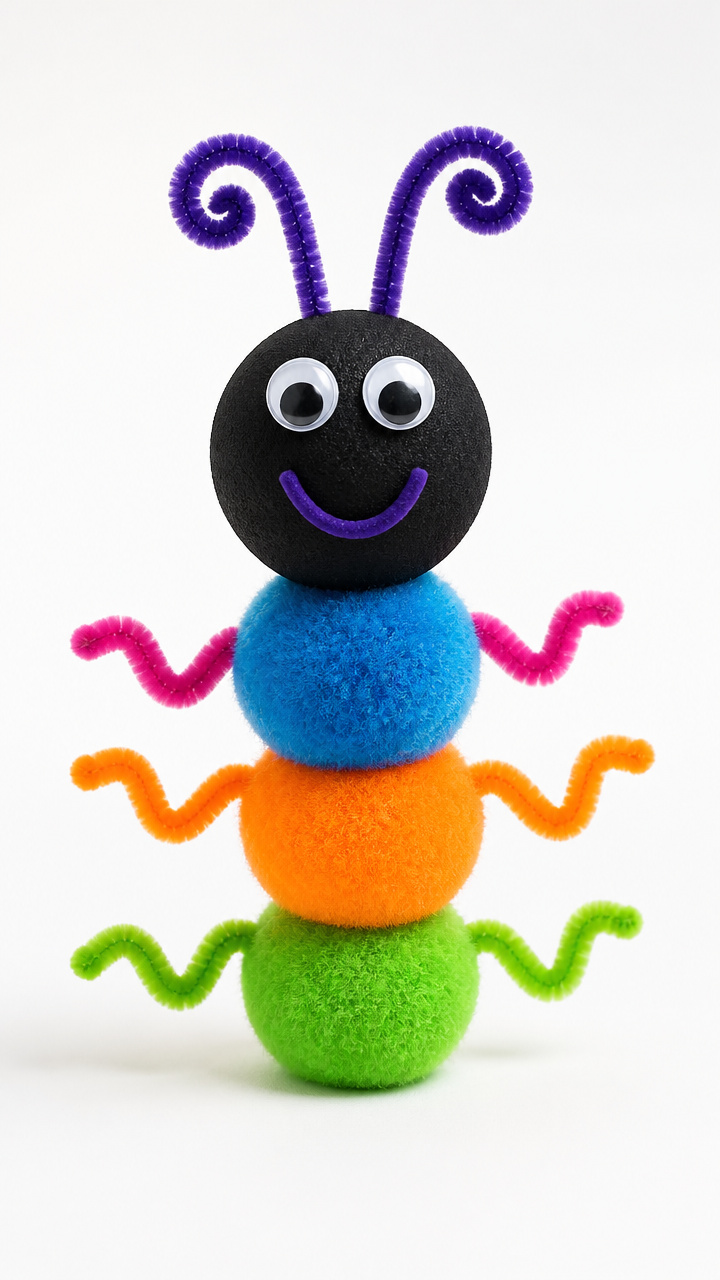
A silly bug with mismatched legs and a U-body celebrates imagination over perfection. Mixing textures keeps little hands busy and smiling.
Materials Needed
- Black foam sheet
- Wiggly eyes (10mm, 2 per child)
- Pipe cleaners (4 colors, 2 each)
- Glue stick
- Scissors
- Pom-poms (assorted sizes, 3)
- Crayon
How to Make It
- Cut a U shape from black foam, 4 inches tall, to form the bug’s body.
- Cut four pipe cleaners in half and push one end of each into the curved side of the U for legs.
- Glue two wiggly eyes to the top open end of the U.
- Stick a pom-pom to the center front as a nose and draw a mouth with a crayon.
- Let each child name their unique bug using a U word like 'Ulysses' or 'Uma'.


These letter U crafts blend learning with laughter and movement. Pick one that matches your child’s mood today and start creating.