15 Easy Letter A Crafts for Preschoolers
Introducing the letter A to little learners can be joyful and hands-on. These crafts blend fine motor practice, sensory play, and early literacy in ways that feel more like fun than learning.
Each project uses simple materials you likely have at home. They’re designed to build confidence, creativity, and alphabet recognition without overwhelming young hands.
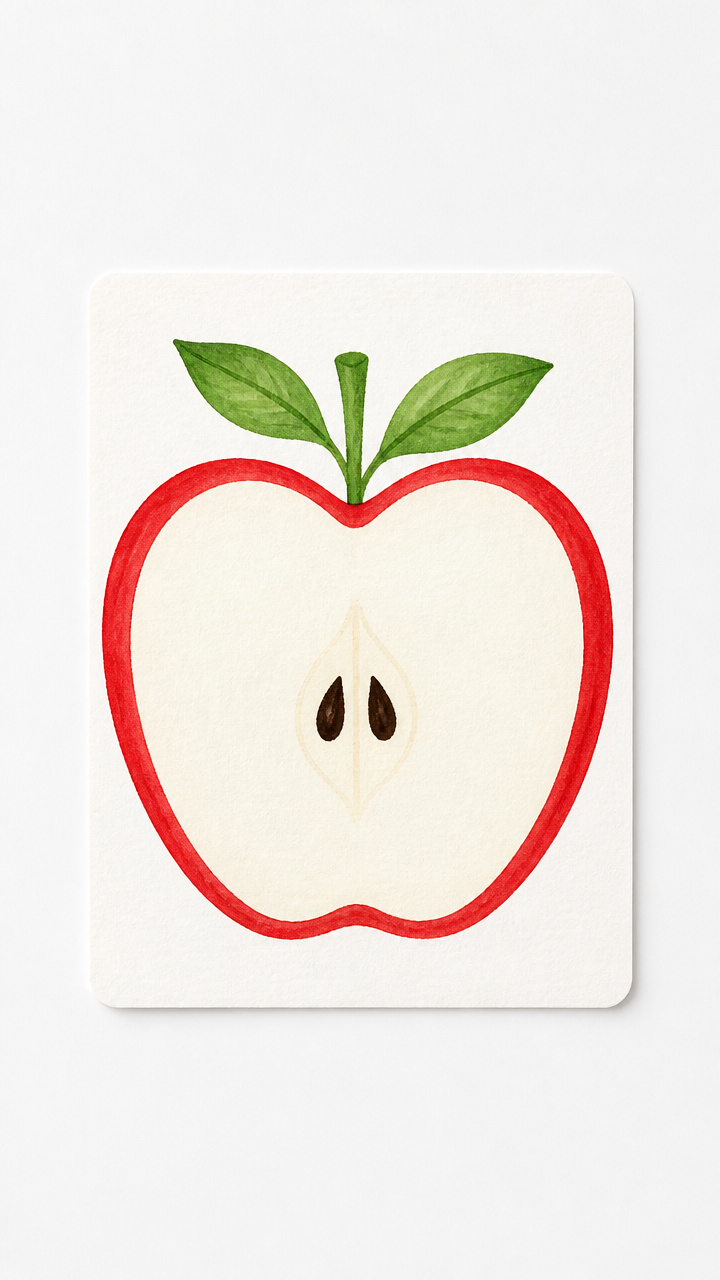
1. Alphabet Apple Painting
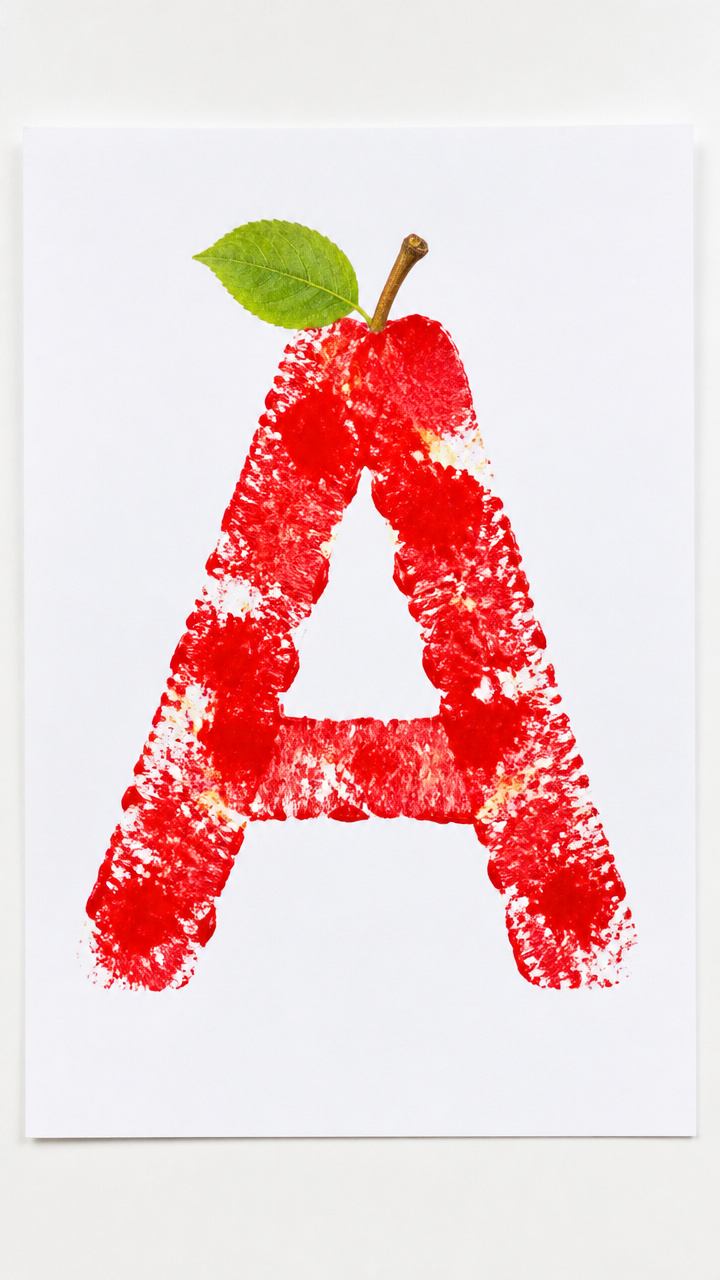
Crisp apple prints form the shape of the letter A while children explore texture and symmetry. This sensory-rich activity doubles as a fine motor workout.
Materials Needed
- 1 green apple, cut in half
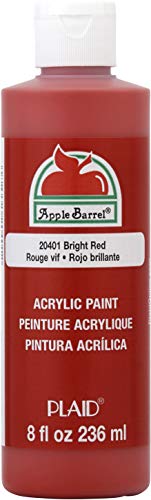
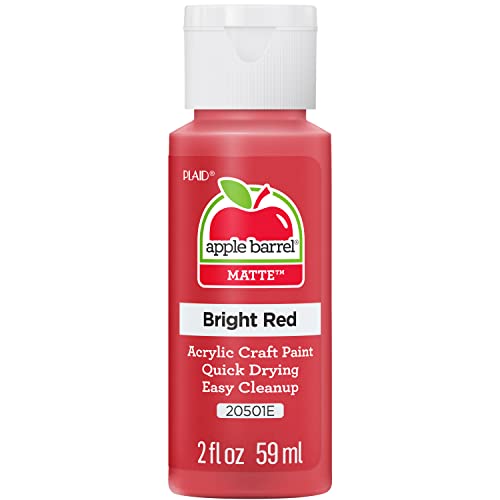
- Red acrylic paint
- White A4 cardstock
- Paintbrush
- Pencil
- Tray or plate
How to Make It
- Draw a large uppercase A in pencil on the cardstock, filling most of the page.
- Pour a small pool of red paint onto the tray and use the paintbrush to coat the flat side of the apple half evenly.
- Press the painted apple firmly along the pencil lines of the A, re-dipping and stamping until the letter is filled with prints.
- Set aside to dry for 10 minutes before displaying.

2. Ant Trail Collage

Tiny black sequins march across a leafy background to spell the letter A. This quiet, focused craft builds pincer grasp and pattern awareness.
Materials Needed
- Black sequins (50 pieces)
- Green construction paper (8.5 x 11 inches)
- Glue stick
- Scissors
- Pencil
- Ruler
How to Make It
- Fold the green paper in half lengthwise, then draw half of a large A along the fold using pencil and ruler.
- Cut along the line and unfold to reveal a symmetrical A shape.
- Apply glue inside the outline of the A using the glue stick, covering the entire area.
- Place black sequins one by one along the glued area, pressing gently to secure, forming an ant trail effect.


3. Alligator Clothespin Craft
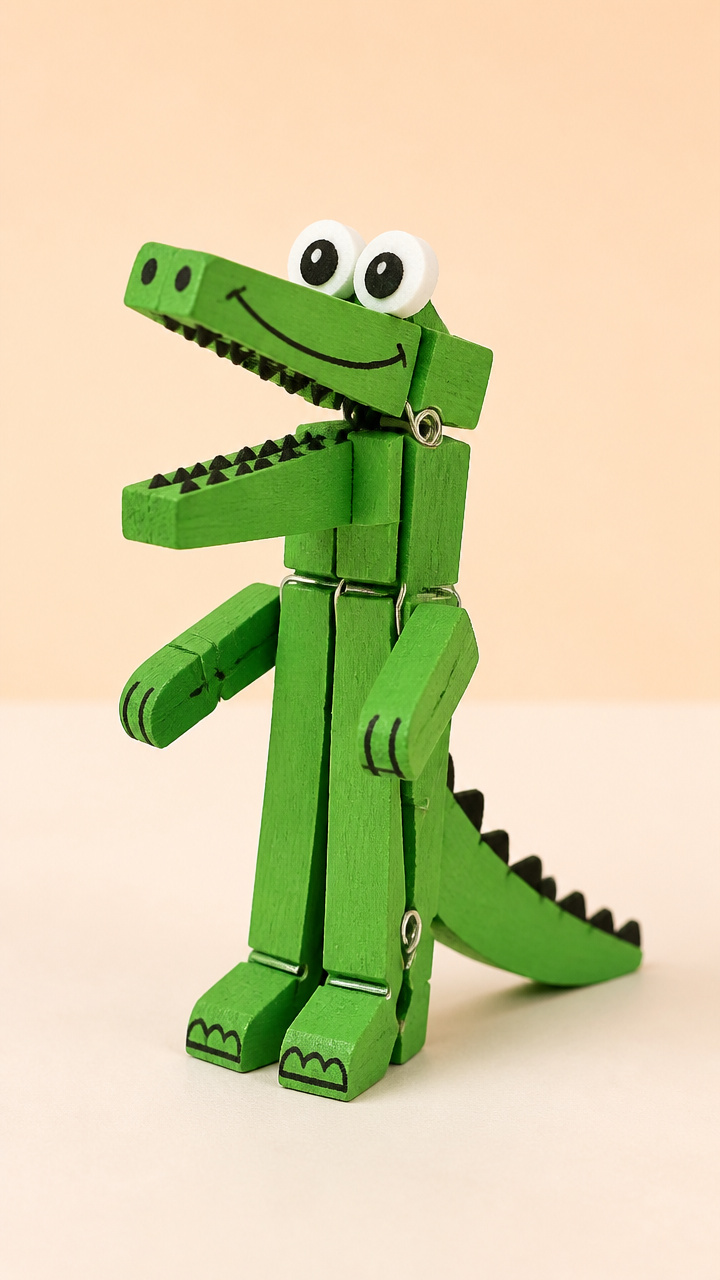
Mini wooden clothespins become toothy alligators with bold letter A signs. Perfect for storytelling or fine motor play.
Materials Needed
- 5 wooden clothespins
- Green acrylic paint
- Paintbrush
- White craft foam
- Black marker
- Glue
- Scissors
- Small googly eyes (10 total)
How to Make It
- Paint each clothespin green and let dry for 15 minutes on a flat surface.
- Cut 5 small triangles from white craft foam for teeth and 5 letter A shapes about 1 inch tall.
- Glue two googly eyes and three teeth onto the front of each clothespin tip.
- Write 'A' clearly on each foam letter with black marker and glue it to the flat end of each clothes在玩家中.


4. Alphabet Anchor Stamping
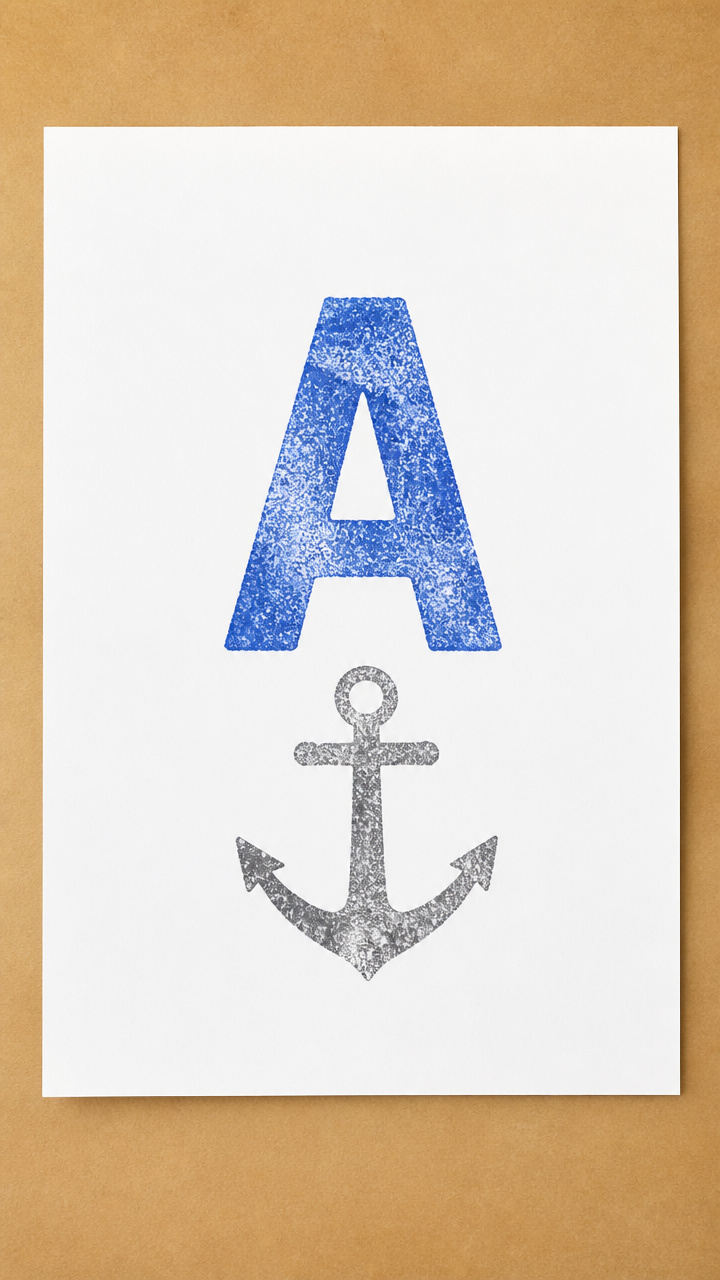
Foam block letters and toy anchors create ocean-themed prints that spell A. A tactile way to connect sound and symbol.
Materials Needed
- Foam uppercase letter A (1 inch tall)
- Toy plastic anchor (1)
- Blue and gray stamp pads
- White drawing paper (9 x 12 inches)
- Glue
- Scissors
- Brown craft stick
How to Make It
- Press the foam letter A into the gray stamp pad and stamp it twice near the top corners of the paper.
- Press the plastic anchor into the blue stamp pad and stamp it between the two A’s to form a central design.
- Glue the brown craft stick diagonally across the center to resemble a mast, connecting the A’s.
- Let dry for 10 minutes before handling.


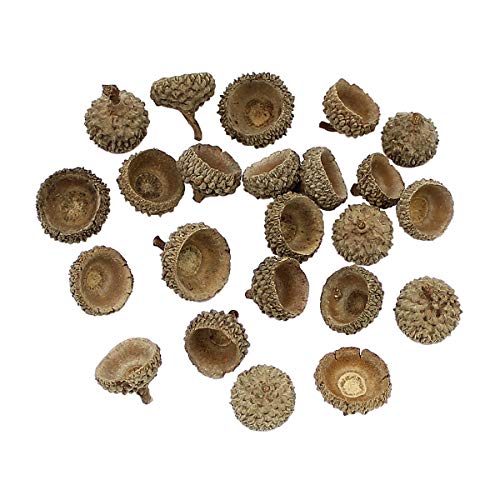
5. Acorn Cap Matching Game
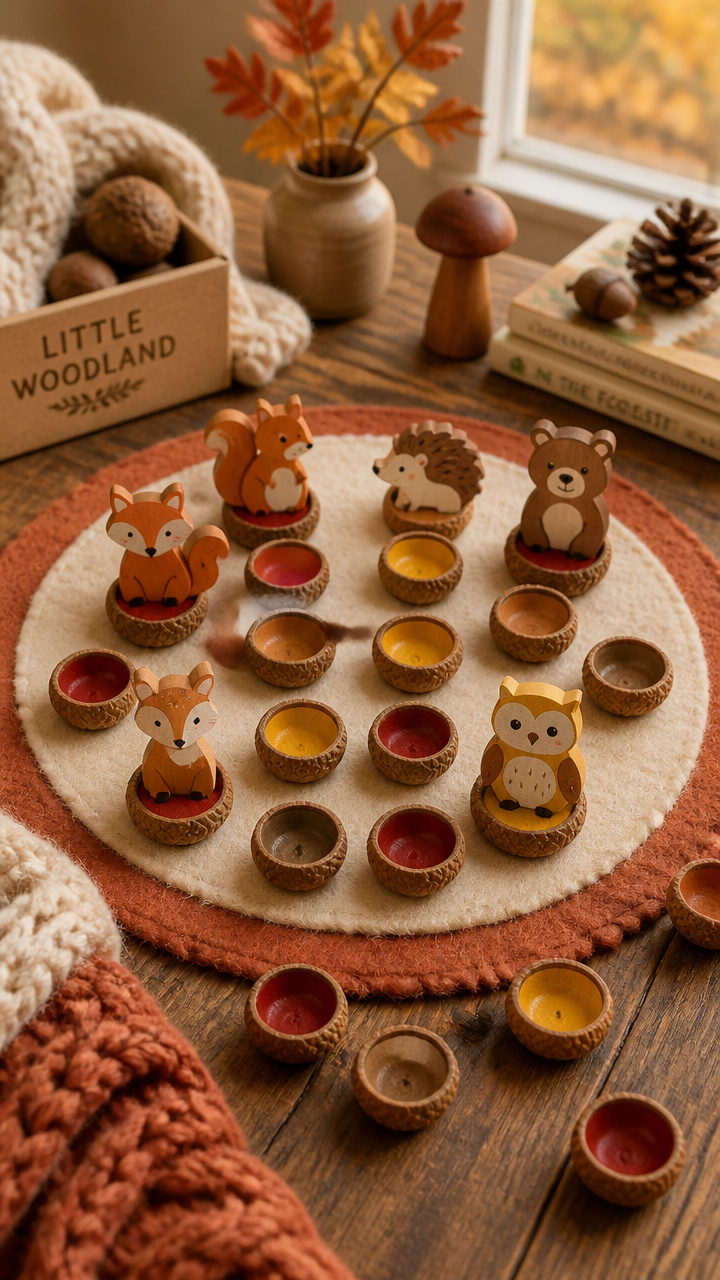
Real acorn caps pair with felt letter A’s for a nature-based matching game. Ideal for outdoor learners and sorting skills.
Materials Needed
- 10 clean acorn caps
- Felt sheet (red and brown)
- Scissors
- Fabric glue
- Marker
- Cardboard base (6 x 8 inches)
How to Make It
- Cut 10 small uppercase A shapes from red felt, each about 1 inch tall.
- Write a matching number from 1 to 10 on the back of each acorn cap and its corresponding felt A.
- Glue the felt A shapes in a row along the top edge of the cardboard base.
- Place acorn caps nearby for children to match by number to the felt letters.

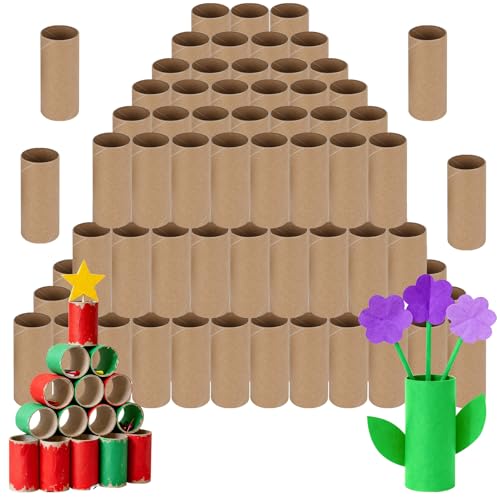
6. Arrow Cardboard Tube Art

Toilet paper tubes launch colorful arrows that form the letter A. A 3D craft that teaches direction and shape.
Materials Needed
- 1 toilet paper tube
- Red and yellow paint
- Paintbrush
- White poster board
- Glue
- Pencil
- Scissors
How to Make It
- Paint the tube red and let dry for 15 minutes on scrap paper.
- Cut two 4-inch arrow shapes from yellow paper and one large A from poster board.
- Glue the tube diagonally across the A so it starts at the bottom left and points upward.
- Attach the arrow tips to both ends of the tube with glue, showing forward motion.


7. Angel Food Cloud Craft

Fluffy cotton balls pile into soft clouds shaped like the letter A. A calming sensory project with a sweet twist.
Materials Needed
- White cotton balls (20 pieces)
- Blue construction paper (8.5 x 11 inches)
- Glue stick
- Silver glitter
- Pencil
- Ruler
How to Make It
- Draw a large hollow A on the blue paper using pencil and ruler, about 6 inches tall.
- Apply glue inside the outline with the glue stick, working in small sections.
- Press cotton balls into the glue, layering them to fill the shape completely.
- Sprinkle silver glitter lightly over the cotton for a shimmer and let dry 10 minutes.


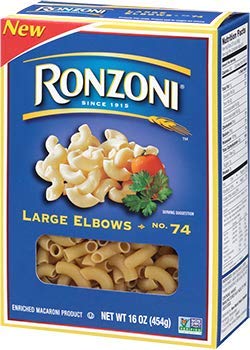
8. Airplane Pasta Mobile
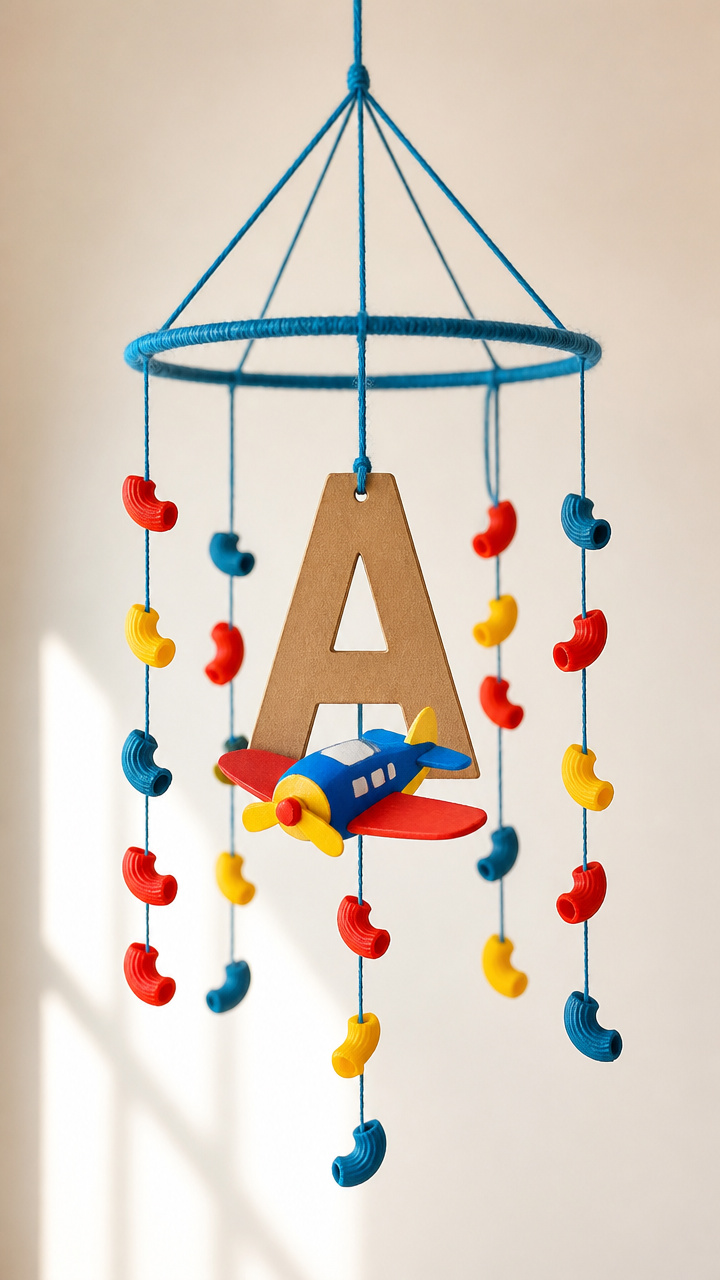
Colored pasta wheels spin beneath a flying letter A. A hanging craft that introduces motion and symmetry.
Materials Needed
- Elbow macaroni (15 pieces)
- White glue
- Blue yarn (3 pieces, 12 inches each)
- Cardboard letter A (3 inches tall)
- Paint (red, yellow, blue)
- Paintbrush
- Hole punch
How to Make It
- Paint each elbow macaroni a bright color and let dry for 20 minutes.
- Punch three holes in the cardboard A: one at the top center and one near each bottom tip.
- Thread one 12-inch yarn piece through the top hole and tie a knot to hang.
- String painted pasta onto the two bottom yarns, tie knots beneath to suspend them like wheels.


9. Apple Slice Name Tag
Sliced apples press their real shape onto personalized name tags starting with A. A meaningful keepsake with scent memory.
Materials Needed
- 1 red apple, sliced into ¼ inch rounds
- Green paint
- Name tag cardstock (2 x 3 inches)
- Pencil
- Paintbrush
- Laminating sheet
How to Make It
- Write a child's name starting with A in pencil on the name tag.
- Use the paintbrush to coat one side of an apple slice with green paint.
- Press the painted side firmly below the name to create a textured apple print.
- Let dry 15 minutes, then laminate for durability.


10. Alliteration Animal Masks
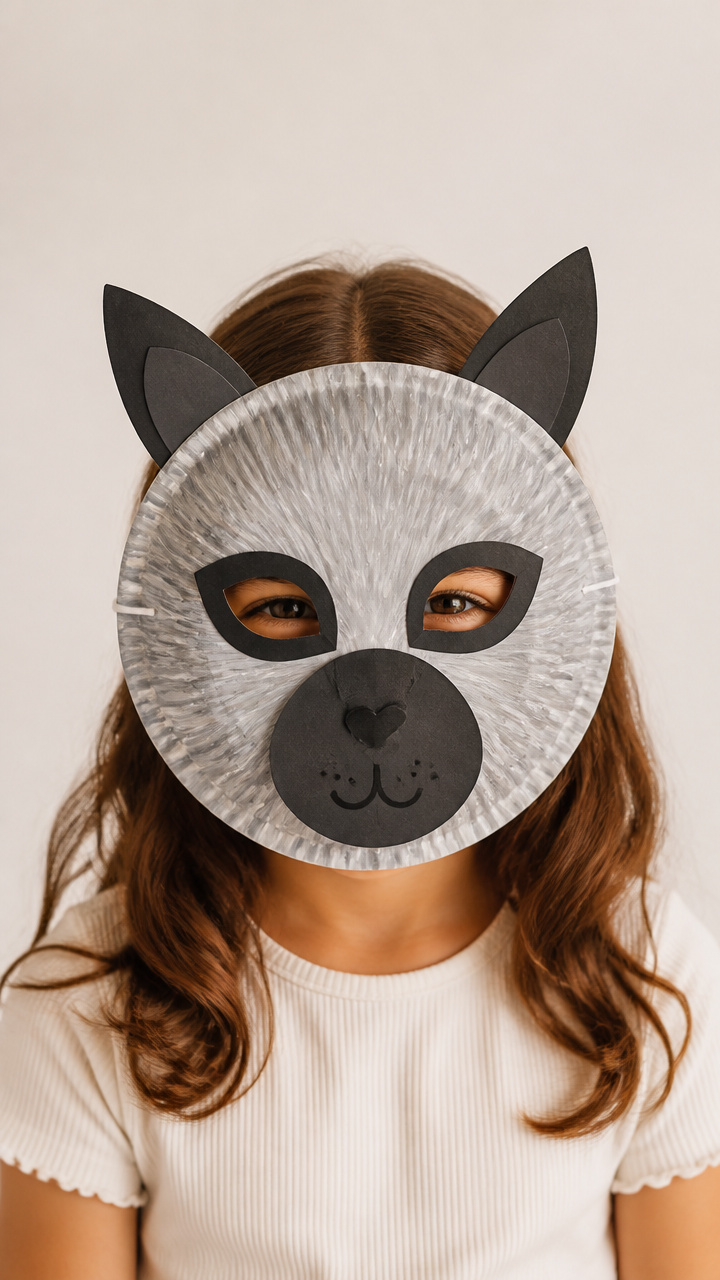
Paper plates become animal faces whose names start with A. Encourages sound recognition through imaginative play.
Materials Needed
- White paper plate
- Gray paint
- Paintbrush
- Black construction paper
- Elastic string (18 inches)
- Glue
- Scissors
How to Make It
- Paint the entire plate gray and let dry for 15 minutes.
- Cut two triangle ears and a small oval nose from black paper.
- Glue the ears at the top and the nose near the center of the plate.
- Punch holes on each side and thread elastic through, tying knots to fit around the head.


11. Anchor Rock Painting
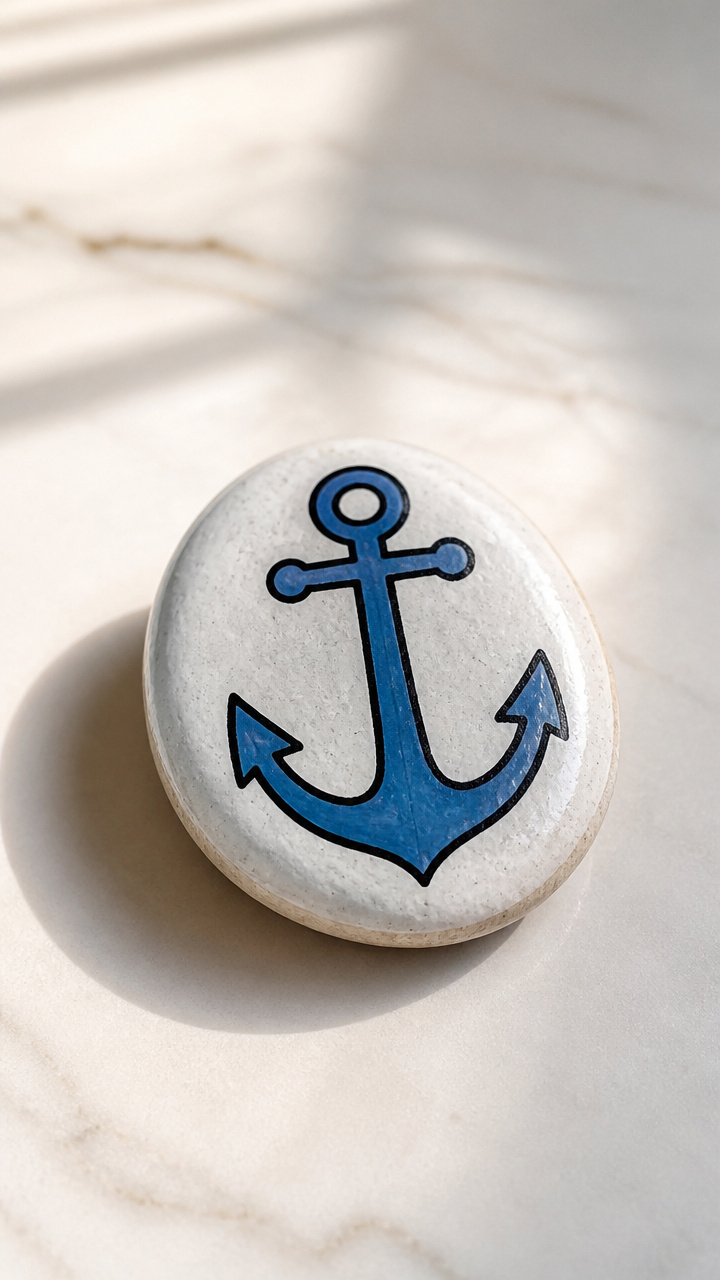
Smooth river rocks wear bold letter A’s and ocean colors. A durable outdoor craft that survives sand and water play.
Materials Needed
- 1 smooth river rock (about 2 inches long)
- White acrylic paint
- Black paint pen
- Blue paint
- Paintbrush
- Clear sealant spray
How to Make It
- Paint the rock entirely white and let dry for 20 minutes on newspaper.
- Paint one side blue to represent water, leaving the top third dry.
- Use the black paint pen to draw a large, clear A on the dry area.
- Spray with clear sealant and let cure for 30 minutes before use.


12. Alphabet Apron Decor
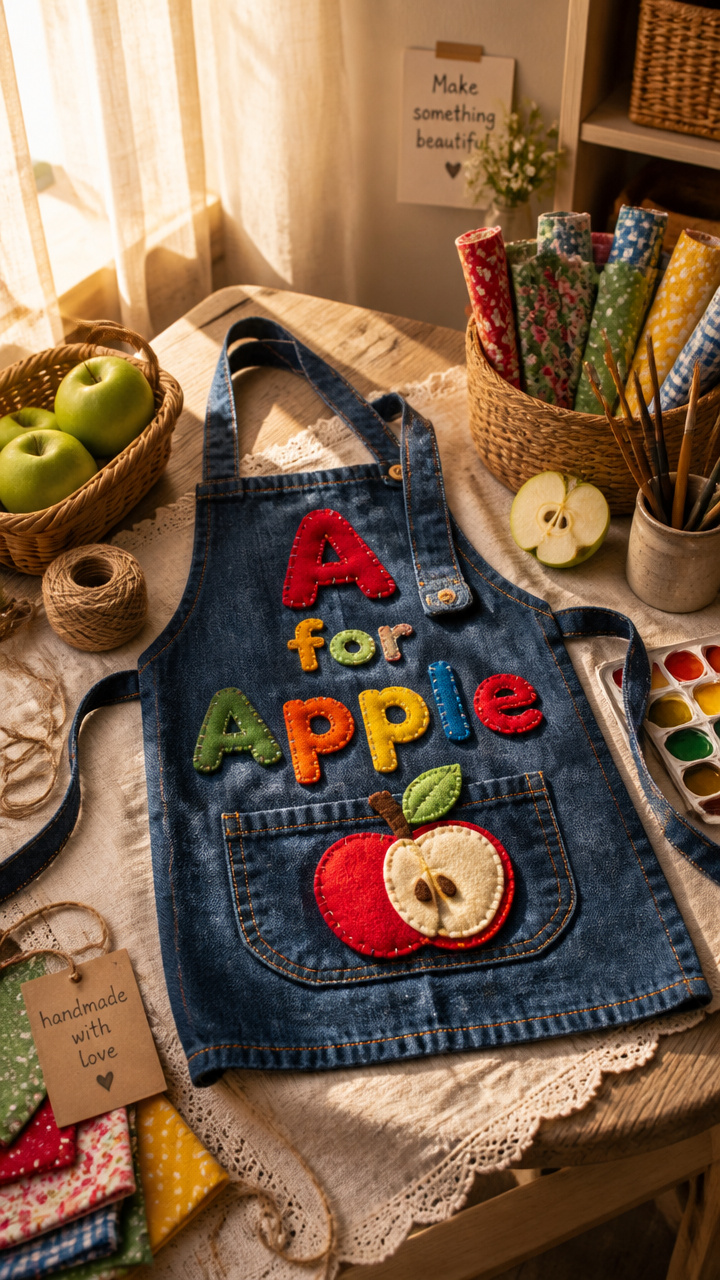
Plain fabric aprons gain embroidered letter A patches. A sewn keepsake that blends art and practicality.
Materials Needed
- Plain child apron
- Felt letter A (2 inches tall)
- Embroidery floss (red)
- Needle
- Scissors
- Pin
How to Make It
- Pin the felt A to the apron’s front pocket area.
- Thread the needle with 18 inches of red floss and knot the end.
- Stitch around the edge of the felt using a whip stitch, pulling gently to secure.
- Trim floss tail and remove pin after completing one full border.


13. Ant Hill Salt Tray
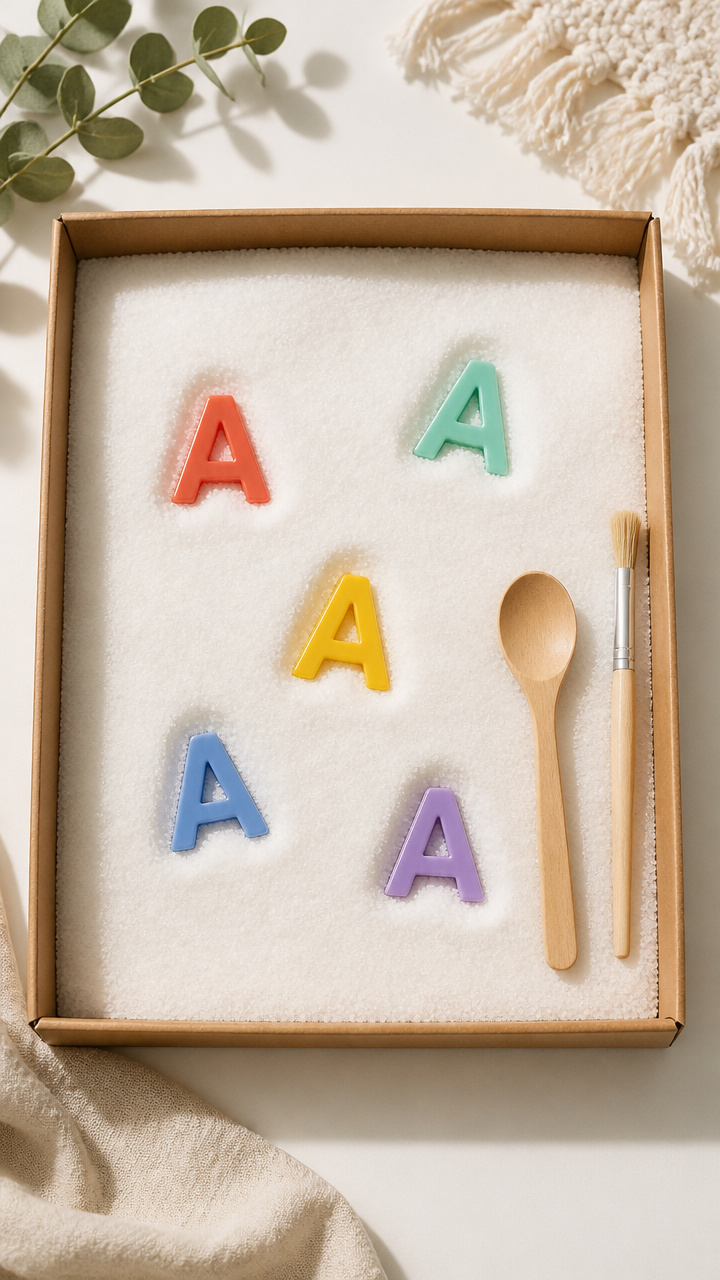
A shallow tray of salt becomes a dig site for hidden letter A tokens. A quiet sensory bin for focused exploration.
Materials Needed
- Shallow cardboard tray (9 x 12 inches)
- Table salt (1 cup)
- Plastic letter A tokens (5)
- Small spoon
- Paintbrush
- Cardboard lid
How to Make It
- Pour salt into the tray and spread evenly with the spoon.
- Bury the five plastic A tokens just beneath the surface.
- Give the child a paintbrush to sweep away salt and uncover each letter.
- Cover with cardboard lid when storing to keep salt clean.


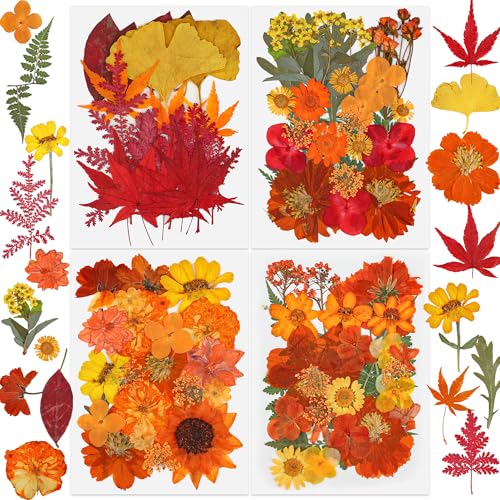
14. Autumn Leaf A Frame
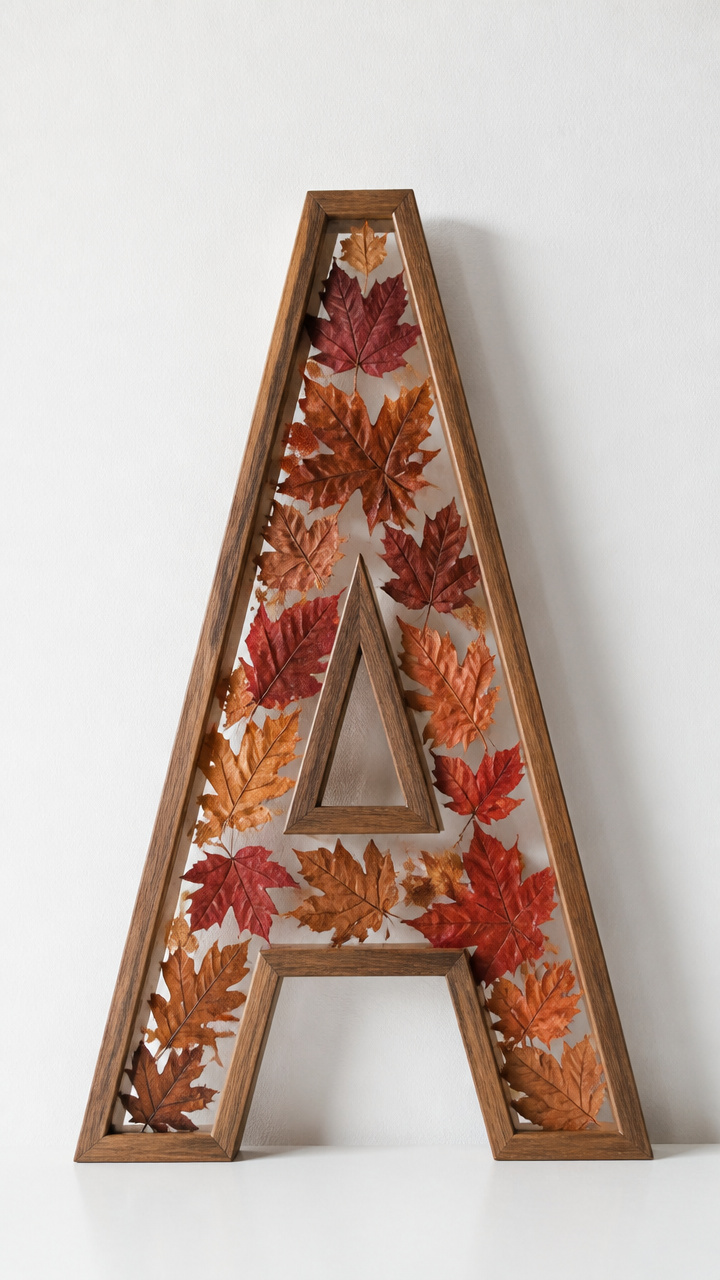
Real dried leaves form a textured letter A inside a mini picture frame. A seasonal craft that honors natural change.
Materials Needed
- Small wooden frame (5 x 7 inches, glass removed)
- 5 dried autumn leaves (red, orange, brown)
- Glue
- Cardboard backing
- Scissors
How to Make It
- Cut a large A from the cardboard backing to fit inside the frame.
- Apply glue along the edges of the A shape.
- Press leaves onto the glued areas, overlapping slightly for full coverage.
- Let dry 20 minutes, then insert into the frame and secure the back.


15. Aquarium Bead Stringing
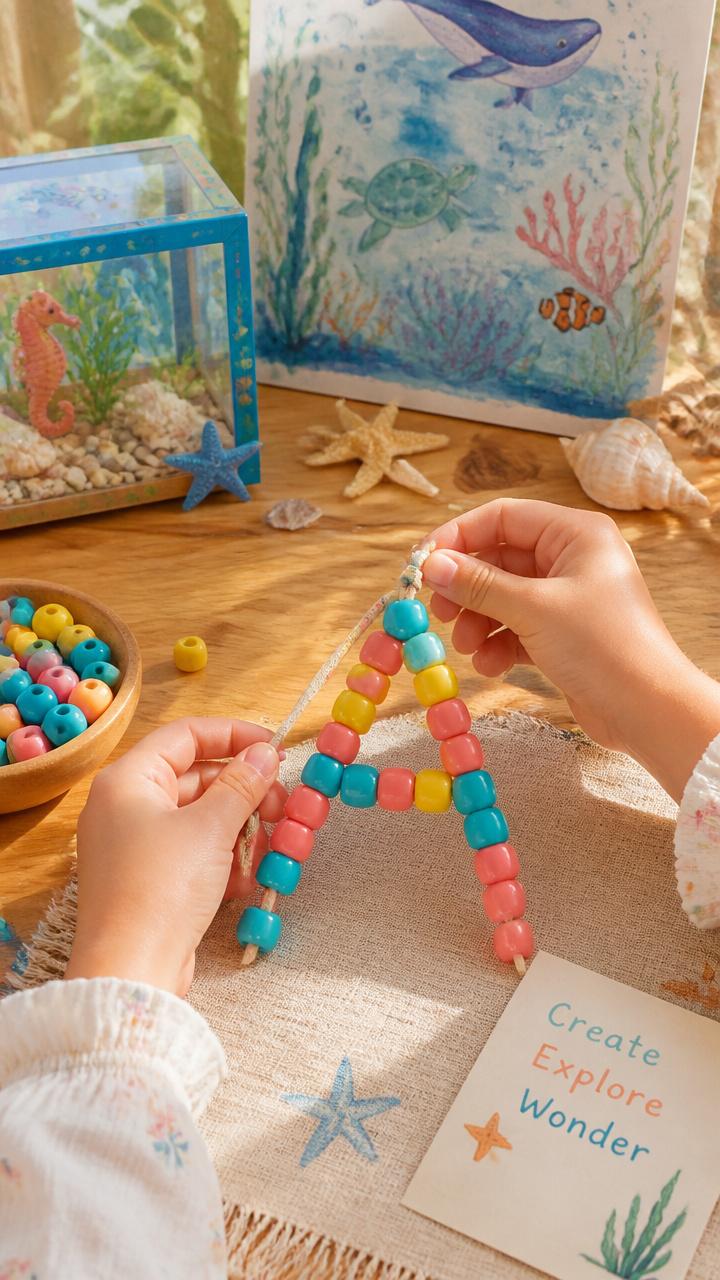
Colorful beads slide onto yarn to make an underwater A necklace. Builds counting and hand-eye coordination.
Materials Needed
- Chenille stem (pipe cleaner), blue
- Large-hole beads (15 total, assorted colors)
- Scissors
- Letter A sticker
How to Make It
- Cut the chenille stem to 10 inches long.
- Twist one end into a small loop to prevent beads from slipping off.
- Slide beads one at a time onto the stem, counting aloud up to 10.
- Bend the other end into a matching loop and attach the A sticker to the center.


These letter A crafts invite curiosity, creativity, and connection through simple materials and meaningful actions. Pick one that matches your child’s mood today and watch their alphabet world grow.