15 Easy Letter T Crafts for Preschoolers

Tiny hands love making big discoveries through simple crafts that spark joy and learning. These letter T projects use everyday materials to build fine motor skills while keeping preschoolers happily engaged.
Each idea is designed with little learners in mind, using safe supplies and clear steps you can follow without stress. From tearing paper to tracing shapes, these activities blend creativity with early literacy in the sweetest way.
1. T Is for Turtle
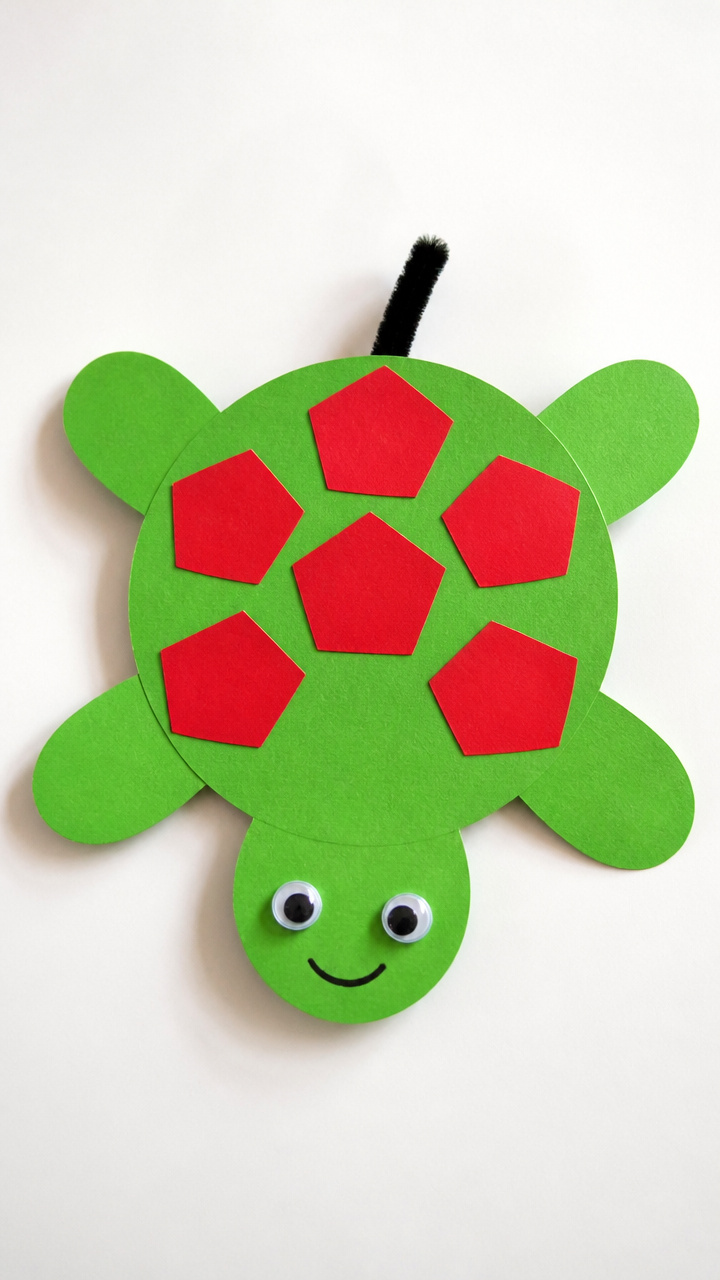
A textured turtle shell shaped like a capital T teaches letter form through play. Kids love giving their turtle googly eyes and a wiggly tail.
Materials Needed
- One large green construction paper sheet
- One small red construction paper sheet
- Two googly eyes, 10mm
- One black pipe cleaner, 12 inches
- White school glue
- Scissors
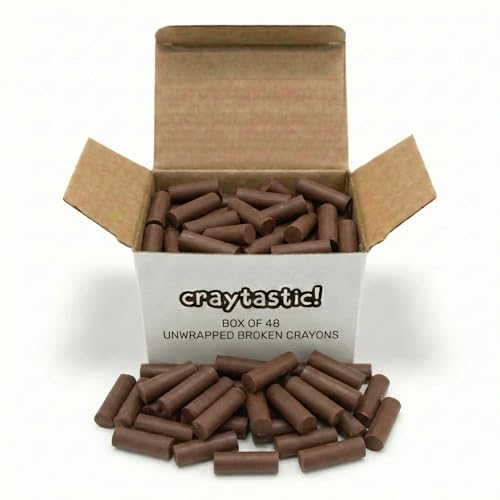
- Brown crayon
How to Make It
- Cut the large green paper into a rounded oval shape for the turtle body, about 8 inches tall.
- Cut the red paper into a smaller oval for the head and two flippers, then glue them to the bottom edge of the green oval.
- Glue the googly eyes near the top of the red head and press the brown crayon sideways onto the shell to draw ring patterns.
- Bend one end of the pipe cleaner into a small spiral for the tail and glue it to the back.


2. Tissue Paper T
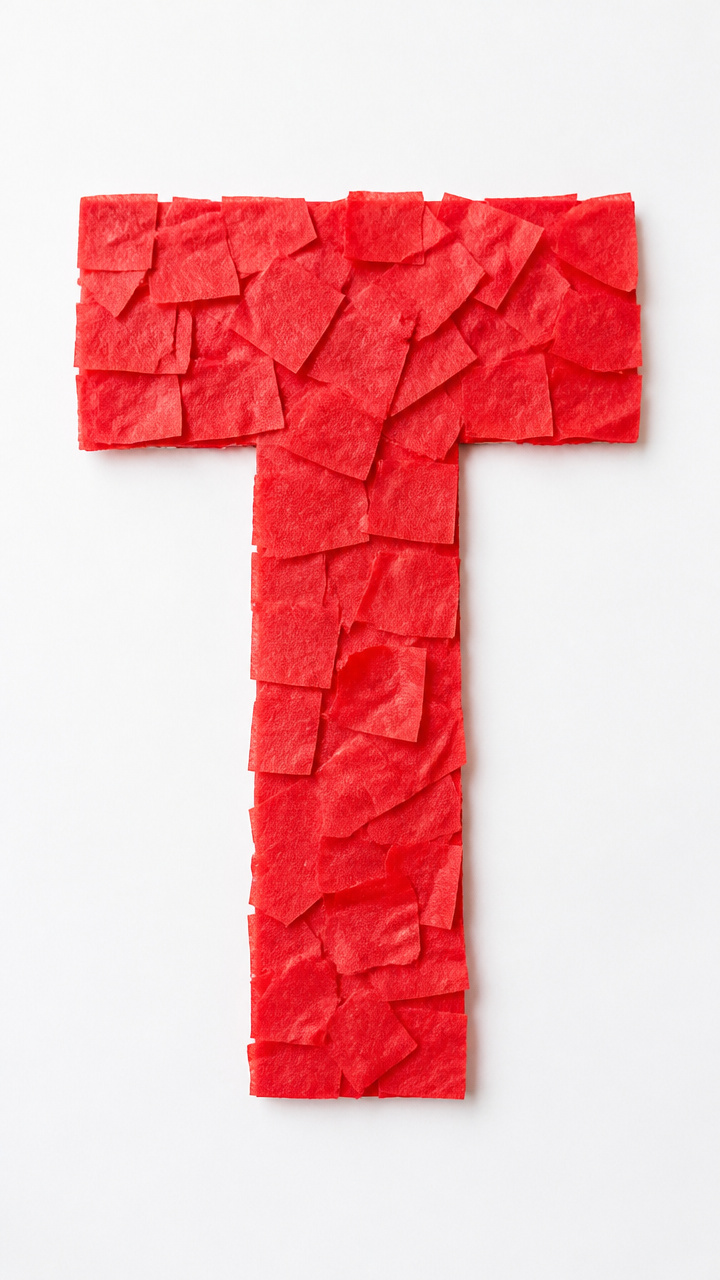
Bright squares of tissue paper stick easily to glue, forming a bold letter T that doubles as texture practice.
Materials Needed
- One A4 white cardstock sheet
- Red tissue paper, 6×6 inch squares, 8 pieces
- Yellow school glue
- Letter T stencil, 5 inches tall
- Plastic tray
How to Make It
- Place the T stencil in the center of the cardstock and trace lightly with a pencil.
- Apply a thin layer of yellow glue inside the traced lines using your fingertip or a craft brush.
- Tear the tissue paper into 1 inch pieces and press them firmly onto the glued area until fully covered.
- Let dry flat for 30 minutes before removing the stencil gently from each corner.


3. Toilet Paper Roll Tower
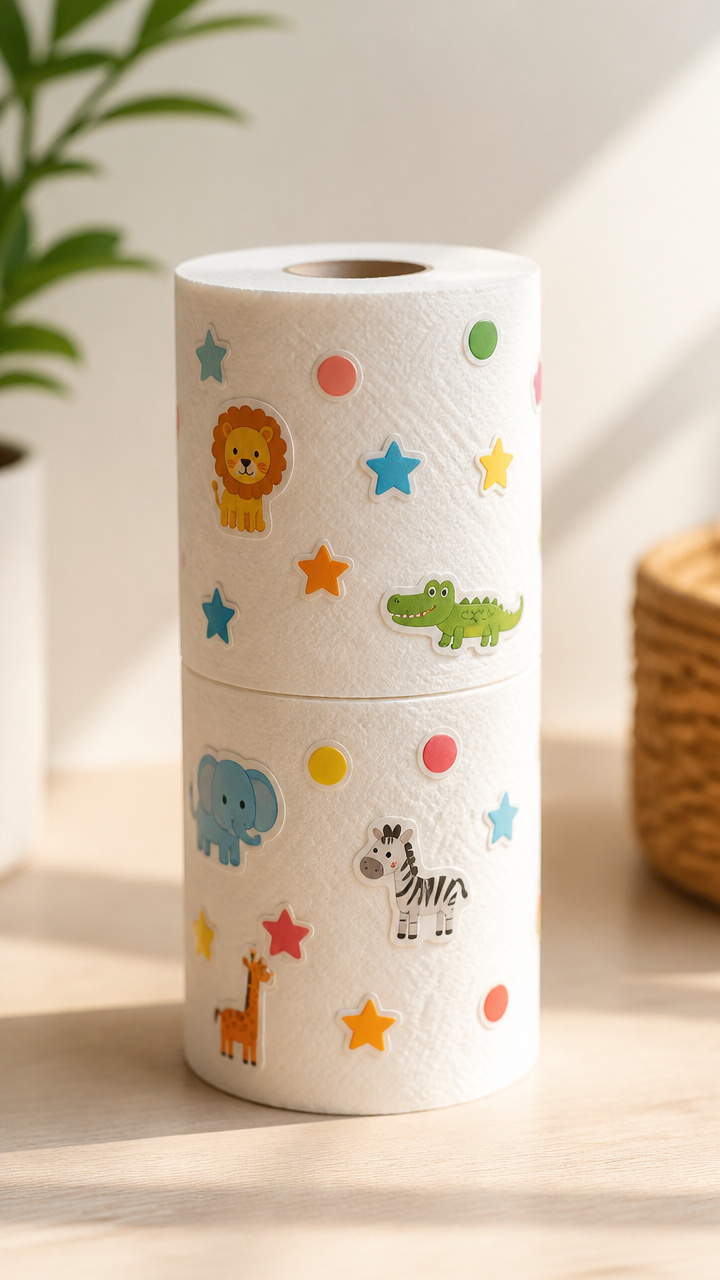
Stacking two toilet paper rolls vertically forms a 3D letter T perfect for decorating with stickers and paint.
Materials Needed
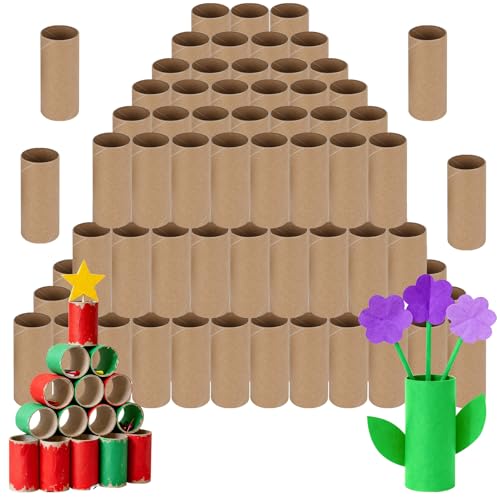
- Two cardboard toilet paper rolls
- White acrylic paint
- Paintbrush, size 4
- Stickers: stars, dots, animals
- Hot glue gun and glue sticks
- Blue construction paper, 6×6 inch square
How to Make It
- Paint both rolls entirely with white acrylic paint and let dry on newspaper for 20 minutes.
- Stand one roll upright and hot glue the second roll horizontally across the top center to form a T.
- Press the base of the tower onto the blue paper to mark where it sits, then glue it down.
- Let children add stickers all over the surface to personalize their tower.


4. Thumbprint Train
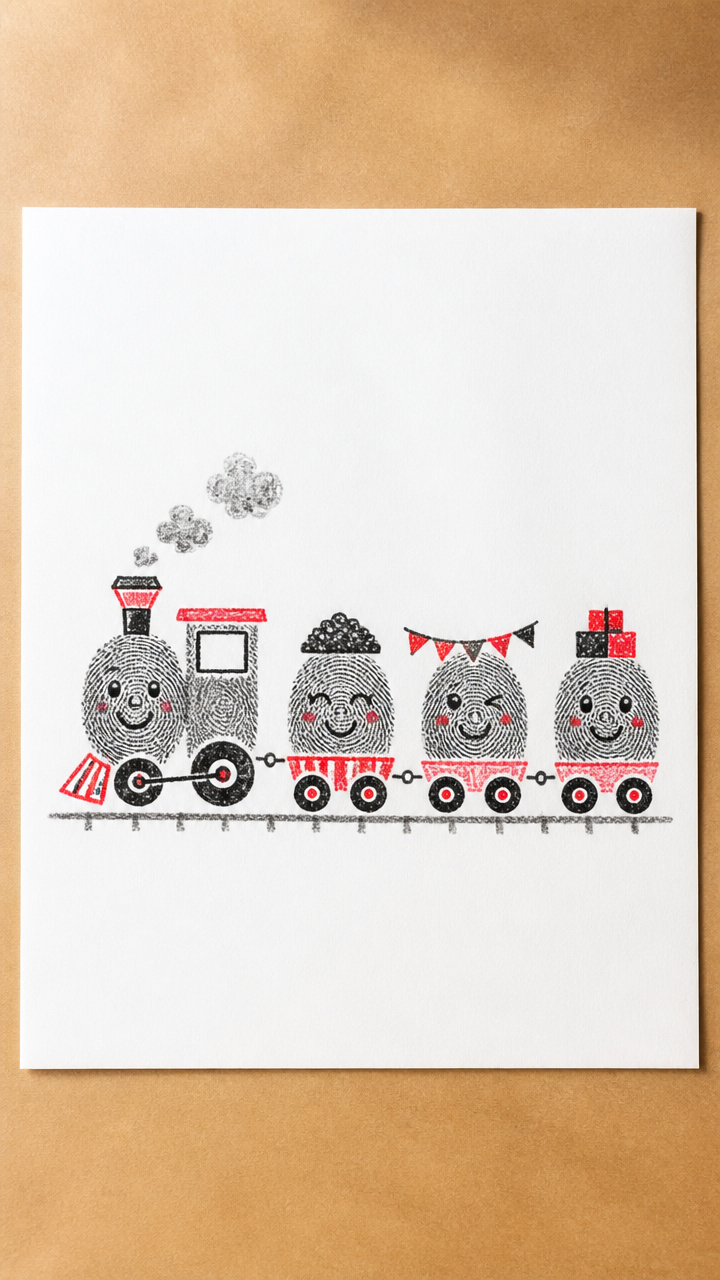
Inky thumbprints line up along a track to become train cars shaped like a T when viewed from above.
Materials Needed
- Black washable ink pad
- White drawing paper, 9×12 inch
- Crayons: red, black, gray
- Ruler
- Pencil
How to Make It
- Use the ruler and pencil to draw a straight horizontal line 2 inches from the bottom of the paper.
- Press your thumb firmly onto the ink pad and stamp five prints in a row along the line, leaving space between each.
- Let the ink dry for 5 minutes, then use the red crayon to draw a caboose shape behind the last print and a locomotive in front.
- Add wheels with black crayon and steam lines with gray above the first car.


5. Tree Trunk Rubbing
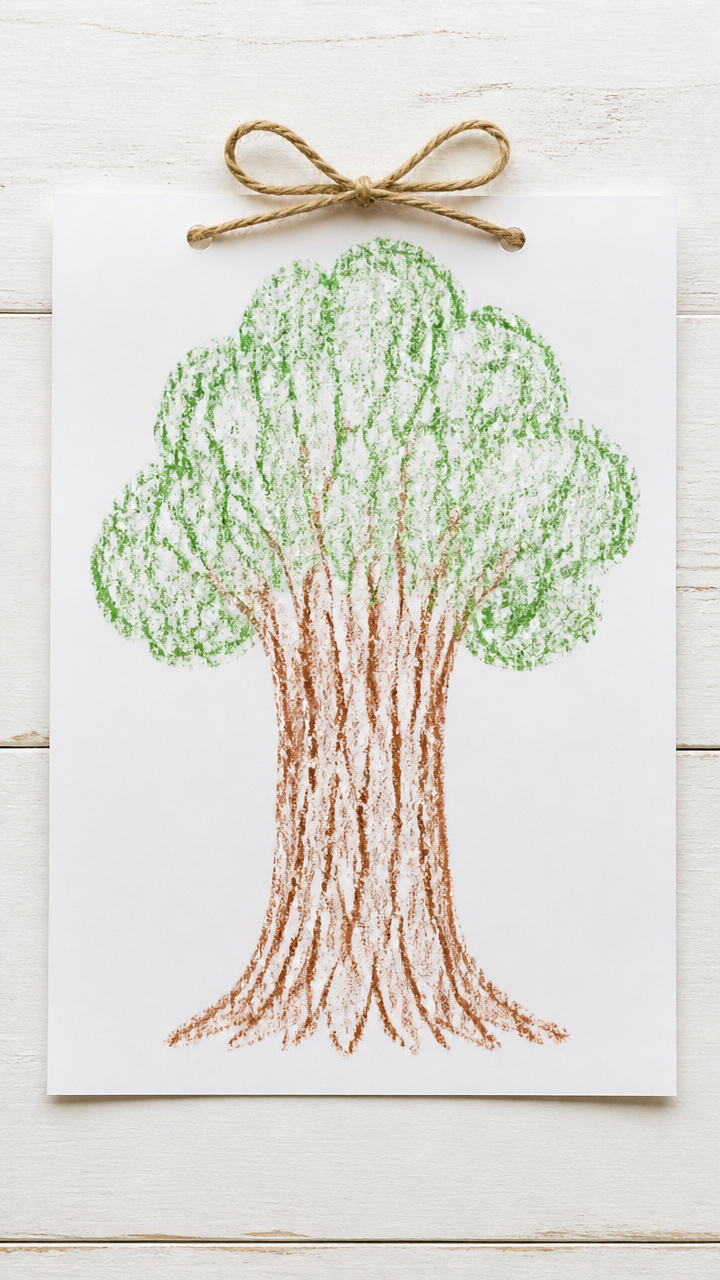
Real tree bark creates a natural T shape when combined with leaf rubbings and crayons.
Materials Needed
- Brown crayon
- White drawing paper, 8×10 inch
- String, 12 inches
- Clipboard
- Green wax crayon
How to Make It
- Find a tree with a thick trunk and place the paper flat against the bark at shoulder height.
- Hold the paper steady with one hand and rub the brown crayon sideways across the surface with the other.
- After 30 seconds, lift the paper and draw a strong vertical line from the base upward, then add a short horizontal limb near the top to form a T.
- Rub the green crayon over leaves placed under new paper nearby and tape both papers together with string at the corner.


6. Tape Resist Ts
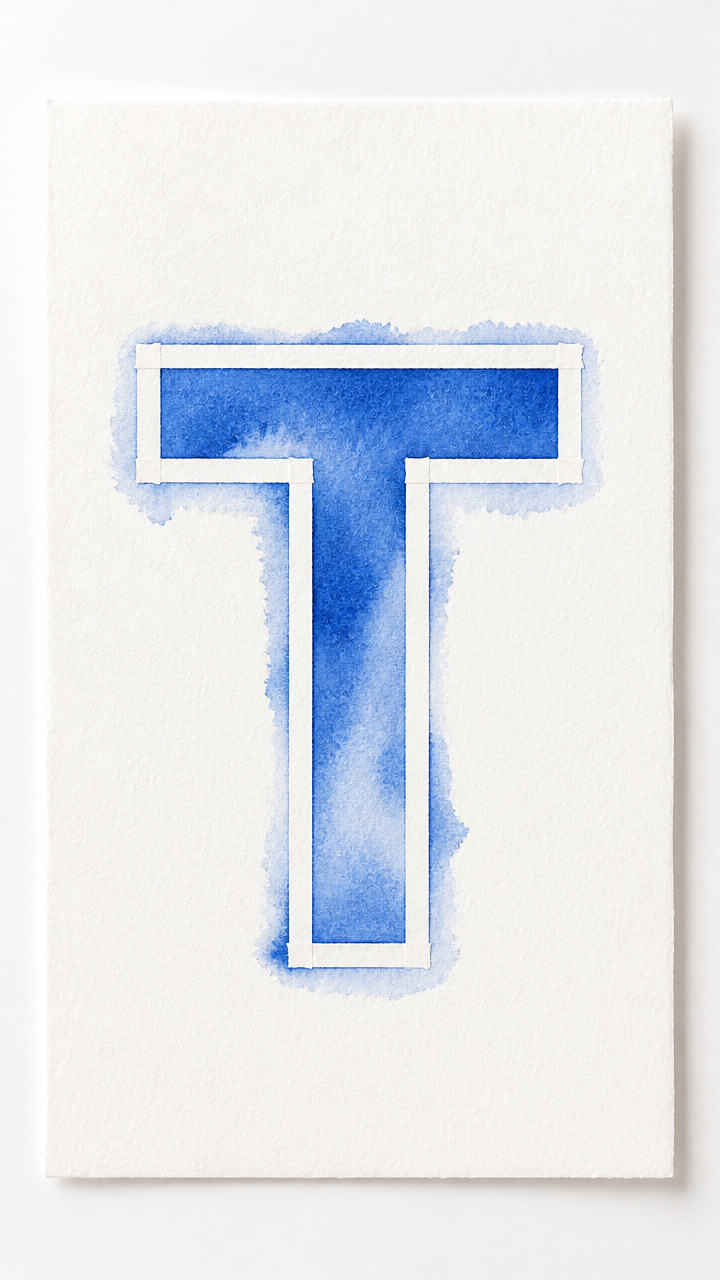
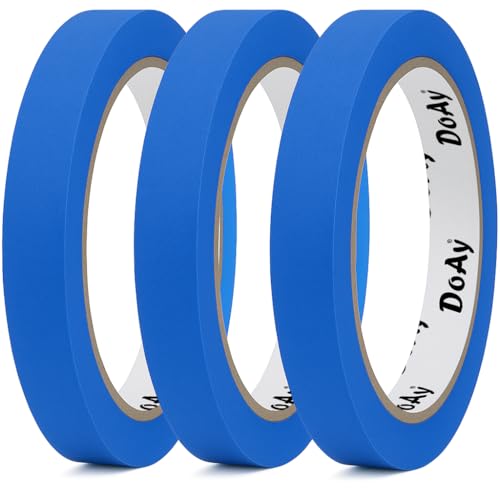
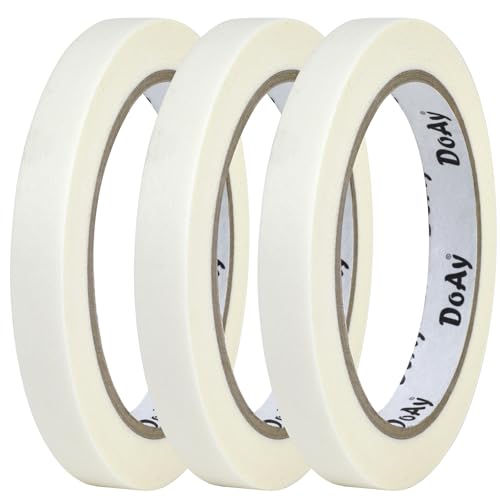
Painter's tape creates crisp edges on watercolor letters, revealing clean white Ts after removal.
Materials Needed
- Blue watercolor paint
- Watercolor paper, 6×9 inch
- Painter's tape, 1/2 inch wide
- Paintbrush, size 6
- Small bowl of water
How to Make It
- Cut two strips of painter's tape: one 7 inches long and one 4 inches long.
- Press the long strip vertically down the center of the paper and the shorter strip horizontally across the top to form a T shape.
- Wet the paintbrush in water and apply blue watercolor paint over the entire page, covering the tape.
- Wait 5 minutes, then carefully peel off the tape to reveal a white T on a blue background.

7. Teddy Bear Tags
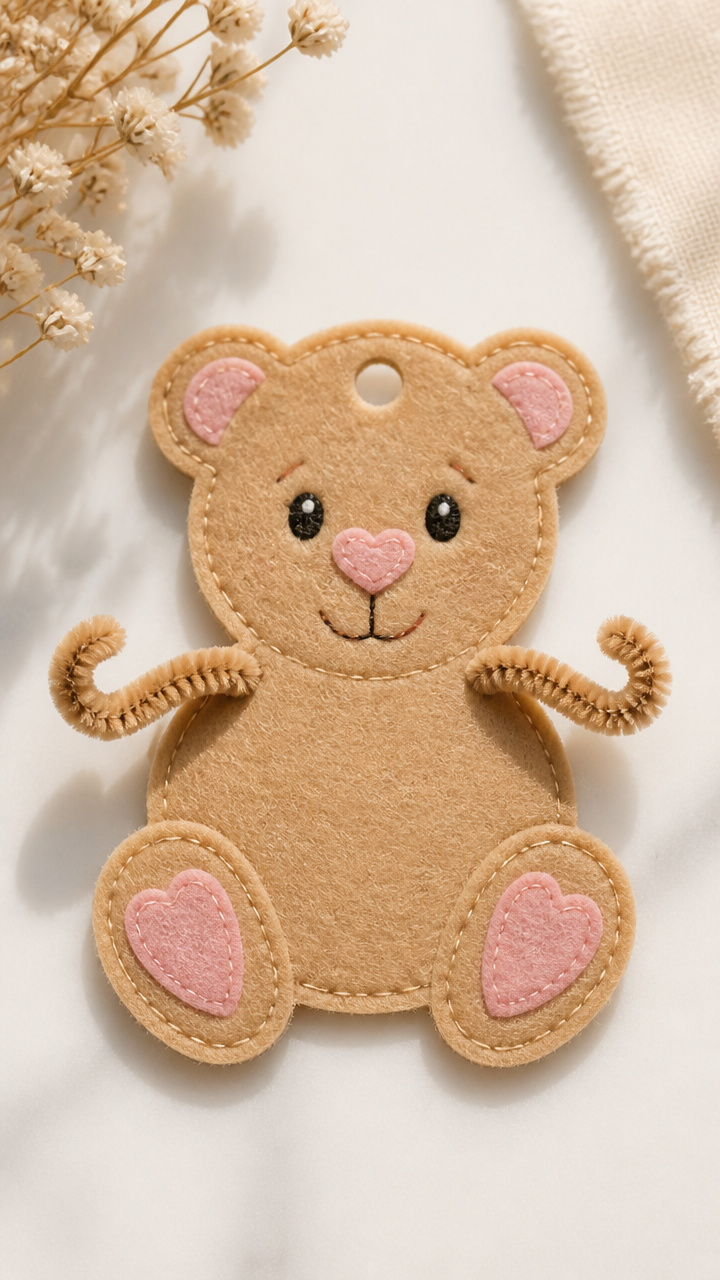
Soft felt bears with wire arms hold tags shaped like the letter T for pretend play.
Materials Needed
- Tan felt sheet, 9×12 inch
- Pink felt scrap
- Chenille stem, brown, 6 inches
- Fabric glue
- Hole punch
- Scissors
- White tag sticker, 2×3 inch
How to Make It
- Cut two bear shapes from tan felt, each 4 inches tall with round ears and a belly curve.
- Cut tiny pink circles for inner ears and glue them to the front piece.
- Lay one bear flat, place the chenille stem across the back shoulders, and glue the second bear on top to sandwich it.
- Once dry, punch a hole at the top and thread a string through. Stick a white T-shaped label on its paw.


8. Tagboard T Puzzle
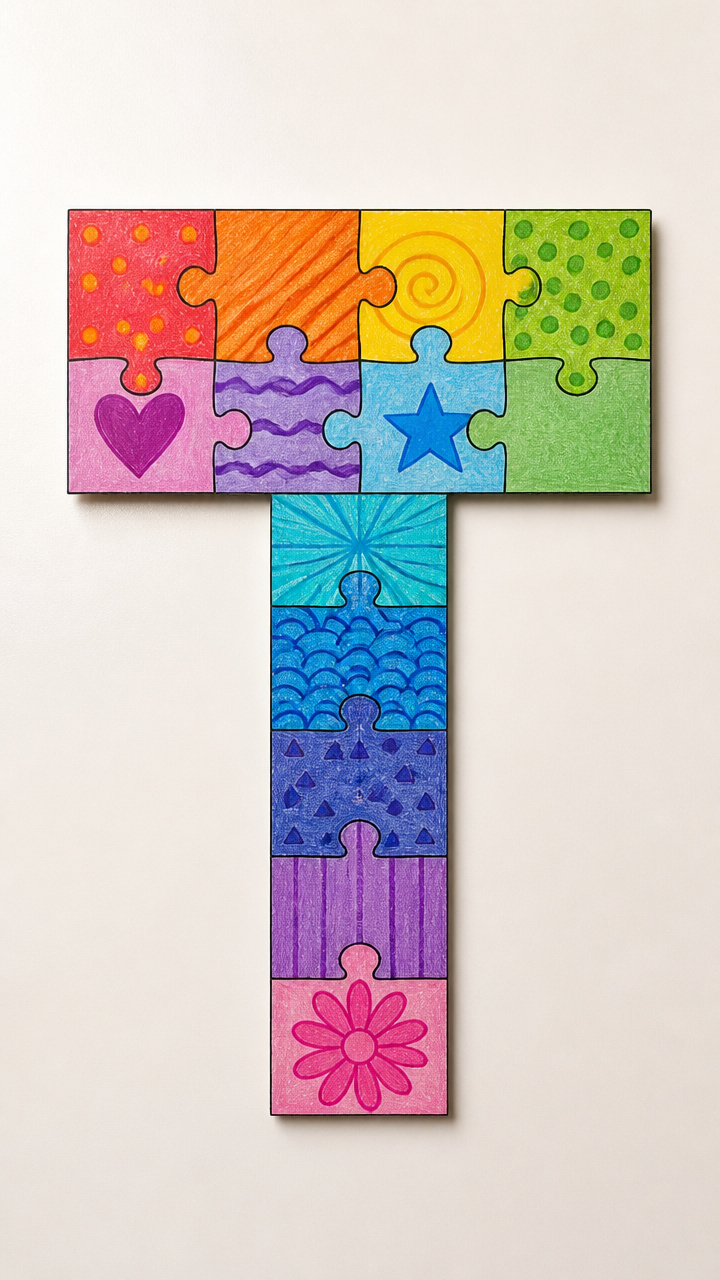
Chunky puzzle pieces made from tagboard fit into a frame, helping little fingers learn T shape by touch.
Materials Needed
- Thick white tagboard, 9×12 inch
- Black marker
- Scissors
- Ruler
- Craft knife (adult use only)
- Colored pencils
How to Make It
- Draw a capital T, 6 inches tall, centered on the tagboard using the ruler and black marker.
- Color around the T with colored pencils in rainbow stripes, leaving the letter white.
- Carefully cut out the T shape with scissors, then use the craft knife to cut the surrounding frame into four irregular pieces.
- Let your child pull out the T and fit it back in, guiding corners by feel.


9. Teacup Thumb Holders
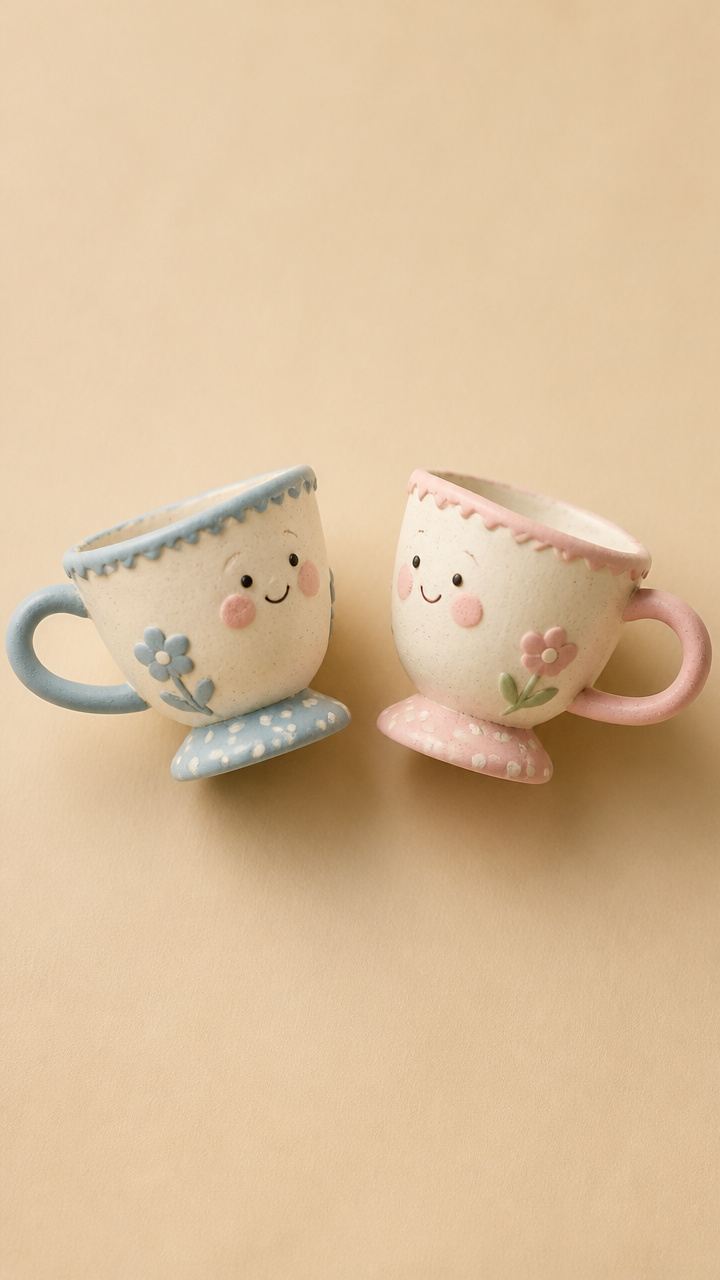
Mini clay cups shaped like the letter T become playful finger puppets during story time.
Materials Needed
- Air-dry clay, 4 ounces
- Aluminum foil
- Rolling pin
- Straw
- Toothpick
How to Make It
- Roll a small ball of clay and flatten it into a 2-inch disk using the rolling pin.
- Shape the disk into a cup by pressing foil inside to support the walls as you raise the edges.
- Use the straw to poke a hole in the side near the top for a handle and attach a twisted clay loop with a toothpick score.
- Carve a deep T into the front with the toothpick and let dry overnight on a shelf.


10. Tin Foil Texture
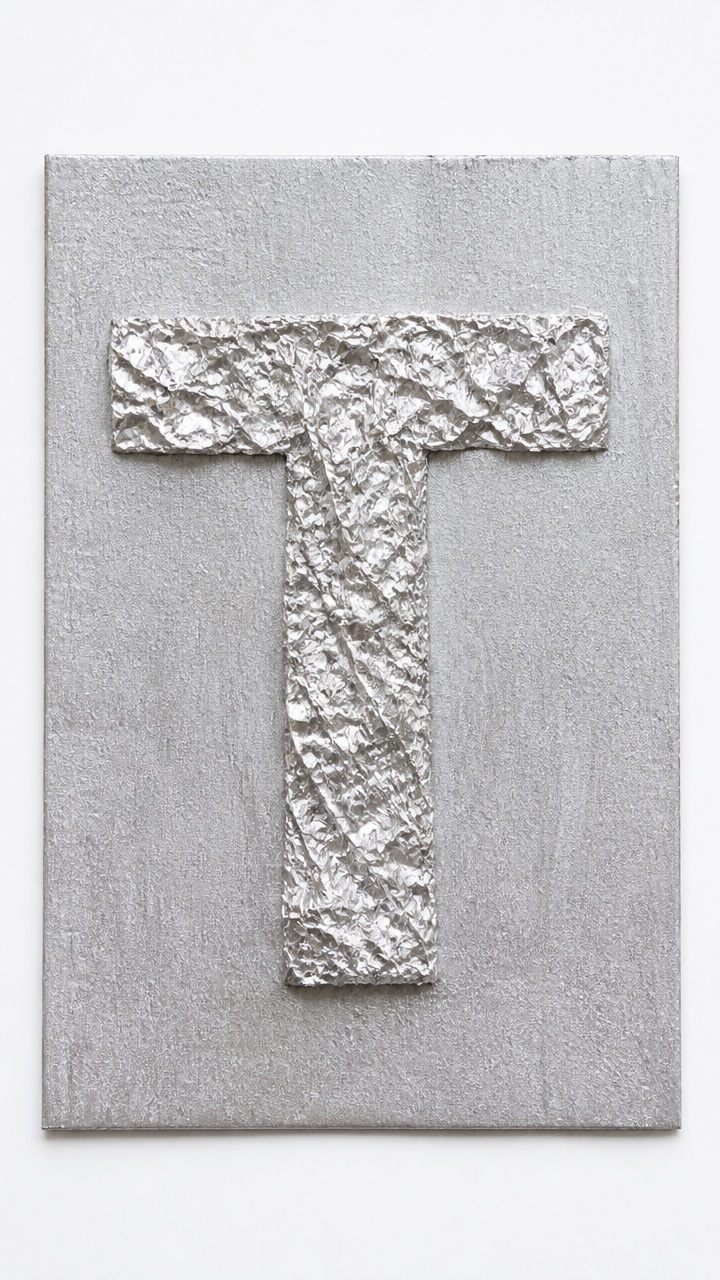
Crumpled foil pressed under paint gives the letter T a shiny, bumpy surface perfect for sensory exploration.
Materials Needed
- Aluminum foil, 6×6 inch square
- Silver acrylic paint
- White PVA glue
- Paintbrush
- Cardboard, 5×7 inch rectangle
How to Make It
- Crumple the foil into a loose ball, then flatten slightly to keep texture.
- Spread a thin layer of white glue over the cardboard and press the foil on top, smoothing gently with your palm.
- Mix silver paint with a drop of glue and brush it evenly over the foil surface.
- Let dry for 40 minutes, then use a pencil to trace a capital T over the shiny surface.


11. Tulip Stem Painting
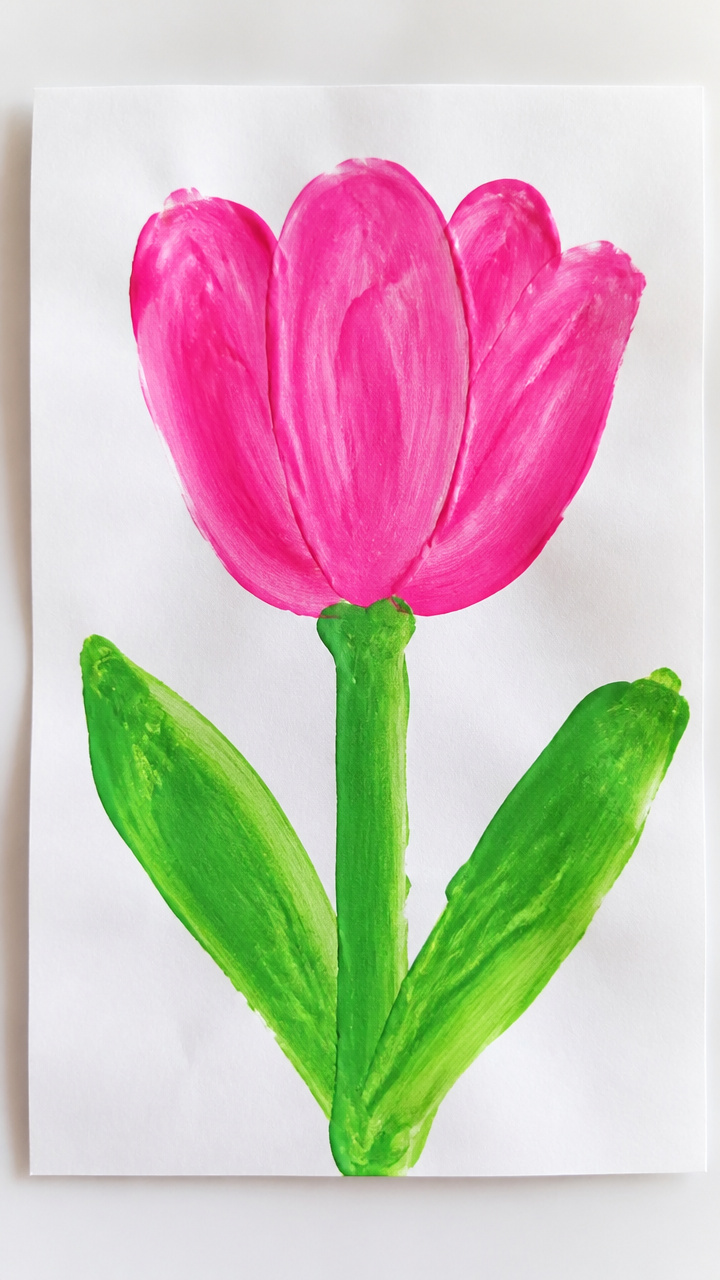
A single green line becomes the trunk of a tulip, with a T-shaped top made from dabbed fingerprints.
Materials Needed
- Green tempera paint
- Pink tempera paint
- Fingerpaint paper
- Paintbrush, size 2
- Baby wipe
How to Make It
- Use the brush to paint a straight green line from bottom to top of the page, curving slightly at the top.
- Dip your index finger in pink paint and press it just above the curve so the print fans out like petals.
- Repeat with two more pink fingerprints beside the first to make a cluster of three flowers.
- Clean your finger with the baby wipe between prints and let dry on a rack.


12. Twist Tie Twirls
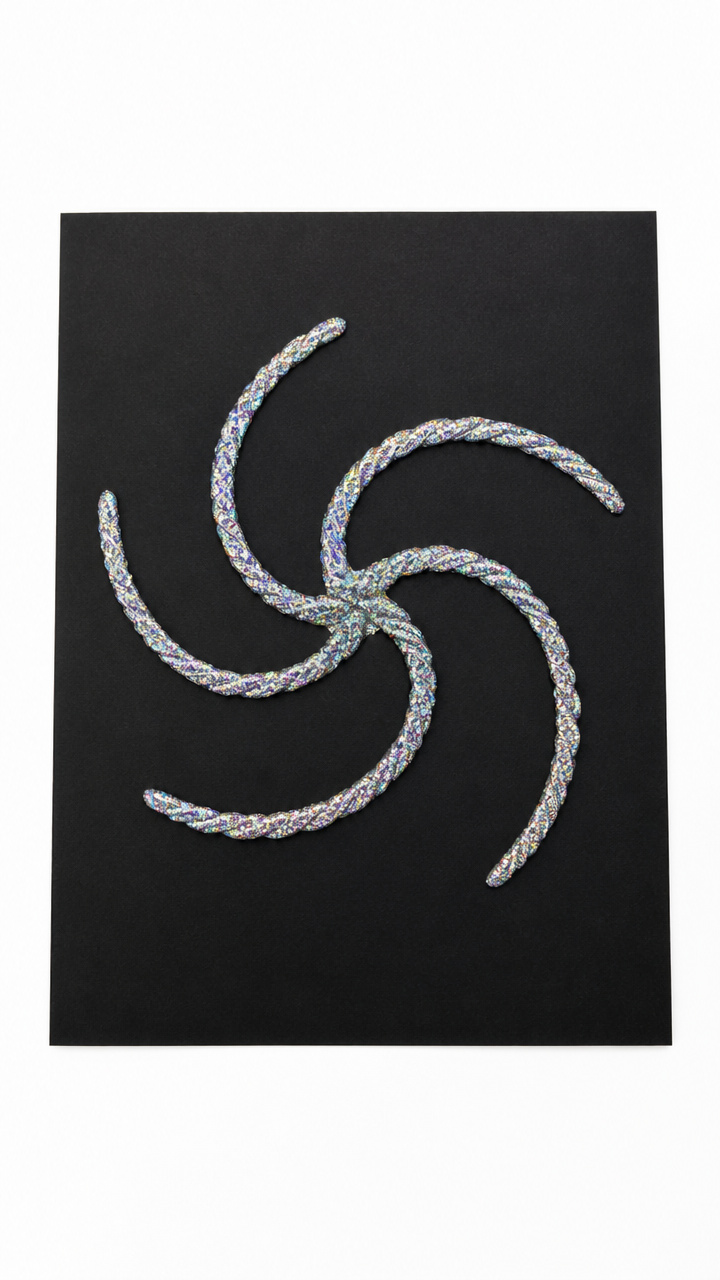
Shiny twist ties bend easily into T shapes and sparkle when glued to dark paper.
Materials Needed
- Five silver twist ties
- Black construction paper, 8×10 inch
- White school glue
- Glitter shaker, iridescent
- Chopstick
How to Make It
- Straighten each twist tie and lay one vertically in the center of the paper.
- Bend a second twist tie into a straight bar and cross it over the first at the top to form a T.
- Glue both intersections with a dot of white glue using the chopstick for precision.
- Sprinkle glitter over the glue and shake excess onto a tray below.


13. Tree Block Prints
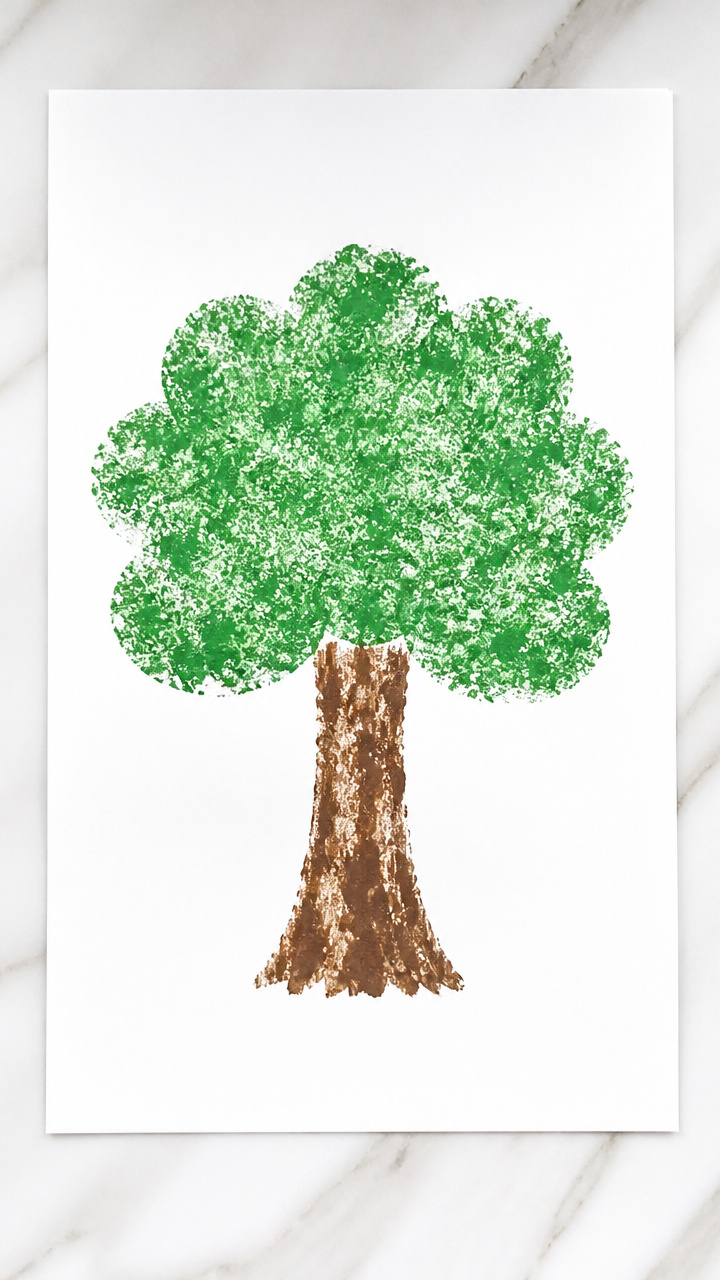
Sponge blocks dipped in paint make repeating tree trunks that form a giant T when grouped.
Materials Needed
- Green sponge, kitchen type
- Brown tempera paint
- Large white paper, 12×18 inch
- Scissors
- Foam brush
How to Make It
- Cut the sponge into a 1 inch wide strip, 4 inches long, to represent a tree trunk.
- Dip the sponge into brown paint and press it straight down onto the left side of the paper to make a trunk mark.
- Repeat six times in a vertical column, spacing each 1 inch apart.
- On the right side, repeat the same pattern but angle the tops slightly inward so the tops form a horizontal line resembling a T.

14. Trolley Track Drawing
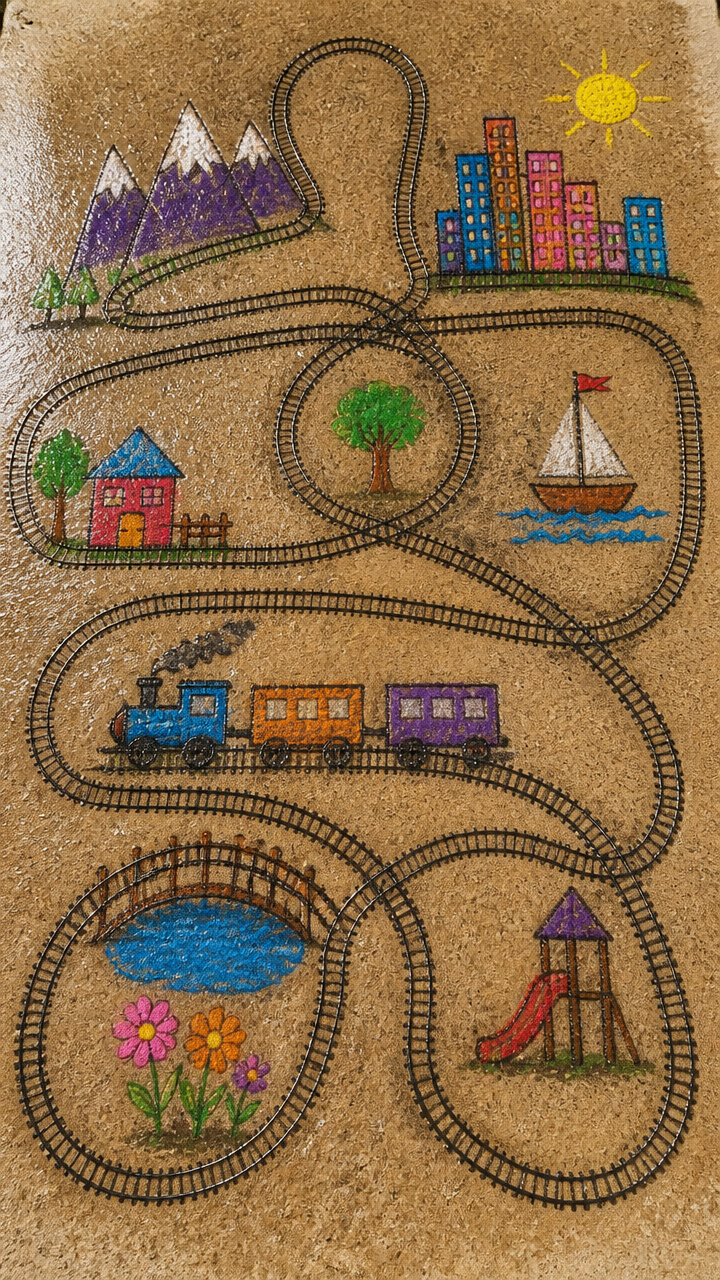
Bold black lines and toy wheels create tracks that outline a giant T for imaginative play.
Materials Needed
- Black sidewalk chalk
- Toy trolley car with rubber wheels
- Concrete driveway or patio
- Spray bottle with water
How to Make It
- Draw a thick vertical line 4 feet long using the black chalk on flat concrete.
- At the top, draw a horizontal line 3 feet long crossing the vertical to form a T.
- Wet the trolley wheels with the spray bottle and roll it slowly along both lines to leave shiny tracks.
- Push the trolley forward and back several times to widen the path for better visibility.


15. Transparent Tape Art
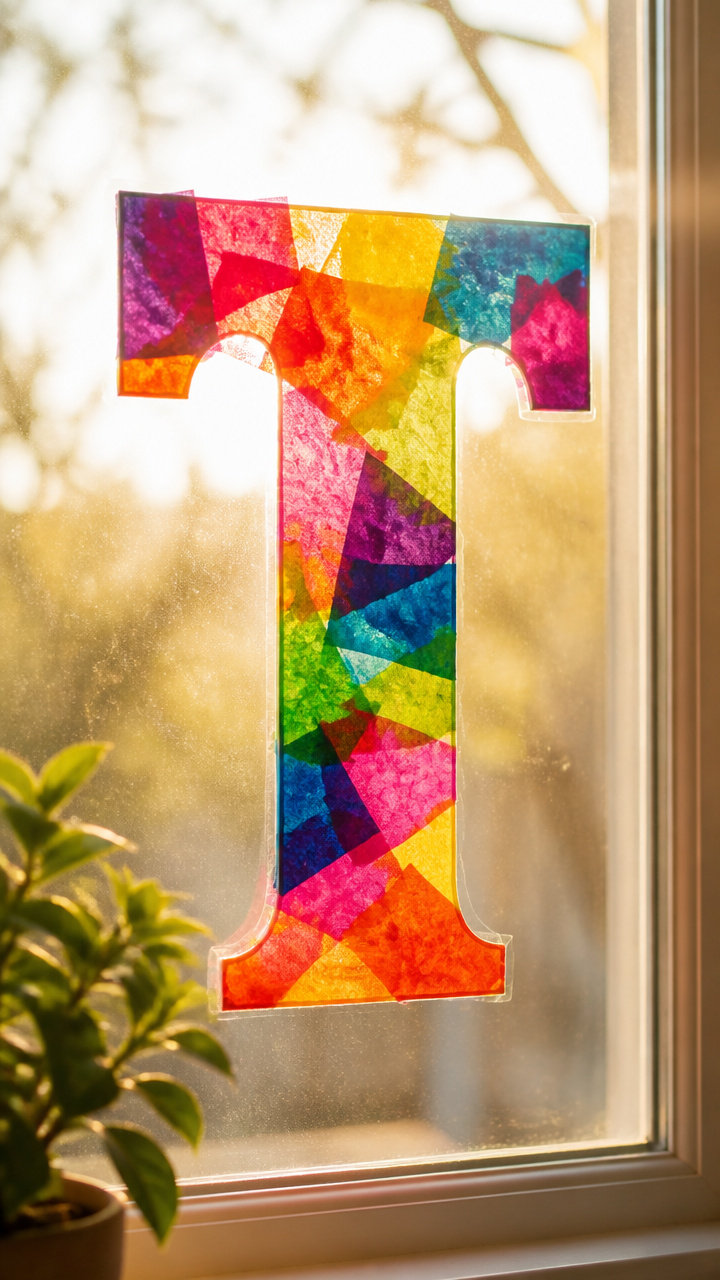
Clear tape lifts colored tissue bits to create a sticky T that glows on windows.
Materials Needed
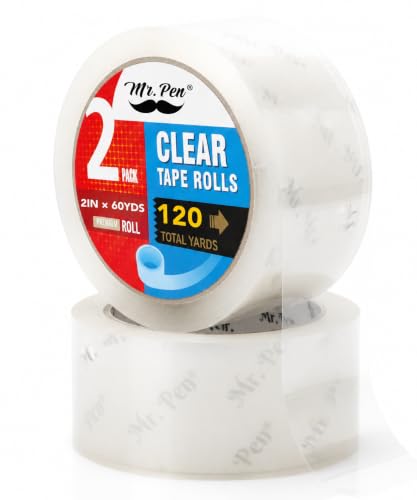
- Clear packing tape, 2 inch wide
- Roll of masking tape
- Colorful tissue paper scraps
- Scissors
- Window surface
How to Make It
- Cut a 12 inch strip of clear tape and lay it sticky side up on the table.
- Tear small pieces of tissue paper and press them onto the sticky side in a tight T formation.
- Cover with a second 12 inch tape strip pressed carefully on top to seal the colors.
- Trim the edges and stick the finished panel to a sunny window with masking tape tabs.

![Pacific Mailer Clear Packing Tape, Heavy Duty Packaging Carton Tape for Shipping Packaing Moving Sealing, 2 Inch Wide, 2.7mil Thickness, 65 Yards Per Roll [Pack of 6]](https://m.media-amazon.com/images/I/512ed36vRVL._SL500_.jpg)
You’ve got everything you need to start right now — no special trip to the store, no complicated tools. Grab a few basics and let those little hands shape something wonderful today.