15 Creative Letter P Crafts for Preschoolers
Little hands love to explore shapes and sounds through play, and the letter P offers plenty of fun ways to learn. These crafts invite preschoolers to paint, paste, and build while strengthening fine motor skills and phonemic awareness.
Each project uses simple materials you likely have at home and focuses on a different way to experience the letter—through texture, movement, sound, and story.
1. Puffy Paint Ps
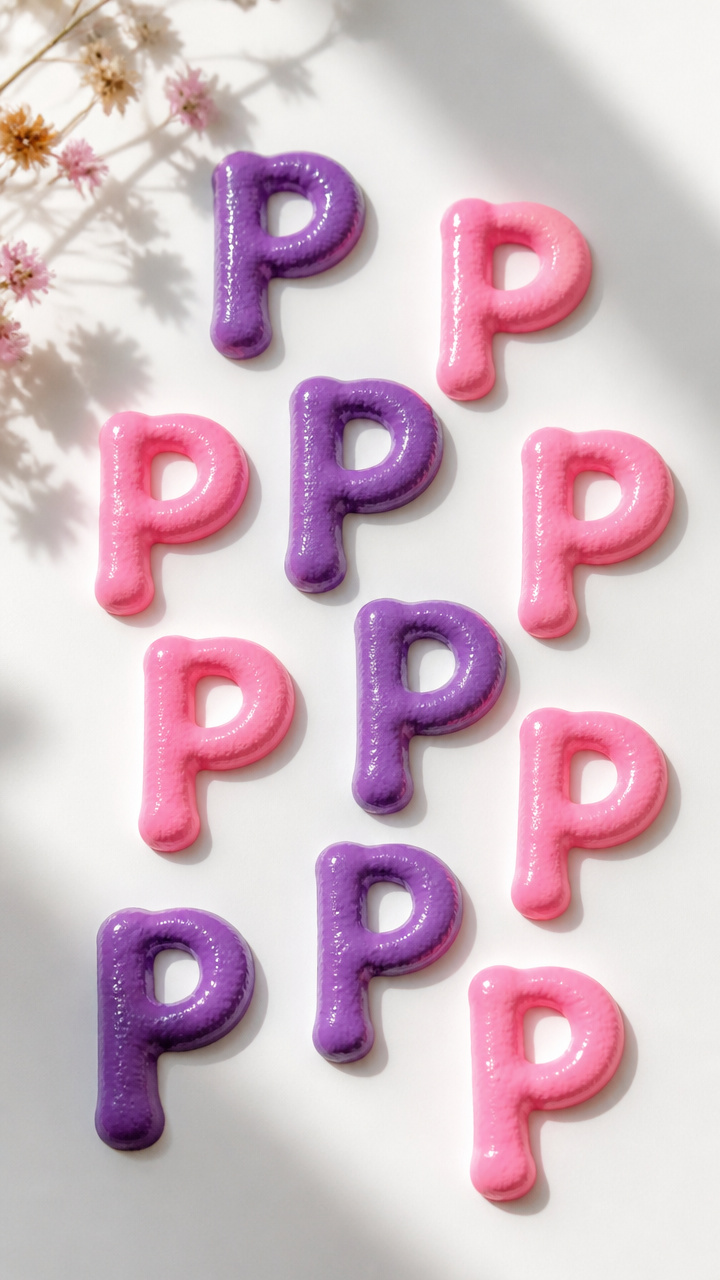
Soft, raised letter shapes that children can touch and trace with their fingers. The squishy texture makes learning memorable.
Materials Needed
- 2 tablespoons all-purpose flour
- 1 tablespoon salt
- 3 tablespoons water
- Food coloring (purple or pink)
- Mixing bowl
- Spoon
- Piping bag or resealable plastic bag with corner snipped
- A4 white cardstock
How to Make It
- Mix flour, salt, and water in a bowl until smooth. Add 3 drops of food coloring and stir well.
- Pour the mixture into a piping bag. Snip a small hole in the tip if using a plastic bag.
- Pipe the letter P onto cardstock, making sure the lines are thick and even. Let dry overnight.


2. Penguin Paper Plate Craft
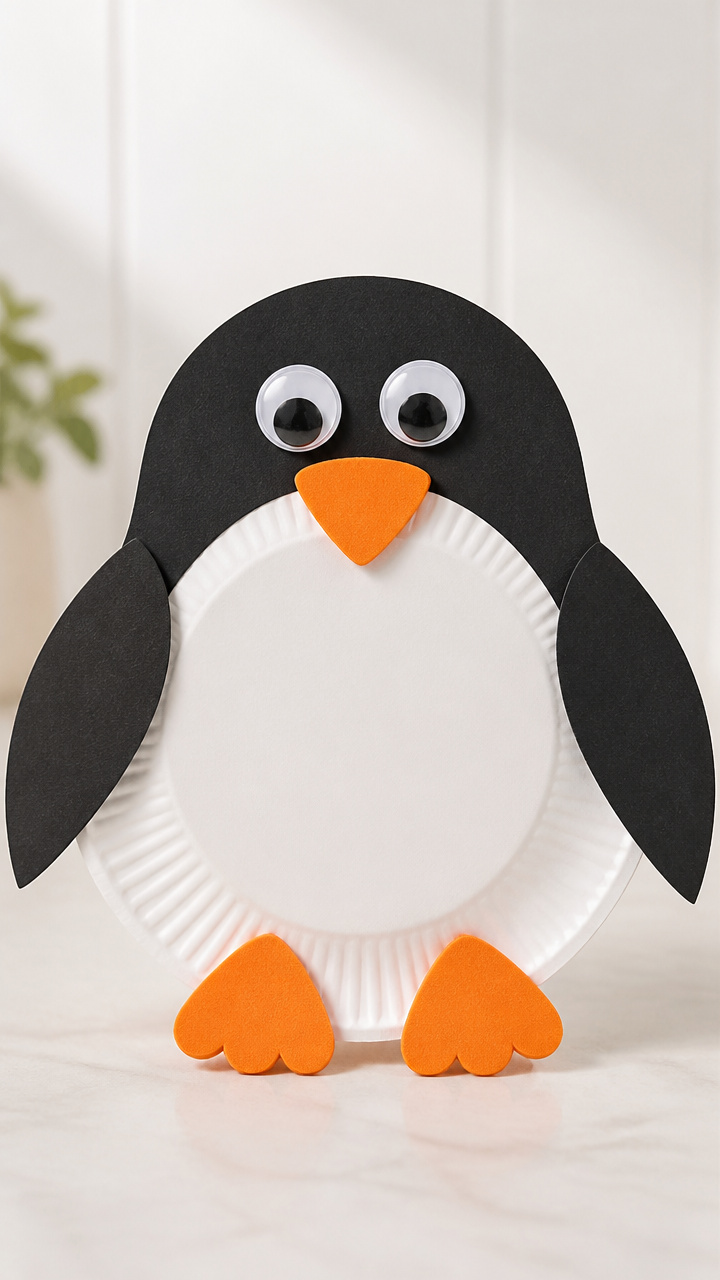
A friendly waddling penguin shaped like the letter P. Kids love turning a round plate into a character with personality.
Materials Needed
- 1 white paper plate per child
- Black construction paper
- White construction paper
- Orange craft foam
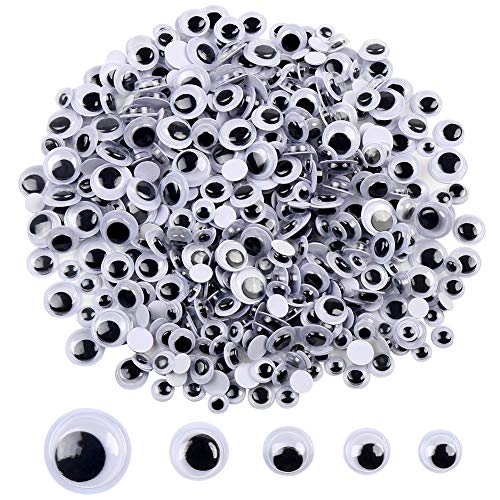
- Googly eyes (12mm)
- Glue stick
- Scissors
- Black marker
How to Make It
- Cut the paper plate in half. Use one half as the penguin’s body, curved side down.
- Cut wings from black paper and feet from orange foam. Glue them in place.
- Glue on eyes and use the marker to draw a beak and belly details.


3. Pipe Cleaner P Bends
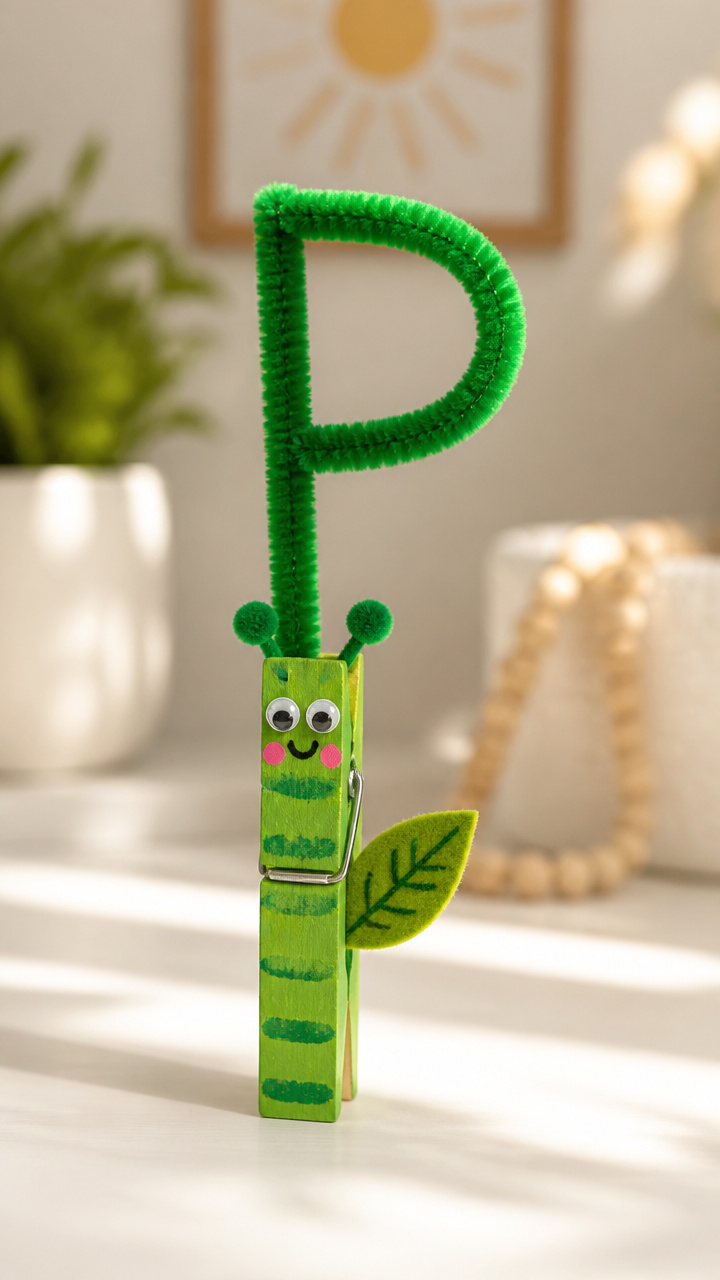
Flexible wire shapes that help children feel the form of the letter. Great for tactile learners.
Materials Needed
- 1 green pipe cleaner per child
- 1 clothespin per child
- Small square of felt (5cm x 5cm)
- Glue dot
How to Make It
- Bend the pipe cleaner into a capital P shape, twisting the end to secure the loop.
- Attach the bent pipe cleaner to the front of the clothespin with a glue dot.
- Glue a felt square to the back of the clothespin to create a base stand.


4. Painted Potato Stamps
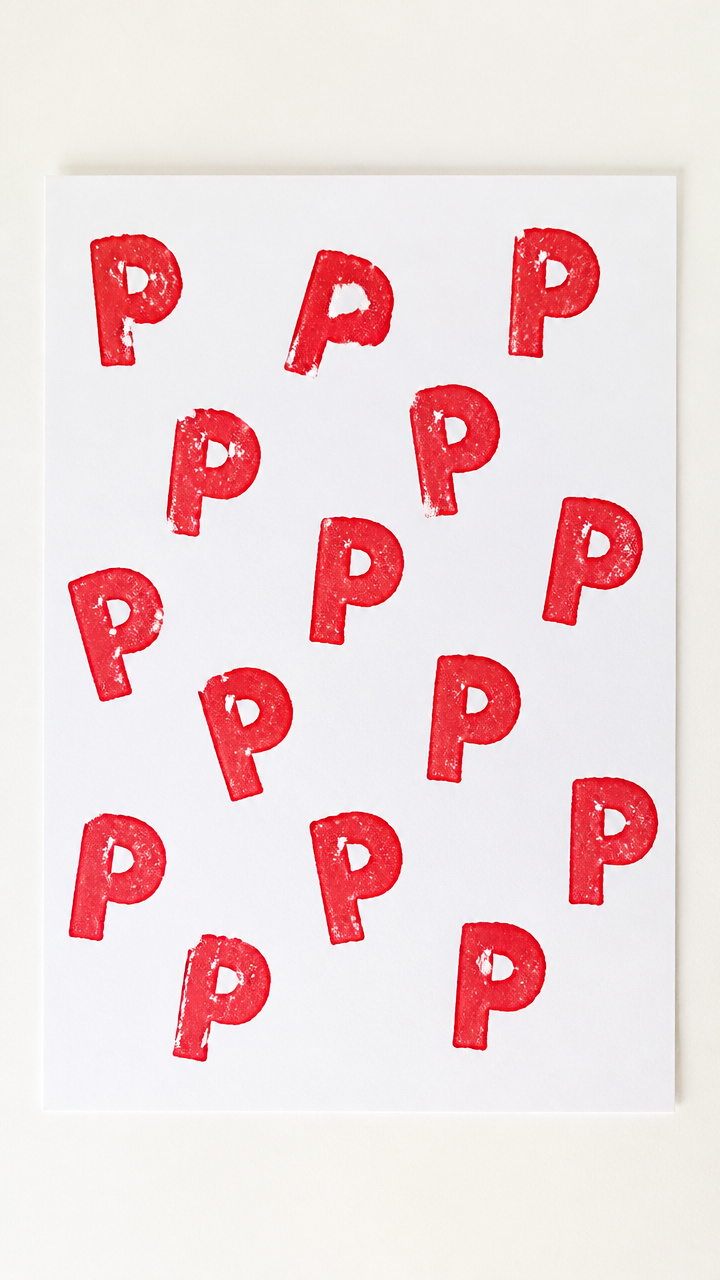
Using real potatoes cut into letter shapes for printing. The earthy scent and squish add sensory fun.
Materials Needed
- 1 large russet potato per child
- Knife (adult use only)
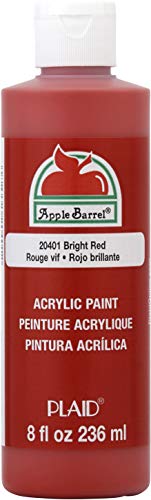
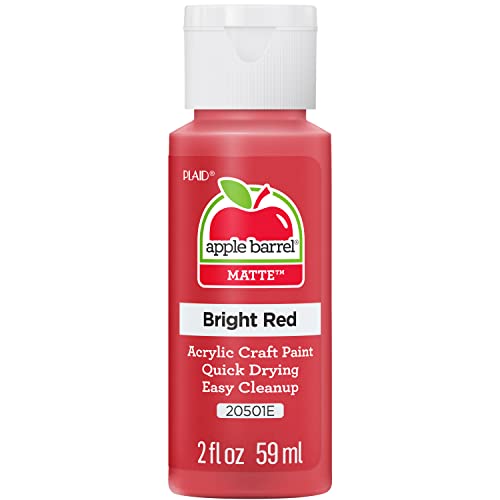
- Red acrylic paint
- Paintbrush
- A4 white drawing paper
- Paper plate
How to Make It
- Adult cuts potato in half and carves a backward capital P into the flat side, removing excess flesh.
- Spread red paint on a paper plate. Press the carved potato into the paint evenly.
- Stamp the P shape onto drawing paper. Let dry for 10 minutes.

5. Pasta Alphabet Necklaces
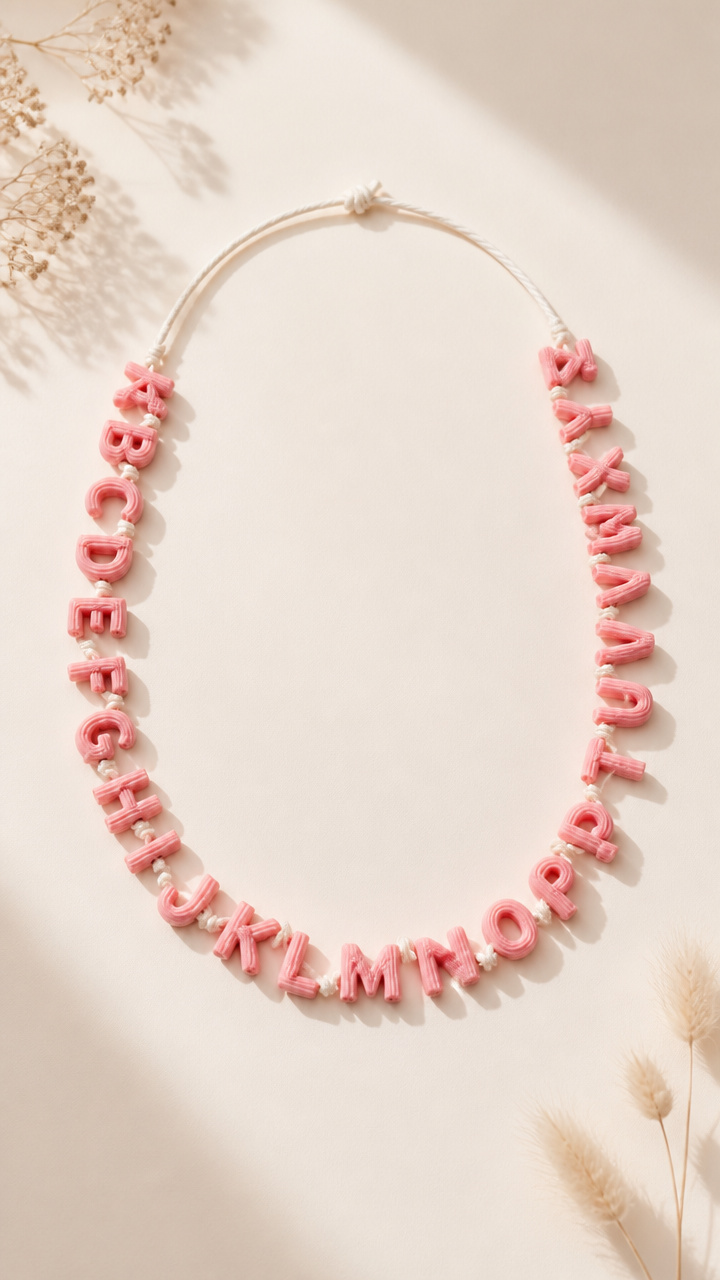
Edible beads strung into wearable letters. Combines fine motor work with snack time.
Materials Needed
- Elbow macaroni (20 pieces per child)
- Thin yarn (60cm per child)
- Tape or yarn needle
- White glue
- Food coloring (pink)
- Plastic cup
- Paper towel
How to Make It
- Mix 10 drops pink food coloring with 1 teaspoon water in a cup. Add macaroni and soak for 3 minutes.
- Spread pasta on a paper towel to dry for 15 minutes, turning once.
- Thread dyed pasta onto yarn using a taped end or needle. Tie ends to wear as a necklace.


6. Popsicle Stick Puzzle
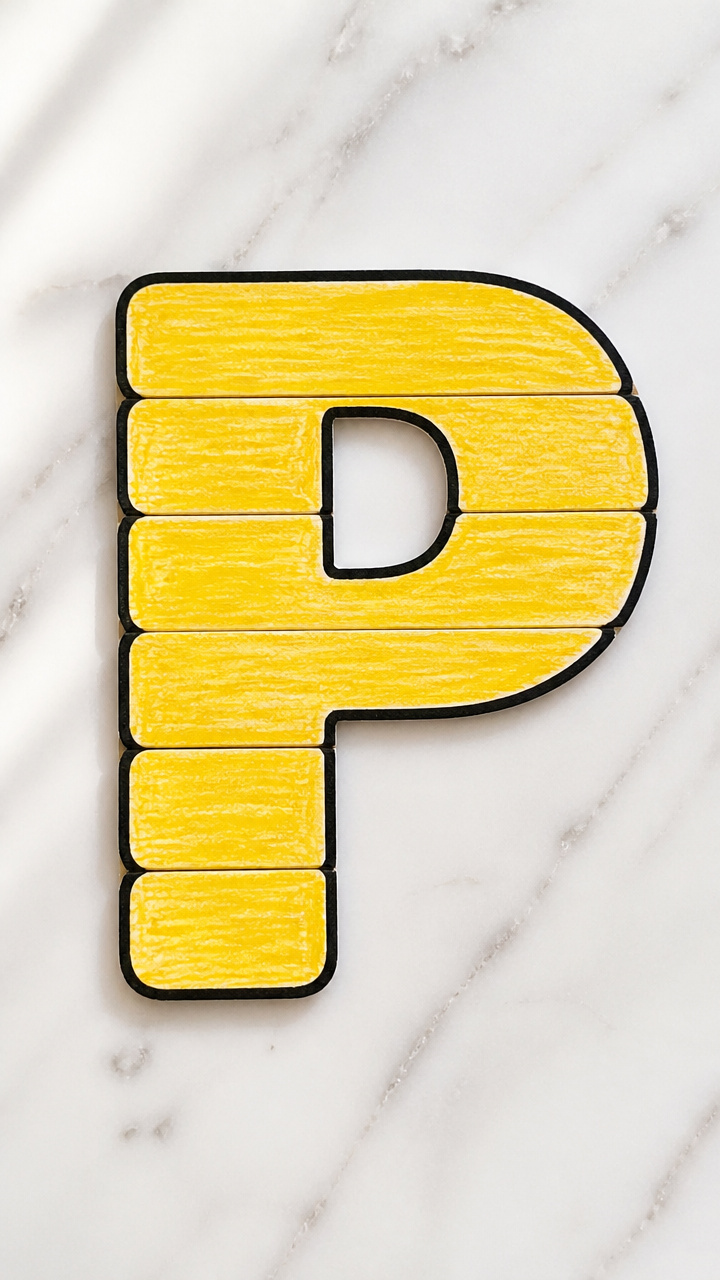
A three-piece puzzle that reveals a big letter P. Builds problem-solving and hand-eye coordination.
Materials Needed
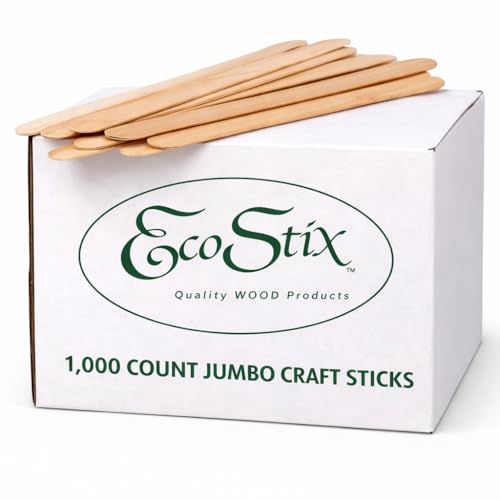
- 3 jumbo popsicle sticks per child
- Black marker
- Glue stick
- Crayon (yellow)
- Ruler
How to Make It
- Lay sticks side by side. Use ruler and marker to draw a vertical line across all three, then a semi-circle on the middle stick.
- Color the semi-circle yellow with crayon.
- Glue the sticks together, then cut apart between each stick to make puzzle pieces.


7. Pepperoni Pizza P
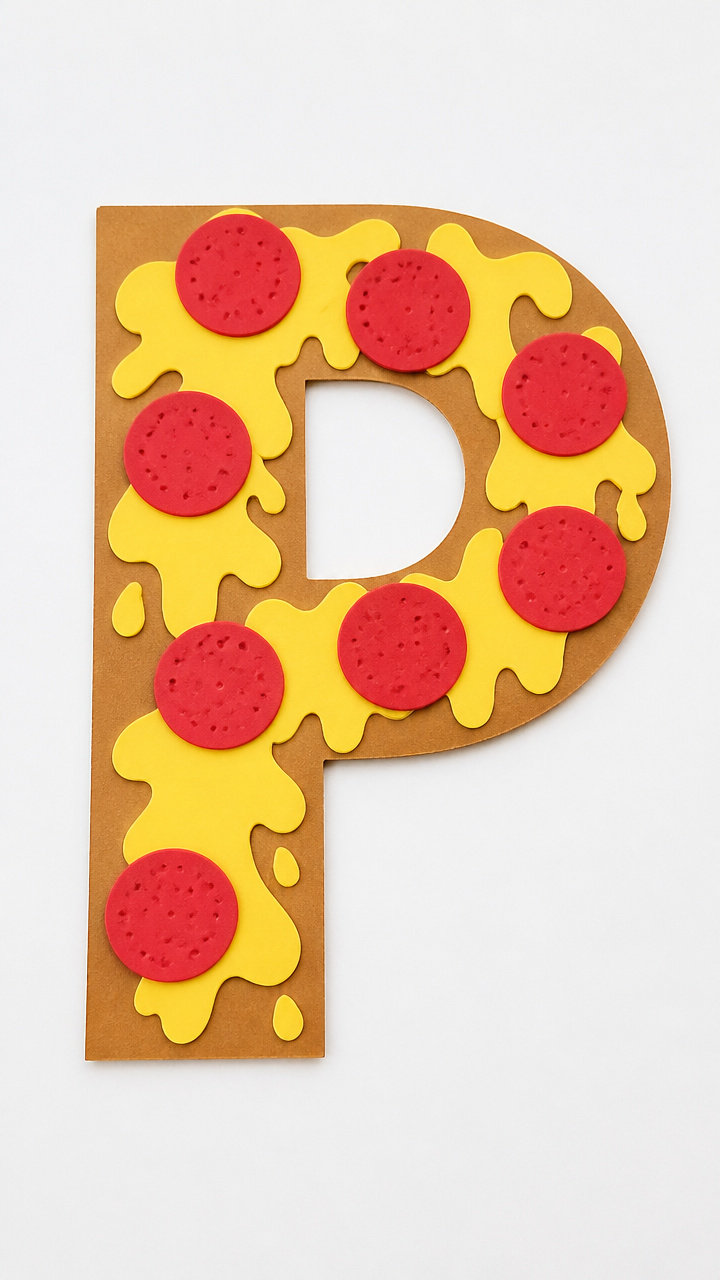
A cardboard pizza slice shaped like a P with red pepperoni circles. Smells like pretend dinner.
Materials Needed
- Brown construction paper
- Red craft foam
- Yellow craft foam
- Scissors
- Glue stick
- Pencil
- Ruler
How to Make It
- Cut a capital P from brown paper using pencil outline and scissors. Make it at least 15cm tall.
- Cut 6 small circles from red foam and 4 from yellow foam.
- Glue red circles first, then yellow ones slightly overlapping to look like melted cheese.


8. Playdough Letter Molds
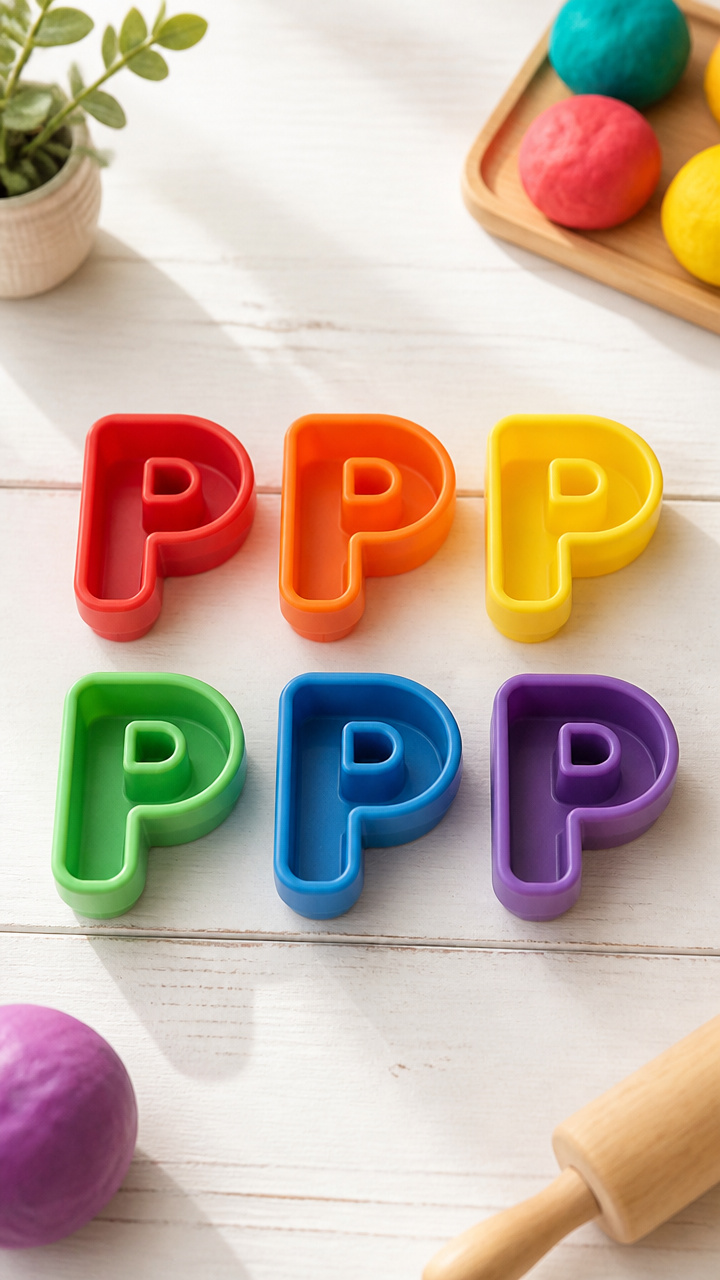
Homemade dough pressed into letter-shaped molds. Scented and safe to mouth for young explorers.
Materials Needed
- 1 cup all-purpose flour
- 1/2 cup salt
- 2 tablespoons vegetable oil
- 1 tablespoon cream of tartar
- 1 cup boiling water
- Extract (peppermint or vanilla, 1/2 tsp)
- Silicone alphabet mold (capital P)
- Mixing pot
- Spoon
How to Make It
- Mix flour, salt, oil, and cream of tartar in a pot. Stir in boiling water and extract carefully.
- Cook over medium heat for 3 minutes, stirring constantly until a ball forms.
- Let cool, then press into silicone P mold and pop out gently.


9. Puddle Splash Painting
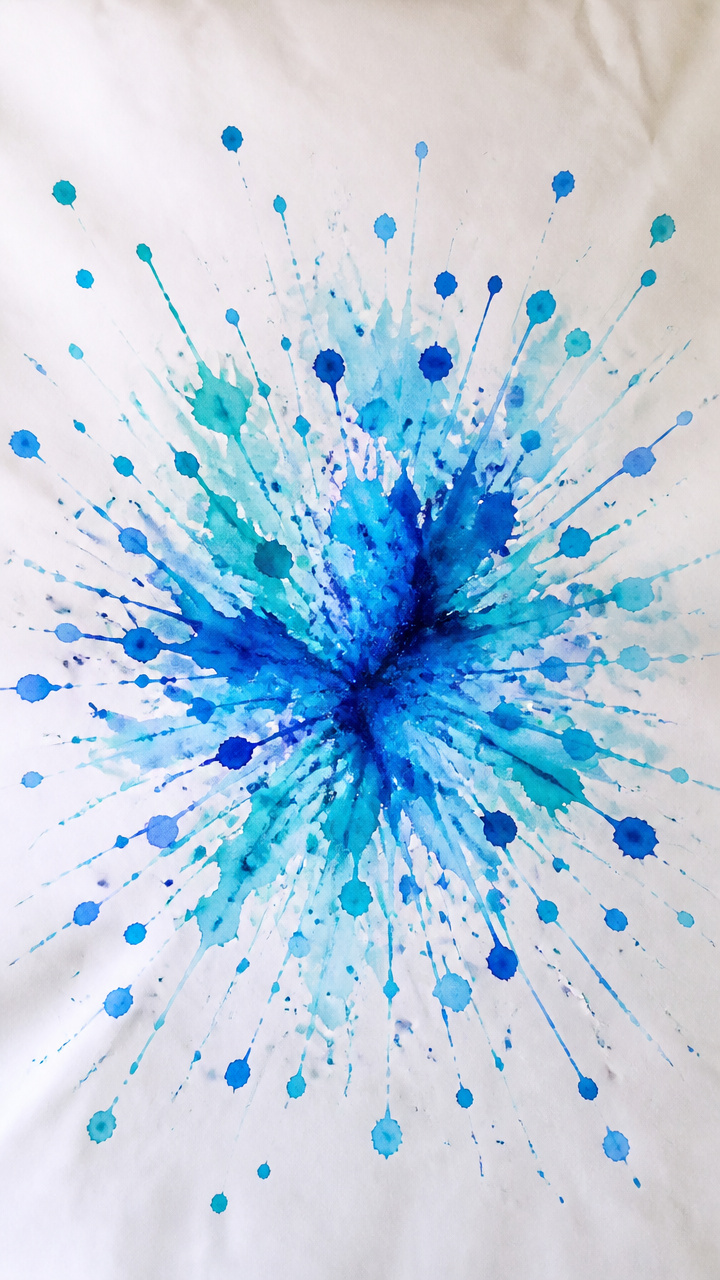
Blue droplets flung onto a giant P to mimic rain. High energy and perfect for outdoors.
Materials Needed
- Large roll of white butcher paper
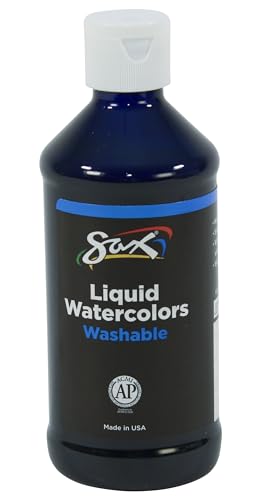
- Blue liquid watercolor
- Eye dropper
- Shallow tray
- Painter’s tape
- Bucket of soapy water
- Sponge
How to Make It
- Draw a giant P on butcher paper with pencil. Tape paper to outdoor table.
- Pour blue watercolor into tray. Show child how to load eye dropper and squeeze above the P.
- After drying, rinse paper with sponge and bucket to simulate rain wash.


10. Popsicle Bridge Build
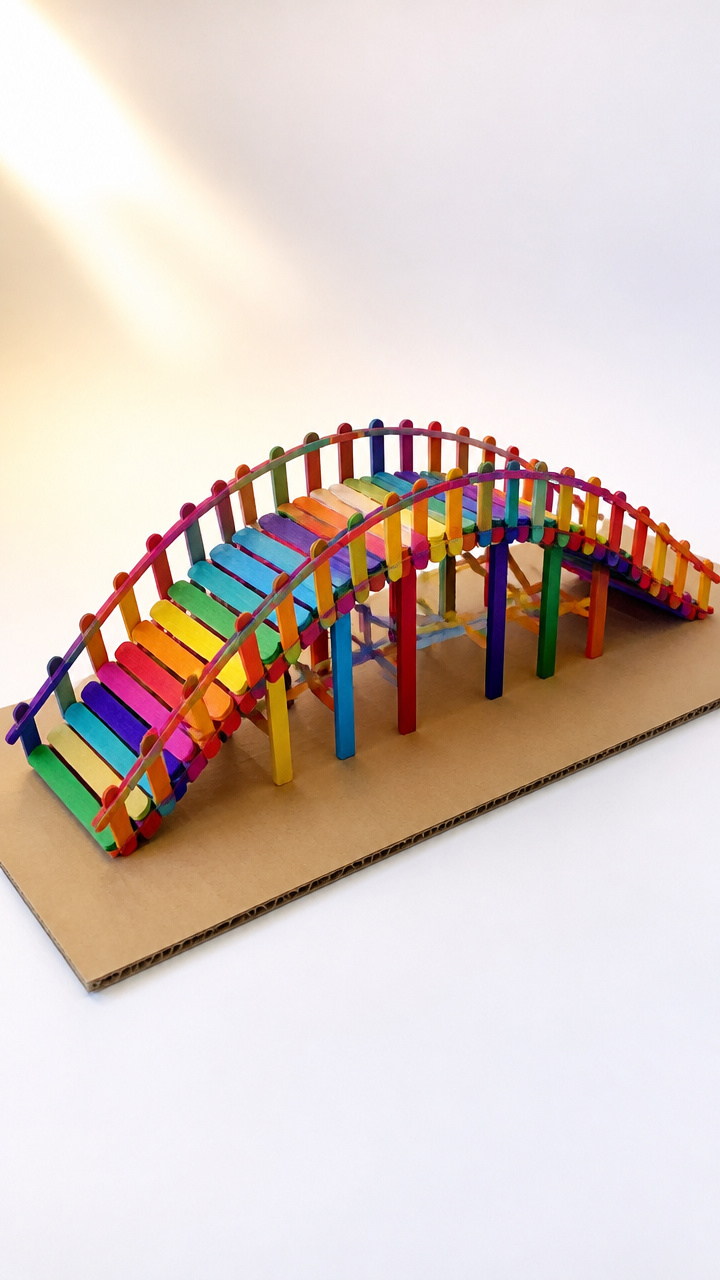
A freestanding P-shaped bridge made from colored sticks. Introduces basic engineering concepts.
Materials Needed
- 20 colored popsicle sticks
- White glue
- Clothespins
- Cardboard base (15cm x 20cm)
- Ruler
How to Make It
- Lay 8 sticks vertically side by side on cardboard. Glue top and bottom ends to secure.
- Place one stick horizontally across the left side to form the P stem. Glue ends.
- Use clothespins to hold curved top in place until dry, about 30 minutes.


11. Pinecone Paint Rollers
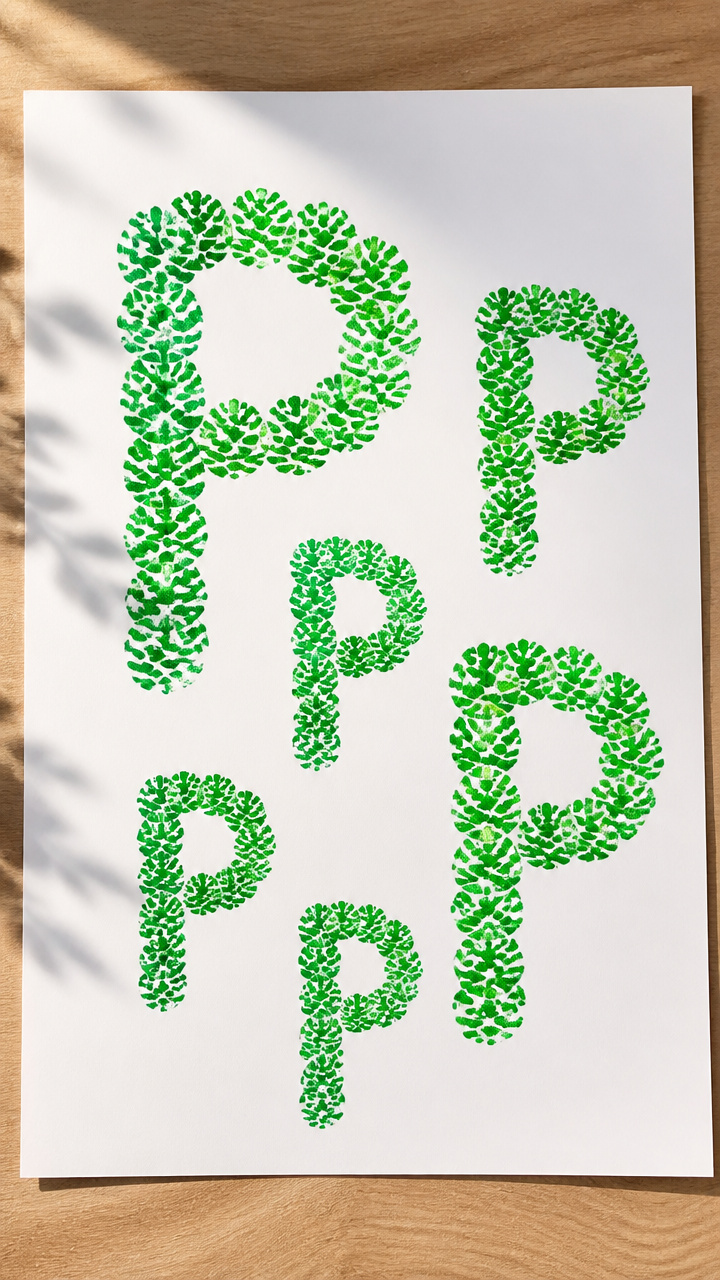
Natural pinecones rolled in paint to create textured P outlines. Brings forest fun indoors.
Materials Needed
- Small pinecone (cleaned)
- Green tempera paint
- Paint tray
- A4 heavy white paper
- Binder clip
How to Make It
- Open binder clip and attach to the pinecone’s base for a handle.
- Pour green paint into tray. Roll pinecone in paint to coat tips.
- Roll along paper to form the curve and stem of a P. Let dry 15 minutes.


12. Punch Card Letter
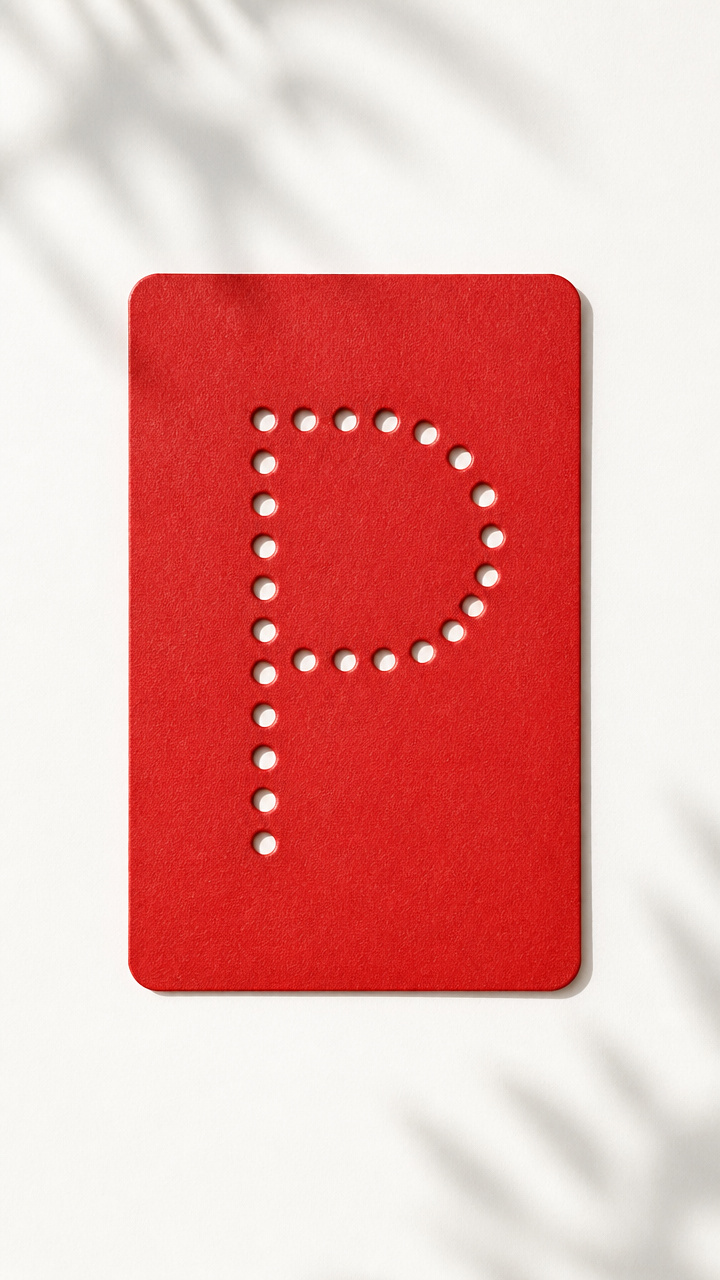
A sturdy P made by punching holes around its edge. Builds hand strength with every poke.
Materials Needed
- Cardstock (red)
- Hole punch
- Pencil
- Ruler
- Eraser
How to Make It
- Draw a large P lightly with pencil on red cardstock using ruler for straight lines.
- Punch holes every 1cm along the outline of the P.
- Erase any visible pencil marks after punching.


13. Popsicle Handle Puppet
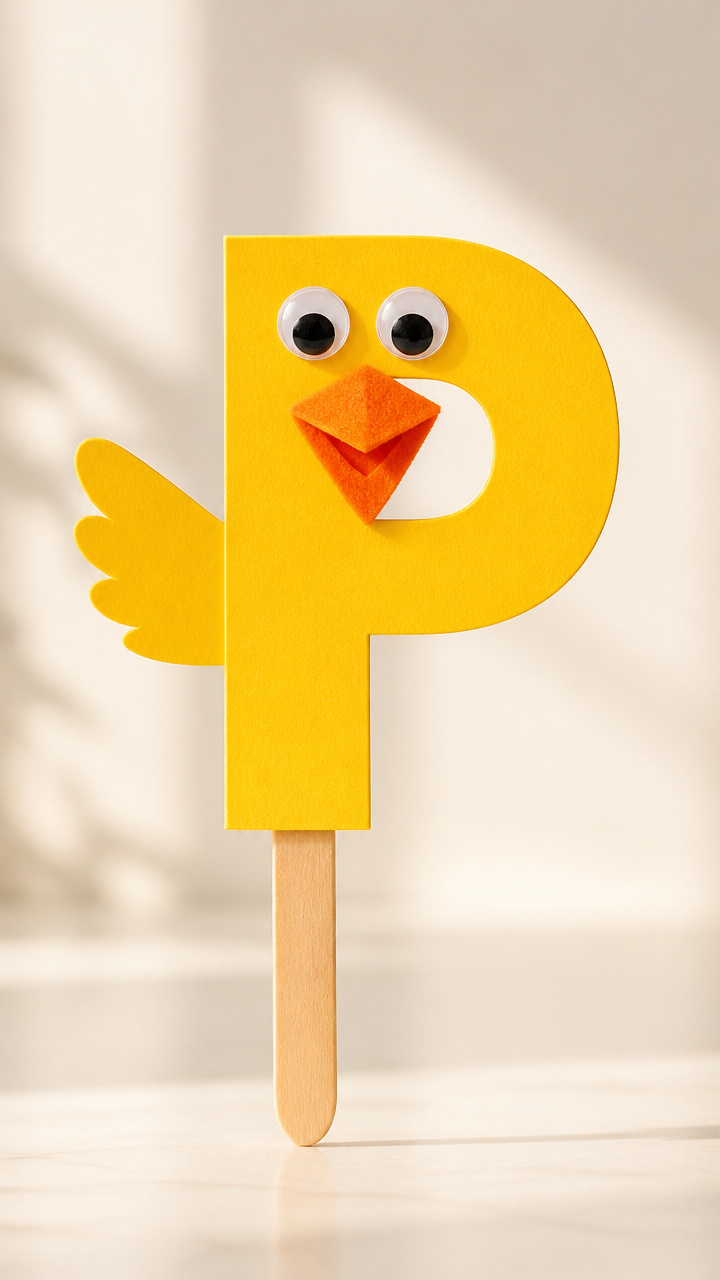
A smiling P character with arms and a hat on a stick. Encourages storytelling and voice play.
Materials Needed
- 1 capital P cut from yellow cardstock
- 1 popsicle stick
- Wiggly eyes (15mm)
- Orange felt (small piece)
- Glue stick
- Crayons
- Scissors
How to Make It
- Color the P with crayons to add a face and shirt. Glue on eyes.
- Cut two arm strips from yellow paper and glue to sides of P.
- Glue popsicle stick to the back and add a triangle hat from orange felt.


14. Pebble Path Letters
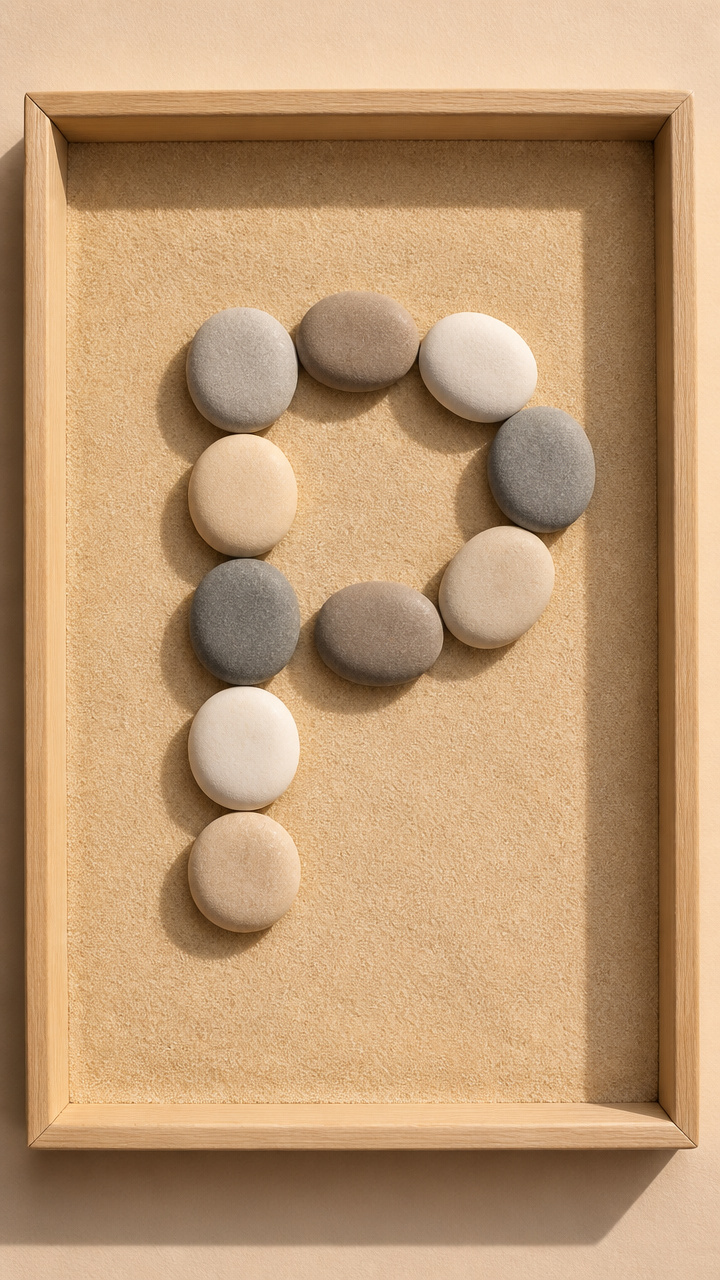
Smooth stones arranged into the shape of a P. Perfect for garden or sensory table play.
Materials Needed
- 12 flat pebbles (about 2cm wide)
- Black permanent marker
- Large tray
- Sand or rice (to fill tray)
How to Make It
- Draw a faint P in sand or rice using your finger as a guide.
- Trace over the line by placing pebbles edge to edge along the path.
- Use marker to write lowercase p on three pebbles for added recognition.


15. Pillowcase Stamp Prints
Fabric squares inked and pressed to make repeat P patterns. Turns laundry into art.
Materials Needed
- White cotton pillowcase
- Fabric paint (navy blue)
- Foam brush
- Cardboard letter P stencil (10cm tall)
- Paper plate
- Clothes pins
- Iron
How to Make It
- Lay pillowcase flat and slide cardboard inside to prevent bleed-through.
- Place stencil on fabric. Pour paint on plate and load brush lightly.
- Paint over stencil, remove carefully, and let dry 20 minutes. Heat set with iron.


You’ve got everything you need to start today. Grab a few supplies and watch your little learner light up with each new P creation.