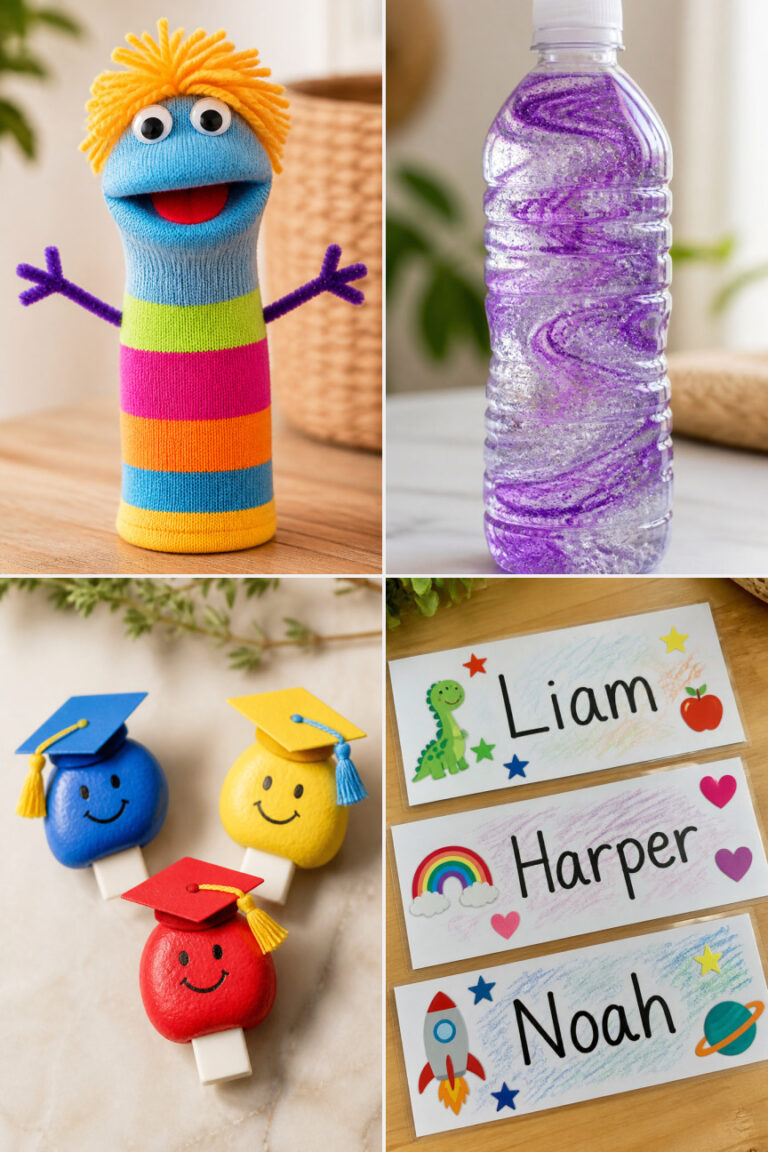
15 Simple Letter G Crafts for Preschoolers
Introducing the letter G to little learners can be joyful and hands on. These crafts invite tiny fingers to explore shapes, textures, and creativity while building early literacy skills.
Each idea uses common classroom or household supplies and focuses on one clear skill like cutting, gluing, painting, or stamping. They’re made for real preschool moments, not perfect photos.
1. Glittery G Sensory Bottle
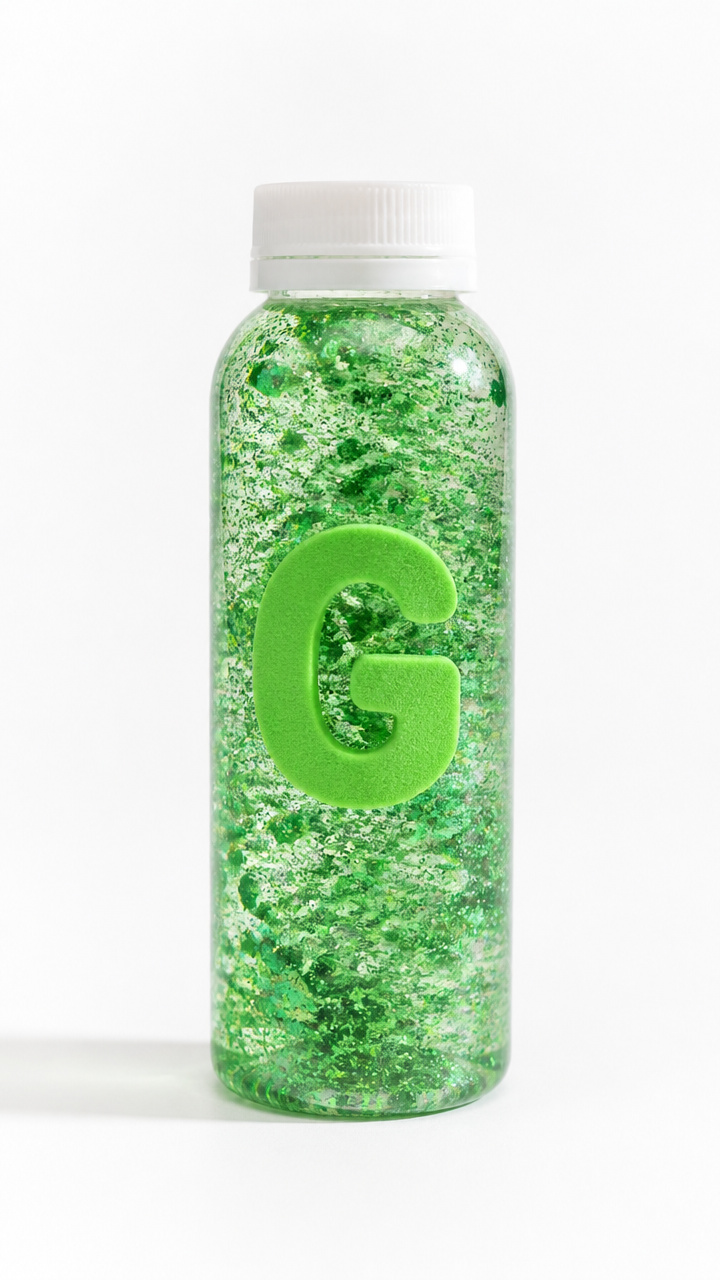
A swirling glitter jar shaped like the letter G captivates attention and calms active minds. The slow fall of glitter supports focus and fine motor awareness.
Materials Needed
- Clear 8 oz plastic bottle with lid
- White school glue, 1/2 cup
- Green glitter, 2 tablespoons
- Clear hair gel, 1/4 cup
- Alphabet foam sticker: G, 1 piece
- Hot glue gun and glue stick
How to Make It
- Pour white glue into the bottle. Add green glitter and clear hair gel.
- Screw the lid on tightly. Shake well for 30 seconds until contents mix and sparkle.
- Use hot glue to seal the lid to the bottle. Attach the foam G to the outside with more hot glue.


2. Garden Snail with Googly Eyes
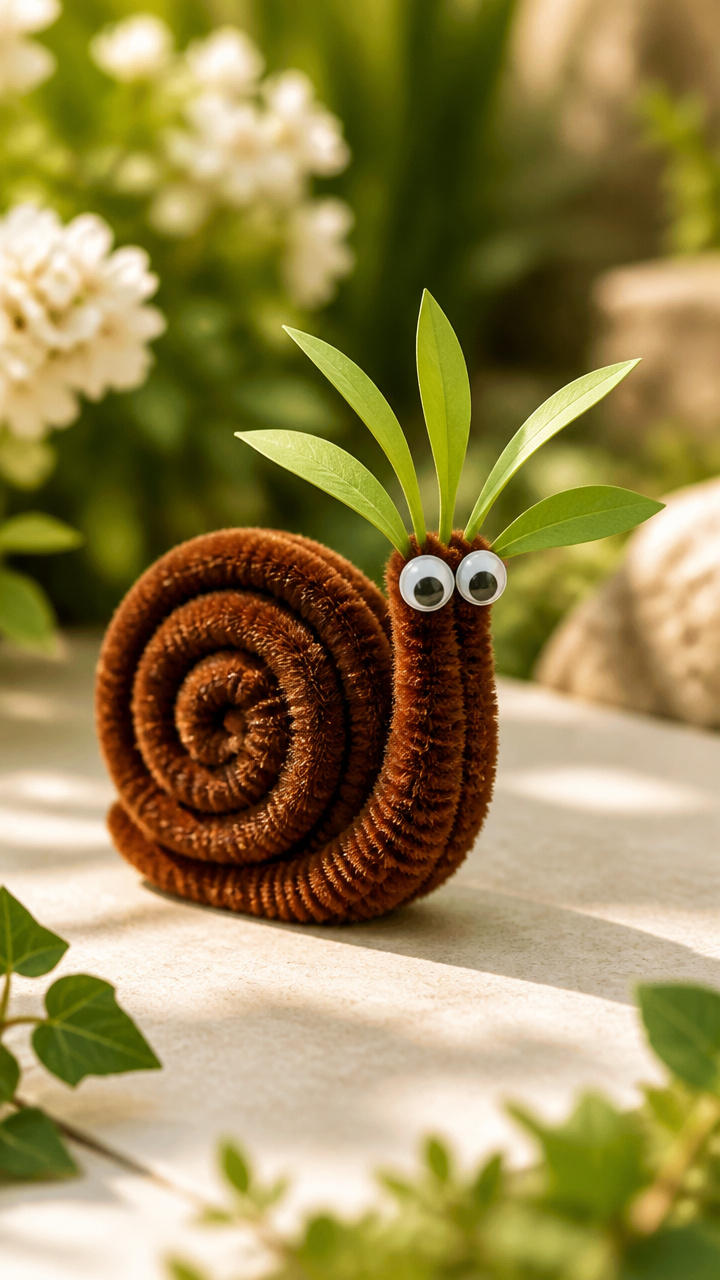
A bumpy snail shell shaped like a lowercase g teaches curve recognition through touch. Wiggly eyes add humor and expression.
Materials Needed
- Brown pipe cleaner, 1 piece
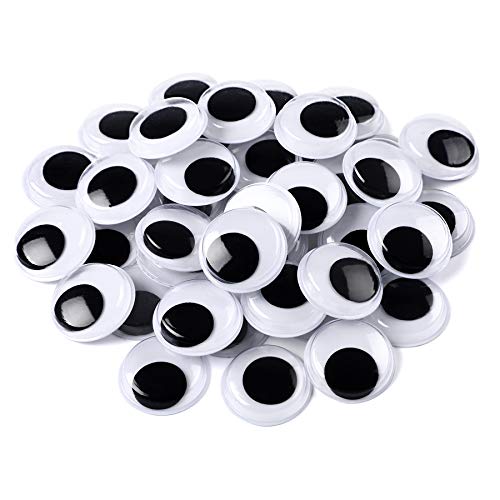
- Googly eyes, 2 pack (size 10 mm)
- Green cardstock, 1 sheet
- Scissors (blunt tip)
- Glue stick
- Black fine-tip marker
How to Make It
- Cut a spiral from the green cardstock to make the shell. Start at the edge and wind inward.
- Coil the brown pipe cleaner into a tight spiral. Glue it in the center of the paper spiral.
- Glue two googly eyes to the end of a short strip of green cardstock. Draw a mouth with the marker. Attach to the base of the spiral.


3. Grape Stamped Alphabet Art
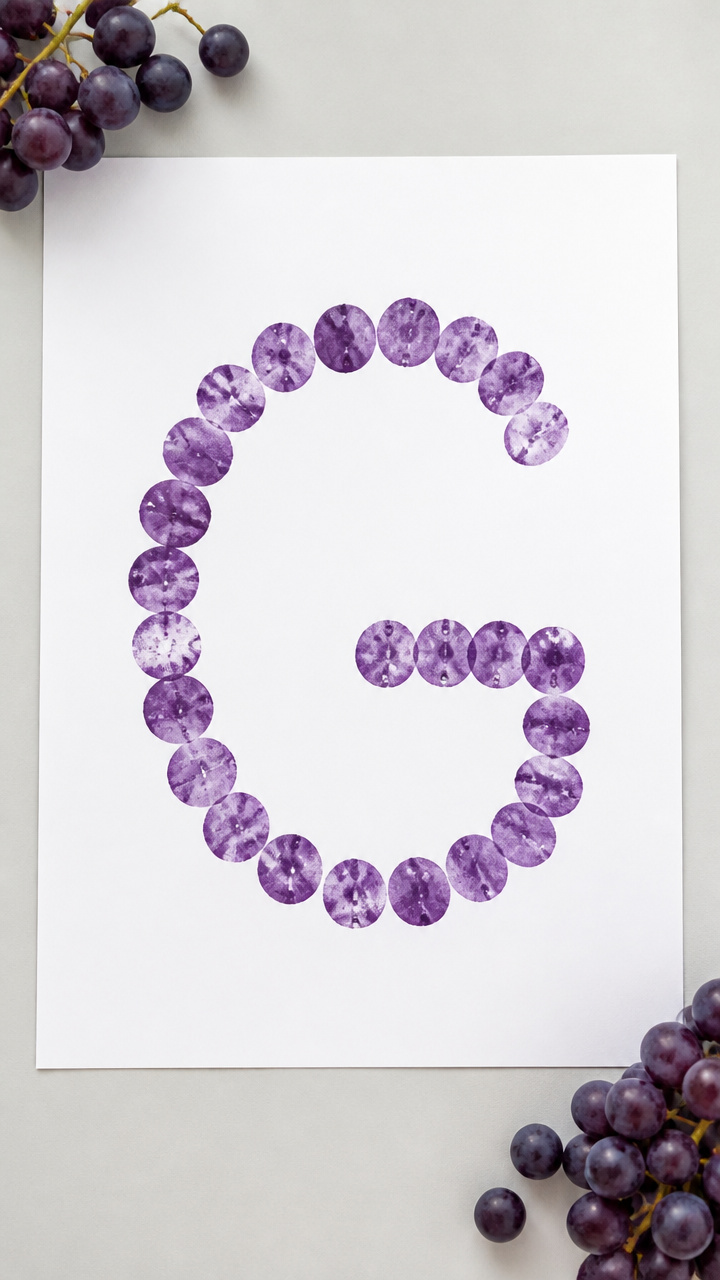
Real grapes become natural paint stamps that leave round purple marks. This craft connects food, art, and letter shape in one sensory-rich activity.
Materials Needed
- Fresh green grapes, 6 pieces
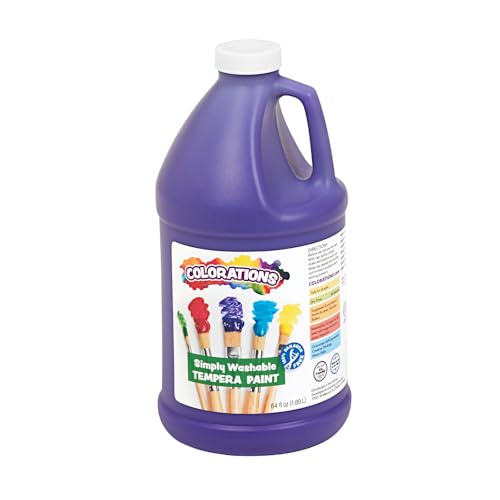
- Purple tempera paint, 2 tablespoons
- Shallow plastic tray
- A4 white drawing paper
- Popsicle stick, 1 piece
- Glue
How to Make It
- Cut each grape in half. Place face down in the tray of purple paint.
- Press three grape halves in a curved line to form the shape of a lowercase g. Let dry 10 minutes.
- Glue a popsicle stick to the back to turn it into a handheld display.


4. Giant G Mosaic
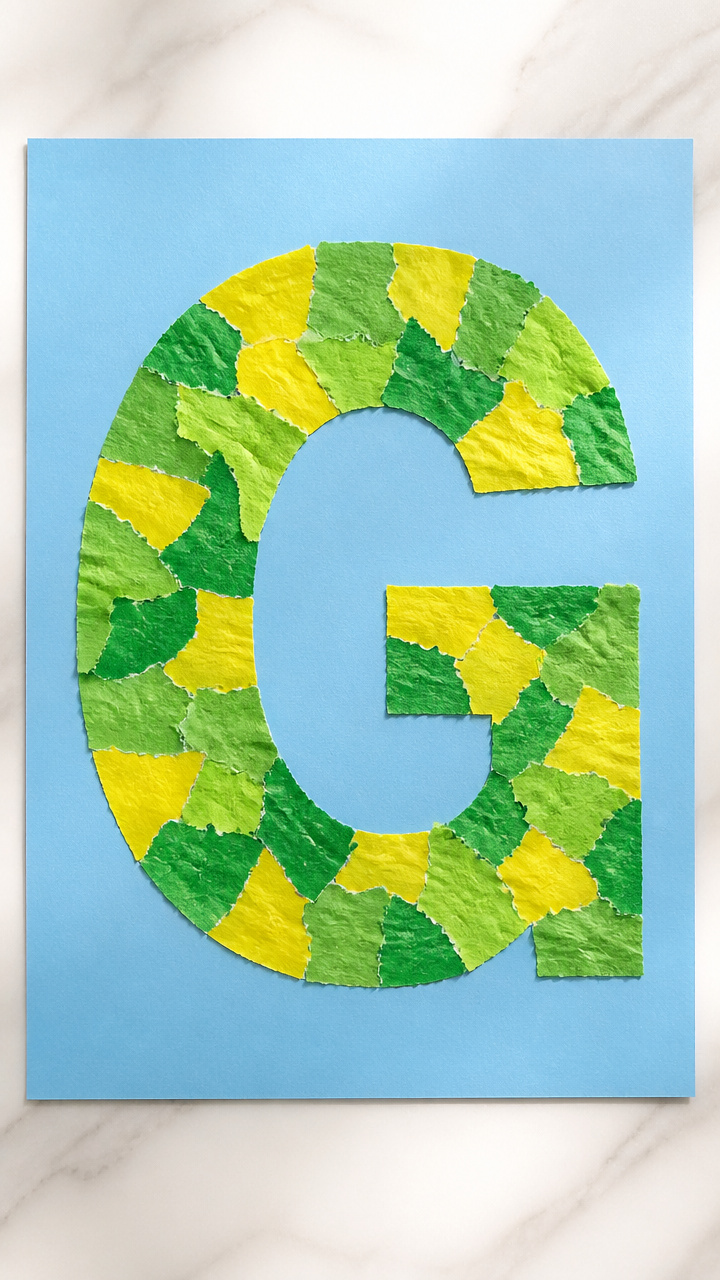
Tiny squares of colored tissue paper build a large letter G through careful placement. This strengthens hand control and color sorting.
Materials Needed
- Light blue construction paper, 1 sheet (12×18 inches)
- Green tissue paper, 1/4 sheet
- Yellow tissue paper, 1/4 sheet
- Child-safe glue spreader
- Scissors
- Pencil
- Ruler
How to Make It
- Draw a giant lowercase g on the blue paper using pencil and ruler for smooth curves.
- Tear tissue paper into 1 inch squares. Mix green and yellow pieces in a bowl.
- Spread glue inside the pencil lines. Press tissue squares close together to fill the shape.


5. Gummy Bear Sorting Tray
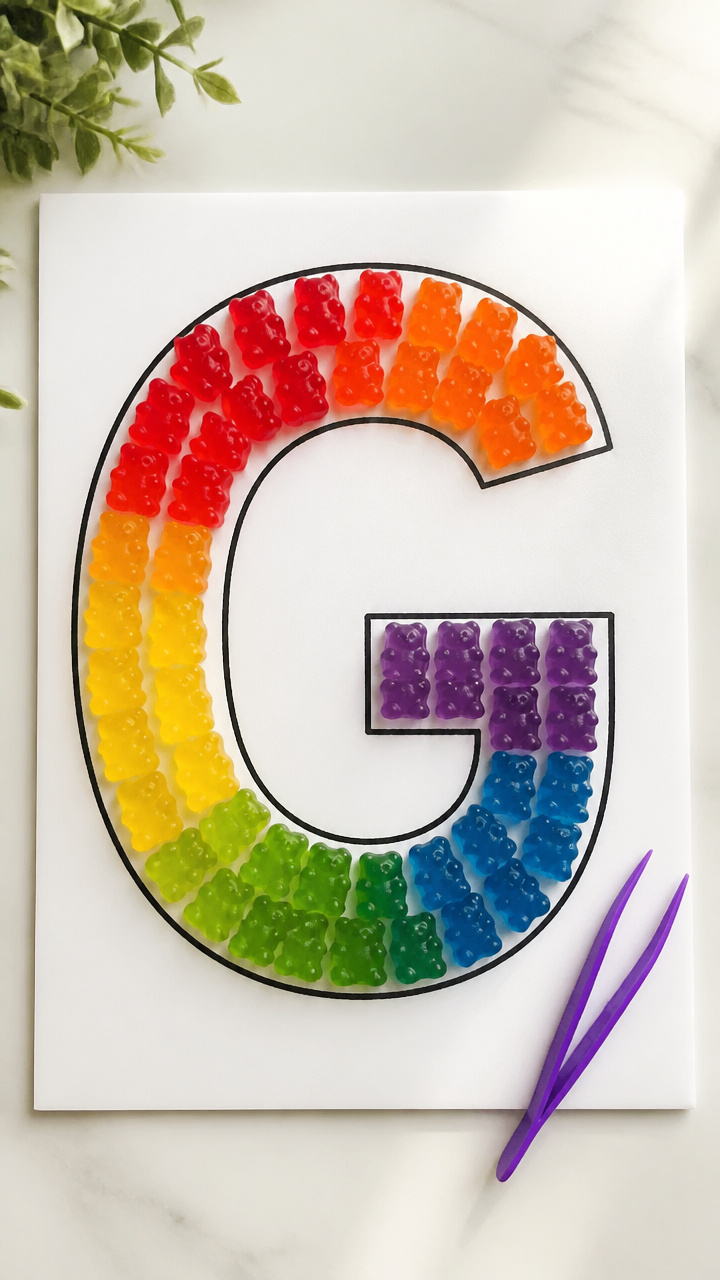
Colorful gummy bears get sorted by hue into letter G compartments. This combines fine motor practice with early math concepts.
Materials Needed
- Foam sheet: white, 1 sheet (9×12 inches)
- Black permanent marker
- Plastic tweezers, 1 pair
- Assorted color gummy bears, 30 pieces
- Scissors
How to Make It
- Cut the foam sheet into five equal vertical strips. Arrange them side by side to form a capital G shape.
- Label each strip with a color name using the marker. Leave space at the bottom for bears.
- Use tweezers to place matching gummy bears on each color strip. Count aloud as you go.


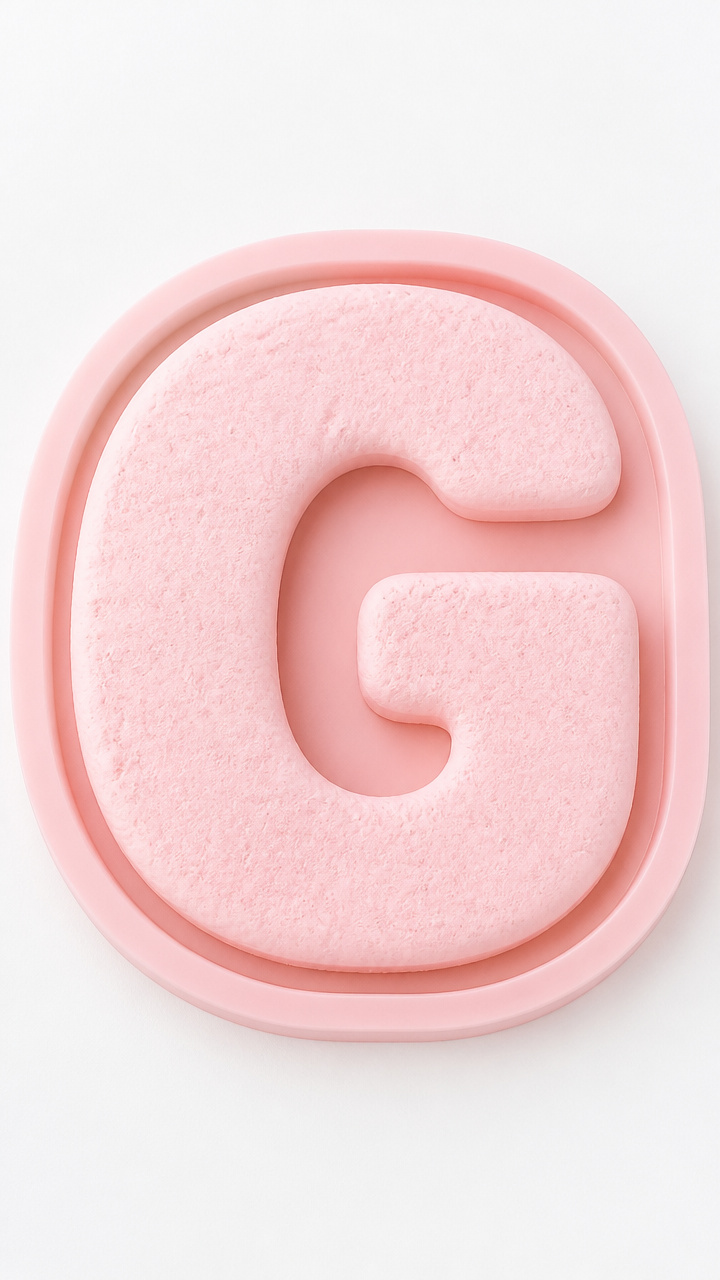
6. Garage Playdough Letters
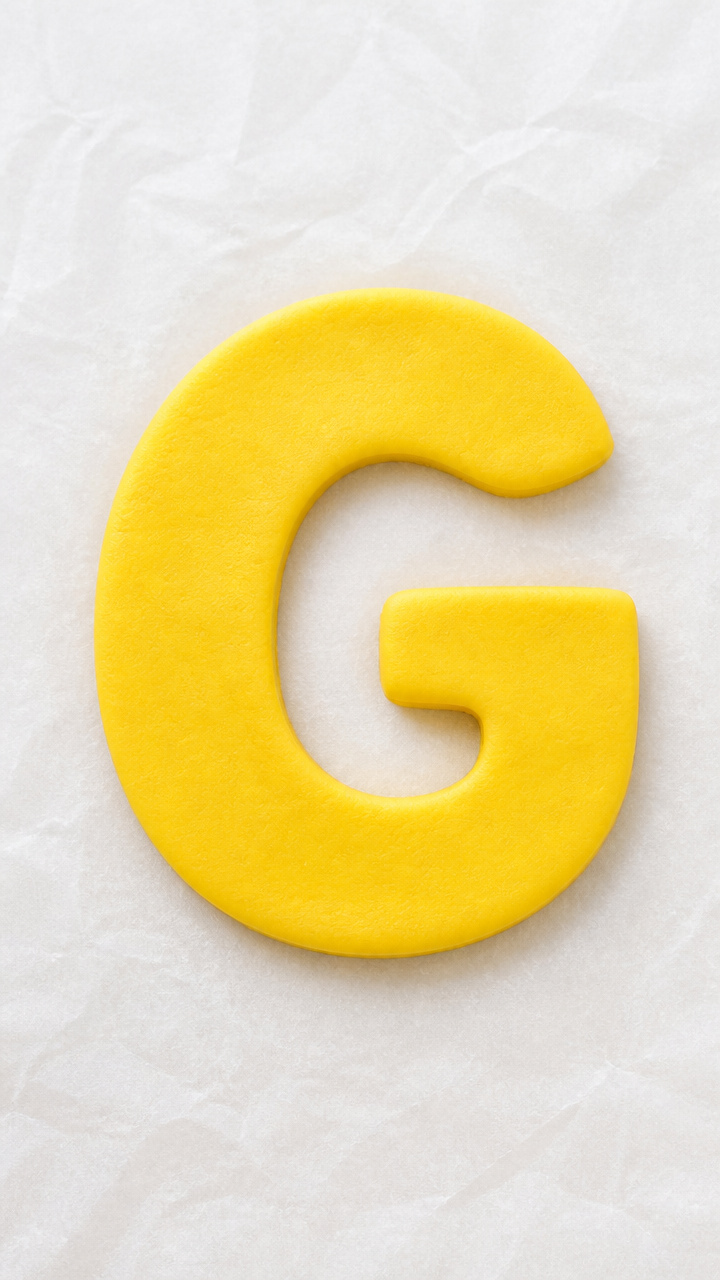
Homemade playdough gets rolled and shaped into curvy lowercase gs. Kneading supports hand strength and letter memory.
Materials Needed
- Homemade playdough, 1 cup (any color)
- Plastic knife
- Alphabet cookie cutter: G, 1 piece
- Rolling pin (child size)
- Wax paper sheet, 1 piece
How to Make It
- Place wax paper on the table. Put the playdough on top and flatten with your palm.
- Roll the dough smooth with the rolling pin. Press the G cookie cutter straight down.
- Lift the cutter carefully. Use the plastic knife to trim excess dough around the edges.


7. Goldfish Cracker Frame
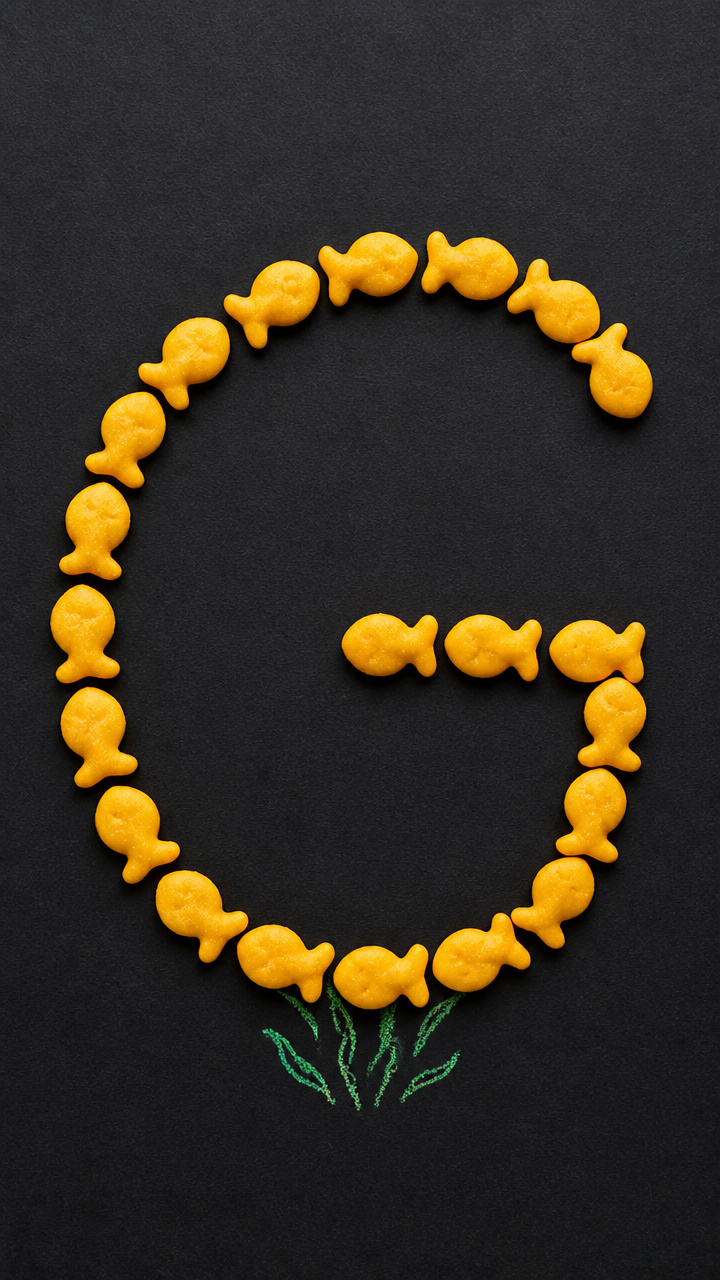
Edible goldfish crackers form a shimmering border around a paper G. This snack-based craft blends hunger and learning.
Materials Needed
- Orange goldfish crackers, 20 pieces
- White glue
- Black construction paper, 1 sheet (9×12 inches)
- Green crayon
- Letter G stencil, 1 piece
How to Make It
- Trace the G stencil in the center of the black paper with the green crayon.
- Apply small dots of white glue along the outer edge of the traced G.
- Press goldfish crackers onto the glue, tail end touching the line, facing outward like rays.


8. Grass Seed Growing G
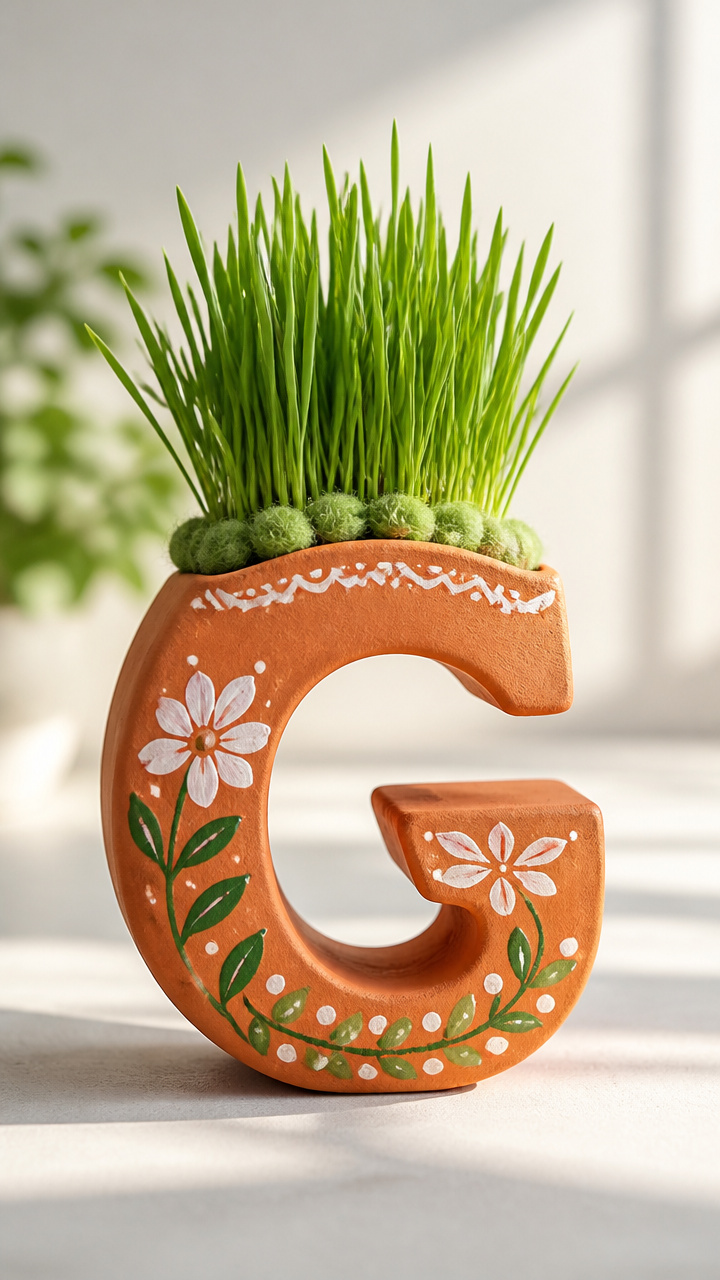
A painted pot grows real grass in the shape of a G. Watching sprouts emerge teaches patience and plant basics.
Materials Needed
- Terracotta pot, 4 inch diameter
- Green acrylic paint
- Paintbrush, size 4 round
- Cotton balls, 6 pieces
- Grass seed, 1 teaspoon
- Water spray bottle
How to Make It
- Paint the outside of the pot with green acrylic paint. Draw a bold capital G near the top.
- Fill the pot halfway with cotton balls. Sprinkle grass seed evenly over the surface.
- Mist with water daily. In 5–7 days, green sprouts will grow in the shape of the G.


9. Globe Dot Painting
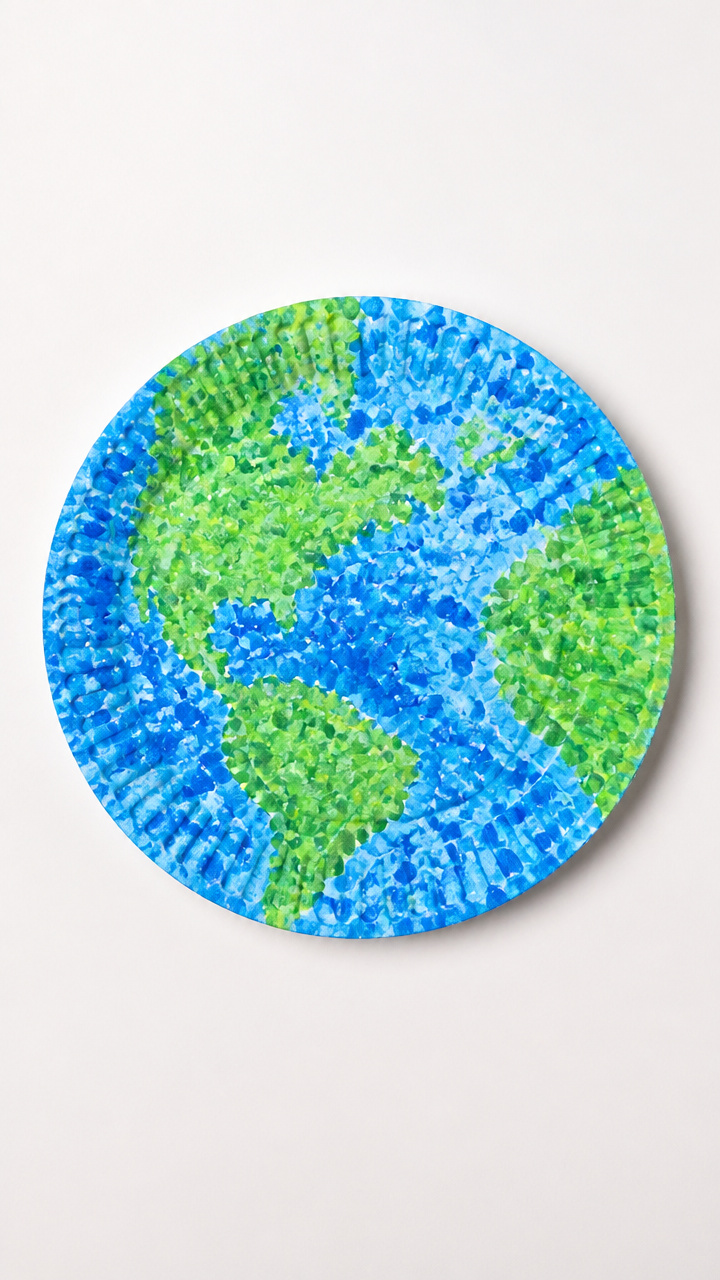
Cotton swabs create dotted continents on a round paper globe. This introduces world shapes through rhythmic dotting.
Materials Needed
- Round paper plate, 1 piece
- Blue tempera paint, 3 tablespoons
- Green tempera paint, 1 tablespoon
- Cotton swabs, 5 pieces
- Pencil
- Ruler
How to Make It
- Paint the entire plate blue. Let dry for 15 minutes on a drying rack.
- Use pencil and ruler to lightly sketch a curved line across the center for the equator.
- Dip swab ends in green paint. Dot landmass shapes above and below the line to form a G-like curve.


10. Gigantic G Body Tracing
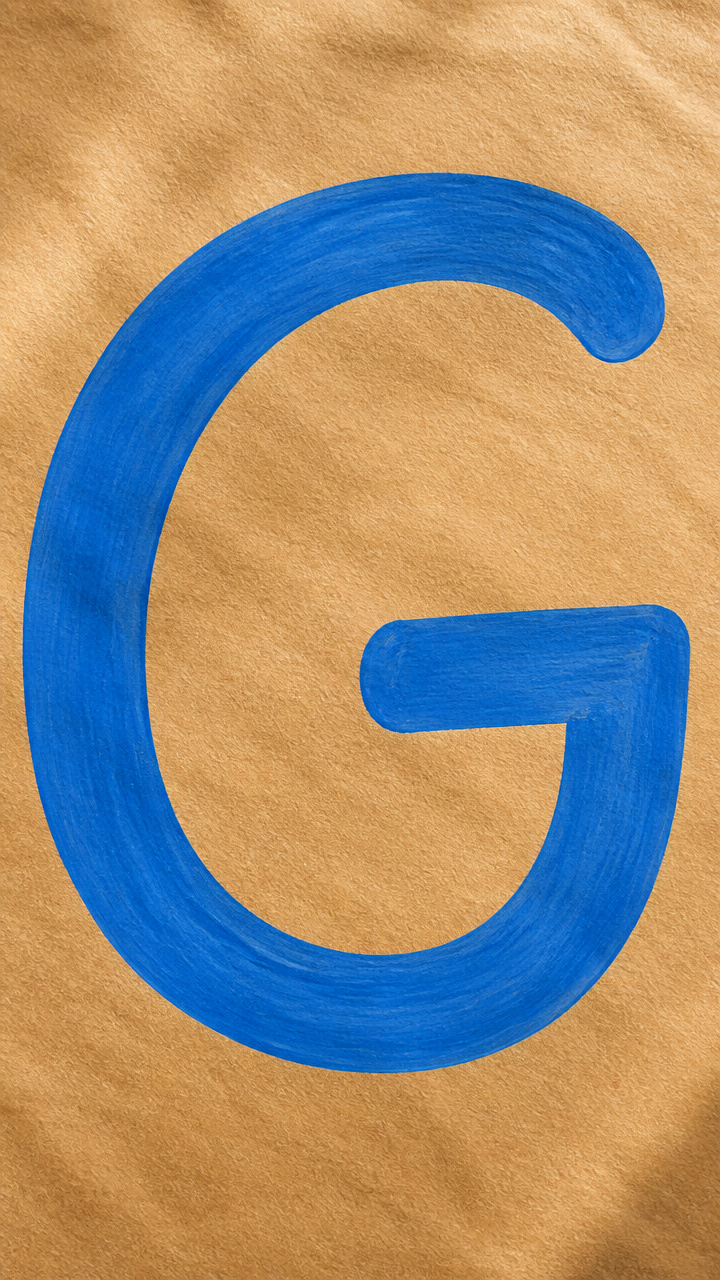
A child's body becomes the tool to draw a giant G on paper. Full-body movement cements letter shape in muscle memory.
Materials Needed
- Brown kraft paper roll, 3 feet length
- Masking tape, 12 inches
- Washable blue paint, 1/4 cup
- Foam brush, 2 inch wide
- Baby wipes
How to Make It
- Tape the kraft paper to the floor. Have the child lie down with arms outstretched in a curve.
- Use the foam brush to paint along one arm, the body, and the leg to form a flowing g shape.
- Lift the child gently. Let the paint dry before touching. Wipe hands and face with baby wipes.


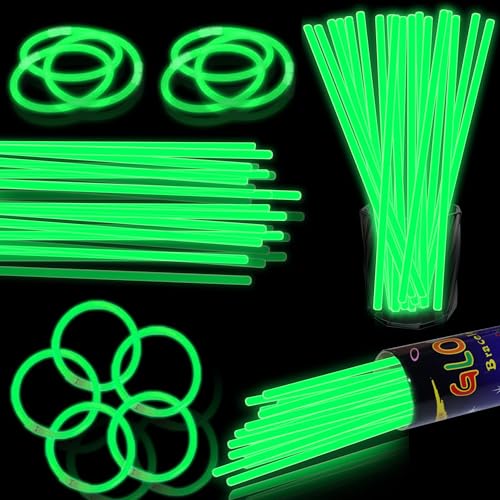
11. Glow Stick G Sculpture
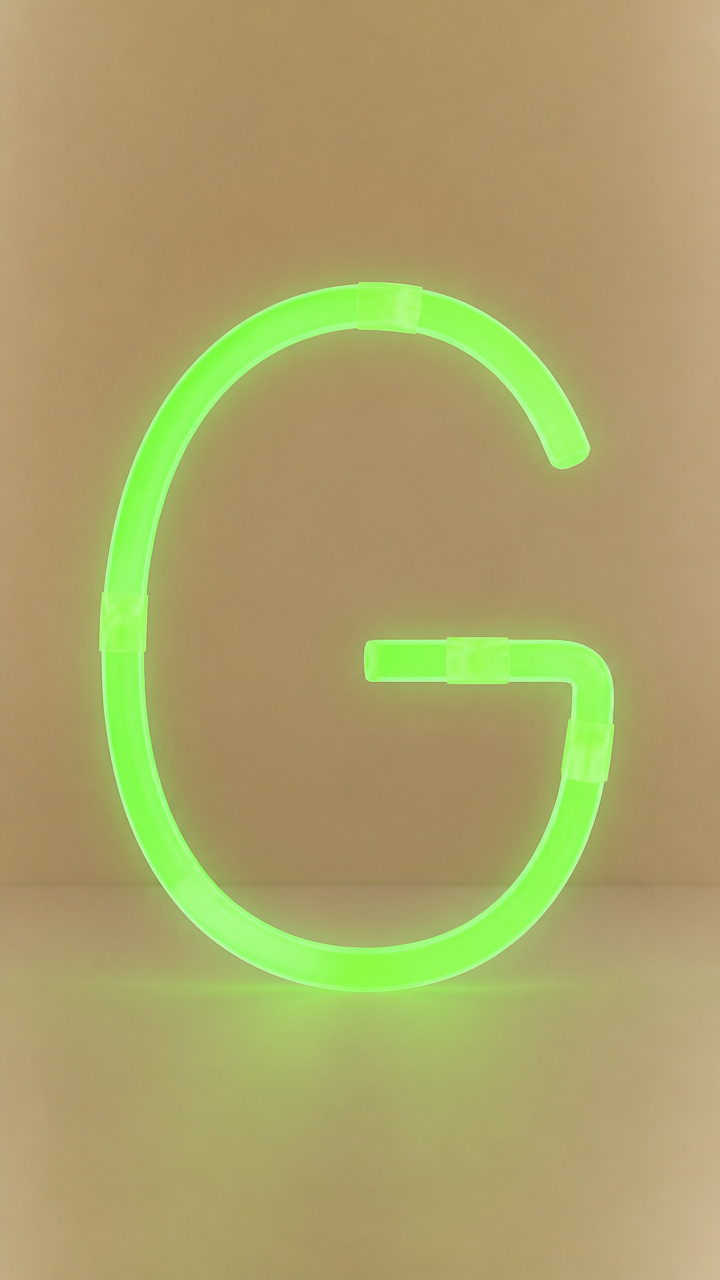
Bent glow sticks form a glowing lowercase g in the dark. Light play adds wonder to letter learning.
Materials Needed
- Green glow stick, 1 piece
- Clear packing tape, 6 inches
- Dark room
- Camera (optional)
How to Make It
- Snap the glow stick to activate it. Bend it slowly into a lowercase g shape.
- Use two pieces of tape to secure the ends where the stick overlaps on itself.
- Turn off the lights. Hold the glowing G up to see its shape. Take a photo if desired.


12. Garden Rock Letters
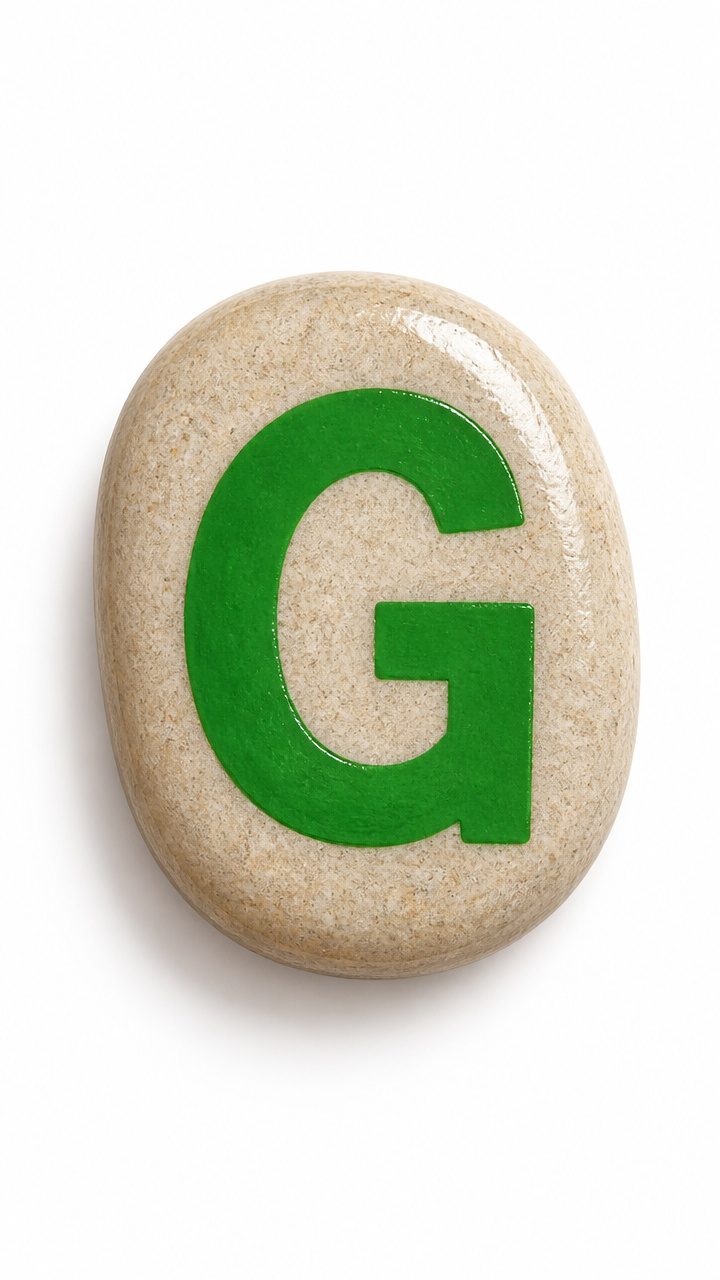
Smooth stones get painted with glossy green Gs. These outdoor markers last for seasons and invite nature play.
Materials Needed
- Flat river rock, 1 piece (about 3 inches long)
- Green acrylic paint
- Fine paintbrush, size 2
- Clear nail polish
- Paper plate
How to Make It
- Place the rock on a paper plate. Paint a capital G in the center with the green acrylic.
- Let dry for 20 minutes. Turn the rock over and apply a second coat if needed.
- Brush a layer of clear nail polish over the letter to seal it. Let dry completely.


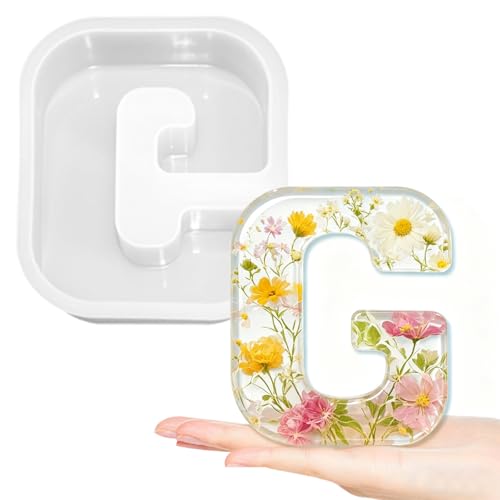
13. Gak and G Letter Mold
Homemade gak stretches and presses into a G shaped mold. Tactile play builds neural connections to letter forms.
Materials Needed
- Homemade gak (flour and salt based), 1 cup
- Silicone alphabet mold: G, 1 piece
- Measuring spoon
- Plastic spoon
How to Make It
- Scoop gak onto the silicone mold. Press it firmly into every crevice using the plastic spoon.
- Scrape excess gak off the top with the edge of the spoon. Lift slowly by the mold edges.
- Peel the soft G out. Let sit for 2 minutes to firm before handling.


14. Guitar String Art
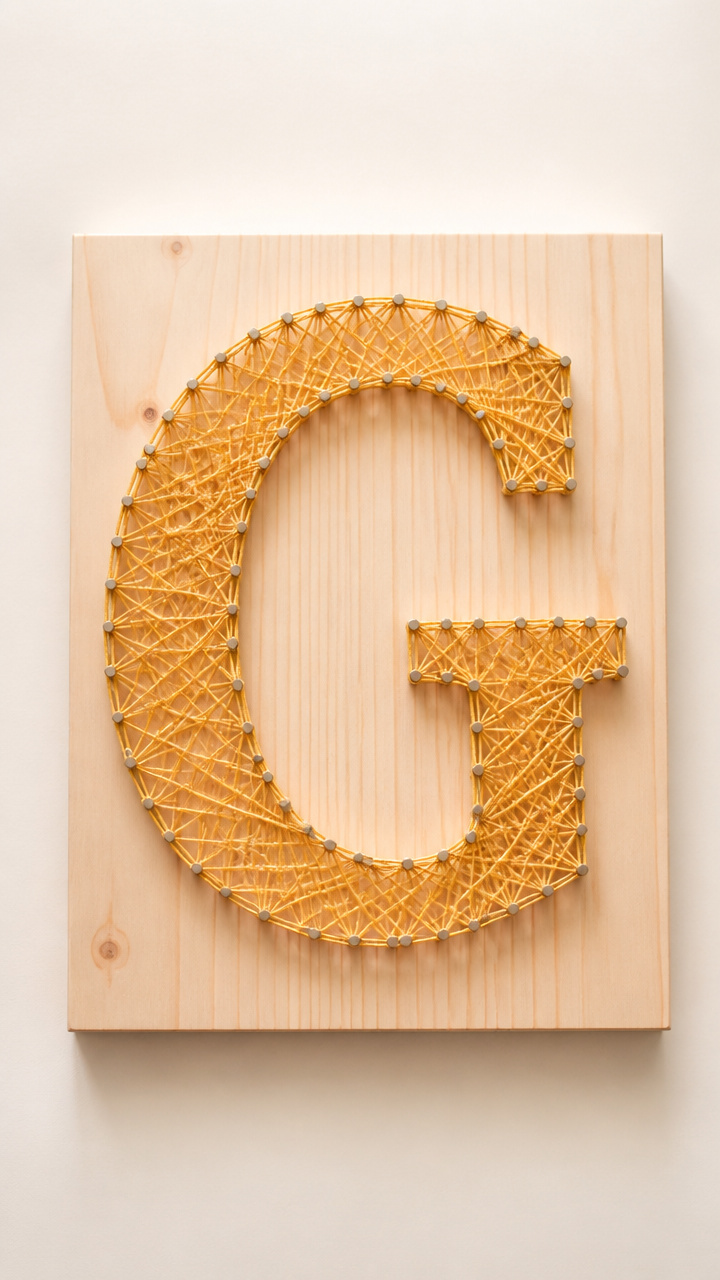
Nails and yarn trace the curves of a capital G on wood. This sturdy craft doubles as wall art.
Materials Needed
- Softwood board, 6×6 inches
- Small nails, 15 pieces (1 inch)
- Hammer
- Yellow craft yarn, 2 feet
- Pencil
- Stencil: capital G
How to Make It
- Place the stencil on the board. Tap nails along the outline of the G, spacing them 1/2 inch apart.
- Remove the stencil. Tie one end of the yarn to the bottom nail.
- Wrap yarn around each nail in order, following the G path. Tie off at the end.


15. Gallon Bag Ice Painting
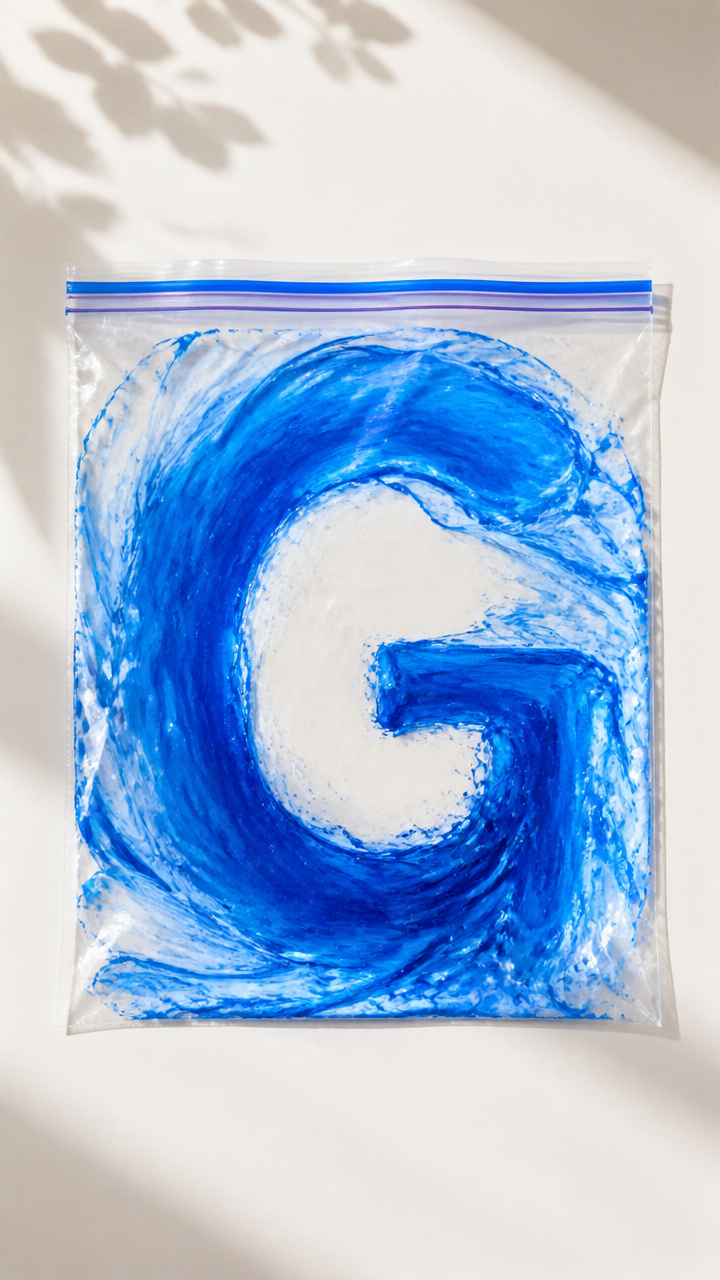
Frozen paint bags glide across paper leaving cool G trails. Temperature play adds surprise to mark making.
Materials Needed
- Small zip-top plastic bag, 1 quart
- Blue washable paint, 2 tablespoons
- Freezer
- White finger paint paper, 1 sheet
- Tape
How to Make It
- Put blue paint in the bag. Seal it tightly. Freeze flat for at least 4 hours.
- Tape the paper to the table. Place the frozen bag on top.
- Move the icy bag in G shapes. Watch how the cold paint melts and spreads as you push.
These letter G crafts meet preschoolers where they are — curious, busy, and full of ideas. Pick one that fits your day and start creating with joy.