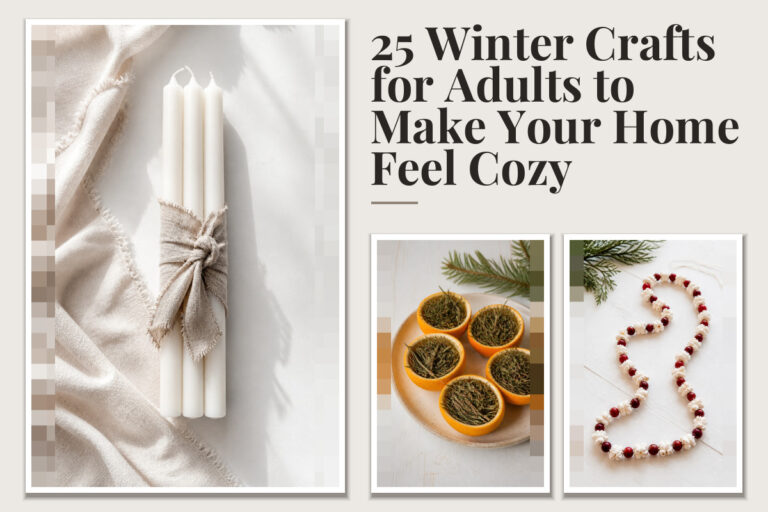
16 Cozy DIY Winter Crafts: Candles, Luminaries, and Pillows

Soft candlelight flickering through frosted glass, plush pillows piled on the couch, the scent of evergreen in the air—winter evenings feel different when you’ve made the details yourself. There’s a quiet joy in crafting things that warm both your hands and your home.
These sixteen projects bring texture, light, and comfort into your space. Each one uses precise techniques and clear materials so you can create with confidence, even if you’re new to crafting.
1. Frosted Mason Jar Candle
Easy
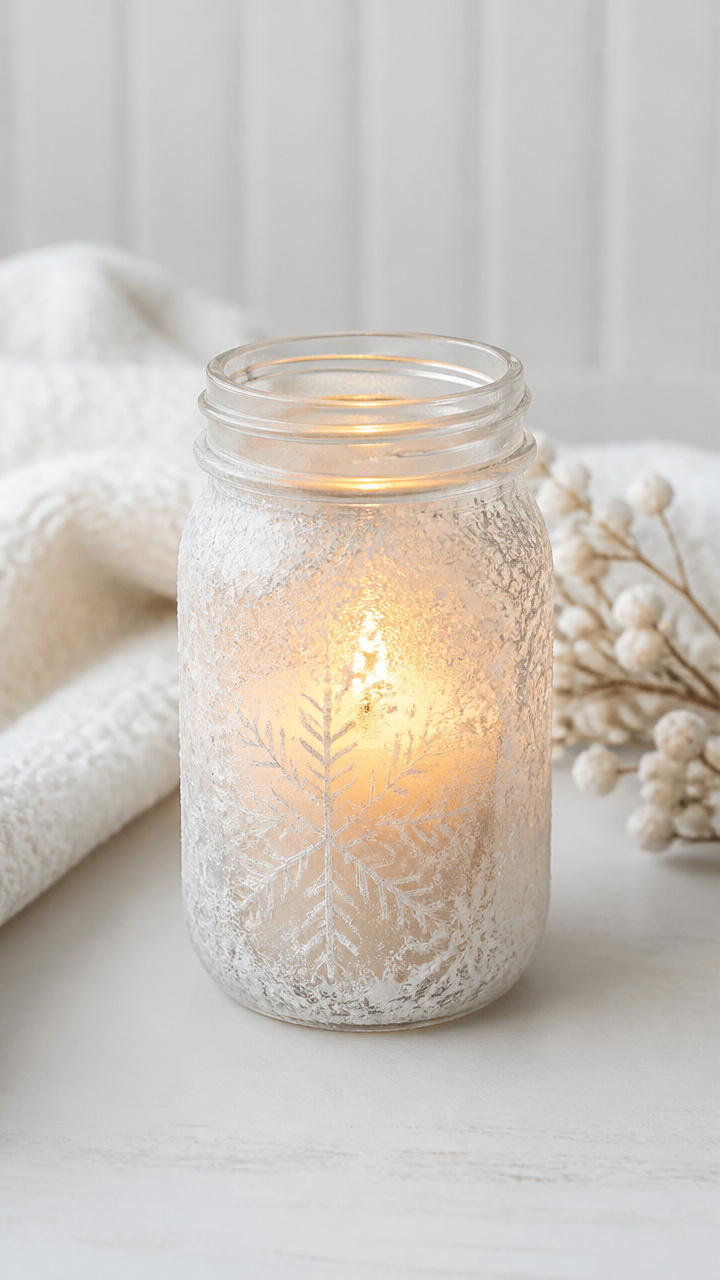
Glowing light filtered through a delicate frost pattern turns a simple jar into a winter centerpiece. This candle casts a soft, snowy ambiance on dark nights.
Materials Needed
- 1 clean 16 oz mason jar
- 1 paraffin wax candle (3 inches tall)
- 1 tube white craft paint (frosted finish)
- 1 small foam brush
- 1 cotton swab
How to Make It
- Dip the foam brush into the frosted craft paint and dab it lightly around the outside of the mason jar. Use a stippling motion to create a random, icy texture.
- Let the paint dry completely for 20 minutes. Touch up any thin spots with a second light coat if needed.
- Place the candle inside the jar. Use the cotton swab to gently wipe any paint smudges from the inside rim.
2. Pinecone Luminaries
Easy
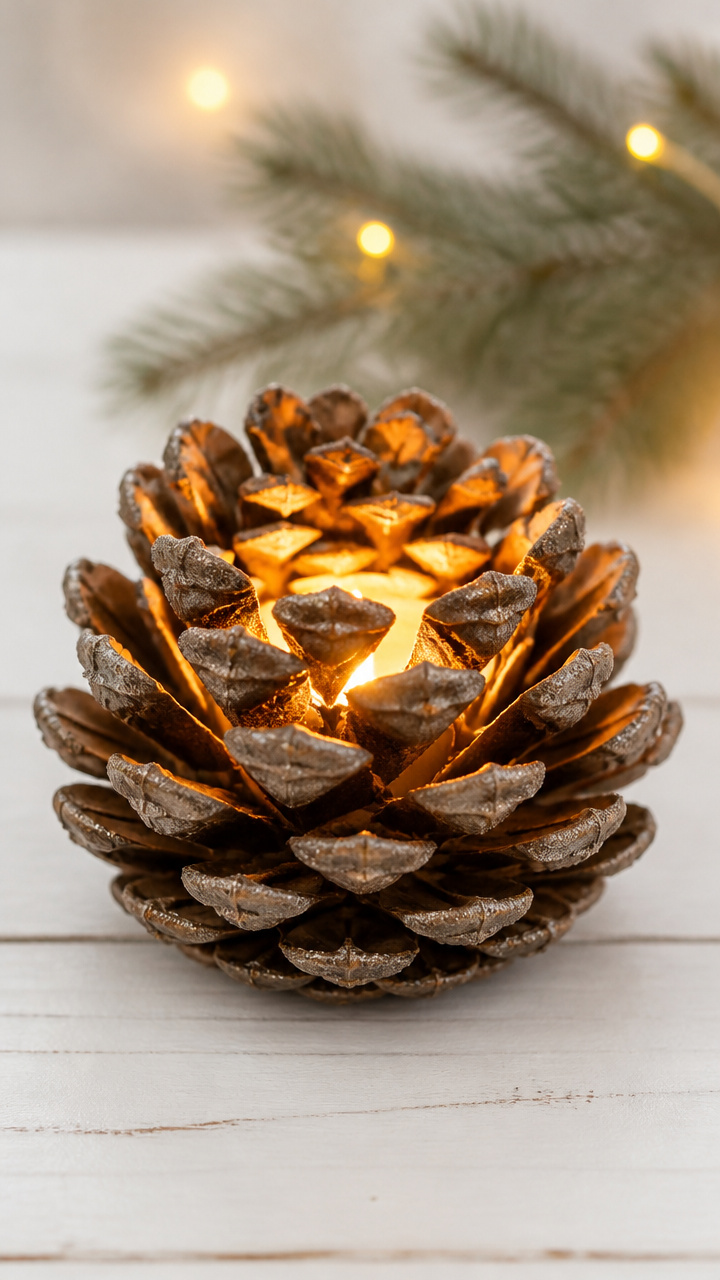
Clusters of pinecones wrapped with twine and holding tea lights create rustic outdoor-safe luminaries. These bring woodland charm to your porch or patio.
Materials Needed
- 3 large pinecones (dry, closed)
- 1 roll natural jute twine
- 3 outdoor-safe LED tea lights
- 1 hot glue gun
- 1 glue stick
How to Make It
- Wrap twine around the middle of each pinecone, securing it with a dab of hot glue on the back side. Leave a 6-inch tail of twine to use as a hanger.
- Place one LED tea light on a flat surface near each pinecone. Arrange the pinecones so they cradle the light without blocking the glow.
- Set the luminaries on a porch step or near a walkway where the light can shine through the pinecone scales.
3. Knit-Texture Pillow Cover
Moderate

A pillow that looks like it was hand-knit but is actually made from fleece gives cozy texture without the time. This cover adds instant warmth to any chair.
Materials Needed
- 1 yard cream-colored fleece fabric
- 1 18×18 inch pillow insert
- 1 fabric scissors
- 1 fabric ruler
- 1 fabric marker
- 1 needle and white thread
- 1 sewing pins
How to Make It
- Cut two 19×19 inch squares from the fleece using the fabric scissors and ruler. Mark a 1-inch border around all edges with the fabric marker.
- On one square, use the needle and thread to stitch parallel lines 1/4 inch apart across the surface, mimicking knit stitches. Keep stitches small and even.
- Place the two squares together with the right sides facing. Pin the edges, then sew around three sides with a 1/2 inch seam. Turn right side out and insert the pillow.
4. Cinnamon Stick Candle Holder
Moderate
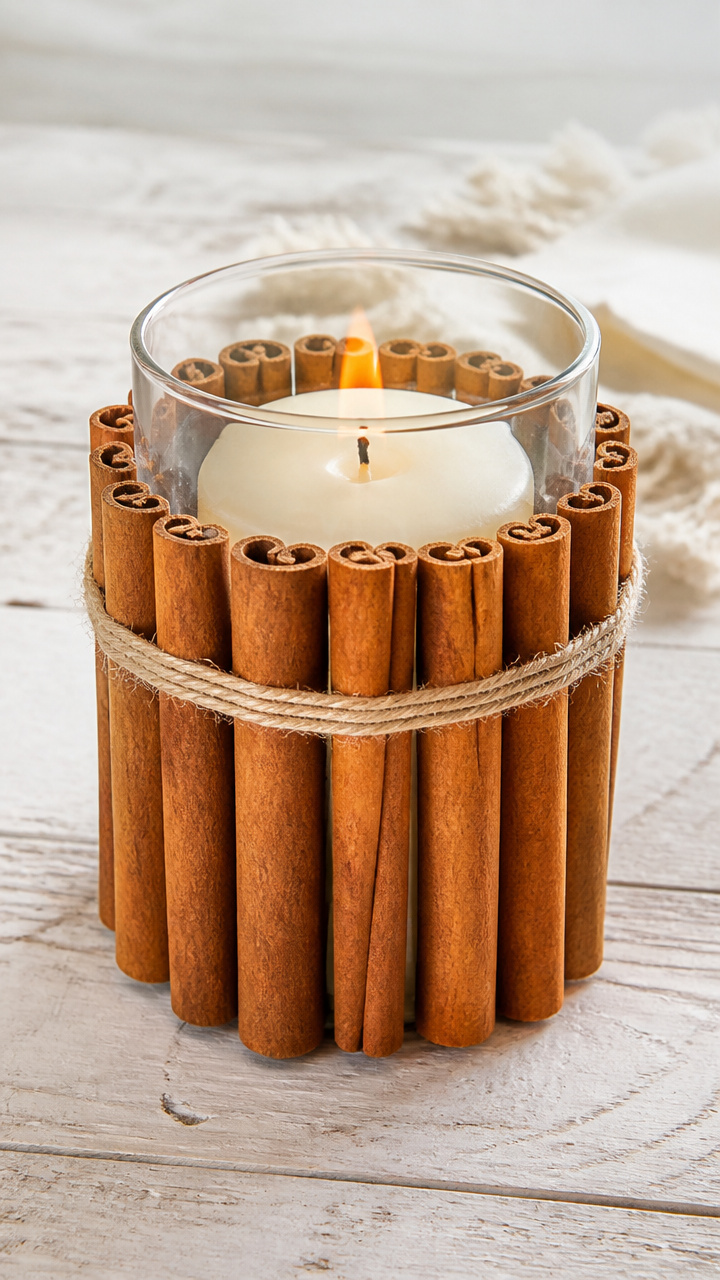
Tightly bundled cinnamon sticks form a fragrant sleeve around a pillar candle. The warmth releases a spicy holiday scent with every burn.
Materials Needed
- 8 whole cinnamon sticks (6 inches long)
- 1 3-inch wide glass hurricane vase
- 1 hot glue gun
- 1 glue stick
- 1 clear-drying craft glue
- 1 small paintbrush
How to Make It
- Stand the cinnamon sticks around the inside rim of the hurricane vase, pressing each one into a dab of hot glue at the base. Hold for 10 seconds until set.
- Use the paintbrush to apply a thin line of clear-drying craft glue between each stick where they touch. Let dry for 30 minutes.
- Place a 3-inch pillar candle in the center. Ensure the candle sits straight and does not touch the cinnamon sticks.
5. Snow-Dusted Twig Luminaries
Moderate
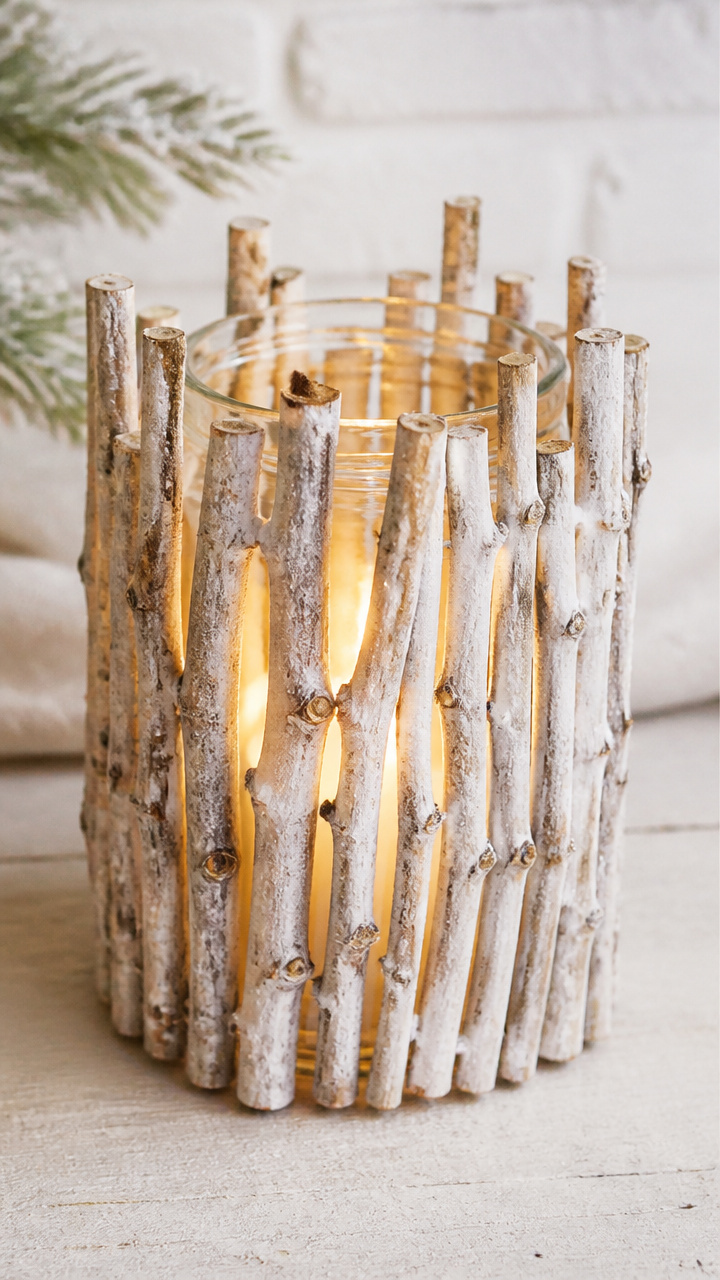
Slender birch twigs glued to glass jars catch the light like bare winter branches. A dusting of white paint makes them look freshly snowed on.
Materials Needed
- 1 clear 12 oz glass jar with lid
- 6 birch twigs (8 inches long, pencil-thin)
- 1 hot glue gun
- 1 glue stick
- 1 can white spray paint (matte finish)
- 1 LED tea light
How to Make It
- Arrange the twigs vertically around the outside of the jar. Glue each one in place with hot glue at the top and bottom. Let dry 15 minutes.
- Hold the spray paint 10 inches from the jar and apply a light mist over the twigs, focusing on the upper half to mimic snowfall. Let dry 20 minutes.
- Place the tea light inside the jar and screw the lid on loosely to allow air flow if using a real candle, or use LED for safety.
6. Flannel Patchwork Pillow
Moderate
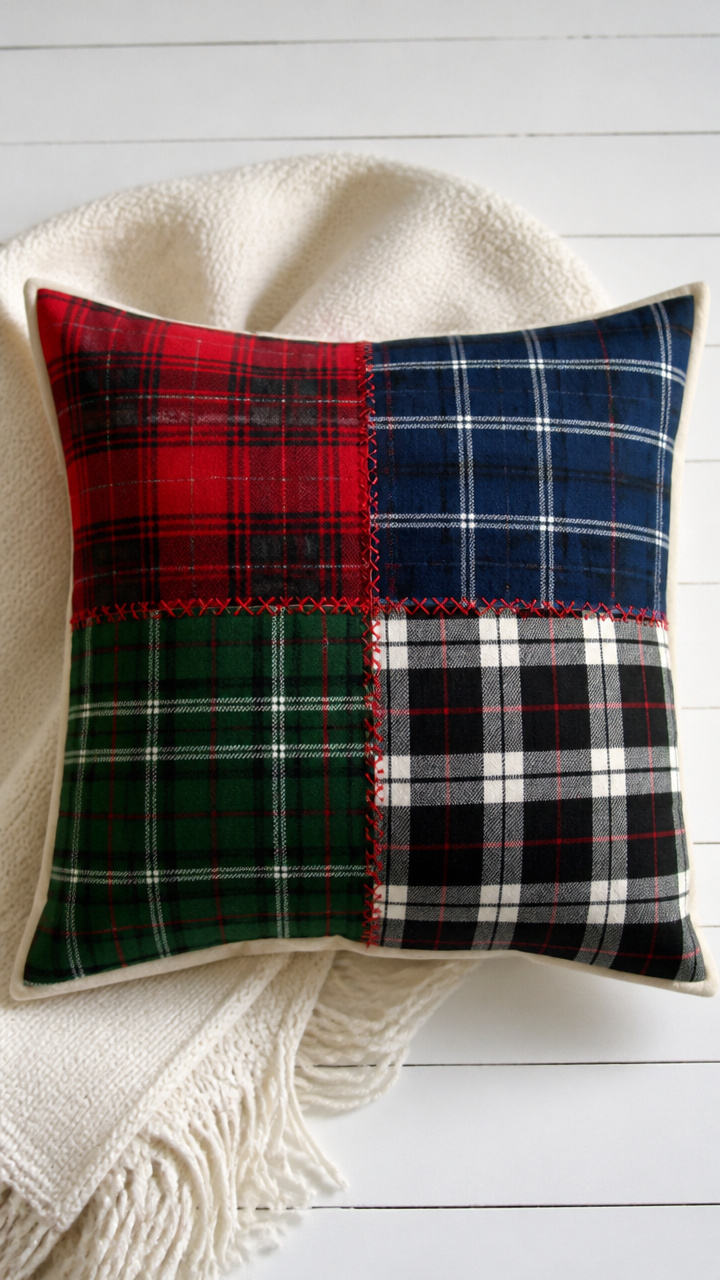
Scraps of plaid flannel sewn into a patchwork front create a cabin-style pillow. This one feels like your favorite winter shirt.
Materials Needed
- 4 different flannel fabric scraps (6×6 inches each)
- 1 16×16 inch cotton backing fabric
- 1 16×16 inch pillow insert
- 1 rotary cutter
- 1 cutting mat
- 1 sewing machine with red thread
- 1 fabric glue
How to Make It
- Use the rotary cutter and mat to cut each flannel scrap into four 3×3 inch squares. You should have 16 small squares total.
- Arrange the squares in a 4×4 grid on a flat surface. Sew them together in rows using the sewing machine with a 1/4 inch seam. Press seams flat.
- Sew the rows together. Attach the patchwork piece to the cotton backing with right sides together. Sew around the edge, leaving a 4-inch gap. Turn and insert the pillow.
7. Salt Dough Ornament Candle Base
Easy

Hand-shaped salt dough ornaments double as candle holders when baked with a centered indentation. These rustic bases hold tealights securely.
Materials Needed
- 1 cup all-purpose flour
- 1/2 cup table salt
- 1/3 cup warm water
- 1 mixing bowl
- 1 rolling pin
- 1 2-inch star-shaped cookie cutter
- 1 baking sheet
- 1 non-stick baking mat
- 1 LED tea light
How to Make It
- Mix flour, salt, and warm water in the bowl until a smooth dough forms. Knead for 2 minutes until pliable.
- Roll the dough to 1/2 inch thickness. Cut out a star shape and press the bottom of a tea light into the center to make a shallow well.
- Place on the baking mat and bake at 200°F for 2 hours. Let cool completely before placing the tea light in the indentation.
8. Linen-Lined Jar Luminary
Easy
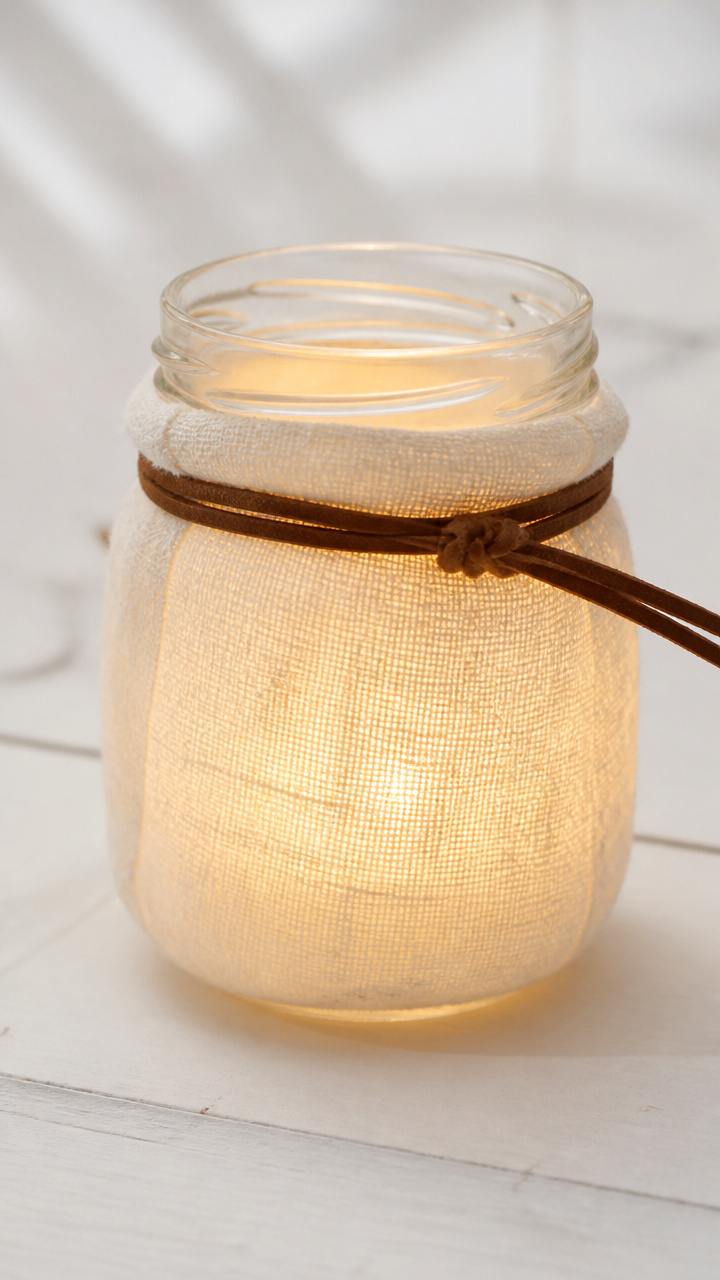
A simple glass jar wrapped in ivory linen and tied with leather cord becomes a soft-glow lantern. The fabric diffuses light like a winter cloud.
Materials Needed
- 1 8 oz clear glass jelly jar
- 1 piece ivory linen fabric (6×6 inches)
- 1 12-inch strip of brown leather cord (1/4 inch wide)
- 1 clothespin
- 1 LED tea light
How to Make It
- Center the linen fabric over the mouth of the jar. Pull the edges down evenly around the sides.
- Use the clothespin to clamp the fabric tightly around the neck of the jar. This holds it in place without glue.
- Wrap the leather cord around the neck once and tie a simple knot. Place the tea light inside the jar and light it.
9. Wool-Felted Snowflake Pillow
Advanced
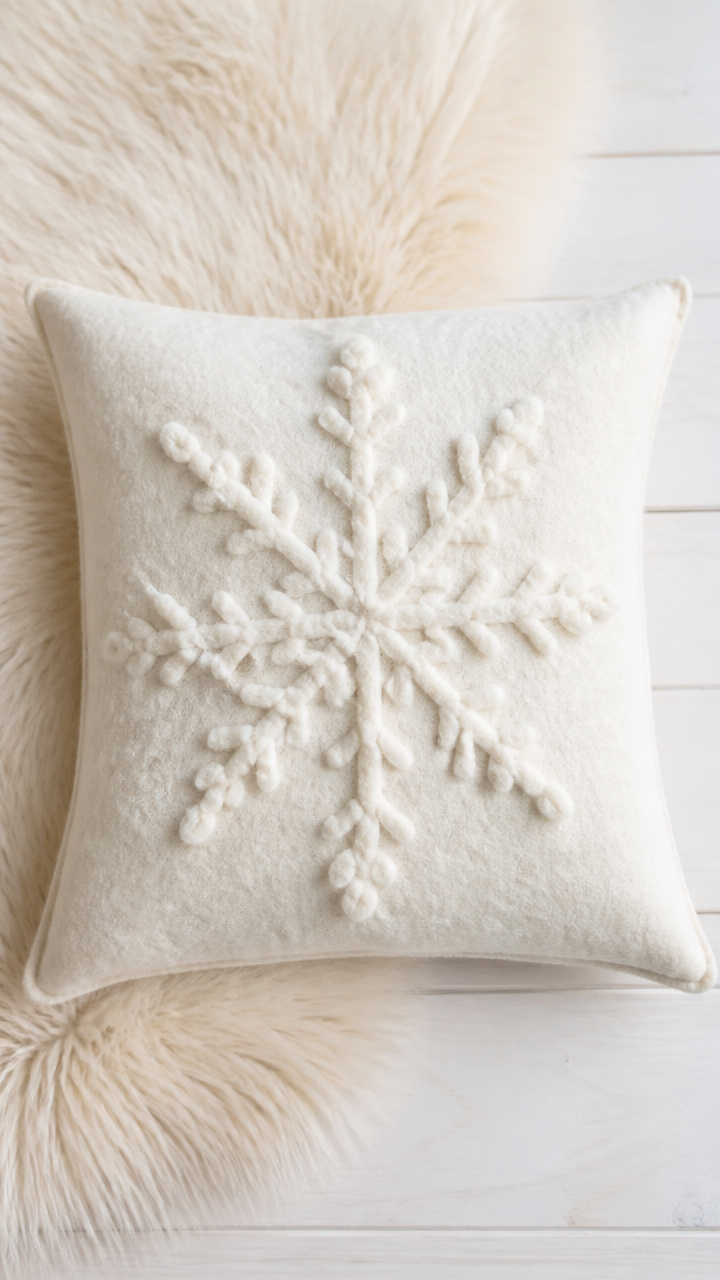
A white wool pillow with a hand-felted snowflake design adds subtle winter magic to your couch. The raised design feels soft under your fingers.
Materials Needed
- 1 12×12 inch white wool felt square
- 1 12×12 inch cotton pillow backing
- 1 needle-felting tool
- 1 felting foam pad
- 1 oz white wool roving
- 1 sewing needle
- 1 thread (white)
- 1 12-inch pillow form
How to Make It
- Place the wool roving on the center of the white felt square. Position it in a six-pointed snowflake shape.
- Lay the felt on the foam pad. Use the needle-felting tool to repeatedly poke the roving, tugging it into the felt until it is securely felted in place.
- Sew the felted side to the cotton backing with a whipstitch, leaving one side open. Insert the pillow form and sew closed.
10. Citrus Slice Candle Ring
Easy

Dried orange and lemon slices layered around a pillar candle create a bright, cheerful centerpiece. The citrus adds color and a faint natural scent.
Materials Needed
- 3 oranges
- 2 lemons
- 1 baking sheet
- 1 non-stick baking mat
- 1 food dehydrator or oven
- 1 3-inch pillar candle
- 1 small wooden tray
How to Make It
- Slice each citrus fruit into 1/4 inch rounds. Place them on the baking mat in a single layer.
- Dehydrate in an oven at 170°F for 4 hours or until dry and leathery. Flip halfway through.
- Arrange the dried slices around the base of the candle on the wooden tray, layering them slightly for fullness. Place the candle in the center.
11. Birch Bark Tea Light Holder
Moderate
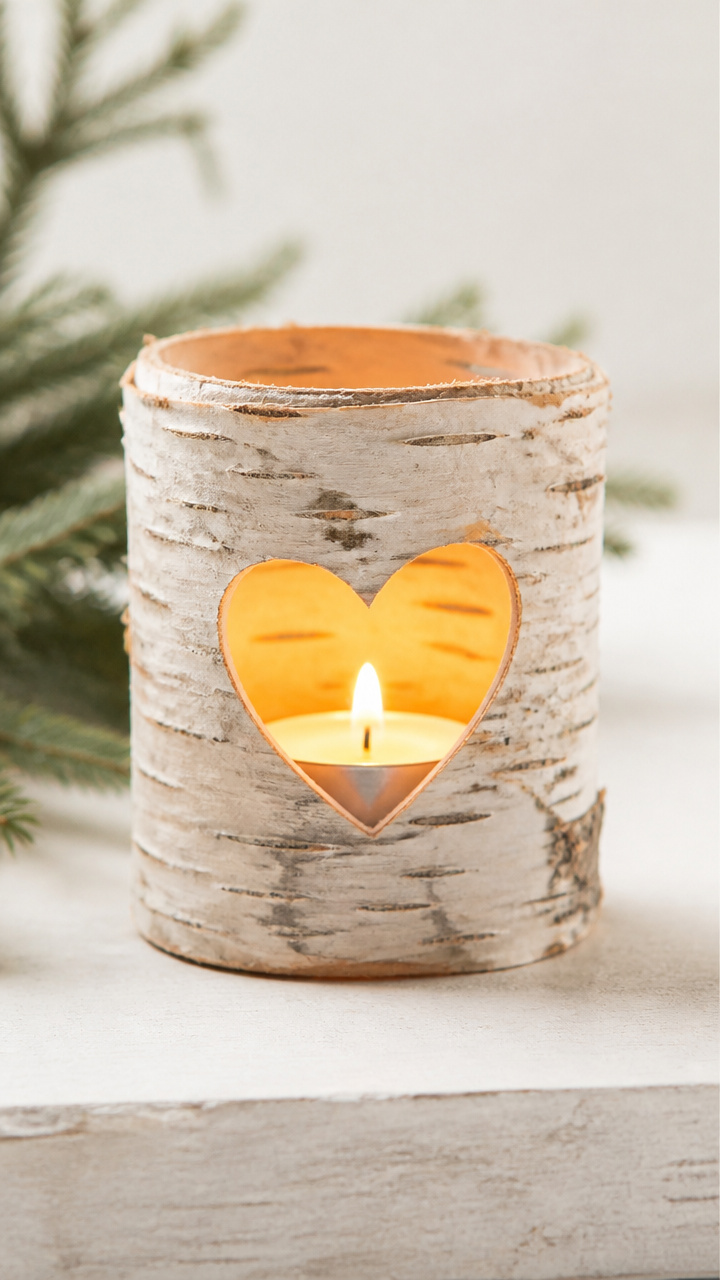
Peeling bark from fallen birch logs forms natural cups for tea lights. These holders bring forest floor elegance to your mantle.
Materials Needed
- 4 pieces birch bark (4×4 inches, flexible)
- 1 pair scissors
- 1 roll floral wire (22 gauge)
- 4 LED tea lights
- 1 small pliers
How to Make It
- Cut each birch bark piece into a shallow bowl shape by trimming the corners and curving the sides up slightly.
- Wrap floral wire around the top edge of each bark piece to prevent splitting. Twist the ends with pliers to secure.
- Place one tea light in each bark cup. Group them on a heat-safe tray near a window or bookshelf.
12. Cable-Knit Throw Pillow
Advanced
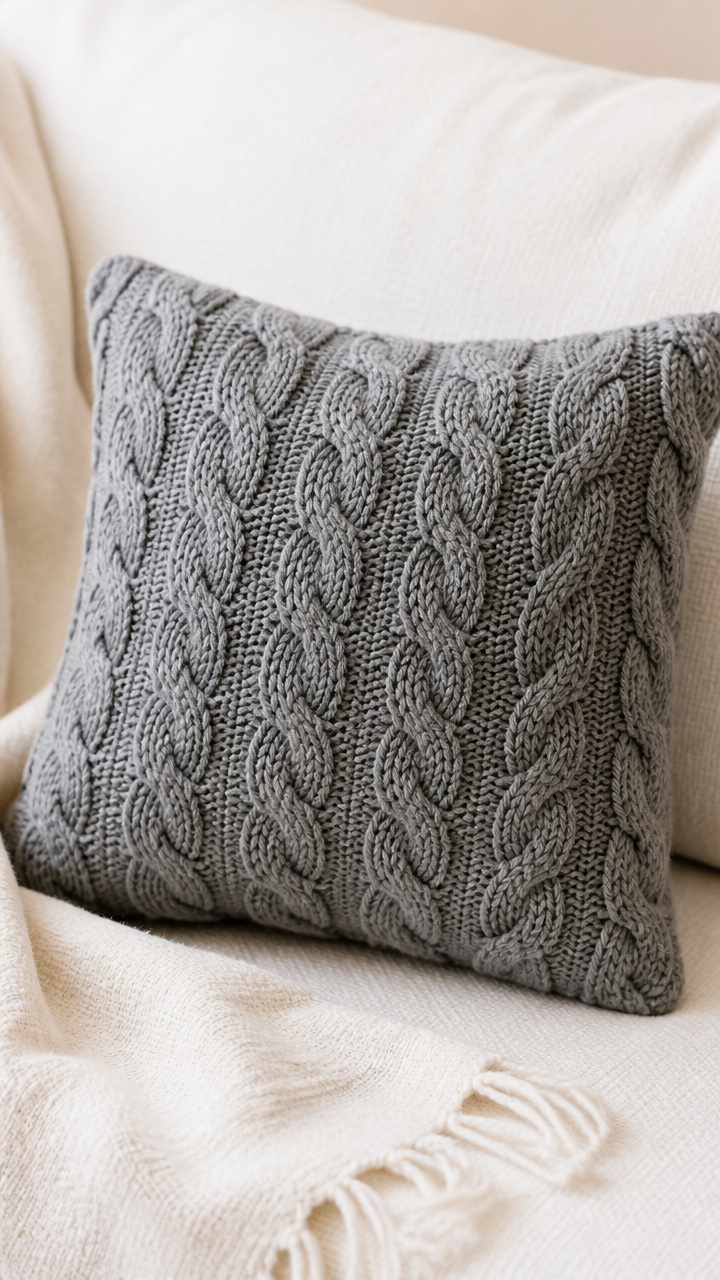
A pillow cover with a raised cable-knit design made from fabric gives the look of hand-knit wool. This one invites you to sink in and stay.
Materials Needed
- 1 yard gray cable-knit upholstery fabric
- 1 20×20 inch pillow insert
- 1 fabric scissors
- 1 sewing machine
- 1 thread (matching gray)
- 1 fabric marker
- 1 ruler
How to Make It
- Use the ruler and fabric marker to cut two 21×21 inch squares from the fabric. Place them right sides together.
- Pin the edges and sew around all four sides with a 1/2 inch seam, leaving a 5-inch gap on one side.
- Turn the cover right side out. Push out the corners gently with a pencil. Insert the pillow form and hand-stitch the gap closed.
13. Glittered Pine Branch Centerpiece
Easy
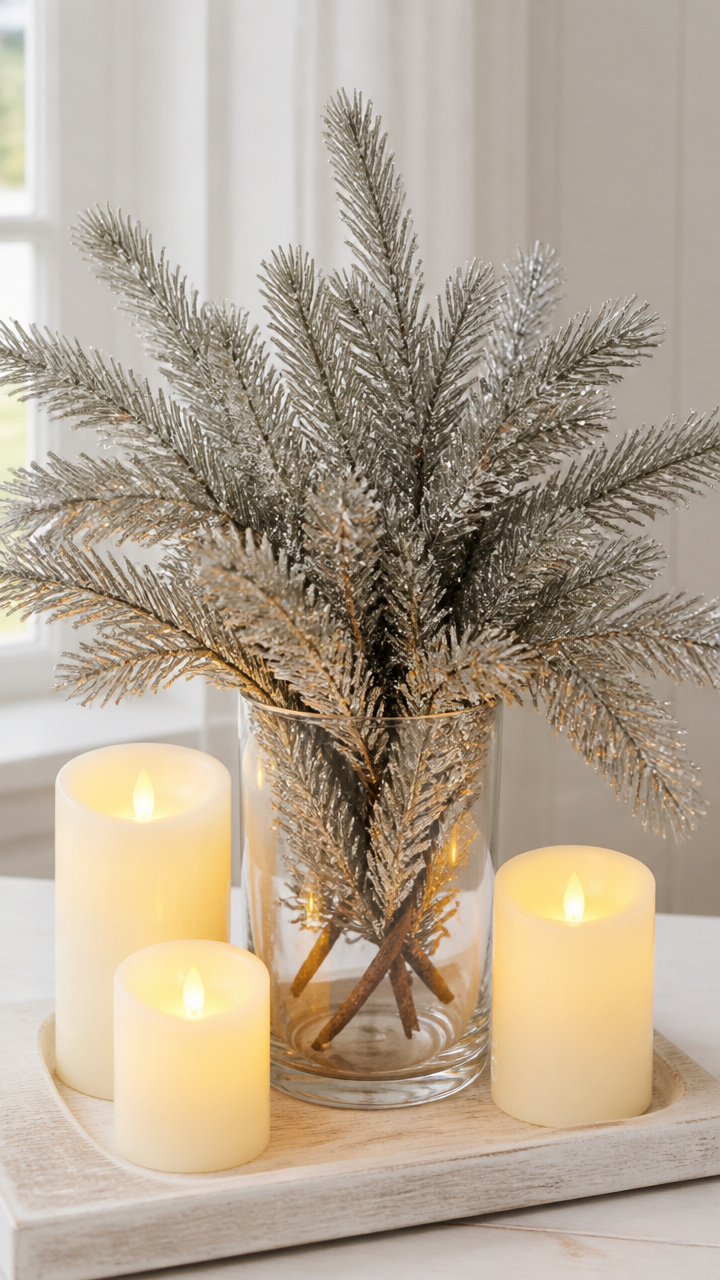
A single pine branch dipped in silver glitter becomes a luminous centerpiece when placed in a candle-lined vase. Light catches every sparkle.
Materials Needed
- 1 fresh pine branch (10 inches long)
- 1 small glass vase (4 inches wide)
- 1 can silver glitter spray
- 1 sheet newspaper
- 3 LED pillar candles (3 inches tall)
How to Make It
- Lay the pine branch on the newspaper. Hold the glitter spray 8 inches away and apply an even coat to one side. Let dry 15 minutes, then flip and spray the other side.
- Place the three LED candles inside the vase, standing upright.
- Insert the dried branch into the vase at an angle so it leans over the candles, catching the light on its glittered tips.
14. Lavender-Scented Beeswax Candle
Easy
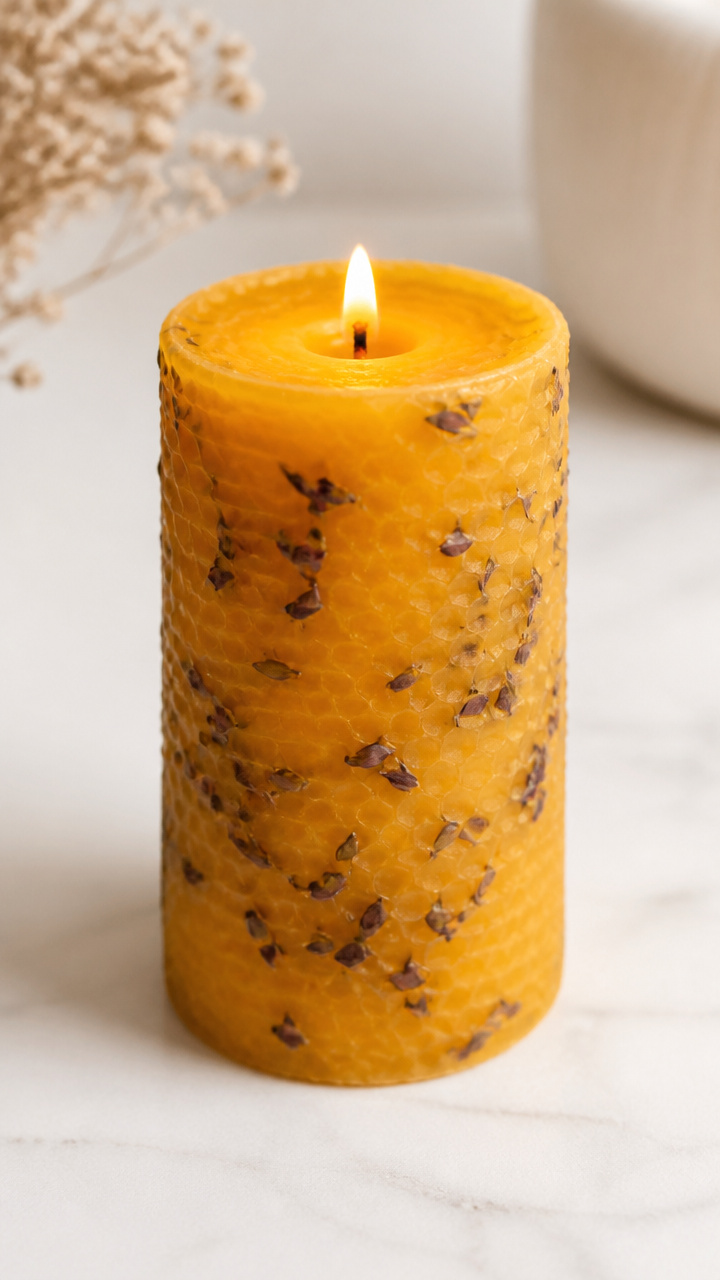
Hand-rolled beeswax sheets infused with dried lavender create a naturally fragrant candle. The golden wax glows warmly and burns cleanly.
Materials Needed
- 1 sheet golden beeswax (8×12 inches)
- 1 tablespoon dried lavender buds
- 1 cotton wick (6 inches long)
- 1 rolling pin
- 1 parchment paper sheet
How to Make It
- Lay the beeswax sheet on the parchment paper. Sprinkle the lavender buds evenly over the surface.
- Place the wick along one short edge of the wax. Roll the sheet tightly around the wick using the rolling pin to smooth as you go.
- Let the candle sit for 10 minutes to set. Trim the wick to 1/4 inch before lighting.
15. Plaid Wool Luminary Wrap
Easy
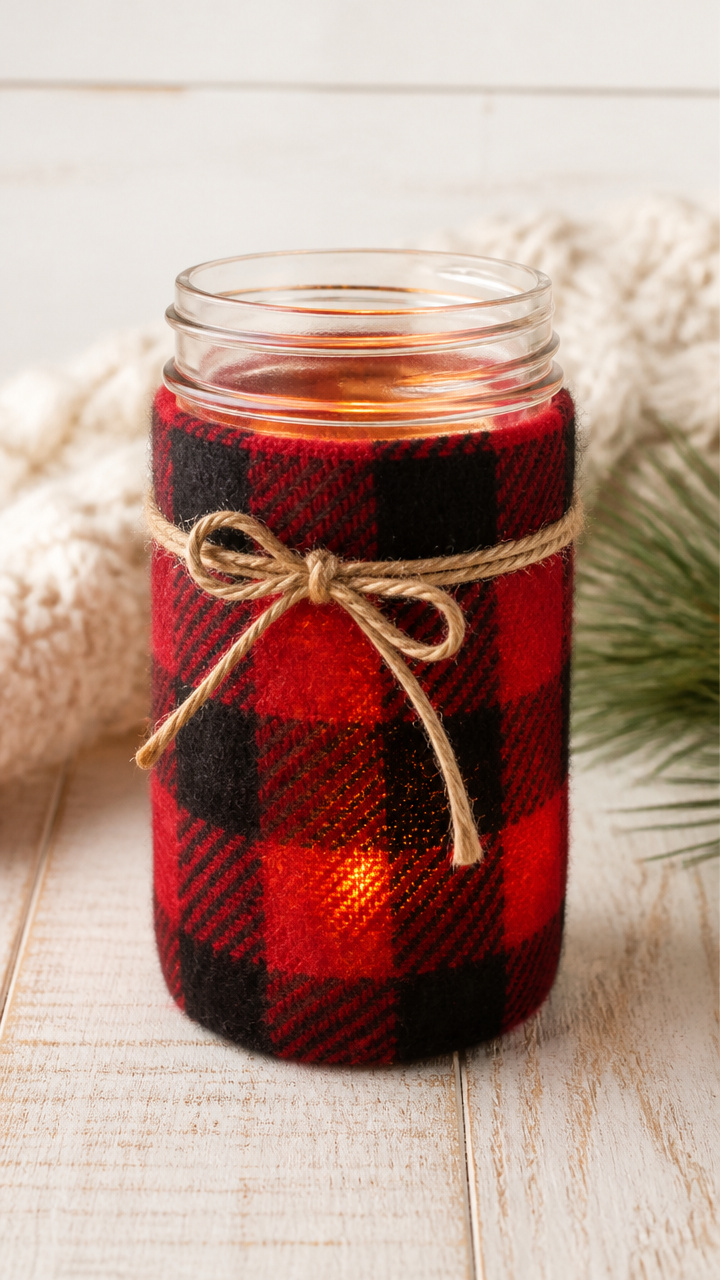
A strip of red-and-black plaid wool fabric wraps around a jar to create a cabin-style lantern. The pattern glows warmly when lit from within.
Materials Needed
- 1 16 oz clear glass jar
- 1 piece plaid wool fabric (5×8 inches)
- 1 clothespin
- 1 LED tea light
- 1 small clothespin
How to Make It
- Center the wool fabric over the mouth of the jar. Pull the edges down evenly.
- Use the small clothespin to clamp the fabric at the neck of the jar. Adjust until the fabric hangs straight.
- Place the tea light inside the jar and turn it on. The light will shine through the thin weave of the wool.
16. Knotted Yarn Pillow Accent
Moderate
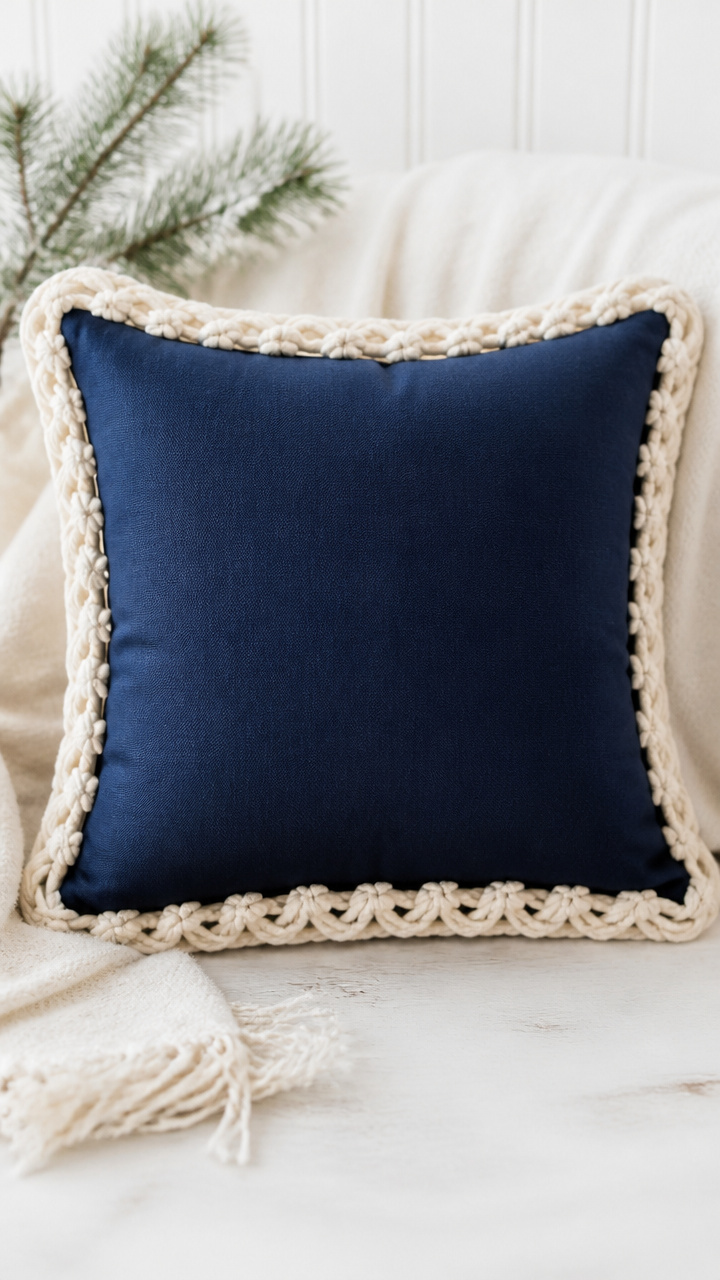
A solid-color pillow gets a hand-knotted border using thick cream yarn. The knots add texture and a handmade touch.
Materials Needed
- 1 18×18 inch navy blue canvas pillow cover
- 1 skein cream bulky yarn (20 yards)
- 1 yarn needle
- 1 ruler
- 1 fabric marker
How to Make It
- Use the fabric marker and ruler to mark a 1-inch border around all four edges of the pillow cover.
- Thread the yarn needle with a 24-inch strand of yarn. Tie a knot at the end and start stitching through the border, making 1-inch knots spaced 1 inch apart.
- Continue around all sides, weaving in the end at the last knot. Trim any excess yarn close to the knot.
Each of these crafts brings a little more warmth into your home and your hands. Pick one that calls to you and start creating tonight.