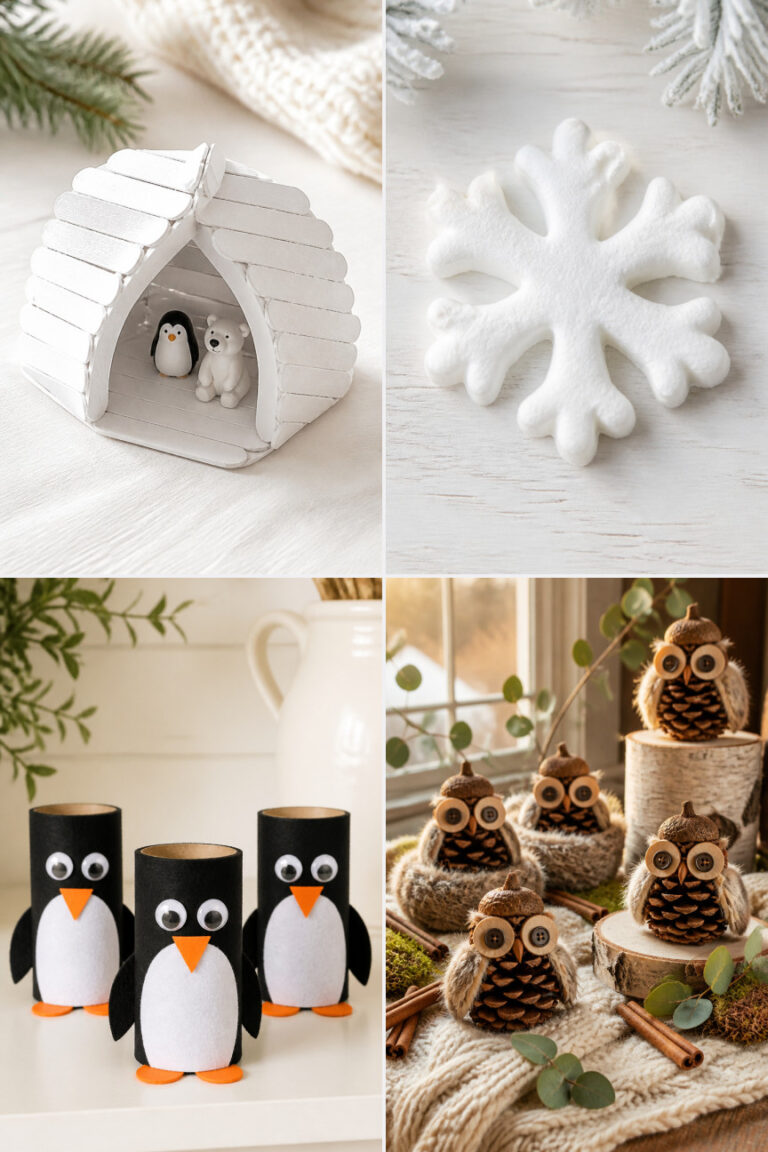
15 Icy Blue Winter Decor Crafts for a Fresh Look

Cool silver light spills across frost-kissed windows, and the air carries that crisp stillness only winter brings. Turn that quiet beauty into something you can hold and hang and admire by bringing icy blue tones into your space with handmade decor.
These crafts use real textures and thoughtful details to mirror the season’s calm elegance. Each one gives you a way to slow down, create, and surround yourself with a fresh, wintry glow.
1. Frosted Mason Jar Luminaries
Easy
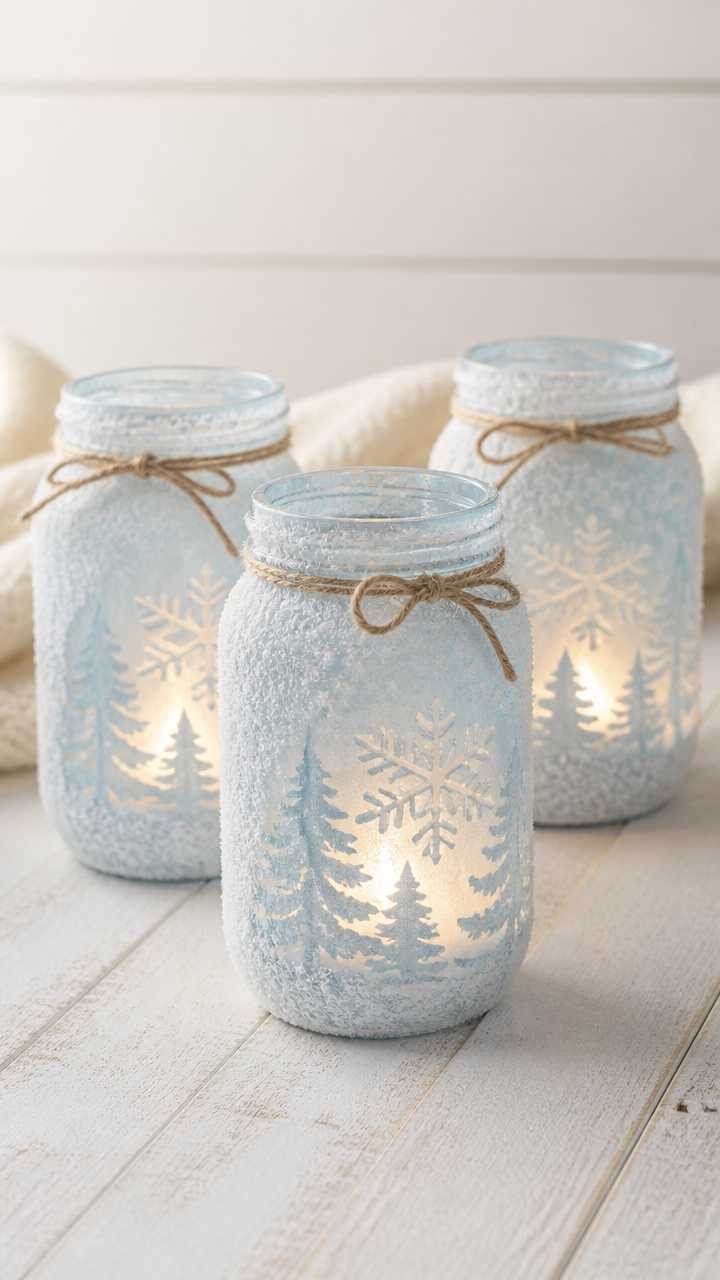
Soft blue light glows through textured glass, casting delicate shadows like falling snow. These luminaries add gentle ambiance to tabletops or entryways.
Materials Needed
- 3 clear quart-sized mason jars
- Matte white spray paint
- Light blue tissue paper (20 x 20 inches)
- Mod Podge Matte
- Foam brush (1 inch)
- Battery-powered tea lights (3)
How to Make It
- Spray the outside of each mason jar with matte white paint in a well-ventilated area, holding the can 10 inches away. Let dry completely for 20 minutes.
- Tear the tissue paper into 2-inch pieces. Brush a thin layer of Mod Podge onto a small section of the jar, press on a piece of tissue, then seal with another coat of Mod Podge.
- Repeat, overlapping pieces until the entire jar is covered. Let dry for 30 minutes.
- Place one battery-powered tea light inside each jar and turn them on at dusk.
2. Knit Cable Throw Pillow Covers
Moderate
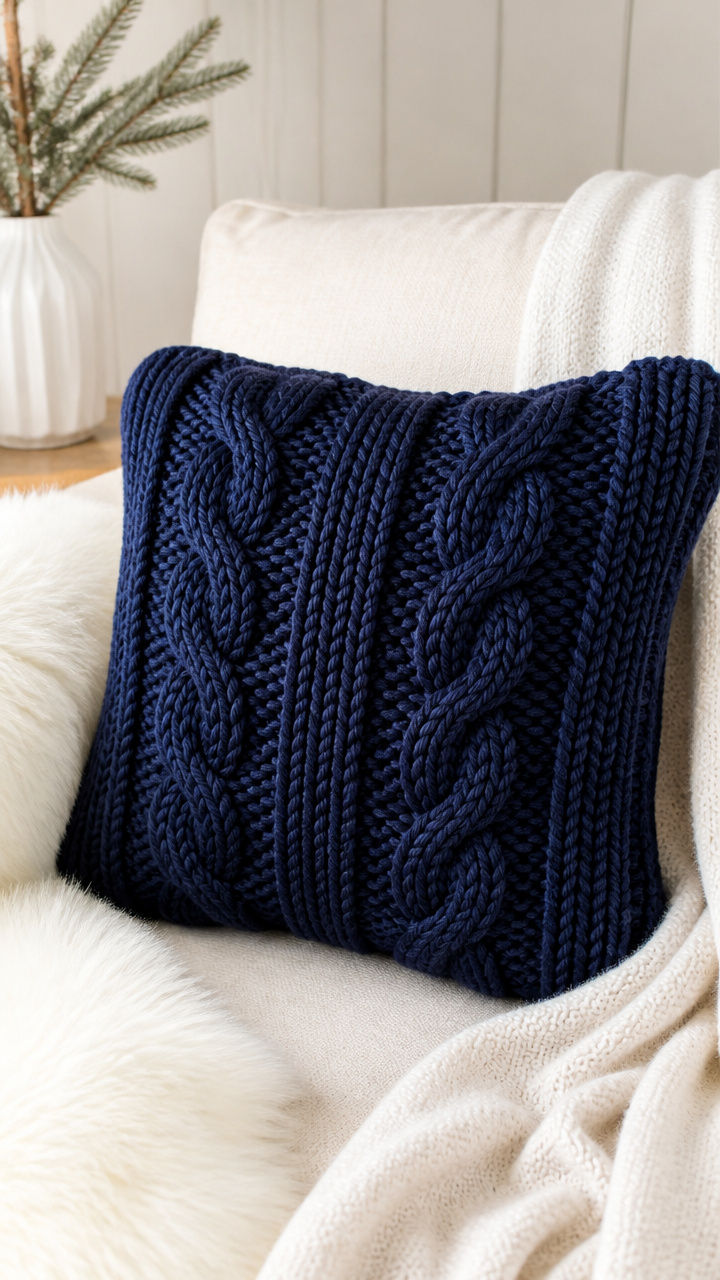
Chunky yarn wraps around soft pillow forms in deep winter blue, adding cozy texture to any couch or chair. The cable knit pattern mimics frost patterns on glass.
Materials Needed
- Worsted weight navy blue yarn (3 skeins, 220 yards each)
- Size 8 (5 mm) knitting needles
- Stitch holder
- Yarn needle
- 2 square pillow inserts (16 x 16 inches)
How to Make It
- Cast on 36 stitches. Knit every row for 2 inches to create the border.
- Begin the cable pattern: knit 4, *purl 2, knit 6, cross 3 right (slip 3 stitches to cable needle, hold in back, knit next 3, then knit 3 from cable needle), purl 2*, repeat from * to last 4 stitches, knit 4.
- Continue the pattern for 14 inches, ending with a 2-inch plain knit border.
- Bind off loosely. Sew side seams using the mattress stitch. Slip the cover over the pillow insert.
3. Glitter-Dipped Pinecones
Easy
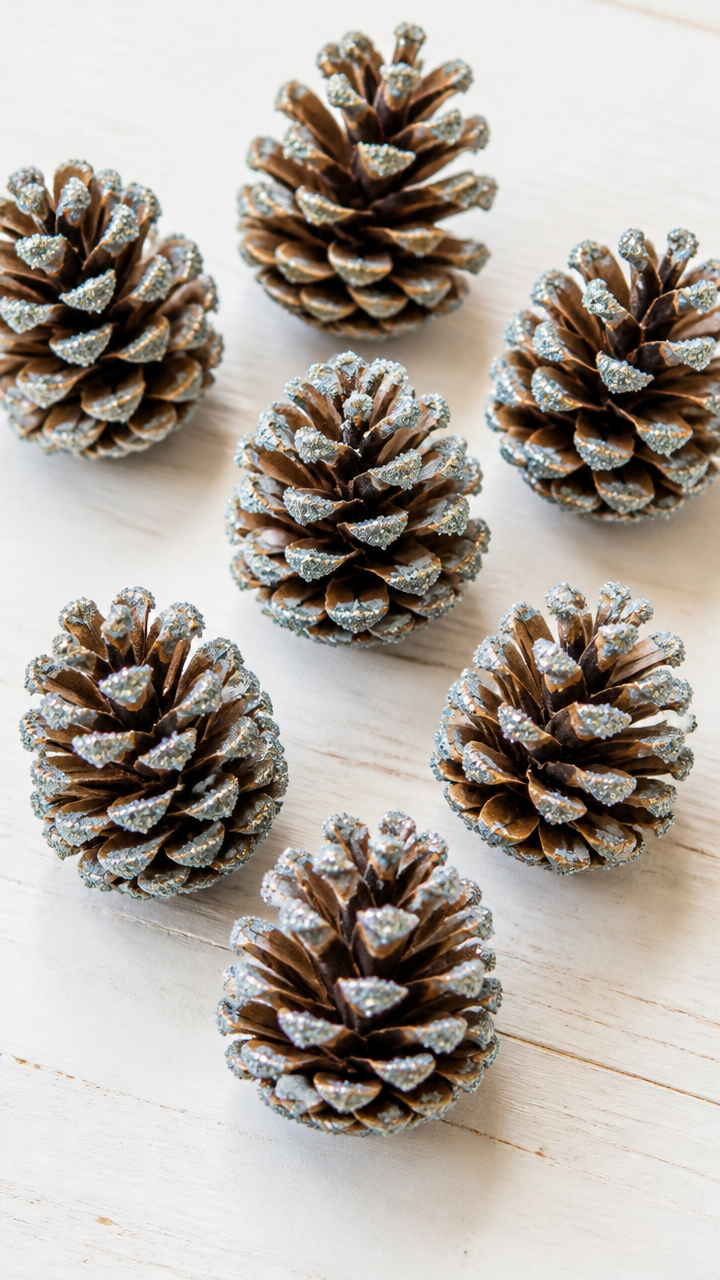
Pinecones tipped in shimmering silver-blue glitter look like they’ve been caught mid-snowfall. Scatter them on trays, mantels, or nestle them into greenery.
Materials Needed
- 12 medium pinecones
- Fine silver-blue glitter (4 oz)
- White craft glue
- Small foam brush (1/2 inch)
- Wax paper
- Plastic cup
How to Make It
- Lay wax paper on your work surface. Pour glitter into the plastic cup.
- Use the foam brush to apply a thin line of glue to the tips of the outermost scales on one pinecone.
- Dip the glued tips into the glitter, twisting gently to coat evenly. Shake off excess.
- Set pinecone on wax paper to dry for 1 hour. Repeat for all pinecones.
4. Pressed Glass Ornament Wreath
Moderate
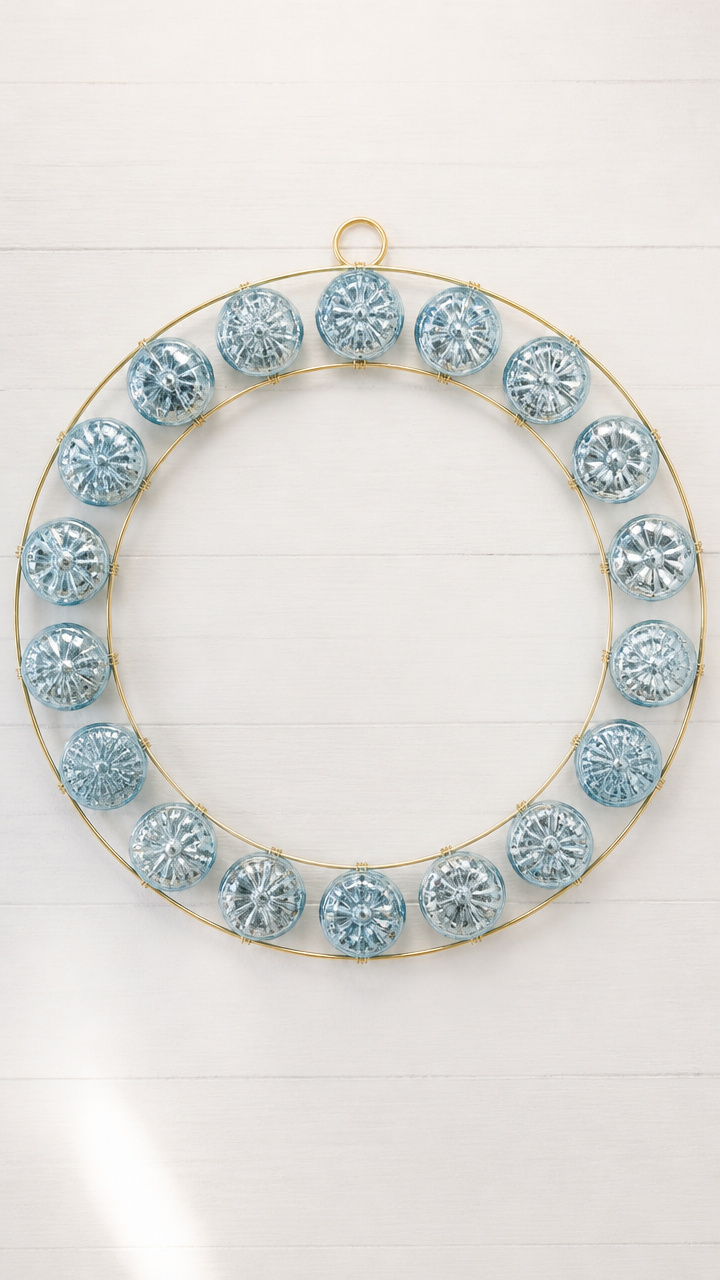
Vintage-style glass ornaments in icy hues form a symmetrical wreath that catches light like morning frost. Hang it on a front door or above a mantel.
Materials Needed
- 18 vintage blue glass ornaments (1.5 inch diameter)
- Gold wire wreath frame (12 inch diameter)
- Floral wire (22 gauge, 12 inches)
- Wire cutters
- Needle-nose pliers
How to Make It
- Cut 18 lengths of floral wire, each 4 inches long. Thread one ornament onto a piece of wire and twist the ends together at the top to secure.
- Wrap the twisted end around the wreath frame, pressing it flat with pliers. Space each ornament evenly around the circle.
- After placing six ornaments, add three more at the inner ring, slightly overlapping. Add the final nine to fill gaps and create fullness.
- Trim any visible wire ends with wire cuters. Hang using the built-in loop on the frame.
5. Ice Resin Coasters
Advanced
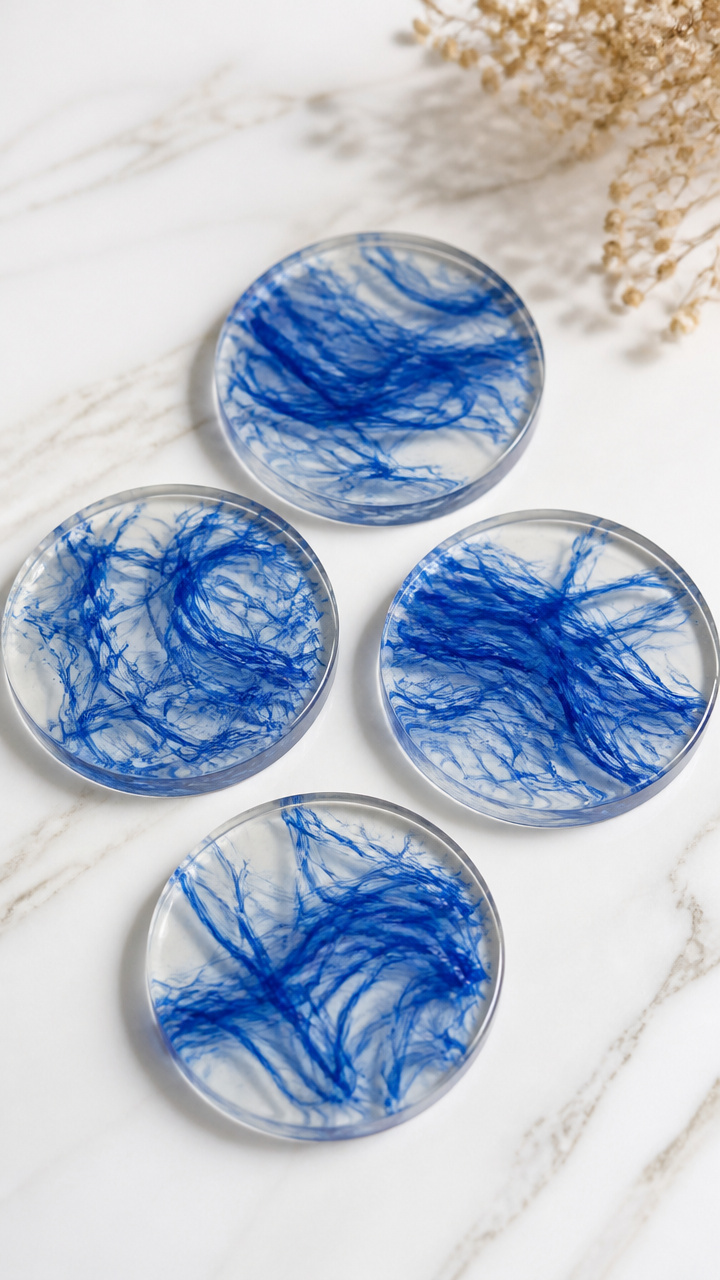
Clear resin poured over embedded blue thread creates swirling currents frozen in time. These functional coasters feel cool and smooth under your fingertips.
Materials Needed
- Epoxy resin kit (8 oz total mix volume)
- Cobalt blue embroidery floss (6 strands, 12 inches long)
- Silicone coaster molds (4 circular, 4 inch diameter)
- Disposable gloves
- Mixing cups (2 oz)
- Stir sticks
- Heat gun
How to Make It
- Put on gloves. Mix resin according to package instructions, stirring slowly for 3 minutes to avoid bubbles.
- Pour a thin layer of resin into each mold, filling about 1/4 inch deep. Let sit for 5 minutes.
- Place 3 strands of blue floss into each mold, arranging in loose swirls. Gently press down with a stir stick.
- Fill each mold to the top with more resin. Pass a heat gun slowly over the surface to pop any bubbles. Cure for 24 hours before unmolding.
6. Bleached Eucalyptus Wall Hanging
Moderate
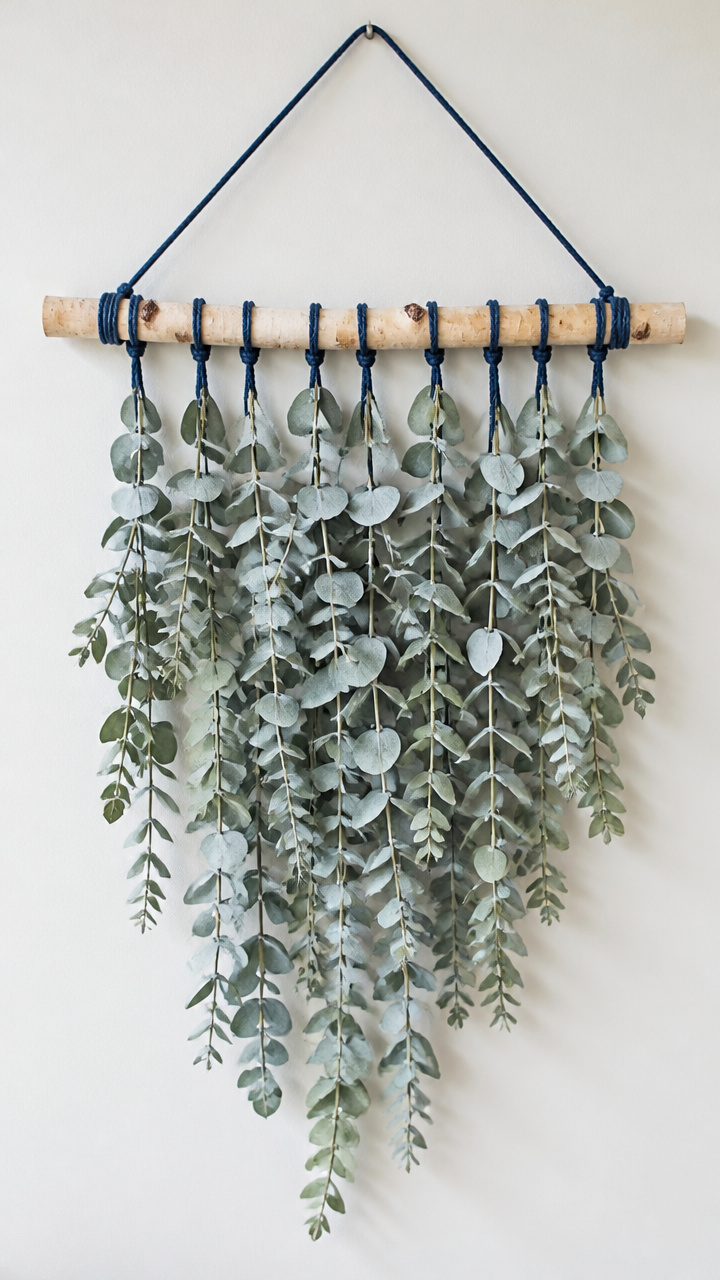
Soft gray-green leaves tinged with pale blue drape from a birch dowel like winter vines. This wall piece brings organic calm to blank walls.
Materials Needed
- Fresh eucalyptus stems (6, 12 inches long)
- Fabric dye remover (1 bottle)
- Large plastic tub
- Cold water (2 quarts)
- 12 inch birch dowel
- Navy cotton cord (3 yards)
- Scissors
How to Make It
- Mix fabric dye remover with cold water in the tub according to label directions. Submerge eucalyptus stems and soak for 45 minutes.
- Rinse stems under cool water and lay flat on a towel to dry overnight.
- Cut three 12 inch lengths of cord. Tie each at equal intervals along the dowel using double knots.
- Tuck one stem behind each knot and secure with a wrap of cord, tying again beneath the leaves. Trim ends at an angle.
7. Chalk-Painted Window Frames
Easy
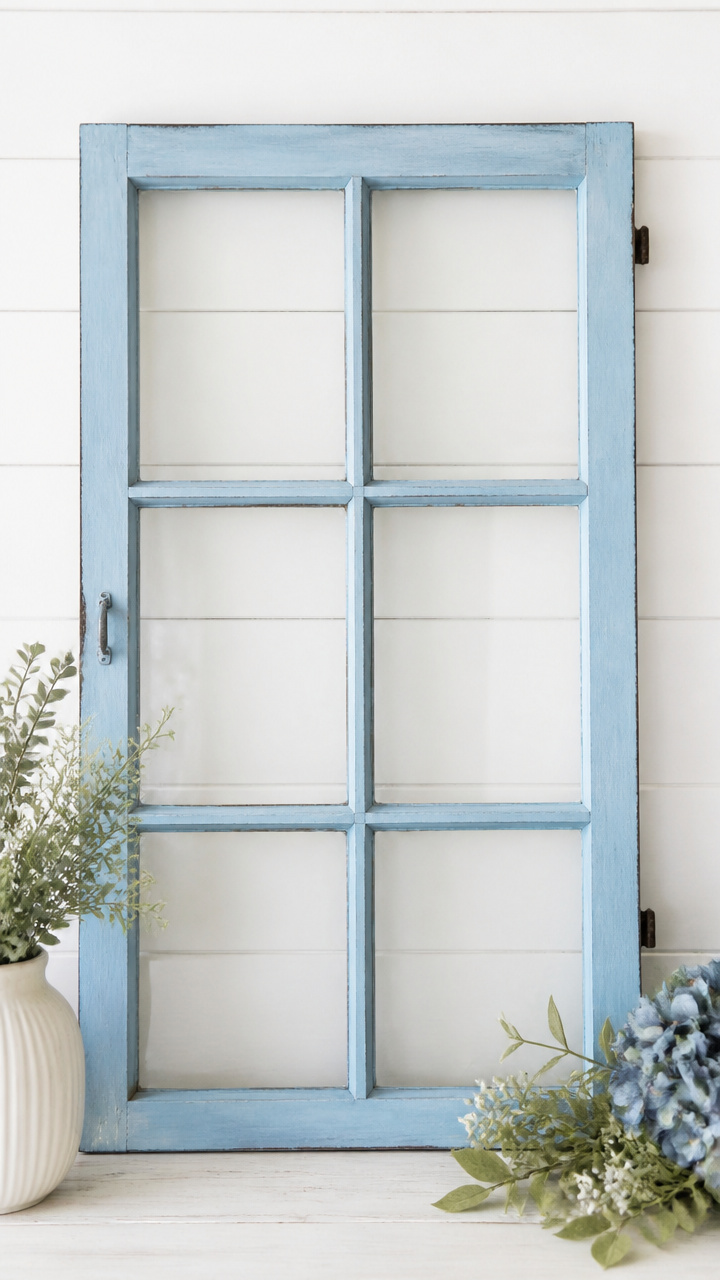
A whisper-thin coat of icy blue chalk paint on window trim reflects changing daylight. This subtle update makes the whole room feel crisper.
Materials Needed
- Semi-transparent pale blue chalk paint (8 oz)
- Small foam roller (4 inch)
- Painter’s tape
- Lint-free cloth
- Bucket of water
- Soft sponge
How to Make It
- Wipe the window frame with a damp sponge and let dry. Apply painter’s tape to adjacent walls and glass edges.
- Pour a small amount of paint onto the roller tray. Roll paint onto the frame in smooth, even strokes, working with the grain.
- Let dry for 15 minutes. Wipe lightly with a lint-free cloth to soften the finish and remove excess.
- Peel off tape carefully after 30 minutes. Do not rinse tools—clean with water immediately.
8. Twine-Wrapped Votive Holders
Easy
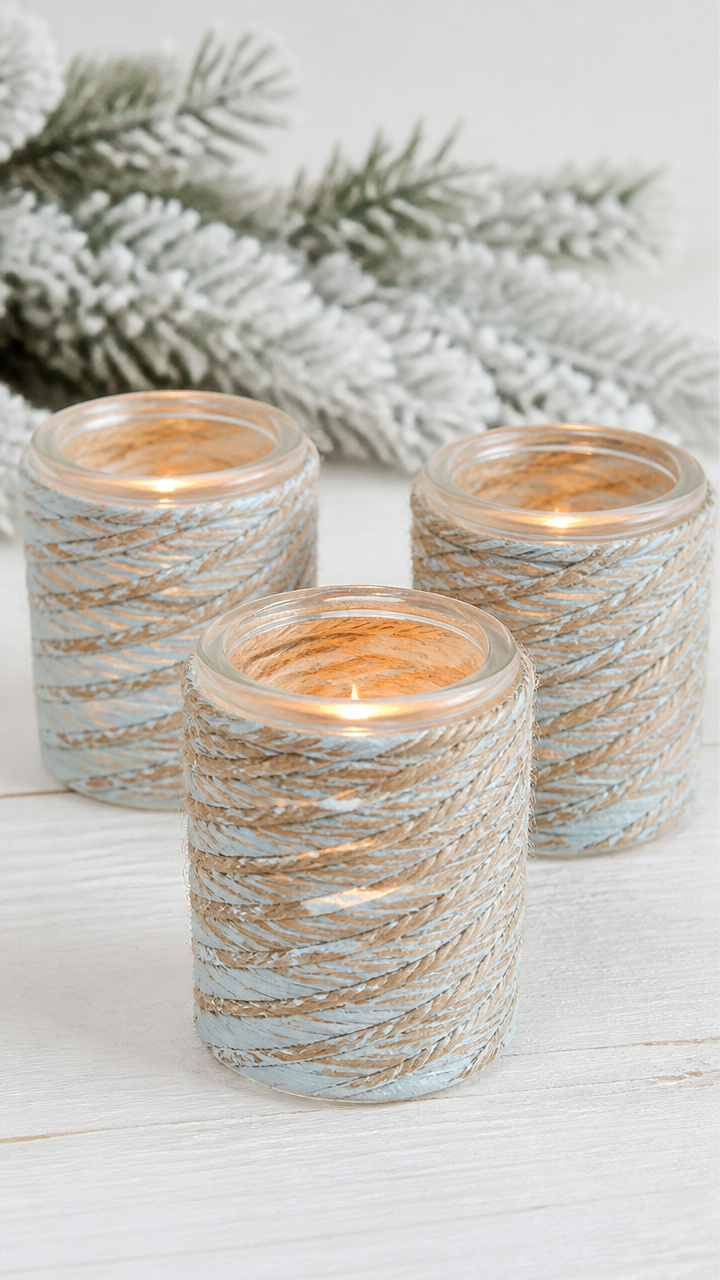
Natural jute twine spirals up clear glass holders, softened with a wash of icy blue. These earthy-luxe candles glow warmly at dinner parties.
Materials Needed
- 4 clear glass votive holders (3 inch height)
- Natural jute twine (100 feet)
- Pale blue acrylic paint (2 oz)
- Paintbrush (1 inch)
- White school glue
- Scissors
How to Make It
- Mix a few drops of blue paint with 2 tablespoons of water in a saucer. Brush this wash over each glass holder and let dry for 10 minutes.
- Apply a dot of glue near the base of the glass. Press the end of the twine into it and let set for 30 seconds.
- Wrap the twine tightly around the glass, adding a dab of glue every inch to secure. Overlap slightly as you move upward.
- When 1/2 inch from the top, cut the twine and glue the end down. Let dry for 20 minutes before inserting a votive.
9. Ceramic Tile Snowflake Coasters
Moderate
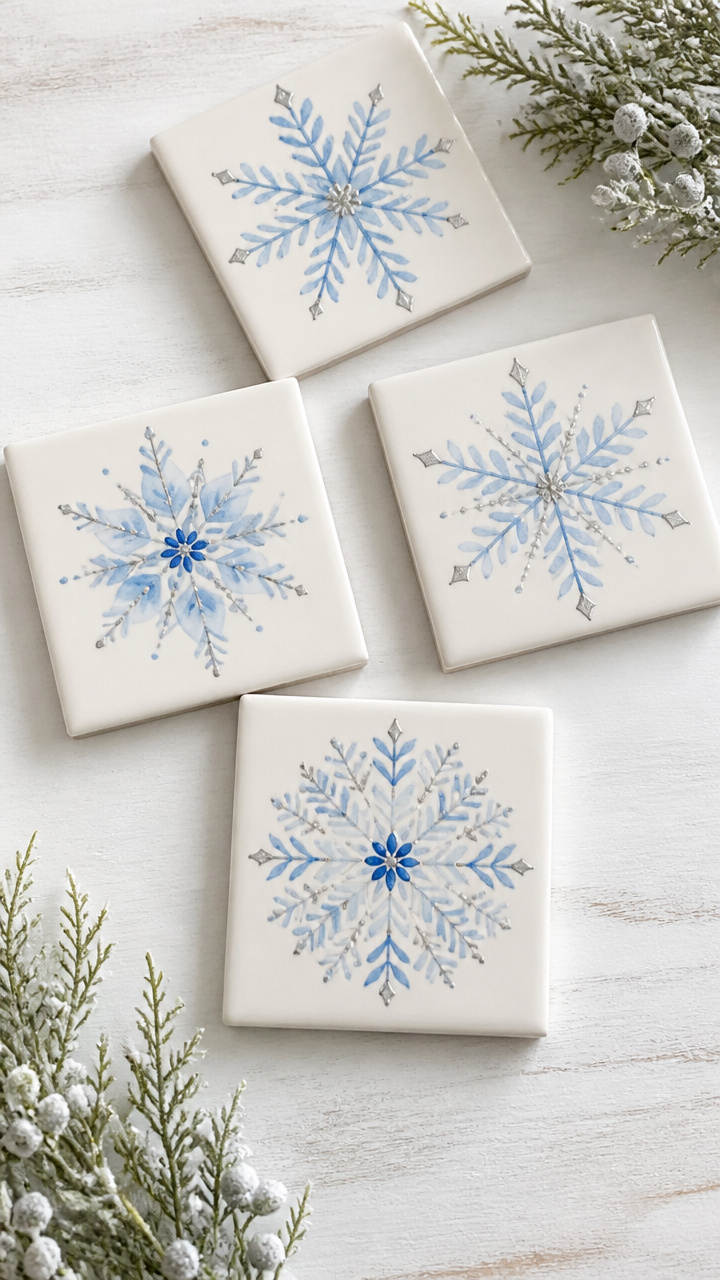
Hand-painted snowflakes on glossy white tiles sparkle with fine silver detail. Each one is unique, just like real winter crystals.
Materials Needed
- 4 ceramic floor tiles (4 x 4 inches, glossy white)
- Fine-tipped paintbrush (size 1 round)
- Silver metallic acrylic paint (1 oz)
- Icy blue acrylic paint (1 oz)
- Pencil
- Sealer spray (matte finish, 6 oz)
How to Make It
- Lightly sketch a different snowflake design on each tile with a pencil.
- Use the paintbrush to trace each design with silver paint, applying steady pressure for even lines. Let dry for 20 minutes.
- Add tiny dots and connecting lines in icy blue paint to enhance depth. Let dry for another 30 minutes.
- Spray each coaster with two light coats of sealer, waiting 10 minutes between coats. Cure for 2 hours before use.
10. Quilted Felt Star Ornaments
Easy
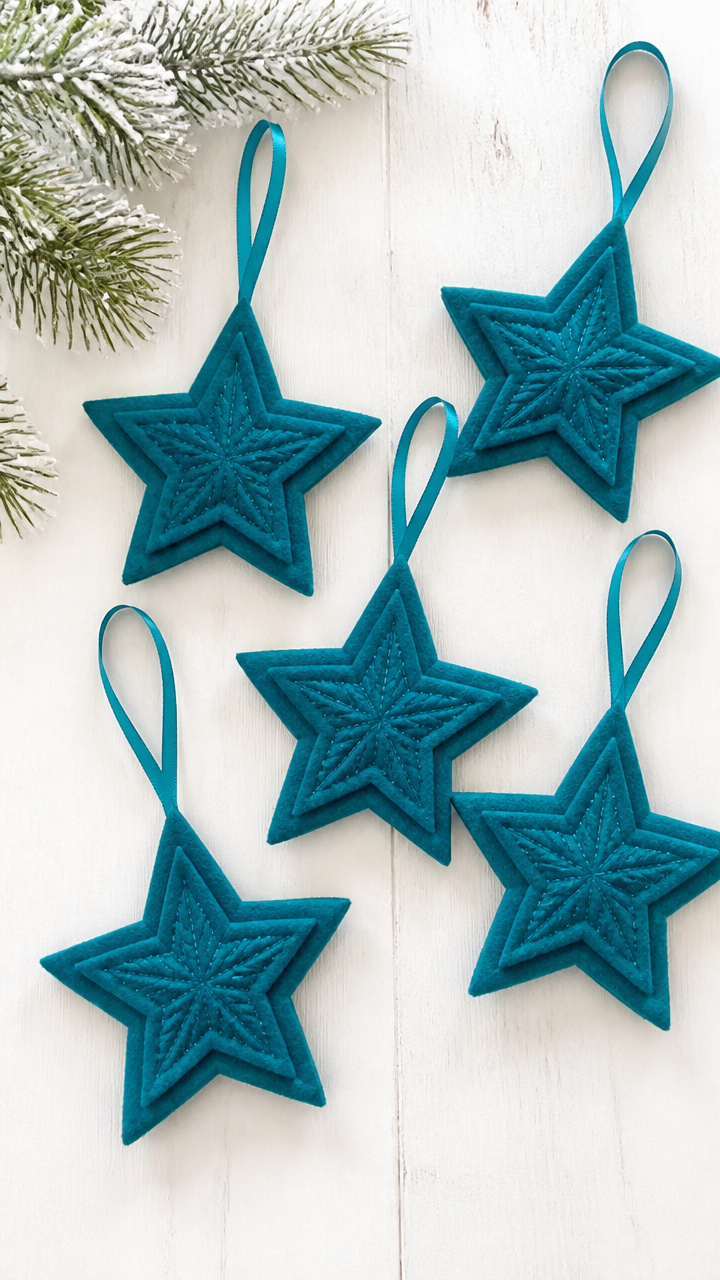
Five layers of peacock blue felt stitched into plush stars dangle from satin ribbon. These lightweight ornaments won’t weigh down delicate branches.
Materials Needed
- Peacock blue craft felt (12 x 12 inch sheet)
- Satin ribbon (1/4 inch wide, 2 yards)
- Embroidery needle
- Blue thread (embroidery floss, 1 strand)
- Star template (5 inch)
- Scissors
- Straight pins
How to Make It
- Trace the star template onto the felt five times. Cut out each shape carefully.
- Stack all five stars. Pin through the center to hold layers together.
- Thread the needle with one strand of blue thread. Knot the end and sew through all layers in a tight straight stitch, leaving a 2 inch tail.
- Tie a secure knot on the back. Cut a 6 inch length of ribbon, fold in half, and attach the loop to the top point with a few whip stitches.
11. Driftwood Candle Centerpiece
Moderate
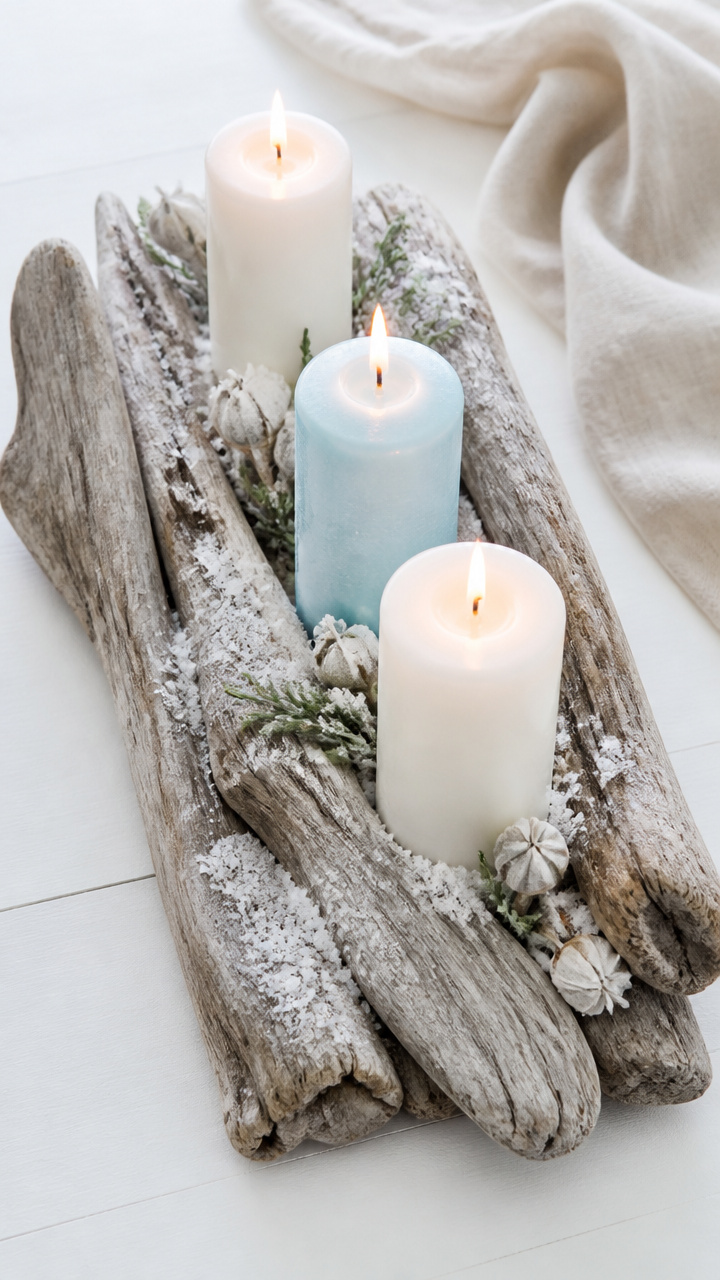
Weathered driftwood holds pillar candles in icy blue and white, arranged like snow-dusted logs. This centerpiece feels both wild and refined.
Materials Needed
- 3 pieces of driftwood (6–8 inches long, flat bottom)
- Sandpaper (220 grit)
- White pillar candle (3 inch diameter, 6 inch tall)
- Pale blue pillar candle (3 inch diameter, 4 inch tall)
- Hot glue gun
- Glue sticks
- Long fireplace matches
How to Make It
- Lightly sand any rough spots on the driftwood. Wipe clean with a dry cloth.
- Arrange the pieces in a triangle on your table, leaving space in the center for candles.
- Apply a dime-sized dot of hot glue to the bottom of each candle. Press into place on the driftwood and hold for 10 seconds.
- Let the glue cool for 2 minutes. Light candles with matches when ready to display.
12. Watercolor Paper Snowflakes
Easy
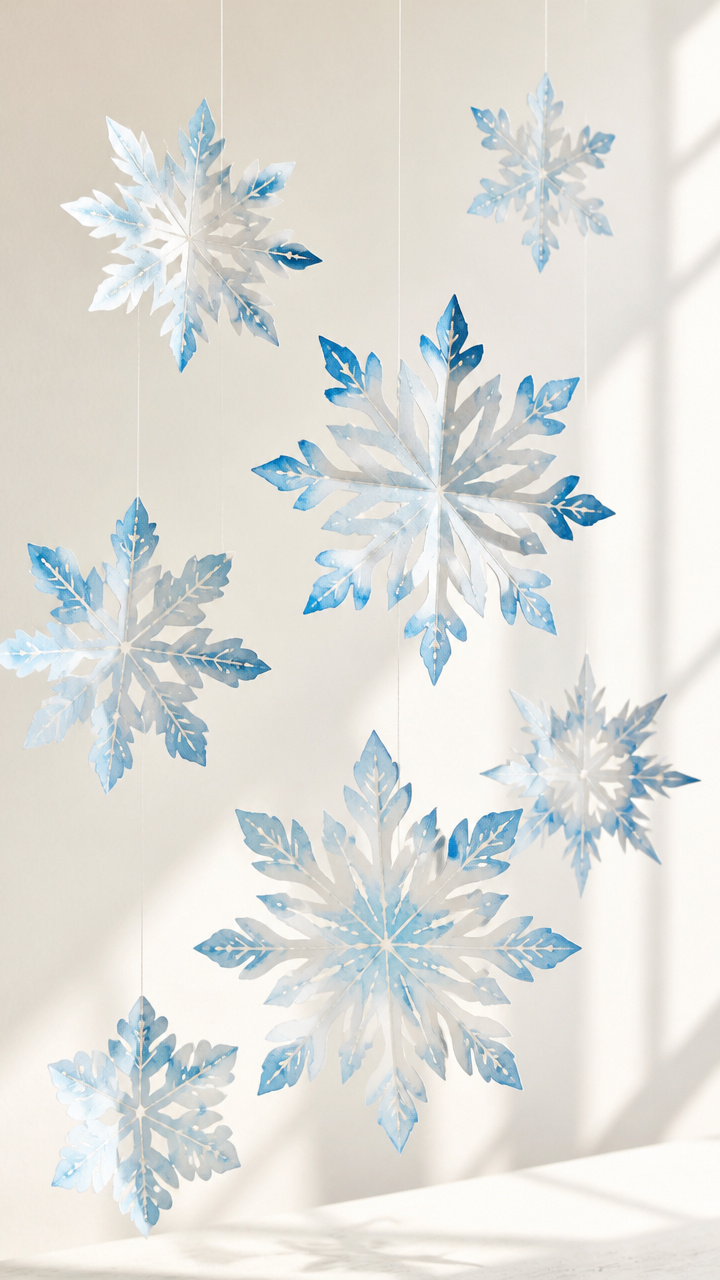
Delicate paper snowflakes float from the ceiling, painted in gradients of blue and left to catch the breeze. They turn any corner into a quiet winter scene.
Materials Needed
- Watercolor paper (9 x 12 inches, cold press, 140 lb)
- Round watercolor brush (size 6)
- Liquid watercolors (powder blue, sky blue, white ink)
- Fine hole punch
- Clear fishing line (10 feet)
- Scissors
How to Make It
- Fold the watercolor paper into eighths to create a snowflake base. Cut petal shapes along the edges and unfold carefully.
- Mix a weak solution of powder blue watercolor. Brush it across one side of the snowflake, letting it pool in the creases.
- Add a touch of sky blue to one corner and spritz with a drop of white ink for frost effect. Dry flat for 15 minutes.
- Punch a hole at the top. Thread fishing line through and hang at varying heights from a ceiling hook.
13. Salt Dough Ice Discs
Easy
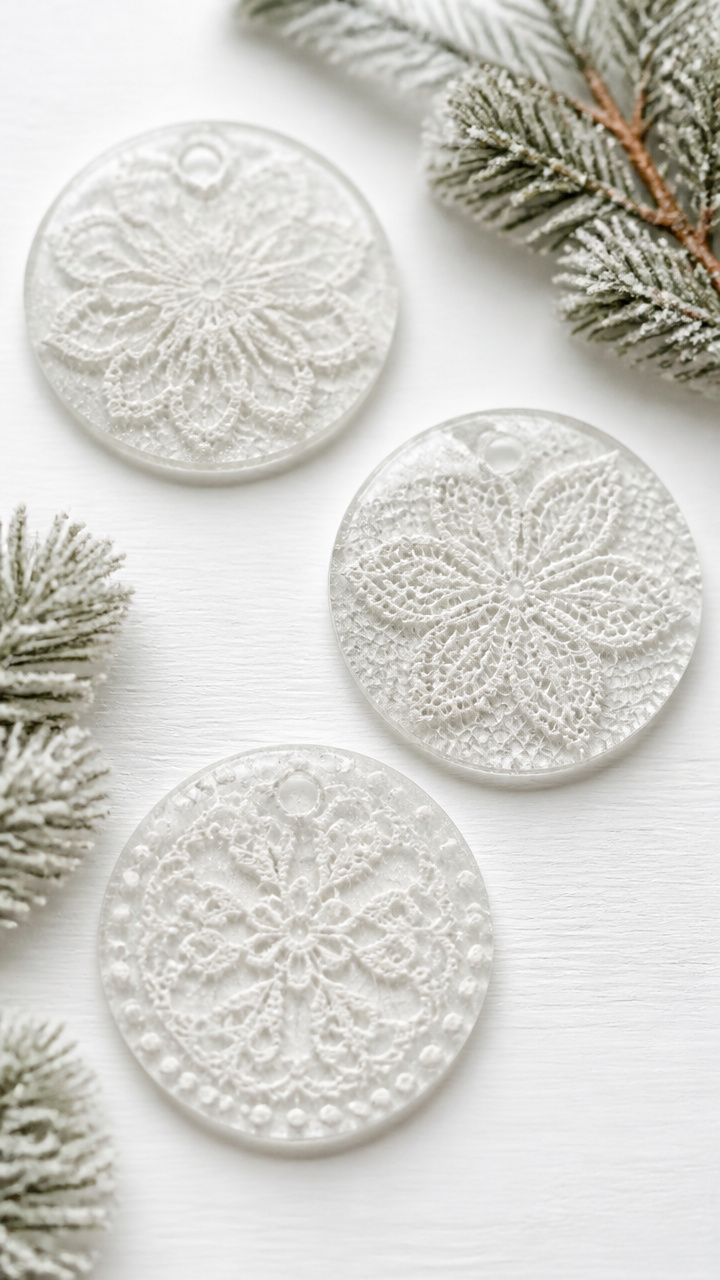
Simple dough pressed with lace and baked until crisp becomes translucent, icy decorations. Drape them on garlands or hang in windows.
Materials Needed
- All-purpose flour (1 cup)
- Table salt (1/2 cup)
- Water (2/3 cup)
- Lace doily (7 inch diameter, 3)
- Rolling pin
- Circular cookie cutter (3 inch)
- Baking sheet
- Parchment paper
- Clear varnish (spray, 4 oz)
How to Make It
- Mix flour, salt, and water in a bowl until a smooth dough forms. Knead for 2 minutes on a floured surface.
- Roll dough to 1/4 inch thickness. Cut out 6 circles using the cookie cutter.
- Press a lace doily firmly into the top of each disc. Place on a parchment-lined baking sheet.
- Bake at 200°F for 2 hours until hard and dry. Cool completely, then spray both sides with varnish. Let cure 1 hour.
14. Layered Tissue Paper Lanterns
Moderate
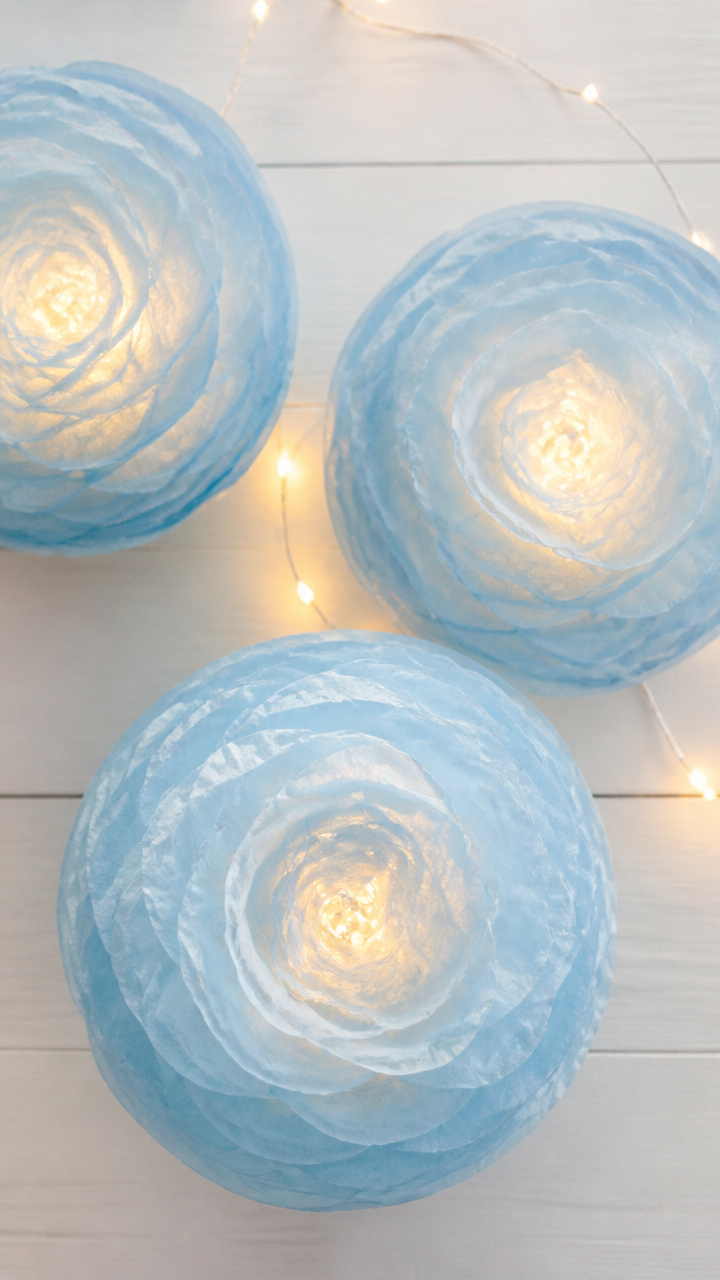
Concentric rings of blue tissue fan out from a central bulb, blooming like frozen flowers. Plug them in and watch the colors deepen at night.
Materials Needed
- String lights (25 bulbs, warm white)
- Light blue tissue paper (10 sheets, 20 x 20 inches)
- Scissors
- Clothespins (25)
- Ruler
- Pencil
How to Make It
- Cut tissue paper into 4 inch wide strips. Stack 4 strips and fold accordion-style every 1 inch.
- Round the outer edge of each folded strip with scissors to create a petal shape. Unfold gently to reveal scalloped ruffles.
- Stretch each ruffle into a circle and slide it over a bulb. Secure with two clothespins on the wire base.
- Space one lantern every other bulb. Hang in a hallway or bedroom for soft ambient light.
15. Faux Ice Block Candle Holder
Advanced
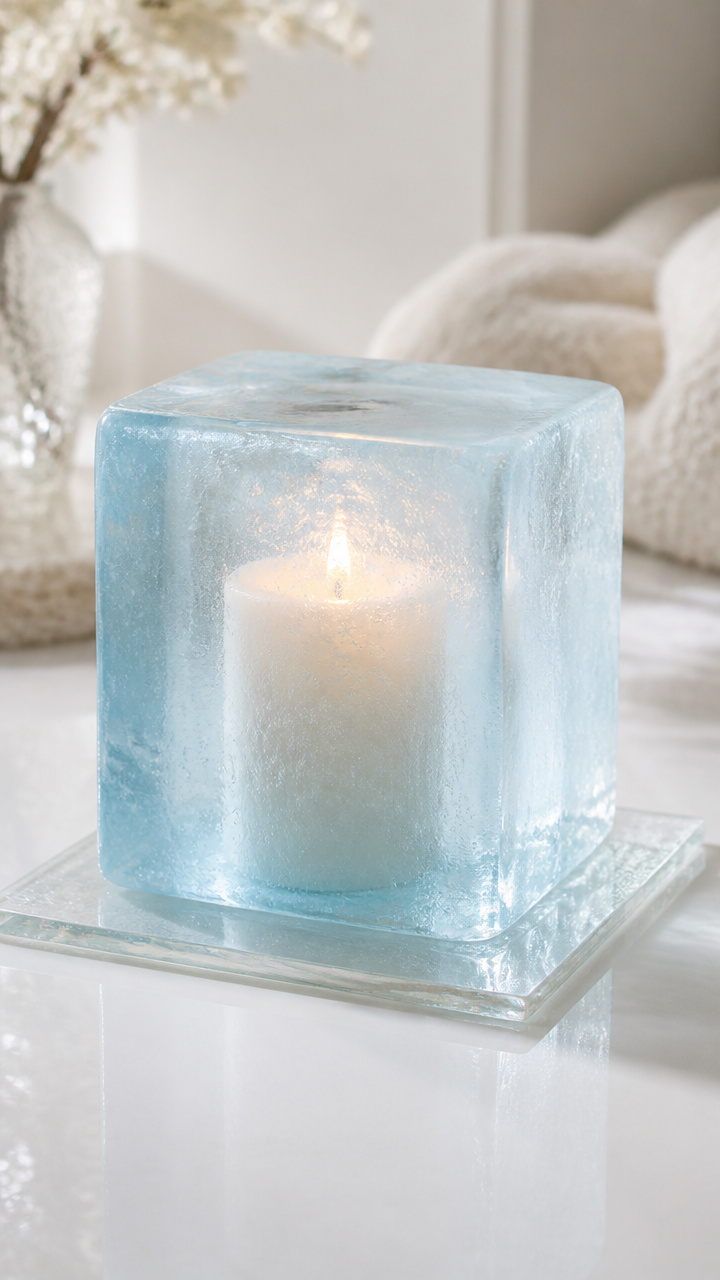
A solid block of clear gel medium encases a candle, creating the illusion of a flame burning within ice. This centerpiece draws every eye.
Materials Needed
- Clear gel medium (16 oz bottle)
- Tall glass hurricane (6 inch diameter, 10 inch height)
- Unscented pillar candle (3 inch diameter, 4 inch tall)
- Aluminum foil
- Mixing stick
- Disposable container
- Butane torch
How to Make It
- Line the inside of the hurricane with foil, shiny side out, pressing it smoothly against the glass.
- Pour 4 ounces of gel medium into the container. Stir slowly for 2 minutes to minimize bubbles.
- Pour a 1 inch layer into the hurricane. Let sit for 10 minutes.
- Center the candle on top. Slowly pour the remaining gel around it, stopping 1 inch from the top. Pop surface bubbles with a butane torch.
- Let cure undisturbed for 48 hours. Light the candle carefully, never leaving it unattended.
You’ve got everything you need to bring that crisp winter light indoors. Pick one craft that calls to you and start creating today.