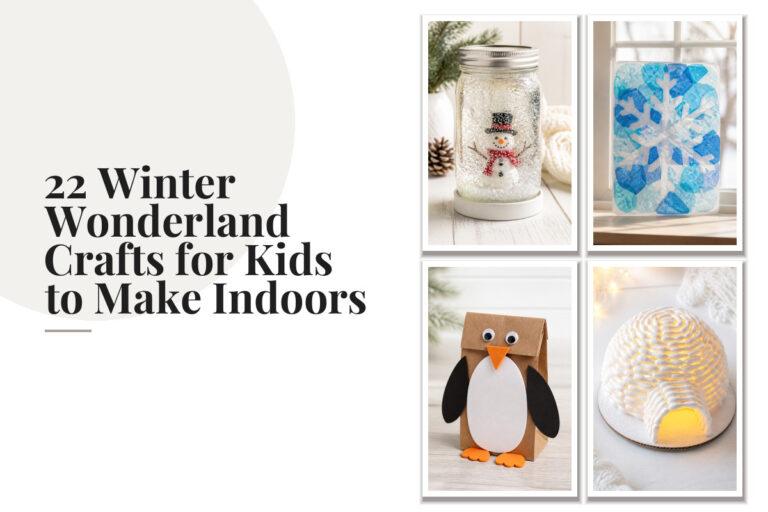
20 Winter Lantern and Luminary Crafts for Dark Evenings

Flickering light through frosted glass, soft glows beneath snow-dusted eaves, the quiet warmth of a handmade beacon on a cold windowsill — winter nights call for small fires we craft with our hands.
These lanterns and luminaries blend simplicity with soul, using materials you can gather easily and techniques that welcome all skill levels. Each one brings a distinct kind of magic to dark evenings, from icy textures to glowing silhouettes, and every piece is made to be lived with.
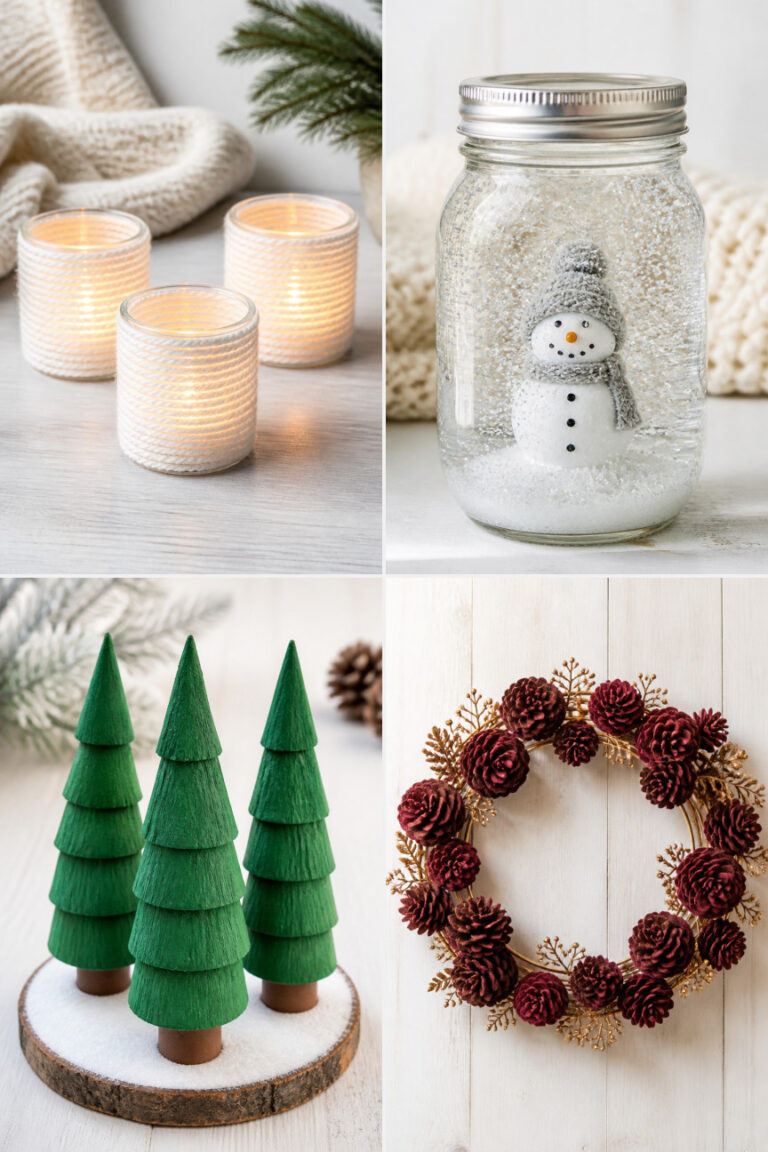
1. Mason Jar Snow Globe
Easy
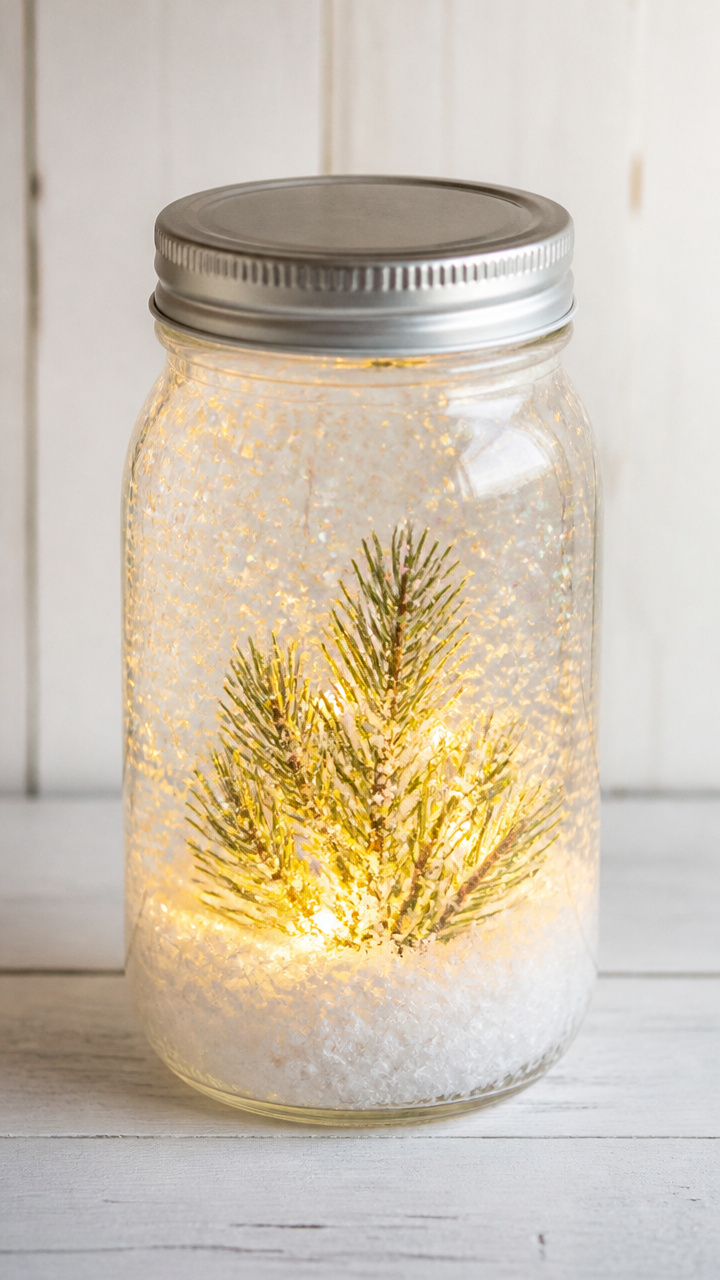
A swirling snowstorm captured in a jar that glows from within, perfect for placing on a porch step or entry table.
Materials Needed
- 1 clean quart-sized mason jar with lid
- 1 battery-operated tea light
- 1/4 cup white polyfill stuffing
- 1/2 teaspoon iridescent glitter
- 5-inch faux pine sprig
- Hot glue gun and glue sticks
How to Make It
- Place the tea light inside the jar and center it on the base.
- Pull apart the polyfill into small fluffy clumps and drop them into the jar around the tea light.
- Sprinkle the glitter over the polyfill so it settles like falling snow.
- Tuck the pine sprig into the center of the fill so it stands upright.
- Screw the lid onto the jar, then use hot glue to secure the lid to the jar rim to keep contents sealed.
2. Pinecone Oil Lamp
Moderate
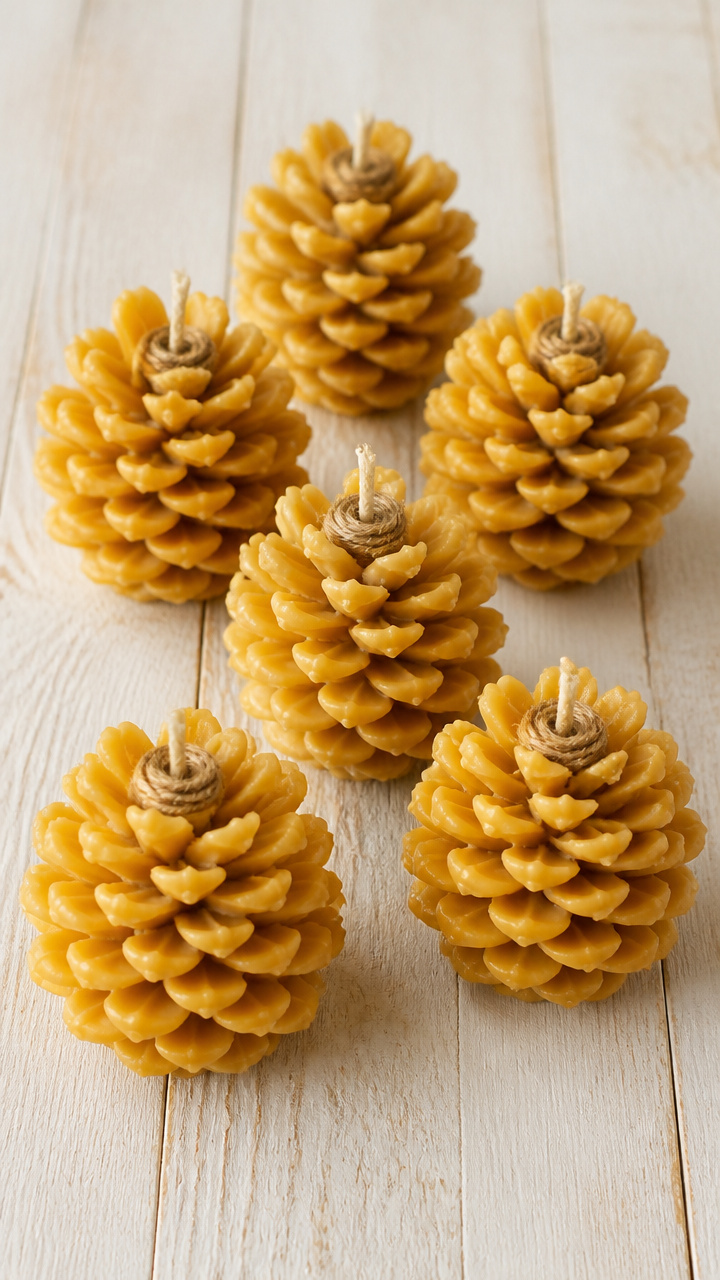
Rustic cones dipped in wax become natural wick holders that burn cleanly with a soft golden flicker.
Materials Needed
- 6 large dry pinecones
- 1 roll of cotton kitchen twine
- 1 pound soy wax flakes
- 6 pre-waxed cotton wicks, 3 inches long
- Double boiler setup
- Scissors
How to Make It
- Wrap each pinecone tightly with twine, starting at the base and spiraling up to the tip, leaving 2 inches of loose twine at the top.
- Cut the twine and tie the end securely. Trim excess.
- Melt the soy wax in the double boiler over medium heat until fully liquid, about 15 minutes.
- Dip each wrapped pinecone into the melted wax, submerging completely, then lift and let excess drip off for 10 seconds.
- While wax is still tacky, press one wick into the top center of each pinecone and hold for 5 seconds to secure.
3. Cinnamon Stick Cylinder
Moderate
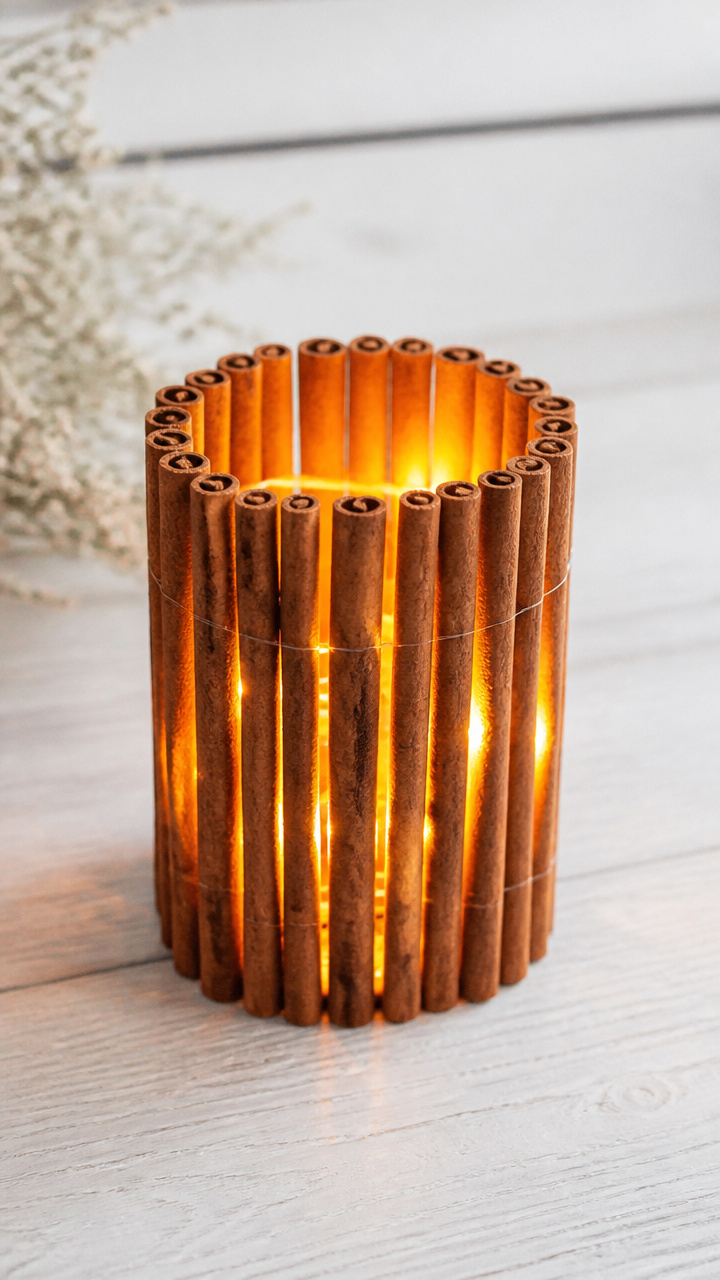
Spiced wood bundled into a warm-scented sleeve that glows and perfumes the air when lit.
Materials Needed
- 24 whole cinnamon sticks, 6 inches long
- Clear 2-inch wide heavy-duty tape
- Craft knife
- Battery-powered fairy lights, 20 bulbs on a copper wire strand
- Ruler
How to Make It
- Lay six cinnamon sticks side by side on a flat surface, touching lengthwise.
- Run a strip of tape along one long edge to bind them together, then repeat on the opposite edge.
- Repeat to make three more panels of six sticks each.
- Connect the four panels at their edges with tape to form a square cylinder.
- Insert the fairy lights inside the cylinder, draping the cord neatly out the top or bottom.
4. Frozen Berry Luminary
Easy
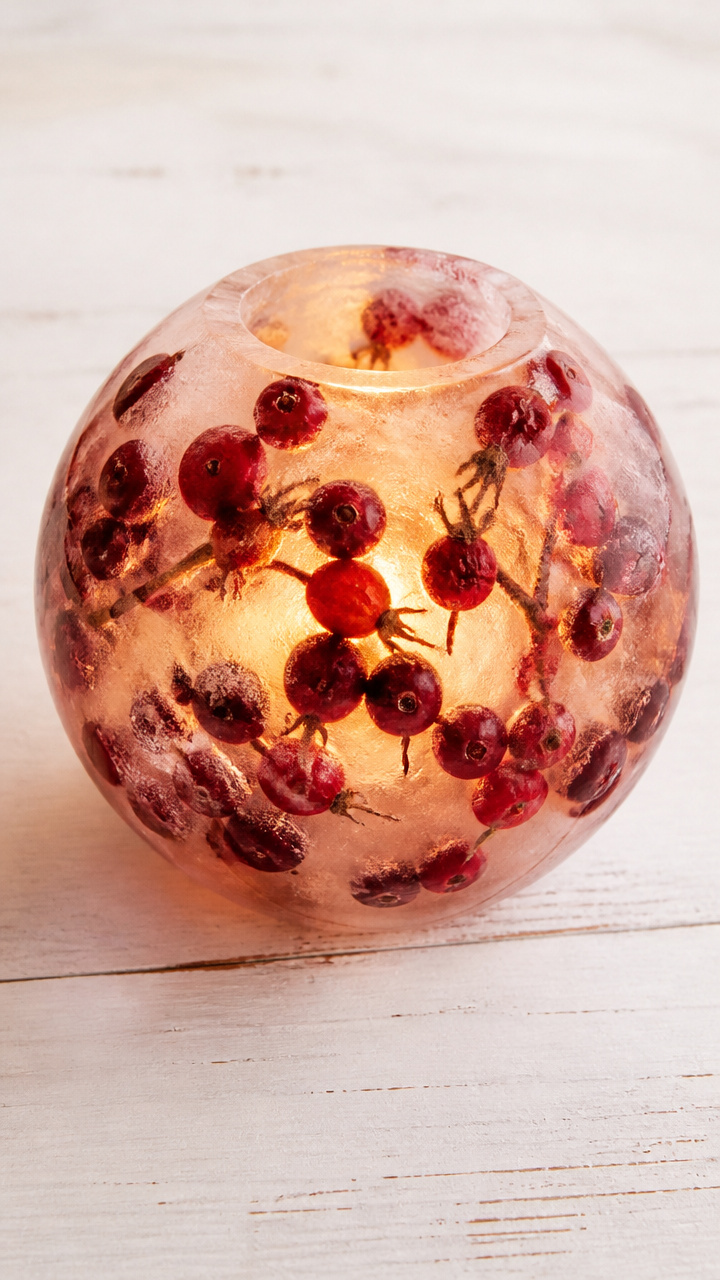
Real cranberries and rosehips suspended in ice create jewel-toned orbs that glow like northern lights.
Materials Needed
- 1 silicone sphere mold, 5-inch diameter
- 1 cup fresh cranberries
- 1/4 cup dried rosehips
- Water
- Small LED puck light, 4-inch diameter
- Freezer-safe container
How to Make It
- Fill the silicone mold halfway with water.
- Scatter cranberries and rosehips evenly into the water layer.
- Top off with more water until the mold is full.
- Freeze for at least 6 hours or until solid.
- Remove the ice sphere from the mold and place it over the LED puck light on a tray to catch meltwater.
5. Knit Sleeve Lantern
Moderate
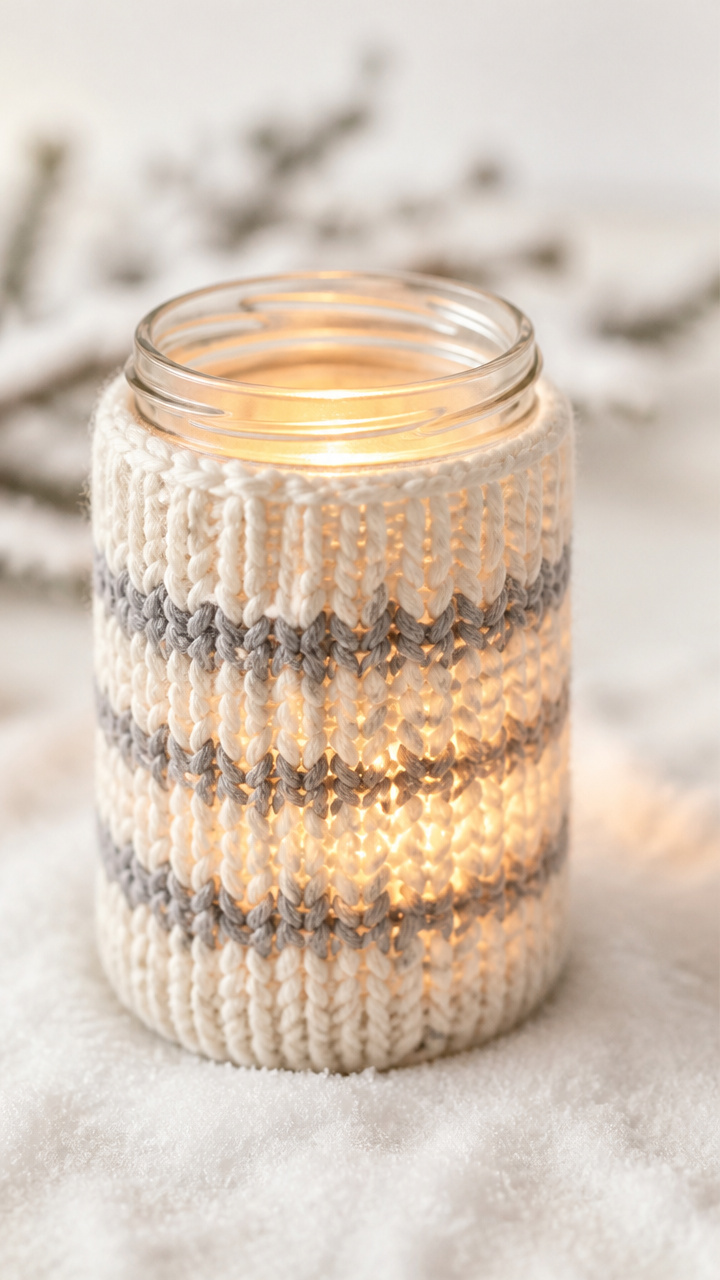
Soft wool wraps a jar like a cozy sock, diffusing light into a gentle pool on snowy floors.
Materials Needed
- 1 knitted wool sleeve, 4 inches tall and 3.5 inches inner diameter
- 1 pint-sized mason jar
- 1 battery-operated flameless candle
- Scissors
How to Make It
- Slide the knit sleeve over the lower half of the mason jar, leaving the top rim exposed.
- Place the flameless candle inside the jar and turn it on.
- Ensure the sleeve sits flat and does not touch the candle mechanism.
6. Maple Seed Tealight Holders
Advanced
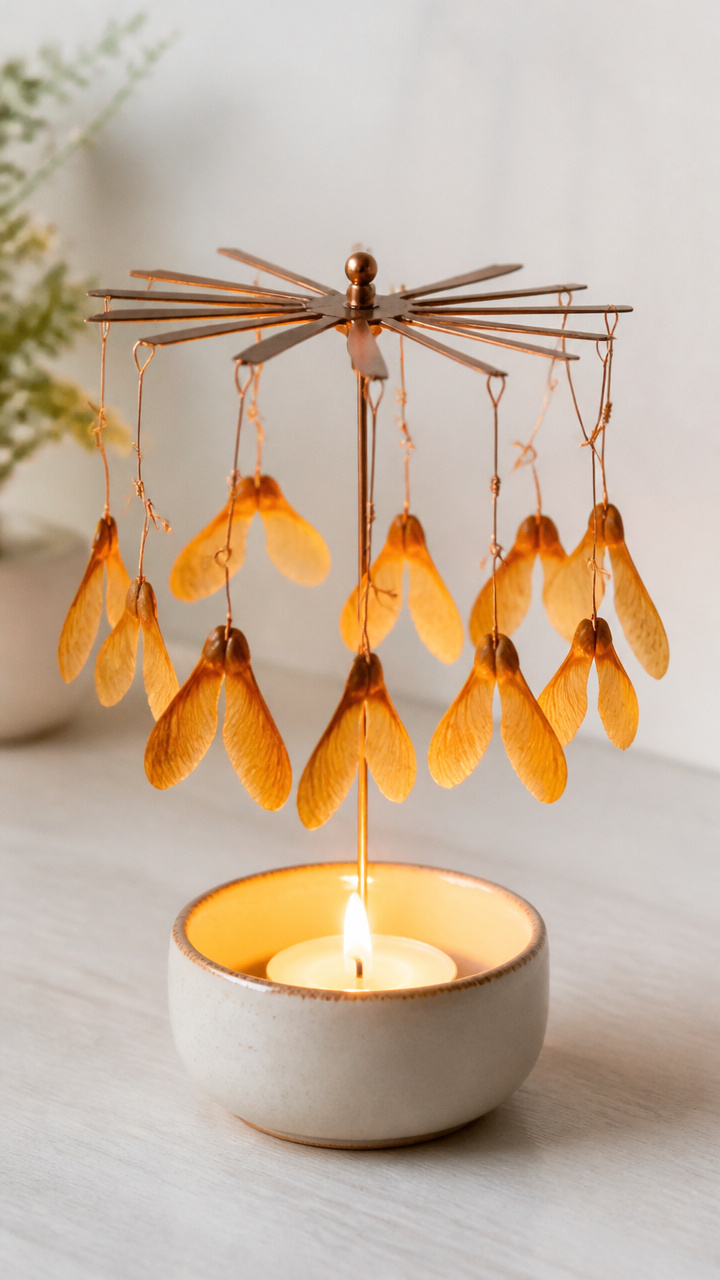
Nature’s tiny propellers wired into delicate suncatchers that spin softly in radiant warmth.
Materials Needed
- 12 dried maple seeds (samaras)
- Thin 24-gauge copper wire, 12 inches per seed
- Wire cutters
- Pliers
- Tealight holder base, ceramic or metal
- Glue dots
How to Make It
- Cut 12 pieces of copper wire, each 12 inches long.
- Wrap one end of a wire tightly around the thick end of a maple seed, securing with pliers.
- Shape the remaining wire into a spiral or loop to hang the seed from a central ring.
- Repeat for all 12 seeds, varying spiral sizes slightly for visual interest.
- Attach each wire loop to a small metal ring using pliers, spacing evenly, and rest the ring on the tealight holder using glue dots.
7. Salt Dough Star Shapes
Easy
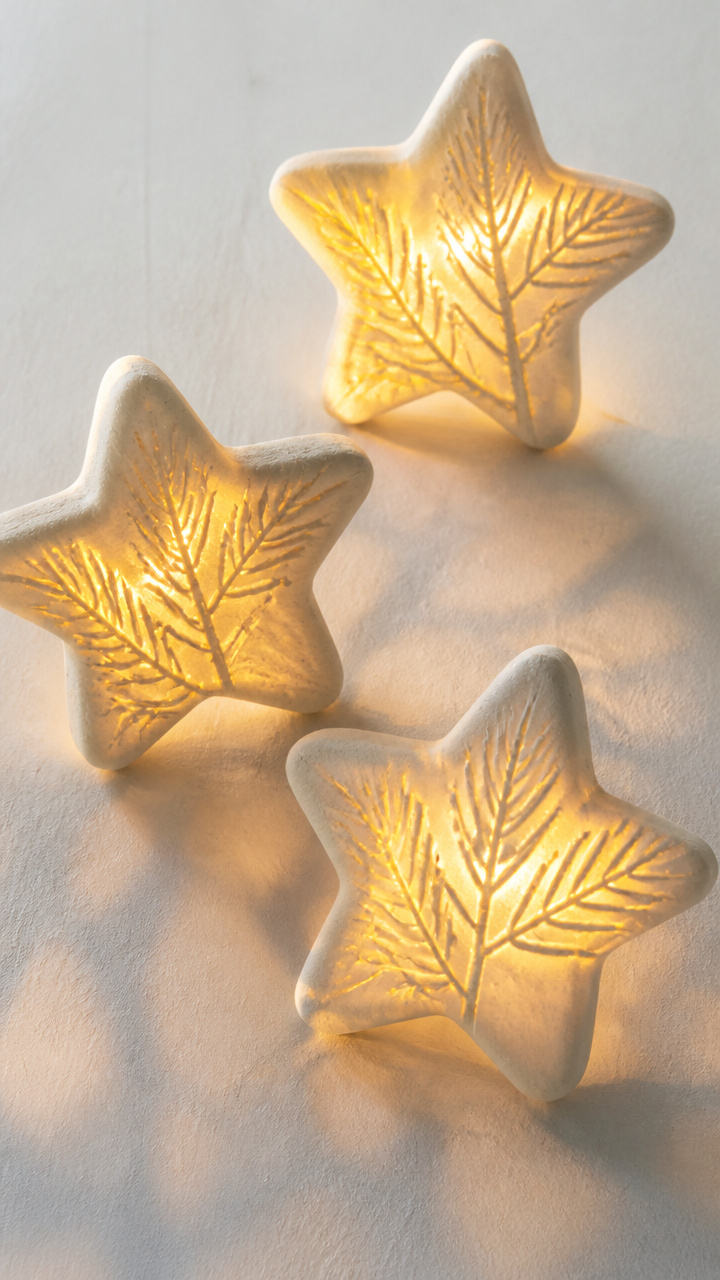
Hand-rolled dough stars stamped with pine needles glow with crisp shadow patterns when backlit.
Materials Needed
- 2 cups all-purpose flour
- 1 cup table salt
- 3/4 cup water
- Wooden star cookie cutter, 3 inches
- Parchment paper
- Baking sheet
- Oven
- White glue
- Battery-powered string lights
How to Make It
- Mix flour, salt, and water in a bowl until a smooth dough forms, about 3 minutes.
- Roll the dough to 1/4 inch thickness on a floured surface.
- Cut out stars with the cookie cutter and place them on a parchment-lined baking sheet.
- Use the tip of a toothpick to poke a hole near the top edge of each star for hanging.
- Bake at 250°F for 2 hours, flip, then bake 1 more hour until hard and dry.
- Let cool completely, then thread string lights through the holes and drape the stars along the strand.
8. Wine Bottle Ice Jacket
Moderate
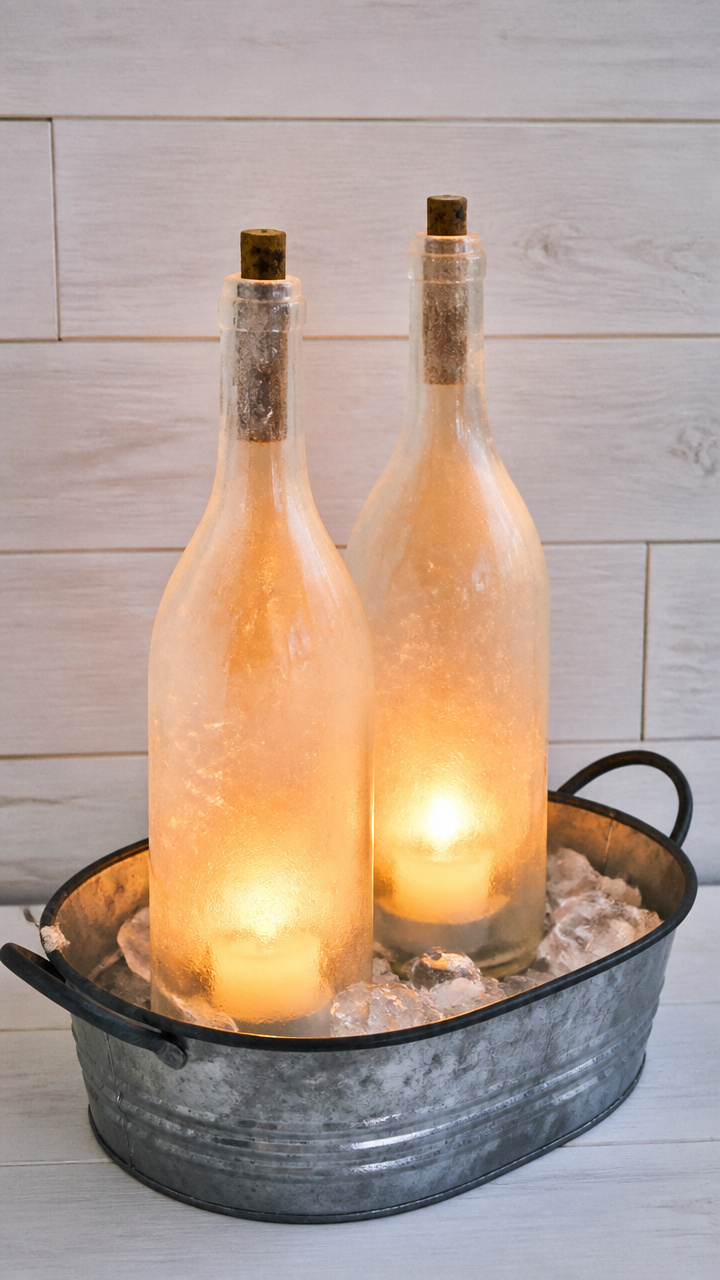
Chilled bottles wrapped in sculpted ice become translucent pillars that shimmer under candlelight.
Materials Needed
- 2 empty wine bottles, labels removed
- Water
- Large freezer-safe tub
- 2 battery-operated votive candles
- Measuring cup
How to Make It
- Fill each wine bottle with water and freeze overnight until solid.
- Place each frozen bottle upright in the tub and pour water slowly around the outside to submerge halfway.
- Return the tub to the freezer and freeze for 4 more hours until the outer layer is solid.
- Run warm water briefly over the outside of the tub to loosen the ice-jacketed bottles.
- Crack away the tub gently, then invert each bottle to drain inner ice water, leaving a hollow core.
- Insert a votive candle into the hollow center before displaying.
9. Pressed Fern Shadow Box
Advanced
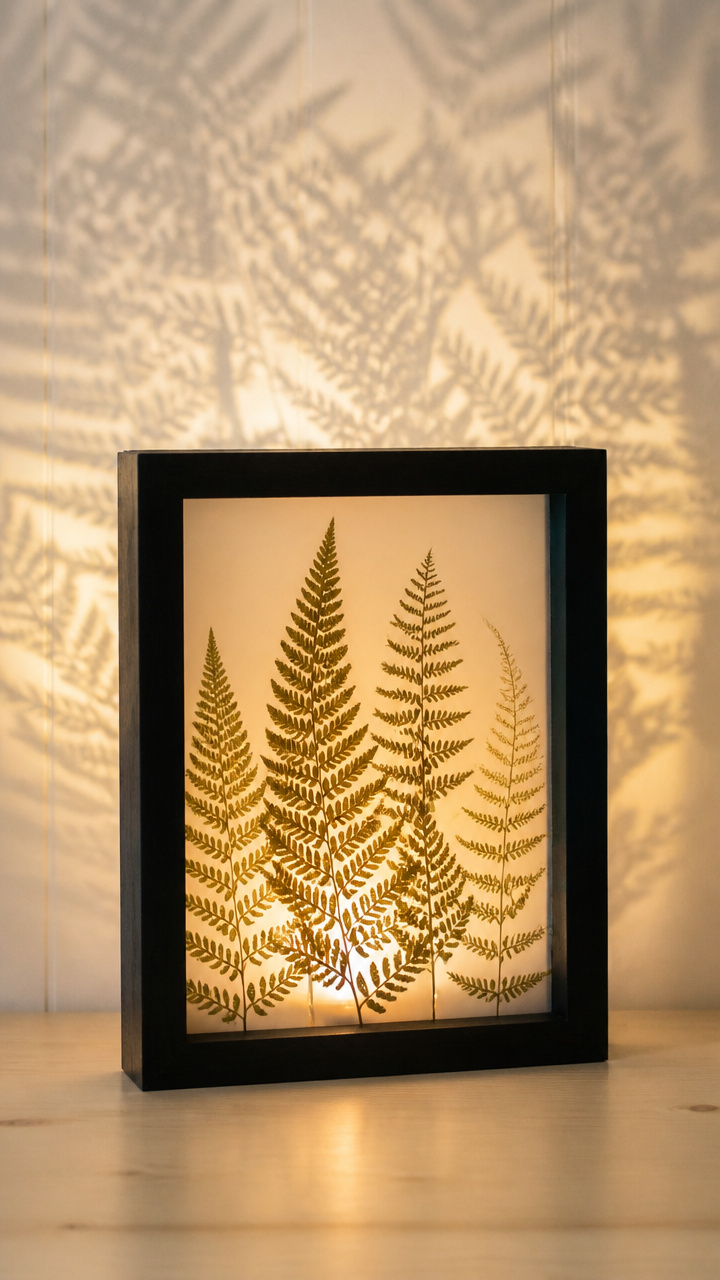
Delicate fronds framed in deep wood cast intricate lace-like shadows across walls and ceilings.
Materials Needed
- Shadow box frame, 8×10 inches, black finish
- 3 pressed fern fronds, fully dried
- Double-sided mounting squares
- X-Acto knife
- Ruler
- LED panel light, 8×10 inches, slim profile
- Mat board, white, 8×10 inches
How to Make It
- Measure and mark the center of the mat board, then cut a 4×6 inch rectangle from the center using the X-Acto knife.
- Position the fern fronds behind the opening, arranging them to overlap slightly for depth.
- Secure each frond corner with a double-sided mounting square.
- Place the mat board into the shadow box frame over the backing.
- Insert the LED panel light behind the backing board and close the frame.
10. Citrus Slice Dried Lights
Easy
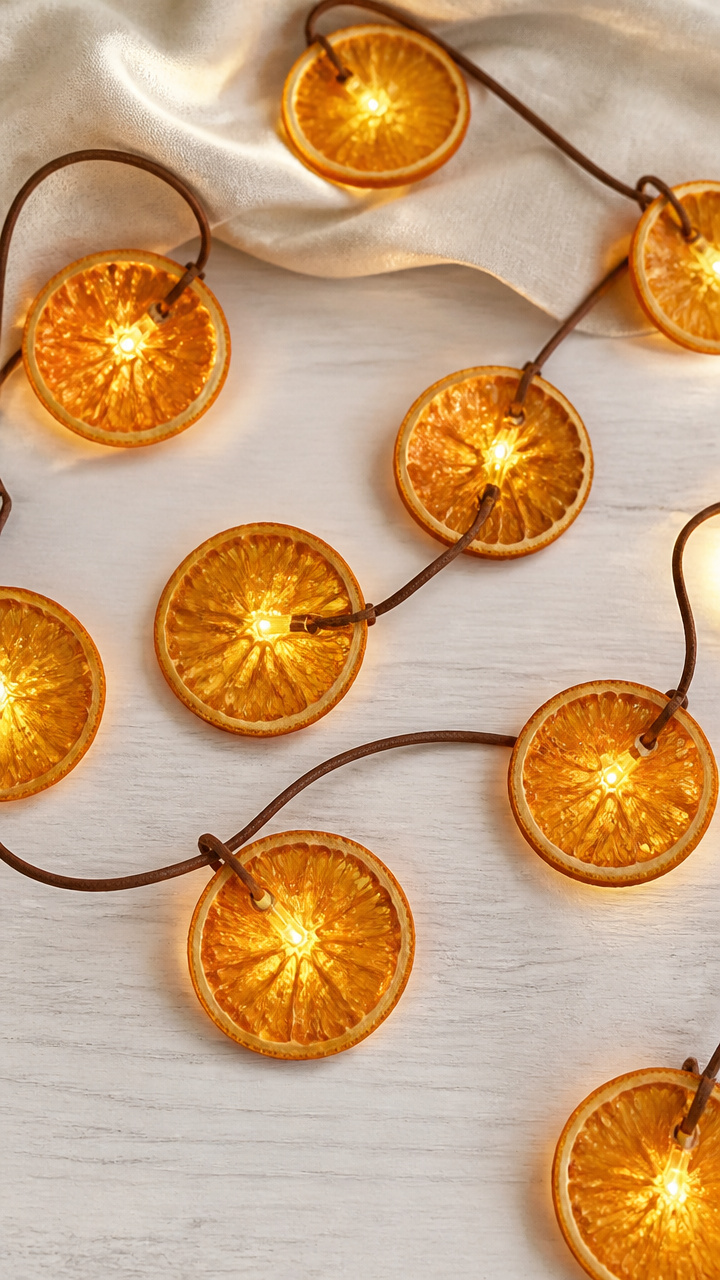
Sunset-hued orange wheels strung like garlands shed warm amber pools when lit from within.
Materials Needed
- 6 large oranges
- Chef's knife
- Dehydrator or oven
- Leather cord, 3mm thickness, 6 feet
- Needle with large eye
- Warm white micro string lights, 3-foot strand
How to Make It
- Slice each orange into eight 1/4-inch rounds using the chef's knife.
- Arrange slices on dehydrator trays or a parchment-lined baking sheet.
- Dry in a dehydrator at 135°F for 8 hours or in an oven at 170°F for 4 hours, flipping halfway.
- Thread the leather cord through the center of each slice using the needle, spacing them 3 inches apart.
- Weave the string lights through the cord behind the slices, securing with small knots where needed.
11. Felted Wool Ball Cluster
Moderate
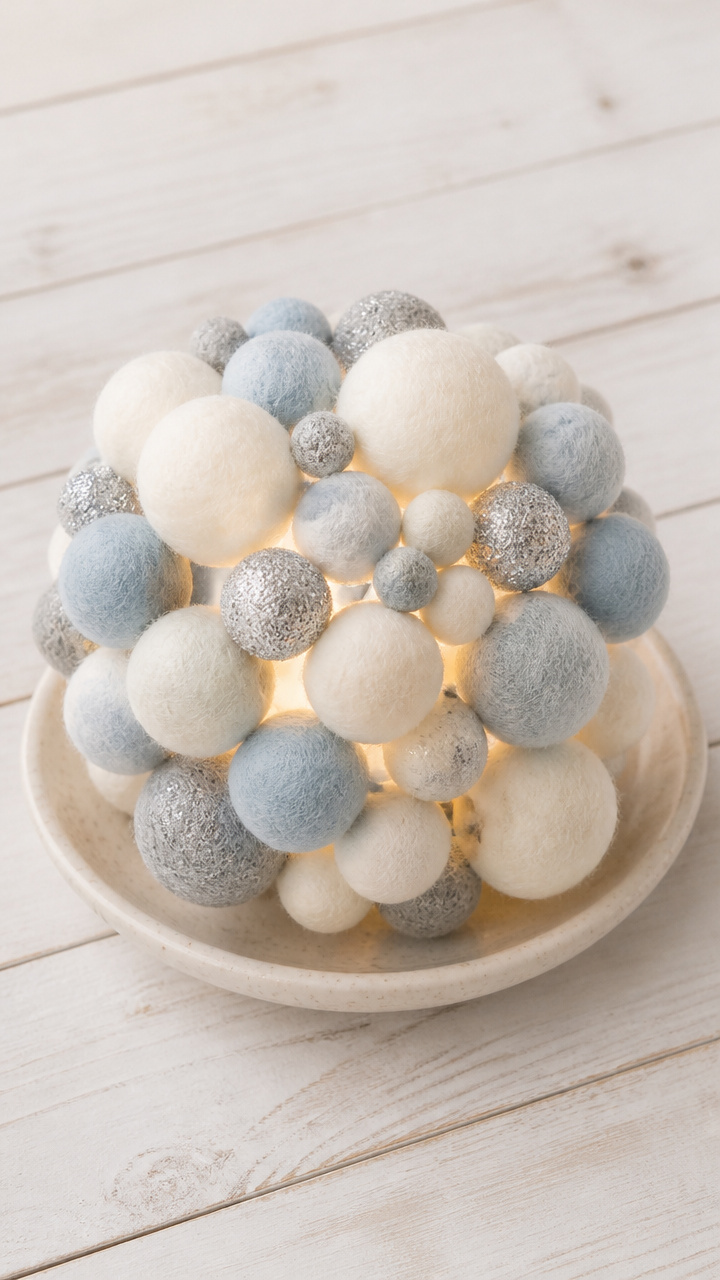
Hand-felted spheres in frosty hues cluster like frozen bubbles around a single soft source.
Materials Needed
- Raw merino wool roving, 30 grams each in white, pale blue, and silver
- Large felting needle
- Foam felting pad
- Shallow ceramic dish, 8 inches wide
- One dimmable LED globe bulb, E12 base
How to Make It
- Pull off 5-gram tufts of wool and roll each into a loose ball.
- Place a ball on the foam pad and repeatedly stab it with the felting needle until firm and spherical, about 3 minutes per ball.
- Make nine balls total, three in each color.
- Arrange the felted balls in the ceramic dish, grouping loosely around the center.
- Place the LED bulb in the middle, resting it on the dish base, and turn it on low setting.
12. Ice Mold Candle Base
Easy
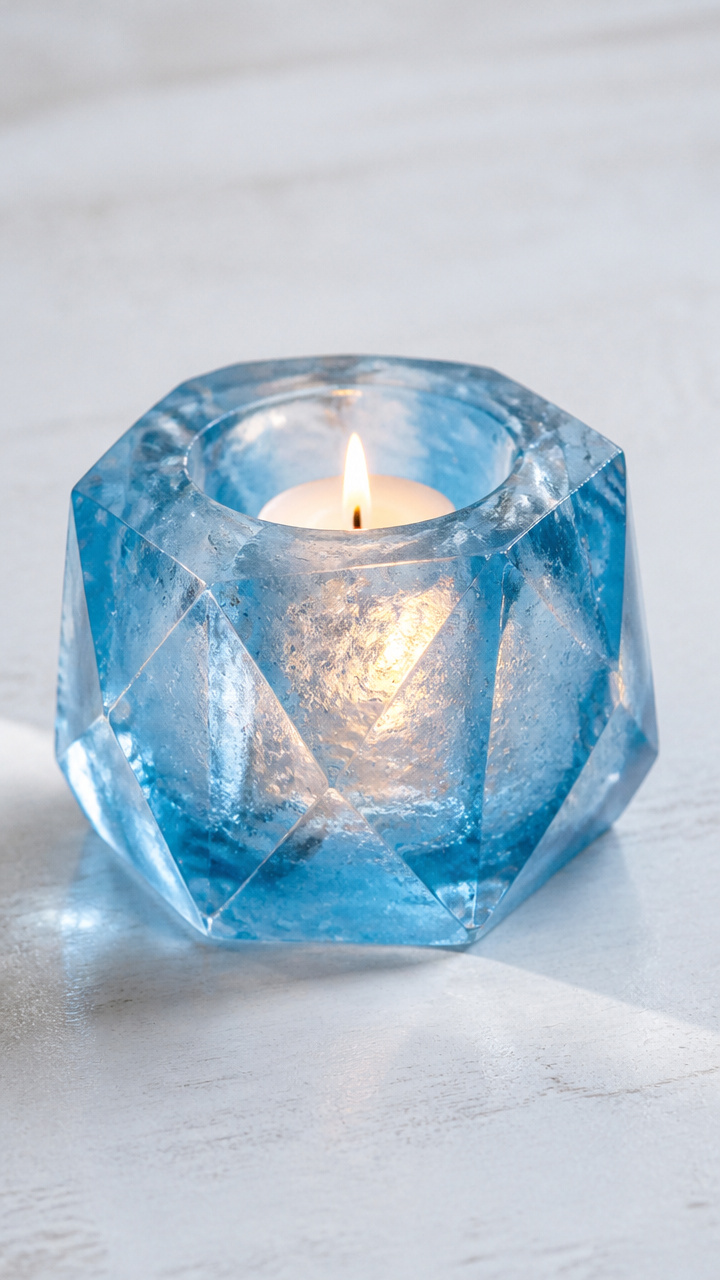
Geometric molds filled with colored water yield faceted lanterns that melt into spring promise.
Materials Needed
- Silicone geometric mold, 4-inch cube with diamond facets
- 1 tablespoon blue food coloring
- Water
- Tealight candle
- Freezer
How to Make It
- Fill the mold with water and add the food coloring, stirring once with a spoon.
- Place the mold in the freezer and freeze for 5 hours or until solid.
- Run warm water over the back of the mold to release the ice block.
- Set the ice block on a tray outdoors or in a sink.
- Place the tealight directly on top of the ice block and light it.
13. Twig Frame Ice Panel
Advanced
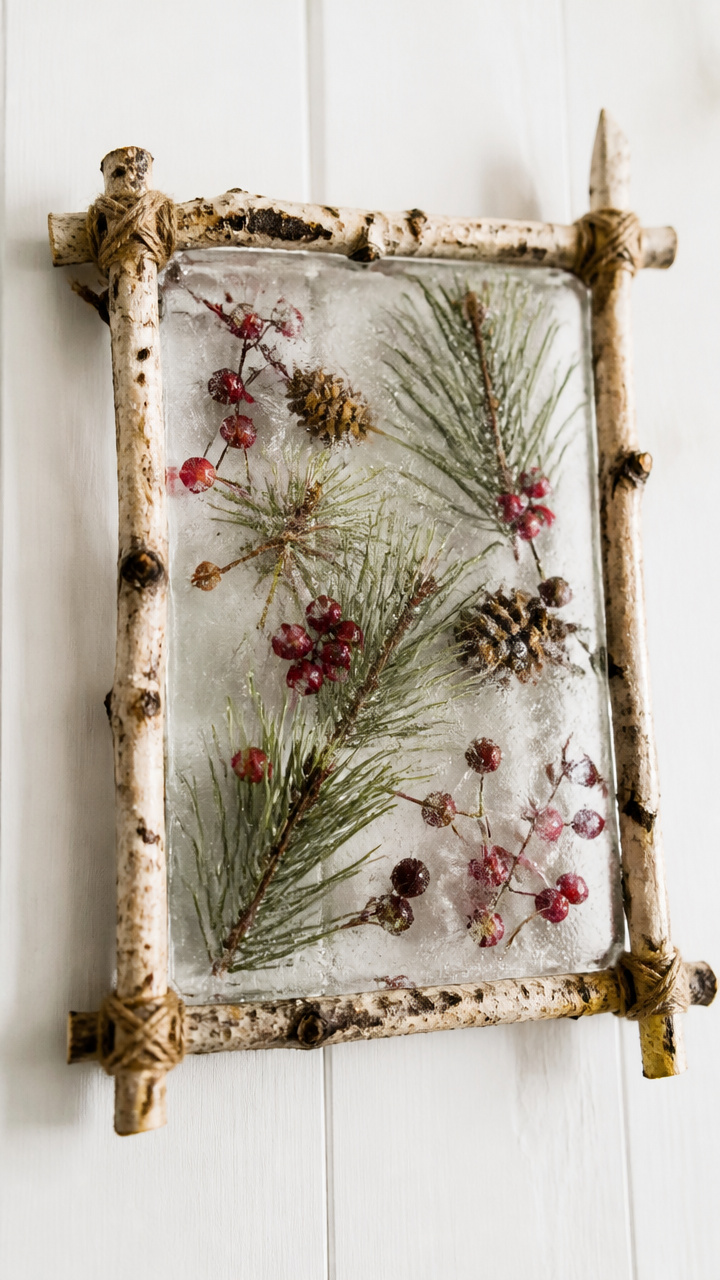
A hand-lashed rectangle of birch sticks holds a pane of ice that glows with woodland memory.
Materials Needed
- 4 straight birch twigs, 8 inches long, pencil thickness
- Natural jute cord, 20 feet
- Whittling knife
- Plastic food container, 7×5 inches
- Water
- Freezer
- LED book light, clip-on type
How to Make It
- Lay two twigs parallel on a flat surface, 5 inches apart.
- Lay the other two perpendicular across the ends to form a rectangle.
- Tie each corner tightly with jute cord using a square knot, trimming ends to 1 inch.
- Line the inside edge of the twig frame with plastic wrap to seal gaps.
- Place the frame around the plastic container and fill with water to the brim.
- Freeze for 6 hours until solid, then remove from container.
- Clip the LED book light to the back of the frame and aim forward through the ice.
14. Tin Can Cutout Lantern
Moderate
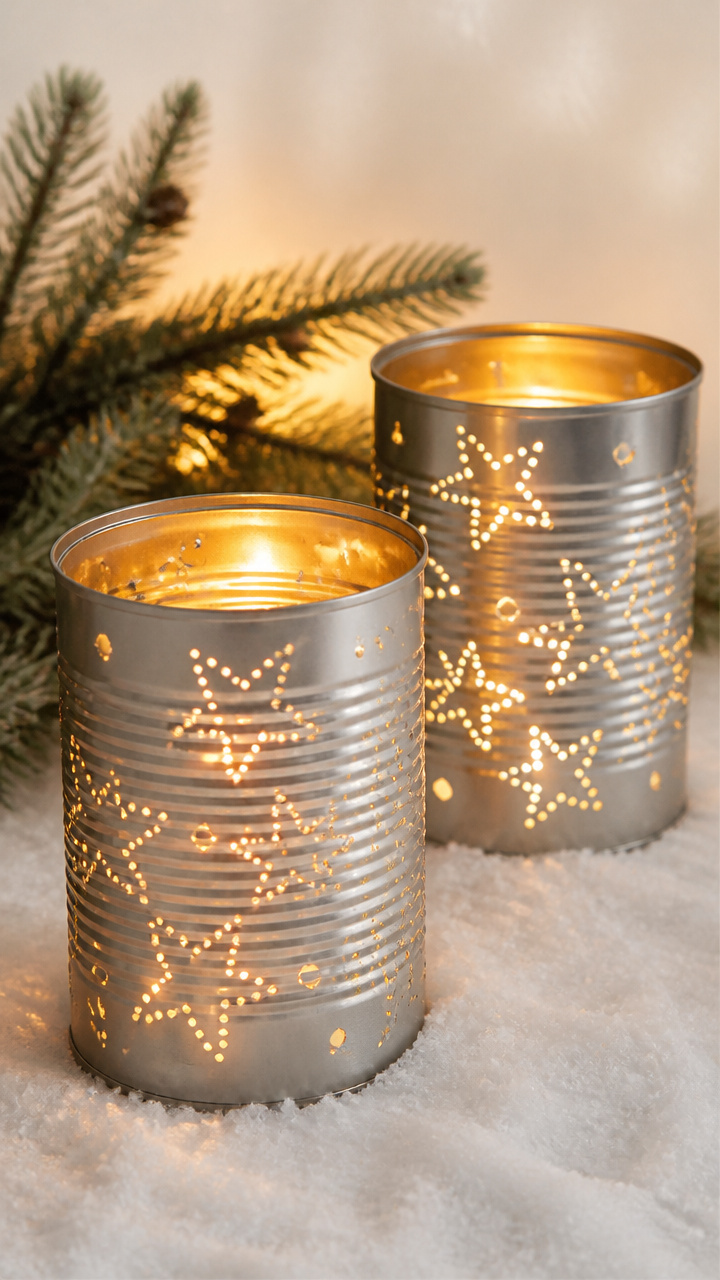
Repurposed cans punched with starry patterns cast dancing constellations on snowdrifts.
Materials Needed
- 2 empty soup cans, rinsed and label removed
- Hammer
- 6d nail
- Pencil
- Graph paper with star pattern
- Tape
- Sandpaper
- Tealight candle
How to Make It
- Tape the graph paper pattern to the outside of one can, aligning it vertically.
- Use the hammer and nail to punch holes through the can following the star dots, wearing gloves for grip.
- Repeat for the second can with a different pattern.
- Smooth any sharp edges inside the cans with sandpaper.
- Place a tealight inside each can and light them at dusk.
15. Cardboard Honeycomb Glow
Moderate
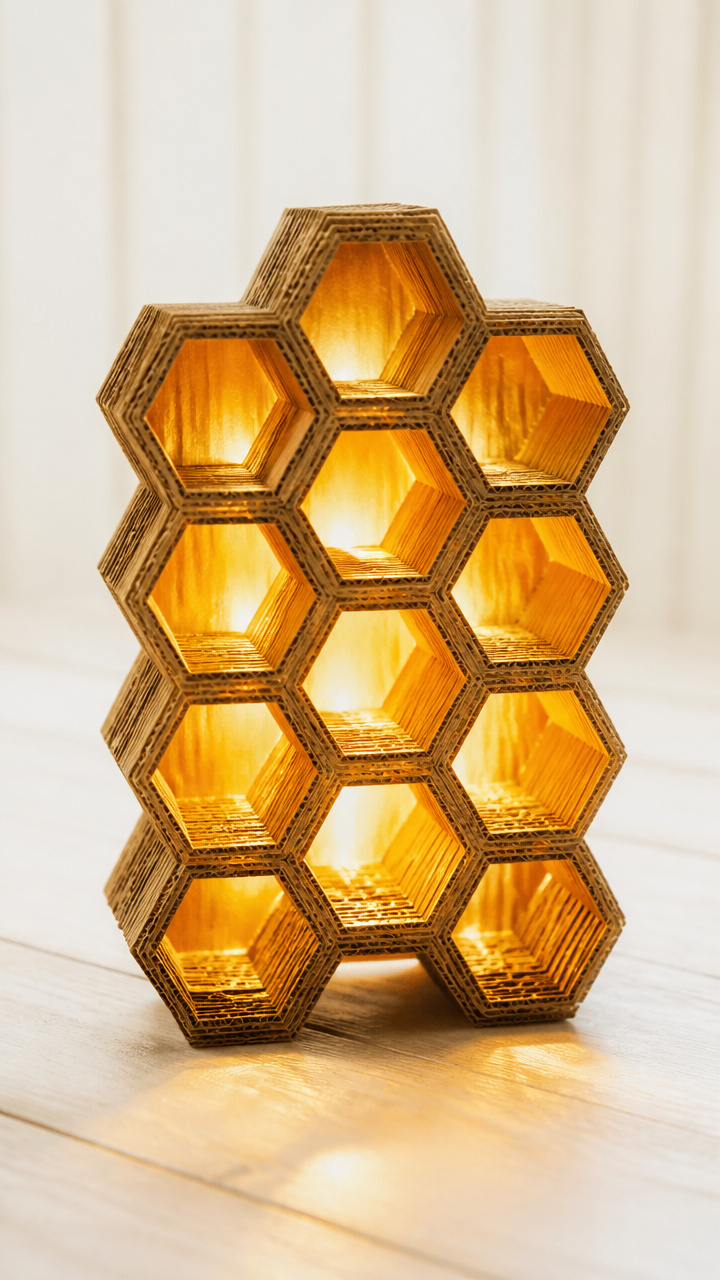
Layered hexagons built from cereal boxes mimic beeswax combs, radiating golden warmth.
Materials Needed
- Empty cereal box
- Ruler
- Craft knife
- Glue stick
- Pencil
- Protractor
- LED tea light
How to Make It
- Flatten the cereal box and draw rows of 1-inch hexagons across the surface using ruler and protractor.
- Cut out 19 hexagons with the craft knife on a cutting mat.
- Glue three hexagons together in a clover shape, side to side.
- Build outward in rings, gluing six more to the first ring, then twelve to the next, forming a honeycomb disk.
- Stack a second identical disk on top, offset slightly, and glue at contact points.
- Place the LED tea light underneath the honeycomb structure.
16. Yarn-Wrapped Glass Vase
Easy
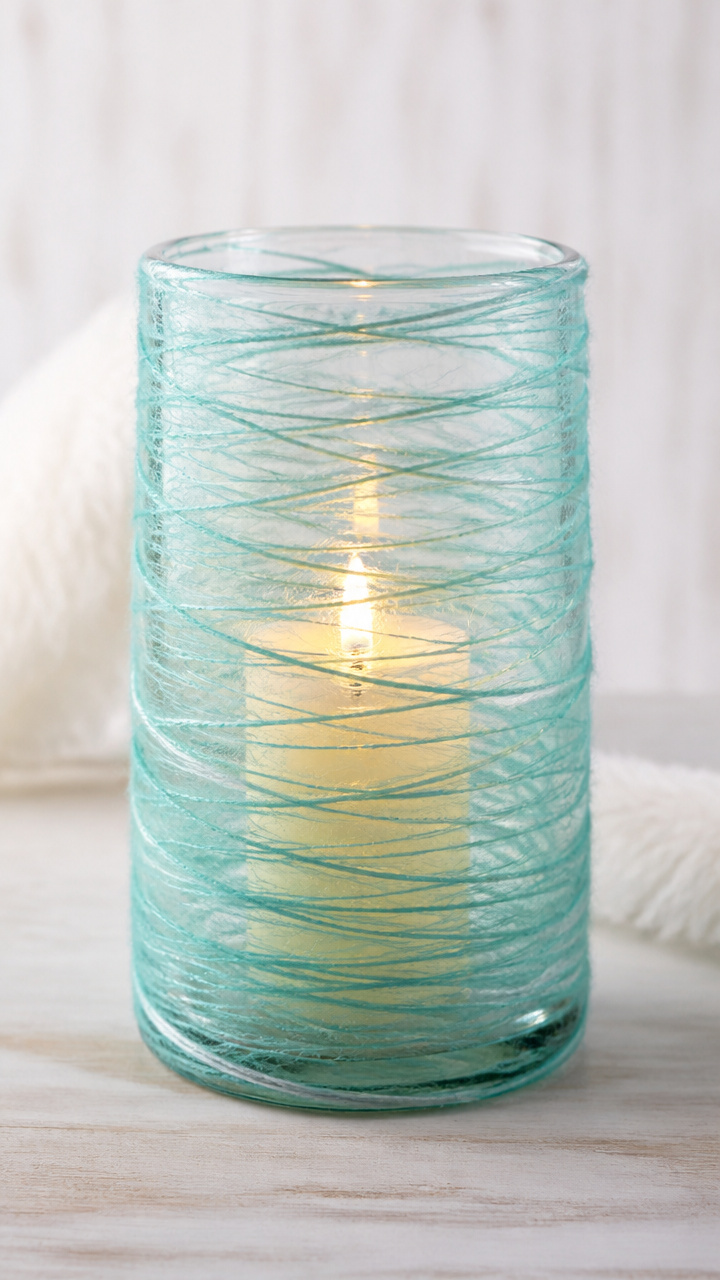
Sheer turquoise yarn spirals up a vase, turning plain glass into a sea-ice lantern.
Materials Needed
- 1 clear glass vase, 6 inches tall
- Turquoise sheer knitting yarn, size 1, 50 yards
- Fabric glue
- Paintbrush, 1/2 inch wide
- Battery-operated pillar candle, 3 inches tall
How to Make It
- Apply a thin line of fabric glue to the bottom rim of the vase with the paintbrush.
- Press the yarn end onto the glue and wait 30 seconds to set.
- Wrap the yarn tightly around the vase in vertical spirals, adding glue every inch to secure.
- Stop wrapping 1 inch from the top and cut the yarn, gluing the end down.
- Place the pillar candle inside and turn it on.
17. Paper Quilled Snowflake
Advanced
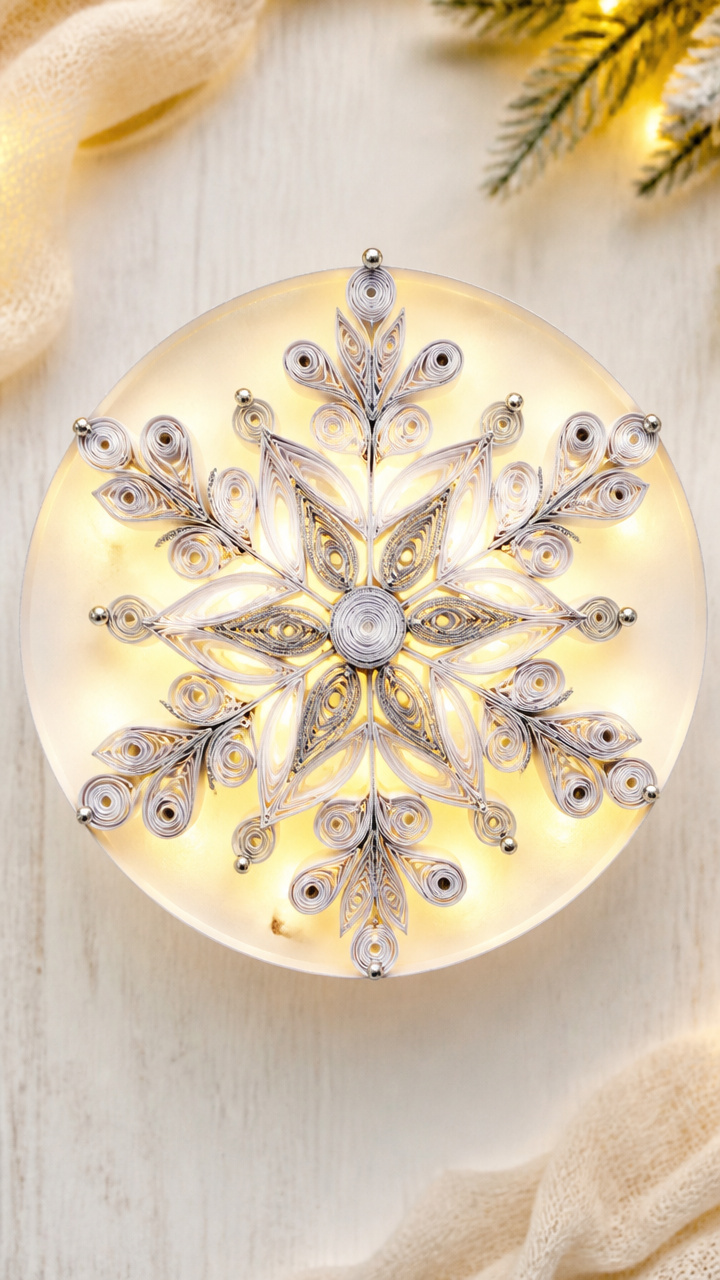
Tiny rolled paper coils form intricate frost designs that glow like window ice at night.
Materials Needed
- Quilling paper strips, 1/8 inch wide, white and silver, 24 inches long each
- Quilling tool
- White glue
- Tweezers
- Round foam disc, 4 inches diameter
- Mini LED ring light, 3.5 inches outer diameter
How to Make It
- Use the quilling tool to roll ten paper strips into tight coils, pinching one end of each to form teardrops.
- Glue the base of each teardrop coil to the edge of the foam disc, spacing evenly like rays.
- Roll five more strips into loose circles and glue them between the teardrops.
- Add smaller silver coils in the center, clustering three together.
- Let dry for 20 minutes, then place the mini LED ring light behind the foam disc.
18. Clay Carved Moon Disk
Moderate
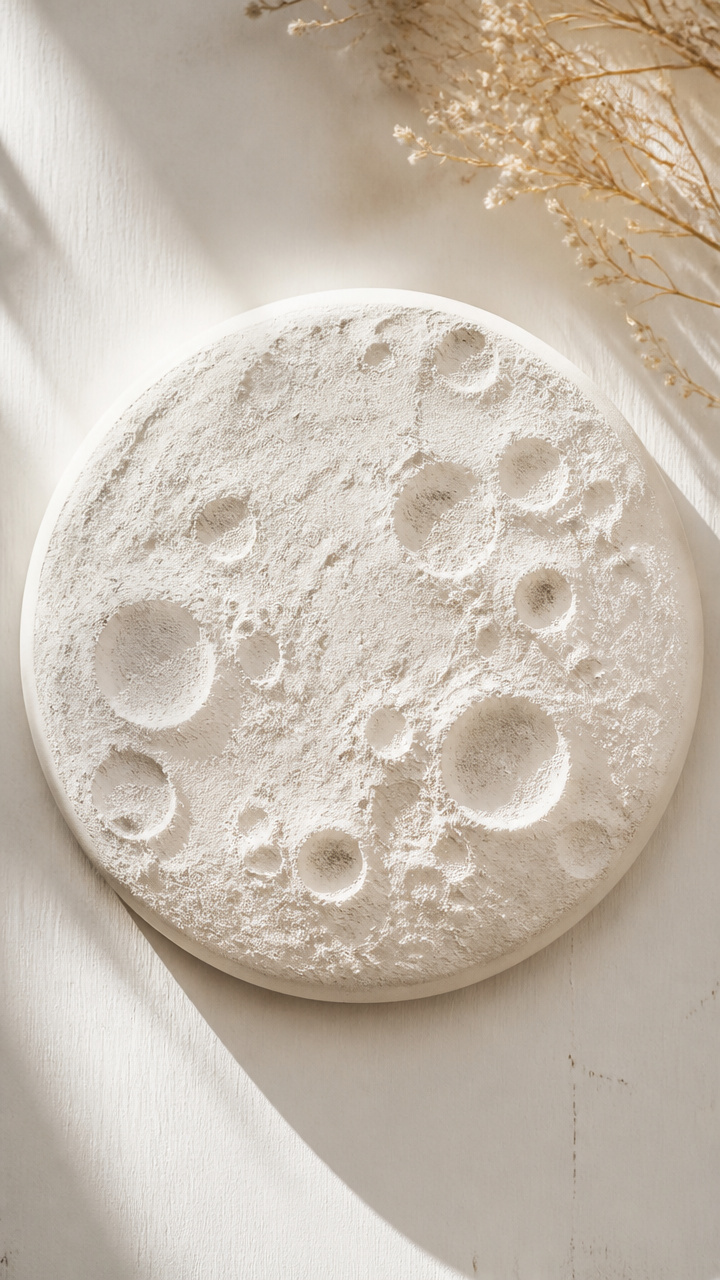
Air-dry clay stamped with lunar craters casts cratered shadows that shift like real moonlight.
Materials Needed
- White air-dry clay, 1/2 pound block
- Rolling pin
- Circular plate, 7 inches diameter
- Ball bearing, 1/4 inch
- Toothpick
- Acrylic sealer spray
- LED disk light, 6 inches diameter
How to Make It
- Roll the clay to 1/4 inch thickness using the rolling pin.
- Cut a circle using the plate as a guide and smooth the edge with damp fingers.
- Press the ball bearing randomly into the surface to create crater marks.
- Use the toothpick to drag shallow grooves between some craters.
- Let the clay dry completely for 24 hours, then spray both sides with acrylic sealer.
- Place the dried disk over the LED disk light and turn it on.
19. Lace Doily Over Jar
Easy
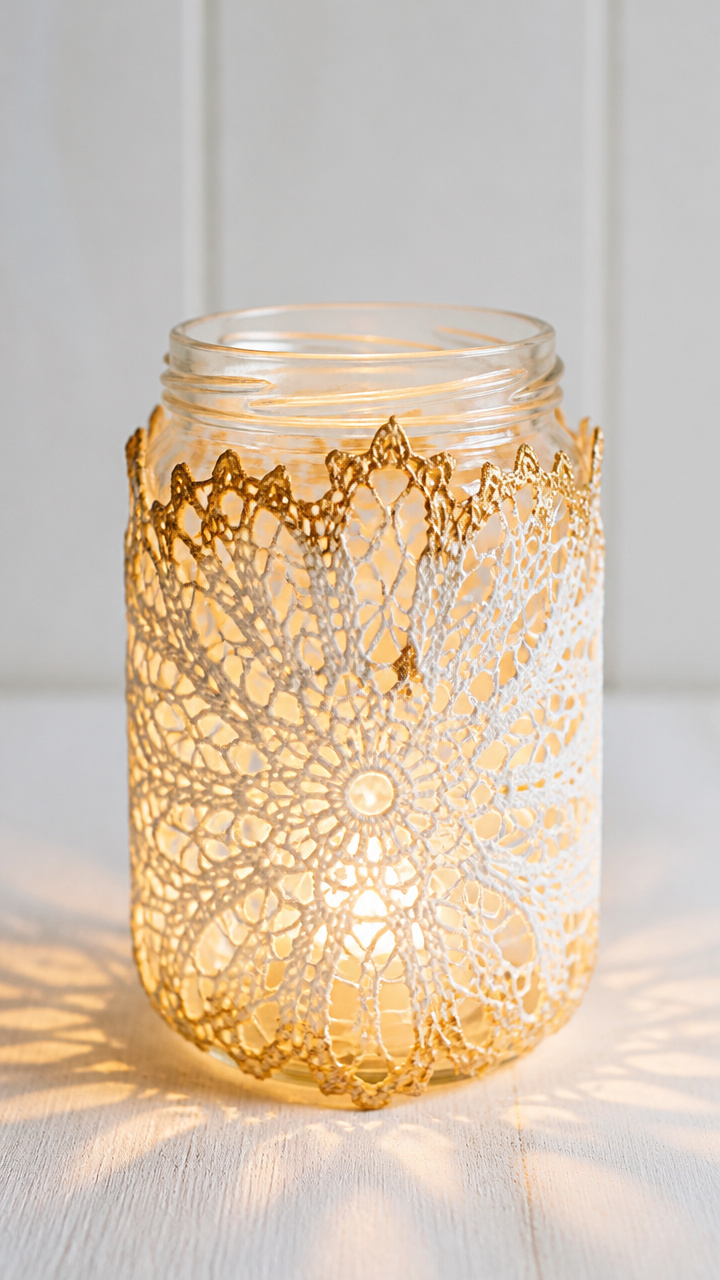
Vintage cotton doilies draped over jars throw vintage floral patterns onto dark walls.
Materials Needed
- 1 glass spaghetti jar, clean and dry
- 1 vintage-style cotton doily, 7 inches diameter
- Rubber band
- Gold spray paint
- Cardboard drop sheet
- Battery tea light
How to Make It
- Lay the doily on the cardboard drop sheet and spray lightly with gold paint, focusing on edges.
- Let dry for 15 minutes.
- Place the doily over the mouth of the jar and secure with the rubber band below the rim.
- Drop the tea light inside the jar and turn it on.
20. Evergreen Branch Cloche
Easy
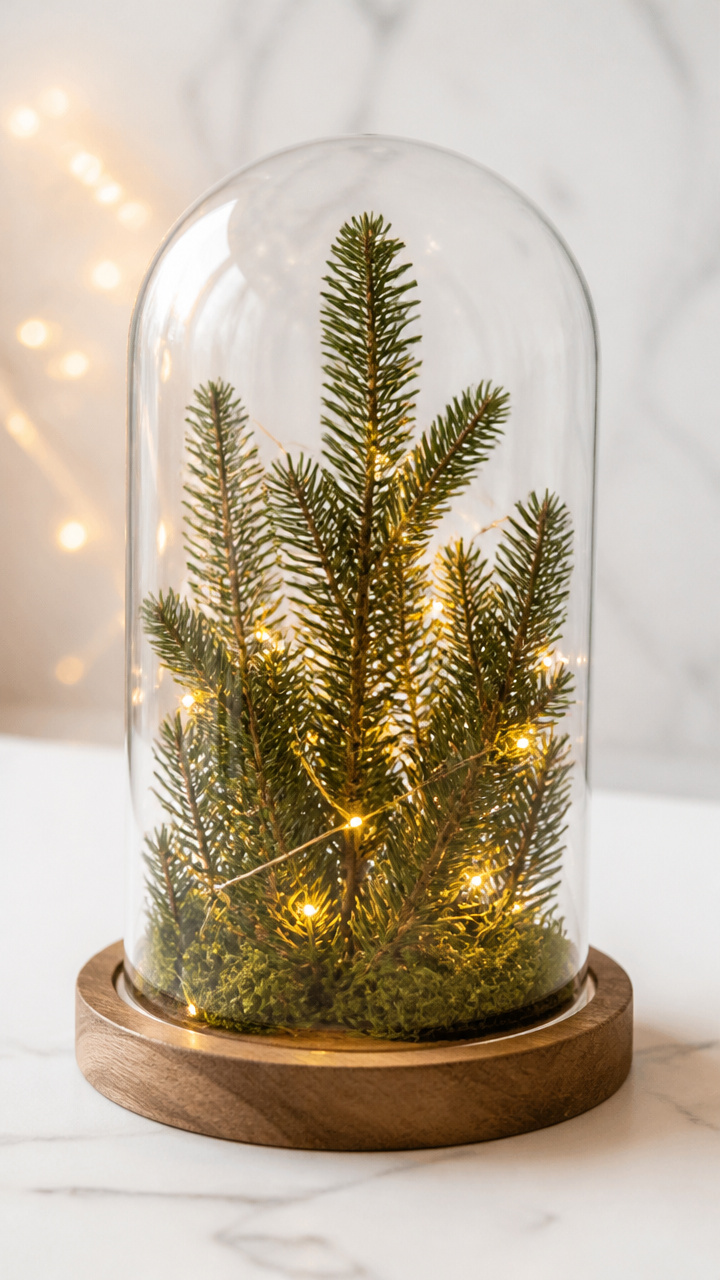
Fresh-cut boughs tucked under glass domes glow like enchanted forest shrines on tabletops.
Materials Needed
- 3 fresh evergreen sprigs, 6 inches long
- Glass cloche with base, 7 inches tall
- Floral foam block, 2×2 inches
- Knife
- Battery-powered fairy lights, warm white, 1-foot strand
- Scissors
How to Make It
- Cut the floral foam to fit snugly on the cloche base.
- Trim the ends of the evergreen sprigs at an angle and insert them into the foam.
- Weave the fairy lights through the branches, tucking the battery pack underneath.
- Place the cloche over the arrangement and turn on the lights.
Each of these luminaries holds a little warmth meant for sharing. Pick one that calls to you and start gathering what you need tonight.