23 Easy-Grip Winter Crafts for Seniors with Arthritis

Soft yarns, warm colors, and gentle motions come together in crafts that feel good to make and even better to give. These projects are designed with comfort in mind, using materials that are easy to hold and techniques that don’t strain the hands.
Each idea focuses on grip-friendly tools, low-pressure steps, and satisfying results. Whether you're crafting for joy, for gifts, or just to stay active on quiet winter days, these selections meet you where you are.
1. Fleece Scarf with Tied Edges
Easy
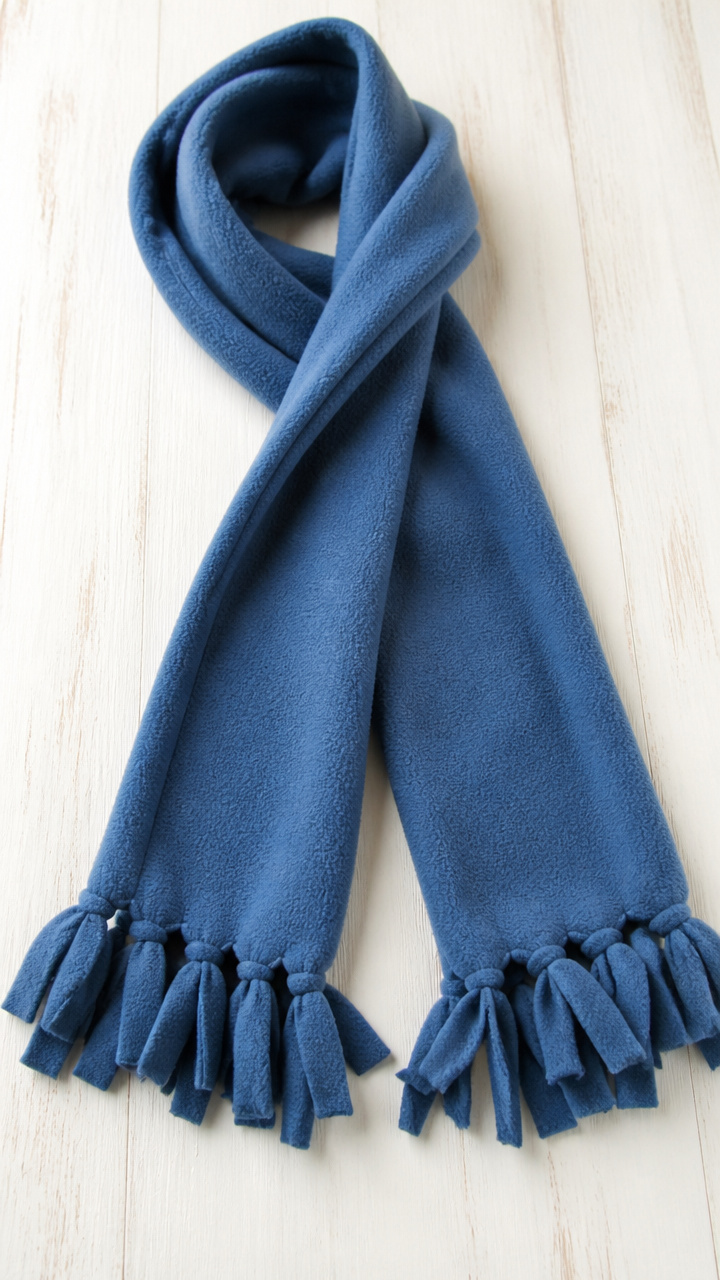
Thick, cozy scarves take shape with no needles and no knots to fumble. Just soft fabric and easy loops that anyone can manage with comfort.
Materials Needed
- 1.5 yards of 60-inch wide polar fleece fabric
- Fabric scissors
- Ruler
- Fabric marker
How to Make It
- Lay the fleece flat on a table and cut it to 60 inches long using the ruler and fabric marker to guide straight lines.
- Cut 3-inch squares from each corner, then make 1-inch wide by 4-inch long strips along both long edges every 4 inches.
- Tie each top strip to the one directly below it in a simple knot, pulling gently to secure without straining fingers.
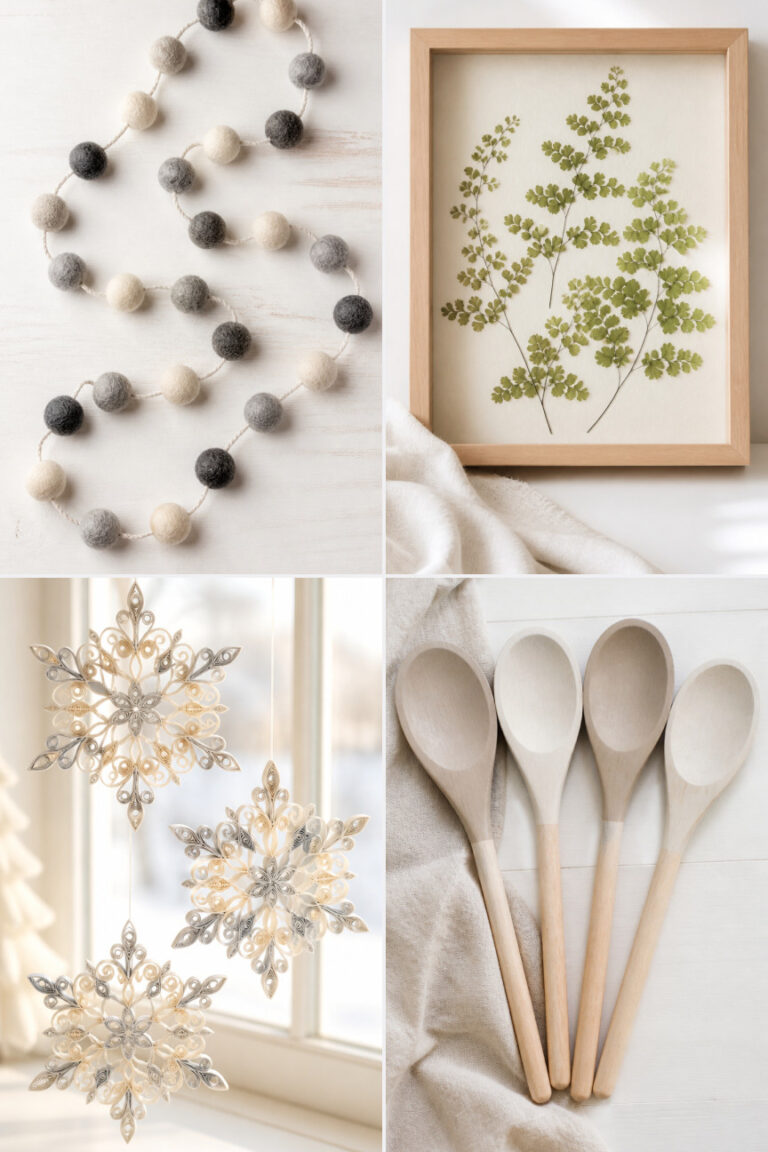
2. Pom-Pom Garland
Easy
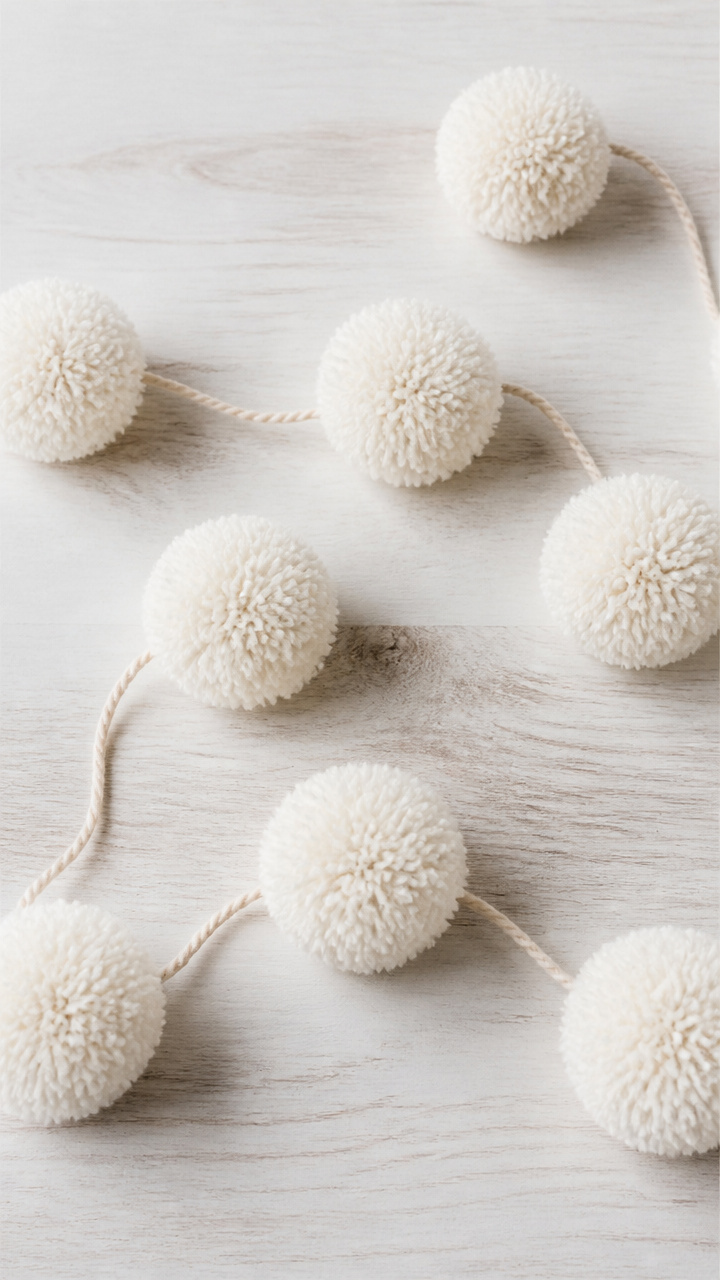
Fluffy clusters of color drape like snowflakes strung between branches or mantels. Making them feels like playing with clouds and requires no fine motor control.
Materials Needed
- 6 jumbo 3-inch yarn pom-pom makers
- 100 yards of bulky white yarn
- Darning needle
- 4-foot length of cotton cording
How to Make It
- Open one side of a pom-pom maker, wrap yarn around each side until fully packed, then close the side.
- Cut along the curved edge, tie the middle tightly with a 6-inch yarn piece, and remove the maker.
- Slide each finished pom-pom onto the cording and space them 6 inches apart, knotting the cording on both sides of each to hold in place.
3. Felt Snowman Ornaments
Easy
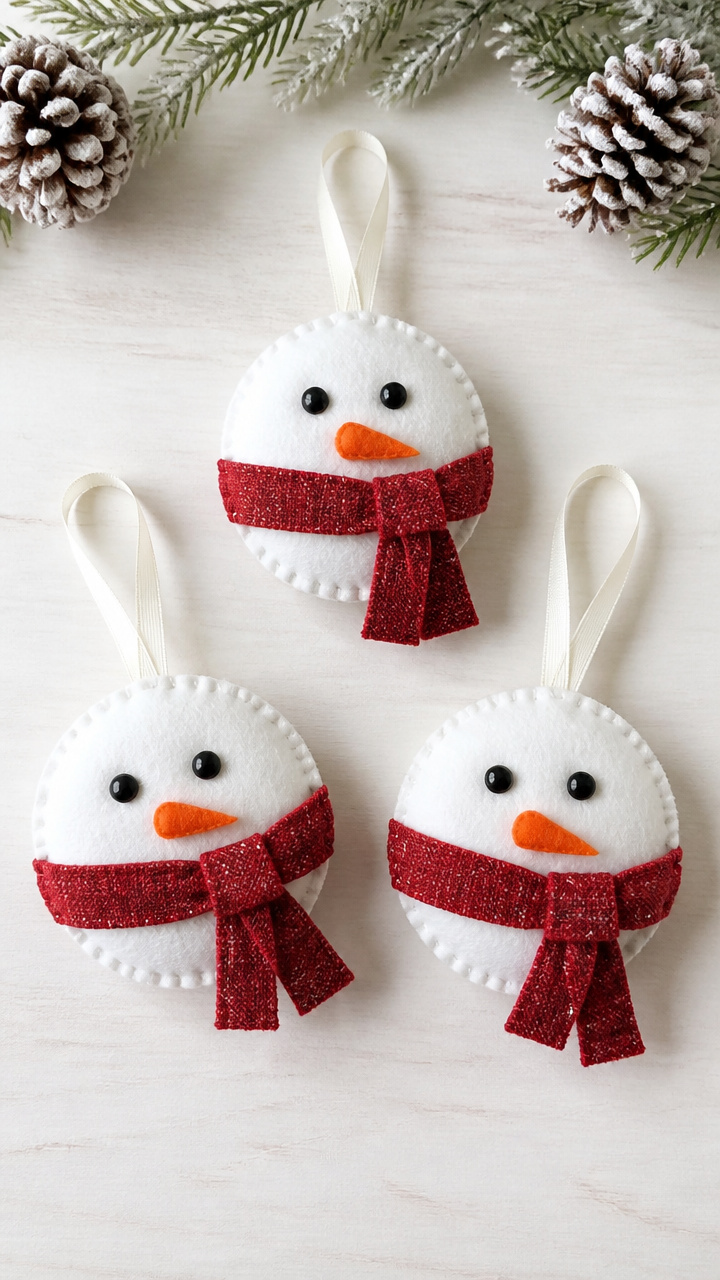
Round, soft snowmen with carrot noses and fabric scarves hang proudly on any tree. These little friends are stitched with wide, easy loops anyone can manage.
Materials Needed
- 3-inch white felt circles (6)
- Orange felt sheet
- Black felt sheet
- Red 1/2-inch wide ribbon (12 inches)
- Embroidery floss in black and orange
- Tapestry needle
- Scissors
How to Make It
- Cut tiny triangles from orange felt for noses and circles from black felt for eyes and buttons.
- Thread the tapestry needle with black floss and use a simple running stitch to attach eyes and buttons to one white circle.
- Stitch the orange nose near the top and glue the red ribbon scarf across the middle, then sew a second white circle on the back to enclose the edges.
4. Yarn-Wrapped Clothespin Wreath
Moderate
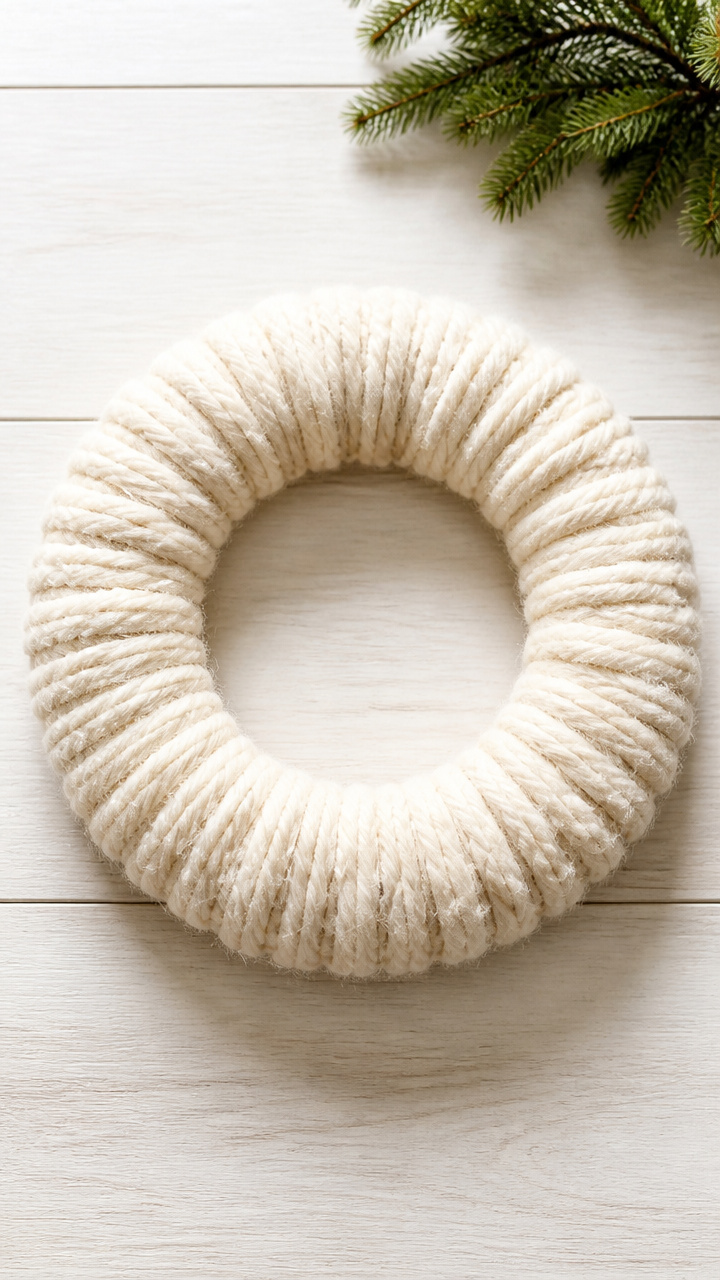
A full, fluffy wreath takes shape around a foam ring using clothespins and thick yarn. The wrapping motion is soothing and the clothespins offer a wide grip.
Materials Needed
- 12-inch foam wreath base
- 24 wooden clothespins
- Hot glue gun with glue sticks
- 150 yards of cream bulky yarn
How to Make It
- Apply a dab of hot glue to the flat side of each clothespin and press it onto the foam ring, spacing them evenly around the entire circle.
- Wrap the yarn tightly around the rounded end of each clothespin, covering the wood completely, and secure the end with a small dot of glue underneath.
- Continue wrapping each clothespin until the whole wreath looks full and snowy, then tie off the final yarn end and glue it in place.
5. Button Mitten Magnets
Easy
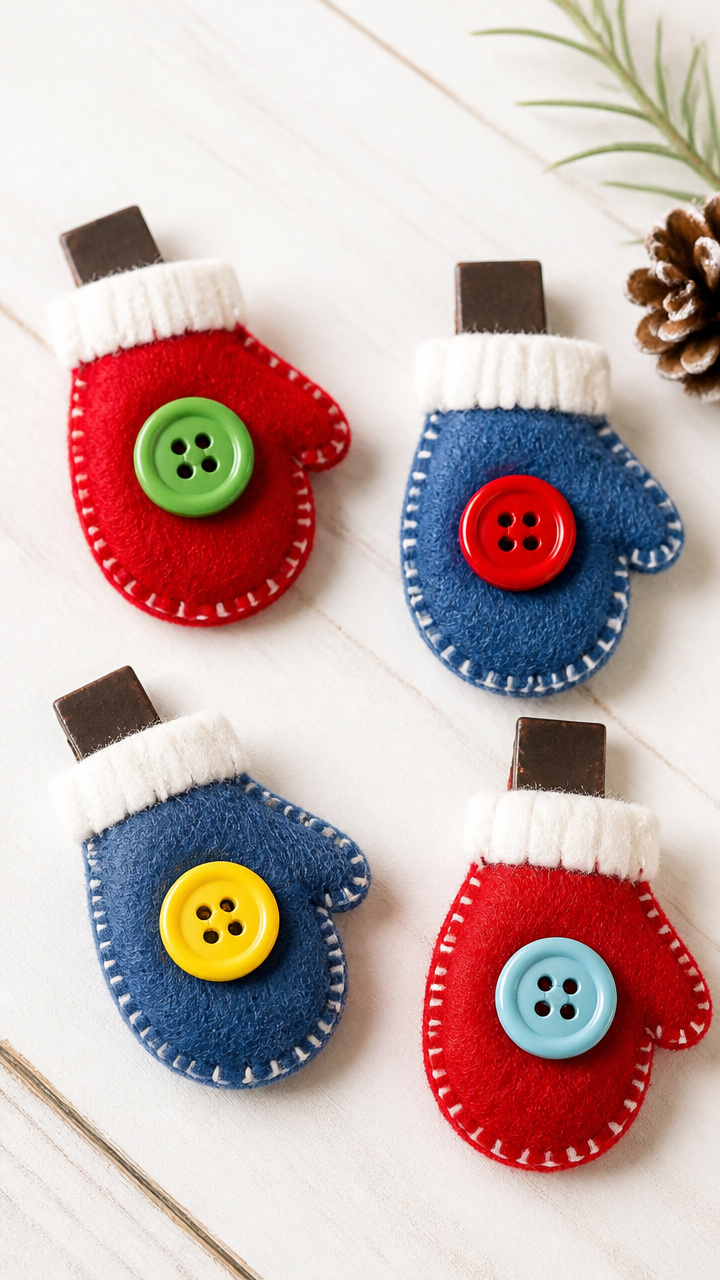
Tiny mittens made from felt and buttons smile from your fridge. The buttons act as natural grips and add cheerful color without tiny stitching.
Materials Needed
- Red and blue felt sheets
- 6 large 1-inch buttons
- Fabric glue
- Small magnet strips (6)
- Scissors
- Pencil
How to Make It
- Draw a mitten shape 3 inches tall on the felt and cut out 12 matching pairs in red and blue.
- Glue two matching mittens together, leaving the top open, and press a button at the wrist end for decoration.
- Glue a magnet strip to the back of each mitten and let dry flat for 2 hours before use.
6. Pinecone Bird Feeders
Easy
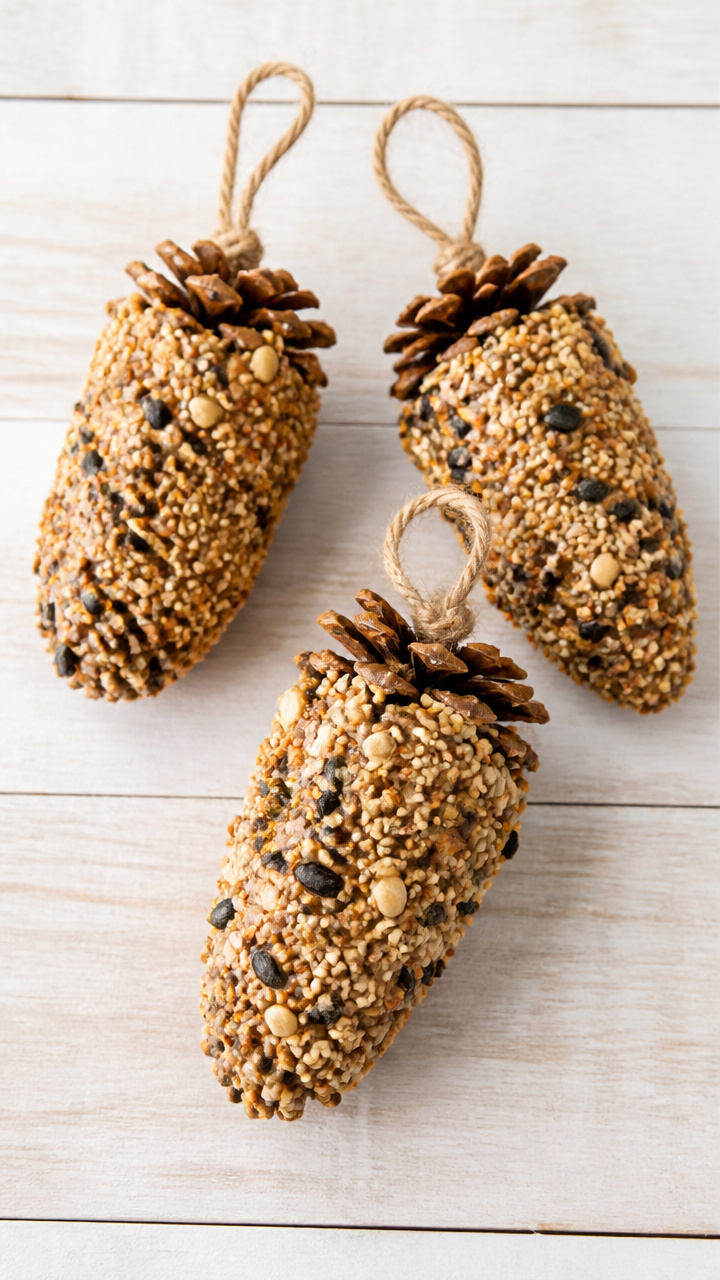
Golden cones drip with peanut butter and seeds, drawing birds to your window. The sticky coating is messy but kind to hands when using a wide spoon.
Materials Needed
- 6 large pinecones
- 1 cup creamy peanut butter
- 2 cups birdseed
- 12-inch lengths of yarn (6)
- Butter knife with a wide handle
- Shallow bowl
How to Make It
- Tie a yarn loop around the pinecone’s stem for hanging, then spread peanut butter over the entire surface using the butter knife.
- Pour birdseed into the bowl and roll the coated pinecone in it, pressing gently to help seeds stick.
- Set each feeder on wax paper to dry for 1 hour before hanging outside.
7. Knit-Inspired Crochet Coasters
Moderate
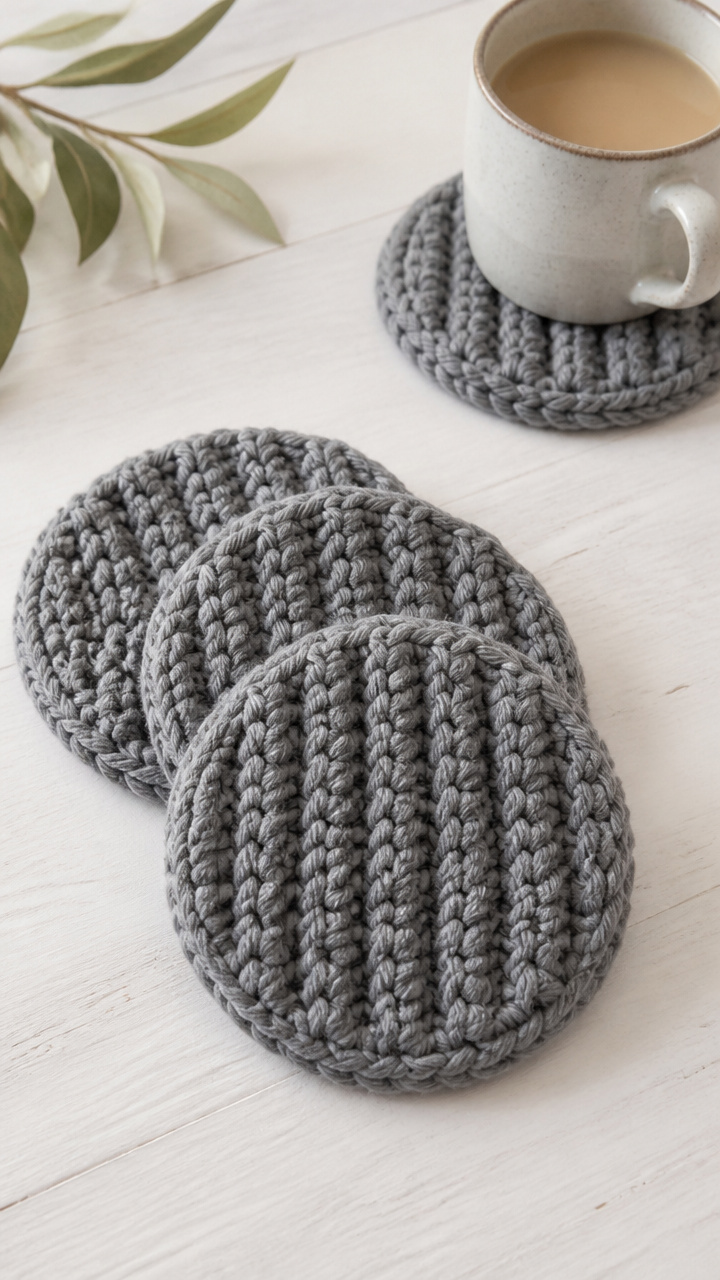
Thick, ribbed circles mimic knitting but are made with one large hook and soft yarn. The wide hook fits comfortably in your palm.
Materials Needed
- Size 10mm crochet hook
- 100 yards of gray bulky yarn
- Scissors
How to Make It
- Make a slipknot and chain 4, then join with a slip stitch to form a ring.
- Work 12 single crochet stitches into the center of the ring, then join with a slip stitch to the first stitch.
- Chain 1, then work 2 single crochet in each stitch around for the next two rounds, then finish off and weave in the end.
8. Fabric Scrap Tree Ornaments
Easy
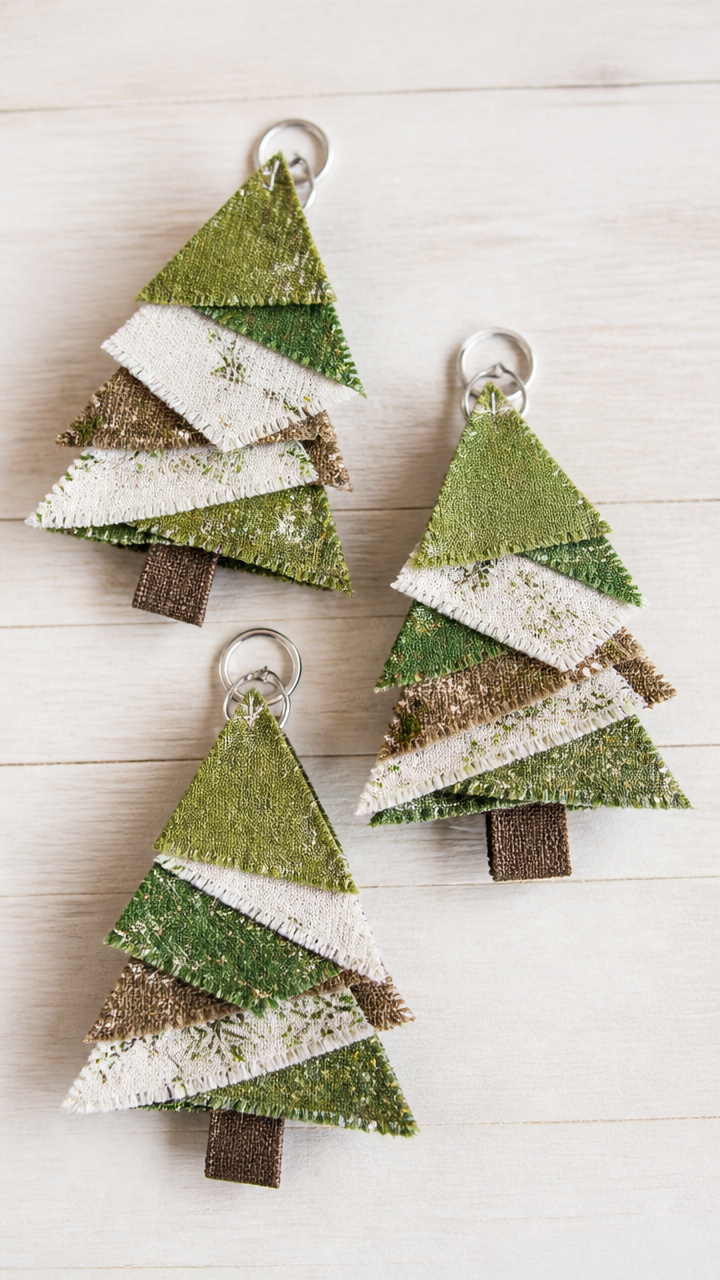
Layered fabric triangles form tiny evergreens that flutter on the tree. No glue or thread needed—just stacking and clipping with binder rings.
Materials Needed
- Green, white, and brown fabric scraps
- 3/4-inch round binder rings (6)
- Scissors
- Hole punch
How to Make It
- Cut 3 triangles from green fabric: 3 inches, 2.5 inches, and 2 inches tall, and one 1-inch brown rectangle for the trunk.
- Stack the green triangles point-up in size order, place the brown rectangle at the bottom back, then press a binder ring through the top center to bind all layers.
- Punch a hole at the top of the binder ring and thread a 6-inch yarn loop for hanging.
9. Salt Dough Ornaments
Moderate
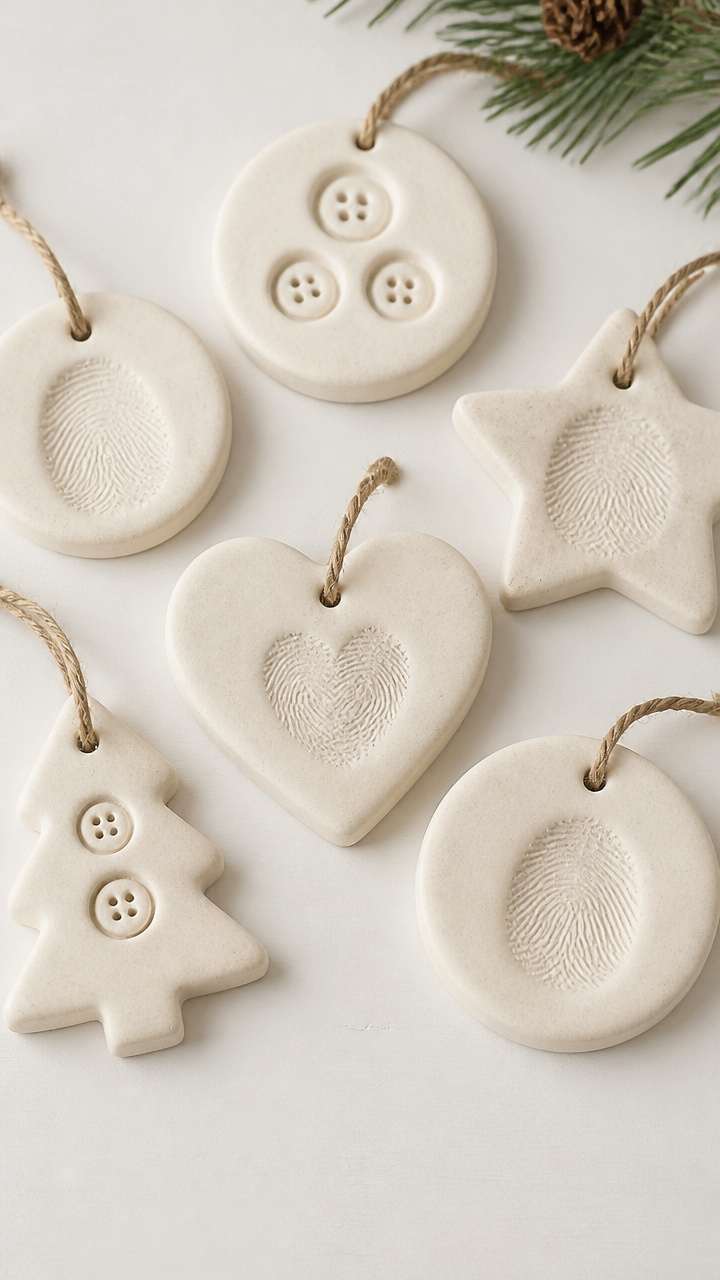
Simple dough shaped by hand bakes into keepsakes stamped with fingerprints or buttons. The soft mixture molds easily without pressure.
Materials Needed
- 1 cup flour
- 1/2 cup salt
- 1/2 cup water
- Rolling pin
- Cookie cutters
- Straw
- Baking sheet
- Parchment paper
How to Make It
- Mix flour, salt, and water in a bowl until a smooth dough forms, adding a few drops more water if too dry.
- Roll the dough to 1/4-inch thickness, press shapes with cookie cutters, then use a straw to poke a hole near the top edge.
- Place on a parchment-lined baking sheet and bake at 200°F for 3 hours until hard, then cool and paint if desired.
10. Puffy Paint Snow Globes
Easy
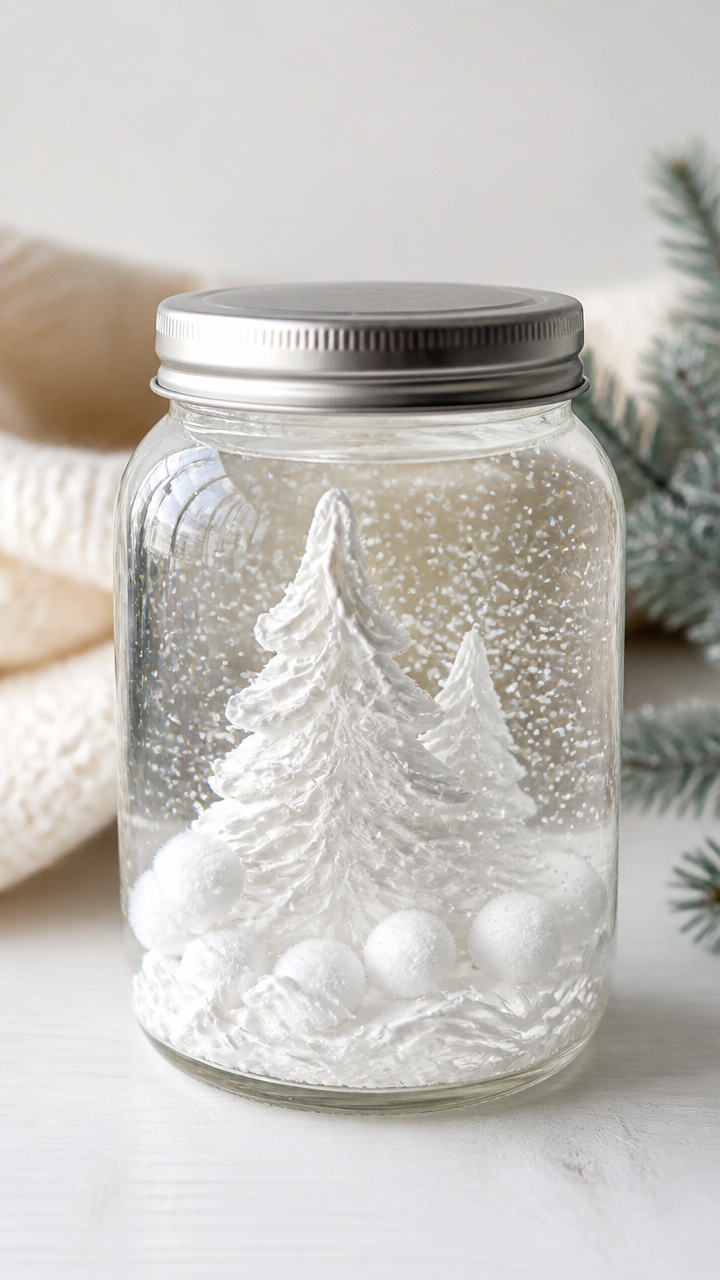
Gloopy swirls of puffy paint build frosty scenes on glass jars. The bottle tips are wide and the paint dries with soft dimension.
Materials Needed
- 4 empty 8-ounce glass jars with lids
- White puffy paint (3-ounce bottle)
- Paintbrush (1/2-inch flat)
- Cotton balls
- Distilled water
How to Make It
- Squeeze puffy paint around the outside rim of the jar lid, then press the jar mouth into it to create a sealed base.
- Use the brush to spread a thin layer of puffy paint on the underside of the lid, then press cotton balls into it to form snowy hills.
- Let dry 4 hours, fill the jar with water, screw on the lid, and shake gently to swirl.
11. Yarn Tassel Keychains
Easy
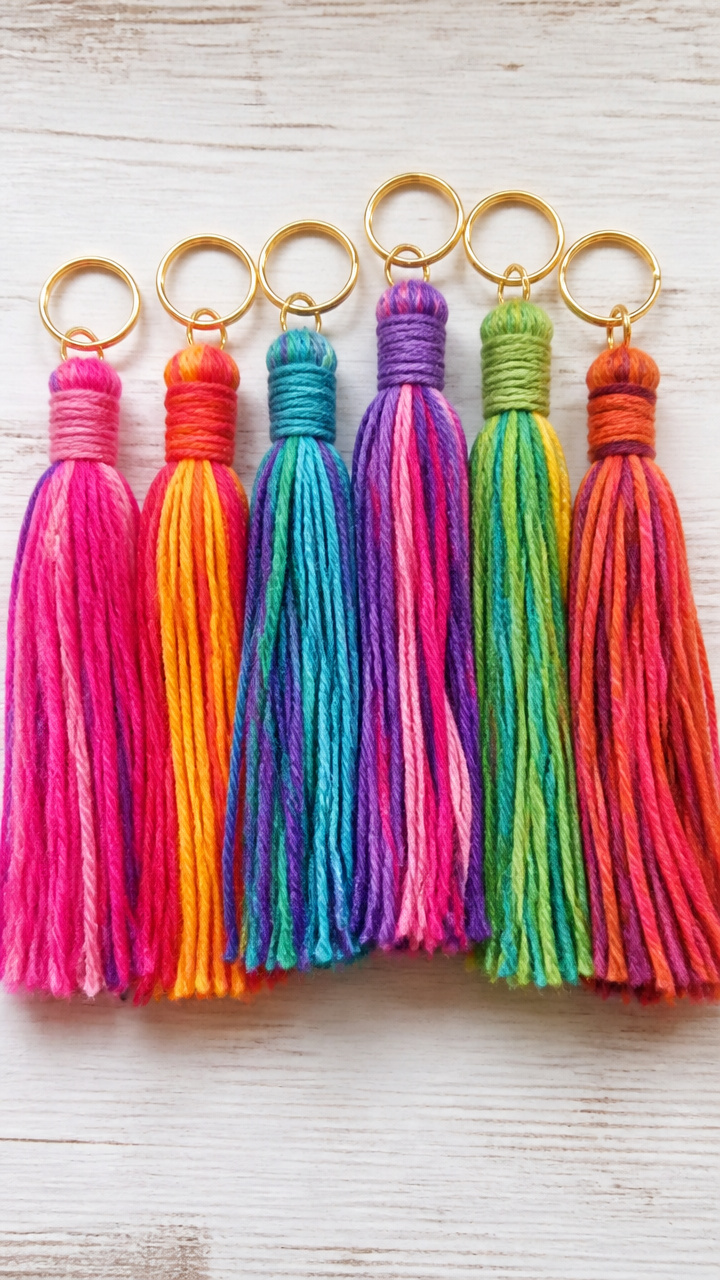
Long, swinging tassels in bright yarn clip onto bags or keys. Wrapping cardboard gives fullness with zero strain.
Materials Needed
- Cardboard cut to 3×5 inches (6 pieces)
- 100 yards of assorted colored yarn
- Scissors
- Keychain rings (6)
- 2-inch piece of stiff cardboard
How to Make It
- Wrap yarn around the 3×5 cardboard 30 times, then slide it off carefully and tie a 6-inch piece tightly around the center.
- Cut the loops at both ends, trim ends evenly, and slide the tassel onto a keychain ring using the top knot.
- Wrap the 2-inch cardboard piece with matching yarn to cover the top, then glue it in place over the knot.
12. Felted Wool Ball Coasters
Moderate
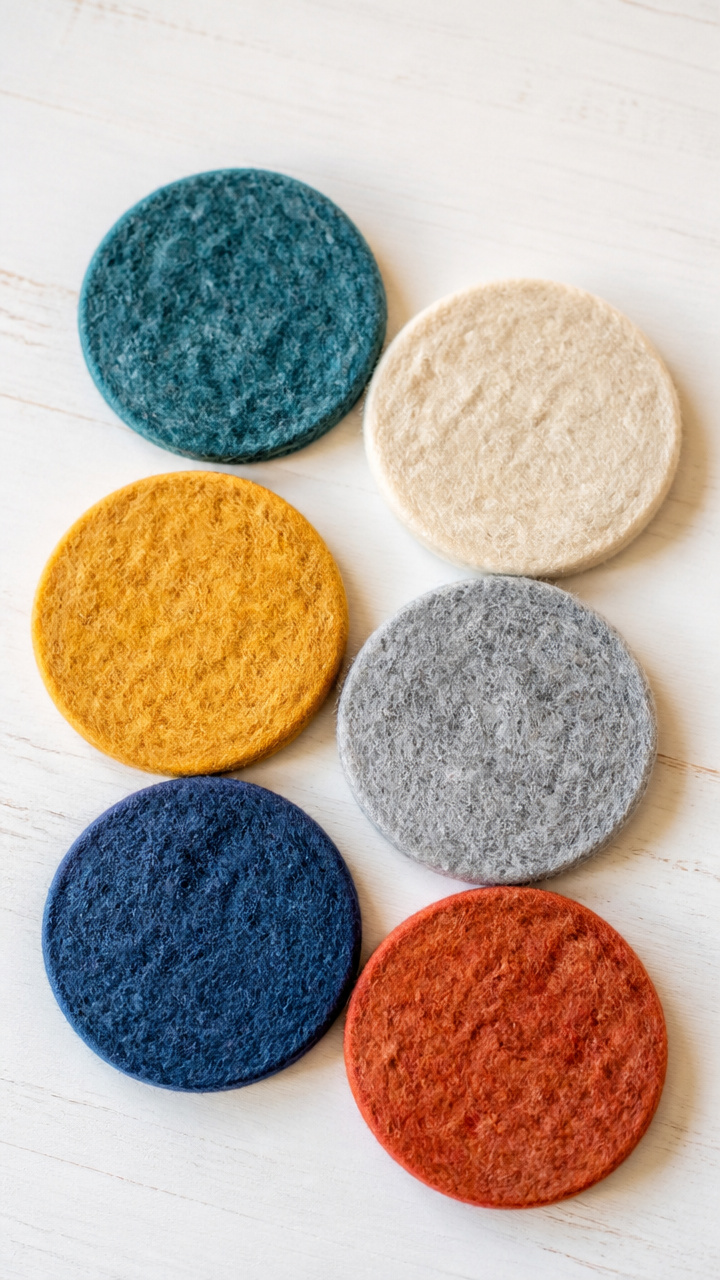
Soft, dense spheres of wool press into flat circles that protect tables. The felting process uses warm soapy water and gentle rolling.
Materials Needed
- 6 unspun wool roving balls (2 inches each)
- Dish soap
- Hot water
- Plastic bubble wrap (12×12 inches)
- Rubber bands
How to Make It
- Soak wool balls in hot, soapy water for 5 minutes, then place each on bubble wrap and roll firmly with your palm for 2 minutes.
- Rinse under cool water and reshape into flat discs about 4 inches wide, then let dry overnight on a towel.
- Use rubber bands to bundle three together if storing, or display individually as soft coasters.
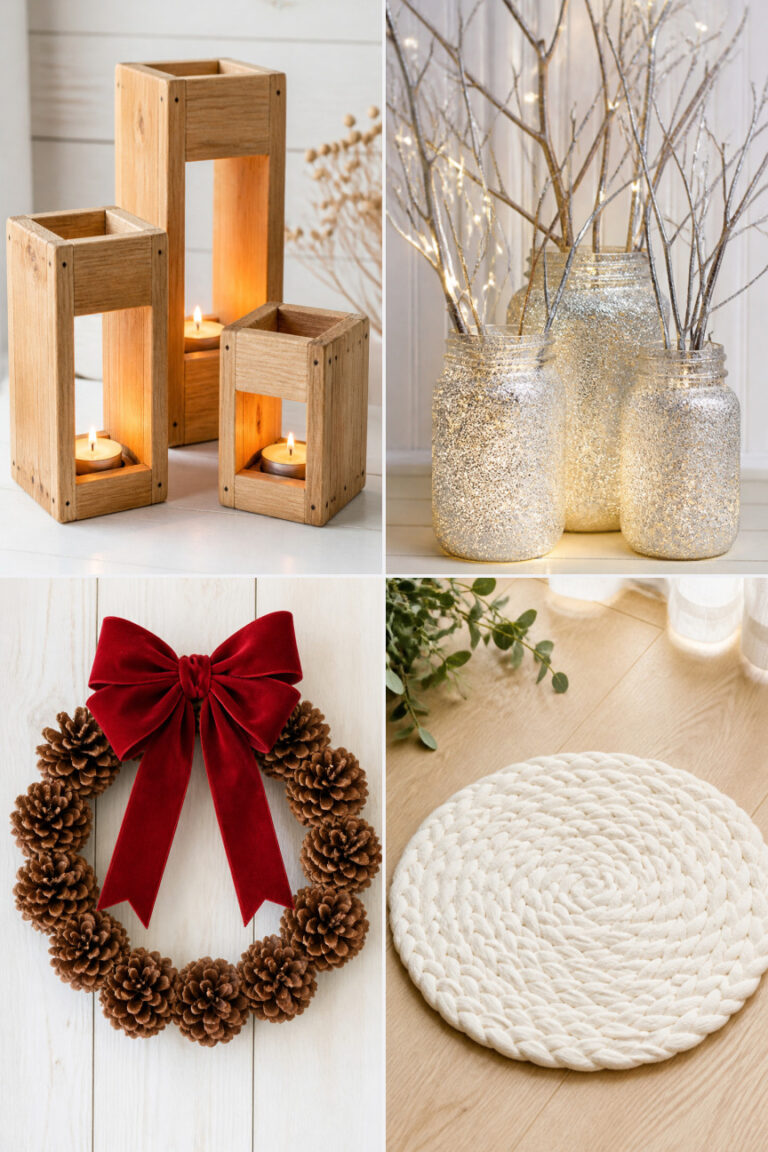
13. Glitter Mason Jar Votives
Easy
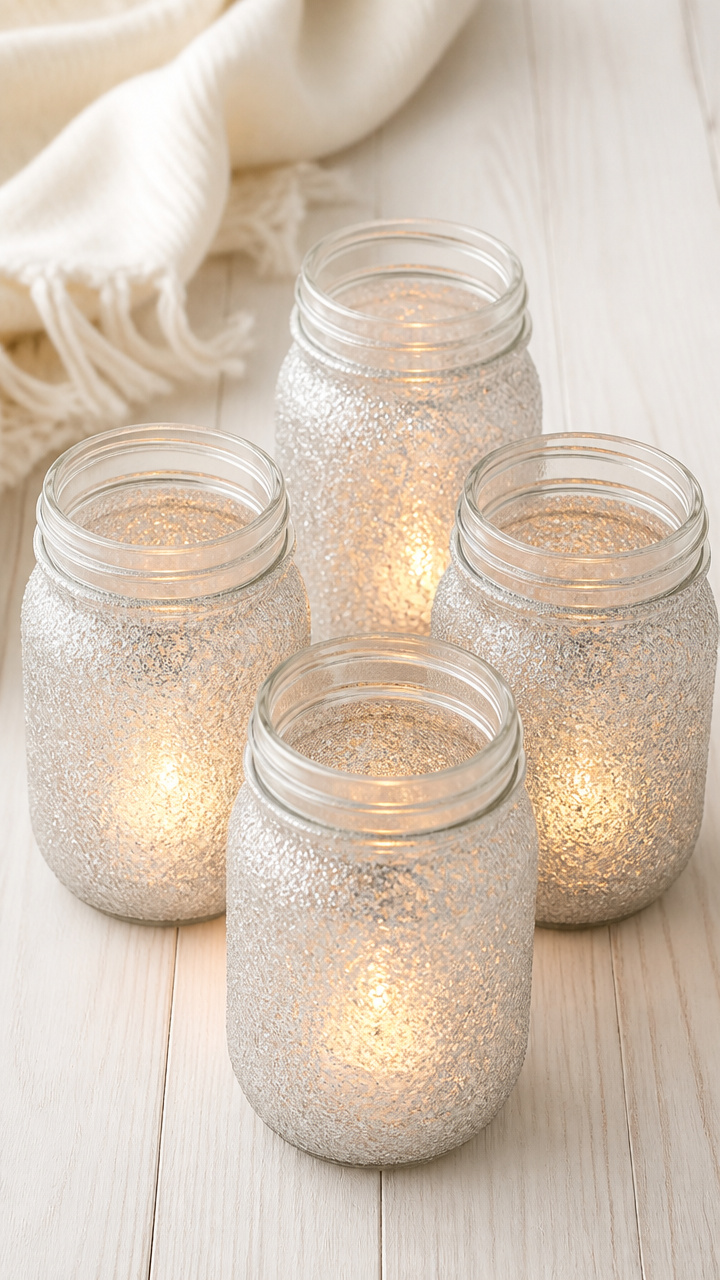
Twinkling jars glow with inner light and outer sparkle. A glue roller makes even application possible without shaky lines.
Materials Needed
- 4 clean 12-ounce mason jars
- White craft glue
- Fine silver glitter
- Foam brush
- Tealight candles
How to Make It
- Brush a vertical stripe of glue from top to bottom on each jar using the foam brush for smooth, wide strokes.
- Sprinkle glitter over the glue, covering it completely, then shake off excess and let dry 1 hour.
- Place a tealight inside each jar and light for a soft winter glow.
14. Braided Yarn Bookmarks
Easy
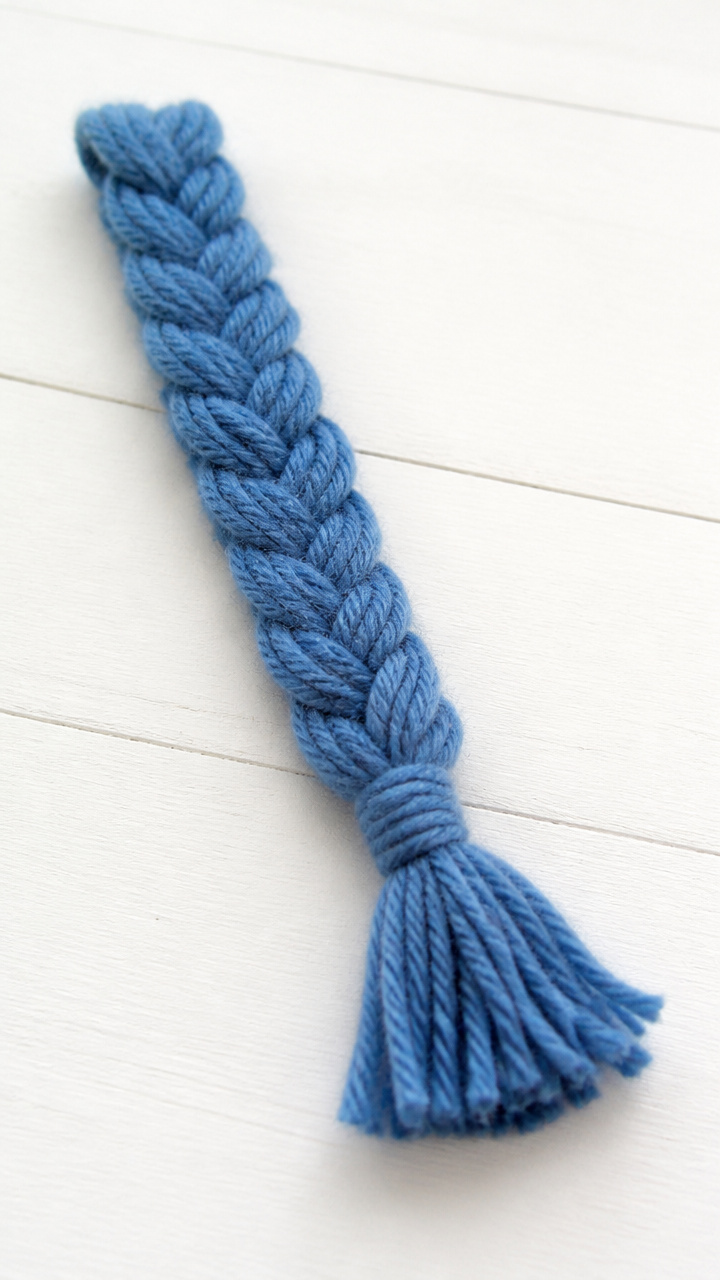
Three thick yarn strands twist into long, tasseled markers that stay put between pages. Braiding is rhythmic and requires no tools.
Materials Needed
- 3 strands of 24-inch long blue bulky yarn
- Scissors
- Ruler
How to Make It
- Line up the three strands and knot them at one end, then tape the knot to a table to hold it steady.
- Braid the strands tightly from top to bottom, keeping tension light to avoid hand strain.
- Knot the end again, trim the tassels to 1 inch, and slide into your favorite book.
15. Pine-Scented Soap Bars
Easy
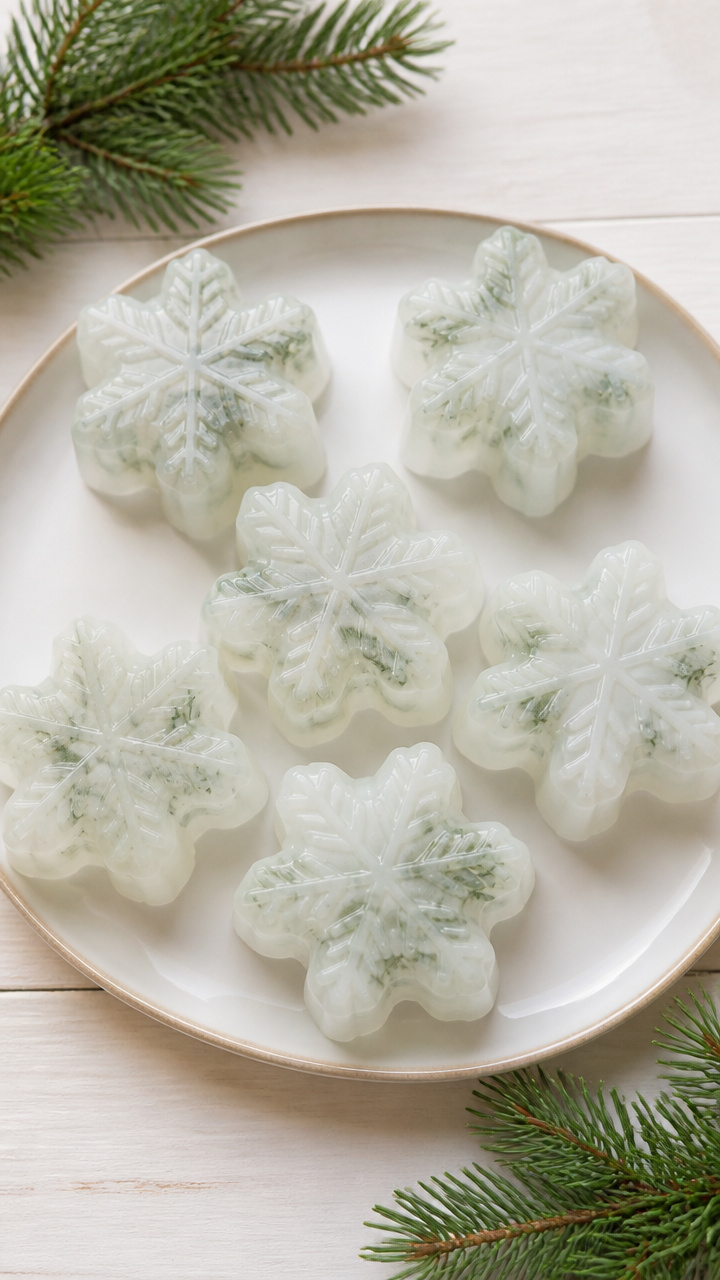
Firm glycerin blocks melt slightly under warm hands, releasing evergreen scent. Molding is quick and cleanup is easy.
Materials Needed
- 1 pound clear glycerin soap block
- Pine essential oil (10 drops)
- Microwave-safe bowl
- Silicone snowflake molds (6)
- Popsicle stick
How to Make It
- Chop the glycerin into small cubes and microwave in 30-second bursts for 1.5 minutes, stirring gently with the popsicle stick each time.
- Stir in 10 drops of pine essential oil, then pour the liquid into snowflake molds and let cool 2 hours.
- Pop out the soaps and store in a linen drawer or wrap in tissue for gifting.
16. Fabric-Covered Candles
Easy
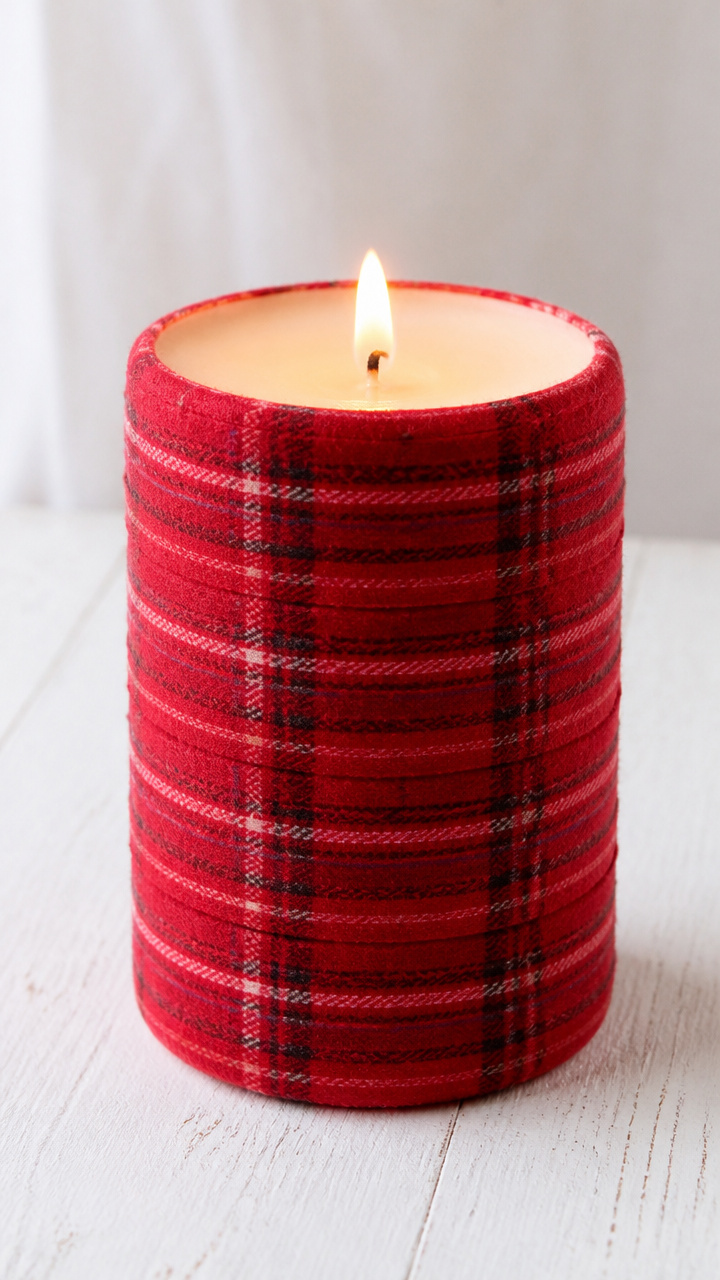
Stripes of flannel wrap snugly around pillar candles, adding warmth without flame risk. Fabric grips easily and glue is minimal.
Materials Needed
- 3-inch wide red flannel fabric strip (12 inches long)
- 3-inch diameter unscented pillar candle
- Double-sided tape
- Scissors
How to Make It
- Cut the flannel into three 4-inch long strips, then wrap one around the candle base, aligning the bottom edge.
- Use a small piece of double-sided tape on the back end to secure it without pressing hard.
- Repeat with the other two strips, slightly overlapping each layer, then display on a heat-safe plate.
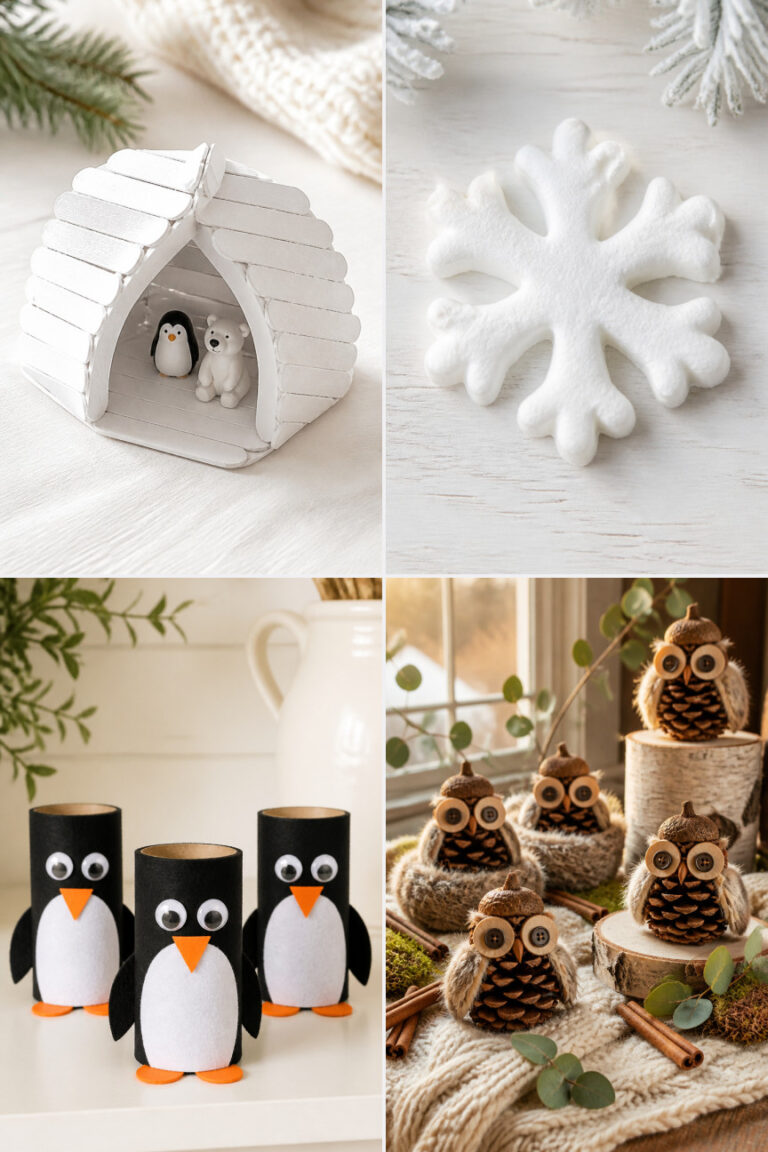
17. Popsicle Stick Snowflakes
Easy
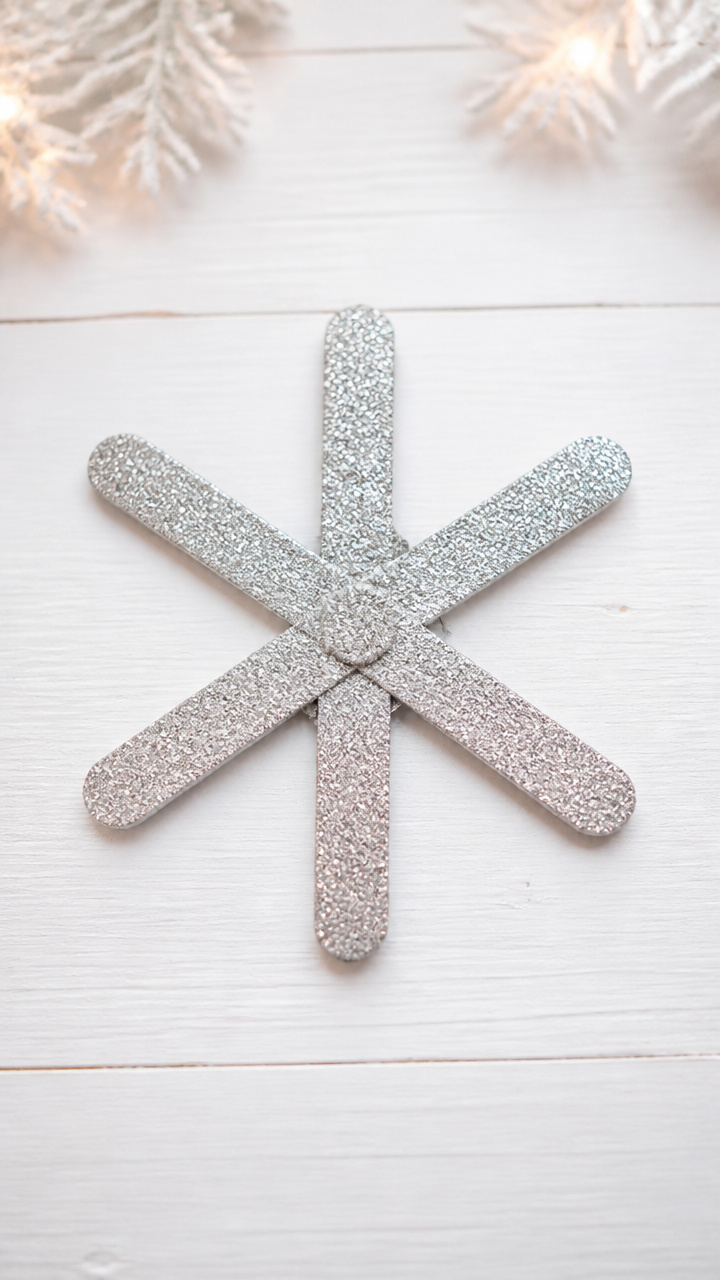
Six sticks form symmetrical stars held with dots of glue and finished with glitter. The flat sticks are easy to hold and arrange.
Materials Needed
- 6 flat wooden popsicle sticks
- White craft glue
- Silver glitter
- Rubber band
- Tweezers (optional)
How to Make It
- Lay three sticks in a star shape, crossing at the center, then lay the other three on top in the opposite direction.
- Press a dab of glue where each stick overlaps, then wrap a rubber band around the center to hold for 10 minutes.
- Brush glue on all surfaces, sprinkle with glitter, and let dry 1 hour before hanging with thread.
18. Knotted Rope Trivet
Moderate
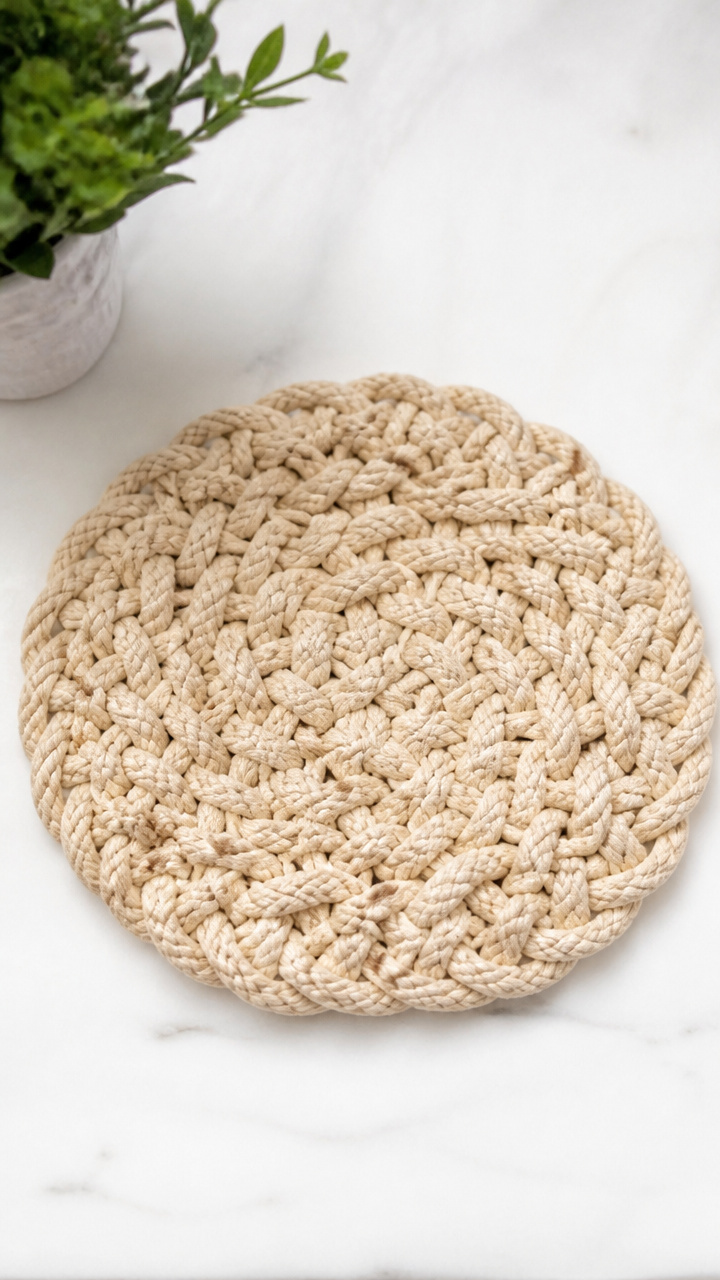
Thick cotton rope coils into a round mat that holds warm dishes. The knotting pattern builds slowly with wide, grippable rope.
Materials Needed
- 50 feet of 1/2-inch thick cotton clothesline rope
- Hot glue gun with glue sticks
- Scissors
- 8-inch plate
How to Make It
- Coil the rope tightly around the edge of the plate to form a circle, using dabs of hot glue every 2 inches to hold the turns together.
- Continue coiling and gluing until the trivet reaches 7 inches in diameter, then cut the rope and seal the end with glue.
- Let dry 30 minutes, then remove from the plate and use under serving dishes.
19. Felt Leaf Garlands
Easy
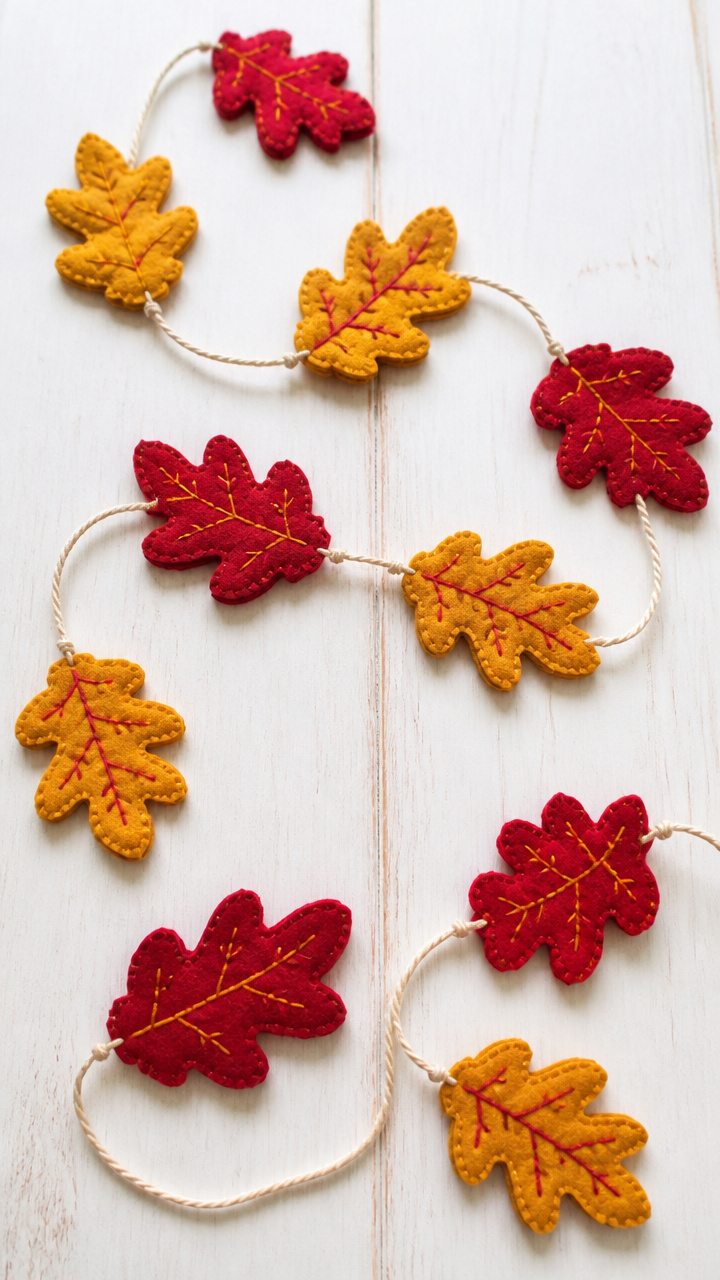
Autumn leaves in ruby and gold flutter on a string, made from layered felt and held with simple stitches. The fabric cuts easily and doesn’t fray.
Materials Needed
- Red and yellow felt sheets
- Embroidery floss
- Tapestry needle
- Scissors
- 2-yard cotton string
How to Make It
- Cut 12 leaf shapes 3 inches tall from red and yellow felt, mixing colors as you go.
- Thread the needle with floss and tie a knot, then run it through the base of a leaf and slide it down the string.
- Space each leaf 4 inches apart and knot the string behind each to hold it, continuing until all leaves are added.
20. Cinnamon Stick Bundles
Easy
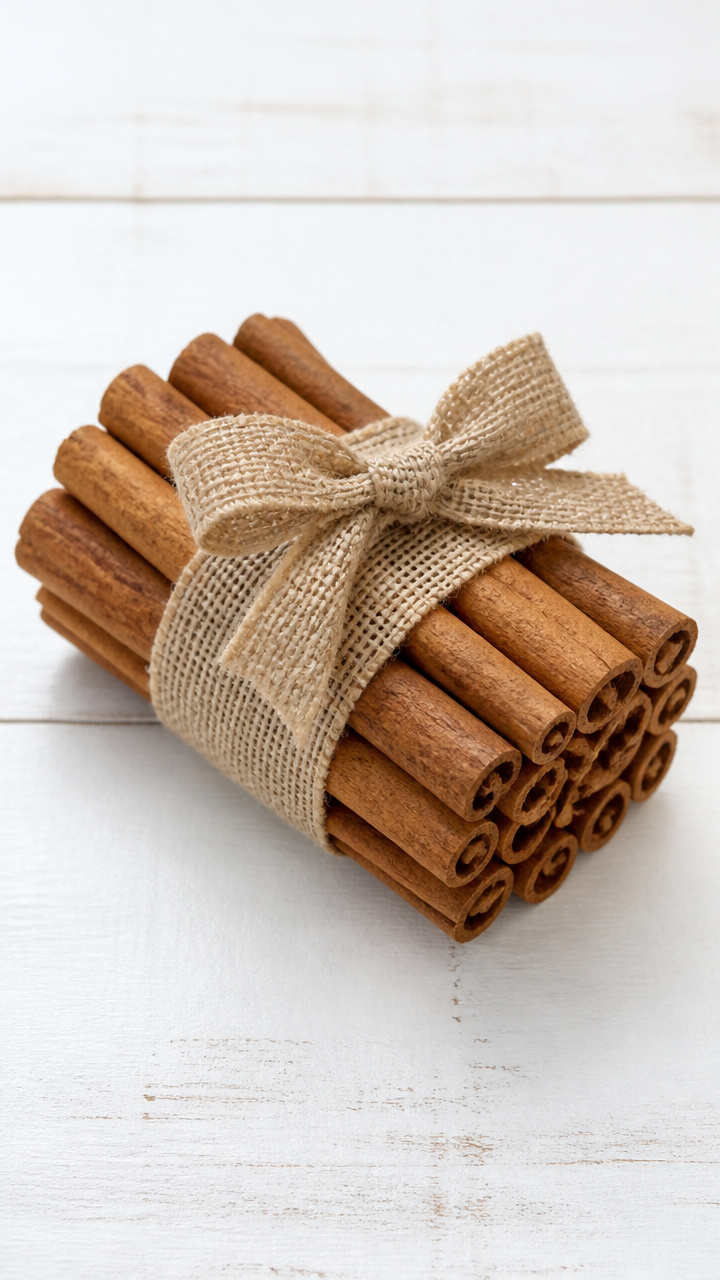
Spicy sticks tied with ribbon release warmth when touched. The thick bundles fit well in the palm and need no cutting.
Materials Needed
- 12 cinnamon sticks
- 12-inch length of burlap ribbon
- Hot glue gun
How to Make It
- Gather 6 cinnamon sticks into a bundle and wrap the ribbon around the center, tying a snug bow.
- Add a small dot of hot glue under the knot to keep it from slipping, then repeat with the second bundle.
- Place in a bowl or hang by the ribbon as a fragrant centerpiece.
21. Button Snowmen
Easy
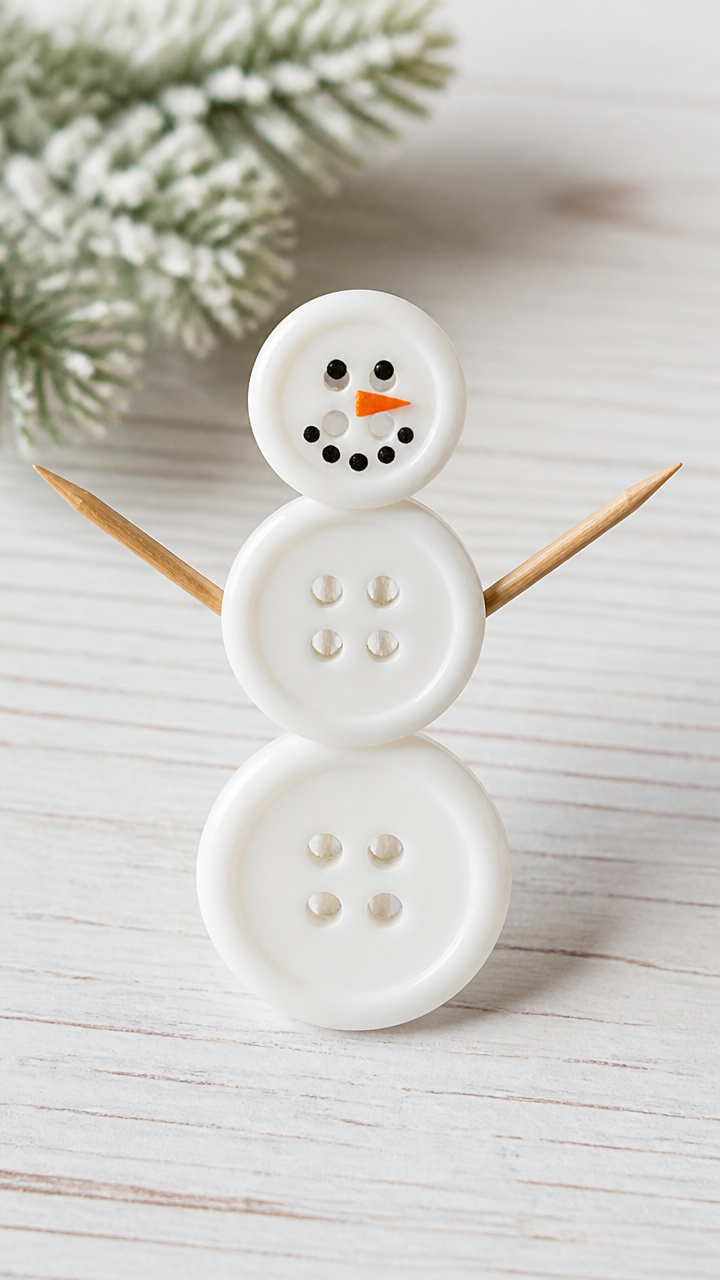
Three stacked buttons become cheerful snowmen with drawn faces and twig arms. The flat backs stick easily to cards or frames.
Materials Needed
- 3 large white buttons (1 inch, 3/4 inch, 1/2 inch)
- Black marker
- Orange felt scrap
- Glue dots
- Toothpicks (2 per snowman)
How to Make It
- Stack the buttons largest on bottom, glue together with a dot, and let dry 5 minutes.
- Draw eyes and a mouth with the marker and cut a tiny triangle from orange felt for the nose, gluing it in place.
- Push a toothpick into each side at the middle button for arms and use a glue dot to attach the snowman to a card or frame.
22. Laminated Photo Coasters
Easy
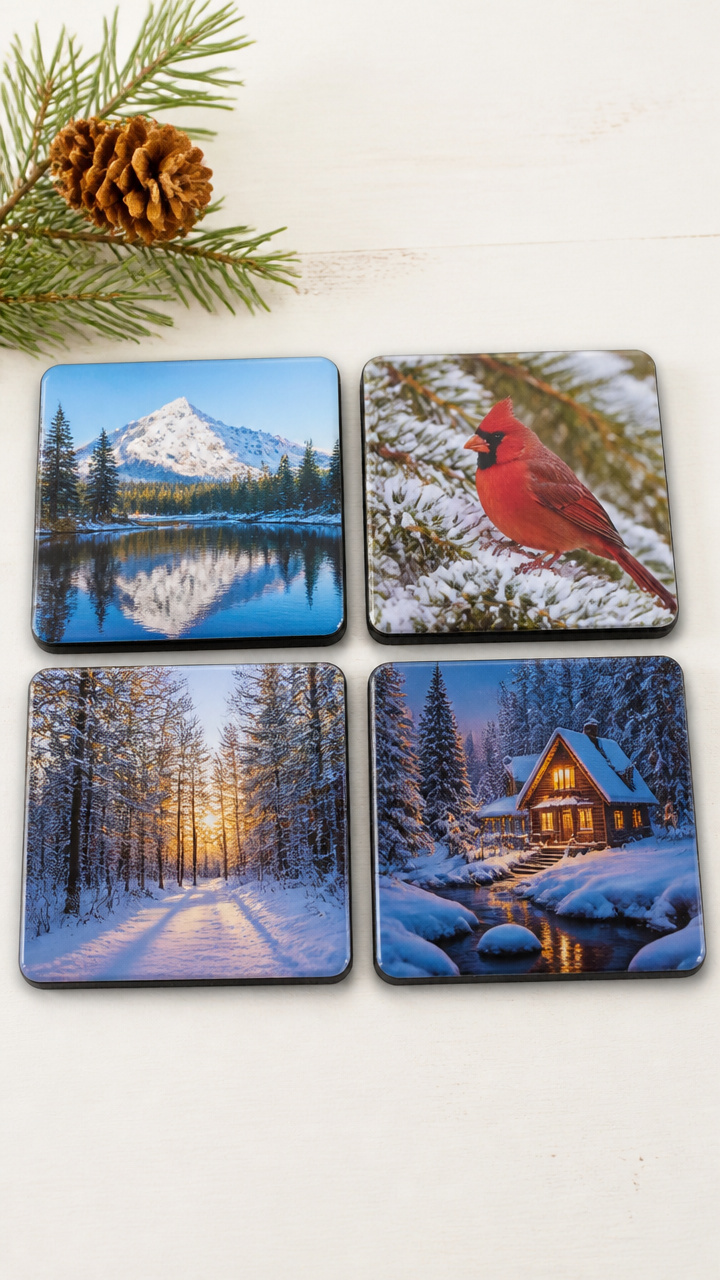
Favorite memories become durable coasters with self-adhesive laminate sheets. No liquid glue or waiting for dry time.
Materials Needed
- 4 printed 3.5-inch square photos
- Self-adhesive laminating sheets (4)
- Scissors
- Bone folder
How to Make It
- Cut each laminating sheet to 4 inches square, then peel the backing and center a photo on the sticky side.
- Smooth with the bone folder to remove bubbles, then reseal the plastic cover and trim to 3.75 inches.
- Use each as a coaster or gift a set in a cloth pouch.
23. Knit Hat Wall Hanging
Easy
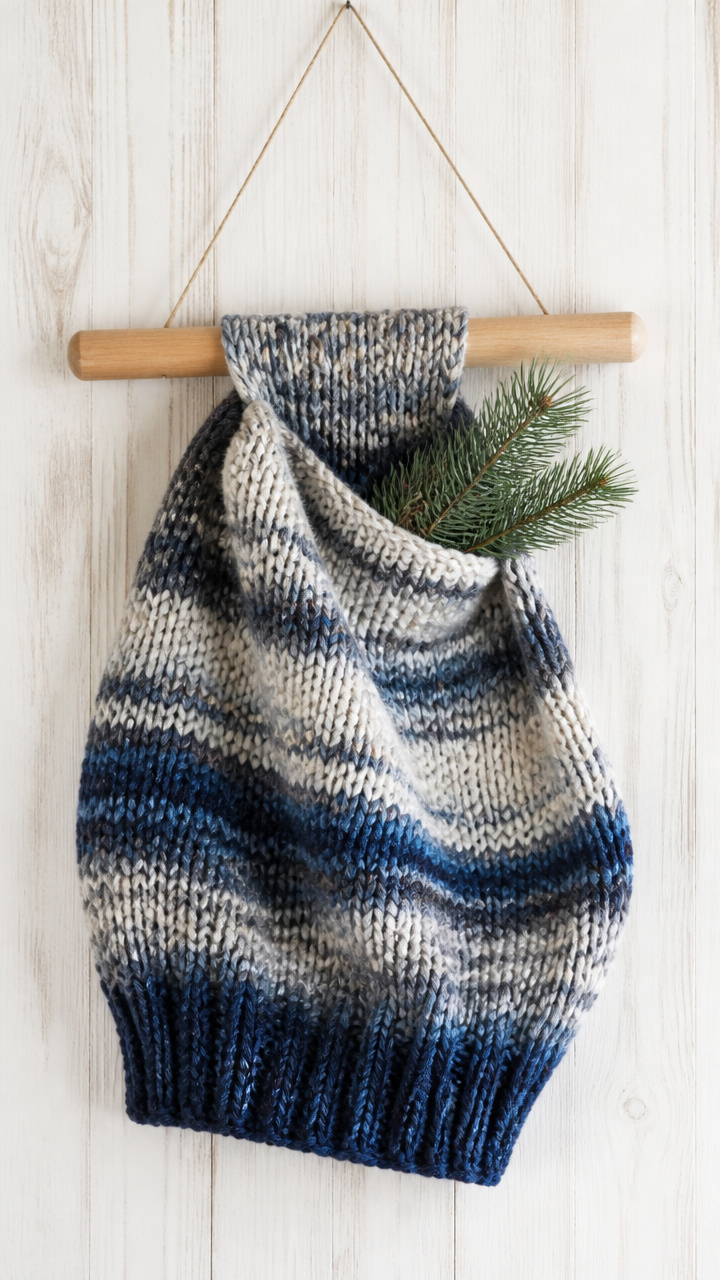
A stretchy winter hat drapes over a dowel with pine sprigs tucked inside. The soft folds require no fastening or hanging hardware.
Materials Needed
- One adult-sized acrylic knit hat
- 10-inch wooden dowel
- Twine (12 inches)
- Small pine sprig
How to Make It
- Drape the hat over the center of the dowel so it hangs evenly on both sides like a pocket.
- Tie twine around each end of the dowel to form a hanger, then knot securely.
- Tuck a pine sprig into the front fold of the hat for a fresh, seasonal touch.
You’ve got everything you need to start crafting with comfort and joy. Pick one that calls to you and let your hands move at their own pace.