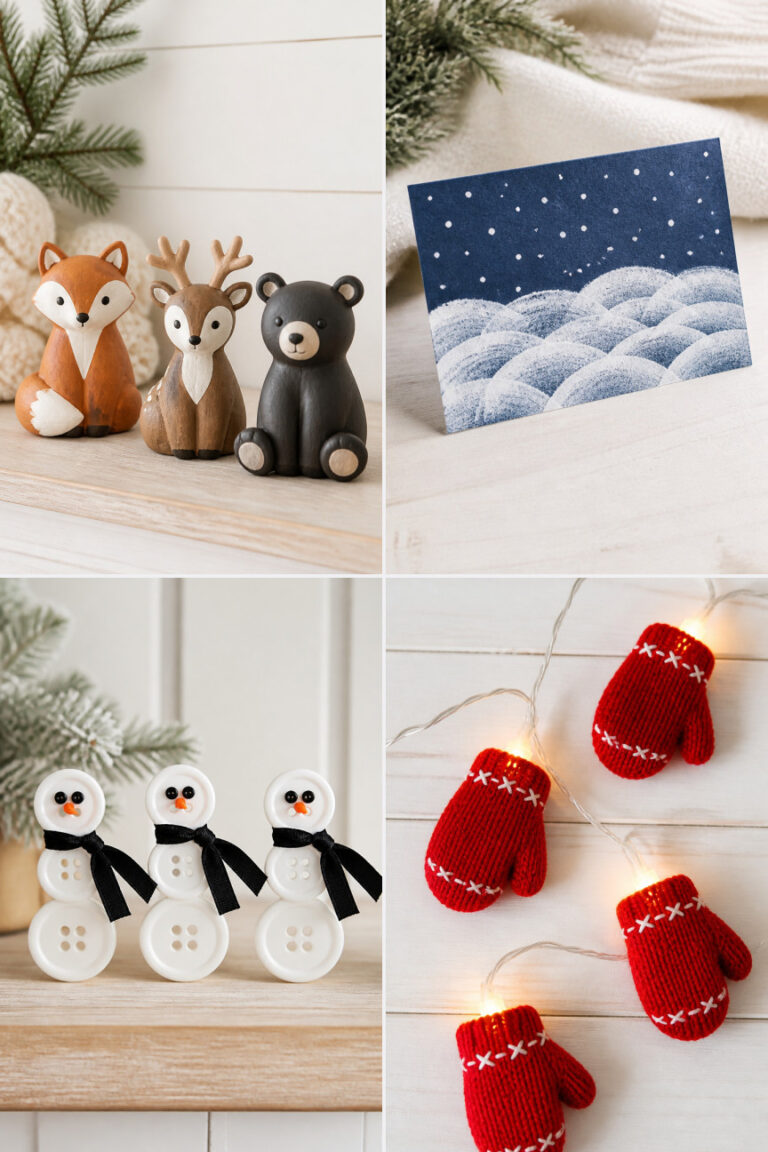
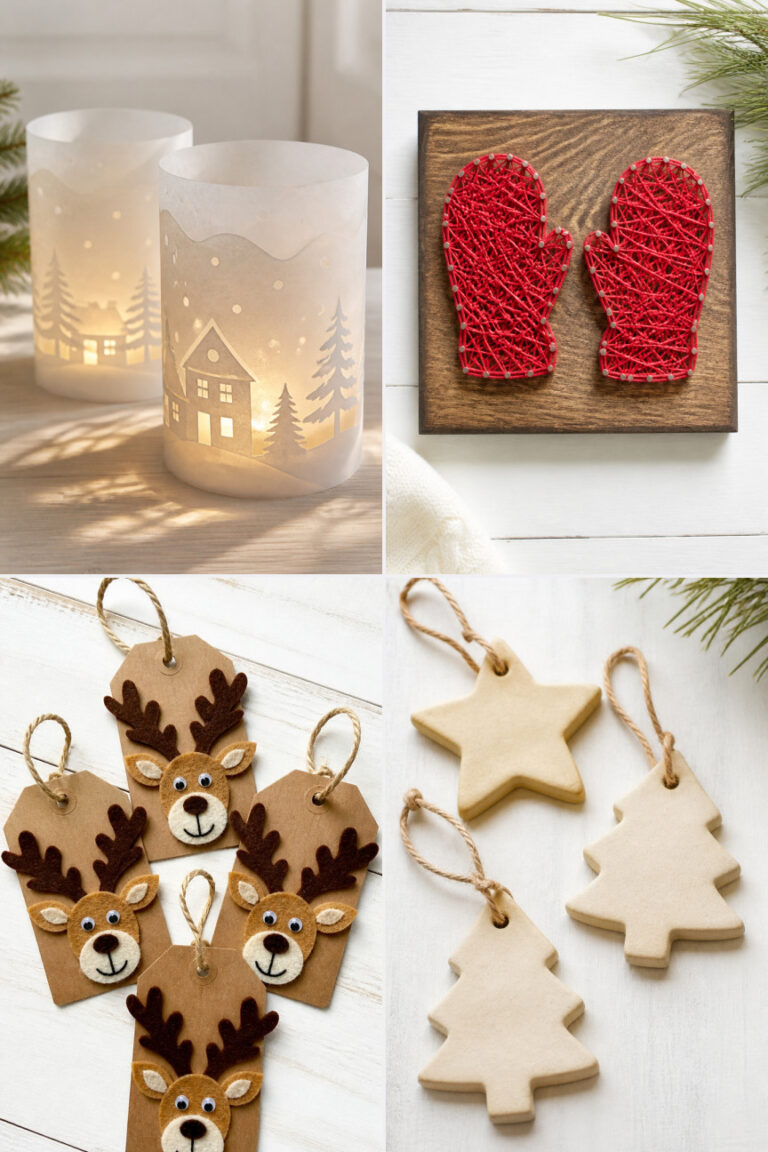
18 Winter Crafts for Adults Using Thrift Store Finds

Flickering candlelight glows through frosted glass, a hand-stitched mitten warms a coffee mug, and a stack of old sweaters finds new life as cozy home decor. Winter invites slow creativity, especially when you're working with secondhand treasures.
Thrifted items carry history, texture, and character that mass-produced supplies can't match. These 18 crafts help you turn forgotten finds into meaningful pieces that warm your space and spirit.
1. Wool Sweater Mug Cozies
Easy
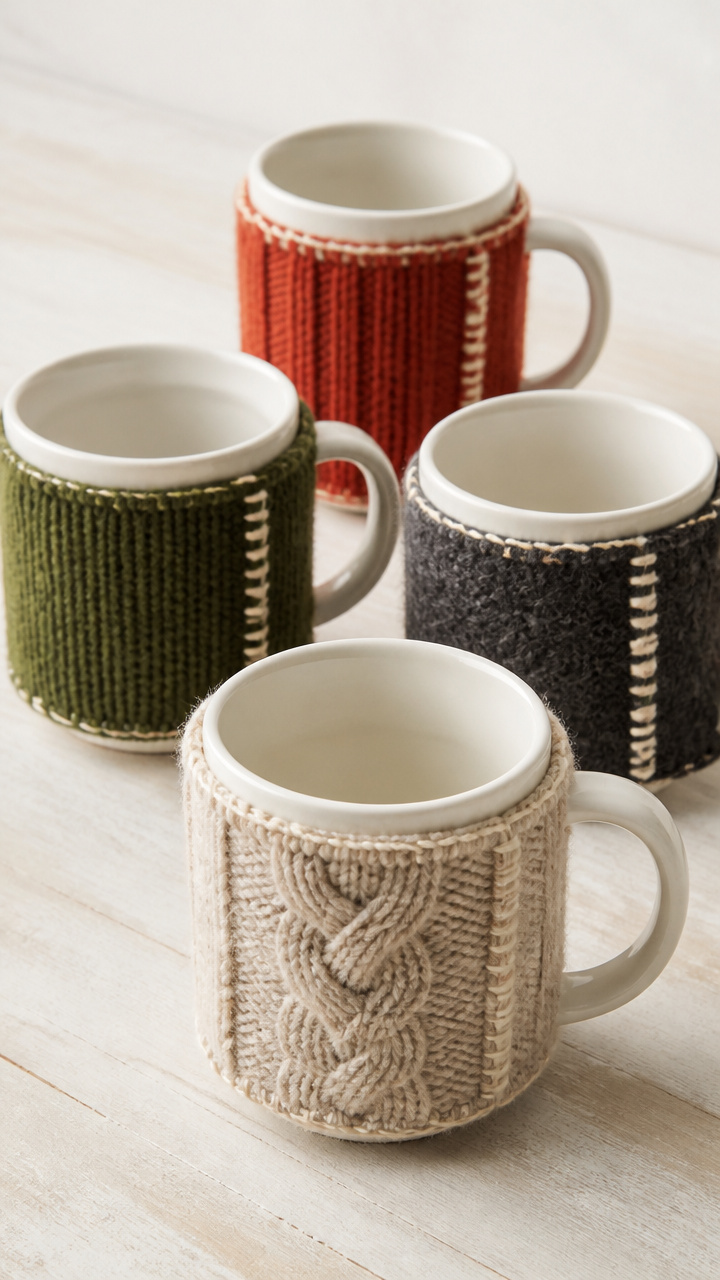
Thick wool mittens become snug holders for your favorite winter drinks, adding warmth and charm to morning routines.
Materials Needed
- 2 pairs of used wool mittens (any color)
- fabric scissors
- sewing needle
- cream polyester thread
- straight pins
How to Make It
- Cut one mitten in half vertically from cuff to fingertip using fabric scissors.
- Pin the flat piece to itself along the outer edge, leaving the bottom open, forming a sleeve shape.
- Sew around the pinned edge with a backstitch using the needle and cream thread, then remove pins.
2. Vintage Book Page Snowflakes
Moderate
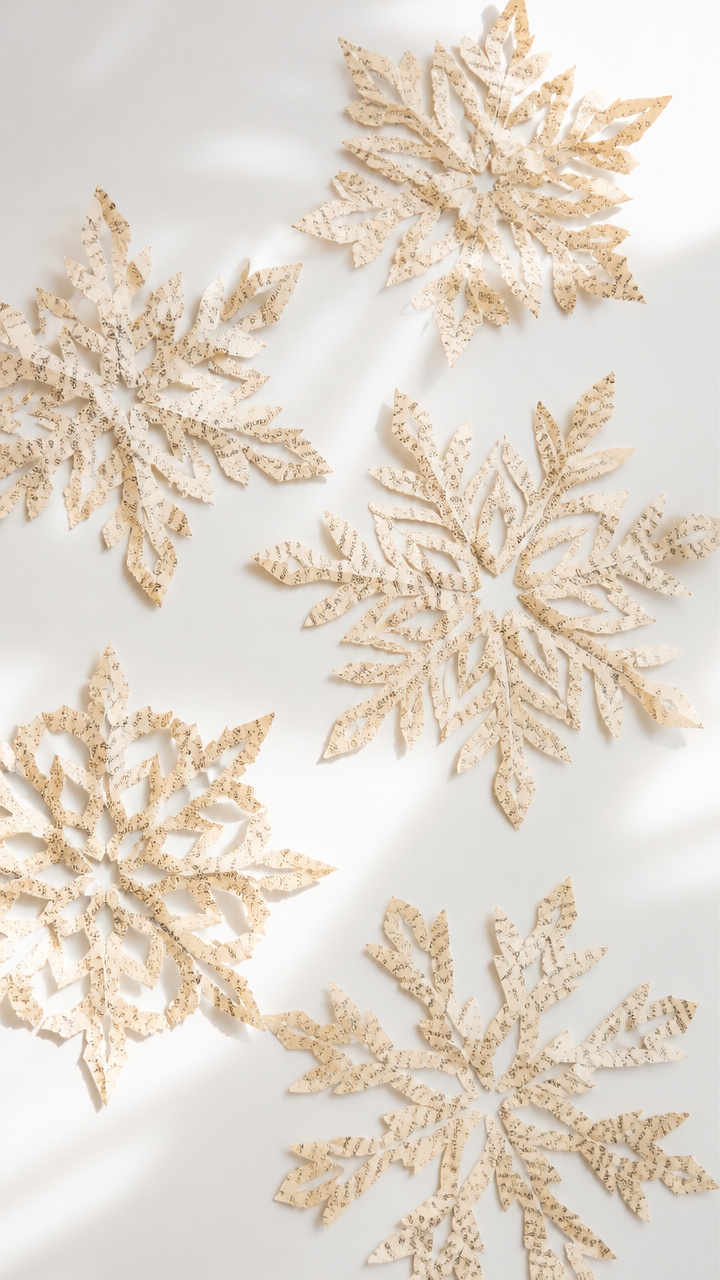
Delicate paper cutouts made from yellowed dictionary pages float like real snow against windowpanes.
Materials Needed
- Old hardcover dictionary (thrift store find)
- craft knife with #11 blade
- self-healing cutting mat
- white printer paper (A4)
- pencil
- clear tape
How to Make It
- Tear out a dictionary page and place it over a sheet of white printer paper.
- Draw a six-section snowflake guide lightly with pencil, folding the paper into sixths before drawing lines.
- Use the craft knife on the cutting mat to cut along the pencil lines, then unfold carefully.
- Tape a small loop of clear tape to the back to hang in a window.
3. Linen Napkin Wreath
Moderate
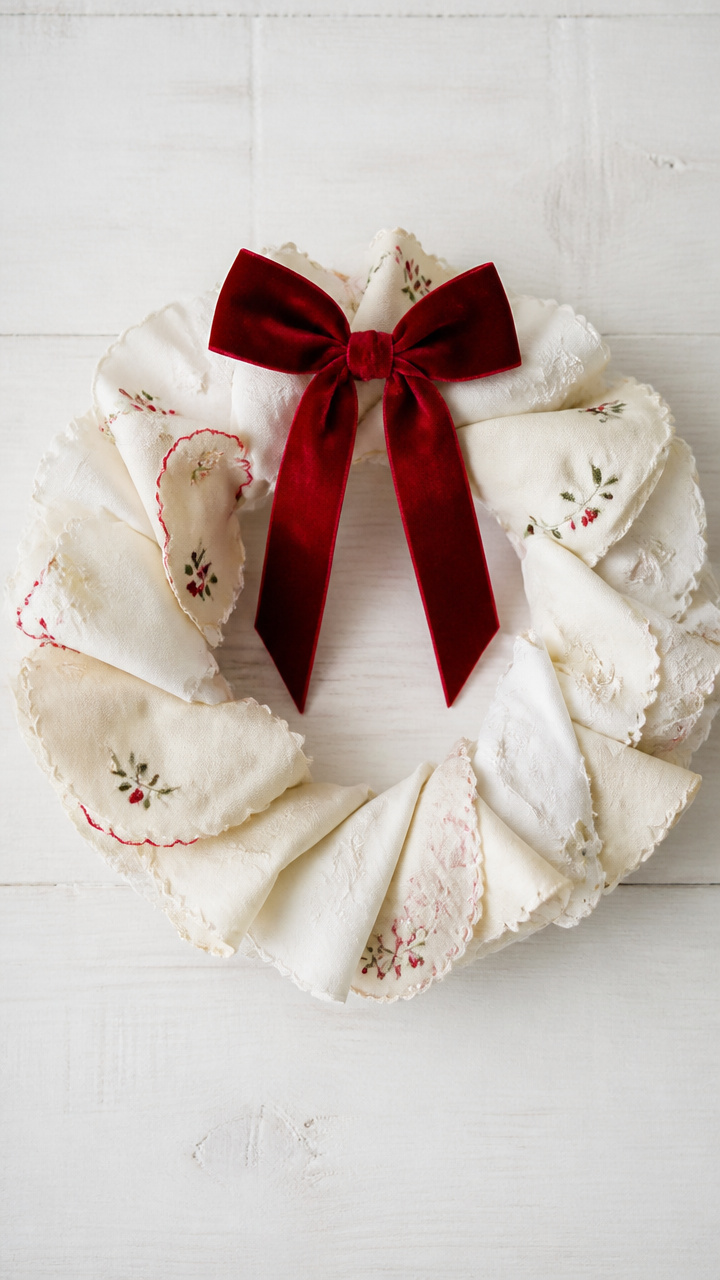
Stiffened vintage napkins form a layered wreath that brings soft texture to bare walls or doors.
Materials Needed
- 4 white linen napkins with embroidered corners
- 9-inch wire wreath frame
- fabric stiffener (250ml)
- paintbrush (1 inch wide)
- ribbon (red velvet, 1/2 inch wide, 24 inches)
How to Make It
- Cut each napkin into four equal squares using fabric scissors, yielding 16 pieces.
- Dip each square into fabric stiffener, let excess drip off, then wrap it loosely around the wire frame.
- Arrange the draped squares evenly, overlapping slightly, and let dry completely for 4 hours.
- Tie the red velvet ribbon into a bow and attach it at the bottom with a knot around the frame.
4. Ceramic Teacup Candle
Easy
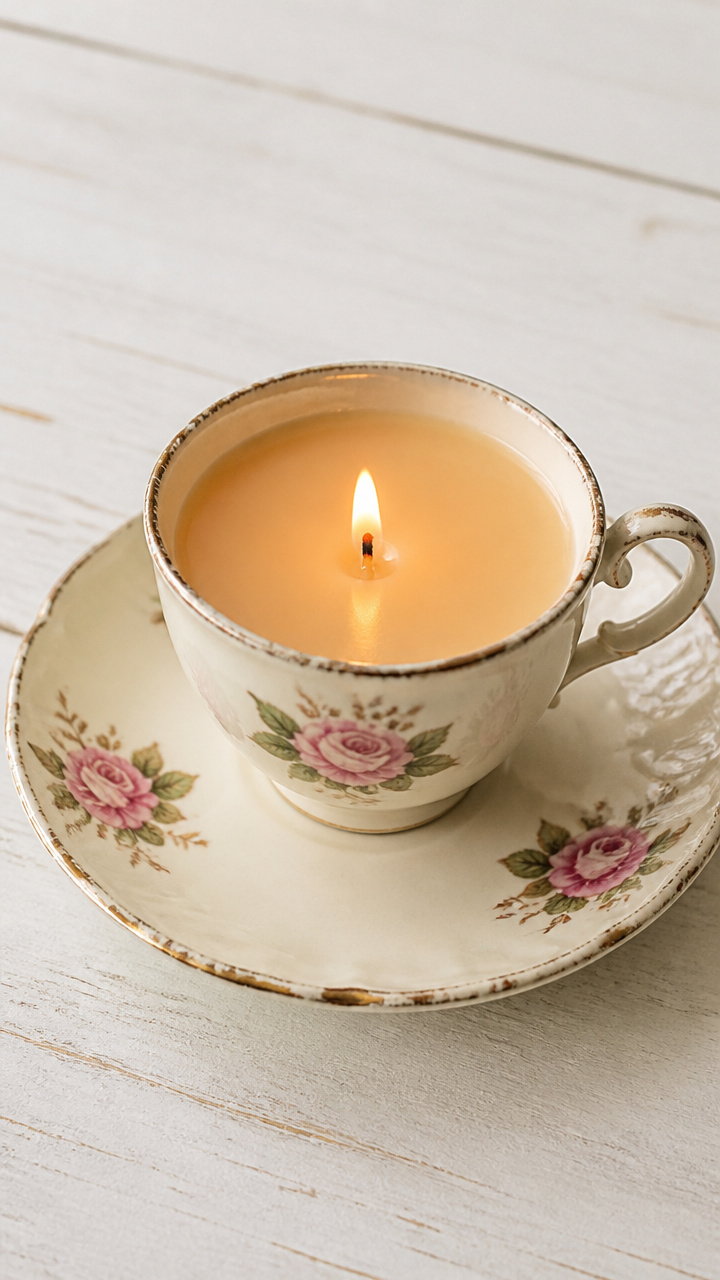
A chipped teacup becomes a flickering candle holder, perfect for side tables or mantle displays.
Materials Needed
- One vintage ceramic teacup with saucer
- soy wax flakes (100g)
- pre-wicked cotton wick (2 inches tall)
- double boiler setup
- wooden spoon
How to Make It
- Place soy wax flakes in the top of a double boiler and heat over medium until fully melted, stirring once with the wooden spoon.
- Center the pre-wicked wick in the teacup, holding it upright.
- Pour the melted wax slowly into the cup, fill to 1/2 inch below rim, and let cool for 3 hours.
5. Flannel Shirt Pillow
Moderate
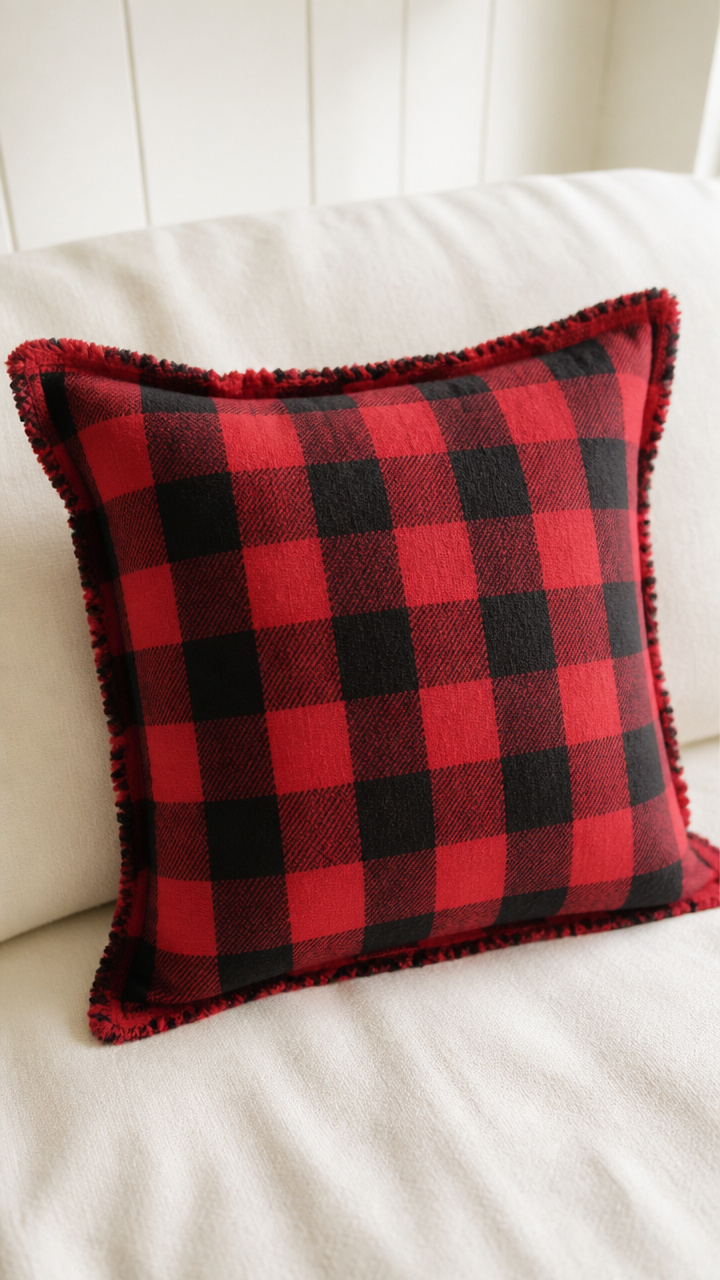
Plaid flannel shirts transform into rustic throw pillows that add cabin comfort to any couch.
Materials Needed
- One men's flannel shirt (long-sleeve, any size)
- polyester fiberfill (200g)
- sewing machine
- thread (black cotton, 50 weight)
- fabric scissors
How to Make It
- Lay the shirt flat and cut off both sleeves and collar, keeping the front panel intact.
- Cut the front panel down the center seam to create two identical fabric rectangles.
- Place pieces right sides together and sew around three edges with a 1/2 inch seam allowance using the sewing machine.
- Turn right side out, stuff with fiberfill, then hand stitch the opening closed with a ladder stitch.
6. Silverware Ornament Set
Advanced

Bent forks and spoons curl into delicate ornaments that catch firelight and reflect holiday cheer.
Materials Needed
- 4 used stainless steel teaspoons
- 4 used stainless steel dinner forks
- pliers (round-nose and flat-nose)
- metal file
- gold metallic spray paint (150ml aerosol)
- red satin ribbon (1/8 inch, 72 inches total)
How to Make It
- Use pliers to bend the handle of each teaspoon into a spiral starting 1 inch from the bowl, filing sharp ends smooth.
- Shape fork tines into gentle curls using round-nose pliers, one tine per fork.
- Spray all pieces with gold metallic paint in a well-ventilated area, let dry 2 hours.
- Thread 18 inches of red satin ribbon through each ornament and tie into a hanger loop.
7. Quilt Square Wall Art
Moderate
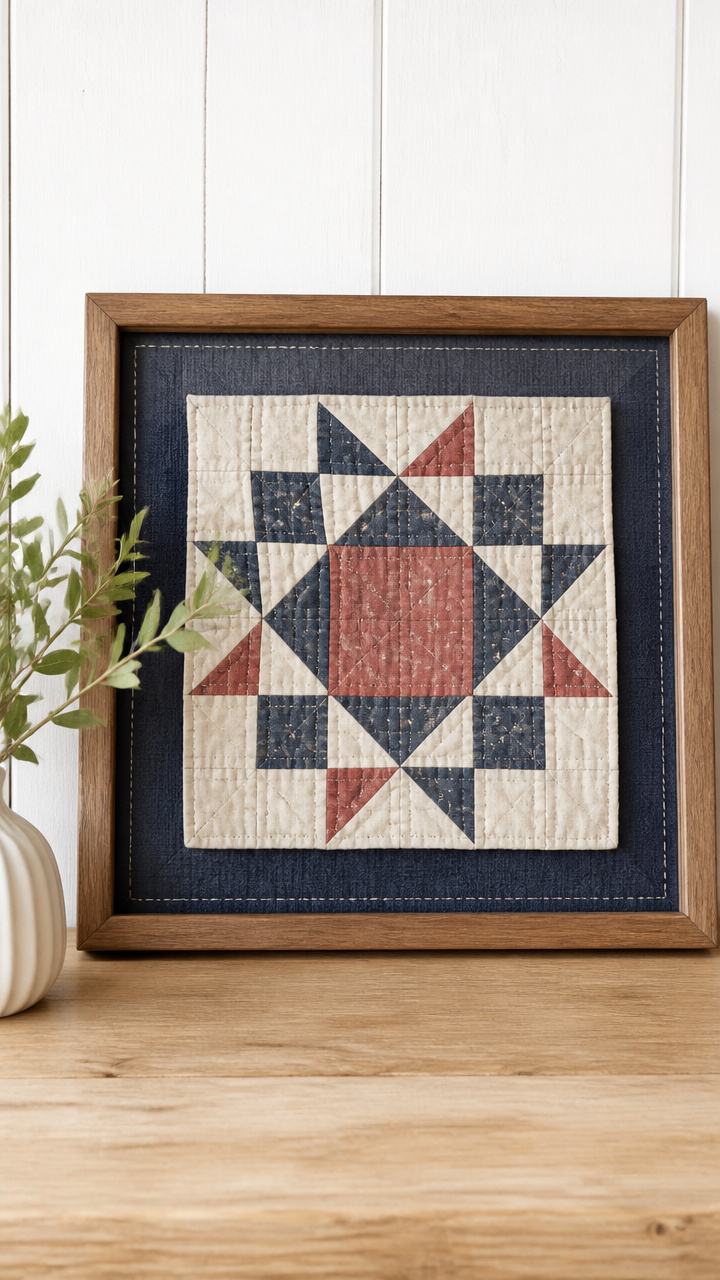
A single thrifted quilt block becomes framed textile art with bold stitching and neutral backing.
Materials Needed
- One 12×12 inch quilt square (cotton blend)
- 12×12 inch wood frame with glass front
- fusible interfacing (12×12 inch sheet)
- iron
- embroidery hoop (8 inch)
- navy embroidery floss (1 skein)
How to Make It
- Iron fusible interfacing onto the back of the quilt square following package instructions.
- Stretch the square in the embroidery hoop and tighten the screw to make it drum-taut.
- Outline one dominant shape in the quilt design using navy floss with a backstitch, securing thread at back.
- Remove from hoop, place in wood frame behind glass, and close the back.
8. Leather Belt Clock
Moderate
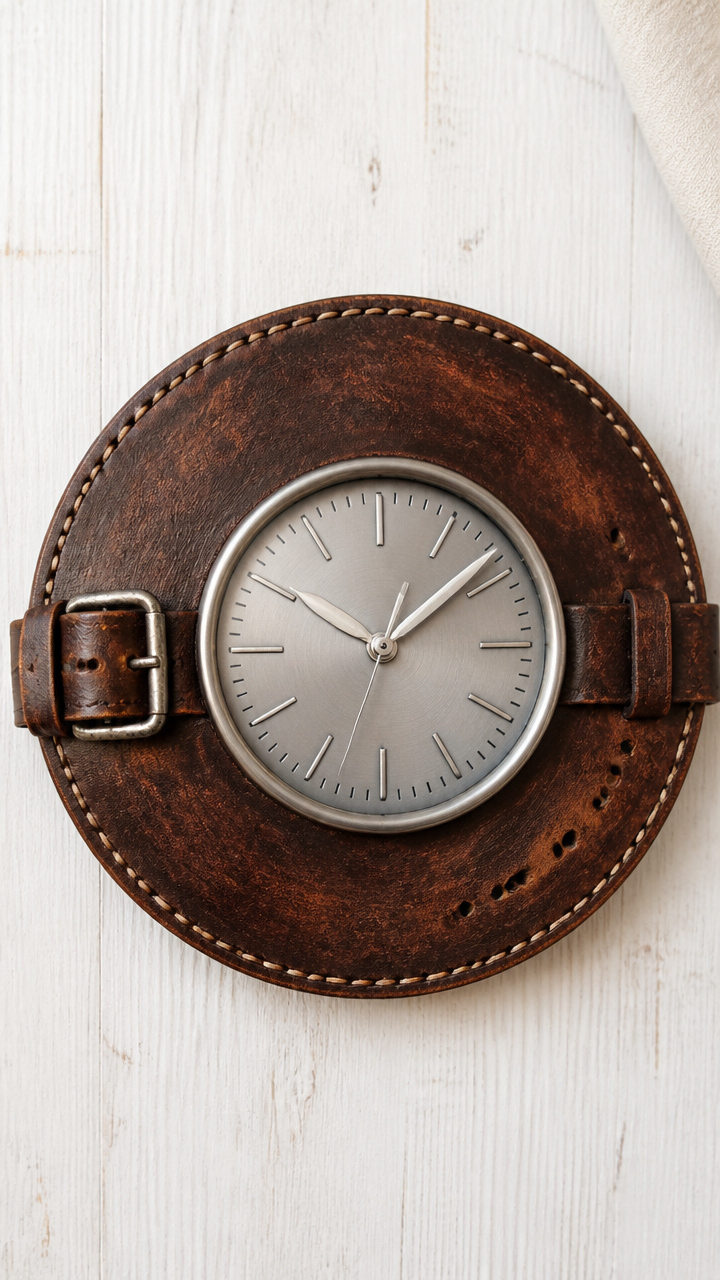
A vintage leather belt wraps around a clock mechanism to create a rustic timepiece for the kitchen.
Materials Needed
- One brown leather belt (36 inches long)
- clock mechanism kit (with hands and nut)
- hole punch (leather-rated)
- scissors
- hot glue gun with glue sticks
How to Make It
- Use the hole punch to make a centered hole through the belt at the first notch.
- Insert the clock mechanism shaft through the hole from the front.
- Secure the mechanism on the back with the washer and nut included in the kit.
- Glue the buckle end to the opposite side of the belt using hot glue to form a circle.
9. Glass Jar Snow Globe
Advanced
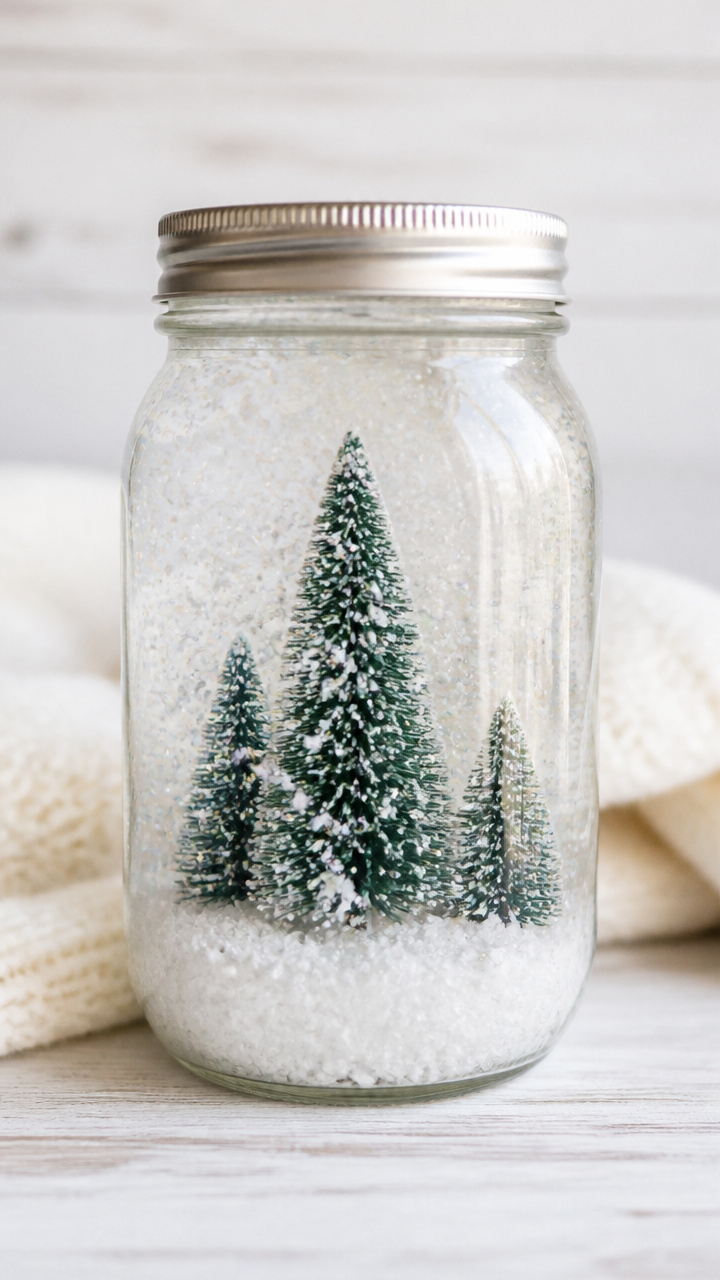
A lidded mason jar holds a tiny winter village under shimmering water and glitter.
Materials Needed
- One 16 oz mason jar with lid
- small plastic evergreen trees (3 pieces, 1-2 inches tall)
- white polymer clay (50g)
- distilled water (150ml)
- glycerin (10ml)
- fine white glitter (1 tsp)
- waterproof epoxy glue
How to Make It
- Shape polymer clay into snowy hills and press bases of trees into the clay on the inside of the jar lid.
- Let clay cure according to package directions, usually 15 minutes in oven at 275°F.
- Fill jar with distilled water, add glycerin and glitter, then stir gently with a spoon.
- Attach the cured scene to the lid’s inner side using waterproof epoxy, let set 24 hours, then screw lid on tightly.
10. Typewriter Key Magnets
Easy
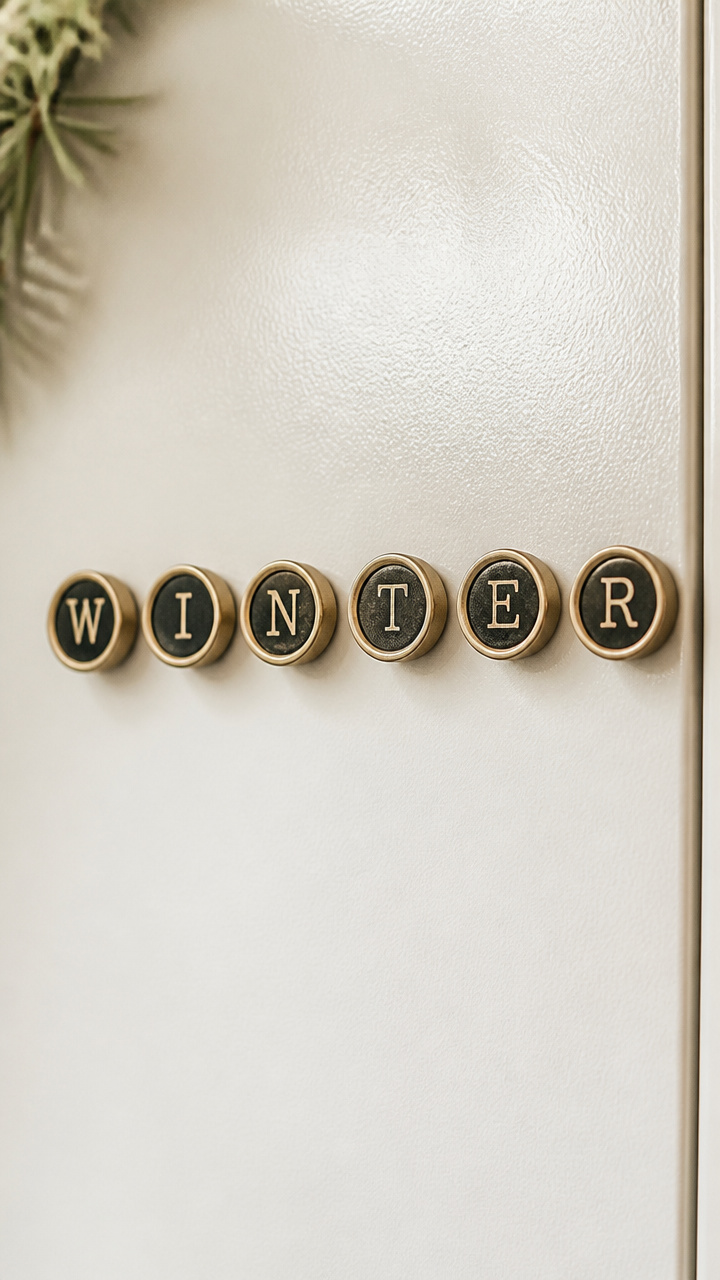
Individual typewriter keys spell out names or phrases on the fridge, blending nostalgia and function.
Materials Needed
- 5 vintage typewriter keys (letters of your choice)
- small neodymium disc magnets (5, 10mm diameter)
- two-part epoxy adhesive
- toothpick
How to Make It
- Clean the flat back of each key with a dry cloth.
- Mix a pea-sized amount of two-part epoxy with the toothpick and apply a dot to the center of one magnet.
- Press the magnet onto the back of a key and hold for 10 seconds.
- Repeat for all keys and let cure for 6 hours on a flat surface.
11. Crocheted Doily Lampshade
Moderate
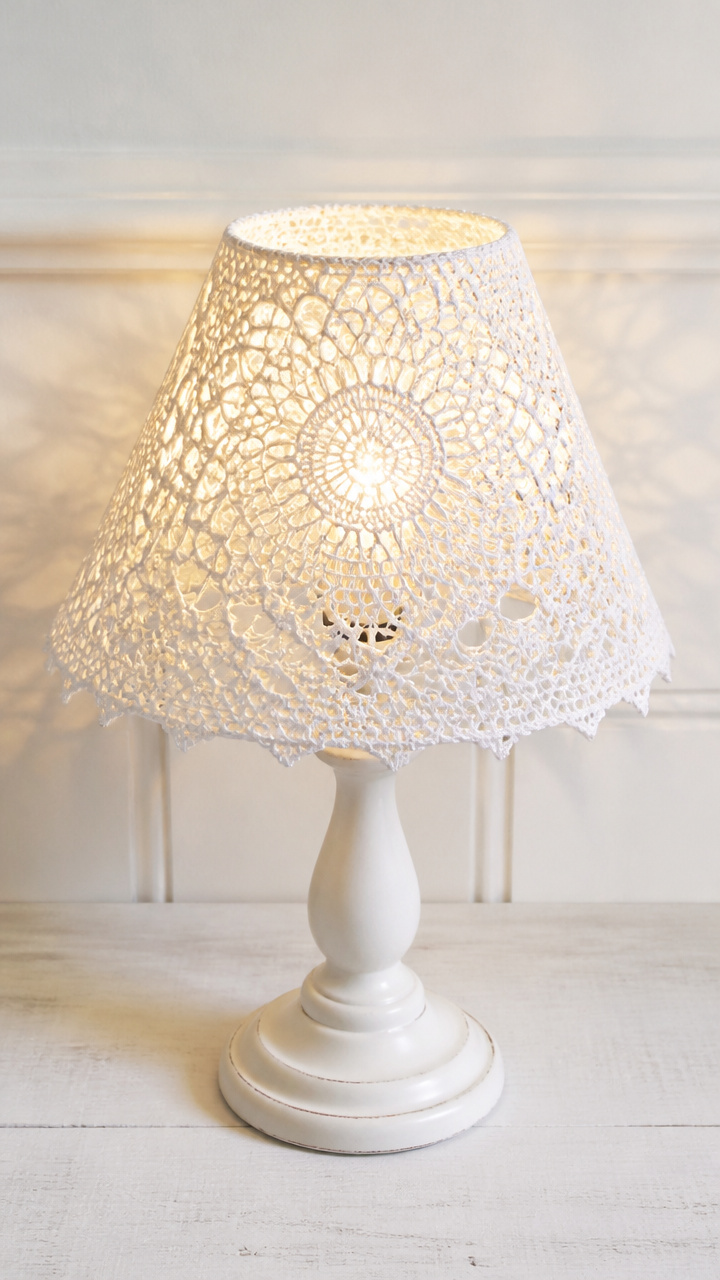
A large lace doily stretches over a lamp base to cast intricate shadow patterns across the room.
Materials Needed
- One large white crocheted doily (diameter 10 inches)
- wire lampshade frame (10 inch top, 8 inch bottom)
- fabric glue (tub, 100ml)
- paintbrush (1/2 inch)
- clothespins (8)
How to Make It
- Center the doily over the top of the wire frame.
- Use the paintbrush to apply a thin layer of fabric glue to the outer 1 inch of the doily’s edge.
- Fold the glued edge down over the wire and secure with clothespins every 1.5 inches.
- Let dry completely for 5 hours, then remove clips and mount on a compatible lamp base.
12. Record Album Coasters
Advanced
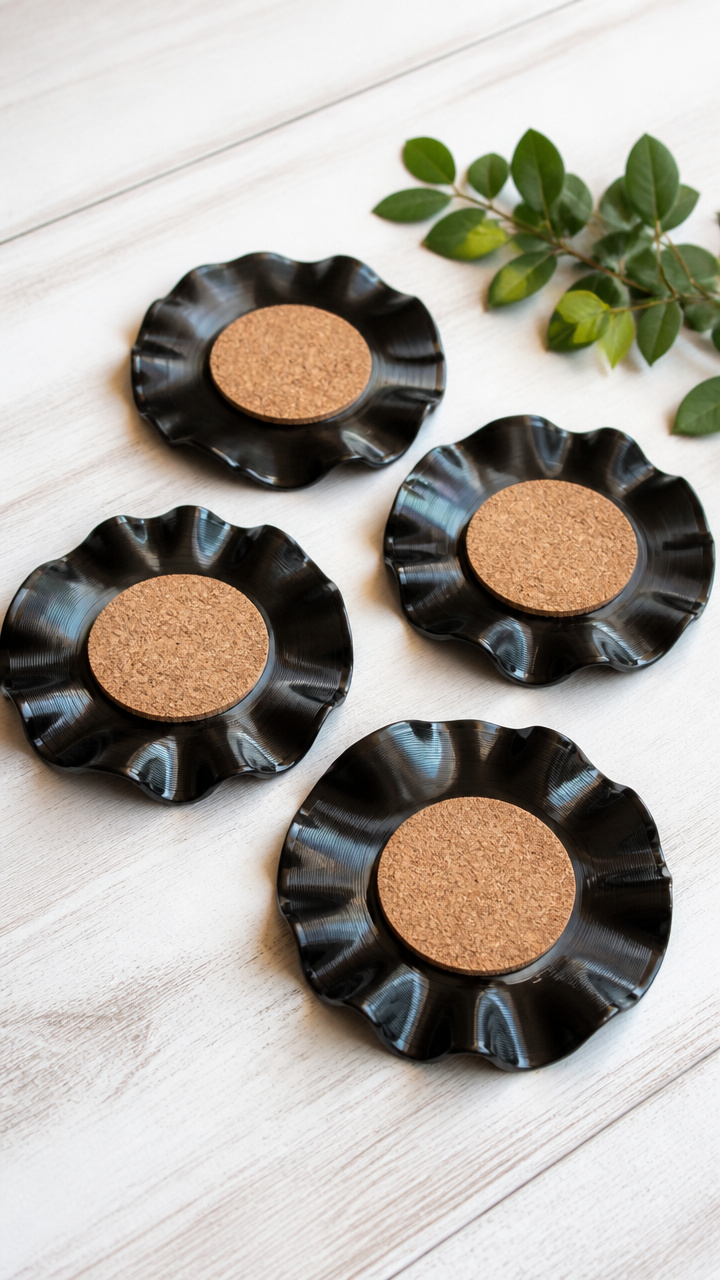
Scratched vinyl records melt into glossy, swirling coasters that double as conversation starters.
Materials Needed
- One used vinyl record
- oven-safe mold (silicone trivet mold, 4 inch circles)
- oven
- oven mitts
- coaster cork pads (4, 1 inch diameter)
How to Make It
- Preheat oven to 200°F and place silicone molds on a baking sheet.
- Wear oven mitts and place one record section into each mold, pressing gently into corners.
- Bake for 5 minutes until the vinyl softens and settles into the mold.
- Remove with mitts, let cool for 10 minutes, then glue a cork pad to the bottom of each coaster.
13. Velvet Scarf Garland
Easy
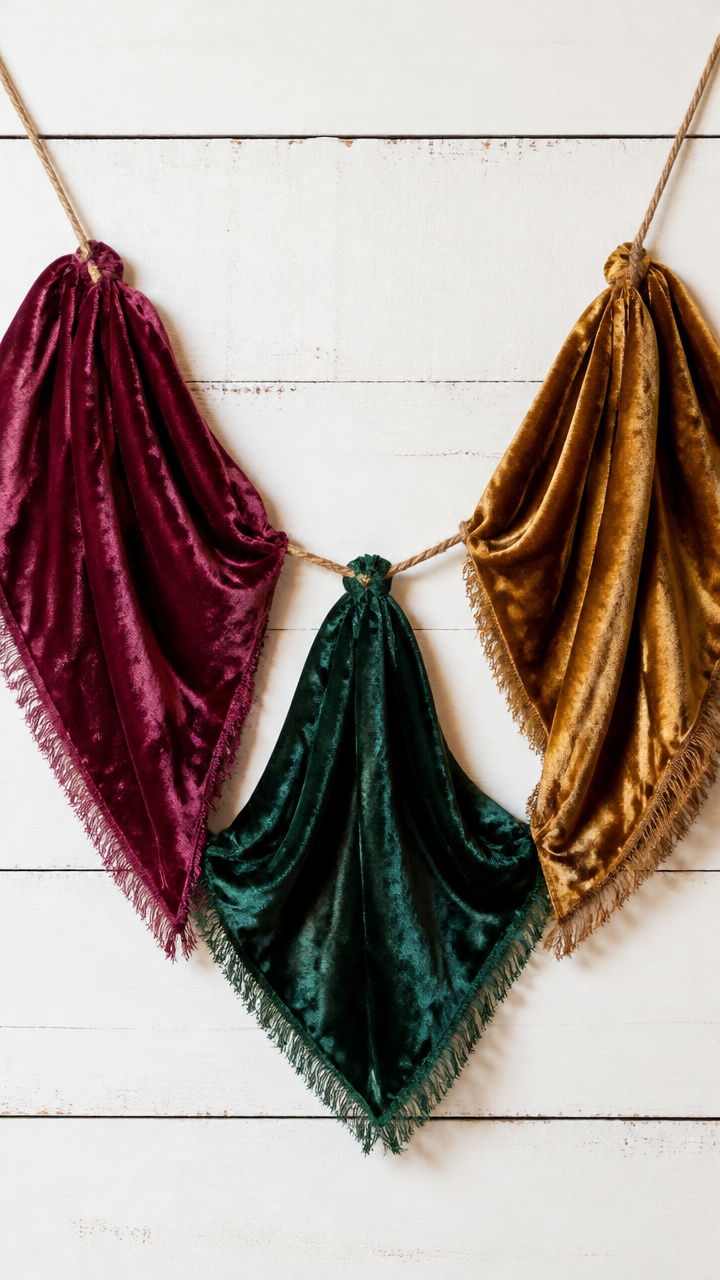
Silky vintage scarves drape into soft folds, linked by twine to form an elegant mantel runner.
Materials Needed
- 3 silk or velvet scarves (24×24 inches each)
- natural jute twine (36 inches)
- fabric scissors
- hot glue gun with glue sticks
How to Make It
- Cut each scarf diagonally into two triangles using fabric scissors.
- Fold each triangle into thirds lengthwise to form a long strip.
- Space the strips evenly along the twine, folding the top edge over the string and gluing securely with hot glue.
- Let dry 2 minutes between each attachment, then hang by tying ends of twine.
14. Pressed Flower Bookmark
Easy
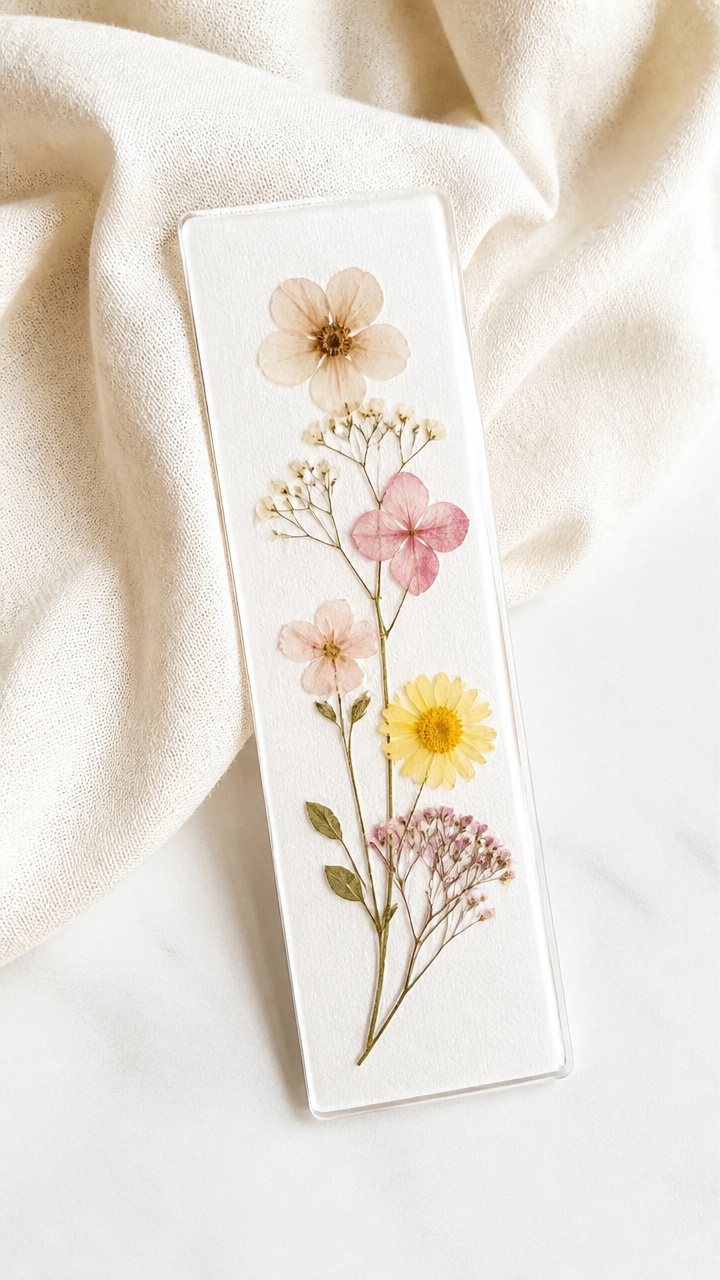
Fragile blooms from old books become permanent keepsakes sealed in translucent laminate sheets.
Materials Needed
- 2 dried pressed flowers (from thrifted book or garden)
- laminating pouch (A7 size)
- laminator
- cardboard scrap (same size as pouch)
- scissors
How to Make It
- Open the laminating pouch and place one flower face up near the top, then the second below it.
- Slide the cardboard scrap behind the pouch to prevent seal failure.
- Run the pouch through the laminator on low heat setting.
- Trim any excess laminate with scissors, leaving a 1/8 inch border.
15. Wooden Spoon Snowmen
Moderate
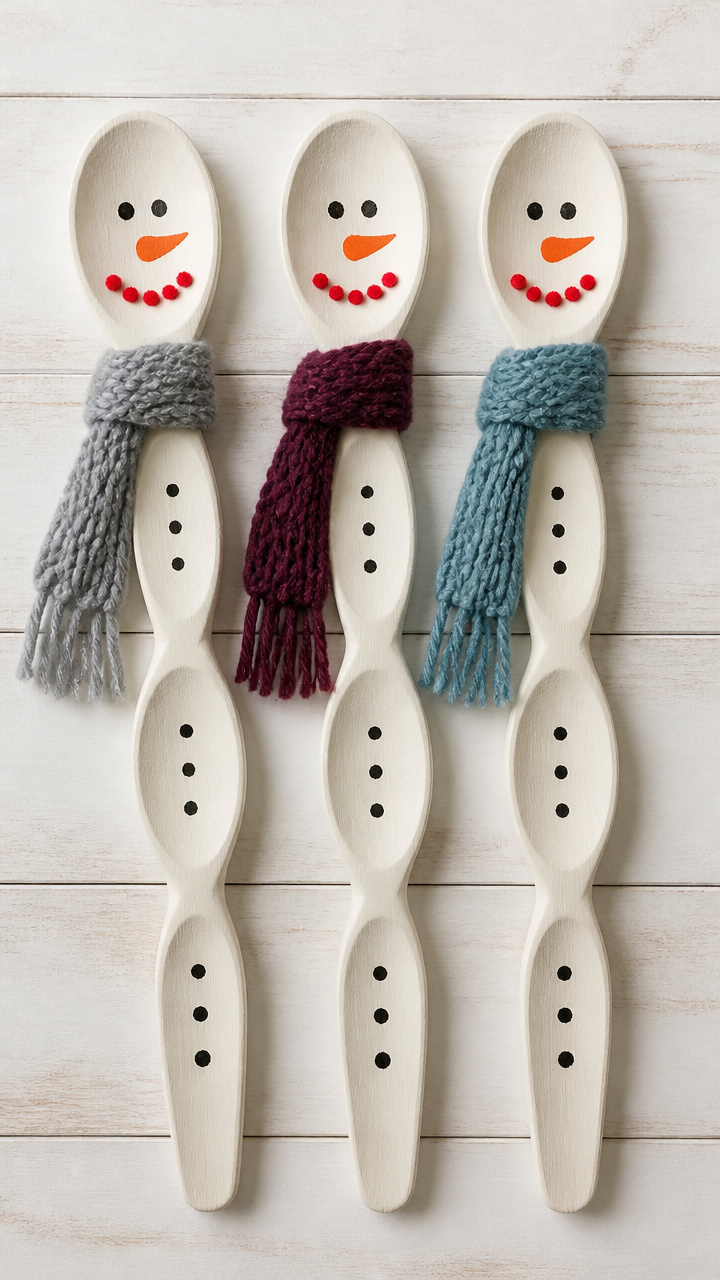
Three spoons stacked nose-to-bowl form whimsical snowmen dressed in tiny knitted scarves.
Materials Needed
- 3 unfinished wooden spoons (8 inch length)
- acrylic paint (black, orange, 20ml each)
- paintbrush (fine tip)
- small black buttons (3)
- mini pom-pom (red, 1 cm)
- glue gun with glue sticks
- leftover yarn scraps (brown and red)
How to Make It
- Paint the bowl of each spoon white and let dry 30 minutes.
- Use the fine brush to add black dot eyes and an orange carrot nose to the top spoon.
- Glue a red pom-pom beneath the nose for a mouth and buttons down the front of the middle spoon.
- Wrap a 6 inch piece of red yarn around the neck area and tie a knot, then stack spoons with glue between bowls.
16. Pocket Watch Pendant Light
Advanced
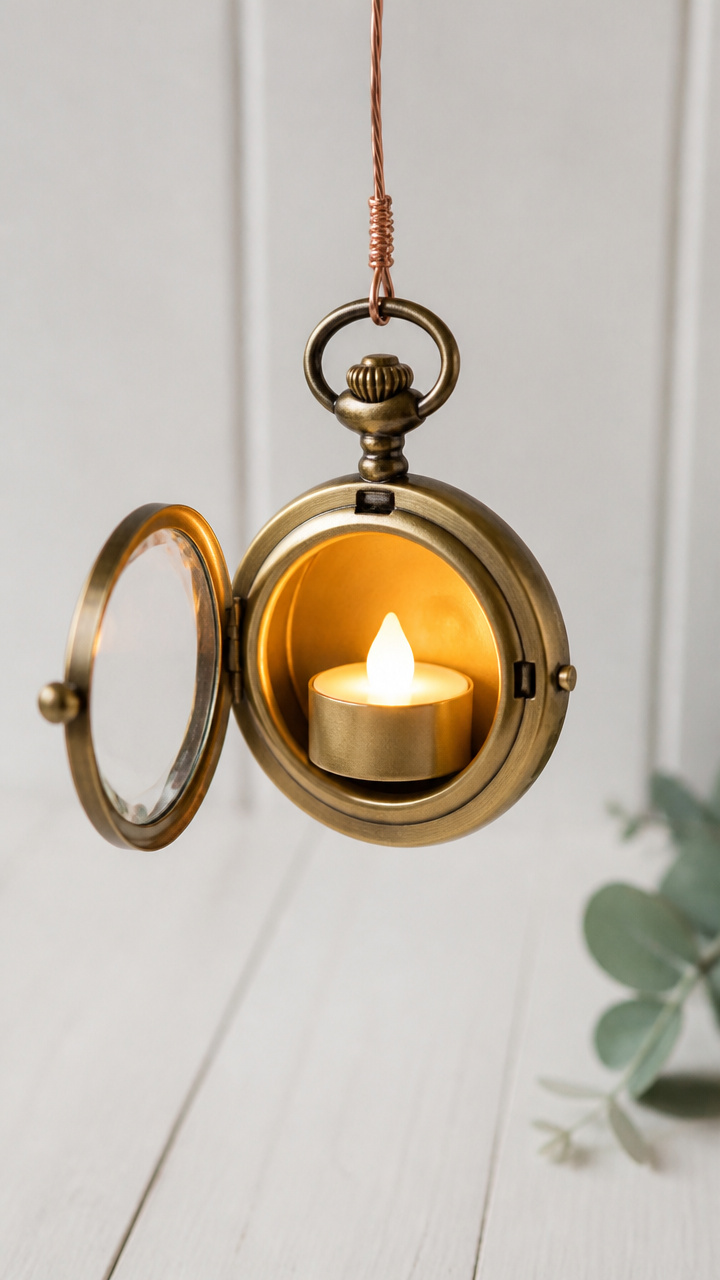
An antique pocket watch dangles from a pendant cord, its open face glowing like a tiny lantern.
Materials Needed
- One brass pocket watch with hinged crystal
- LED tea light (battery-operated, flameless)
- thin copper wire (20 gauge, 24 inches)
- wire cutters
- needle-nose pliers
How to Make It
- Open the hinged crystal of the pocket watch fully.
- Place the LED tea light inside the watch case, positioning it so the glow fills the face.
- Cut a 24 inch piece of copper wire and thread it through the watch’s winding stem hole.
- Twist the ends together at the top with pliers to form a hanging loop, ensuring the light remains accessible.
17. Chalkboard Frame Calendar
Easy
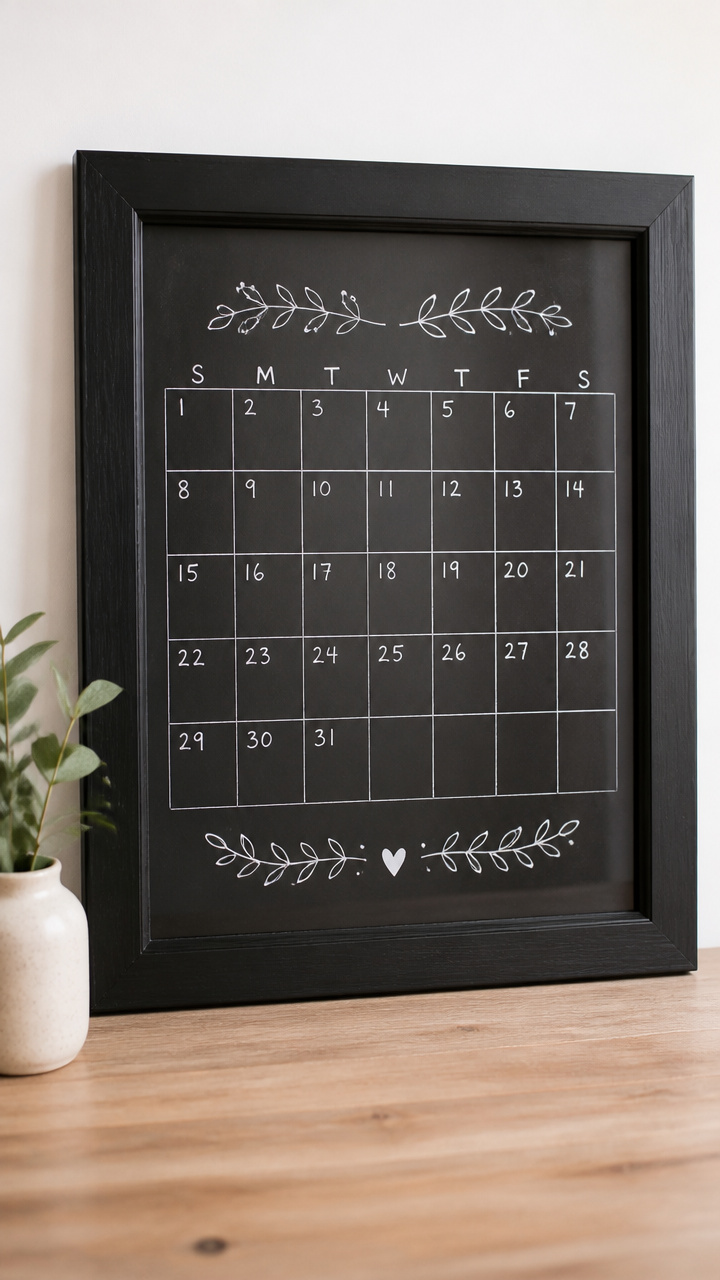
A deep picture frame turns into a monthly planner where plans and doodles erase and renew.
Materials Needed
- Deep wooden picture frame (8×10 inch, with glass)
- chalkboard paint (black, 100ml)
- foam brush (1 inch)
- white chalk
- ruler
- masking tape
How to Make It
- Remove glass from frame and clean with soapy water, then dry completely.
- Use masking tape to mark a 1/4 inch border around the glass edge, creating a painting window.
- Apply one coat of chalkboard paint with the foam brush, let dry 2 hours, then apply a second coat.
- After final dry, remove tape, reassemble frame, and write the month with white chalk.
18. Felt Hat Planter
Moderate
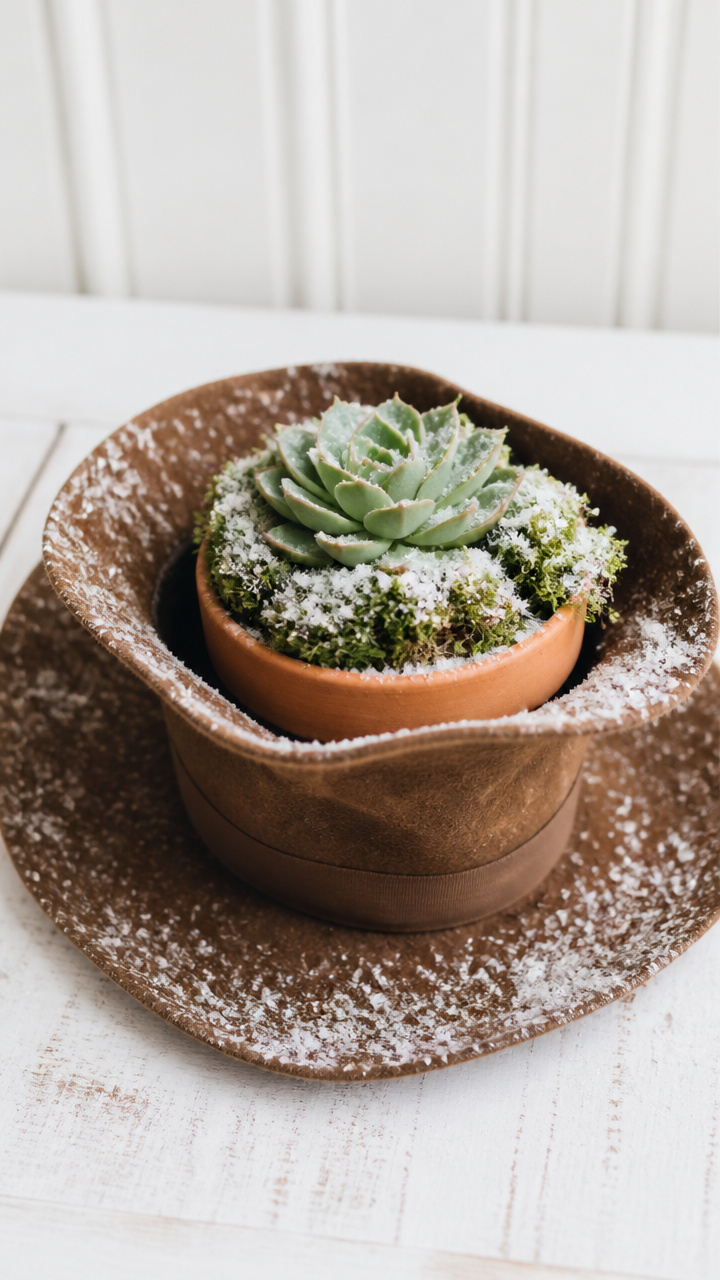
A floppy felt hat cradles a small succulent, its brim dusted with faux snow for wintry flair.
Materials Needed
- One vintage brown felt hat with wide brim
- terracotta pot (3 inch diameter)
- succulent plant in soil
- moss sheets (dried, 20 sq in)
- faux snow spray (100ml)
- hot glue gun with glue sticks
How to Make It
- Place the terracotta pot inside the hat’s crown, checking that it sits level on the brim.
- Arrange moss over the soil surface around the succulent, trimming to fit with scissors if needed.
- Glue the moss edges to the pot with dots of hot glue to secure.
- Hold the faux snow spray 8 inches away and mist the hat brim lightly, avoiding the plant.
Each of these crafts turns something overlooked into a piece that tells a story. Grab a bag and head to your nearest thrift store — your next favorite project is waiting.