20 Fabric Pumpkin Ideas

Pumpkins don’t have to be carved or painted to shine. When you work with fabric, each piece becomes a soft keepsake full of texture and warmth. These handmade versions sit on shelves, hang in windows, and add charm to tables with quiet personality.
Every idea here uses a different method, material, or shape so you can explore without repeating yourself. You might find your new favorite fall tradition.
1. Ruffled Orange Felt Pumpkins
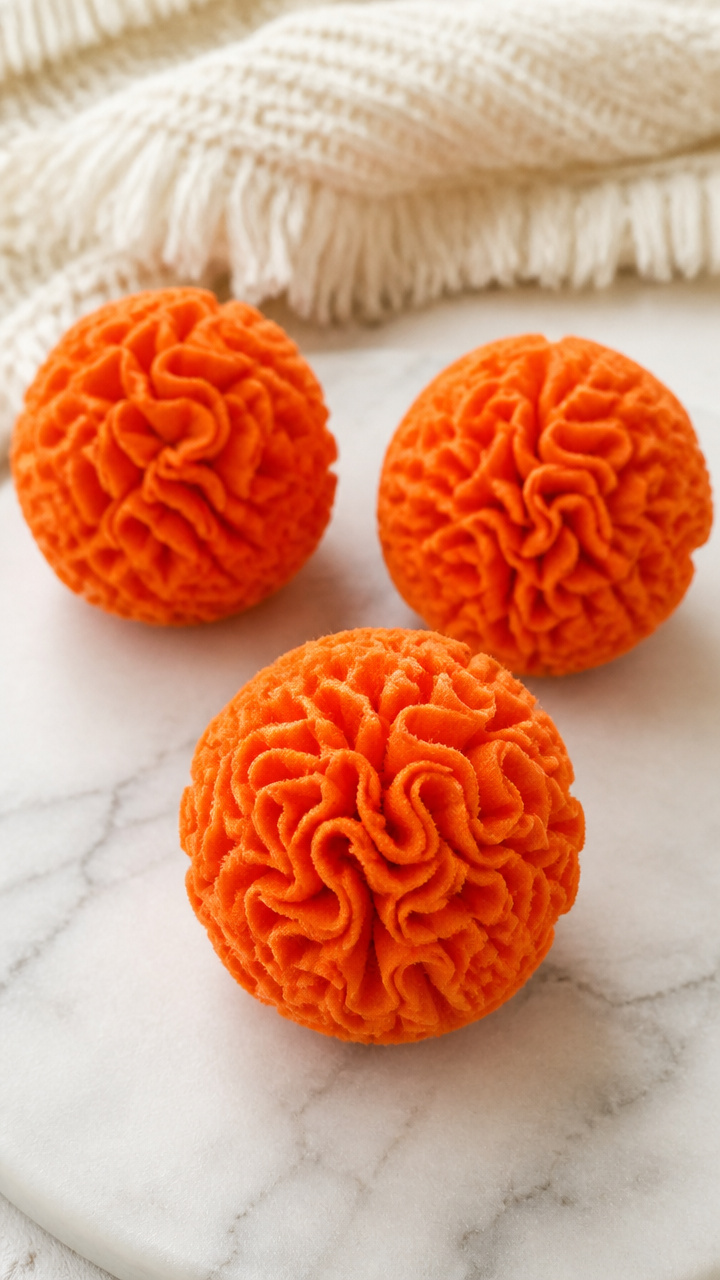
Soft orange ruffles form plump pumpkins that stand without stems. They’re perfect for baby showers or shelf decor because they won’t tip over.
Materials Needed
- 12 inches by 18 inches orange craft felt
- 6 inches by 9 inches green craft felt
- Polyester fiberfill stuffing, 4 ounces
- Fabric scissors
- Hot glue gun with glue sticks
- Wooden skewer
How to Make It
- Cut the orange felt into ten strips measuring 1.5 inches by 18 inches.
- Stack the strips neatly then pinch them together at the center and twist tightly.
- Use the hot glue gun to secure the twisted center, forming a ruffled circle.
- Glue one end of the wooden skewer to the back center of the ruffle to form a base stem.


2. Patchwork Denim Mini Pumpkins
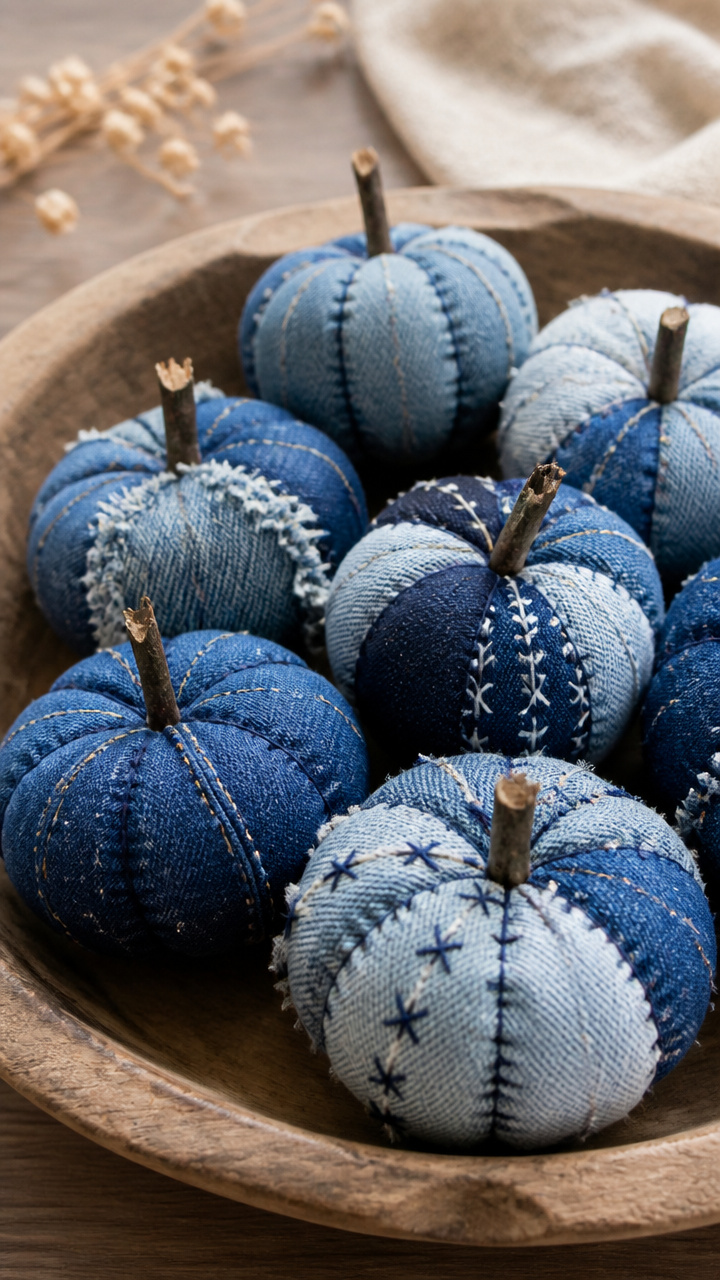
Scraps of old jeans become tiny distressed pumpkins with stitched seams showing. Their rugged look adds farmhouse style to any corner.
Materials Needed
- 7 pieces denim scraps, each 3 inches by 5 inches
- Embroidery floss in navy blue
- Tapestry needle
- Cotton thread
- Sewing machine
- Small amount polyester stuffing
How to Make It
- Arrange five denim pieces side by side in a straight line and sew them together using a 1/4 inch seam allowance.
- Fold the strip into a circle and sew the ends together to form a ring.
- Roll the ring tightly and hand-stitch it in place with a running stitch using navy embroidery floss.


3. Linen-Wrapped Wire Pumpkins
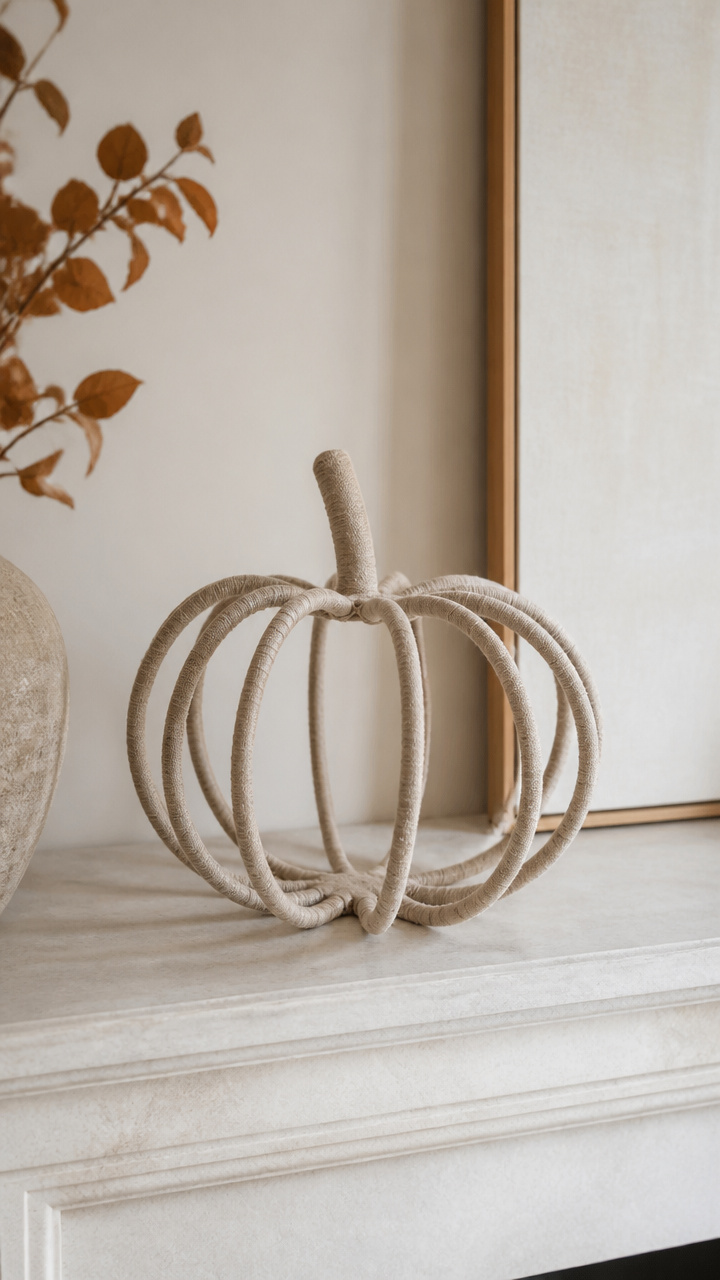
Stiff wire frames wrapped in natural linen create sleek modern shapes. These are ideal for minimalist mantels or centerpieces.
Materials Needed
- 24-gauge floral wire, 3 feet length
- Natural linen tape, 1/2 inch wide, 2 yards
- Wire cutters
- Needle-nose pliers
- Craft glue
How to Make It
- Bend the wire into a pumpkin shape with six rounded ribs using needle-nose pliers to form curves.
- Wrap the linen tape tightly around the wire frame, applying a dot of craft glue every inch to hold it in place.
- Trim the end cleanly and press it down with a fingertip until the glue sets.
4. Appliquéd Flannel Pumpkins
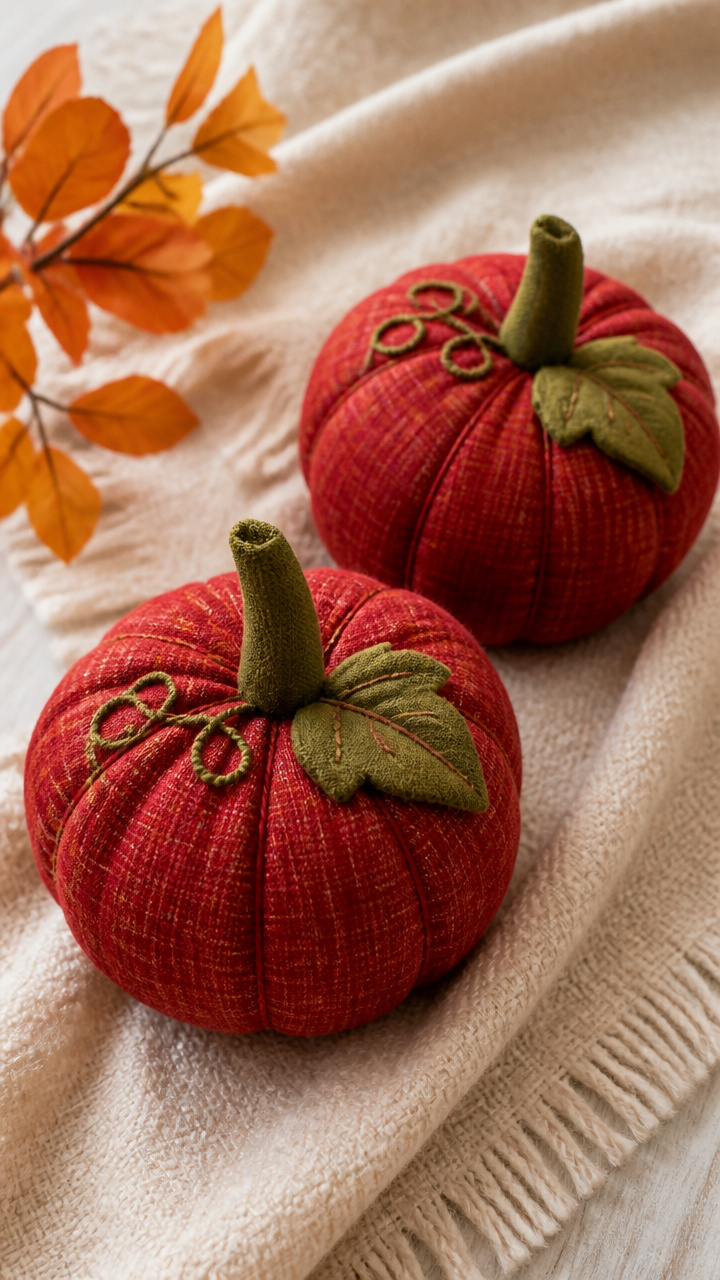
Bright flannel squares with embroidered leaf details make cheerful kitchen decorations. The fabric holds its shape well after washing.
Materials Needed
- Red flannel fabric, 6 inches square
- Green embroidery floss
- Embroidery needle
- Fusible webbing sheet, 2 inches by 3 inches
- Scissors
- Poly stuffing, 2 ounces
How to Make It
- Cut a small leaf shape from the fusible webbing and iron it onto the red flannel using a dry iron at medium heat.
- Stitch around the leaf with green embroidery floss using a split stitch.
- Fold the flannel in half, sew around the curved edge with a 1/4 inch seam, then turn right side out and stuff lightly.


5. Batik Cotton Drawstring Bags
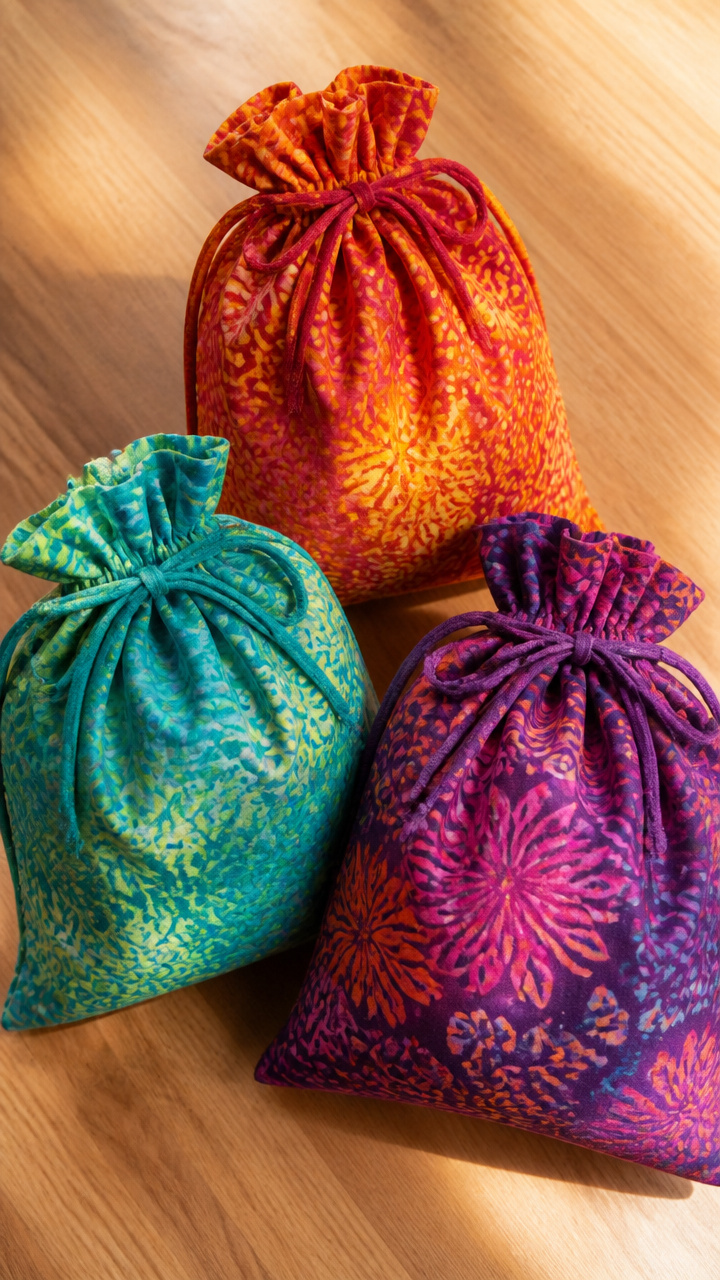
Colorful batik cotton forms drawstring pumpkins that double as gift holders. Their bold patterns stand out on coffee tables.
Materials Needed
- Batik cotton fabric, 8 inches by 10 inches
- Cord, 18 inches long
- All-purpose scissors
- Sewing machine
- Straight pins
How to Make It
- Fold the fabric in half with right sides together and pin the curved edge.
- Sew along the curve with a 3/8 inch seam allowance, leaving the straight edge open.
- Turn the piece right side out, insert the cord into the opening, then gather and tie the ends to close like a sack.


6. Felted Wool Needle Pouches
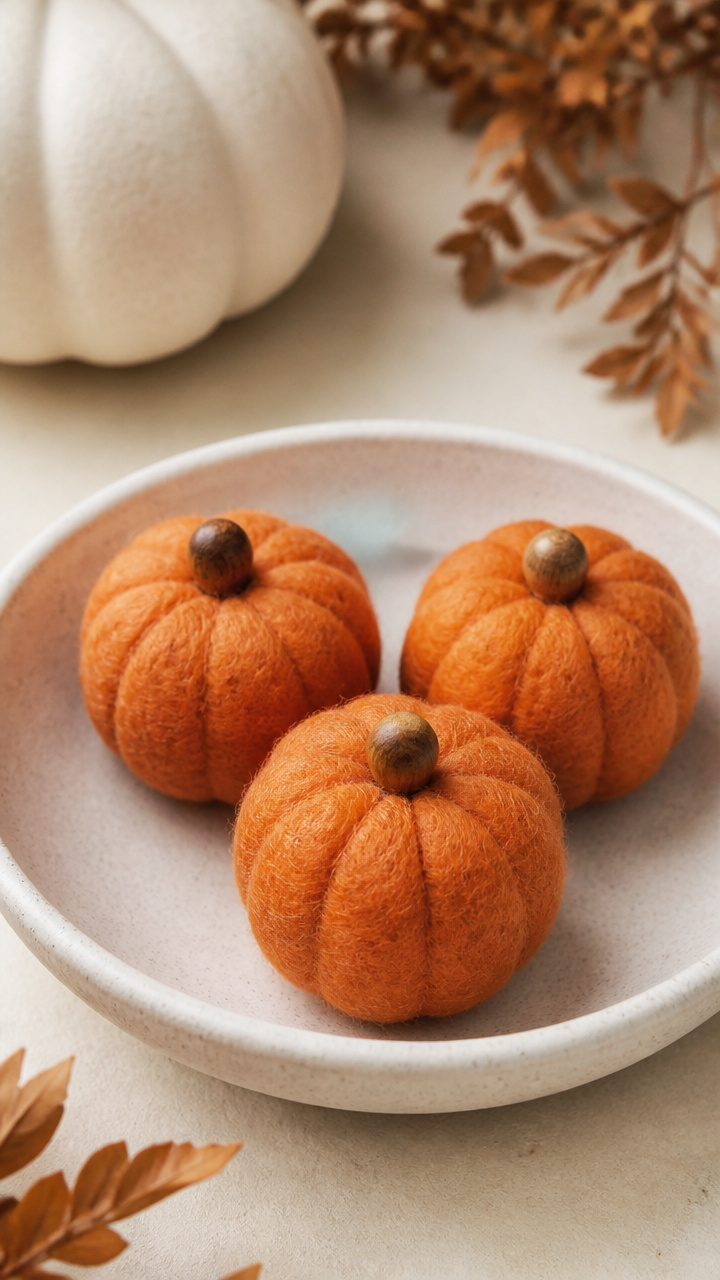
Hand-needled wool roving shrinks into dense little pumpkins with no sewing. These tiny keepsakes hold loose needles safely.
Materials Needed
- Orange wool roving, 1 ounce
- Felting needle size 38
- Foam pad, 4 inches by 6 inches
- Cloverleaf foam shape mold
- Small wooden bead, 1/4 inch
How to Make It
- Pull off a handful of wool roving and wrap it around the cloverleaf foam mold to form a round shape.
- Poke the surface evenly with the felting needle until the fibers tangle and shrink tightly.
- Remove from the mold, press the top flat, and felt a small wooden bead into place as a stem.


7. Quilted Cotton Table Toppers
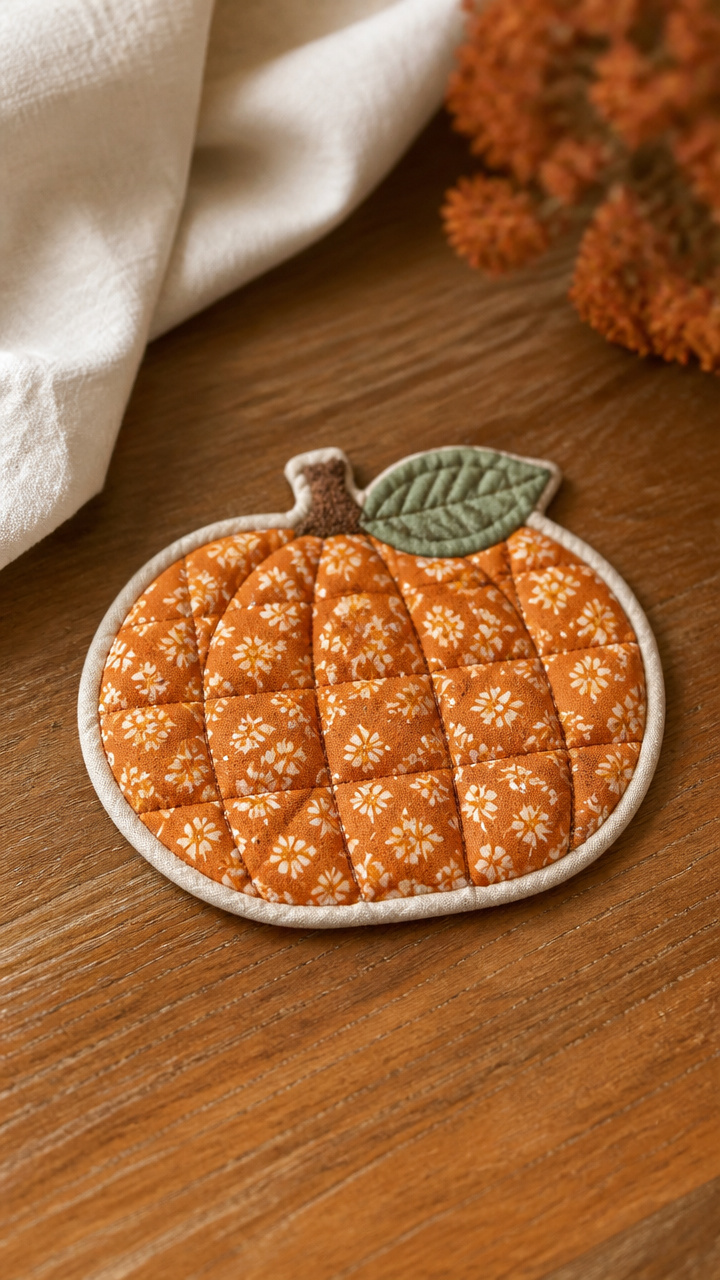
Three-layer cotton sandwiches with hand-quilting form sturdy mini pumpkins. Each has subtle texture and lies flat on surfaces.
Materials Needed
- Cotton fabric in orange, 5 inches square
- Muslin backing, same size
- Batting square, same size
- Embroidery thread in brown
- Hand-sewing needle
- Straight pins
How to Make It
- Stack the cotton, batting, and muslin together and pin the layers at corners and center.
- Sew concentric circles from the center outward using a backstitch and brown thread.
- Trim the edges evenly and fold under slightly to hide raw edges before securing with tiny stitches.


8. Crocheted Yarn Pumpkins
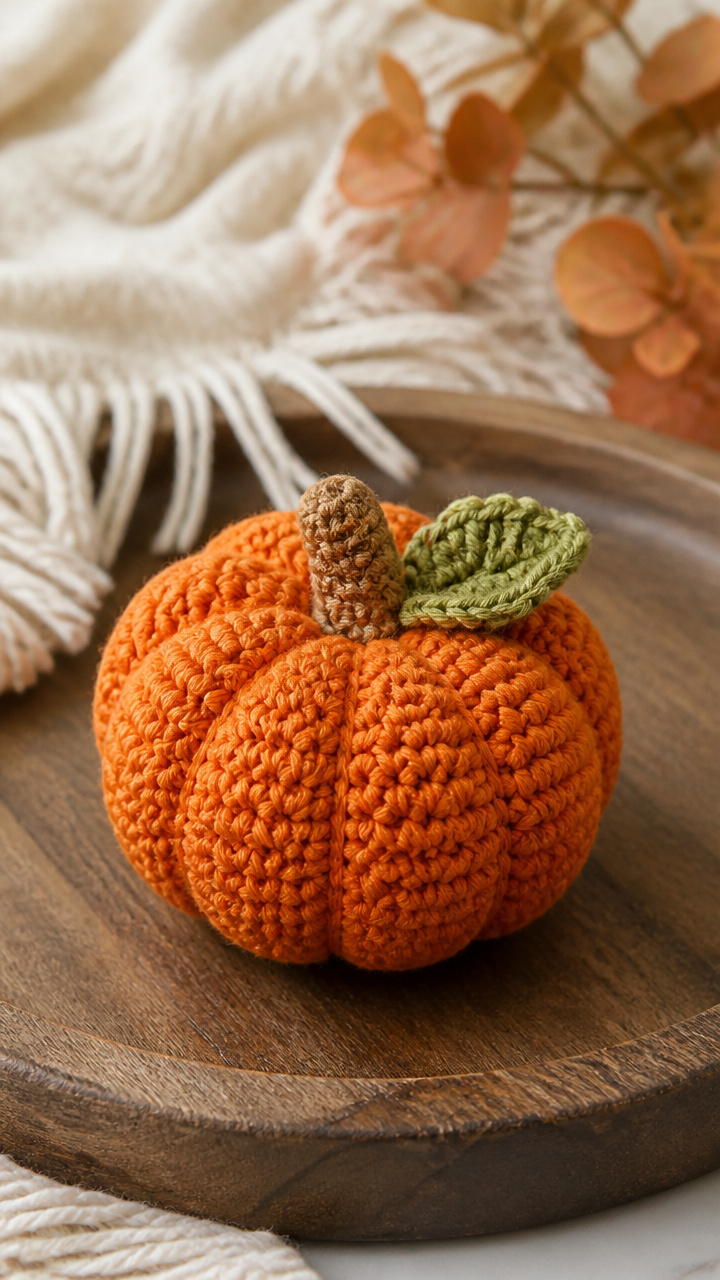
Worsted weight yarn crocheted in continuous rounds makes bouncy little pumpkins. A tight finish hides the stuffing neatly.
Materials Needed
- Orange worsted yarn, 50 yards
- Size H crochet hook
- Poly stuffing, 3 ounces
- Yarn needle
- Blunt scissors
How to Make It
- Chain 2, then work 6 single crochets into the first chain to form a ring and join with a slip stitch.
- Increase by one stitch each round for the next five rounds, working in continuous spiral.
- Stop increasing and work even rounds until the piece measures 3 inches tall, stuff firmly, then decrease evenly to close.


9. Burlap & Lace Accents
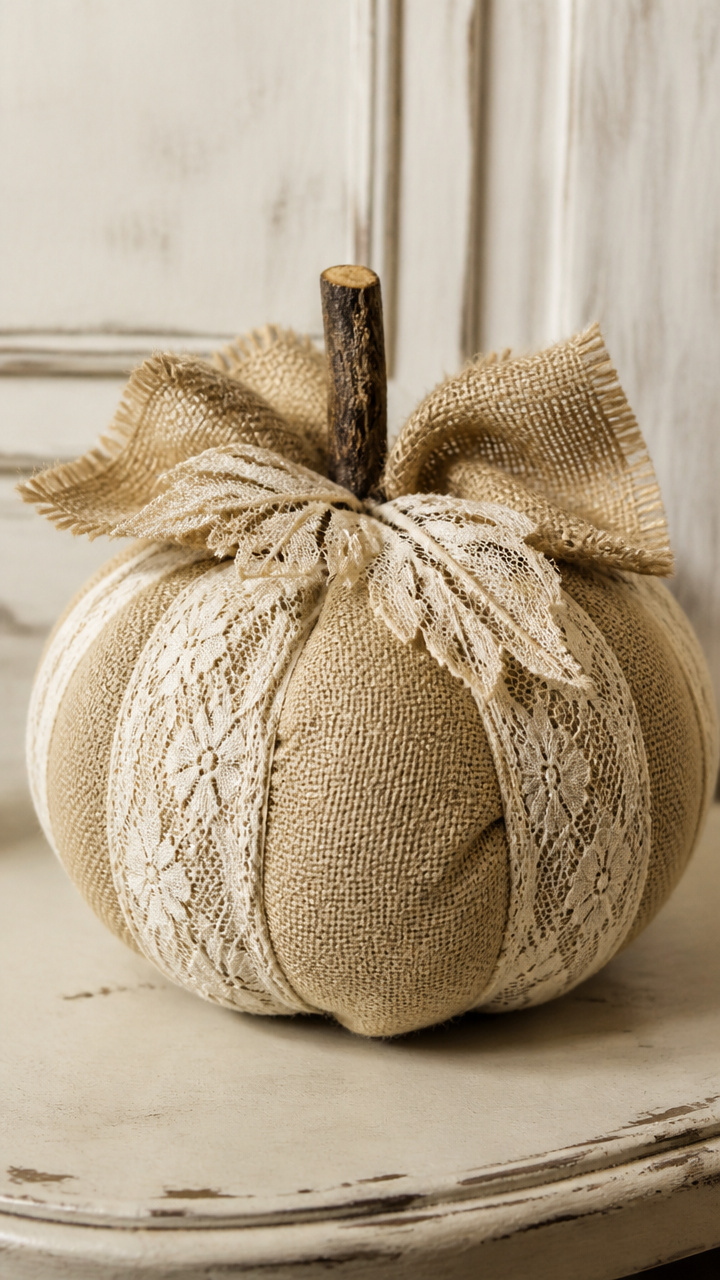
Rough burlap paired with delicate lace creates rustic elegance. These drape beautifully near candles or framed photos.
Materials Needed
- Burlap fabric, 7 inches by 9 inches
- Vintage lace trim, 12 inches long
- Fabric glue
- Small twig, 3 inches
- Scissors
- Cardboard circle template, 2 inches diameter
How to Make It
- Trace two pumpkin shapes from the cardboard template onto the burlap and cut them out.
- Glue the lace trim around the edge of one burlap piece, letting it ripple slightly.
- Glue both sides together, sandwiching the lace edge, then attach the twig upright with fabric glue.


10. Velvet Ribbon Wreaths
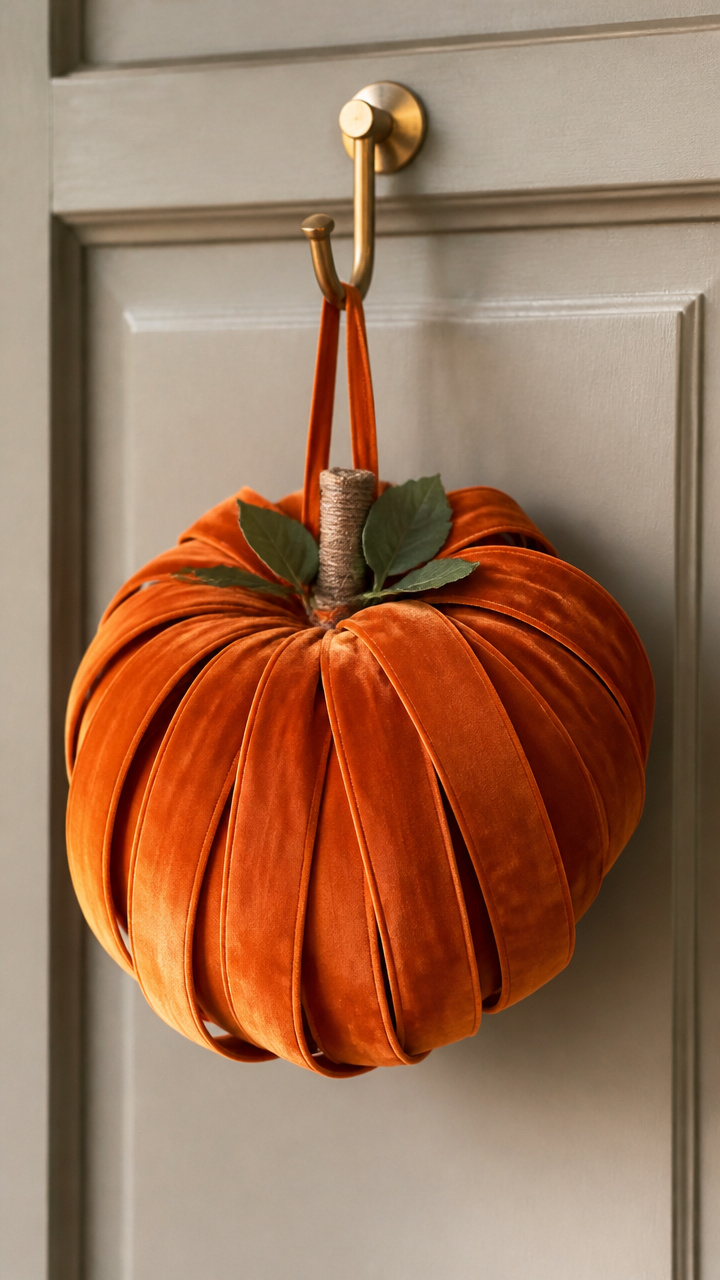
Narrow velvet ribbon looped into petals forms a soft spherical pumpkin. It needs no stuffing and hangs easily on hooks.
Materials Needed
- Orange 1/2 inch wide velvet ribbon, 3 yards
- Plastic embroidery hoop, 4 inches
- Hot glue gun
- Ribbon scissors
How to Make It
- Open the embroidery hoop and lay the ribbon across the inner ring at the top.
- Glue the end down, then wrap the ribbon around the ring, adding a dot of glue every inch.
- Once fully wrapped, close the outer hoop to secure tension and trim excess neatly.


11. Twill Tape Rope Balls
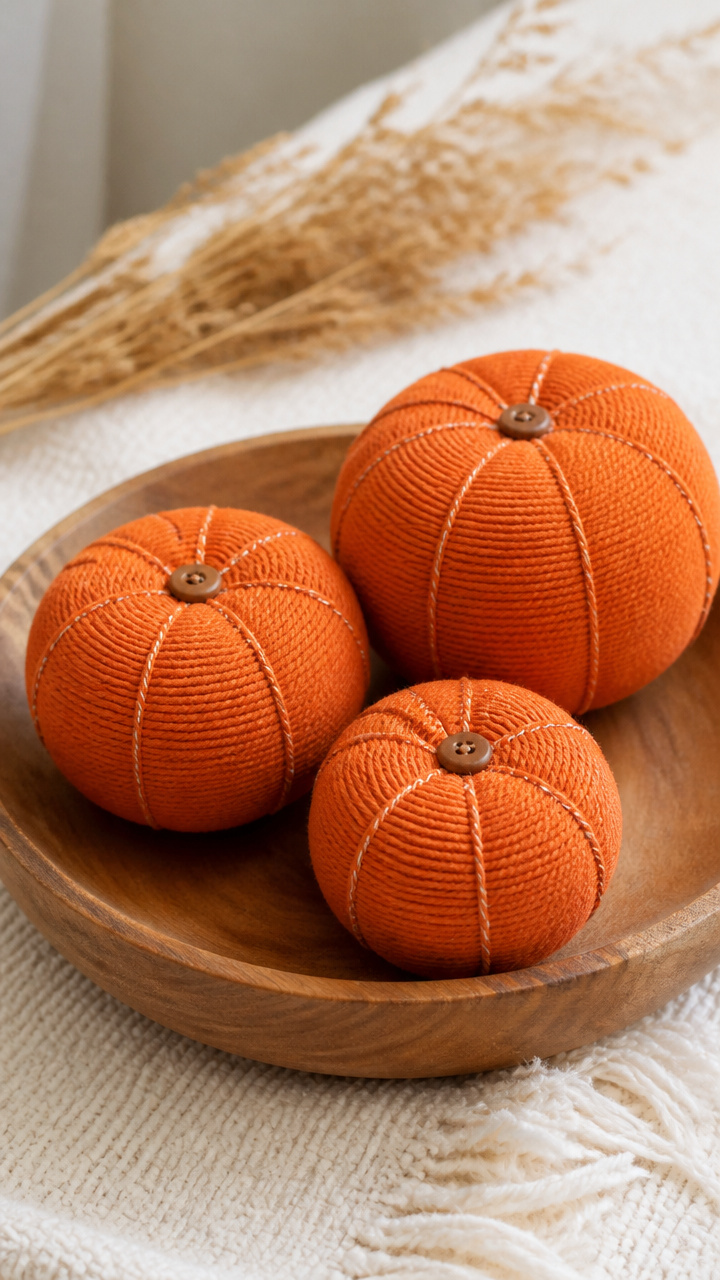
Folded twill tape stitched into coils makes firm little pumpkins. Their clean lines suit modern bookshelves.
Materials Needed
- Orange twill tape, 1 inch wide, 2 yards
- Needle and thread matching tape
- Thimble
- Straight pins
- Small button, 3/8 inch
How to Make It
- Fold the twill tape in half lengthwise and pin it to form a flat coil starting at the center.
- Sew through all layers with a whipstitch, pulling tight after each stitch.
- When the ball reaches desired size, weave in the thread end and glue a small button to the top as a stem.


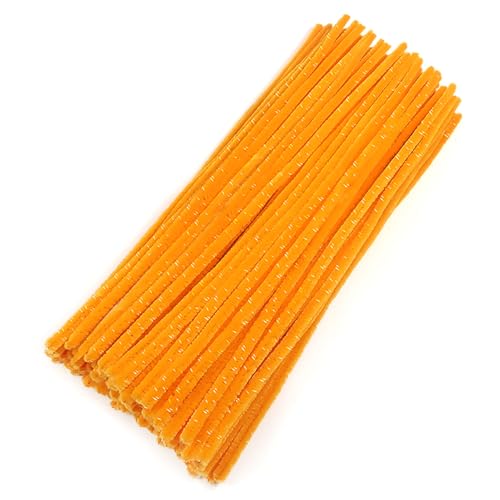
12. Chenille Stem Clusters
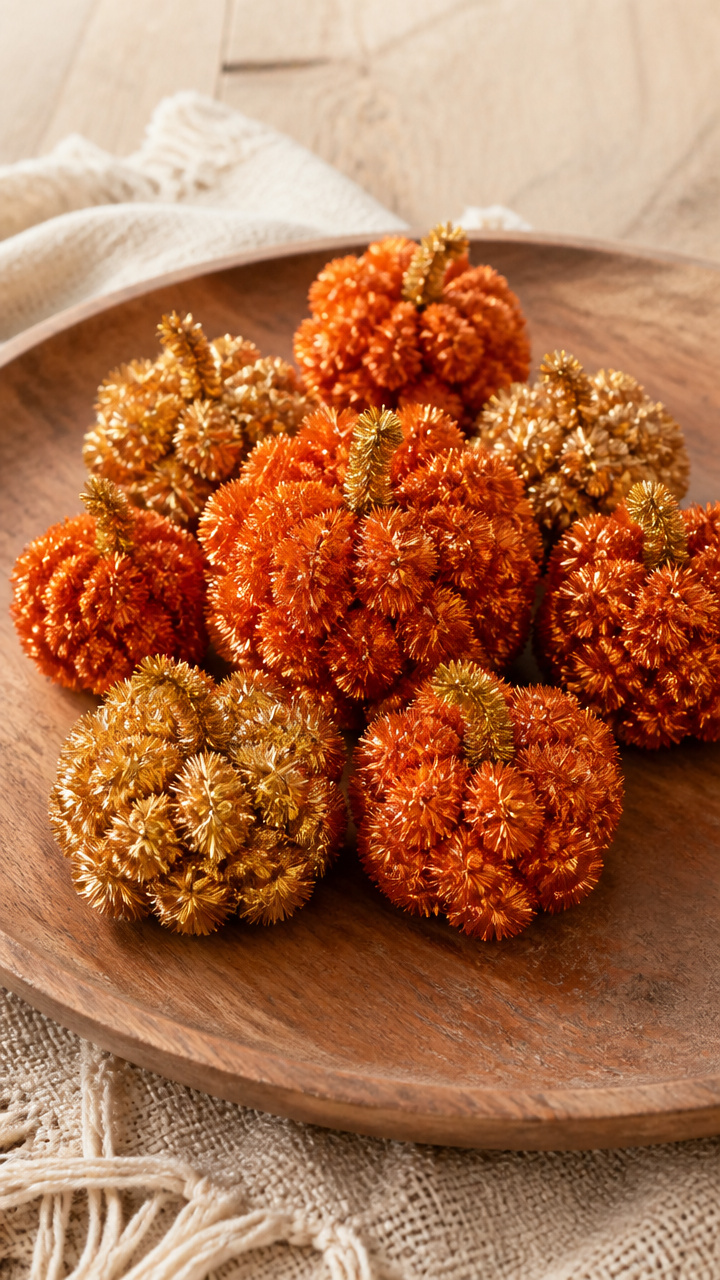
Pipe cleaners twisted into dense spheres mimic pumpkin texture fast. Kids love helping make these quick decorations.
Materials Needed
- Orange chenille stems, 12 count
- Gold chenille stem, 1
- Wire cutter
- Round nose pliers
How to Make It
- Bundle eight orange stems together and twist tightly in the center with gold stem.
- Form each end into short loops using round nose pliers, creating a spiky ball.
- Bend the gold stem upward at the top and shape it into a small curl for the stem.

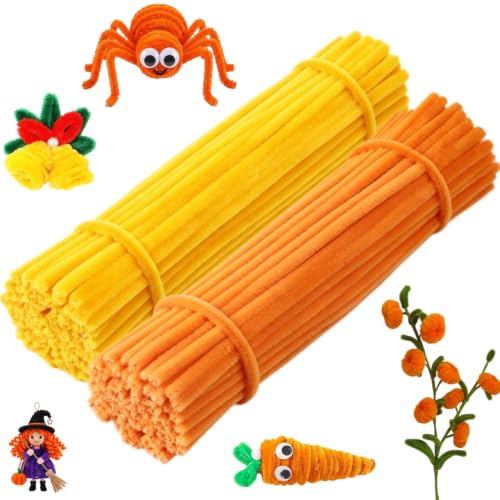
13. Faux Suede Leaf Garlands
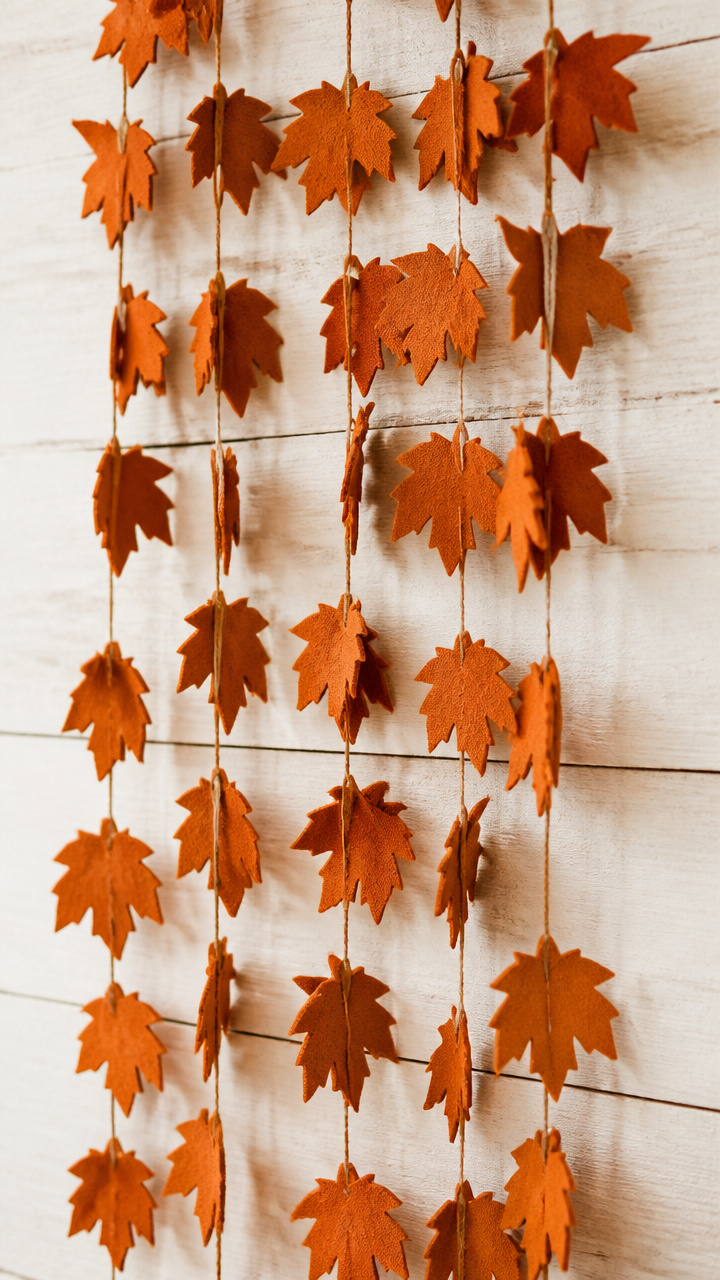
Die-cut suede shapes strung on thread form dangling pumpkin clusters. Hang them above doorways for instant color.
Materials Needed
- Faux suede fabric in orange, 9 inches square
- Leaf-shaped paper template
- Pencil
- Scissors
- Waxed thread, 2 yards
- Tapestry needle
How to Make It
- Trace the leaf template six times onto the suede and cut out each shape carefully.
- Thread the tapestry needle with waxed thread and knot the end.
- String each piece through the pointed tip and space them 2 inches apart along the thread.


14. Knotted Muslin Sachets
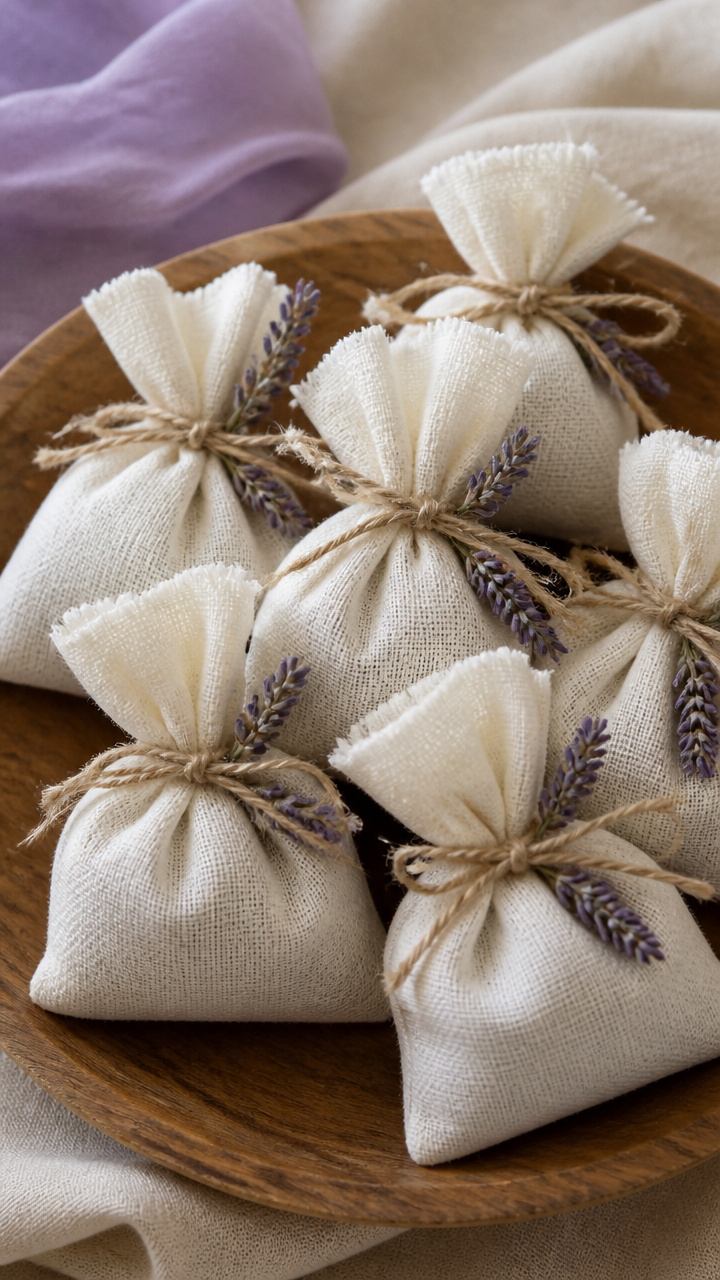
Plain muslin tied into knots holds dried lavender inside. These smell wonderful tucked into drawers or baskets.
Materials Needed
- White muslin fabric, 6 inches by 6 inches
- Dried lavender buds, 1 tablespoon
- Twine, 12 inches
- Small funnel
- Scissors
How to Make It
- Place the muslin square on a flat surface and pour lavender into the center using the funnel.
- Gather the edges together and twist once to close the top.
- Wrap twine around the neck twice and knot it securely to hold the bundle closed.


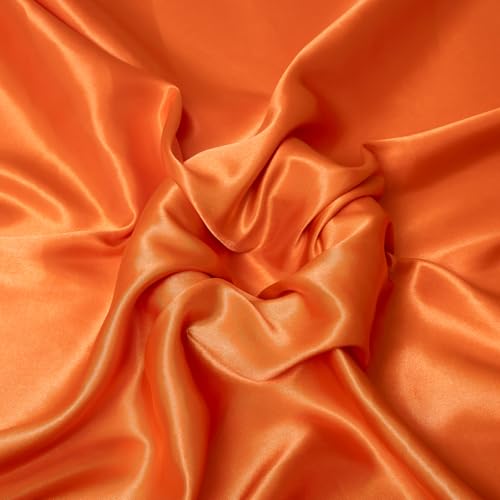
15. Silk Charmeuse Drops
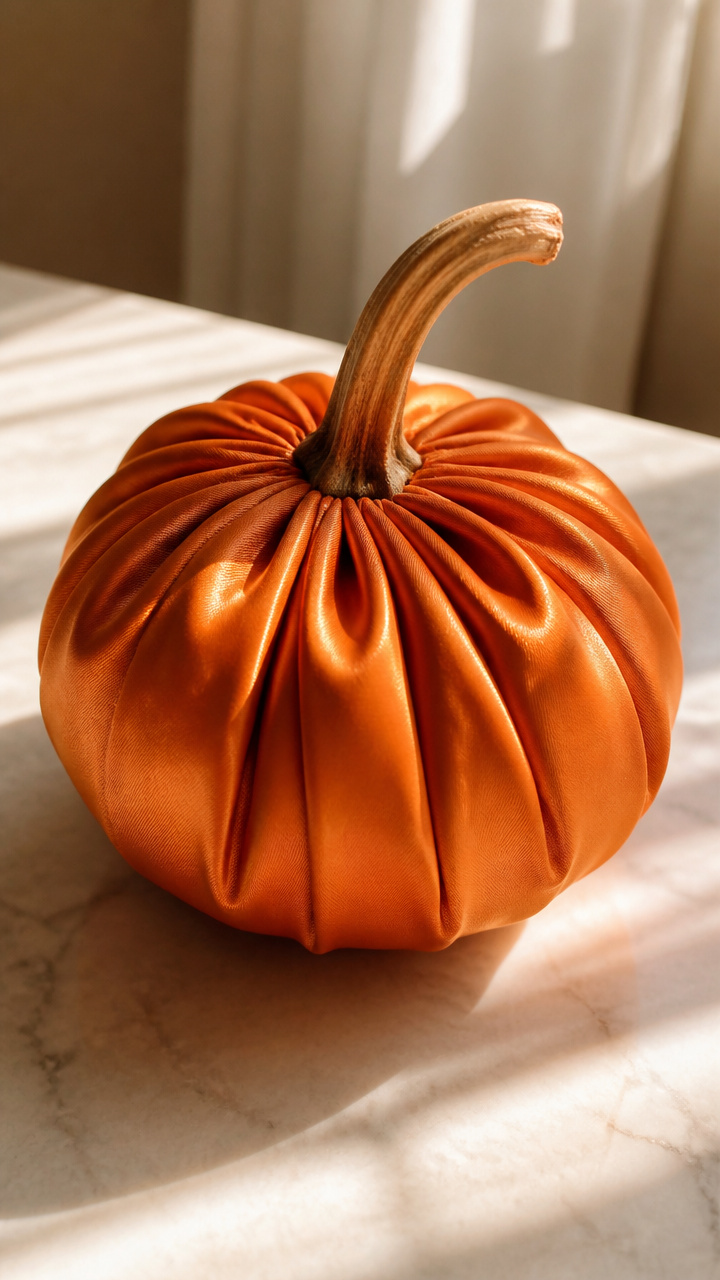
Shiny silk scraps gathered at the top hang like teardrop pumpkins. Light catches their folds beautifully in sunlit rooms.
Materials Needed
- Orange silk charmeuse, 9 inches by 12 inches
- Thin elastic thread, 8 inches
- Hand-sewing needle
- Fine scissors
How to Make It
- Cut the silk into a teardrop shape with smooth edges.
- Thread the elastic through the top 1/4 inch using a hand needle, keeping stitches loose.
- Pull the elastic gently to gather the top and tie the ends securely once gathered.
16. Hemp Cord Wrapped Spheres
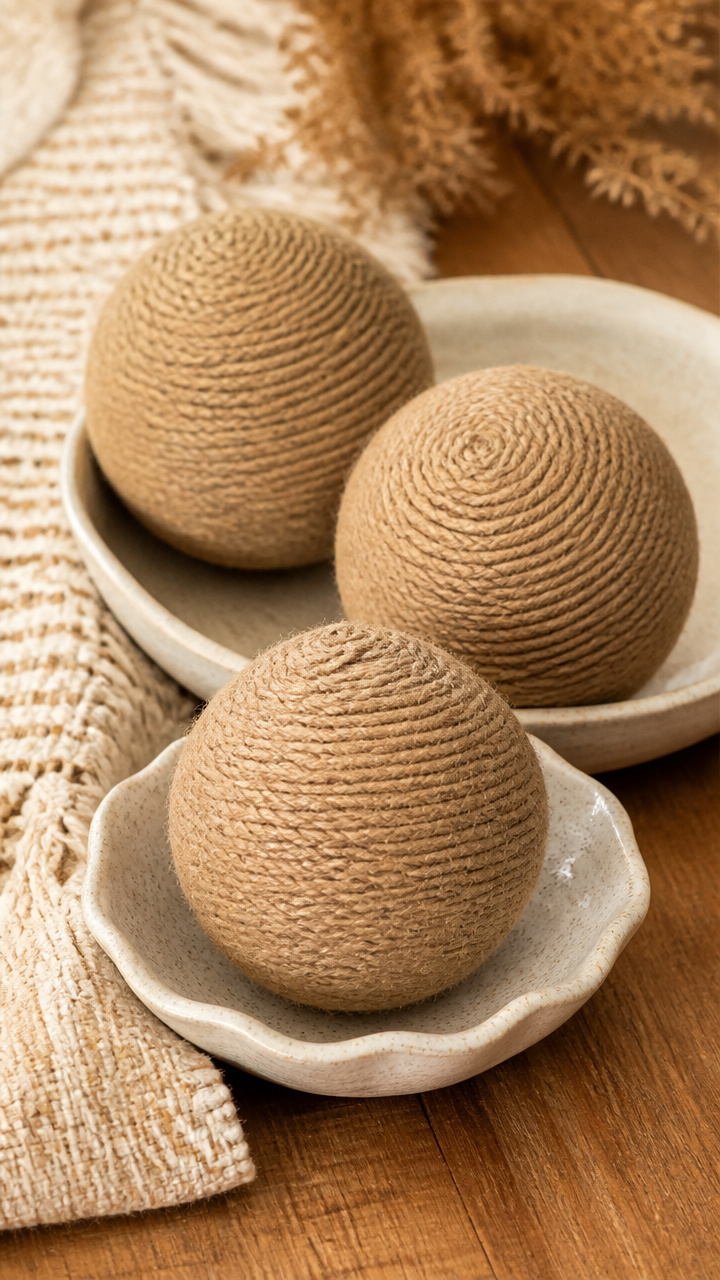
Tightly wound hemp cord forms lightweight pumpkins with earthy texture. Display them in shallow bowls for quiet impact.
Materials Needed
- Hemp cord, 3 mm thick, 15 feet
- Craft glue
- Small balloon, 3 inches
- Paintbrush
- Scissors
How to Make It
- Inflate the balloon to the desired size and tie it off.
- Coat 1-foot sections of hemp cord in craft glue using the paintbrush before wrapping.
- Wrap each section around the balloon in random directions until fully covered, then let dry 12 hours before popping the balloon.


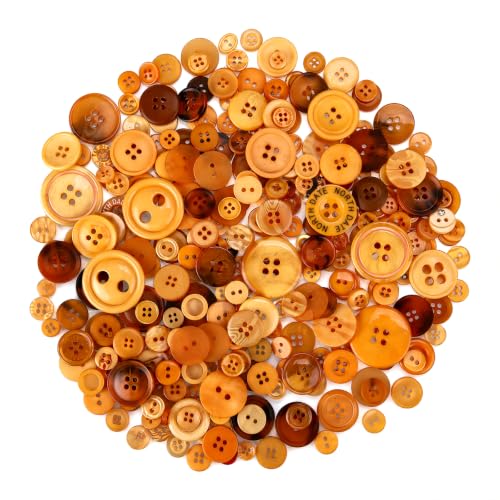
17. Felt Button Clusters
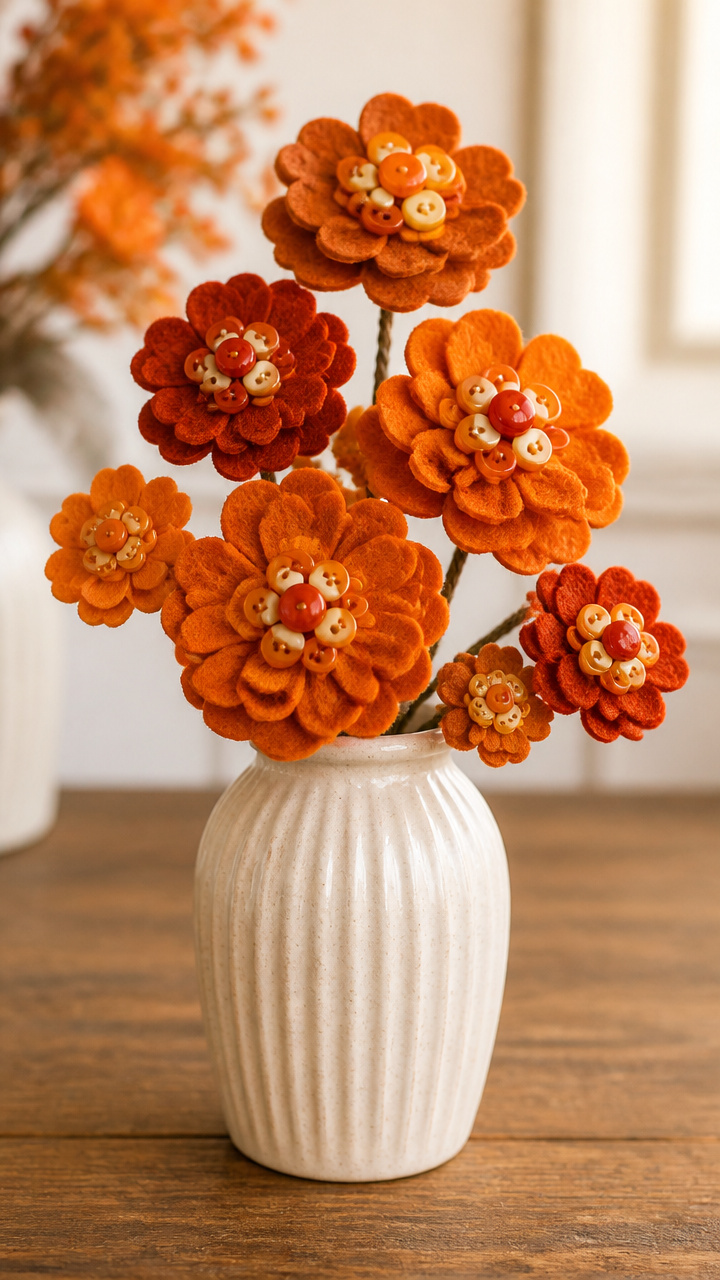
Assorted orange buttons threaded onto wire bloom into three-dimensional flowers. Cluster them in vases for autumn color.
Materials Needed
- Assorted orange buttons, 15 total
- 20-gauge craft wire, 18 inches
- Wire cutters
- Flat-nose pliers
How to Make It
- Slide five buttons onto the wire and bend the wire sharply at the end to lock them in place.
- Twist the wire back down alongside the buttons to form a stem-like support.
- Repeat two more times and twist all three stems together at the base to form a cluster.


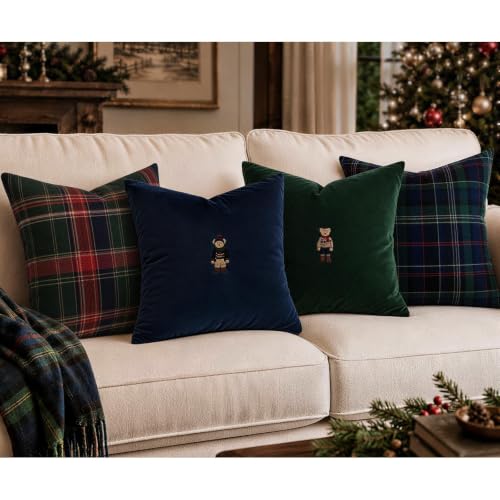
18. Tartan Plaid Pillow Covers
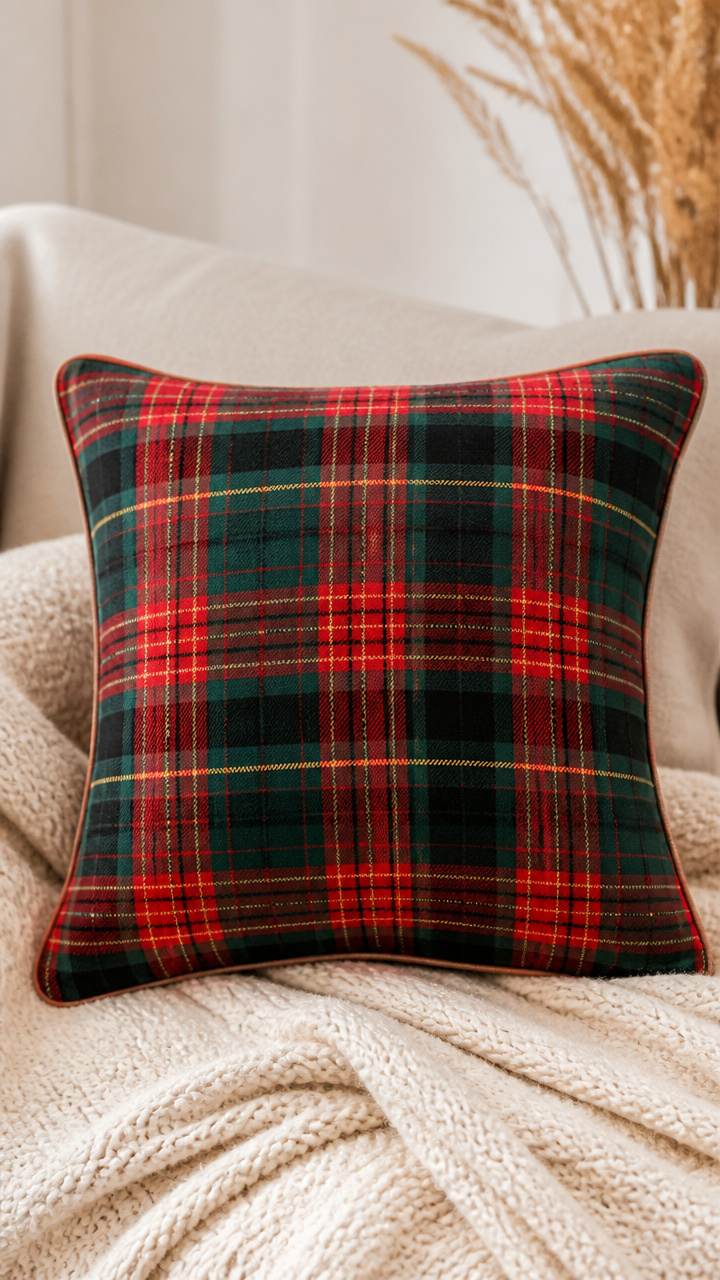
Classic tartan fabric stitched into zippered cases makes cozy accent pillows. Use them on couches or window seats.
Materials Needed
- Tartan cotton fabric, 12 inches by 12 inches
- Coil zipper, 10 inches, orange
- Sewing machine
- Zipper foot
- Poly insert, 11 inches cube
How to Make It
- Cut two identical squares from the tartan fabric.
- Pin the zipper face down to the right side of one square and sew using the zipper foot.
- Attach the second square the same way, then flip and close the zipper before inserting the pillow form.


19. Sheared Chenille Stems
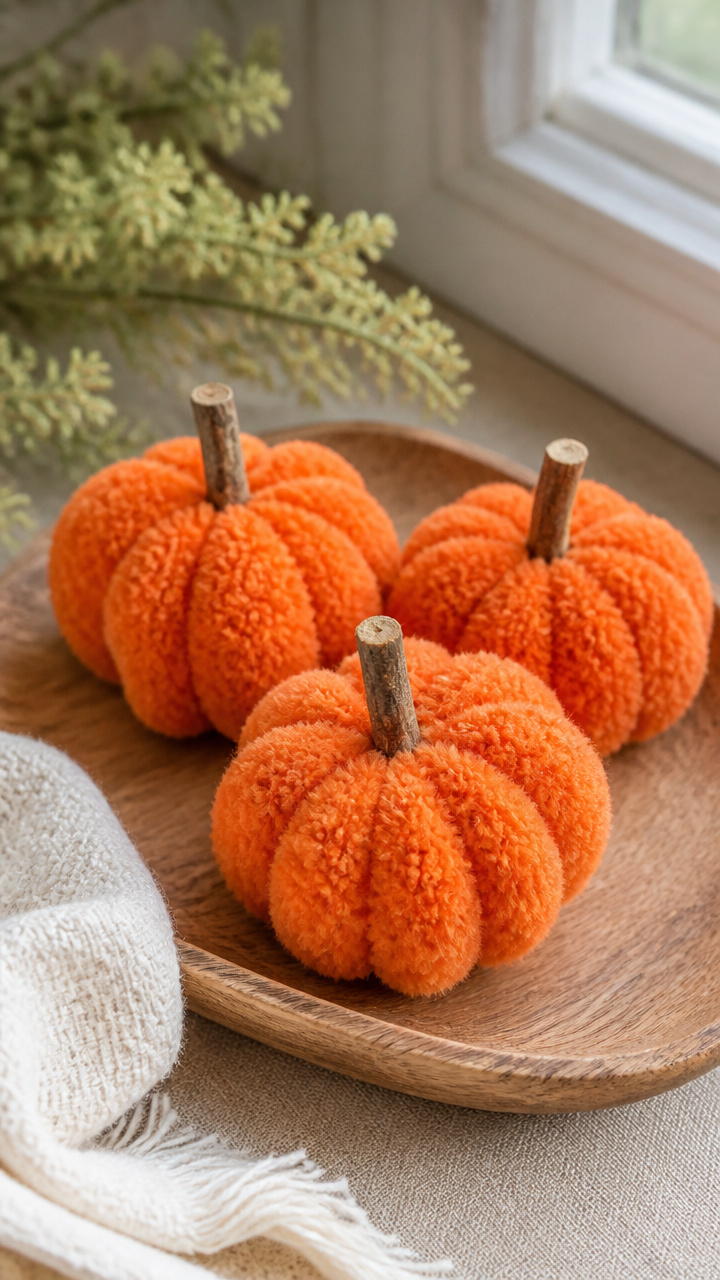
Fluffy orange pipe cleaners clipped short form fuzzy round pumpkins. They’re simple enough for young crafters to help.
Materials Needed
- Orange chenille stems, 8 count
- Hair clipper with guard set to 1/4 inch
- Rubber band
- Small twig, 2 inches
How to Make It
- Twist six stems together at the center to form a ball shape.
- Use the hair clippers to shear the outer fuzz evenly across all stems.
- Secure the center twist with a rubber band and press a small twig into the top as a stem.


20. Patchwork Burlap Faces
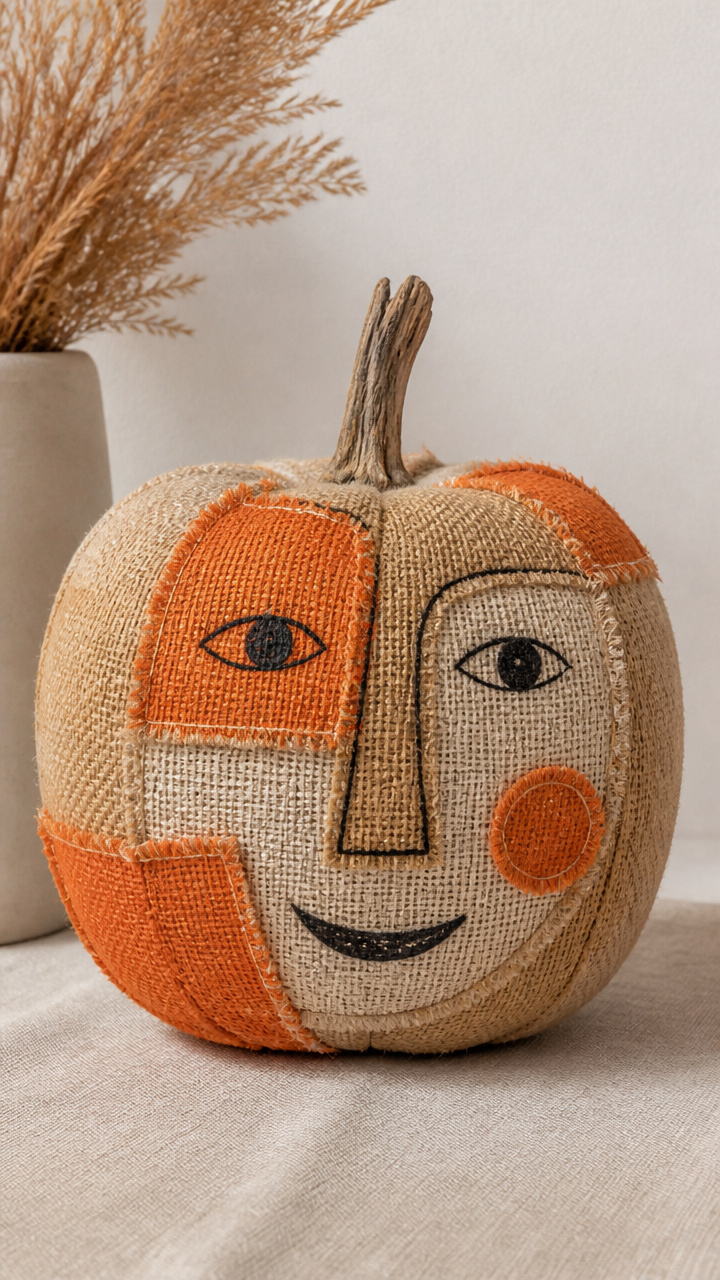
Irregular burlap patches stitched together show off frayed edges. Add simple faces with marker for garden-themed fun.
Materials Needed
- Burlap scraps in tan and orange, 5 pieces
- Fabric scissors
- Embroidery needle
- Black embroidery floss
- Fine-tip permanent marker
How to Make It
- Cut each scrap into uneven pumpkin-like shapes and layer them randomly.
- Sew through all layers with a blanket stitch using black floss to bind edges.
- Draw eyes and a mouth with the permanent marker directly on the top patch.


Each of these ideas invites your hands to move and your heart to settle into the season. Pick one that calls to you and start with what you have nearby.