20 Wooden Pumpkin Crafts

Autumn light glows a little brighter when it catches the grain of a handmade wooden pumpkin. These small carvings, paintbrush strokes, and carefully joined pieces bring warmth to shelves, mantels, and doorways.
Each craft here uses wood in a different way, from solid blocks to thin slices, with tools you likely already own. You’ll find carving, painting, stacking, and assembling—every project a chance to make something real with your hands.
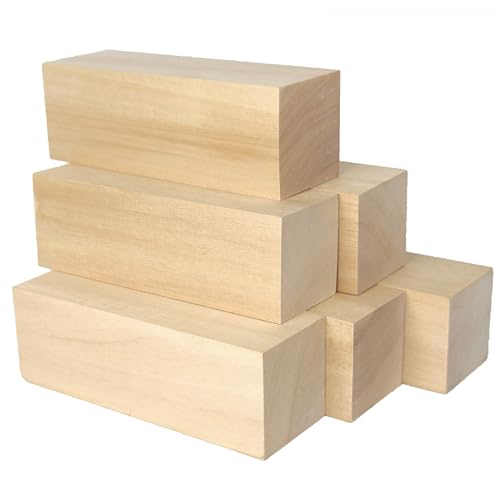
1. Carved Basswood Jack-O'-Lantern
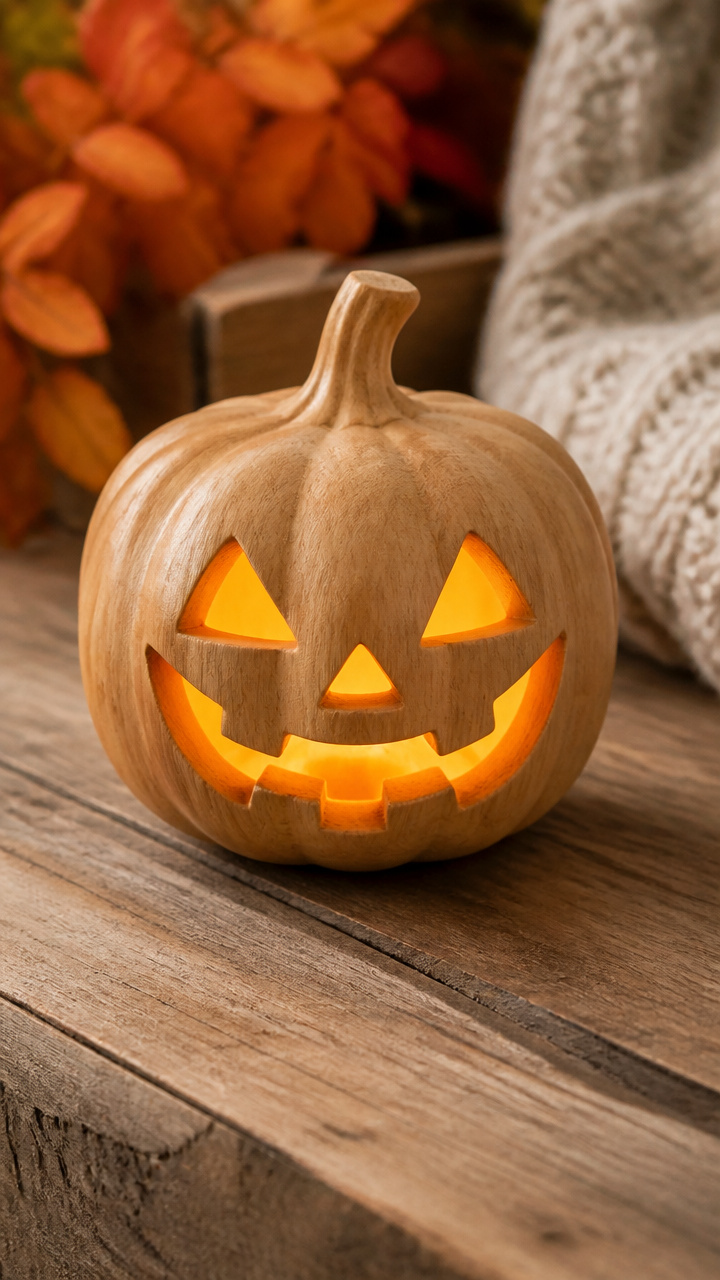
Smooth basswood takes fine knife cuts to form a classic grinning pumpkin face. This handheld decoration casts playful shadows when lit from within.
Materials Needed
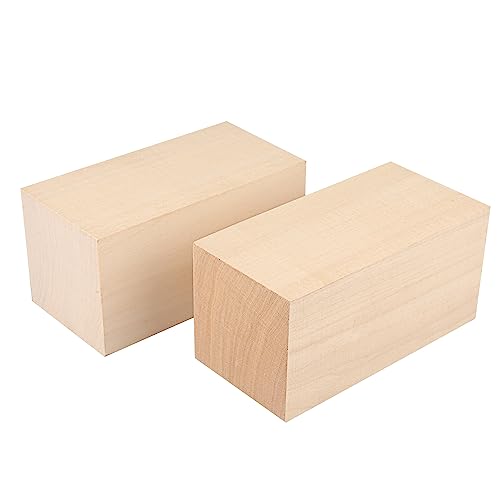
- 6-inch basswood block, 3 inches diameter
- Linoleum cutter with #1 and #3 blades
- Pencil
- Tealight LED candle
- Sandpaper, 220 grit
How to Make It
- Sketch a jack-o'-lantern face on one flat side of the basswood block using the pencil, pressing lightly.
- Use the #1 blade to outline the eyes, nose, and mouth, cutting no deeper than 1/8 inch into the wood.
- Switch to the #3 blade to remove interior wood sections, angling the blade slightly to create shadow depth.
- Smooth all cut edges with sandpaper, then place the LED candle inside for soft evening glow.

2. Maple Slice Stacked Pumpkin
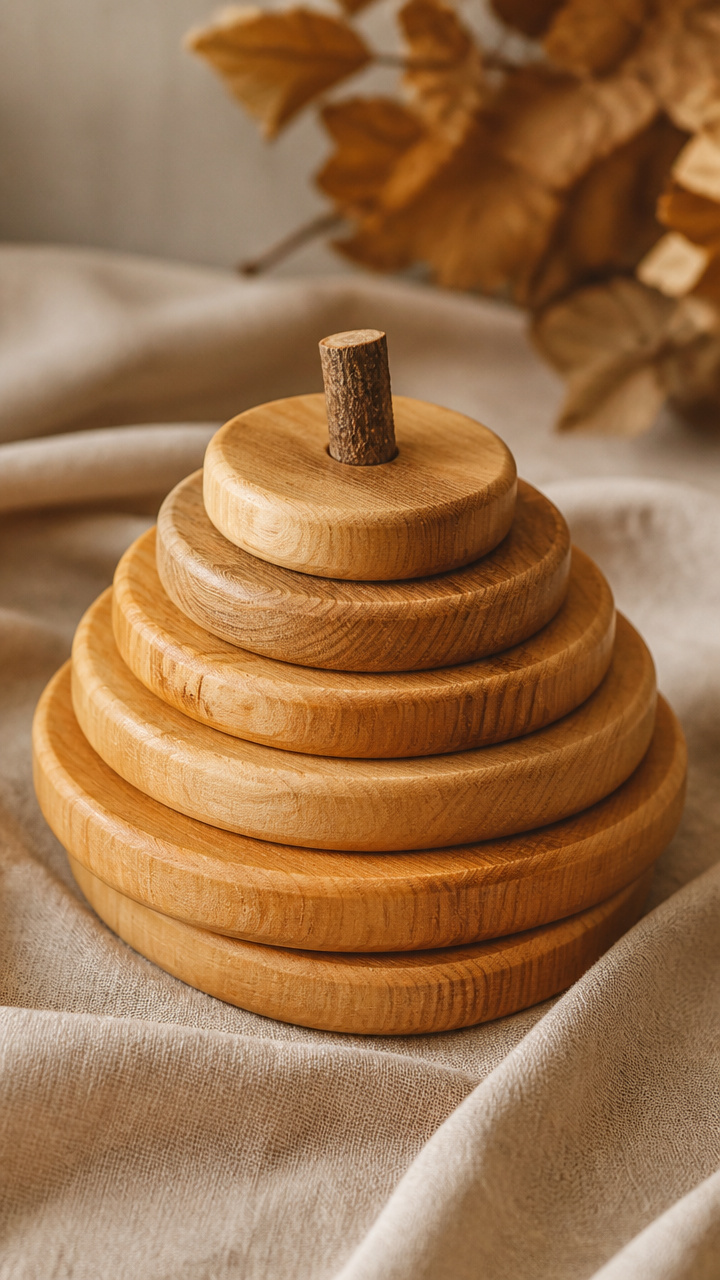
Natural maple rounds stack into a rustic pumpkin shape, revealing concentric tree rings that mimic grooves. No carving needed—just glue and patience.
Materials Needed
- Five maple wood slices, 2 inches thick, diameters ranging from 3 to 5 inches
- Wood glue
- Clamp band
- Fine steel wool
- Beeswax polish
How to Make It
- Arrange the maple slices from largest to smallest in a vertical stack to form a rounded pumpkin shape.
- Apply a thin layer of wood glue between each slice, then compress the stack with the clamp band for 2 hours.
- Once dry, remove the clamp and smooth rough areas with steel wool in circular motions.
- Rub beeswax polish over the entire surface to deepen the wood tone and protect the finish.


3. Whittled Cedar Ghost Pumpkin
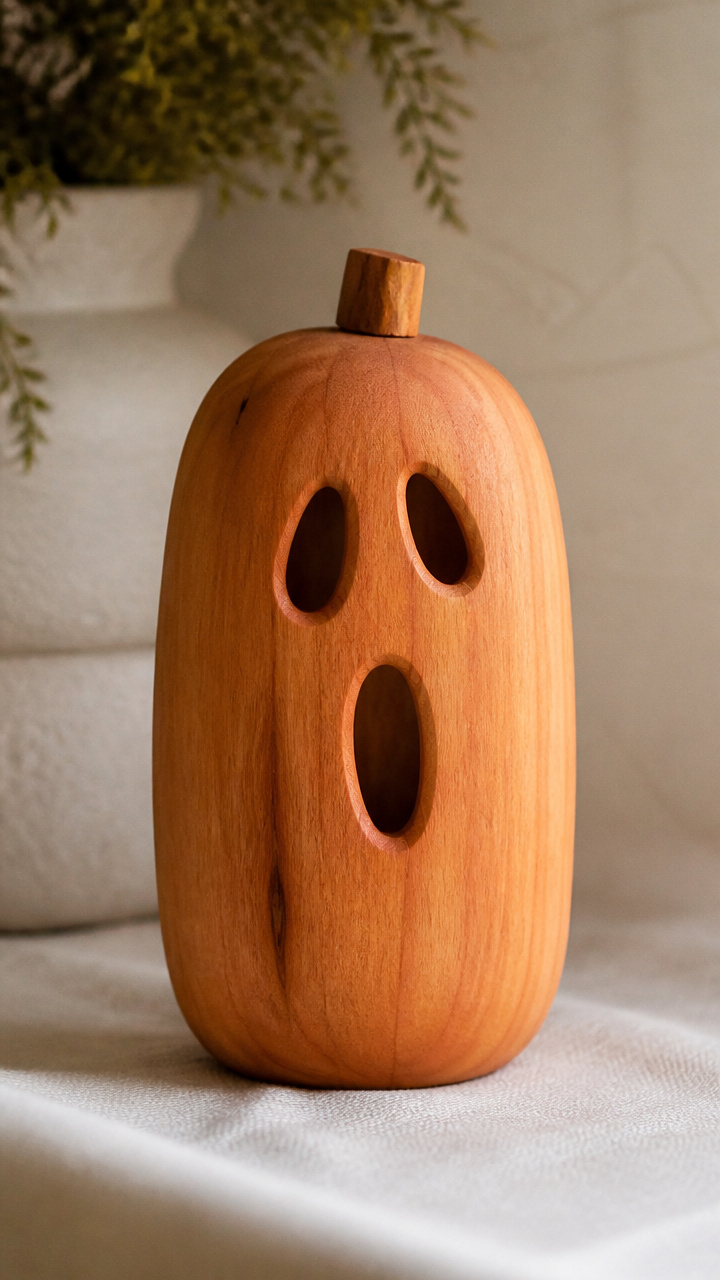
Soft cedar shaves easily into a smooth oval with subtle pumpkin curves and a ghostly carved face. It smells like autumn air when worked.
Materials Needed
- Cedar block, 5 inches tall, 4 inches wide
- Fixed-blade whittling knife
- Ruler
- Linseed oil
- Soft cloth
How to Make It
- Mark a vertical center line on the cedar block, then sketch gentle pumpkin curves around it with a pencil.
- Begin shaving wood from the outer edges using short, controlled strokes toward you, following the curve lines.
- Carve shallow eye and mouth shapes with the knife tip, keeping features minimal for a spectral look.
- Wipe the finished piece with linseed oil using the cloth, let sit 10 minutes, then buff to a soft shine.


4. Pine Cone Base Pumpkin
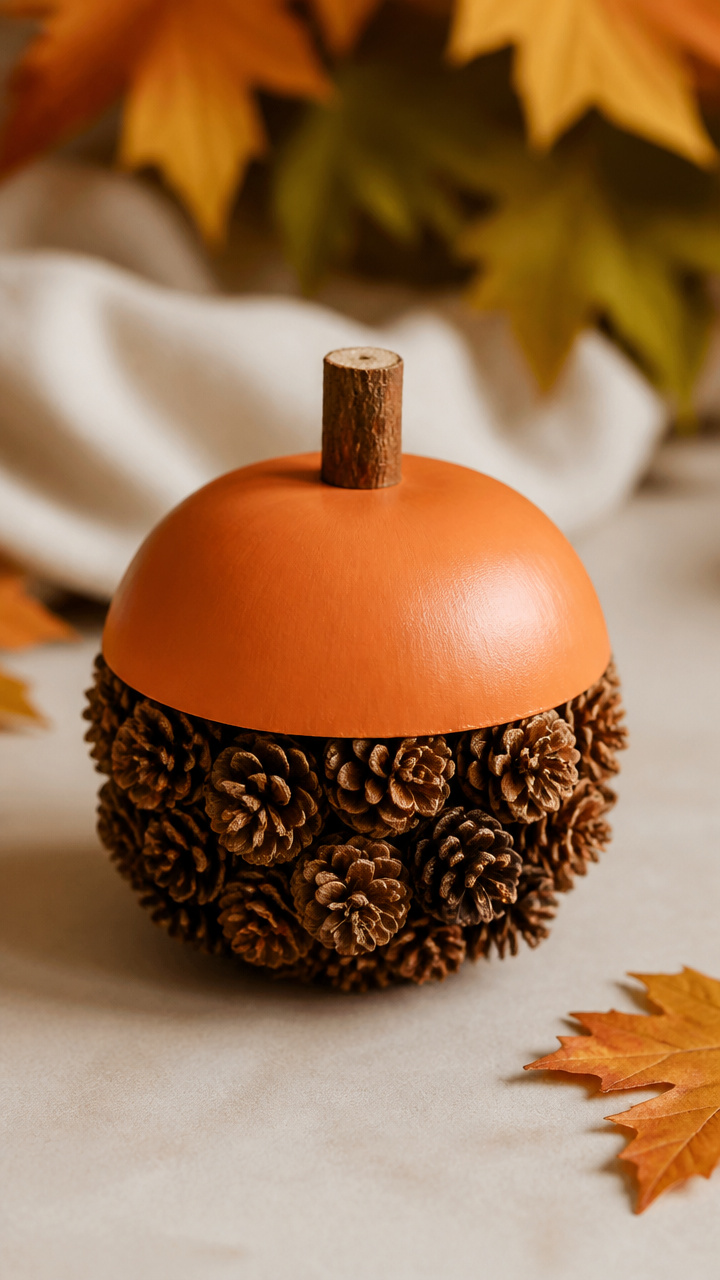
A cluster of small pine cones forms a textured base for a smooth wooden top, creating a whimsical hybrid decoration.
Materials Needed
- One 3-inch unfinished wood hemisphere
- Eight small dried pine cones, 1 to 1.5 inches tall
- Hot glue gun
- Brown craft paint
- Paintbrush
How to Make It
- Arrange the pine cones around the flat edge of the hemisphere, tips pointing outward and downward.
- Glue each pine cone in place with the hot glue gun, holding for 10 seconds until set.
- Paint the exposed wood cap with two thin coats of brown craft paint, letting it dry 20 minutes between coats.
- Let the full piece cure for 1 hour before displaying on a windowsill or tray.


5. Laser-Cut Birch Shadow Box
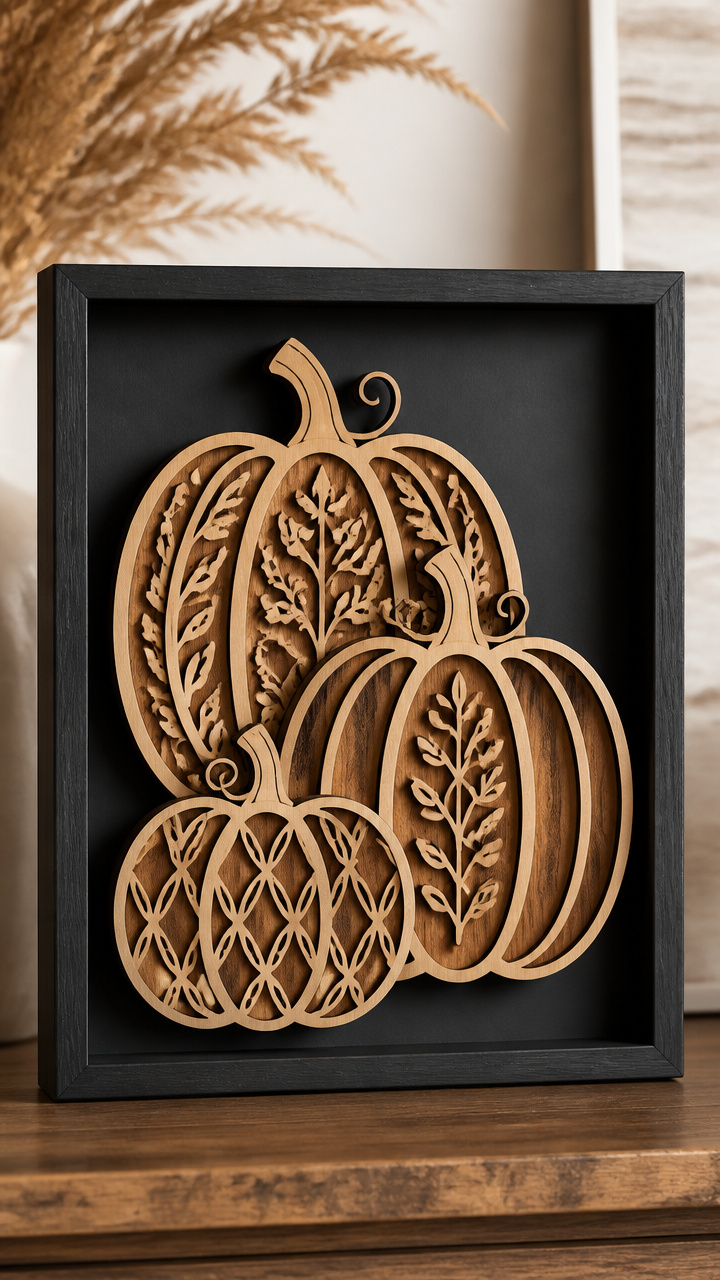
Precision-cut birch layers build a 3D pumpkin scene that casts intricate silhouettes on the wall behind it.
Materials Needed
- Three laser-cut birch plywood sheets, 0.125 inch thick, pre-designed with pumpkin layers
- Black foam core board, 8×10 inches
- Acrylic mounting squares, 1 inch, 4 count
- Craft knife
- T-square ruler
How to Make It
- Align the three birch layers in ascending size order, placing the largest at the back and smallest in front.
- Trim the black foam core to fit exactly behind the rear layer using the craft knife and t-square.
- Attach each birch layer to the one behind it using one mounting square at the stem point, spacing them 1 inch apart.
- Press the rear layer onto the foam core with the remaining square, then hang flat against a light wall.


6. Driftwood Fragment Pumpkin
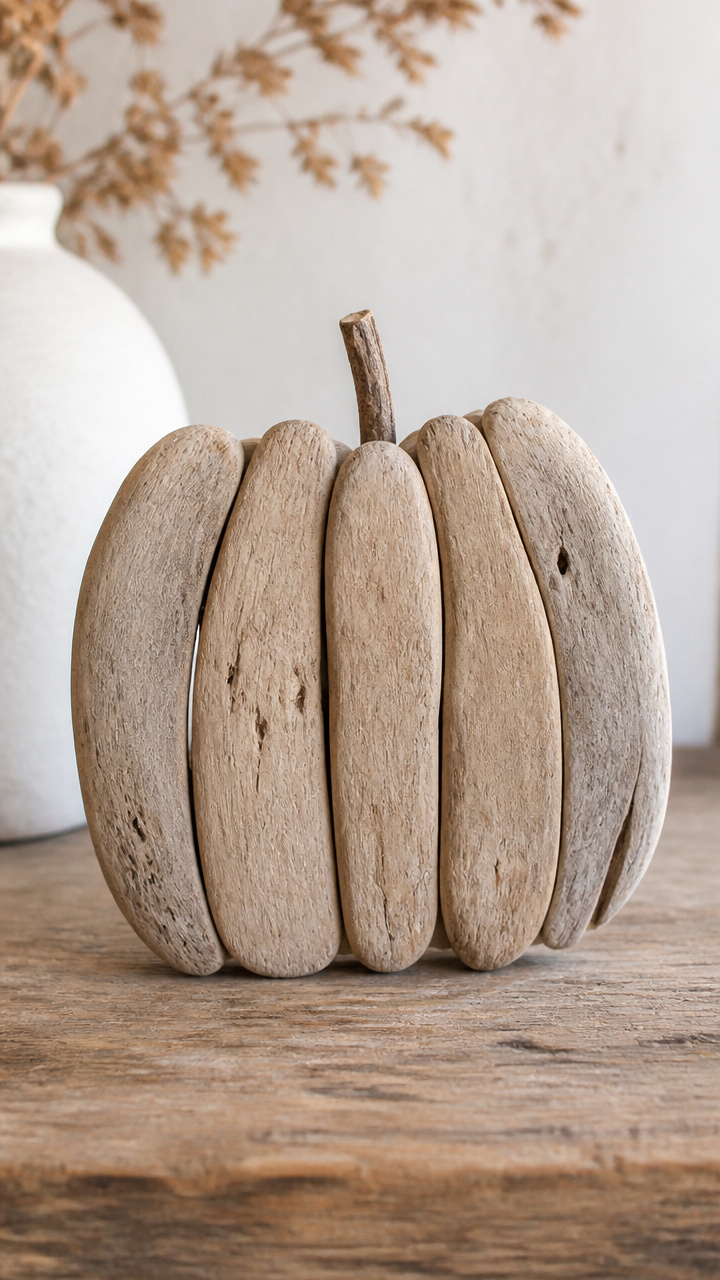
Weathered driftwood shards assemble into an irregular, organic pumpkin with natural sea-smoothed edges.
Materials Needed
- Seven pieces of driftwood, each 2 to 4 inches long
- Epoxy resin, 2-part, 1 ounce
- Disposable mixing cup and stir stick
- Small twig, 4 inches long, for stem
- Gloves
How to Make It
- Lay the driftwood pieces in a radial pattern on a flat surface, forming a rough pumpkin shape.
- Mix the epoxy according to package directions, then apply a dab between each touching end to bind them.
- Hold connecting points for 30 seconds each while the epoxy sets slightly, then position the twig upright at the top as a stem.
- Let the full assembly cure undisturbed for 6 hours before moving.


7. Cherry Wood Inlay Disc
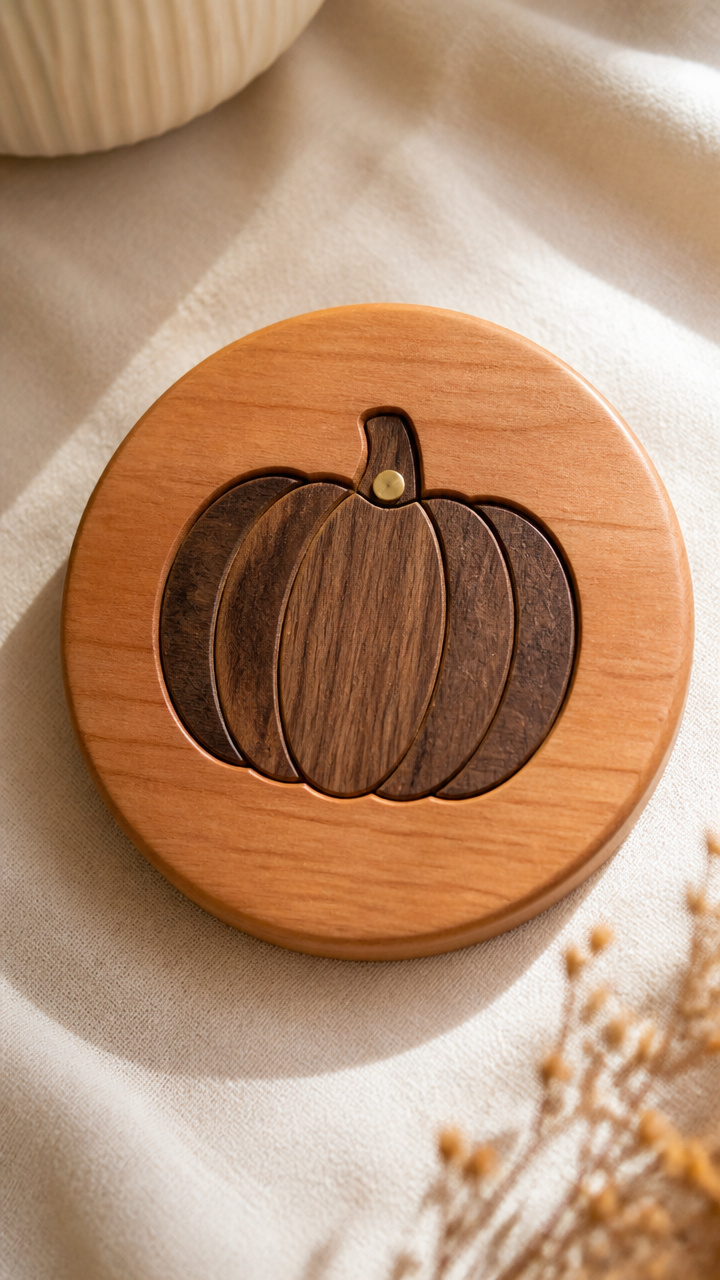
A round cherry disc holds a contrasting walnut pumpkin shape inset flush with the surface, showing off marquetry skill.
Materials Needed
- Cherry wood disc, 5 inches diameter, 1/4 inch thick
- Walnut veneer sheet, 3×3 inches
- Scroll saw
- Contact cement
- Brass inlay pin, 1 inch
How to Make It
- Draw a pumpkin shape on the cherry disc and cut it out slowly with the scroll saw, removing the center piece.
- Trace the removed shape onto the walnut veneer and cut it precisely to fit the void.
- Brush contact cement on both the cherry void and walnut piece, wait 2 minutes, then press firmly into place.
- Tap the brass pin into the top center to act as a stem accent, leaving 1/4 inch exposed.


8. Spalted Maple Bowl Pumpkin
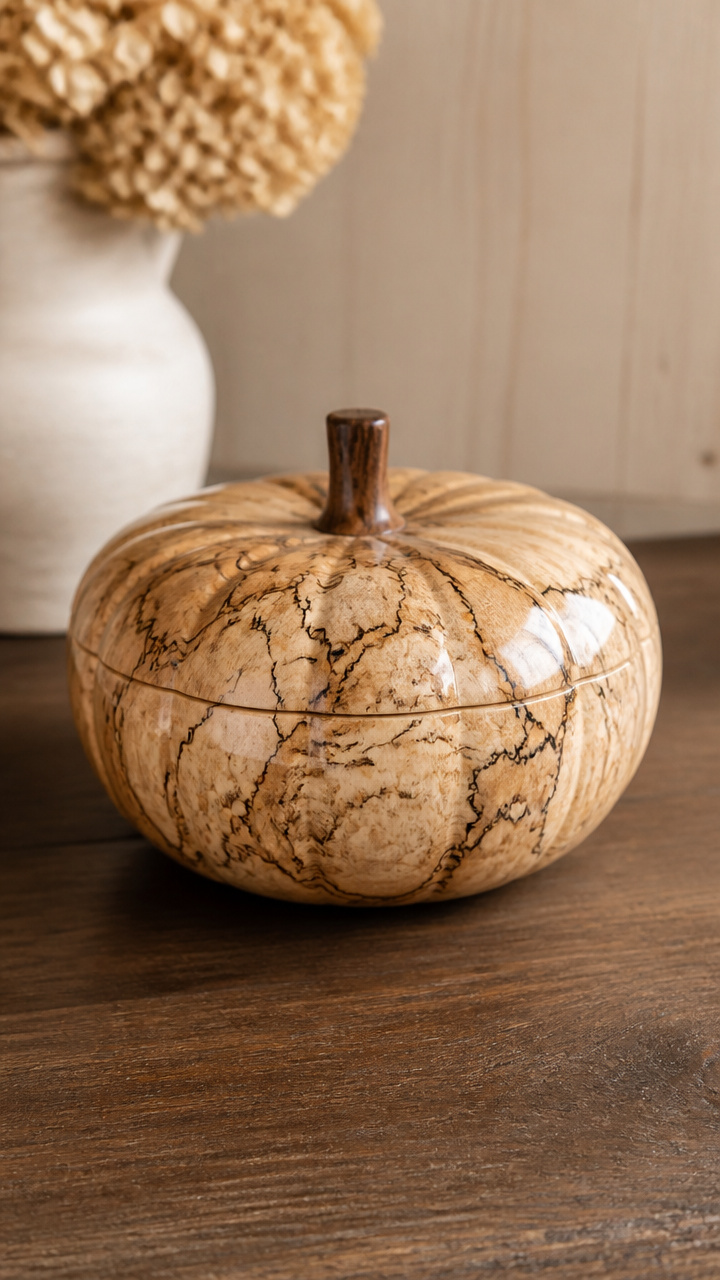
Deeply figured spalted maple bends into a lidded bowl shaped like a plump pumpkin, turned on a lathe.
Materials Needed
- Spalted maple blank, 6 inches diameter, 3 inches thick
- Wood lathe
- Parting tool, 1/8 inch
- Bowl gouge, 1/2 inch
- Friction polish
How to Make It
- Mount the maple blank on the lathe and turn the exterior into a rounded pumpkin form with defined ridges.
- Hollow the interior using the bowl gouge, keeping walls 1/2 inch thick and base flat for stability.
- Cut a lid groove near the rim with the parting tool, then part off the lid and shape its top to match the bowl.
- Apply friction polish with a rag while spinning the bowl slowly for a silky finish.


9. Poplar Cradle Rocker Pumpkin
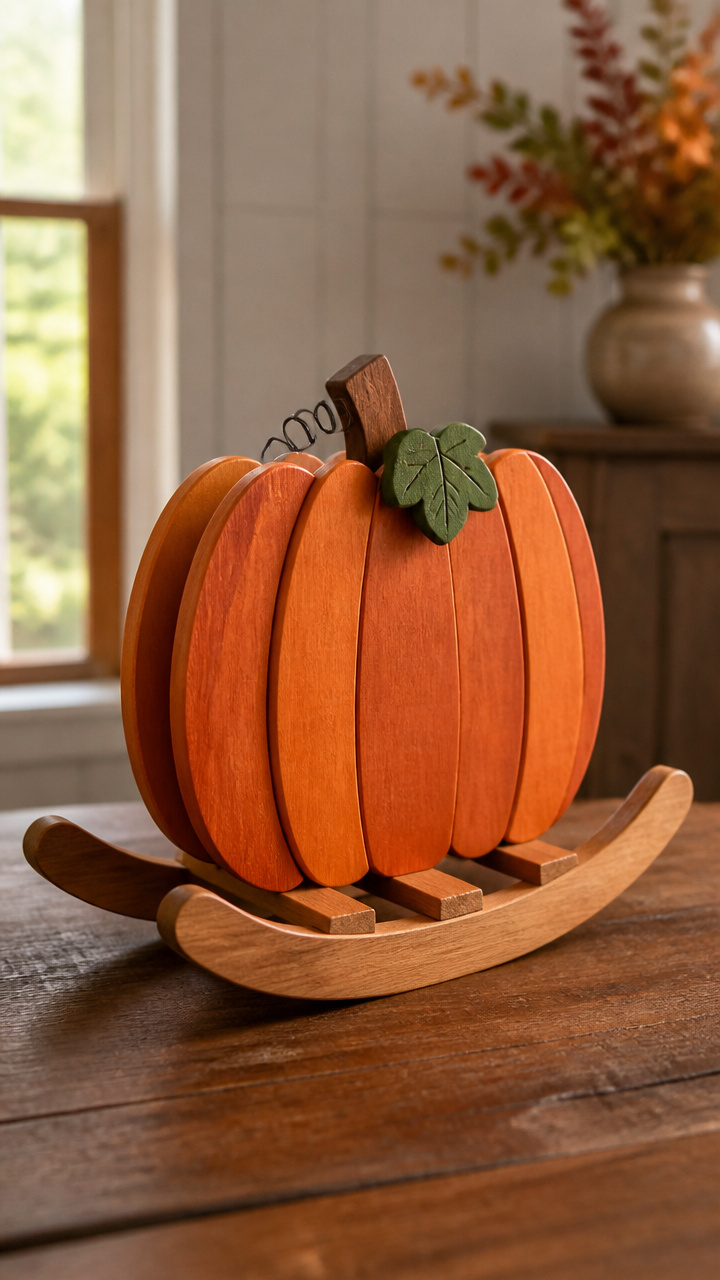
Two curved poplar rockers support a segmented pumpkin body that gently sways when touched.
Materials Needed
- Two poplar rocker pieces, 6 inches long, pre-curved
- Four poplar segments, 2 inches wide, arc-shaped
- Wood screws, 3/4 inch, 8 count
- Drill with 1/8 inch bit
- Orange stain
How to Make It
- Lay the four poplar segments in a circle on a flat surface, joining ends to form a ring.
- Screw each joint together using two screws per seam, drilling pilot holes first to prevent splitting.
- Center the ring on the two rockers and attach with two screws per side, drilled upward through the rocker.
- Apply orange stain evenly with a rag, wait 5 minutes, then wipe off excess and let dry 1 hour.
10. Walnut Hollow Bead Pumpkin
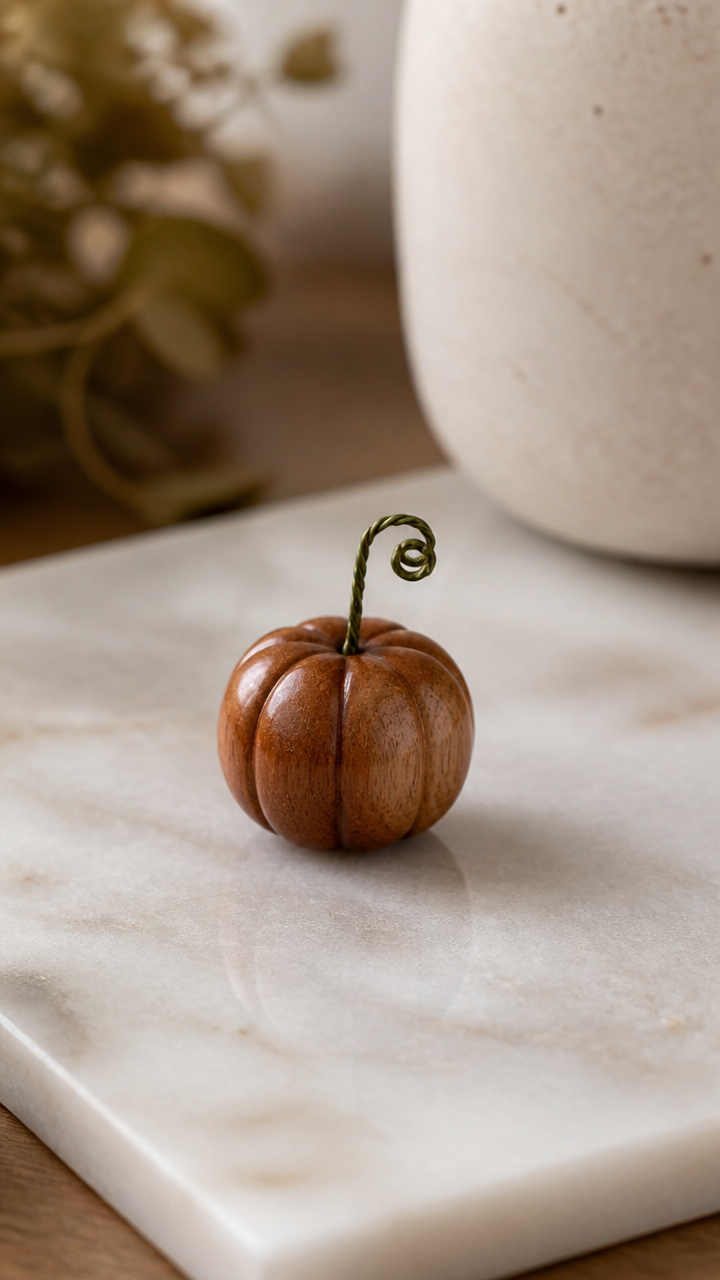
A single walnut bead is hollowed and mounted on a wire stem to become a tiny, polished keepsake.
Materials Needed
- Large walnut bead, 1.5 inches diameter
- Pin vise drill
- 1/16 inch drill bit
- Floral wire, 2 inches, green
- Micro polishing cloth
How to Make It
- Clamp the pin vise securely and drill a 1/4 inch deep hole into the top of the walnut bead.
- Insert the short end of the floral wire into the hole, twisting gently to secure it.
- Bend the upper wire into a small curl to resemble a vine twist.
- Buff the bead with the micro cloth until the surface shines like stone.


11. Birch Ply Geometric Pumpkin
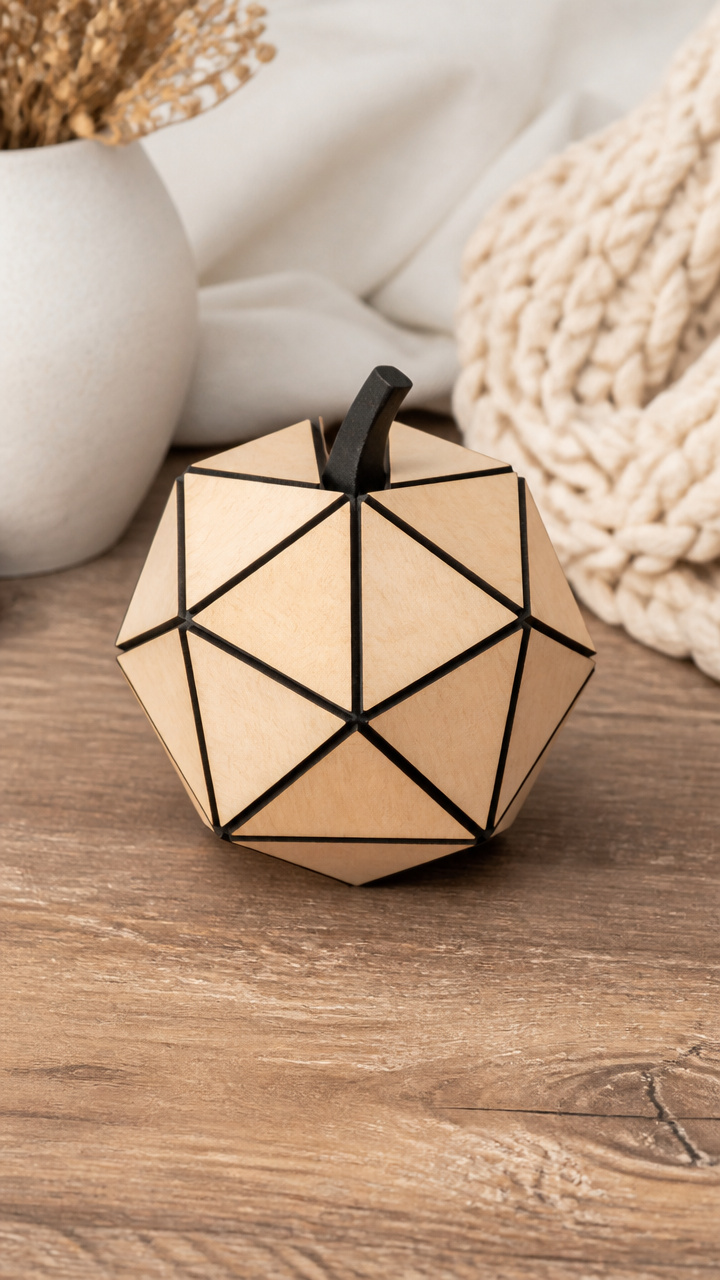
Flat birch triangles assemble into a faceted sphere that looks like a modern take on a jack-o'-lantern.
Materials Needed
- Twelve birch plywood triangles, 3 inches per side, 1/8 inch thick
- Wood glue
- Clamping wrap
- Protractor
- Black acrylic paint
How to Make It
- Arrange five triangles into a pentagon base, gluing edges together and allowing 10 minutes to tack.
- Add a second ring of five more triangles, attaching one to each side of the pentagon, angling upward.
- Place the final two triangles at the top to close the sphere, using clamping wrap to hold all seams tight.
- Once dry, paint the edges black with a small brush to emphasize the geometric lines.


12. Ash Bark Collar Pumpkin
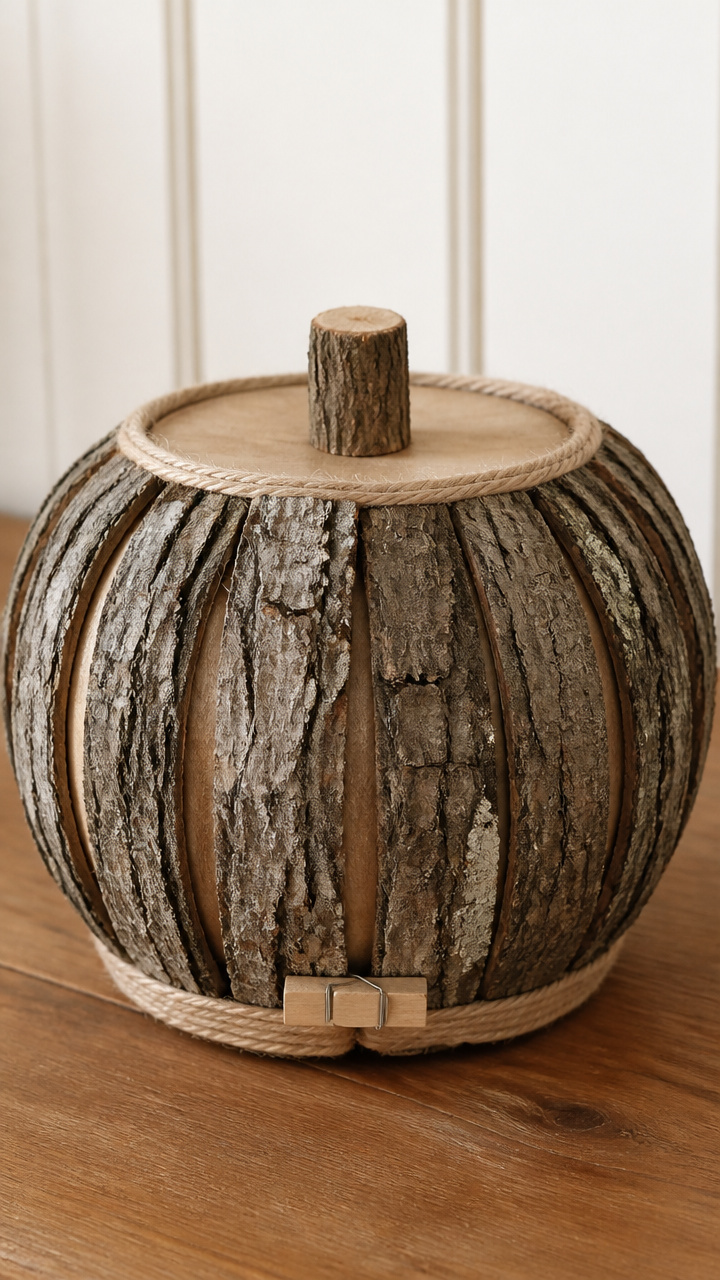
Strips of harvested ash bark wrap around a smooth wooden core, adding wild texture to a simple form.
Materials Needed
- Ash bark strips, 6 inches long, 1 inch wide, 3 count
- Turned ash cylinder, 4 inches tall, 2.5 inches diameter
- Clear-drying craft glue
- Clothespin
- Natural jute thread
How to Make It
- Soak the ash bark strips in warm water for 5 minutes to make them pliable.
- Wrap each strip horizontally around the cylinder, starting at the base and overlapping slightly.
- Clip each end with a clothespin while the glue dries, and tie jute thread around the top as a stem.
- Let dry completely for 3 hours before removing clips.


13. Hickory Nut Cap Mini
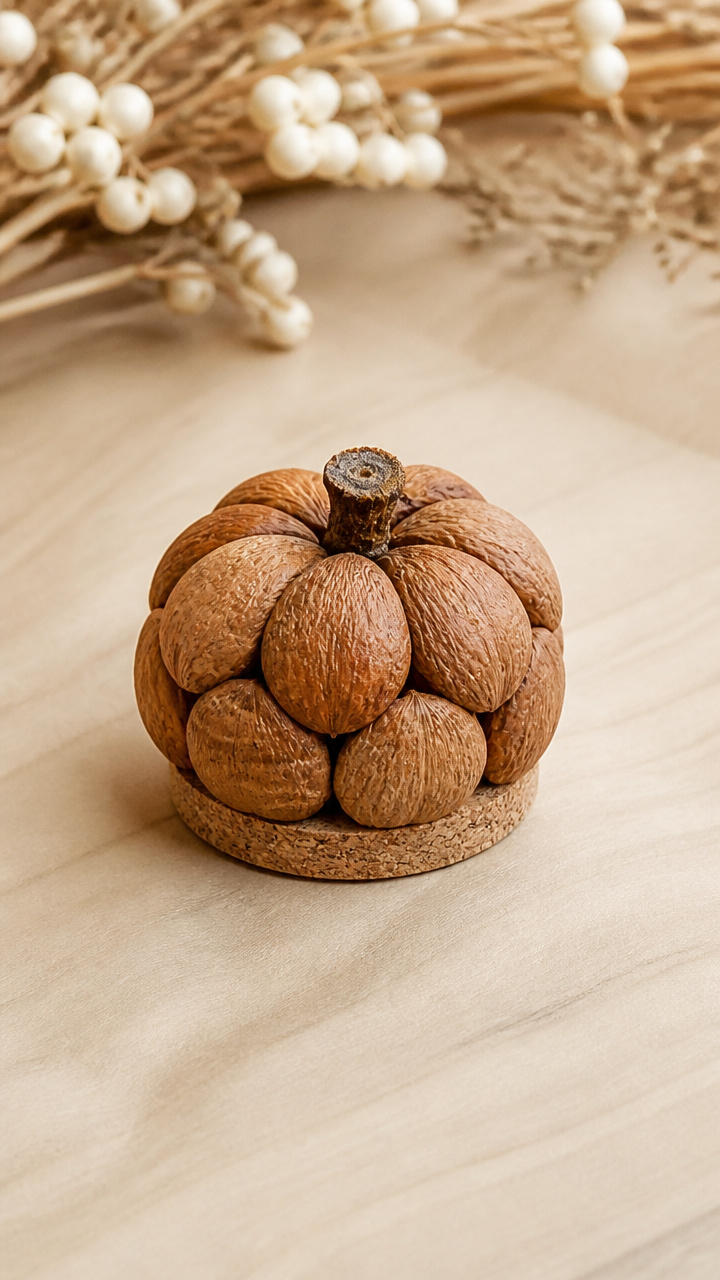
Tiny hickory nut caps are glued together in a dome to form a miniature pumpkin no bigger than a walnut.
Materials Needed
- Twelve hickory nut caps
- White craft glue
- Toothpick
- Magnifying lens
- Small cork base
How to Make It
- Use the toothpick to apply a dot of glue inside the rim of each nut cap.
- Press six caps together in a circle on the cork base, letting the glue set for 15 minutes.
- Add a second layer of five caps, offset from the lower seams, then cap the top with one final piece.
- View under the magnifying lens to check alignment, then leave overnight to fully harden.


14. Padauk Block Glow Pumpkin
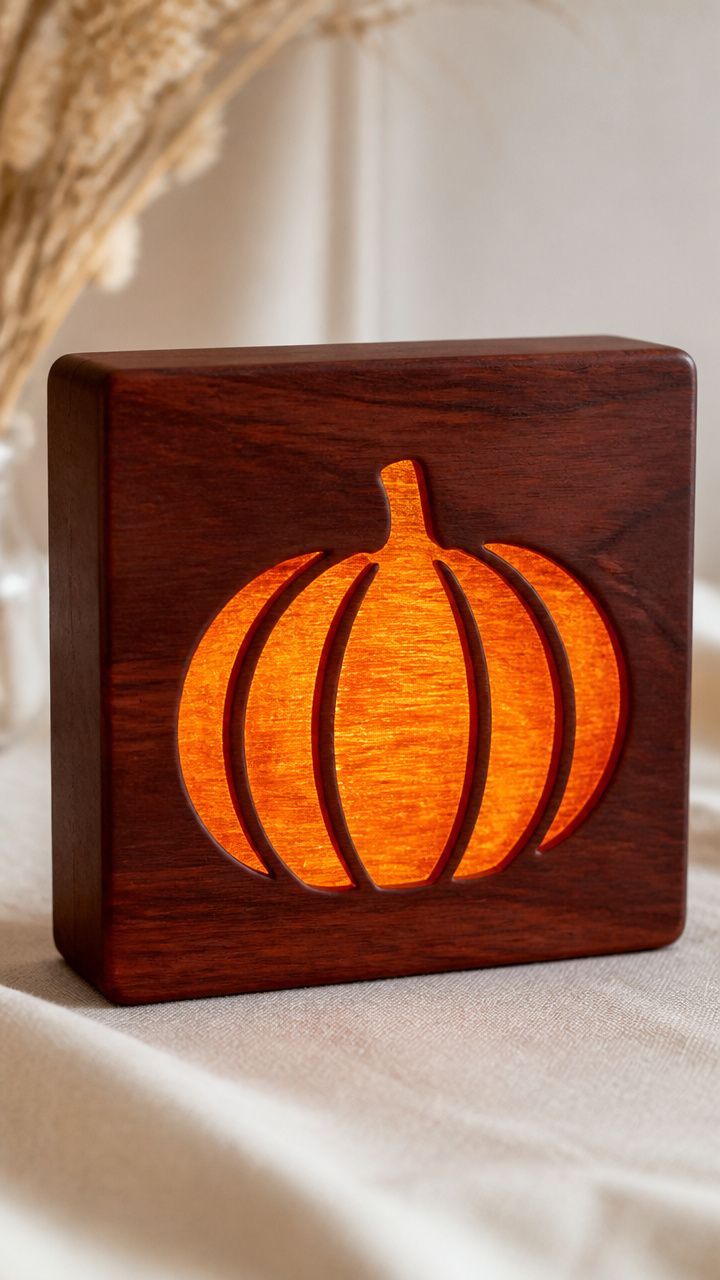
Bright padauk wood darkens beautifully over time and glows warmly when thinned and backlit.
Materials Needed
- Padauk block, 4x4x2 inches
- Band saw
- Orbital sander, 120 then 220 grit
- LED panel, 3×3 inches
- Clear acrylic sheet
How to Make It
- Cut the padauk block into a pumpkin shape using the band saw, leaving flat front and back faces.
- Sand both faces progressively with 120 then 220 grit paper until translucent in thin areas.
- Assemble the LED panel against the back with the acrylic sheet as diffuser, secured in a frame.
- Turn on the light to see the rich orange grain radiate like a real candlelit pumpkin.
15. Douglas Fir Twig Frame
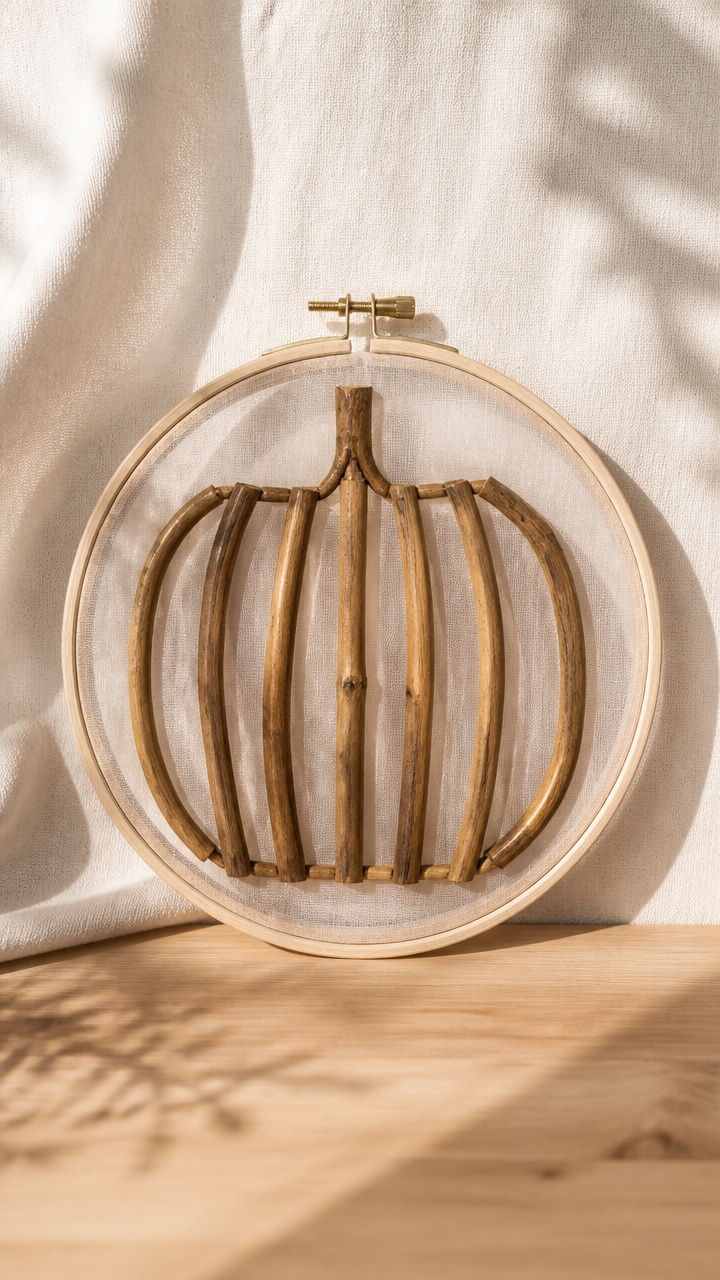
Slender fir twigs form a skeletal pumpkin outline filled with sheer fabric, casting delicate shadows.
Materials Needed
- Eight Douglas fir twigs, 8 inches long, straight
- Round embroidery hoop, 6 inches
- Fabric glue
- Sheer white organza, 7-inch circle
- Wire cutters
How to Make It
- Remove the outer ring of the embroidery hoop and lay the inner ring flat.
- Glue four twigs vertically around the ring to form ribs, spacing them evenly.
- Add four more twigs horizontally across the middle, weaving where they cross and gluing intersections.
- Stretch the organza circle over the frame and tack it under the twigs with fabric glue, letting dry 1 hour.


16. Zebrawood Slice Ornament
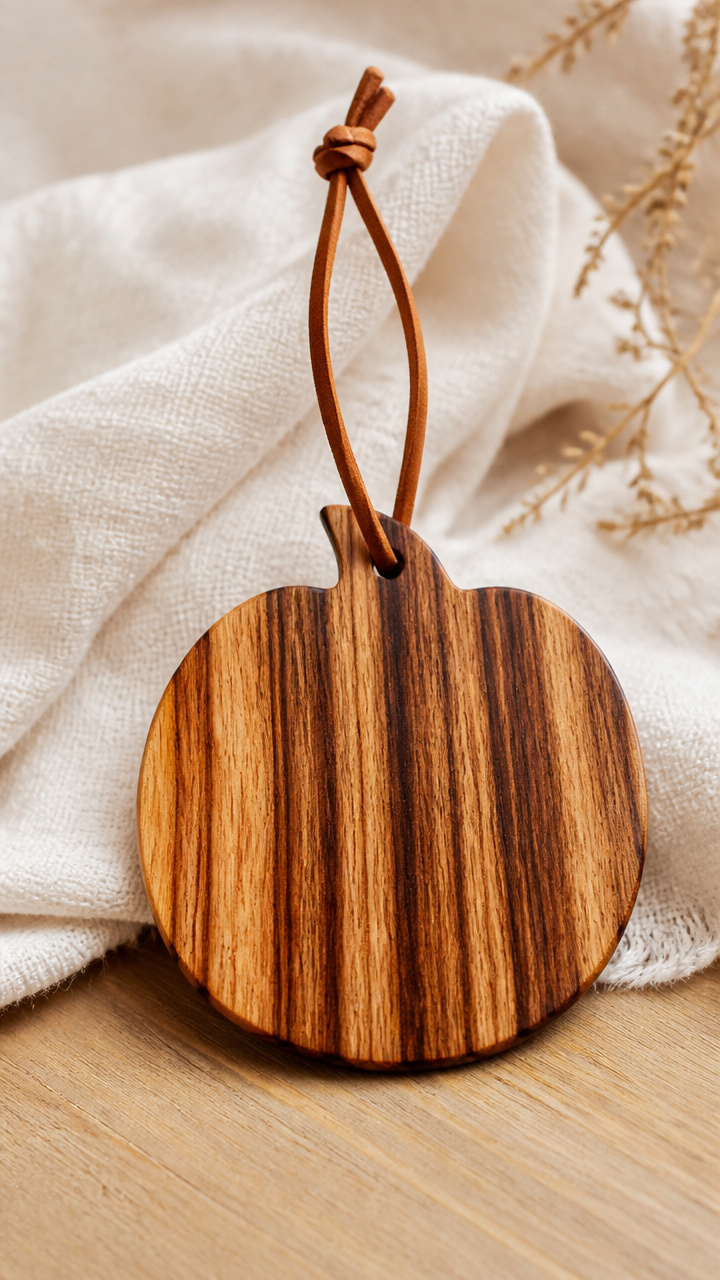
A thin zebrawood slice reveals dramatic striped grain that needs only a notch and cord to hang.
Materials Needed
- Zebrawood slice, 1/8 inch thick, 3 inches diameter
- Jeweler's saw
- 1/16 inch file
- Leather cord, 12 inches
- Danish oil
How to Make It
- Use the jeweler's saw to cut a small V-notch at the top edge of the zebrawood slice.
- Smooth the notch with the file to prevent cord fraying.
- Apply a drop of Danish oil with a fingertip, spreading evenly and wiping off after 3 minutes.
- Thread the leather cord through the notch and knot to hang on a tree or hook.


17. Red Oak Steam Bent Ring
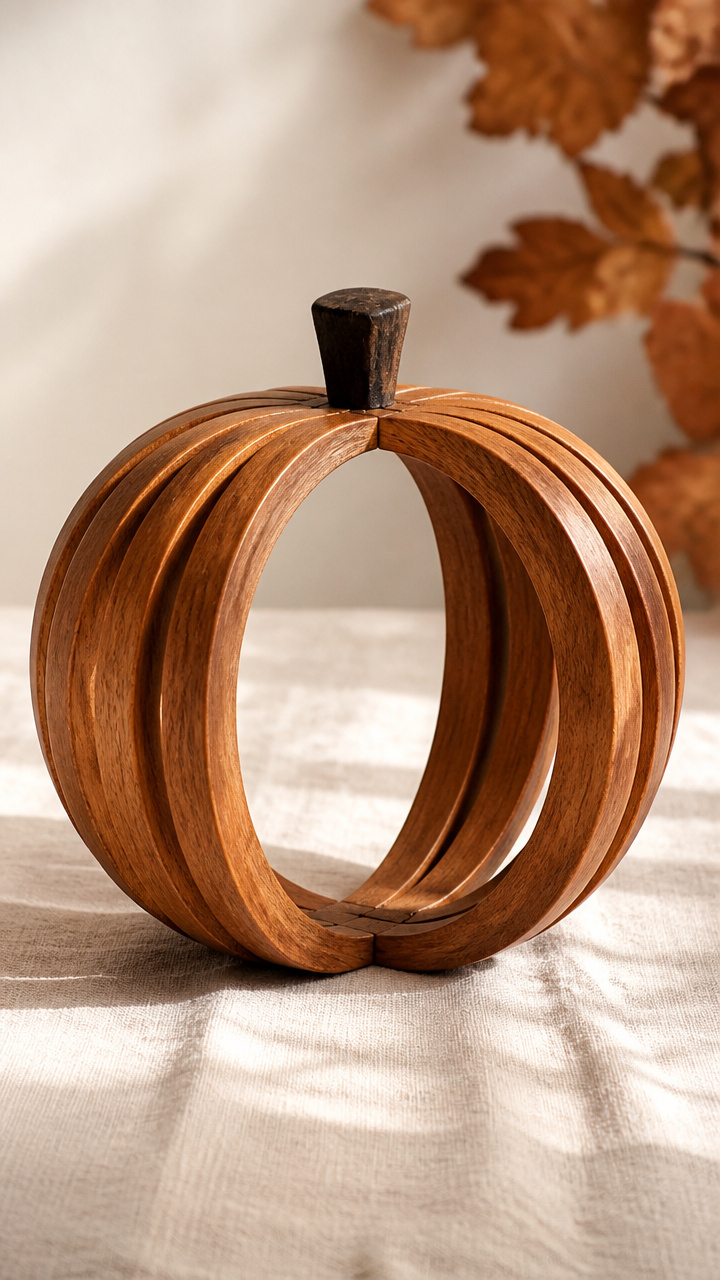
Thin red oak strips are steam-bent into perfect circles and stacked to form pumpkin segments.
Materials Needed
- Red oak strip, 1/8 inch thick, 18 inches long
- Steam box, 24 inches long
- Round mold form, 4 inches diameter
- Bar clamps, 2 count
- Wood glue
How to Make It
- Place the oak strip in the steam box for 20 minutes until pliable.
- Quickly bend it around the mold form and clamp the ends together with a bar clamp.
- Let cool and dry for 4 hours, then repeat to make five identical rings.
- Glue the rings side by side in a vertical stack, aligning centers, and clamp overnight.
18. Cypress Knee Carving
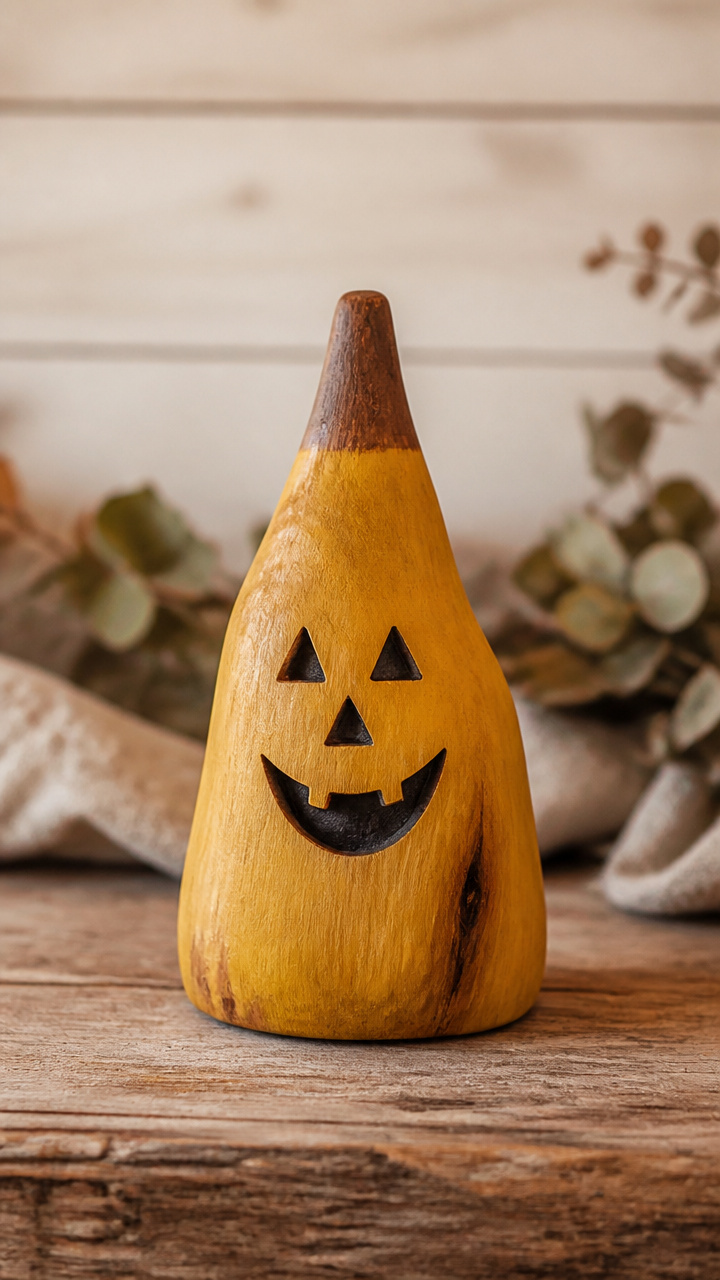
A naturally knotted cypress knee becomes a whimsical pumpkin with face carved into its curves.
Materials Needed
- Cypress knee, 5 inches tall, irregular shape
- Chip carving knife
- Graphite transfer paper
- Yellow ochre paint
- Soft bristle brush
How to Make It
- Place the transfer paper under a pumpkin face sketch and trace onto the cypress surface.
- Use the chip knife to carve shallow lines along the traced features, removing small chips at a time.
- Dip the brush in yellow ochre paint and lightly wash over high areas, wiping clean from lows.
- Let dry 30 minutes, then display on a stand where light catches the contours.

19. White Pine Needle Basket
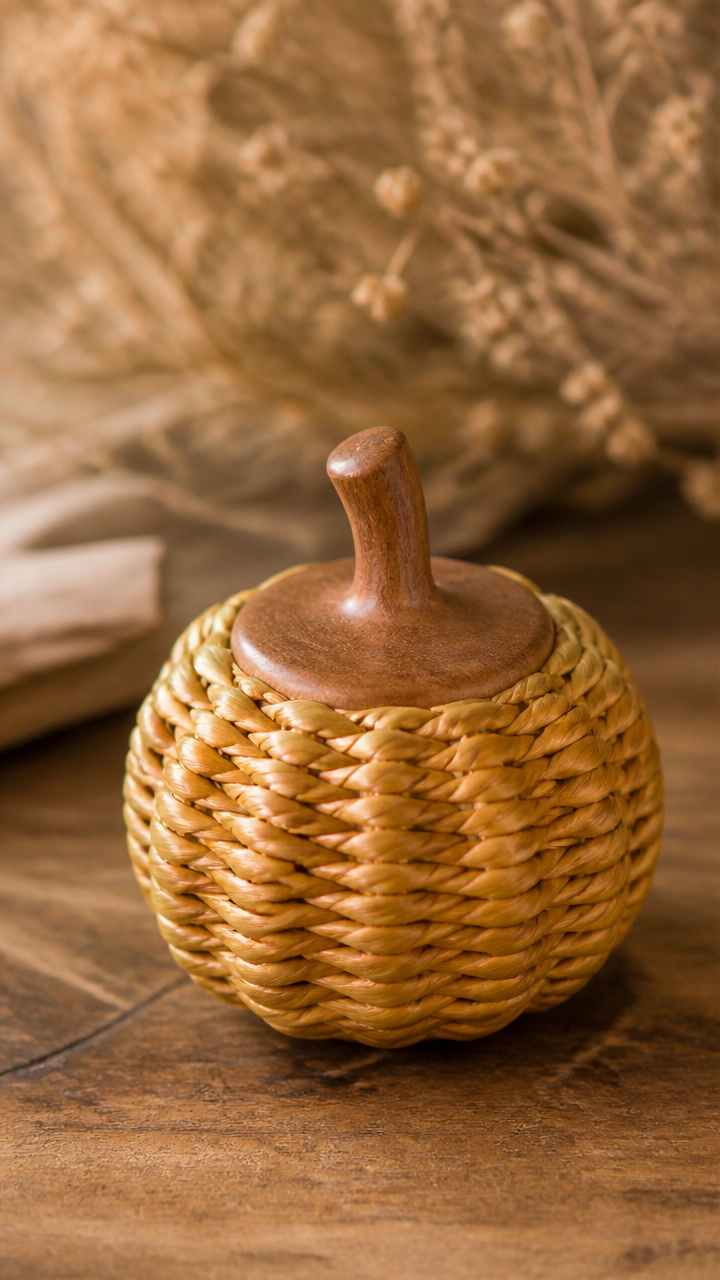
Split white pine needles weave around a wooden pumpkin armature to form a tiny harvest basket.
Materials Needed
- White pine needles, 10 inches long, 20 count
- Awl
- Small wooden pumpkin form, 2 inches tall
- Beeswax thread, 6 feet
- Needle-nose pliers
How to Make It
- Split each pine needle lengthwise with the awl to create flexible strands.
- Weave ten strands vertically around the pumpkin form, tying ends at the base with waxed thread.
- Weave remaining strands horizontally through the uprights, tightening with pliers as you go.
- Tie off the final end underneath and trim, leaving a loop of thread for hanging.


20. Ebony Dot Mosaic Pumpkin
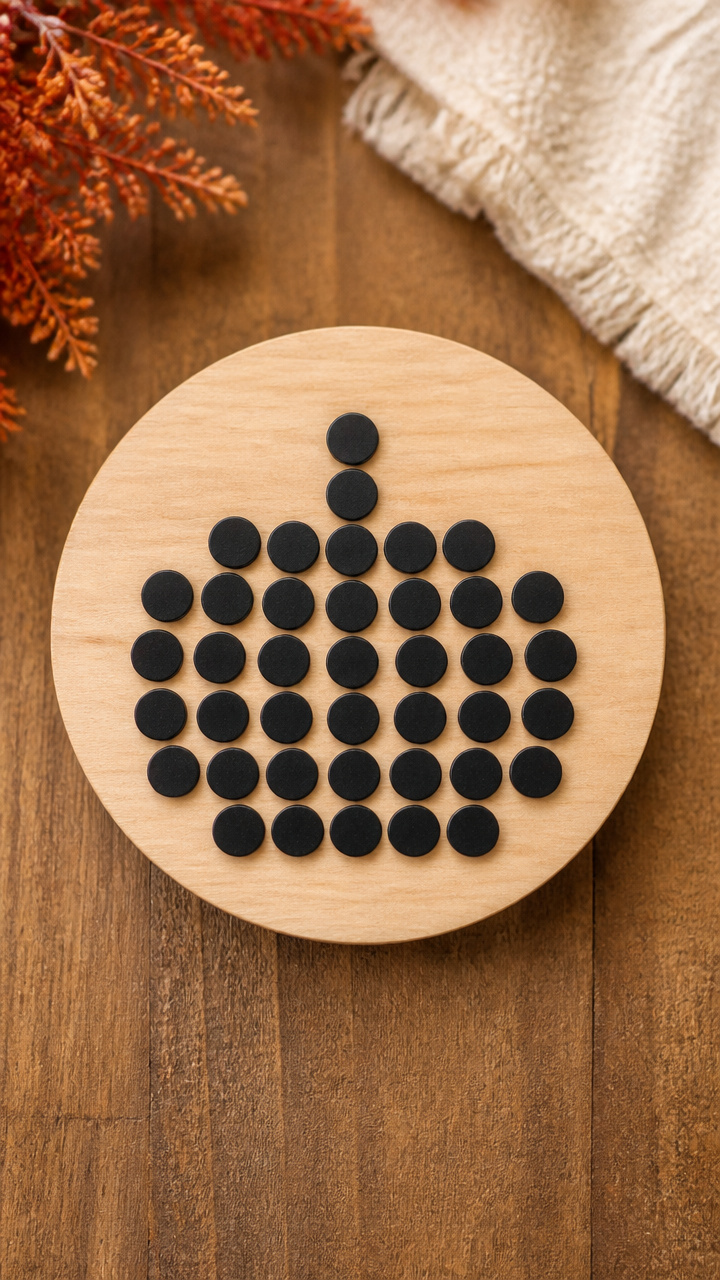
Tiny ebony dots adhere in rows to a pale sycamore base, forming a sleek, modern pumpkin design.
Materials Needed
- Sycamore disc, 4 inches diameter, 1/2 inch thick
- Ebony wood dots, 1/4 inch diameter, 30 count
- Tacky glue
- Ruler
- Toothpick
How to Make It
- Draw faint vertical lines every 1/2 inch across the sycamore disc to guide dot placement.
- Use the toothpick to apply a dab of tacky glue to the back of each ebony dot.
- Press dots along the lines in staggered rows, creating a textured pumpkin rib effect.
- Let the full piece dry face-up for 2 hours before handling.


Your hands know how to shape beauty from simple wood. Pick one idea, gather what you have, and let the grain guide you.