20 Fall Mason Jar Craft Ideas

Fall brings cozy nights, golden light, and a chance to create something with your hands. Mason jars are the perfect canvas for seasonal charm, holding everything from soft glows to rustic details.
These twenty ideas use simple tools and materials you might already have or can easily find. Each one is made to bring warmth to your home or make a thoughtful handmade gift.
1. Cinnamon Stick Candle Holder
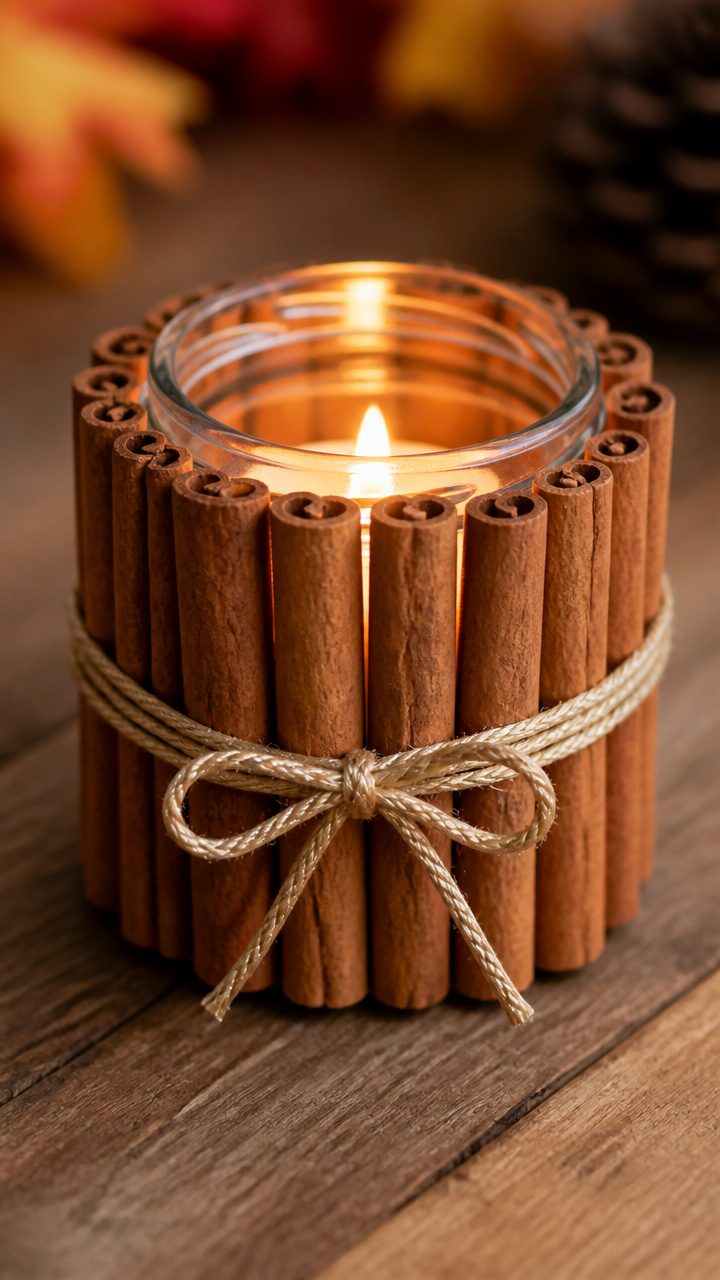
Cinnamon sticks wrapped around a mason jar create a warm, spicy scent when a candle burns inside. This craft adds fragrance and fall color to any table.
Materials Needed
- 1 clean pint-sized mason jar
- 12 cinnamon sticks, each about 6 inches long
- hot glue gun with glue sticks
- gold twine, 3 feet
- tea light candle
How to Make It
- Stand the mason jar on its base and apply a thin line of hot glue along the bottom edge.
- Press one cinnamon stick upright against the glue, holding it in place for 15 seconds.
- Continue gluing cinnamon sticks side by side around the jar until fully covered.
- Tie gold twine around the neck of the jar in a double knot, leaving 4-inch tails.
- Place the tea light candle inside and light it when desired.

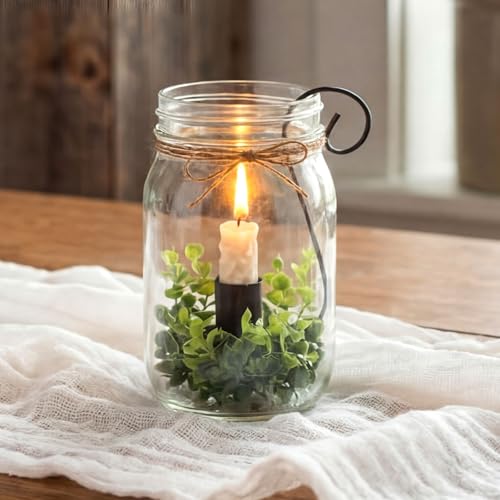

2. Maple Leaf Painted Jar
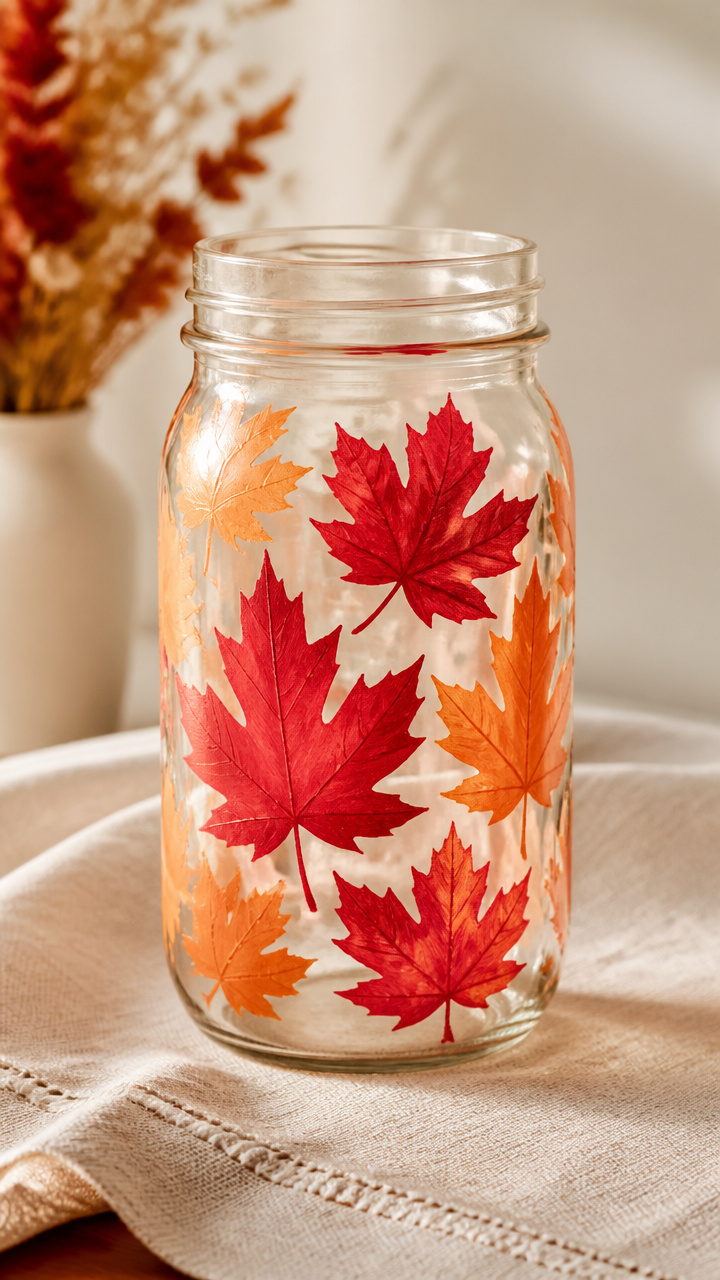
A clear jar painted with hand-stenciled maple leaves mimics the fall trees outside. The soft orange and red hues glow when lit.
Materials Needed
- 1 quart-sized mason jar with lid
- red acrylic paint
- orange acrylic paint
- small stencil brush
- maple leaf stencil, 2 inches wide
- paper plate
- pencil
How to Make It
- Pour a dime-sized amount of red and orange paint onto the paper plate.
- Dip the stencil brush into red paint and dab off excess on the plate edge.
- Position the maple leaf stencil on the jar and press gently while painting over it.
- Rinse the brush, dry it, then repeat with orange paint on half the leaf for a two-tone effect.
- Let the paint dry for 1 hour before removing the stencil or adding more leaves.


3. Mini Pumpkin Jar Topper
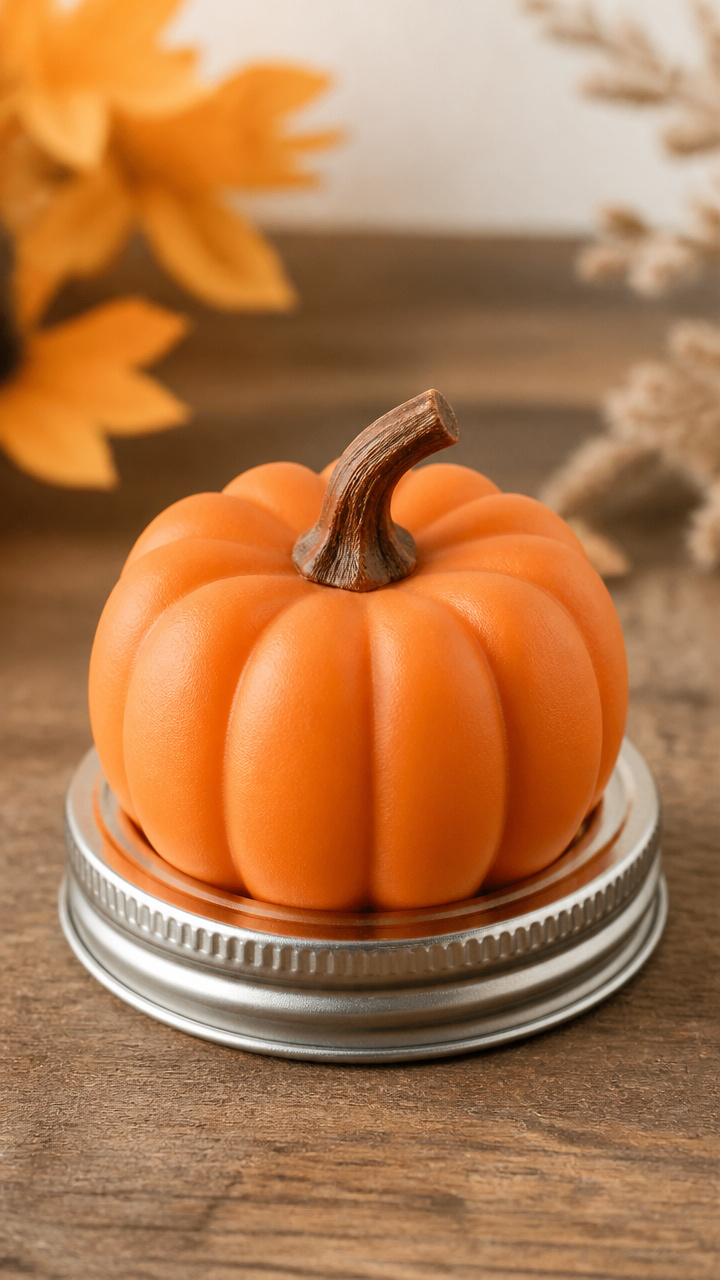
A tiny faux pumpkin perched on a jar lid turns the container into a cheerful fall decoration. It works as a standalone piece on a shelf.
Materials Needed
- 1 regular mouth mason jar lid
- 1 mini faux pumpkin, 1.5 inches tall
- hot glue gun with glue stick
- matte spray sealer
How to Make It
- Turn the mason jar lid upside down and place it on a heat-safe surface.
- Apply a pea-sized dot of hot glue to the flat center of the lid.
- Press the bottom of the mini pumpkin into the glue and hold for 20 seconds.
- Let the glue set for 5 minutes, then lightly spray the pumpkin with matte sealer to reduce shine.

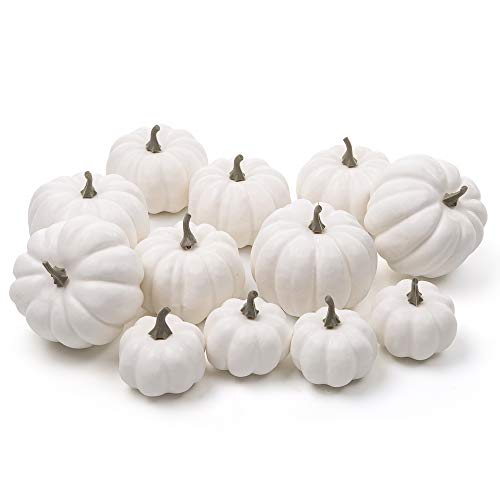

4. Pinecone Snow Globe
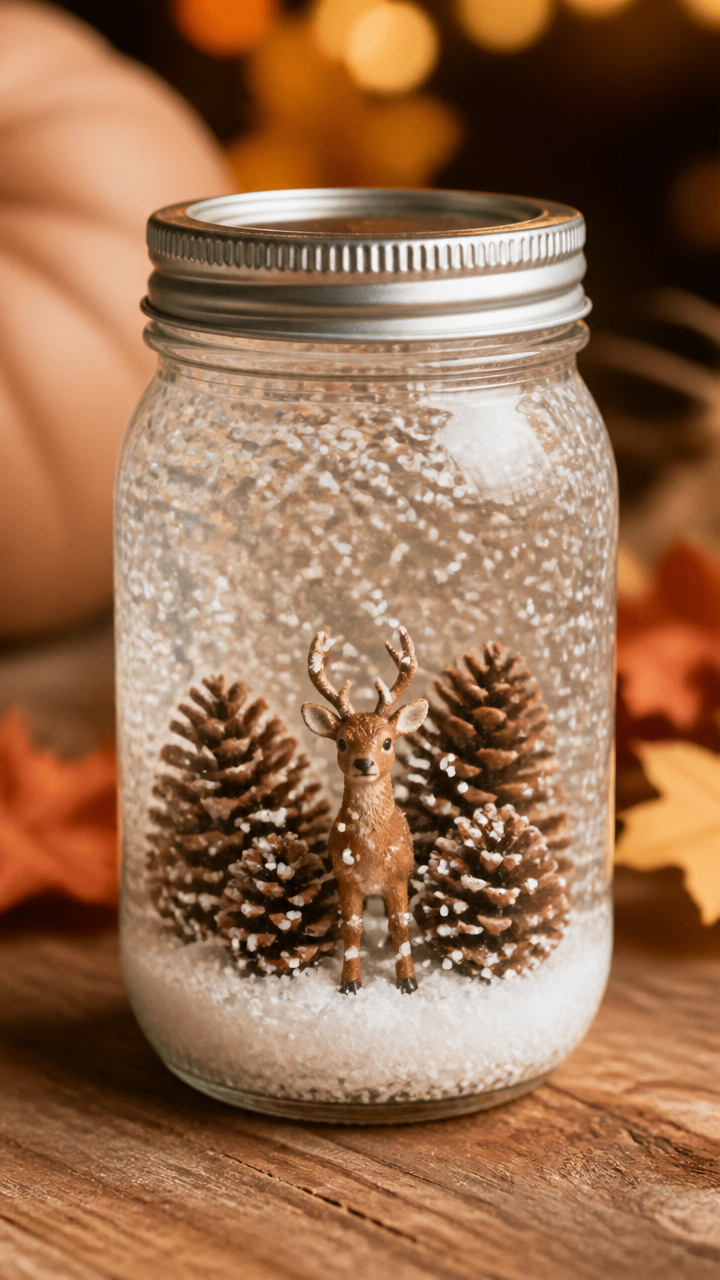
A sealed jar holds a miniature winter scene with pinecones and fake snow. When turned upside down, glitter swirls like falling snow.
Materials Needed
- 1 wide mouth pint jar with band and seal-free lid
- 2 small pinecones
- 1 plastic figurine, 1 inch tall
- white glitter, 2 tablespoons
- distilled water, 1 cup
- glycerin, 1 teaspoon
- clear waterproof craft glue
How to Make It
- Glue the pinecones and figurine to the inside of the lid using a dab of waterproof glue, letting dry for 1 hour.
- Fill the jar with distilled water, add glycerin and glitter, then screw the lid on tightly.
- Turn the jar upside down to see the glitter float slowly like snowfall.


5. Plaid Ribbon Vase
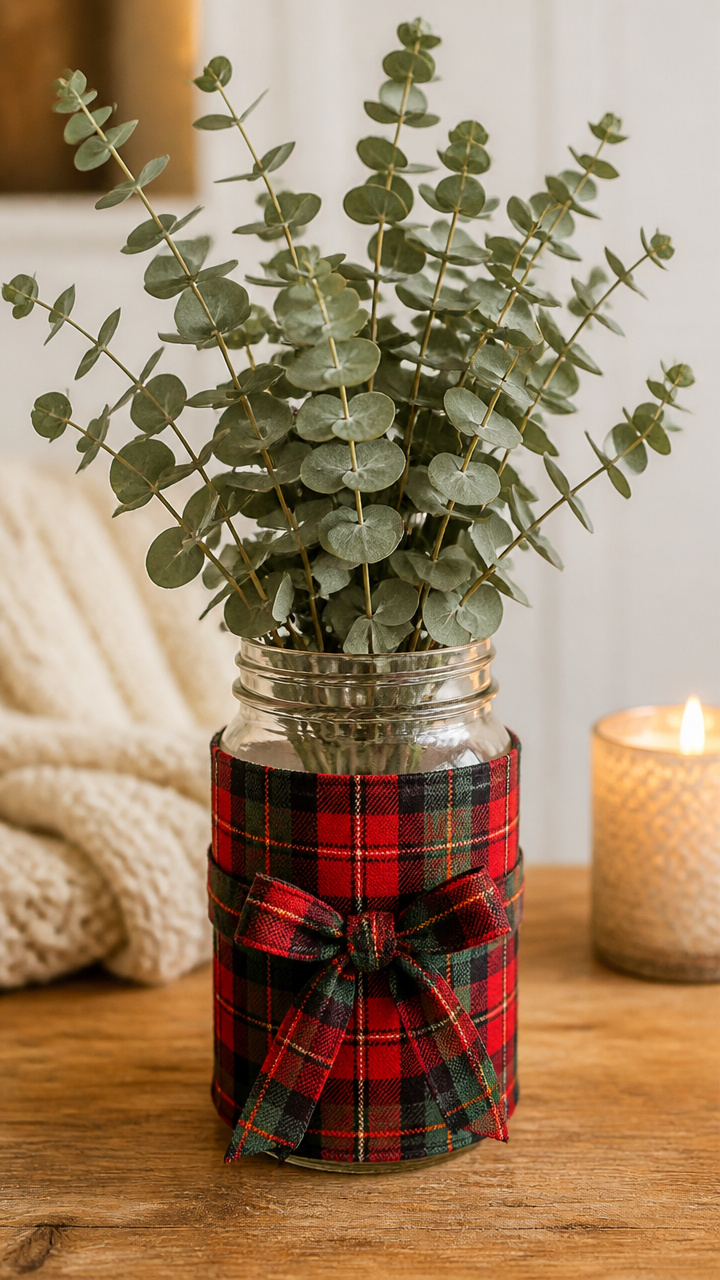
Plaid cotton ribbon wraps around a jar to mimic classic flannel shirts. Use it to hold dried wheat stems or cinnamon brooms.
Materials Needed
- 1 pint mason jar
- plaid cotton ribbon, 1.5 inches wide, 3 yards
- fabric scissors
- double-sided tape, 1/4 inch wide
- dried eucalyptus sprig
How to Make It
- Cut the ribbon to 36 inches and wrap it vertically from the base to the rim, securing the end with double-sided tape.
- Overlap each vertical strip slightly and tape every 2 inches to prevent shifting.
- Wrap a second layer horizontally around the middle third of the jar using tape at the back.
- Tuck the eucalyptus sprig behind the ribbon at the top.


6. Apple Cider Scented Rocks
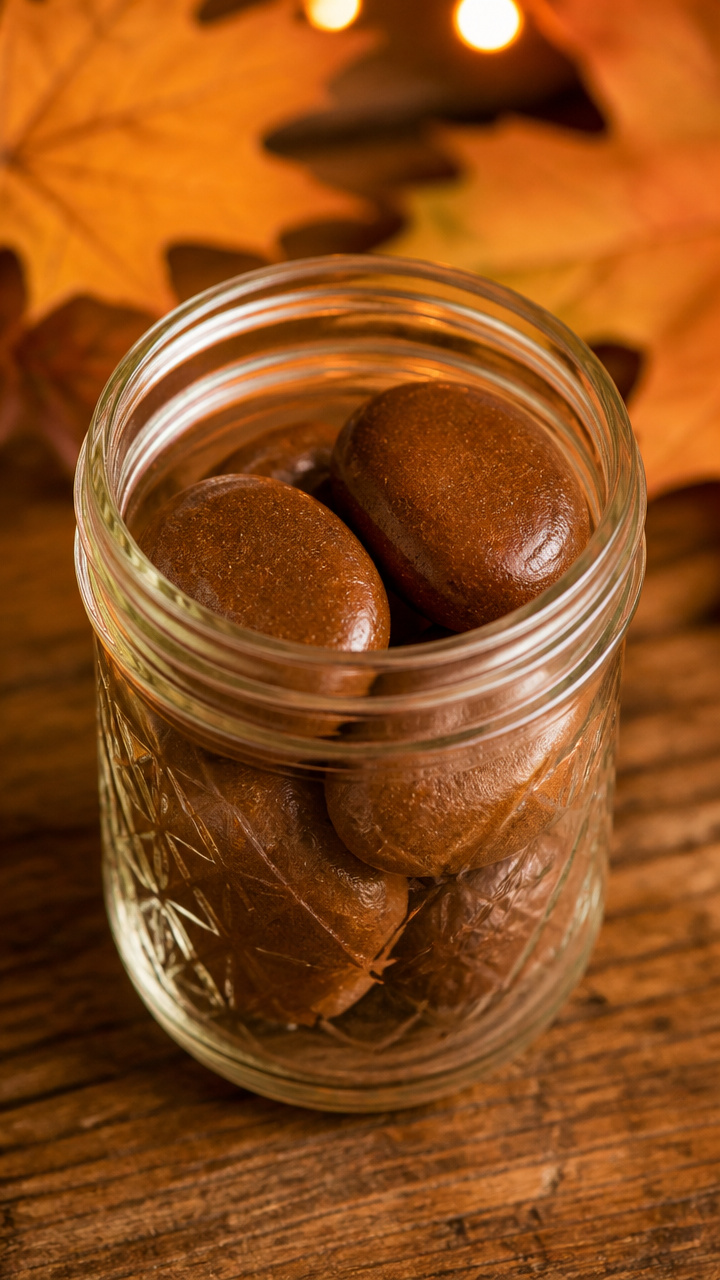
Smooth river rocks painted with cider-colored polish release a subtle autumn aroma when placed in a jar. Great for drawers or mantels.
Materials Needed
- 5 smooth river rocks, each about 1 inch
- brown nail polish
- cinnamon essential oil, 10 drops
- small glass dropper
- quart mason jar with lid
How to Make It
- Paint each rock completely with brown nail polish using the brush from the bottle.
- Let the first coat dry for 20 minutes, then apply a second coat.
- After the final coat dries, place all rocks in the jar and add 10 drops of cinnamon oil directly onto them.
- Close the jar and shake gently once a week to refresh the scent.


7. Burlap Leaf Garland Jar
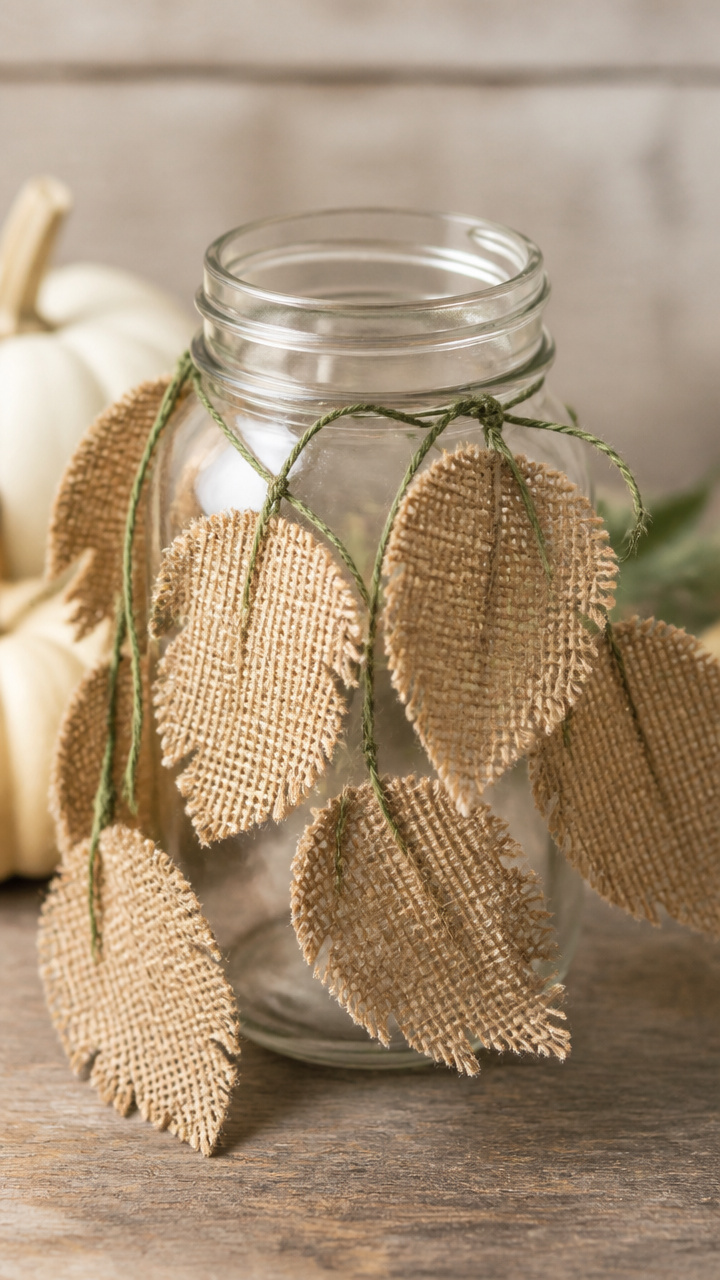
Tiny burlap leaves tied with twine hang from a jar’s neck like a festive garland. The rough texture contrasts beautifully with the glass.
Materials Needed
- 1 pint mason jar
- burlap fabric, 6×6 inch square
- green embroidery floss, 1 yard
- scissors
- hole punch
- leaf-shaped stencil, 2 inches
How to Make It
- Trace the leaf stencil onto the burlap and cut out 5 leaves.
- Use the hole punch to make a top center hole in each leaf.
- Cut 5 pieces of embroidery floss, each 6 inches long.
- Thread each floss through a leaf hole and knot above the leaf.
- Tie the loose ends of all floss strands around the jar neck just below the rim.


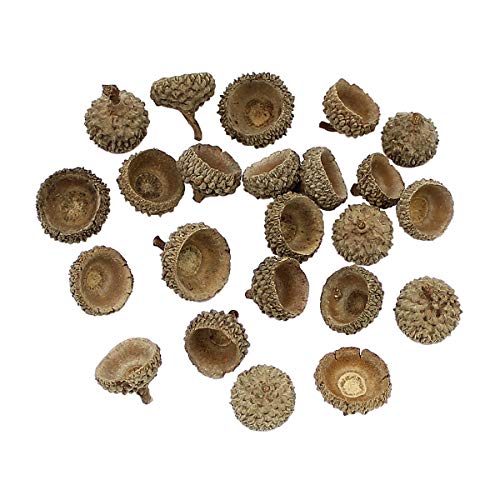
8. Acorn Cap Lidded Jar
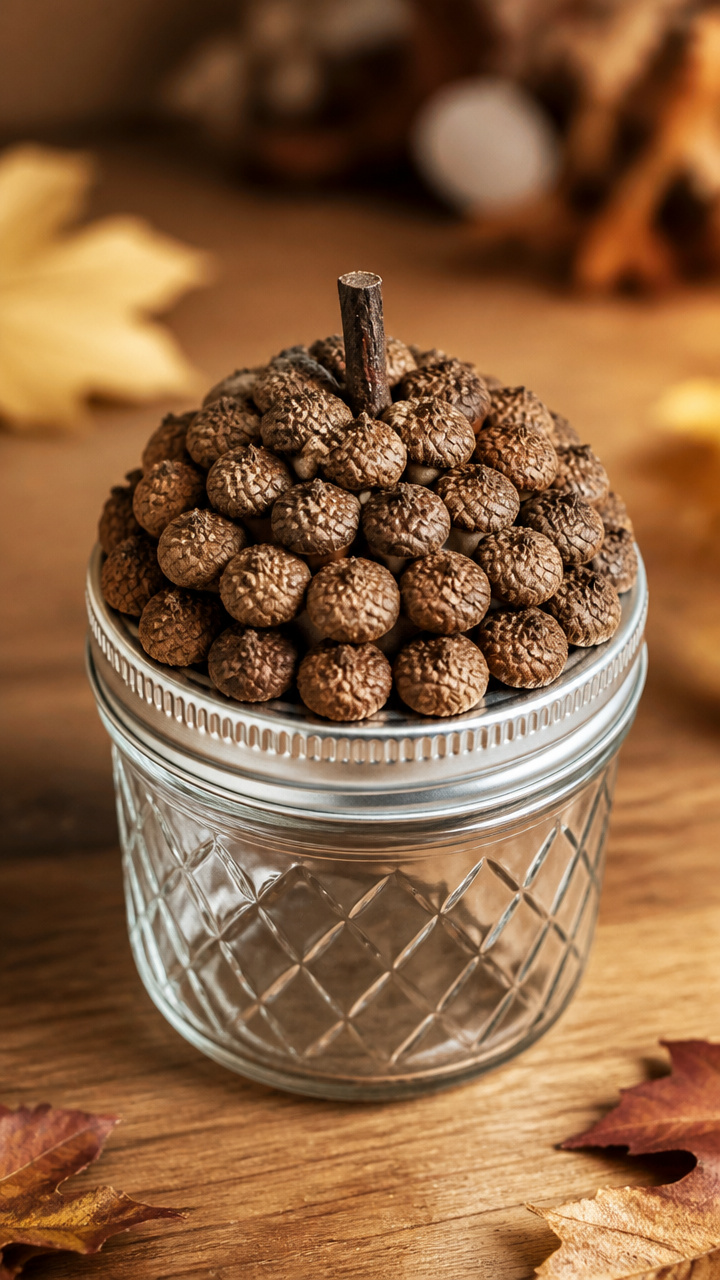
Real acorn caps glued to a jar lid form a natural, textured cover. It turns a plain jar into a woodland-inspired keepsake.
Materials Needed
- 1 regular mouth mason jar lid
- 20 acorn caps
- hot glue gun with glue stick
- soft-bristled brush
How to Make It
- Arrange acorn caps in a circular pattern on a flat surface, pointed end facing outward.
- Starting at the center, glue the first cap to the inside of the lid with hot glue.
- Add caps around it, overlapping slightly and pointing outward like petals.
- Let the glue cool for 5 minutes before brushing off stray debris.


9. Felt Corn Husk Centerpiece
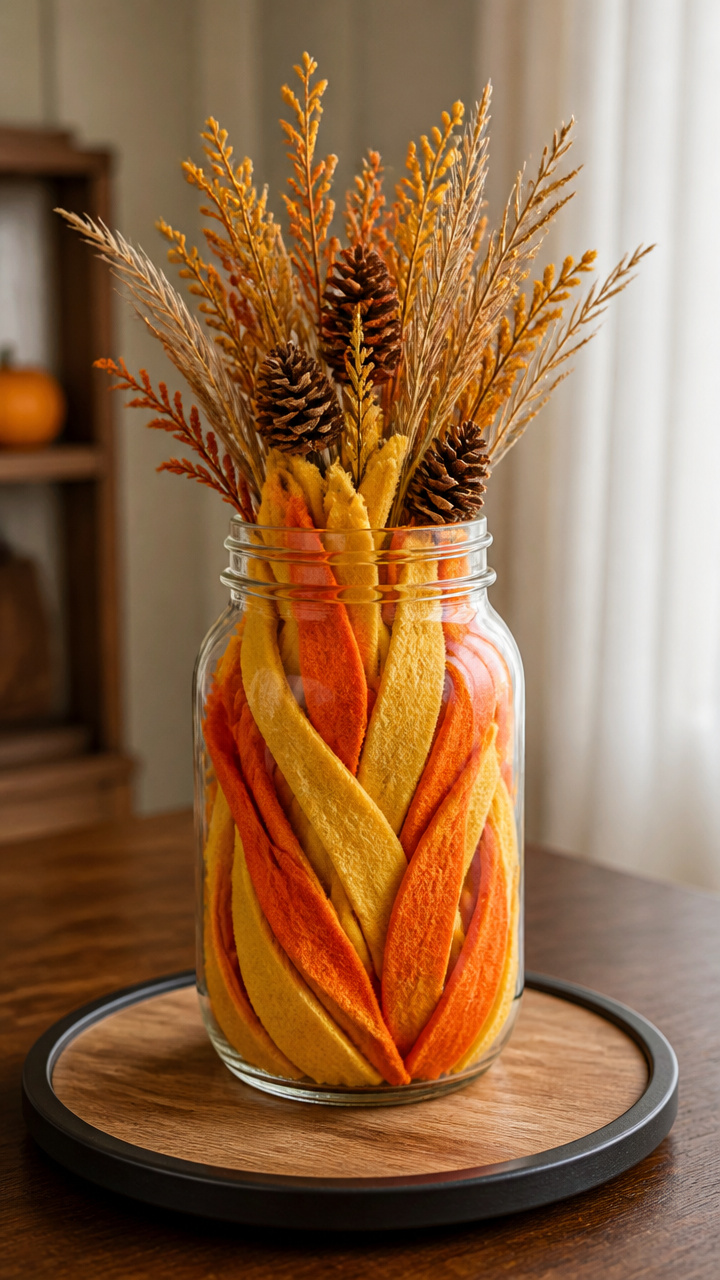
Orange and yellow felt strips twist into corn husks that fill a wide jar. The layered look mimics real harvest bundles.
Materials Needed
- 1 wide mouth quart jar
- yellow craft felt, 9×12 inch sheet
- orange craft felt, 9×12 inch sheet
- ruler
- scissors
- hot glue gun
How to Make It
- Cut the yellow felt into 12 strips, each 1 inch wide and 10 inches long.
- Cut the orange felt into 6 strips, each 1 inch wide and 8 inches long.
- Stack three yellow strips and one orange strip together at one end.
- Twist the stack tightly from top to bottom and glue the end to secure.
- Repeat to make five husks and arrange them standing upright in the jar.


10. Chalkboard Paint Harvest Jar
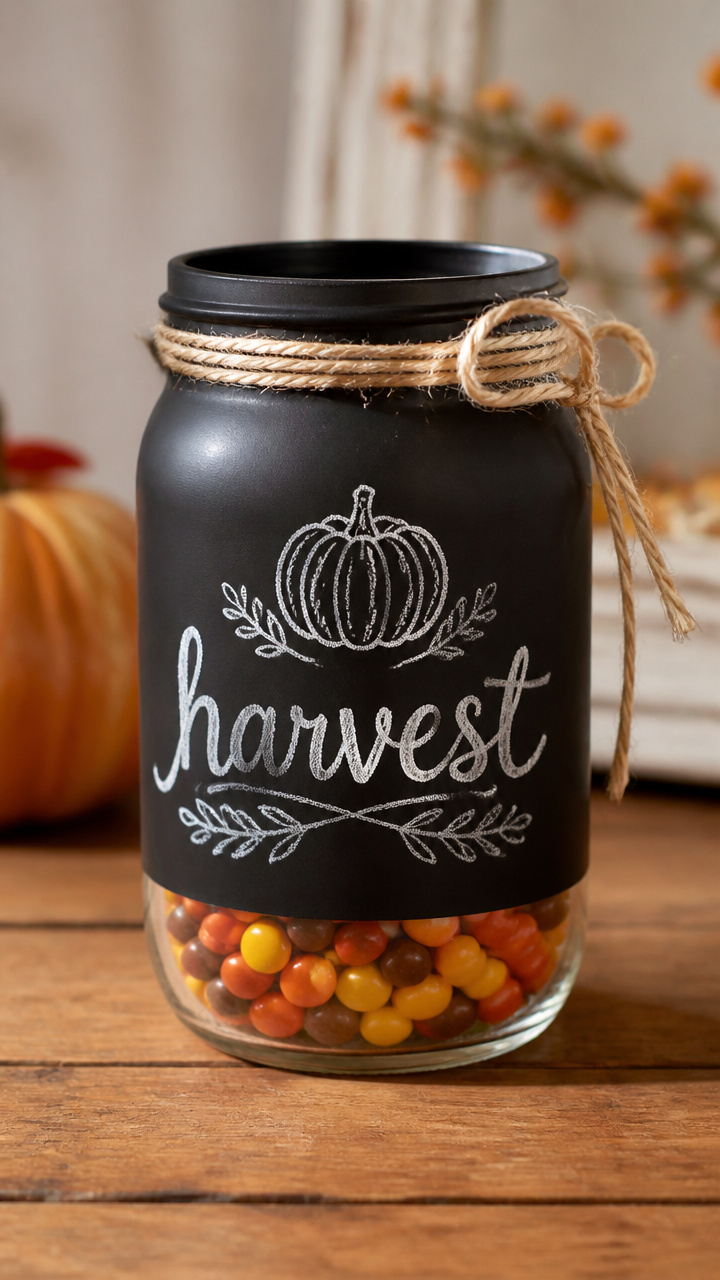
A jar painted with chalkboard paint lets you write seasonal messages that you can change weekly. It holds candy or potpourri.
Materials Needed
- 1 pint mason jar
- black chalkboard paint, 2 ounces
- foam brush, 1 inch
- chalk
- dry cloth
How to Make It
- Shake the chalkboard paint well and pour a small amount onto the foam brush.
- Paint the front half of the jar in smooth vertical strokes, avoiding drips.
- Let dry for 30 minutes, then apply a second coat.
- Cure the paint by waiting 24 hours, then rub a piece of chalk over the surface and wipe with the cloth.
- Write a new message with chalk whenever you like.


11. Pressed Flower Terrarium
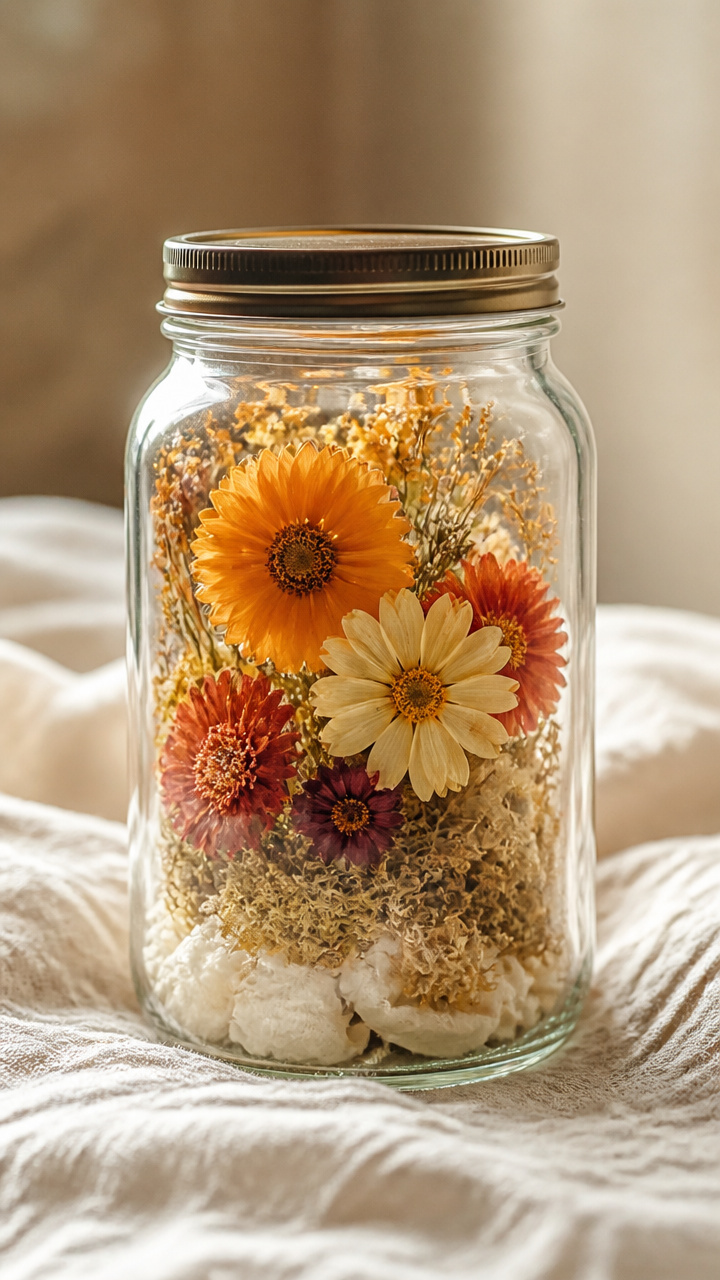
Delicate fall flowers pressed between tissue paper add quiet beauty inside a jar. Display it on a windowsill for diffused light.
Materials Needed
- 1 clear quart jar with lid
- 3 fall flowers with flat blooms
- white tissue paper, 4 sheets
- heavy book
- tweezers
- dried moss, 1/4 cup
How to Make It
- Place each flower between two sheets of tissue paper.
- Lay the papers inside a heavy book and close it, leaving for 5 days.
- Remove the flowers carefully with tweezers and place them on the moss inside the jar.
- Screw the lid on tightly to keep dust out.


12. Wire-Wrapped Clove Apple
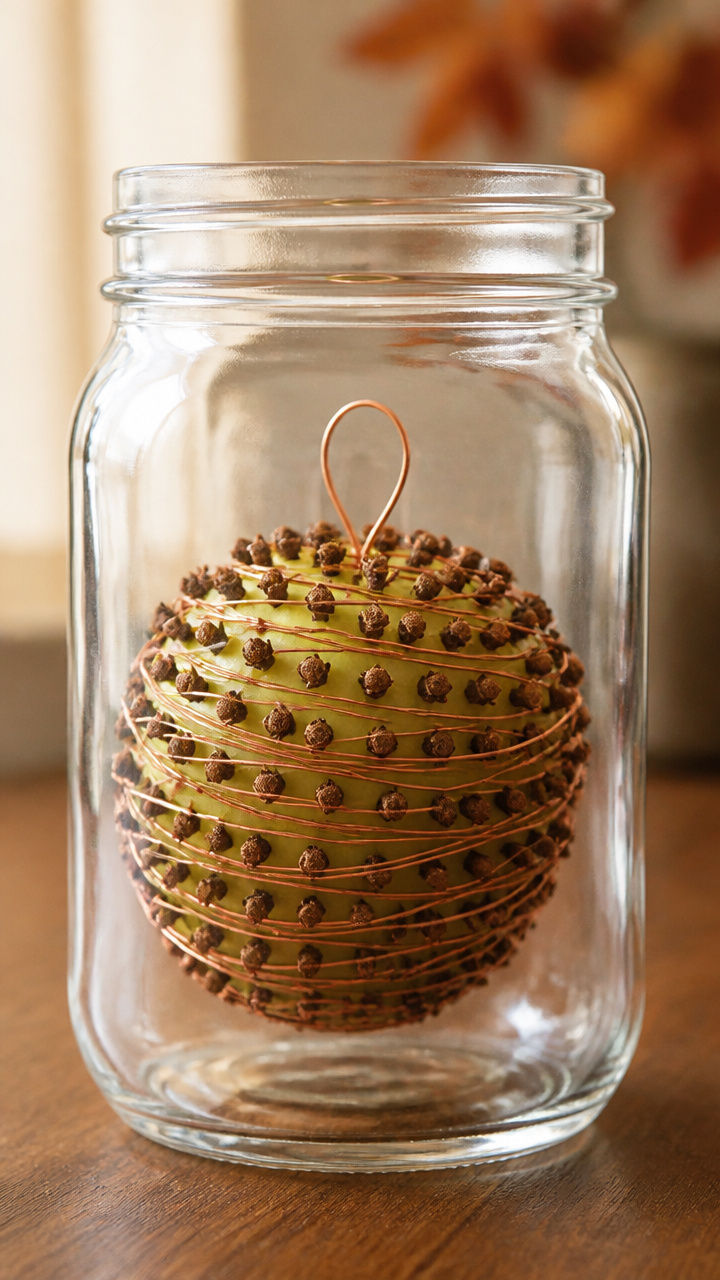
Cloves pushed into an apple create a spiced scent ball that sits in a jar. The wire wrap keeps it stable and decorative.
Materials Needed
- 1 green apple
- whole cloves, 50 pieces
- thin copper wire, 22 gauge, 18 inches
- pint mason jar
How to Make It
- Push cloves into the apple in a spiral pattern, spacing them 1/4 inch apart.
- Wrap the copper wire around the apple’s equator, twisting the ends together at the top.
- Place the apple in the jar and leave uncovered for airflow.


13. Map Transfer Jar
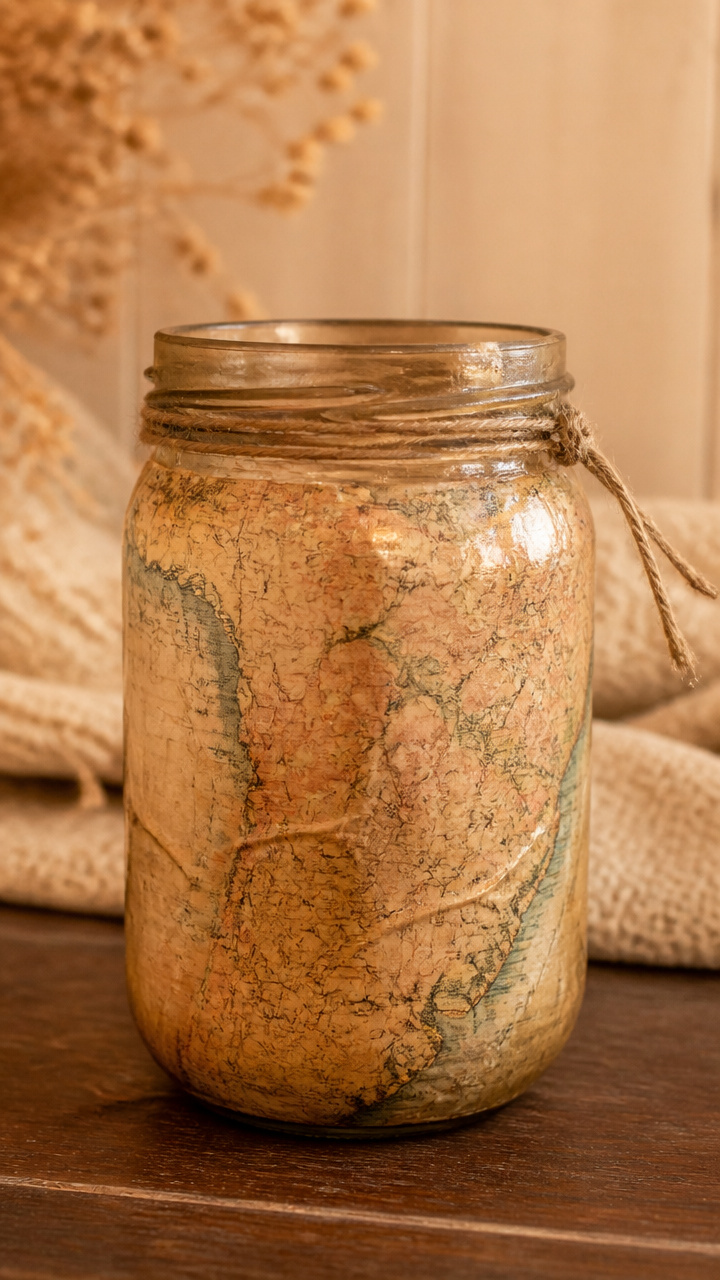
A vintage map fragment adheres to a jar using mod podge, giving it a travel-worn look. Fill it with trail mix or acorns.
Materials Needed
- 1 pint mason jar
- vintage-style paper map, 4×4 inches
- scissors
- mod podge
- foam brush
- craft sponge
How to Make It
- Cut the map to fit the curve of the jar’s side, focusing on a town or border area.
- Brush a thin layer of mod podge onto the jar where the map will go.
- Smooth the map into place with a craft sponge, pressing out air bubbles.
- Let dry for 1 hour, then brush a top coat of mod podge over the map.


14. Knit Hat Miniature Lamp
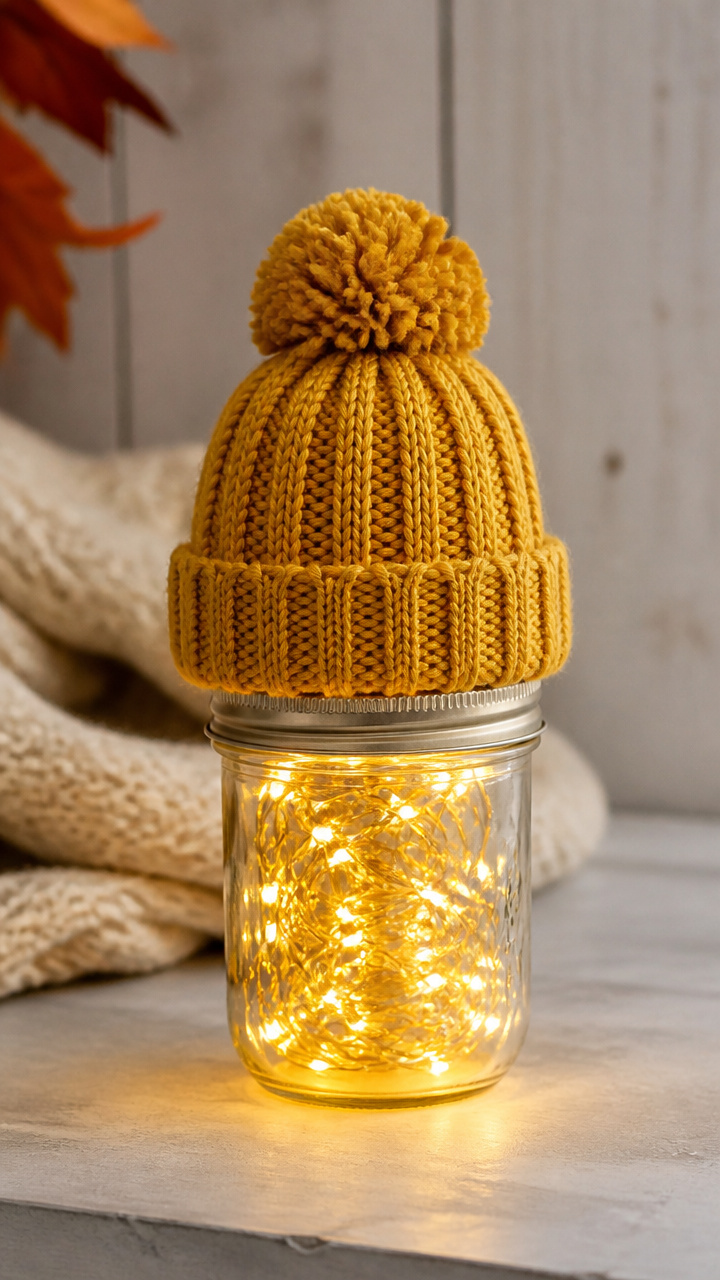
A baby-sized knit hat slips over a jar to soften electric light. The wool diffuses the bulb into a gentle evening glow.
Materials Needed
- 1 pint mason jar with band
- battery-powered string lights, 20 bulbs
- wool baby hat, mustard yellow
- scissors
How to Make It
- Place the string lights inside the jar, draping the battery pack outside the rim.
- Turn on the lights to test them.
- Slide the knit hat over the jar so it covers from rim to base.
- Adjust the hat to sit snugly and evenly.



15. Salt Dough Ornament Jar
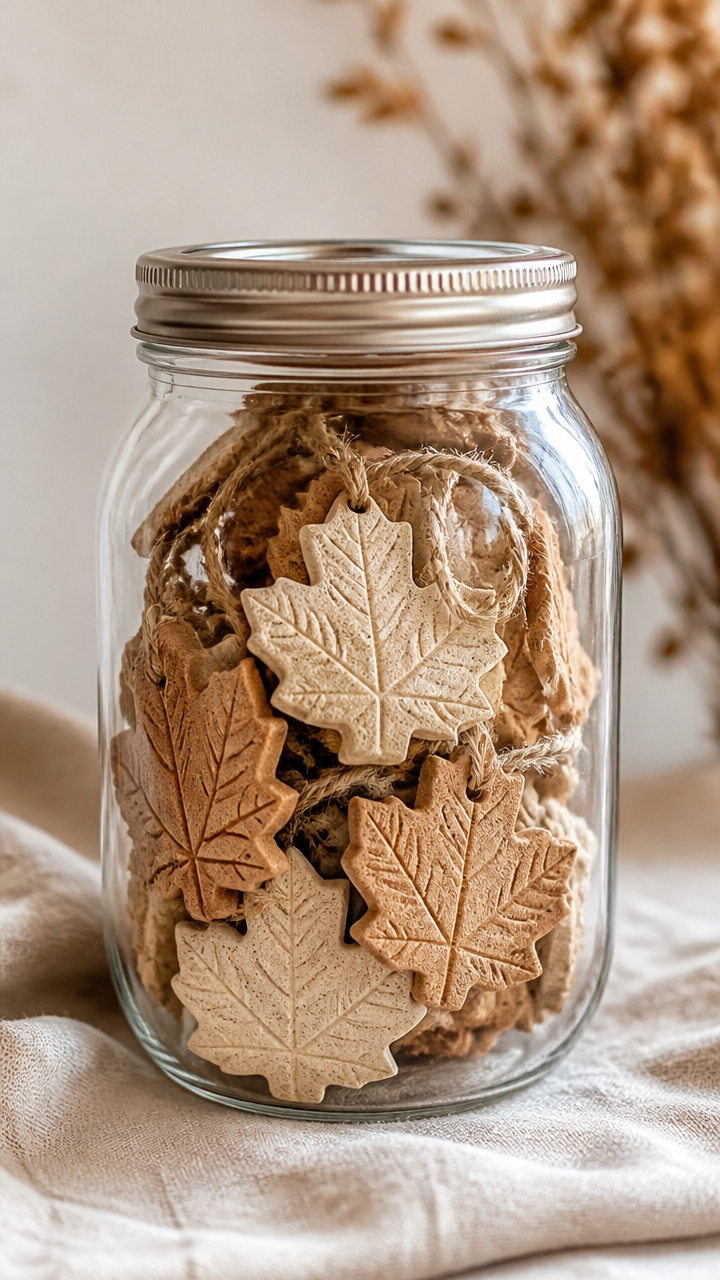
Homemade salt dough stamped with leaf shapes bakes into lasting ornaments stored in a jar. Kids enjoy making the shapes.
Materials Needed
- flour, 1 cup
- table salt, 1/2 cup
- water, 1/2 cup
- mixing bowl
- fork
- leaf-shaped cookie cutter
- parchment paper
- quart mason jar
How to Make It
- Mix flour, salt, and water in the bowl with the fork until a dough forms.
- Roll the dough to 1/4 inch thickness on a floured surface.
- Cut out shapes using the leaf cutter and place them on parchment-lined baking sheet.
- Bake at 200°F for 3 hours, then cool completely.
- Store finished ornaments in the jar.


16. Caramel Dip Snack Jar
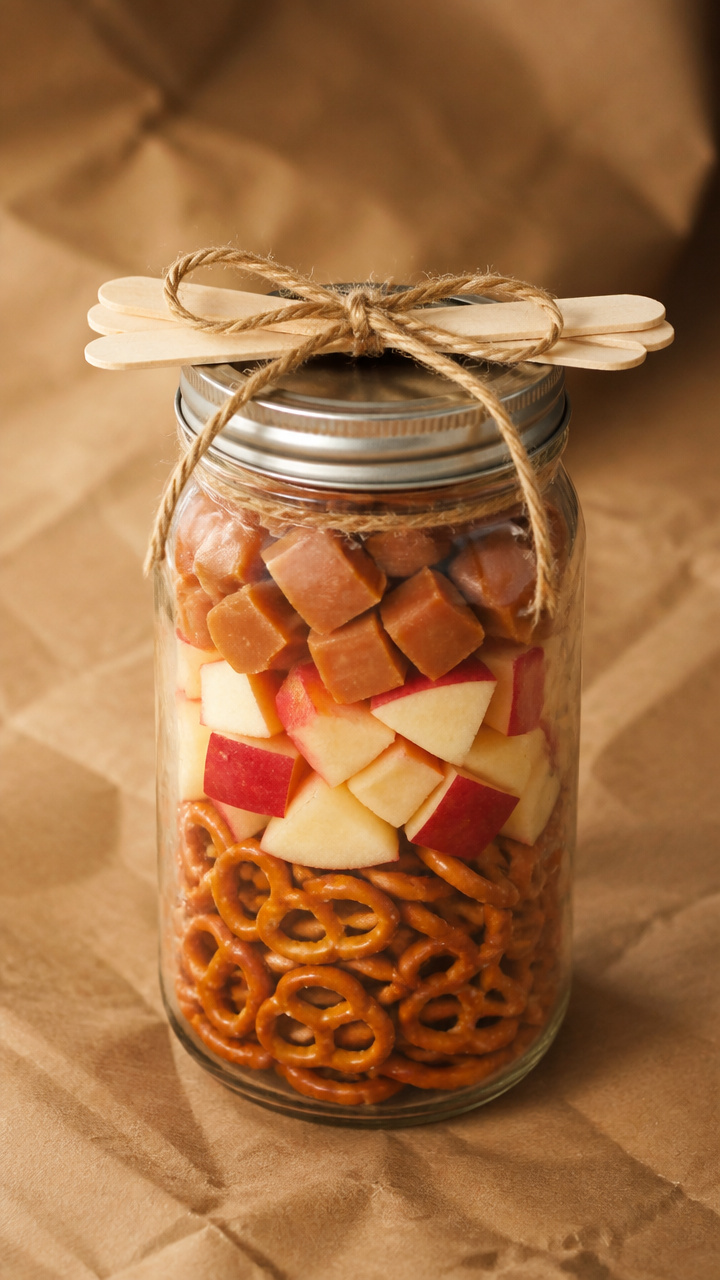
Layers of pretzels, apples, and caramel bits turn a jar into a giftable treat. Attach dipping sticks with twine.
Materials Needed
- 1 wide mouth quart jar
- 1/2 cup mini pretzel twists
- 1 medium apple, peeled and diced
- 1/3 cup soft caramel candies, chopped
- wooden popsicle sticks, 5
- brown paper bag
How to Make It
- Layer pretzels in the bottom third of the jar.
- Add diced apples above the pretzels.
- Top with chopped caramels.
- Roll the popsicle sticks in the brown bag and tie with twine around the jar neck.
17. Feather and Bead Wind Chime
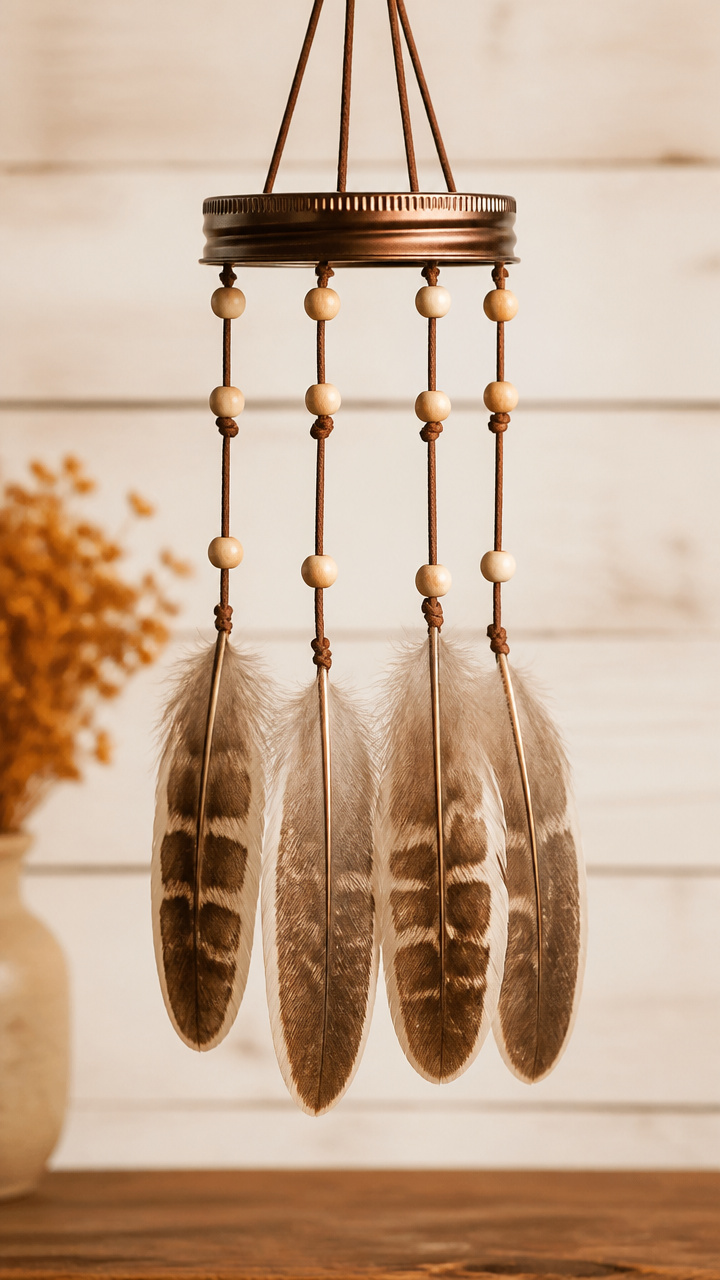
Goose feathers and wooden beads dangle from a jar lid to create soft sounds in the breeze. Hang it near a porch.
Materials Needed
- 1 regular mouth mason jar lid
- 4 goose feathers, 4 inches long
- wooden beads, 6 mm, 12 pieces
- thin leather cord, 3 feet
- awl
- scissors
How to Make It
- Use the awl to poke four evenly spaced holes near the edge of the lid.
- Cut three 12-inch cords and thread one through each hole, tying knots underneath.
- String six beads onto each cord and tie a feather to the end.
- Hang the chime by the lid using the remaining cord.


18. Wax Paper Leaf Luminary
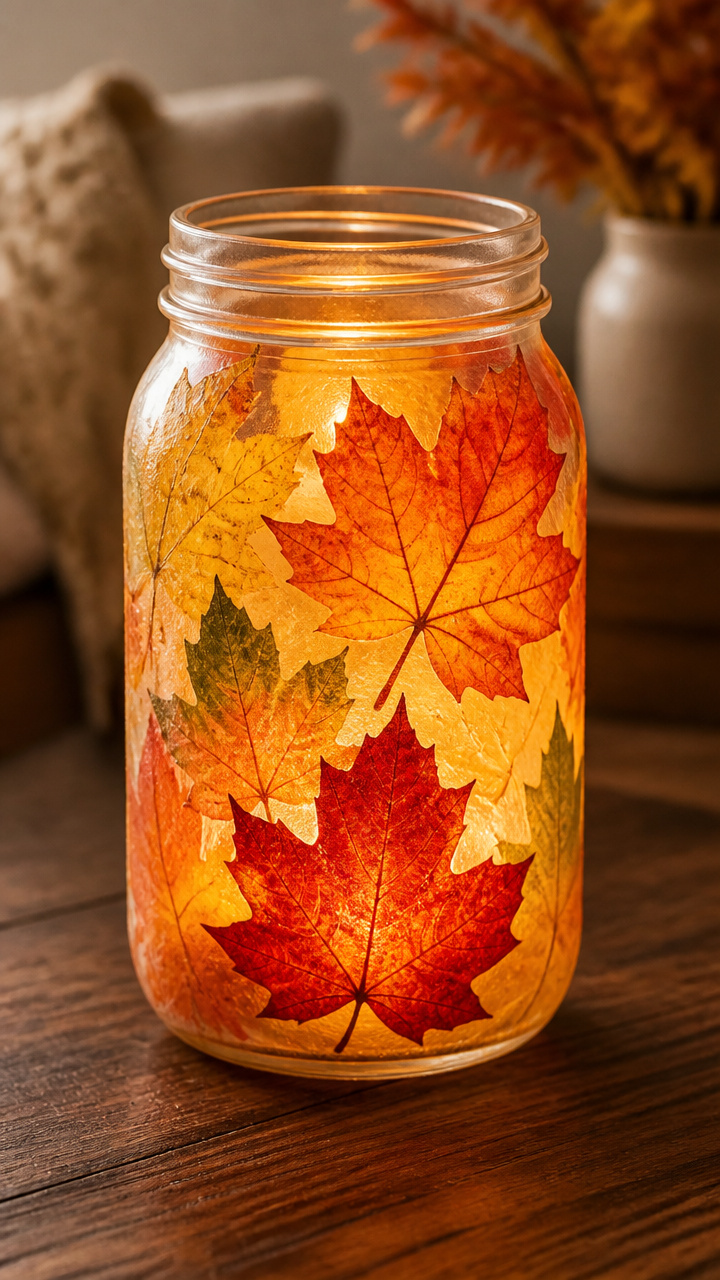
Real leaves sandwiched between wax paper glow when placed over a jar with a candle. The colors look like stained glass.
Materials Needed
- 5 colorful fall leaves
- iron
- wax paper, 8×10 inches, 2 sheets
- pint mason jar
- tea light candle
How to Make It
- Place one leaf between two wax paper sheets.
- Set the iron to low heat and press for 2 minutes to seal the leaf inside.
- Repeat for all leaves and let cool.
- Drape the wax paper sheets around the outside of the jar.
- Place the candle inside and light it in a dark room.

19. Twine-Wrapped Storage Jar
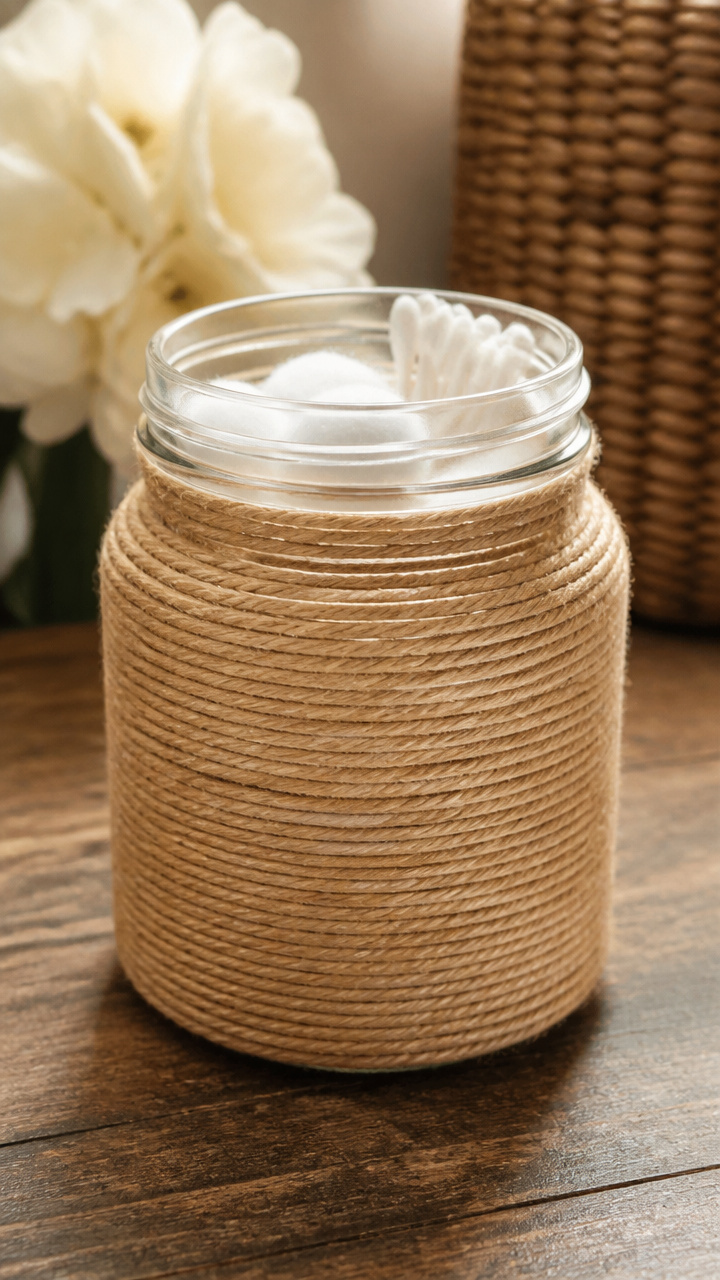
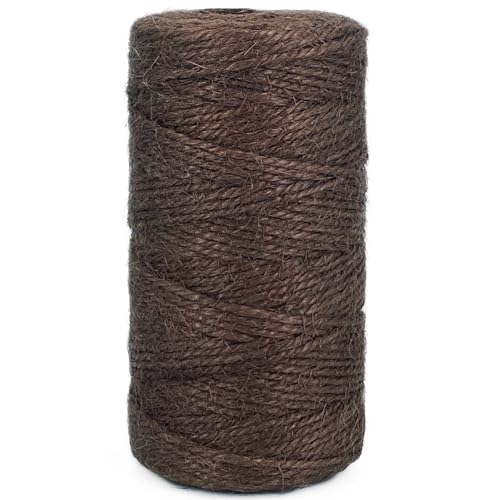
Natural jute twine spirals around a jar to create rustic texture. Use it to store cotton balls or craft supplies.
Materials Needed
- 1 pint mason jar
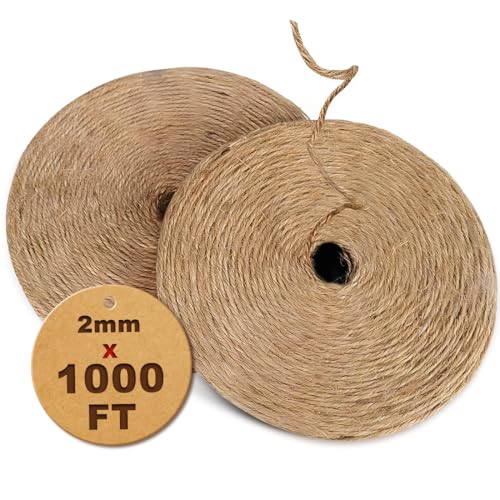
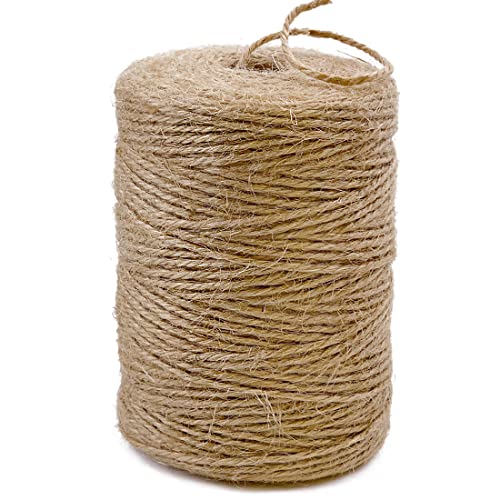
- jute twine, 1/8 inch thick, 10 yards
- tacky glue
- paintbrush, 1/2 inch
How to Make It
- Apply a 2-inch line of tacky glue near the base of the jar with the brush.
- Press the twine end onto the glue and wrap tightly upward in a spiral.
- Glue every 2 inches as you go to prevent slipping.
- Cut the twine at the rim and secure the end with a dot of glue.
20. Dried Citrus Garland Jar
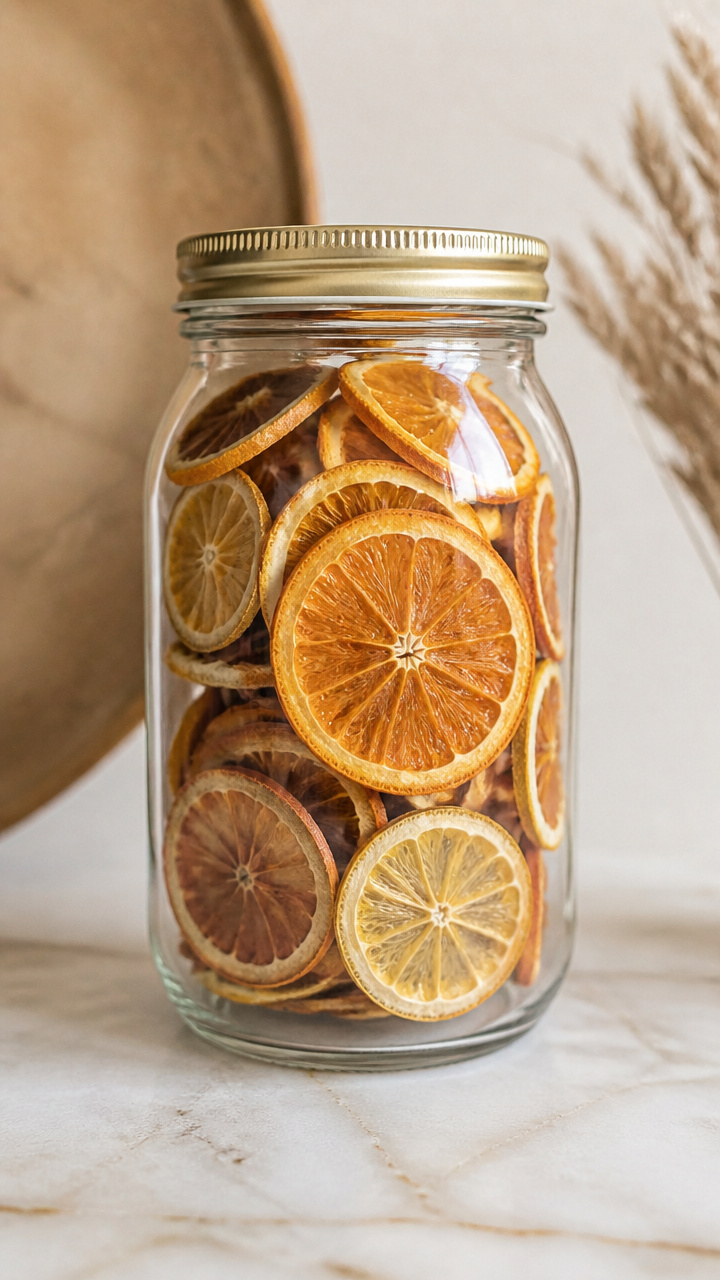
Thin slices of orange and lemon dried in the oven become fragrant decorations. They stay bright when stored in a jar.
Materials Needed
- 2 oranges
- 1 lemon
- knife
- cutting board
- baking sheet
- parchment paper
- oven
- quart mason jar
How to Make It
- Slice the oranges and lemon into 1/4 inch rounds using the knife.
- Place slices on the parchment-lined baking sheet.
- Bake at 200°F for 4 hours, flipping halfway.
- Let cool, then stack in the jar with a paper towel between layers.


Each of these crafts brings a little bit of fall indoors with materials that feel right for the season. Pick one that calls to you and start creating tonight.