20 Front Door Fall Wreaths

Fall brings crisp air, golden light, and the chance to welcome guests with a warm touch. A handmade wreath on your front door says hello in the coziest way. These twenty ideas use real materials, simple tools, and clear steps so you can create something beautiful without stress.
1. Mini Pumpkin Vine Wreath
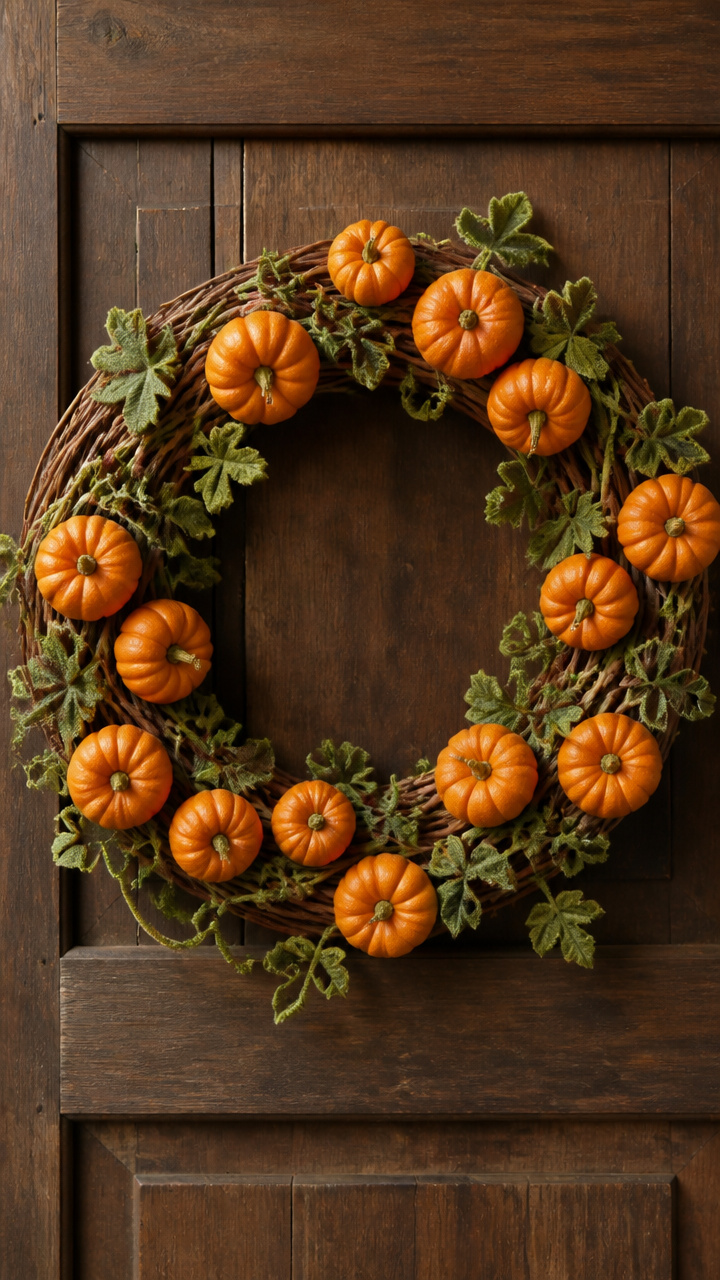
Tiny silk pumpkins dangle from a grapevine base, giving a harvest feel without heaviness. This lightweight design stays fresh-looking all season.
Materials Needed
- 12-inch grapevine wreath base
- 18 small orange silk pumpkins (1 inch each)
- 24 green pipe cleaners (6 inches long)
- Wire cutter
How to Make It
- Cut each pipe cleaner in half to make 48 short stems.
- Thread one end of a pipe cleaner through the stem hole of a pumpkin and twist tightly at the back.
- Slide the free end of the pipe cleaner into the grapevine wreath and bend to secure. Space evenly around the entire circle.


2. Burlap Ribbon Swirl
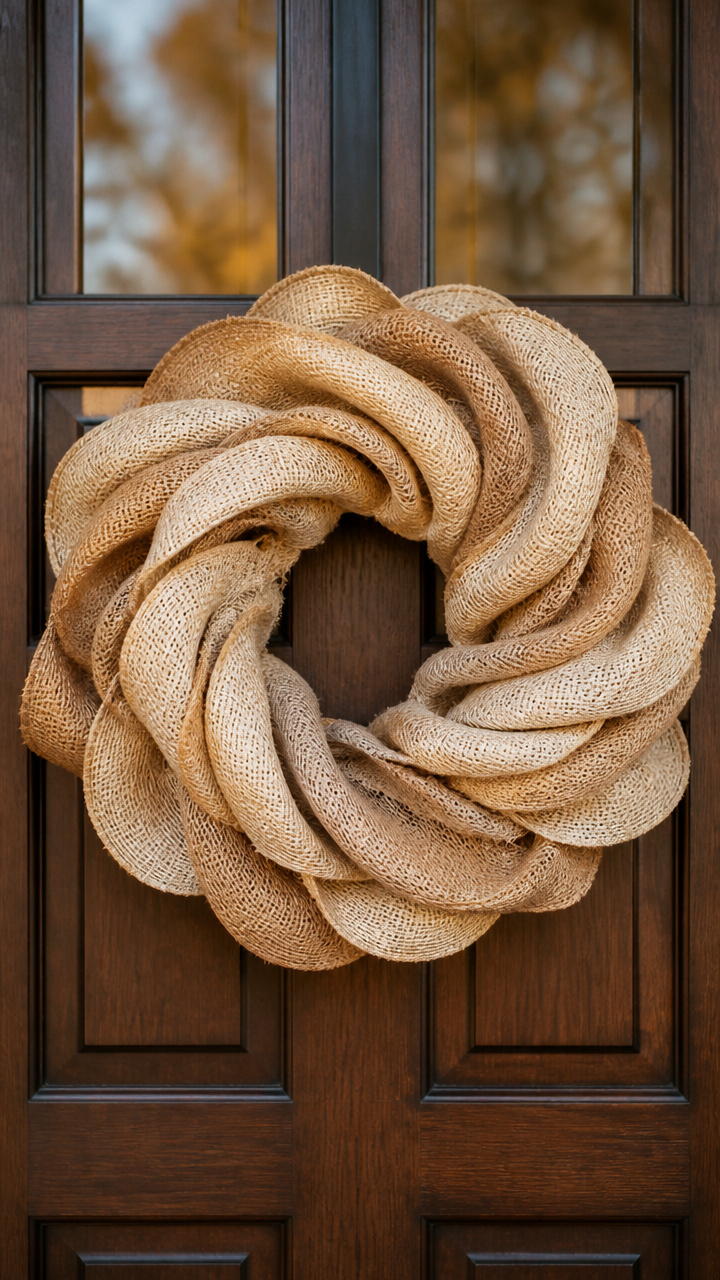
Soft burlap loops create a textured, neutral look that pairs well with any door color. The spiral shape adds motion and depth.
Materials Needed
- 14-inch foam wreath form
- 5 yards wide burlap ribbon (6 inches wide)
- Hot glue gun
- Glue sticks
- Scissors
How to Make It
- Start at the outer edge of the foam form and apply hot glue every 3 inches as you wrap.
- Fold the burlap ribbon into loose loops as you go, securing each with glue. Keep the loops facing outward.
- Continue wrapping inward in a spiral until the center is filled. Trim the end cleanly with scissors.
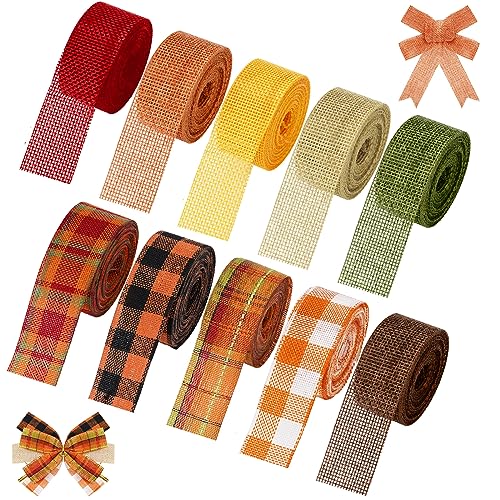


3. Maple Leaf Mason Jar Lid
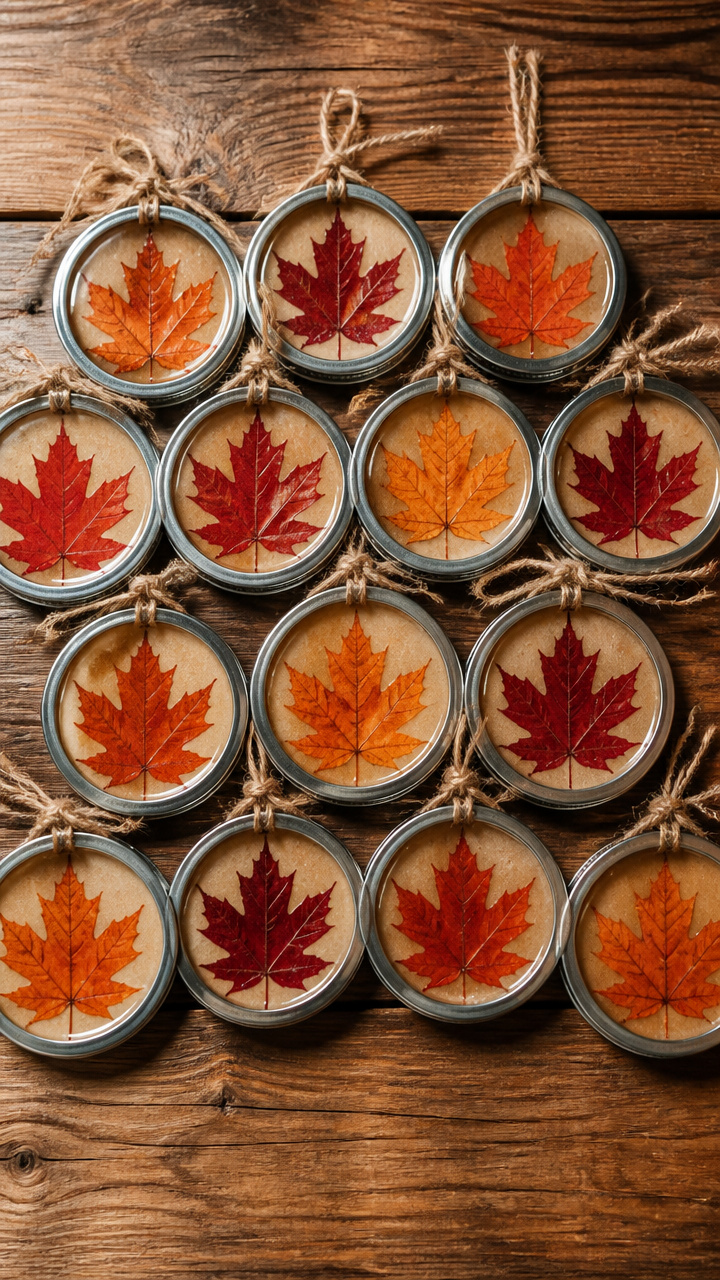
Realistic maple leaves are preserved under glass for a rustic keepsake effect. Each lid becomes a mini autumn window.
Materials Needed
- 12 mason jar lids (8 oz size)
- 24 pressed maple leaves (red and orange)
- Mod Podge
- Small foam brush
- Twine (1 yard)
How to Make It
- Arrange two leaves per lid, overlapping slightly. Brush Mod Podge over the top of each leaf and let dry for 20 minutes.
- Once dry, attach twine across the back of each lid using a small knot to hang.
- String all lids on a longer piece of twine and space evenly. Hang from wreath hanger.


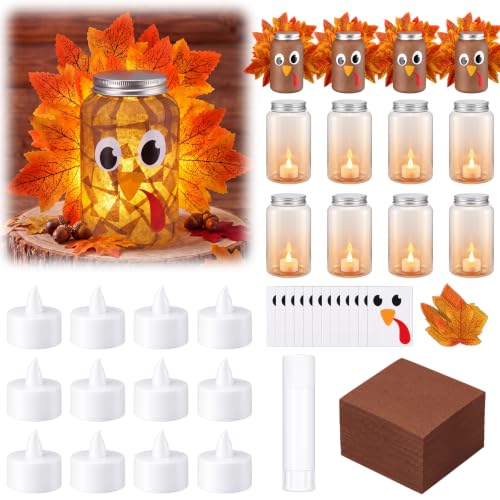
4. Cinnamon Stick Circle
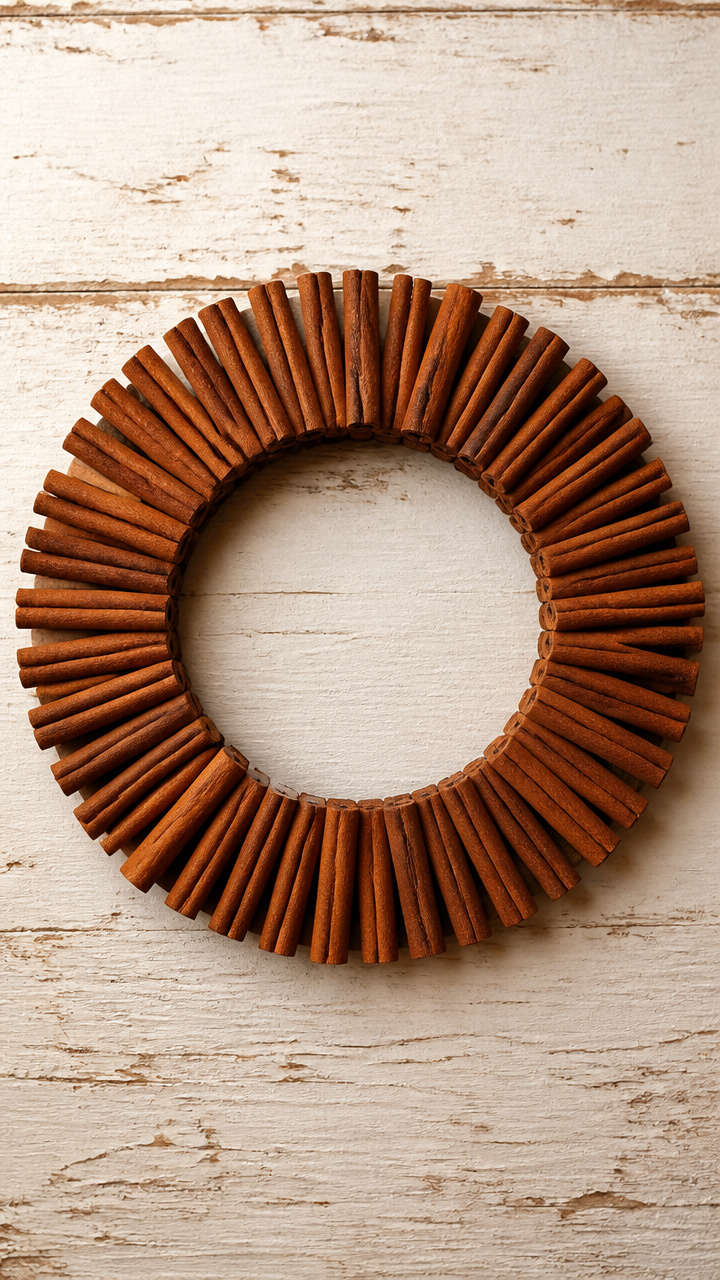
Spiced scent meets sleek symmetry when cinnamon sticks form a full ring. It’s simple to build and fills your porch with warmth.
Materials Needed
- 36 cinnamon sticks (3 inches long)
- 10-inch wire wreath frame
- Floral wire (22 gauge)
- Wire cutters
- Hot glue gun
How to Make It
- Lay six cinnamon sticks side by side and bind them together at both ends with floral wire.
- Attach each bundle to the wire frame using hot glue at the center of the back. Place them end to end like spokes.
- Fill gaps between bundles with a dot of hot glue and press individual sticks into place.


5. Felt Acorn Cluster
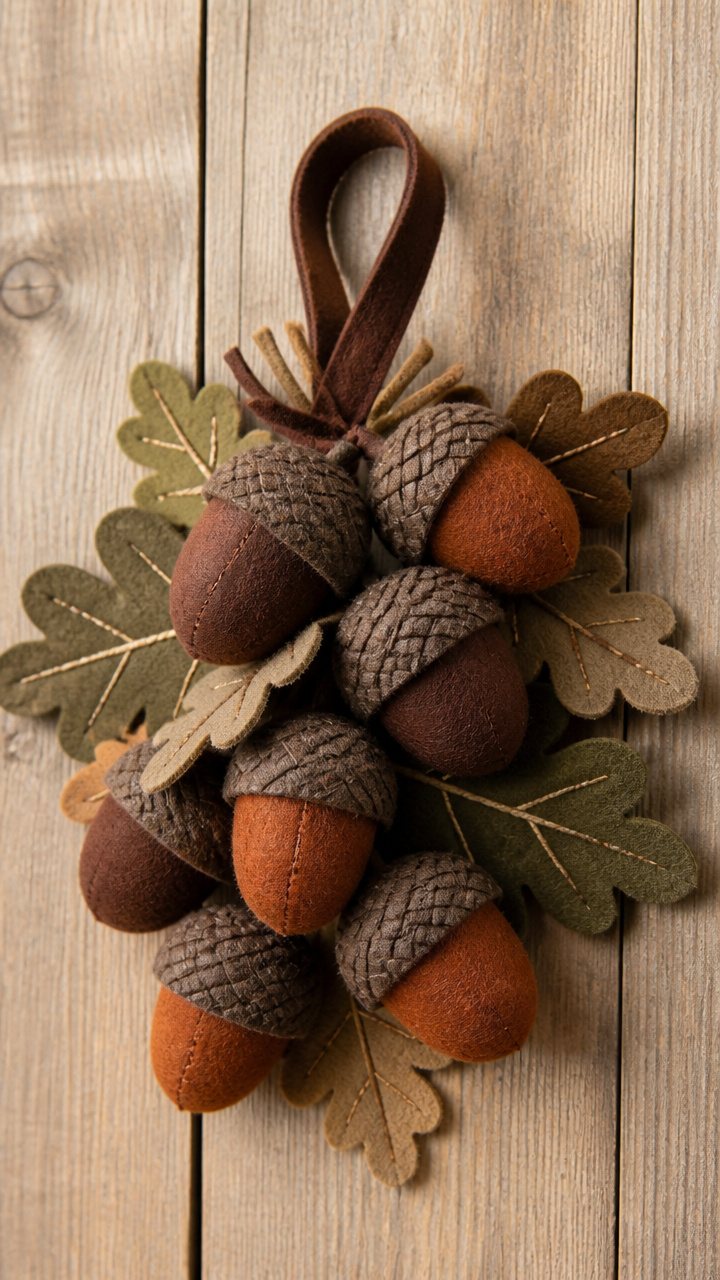
Hand-stitched acorns in deep brown and rust add woodland charm. Felt holds up to weather and needs no sealing.
Materials Needed
- 12 brown felt sheets (9×12 inches)
- 6 rust felt sheets (9×12 inches)
- Embroidery needle
- Dark brown thread
- Scissors
- Hot glue gun
How to Make It
- Cut 24 acorn caps from rust felt using a 1.5-inch circle template. Cut 24 acorn bodies from brown felt using a teardrop shape 2 inches long.
- Sew a running stitch around the edge of each acorn body, pull tight to gather, and insert the flat end of a cap.
- Glue three acorns together at the base to form clusters. Attach five clusters around a plain wire wreath frame.


6. Dried Corn Husk Wrap
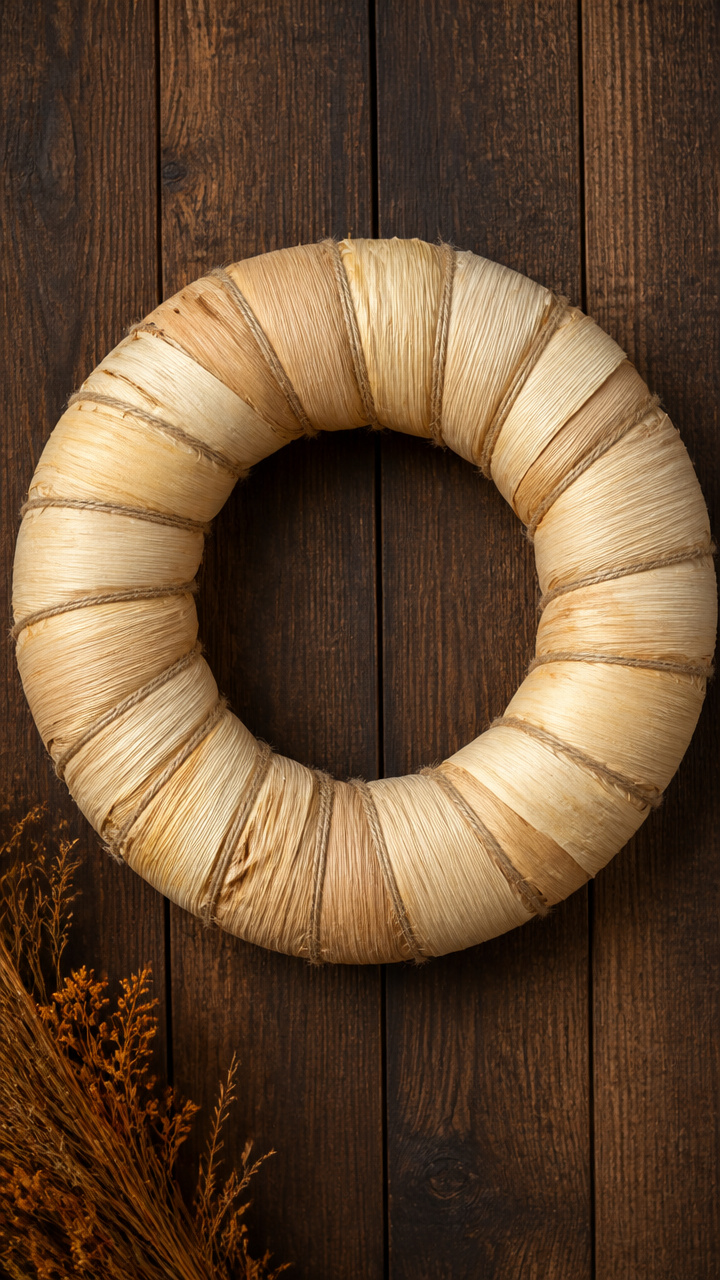
Strips of dried corn husk give a farmhouse feel with subtle color variation. Natural tan tones blend beautifully with fall foliage.
Materials Needed
- 12-inch straw wreath base
- 30 dried corn husks (8×6 inches)
- Spray bottle with water
- Jute string (3 feet)
- Scissors
How to Make It
- Soak each corn husk in water for 2 minutes to make it pliable.
- Wrap one husk around the wreath base at a time, securing the end with a knot of jute. Overlap each new husk by half.
- Trim ragged edges after drying. Let the wreath sit overnight before hanging.


7. Pinecone Tips Ring
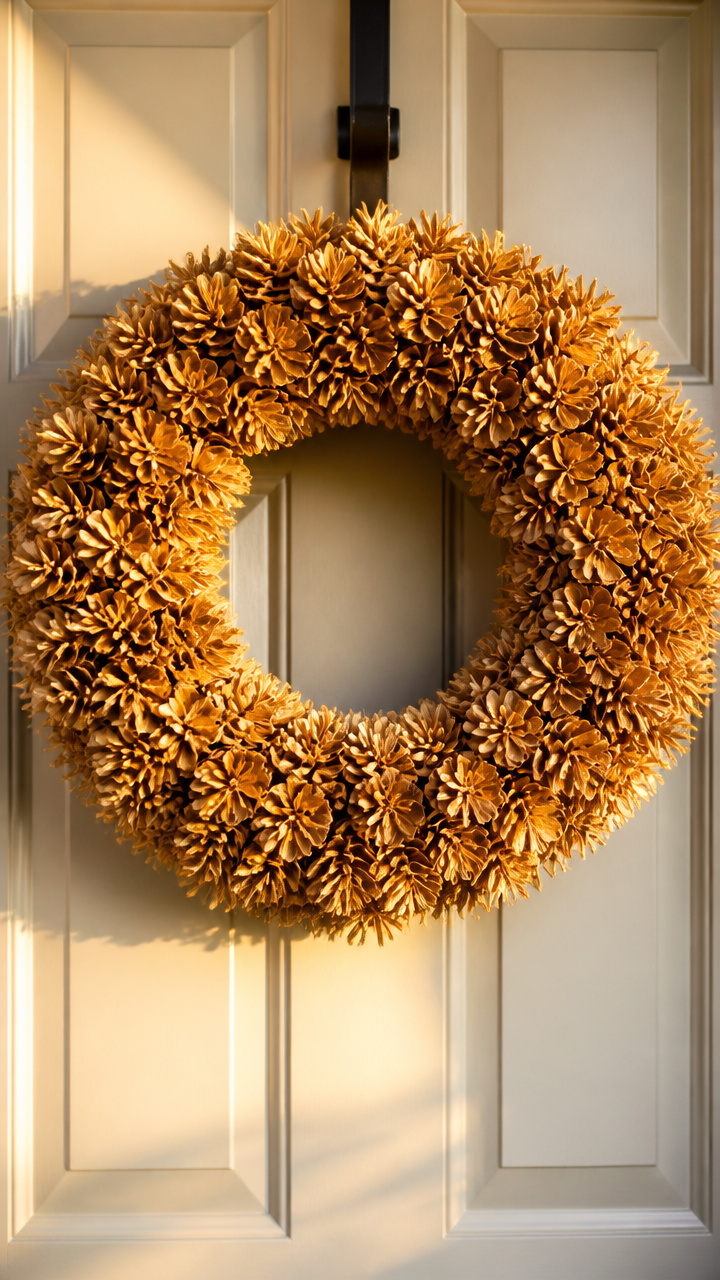
Only the soft tips of pinecones are used, creating a fluffy golden halo. Light catches the edges just right at sunrise.
Materials Needed
- 40 pinecone tips (cut from larger cones, 2 inches long)
- 8-inch foam wreath form
- Hot glue gun
- Glue sticks
How to Make It
- Break apart larger pinecones to get loose tips. Use only the outermost layered pieces.
- Apply a dime-sized dab of hot glue to the base of each tip and press onto the foam form.
- Work in a clockwise direction, placing tips close together until the entire ring is covered.


8. Woven Wheat Stalks
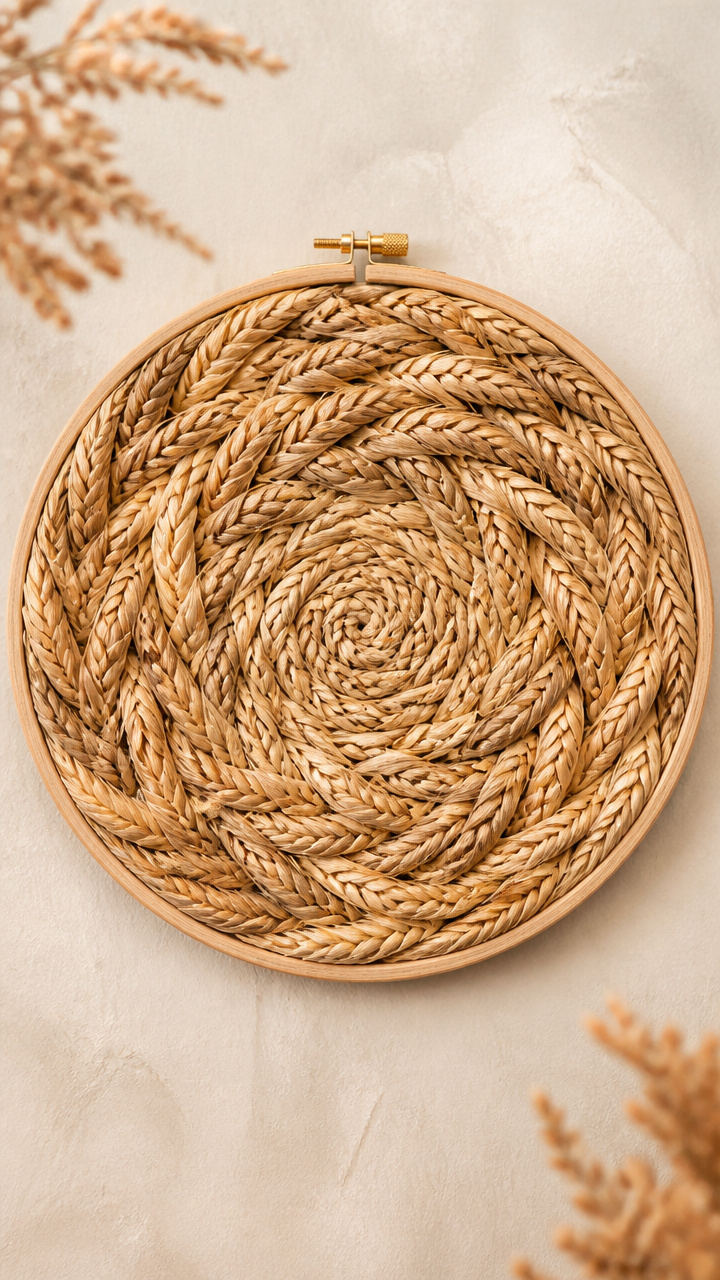
Golden wheat stalks are braided then woven into a flat disc. The natural grain shines in low afternoon light.
Materials Needed
- 24 dried wheat stalks (12 inches long)
- Ruler
- Natural twine (5 feet)
- Scissors
- 10-inch embroidery hoop
How to Make It
- Lay eight stalks parallel inside the inner ring of the embroidery hoop. Tie twine at both sides to hold.
- Weave twelve more stalks perpendicular through the first set, alternating over and under every other strand.
- Tighten weave gently, then tie off twine at the back. Trim excess stalks flush with the hoop.


9. Chalk Painted Grapevine
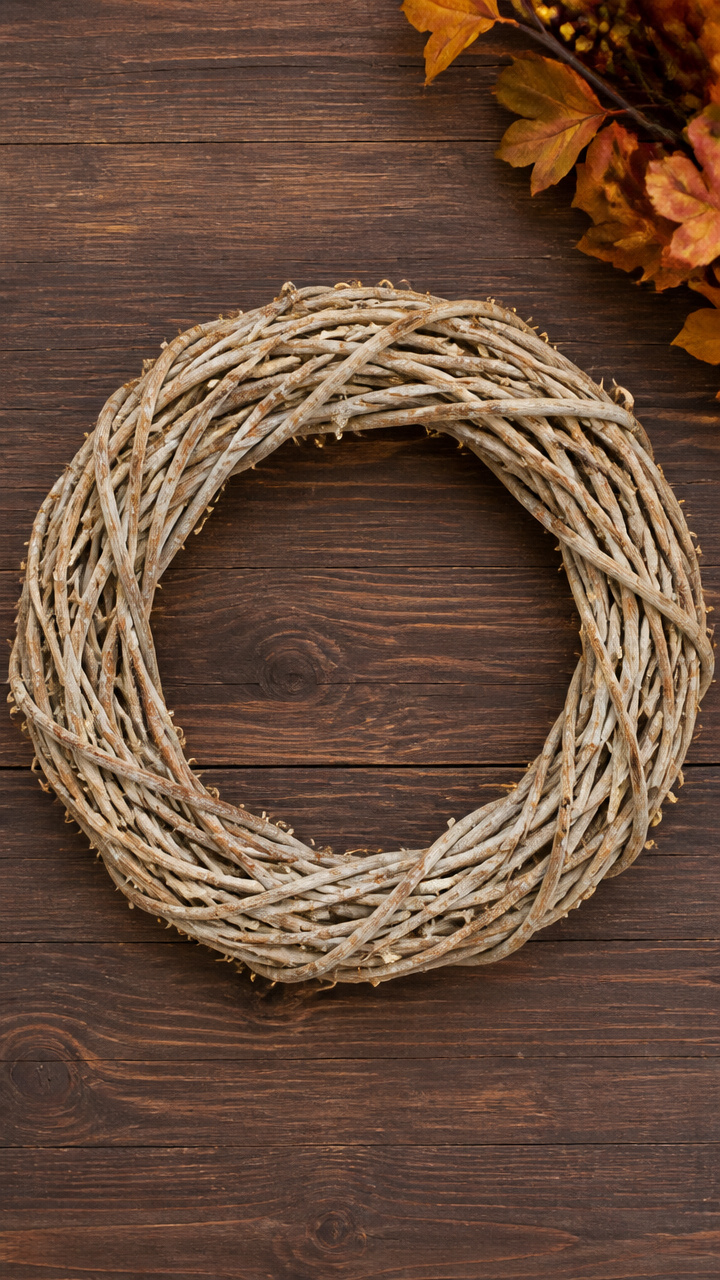
A natural grapevine wreath gets a wash of pale gold chalk paint for a sun-bleached look. The texture stays visible underneath.
Materials Needed
- 12-inch grapevine wreath
- Pale gold chalk paint (2 oz)
- Foam brush
- Paper plate
- Clear matte sealant spray
How to Make It
- Pour a small amount of paint onto the paper plate. Dip the brush lightly and apply in thin strokes along one section.
- Let dry for 15 minutes, then repeat on uncoated areas until the whole wreath has a streaky, uneven finish.
- Spray with two coats of sealant, waiting 10 minutes between coats. Let cure for 1 hour.

![Shabby Chic Chalk Furniture Paint: Luxurious Metallic Paint, Craft Paint for Home Decor, DIY, Wood Cabinets - All-in-One Paints with Shiny Metallic Finish [Antique Gold] - (8.5 oz Covers 32 sf)](https://m.media-amazon.com/images/I/41kIAgk7NjL._SL500_.jpg)

10. Apple Slice Garland
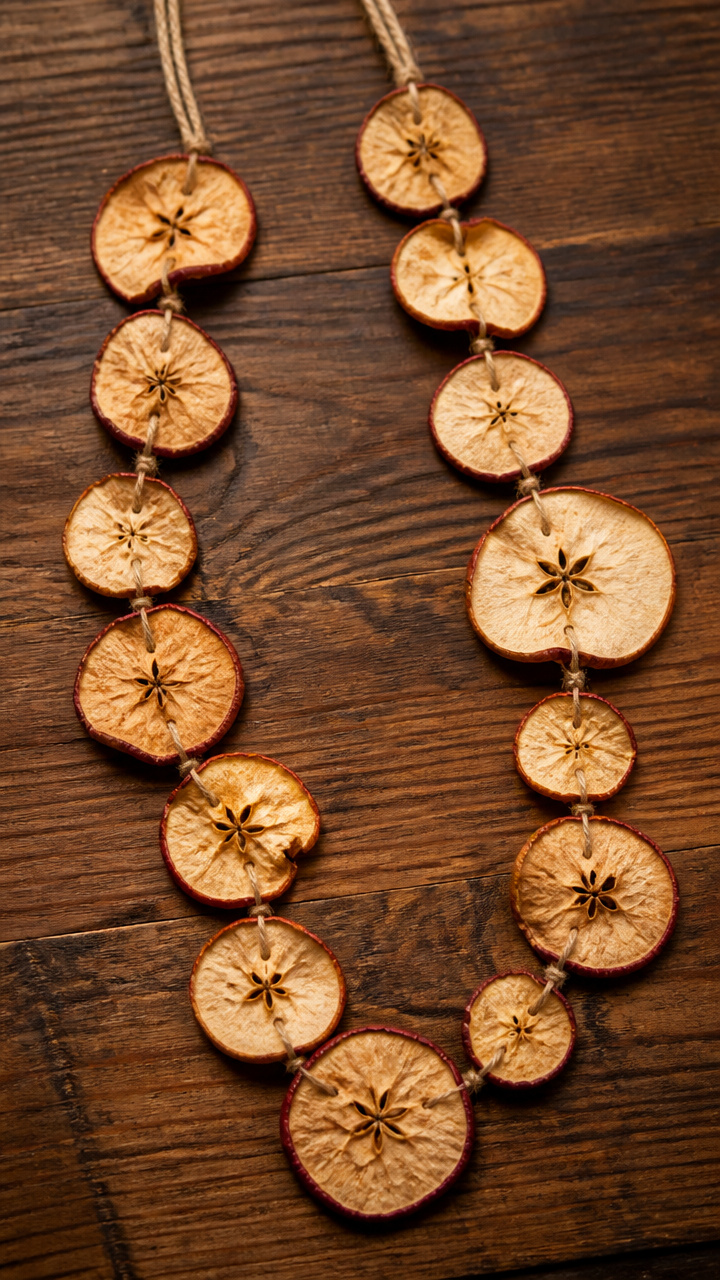
Real apple slices are dried into flat rounds and strung into a fragrant garland. They darken naturally as they age.
Materials Needed
- 6 red apples
- Knife
- Baking sheet
- Parchment paper
- Twine (4 feet)
How to Make It
- Slice each apple into 1/4-inch rounds and remove seeds. Arrange on parchment-lined baking sheet.
- Bake at 200°F for 2 hours, flipping halfway. Turn off oven and leave slices inside for 6 more hours.
- Thread twine through each slice with a large needle. Knot behind each to prevent sliding. Hang in a loop.


11. Rustic Clothespin Pumpkins
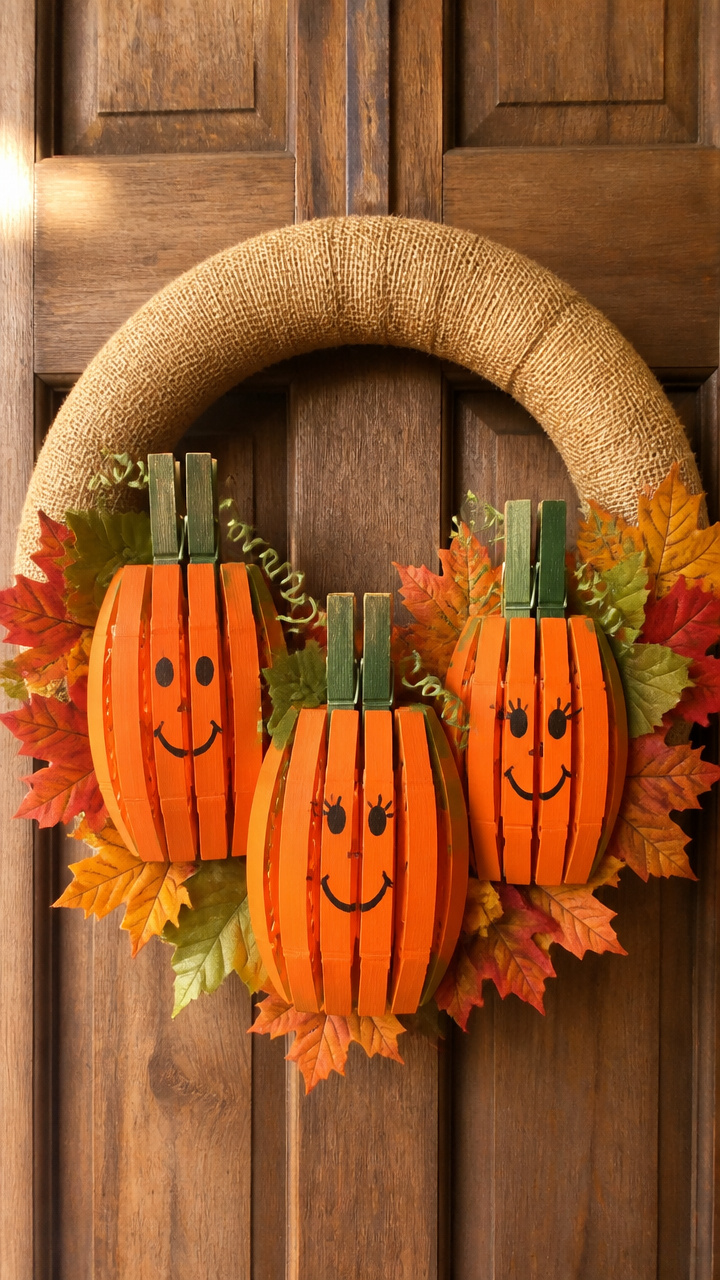
Wooden clothespins become tiny pumpkins with a flick of paint. Their cheerful faces show best in morning light.
Materials Needed
- 24 wooden clothespins
- Orange acrylic paint
- Green craft paint
- Paintbrush (small)
- Hot glue gun
- 10-inch foam wreath
How to Make It
- Paint each clothespin orange and let dry for 30 minutes on wax paper.
- Add a small green dot at the top for the stem. Let dry another 20 minutes.
- Open each clothespin and glue the jaws onto the foam form, placing them close together in rows.


12. Pressed Flower Sunburst
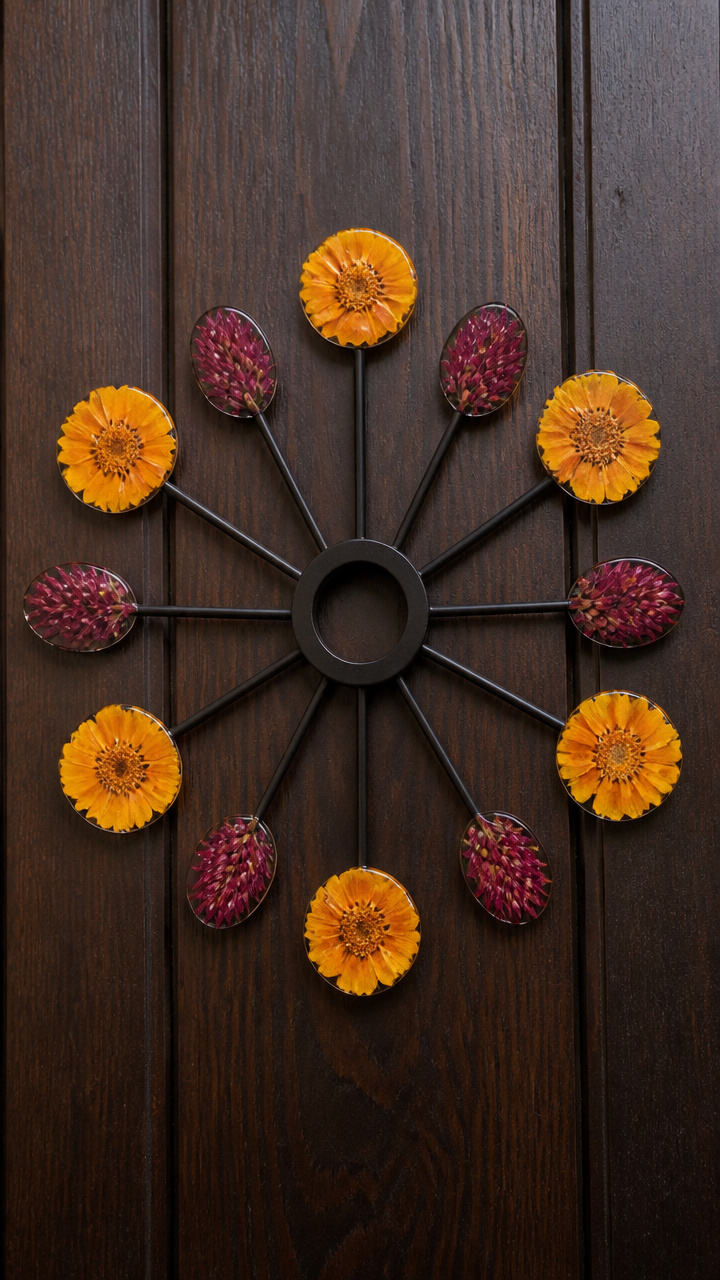
Yellow and rust flowers are flattened and arranged in rays. Delicate petals glow against dark wood.
Materials Needed
- 12 black-painted wooden skewers (6 inches long)
- 12 pressed marigolds
- 6 pressed crimson clover blooms
- White craft glue
- Fine brush
- Small drop of clear resin per flower
How to Make It
- Glue one marigold or clover to the tip of each skewer. Let dry flat for 40 minutes.
- Apply a tiny drop of resin to each flower to preserve it. Let cure for 2 hours.
- Insert all skewers into a central cork ball and space evenly like sun rays. Mount on door with wire.


13. Knit Sweater Leaves
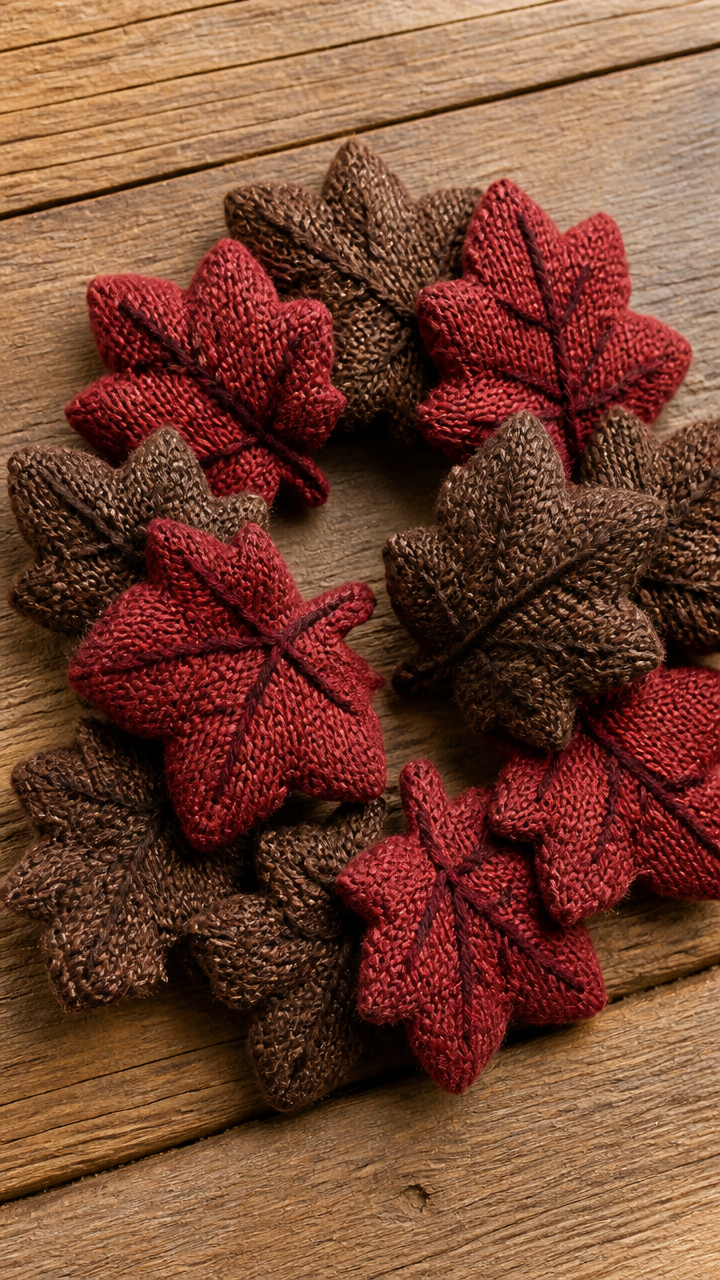
Scraps of old knit sweaters become plush fall leaves. Fabric resists rain and keeps its shape.
Materials Needed
- Red wool sweater scrap
- Brown wool sweater scrap
- Leaf stencil (3 inches long)
- Fabric scissors
- Polyester stuffing
- Needle and matching thread
How to Make It
- Trace the stencil onto both fabrics and cut out two of each color.
- Place matching pairs right sides together and sew around the edge with a 1/4-inch seam, leaving the stem open.
- Turn right side out, stuff lightly, and hand-stitch the opening closed. Attach four leaves to a vine wreath with thread.



14. Crayon Wax Drip Frame
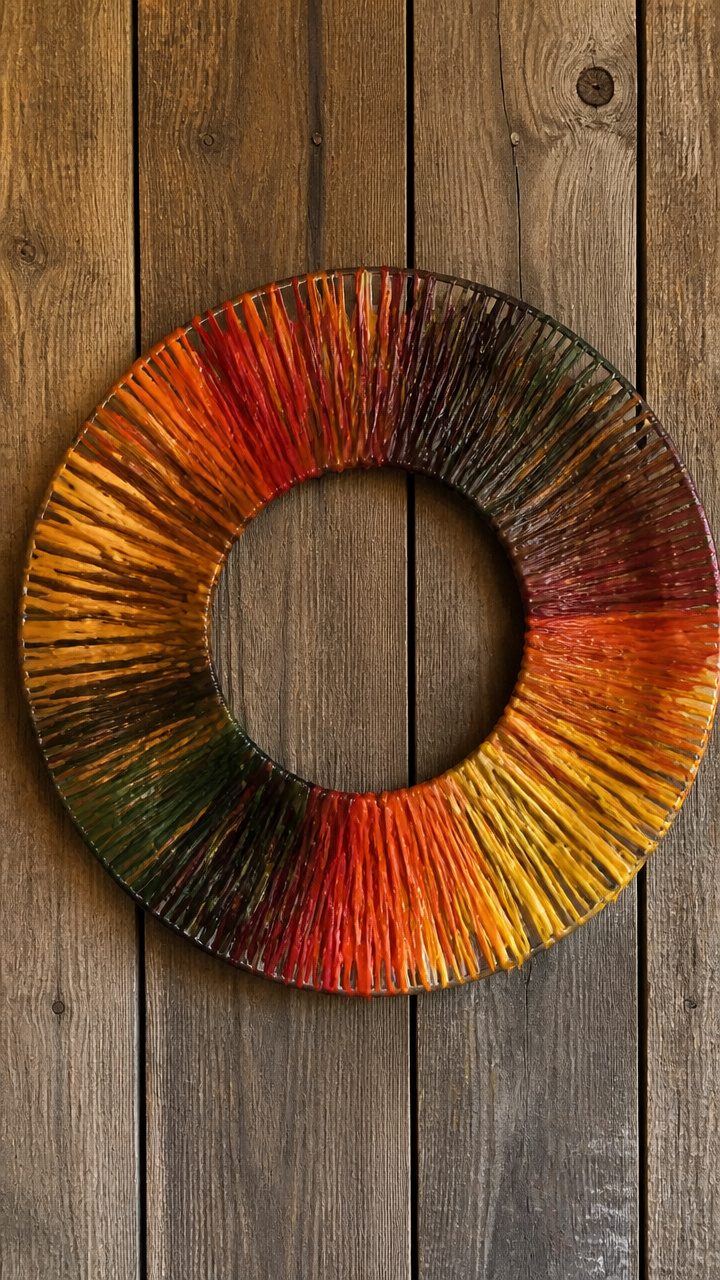
Old crayons melt into colorful drips on a metal frame. Warm days bring out their waxy scent.
Materials Needed
- 10-inch metal wreath frame
- 12 fall-colored crayons (red, orange, yellow, brown)
- Hair dryer
- Aluminum foil
- Clothespins
How to Make It
- Strip paper from crayons and clip them upside down at intervals around the frame using clothespins.
- Cover work area with foil. Point hair dryer at crayon tips and heat slowly until wax runs downward.
- Let cool completely for 30 minutes before moving. Hang where sun won’t warp drips further.


15. Twine Wrapped Honeycomb
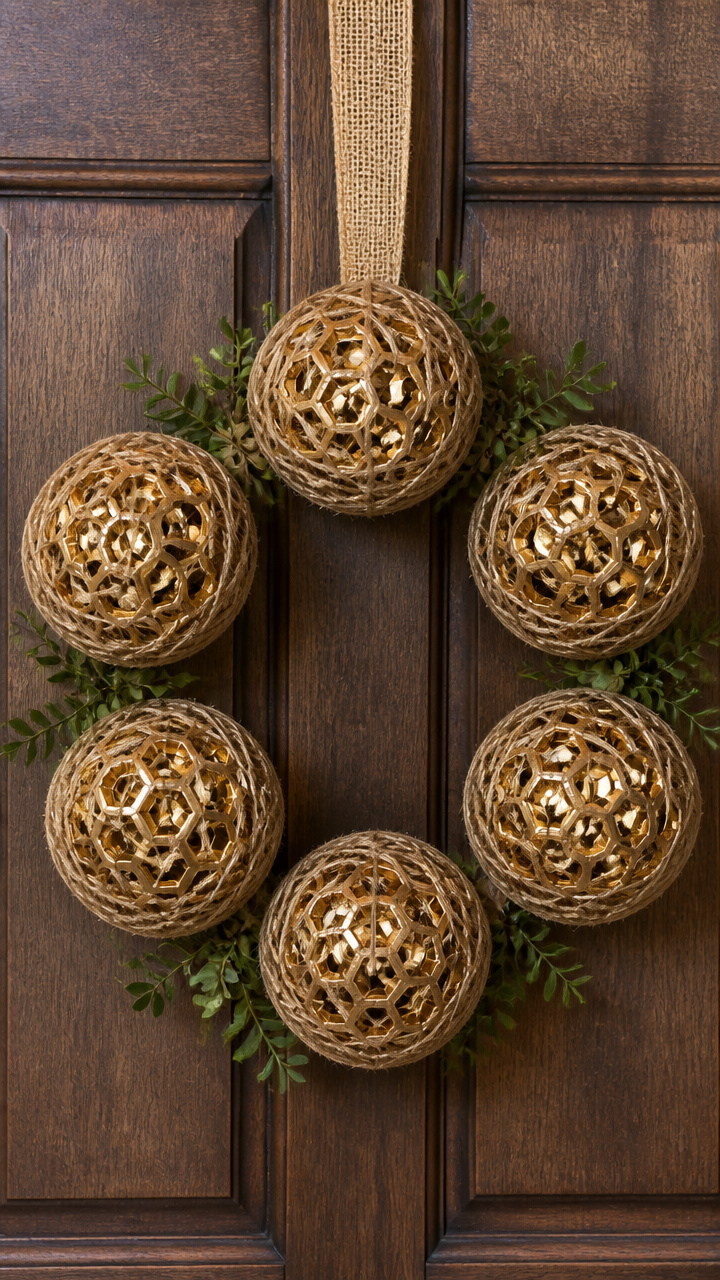
Gold honeycomb balls get wrapped with natural twine for earthy sparkle. The texture catches wind gently.
Materials Needed
- 6 gold honeycomb balls (4 inches diameter)
- Natural twine (100 feet)
- Scissors
- Hot glue gun
How to Make It
- Begin at the top of each ball and glue the twine end. Wrap in horizontal lines, gluing every 2 inches.
- Keep tension even so no gaps show. Cover about 70% of each ball, leaving some gold peeking through.
- Glue three balls to a wreath base in a triangle. Suspend the others below with extra twine.


16. Plaid Flannel Bow
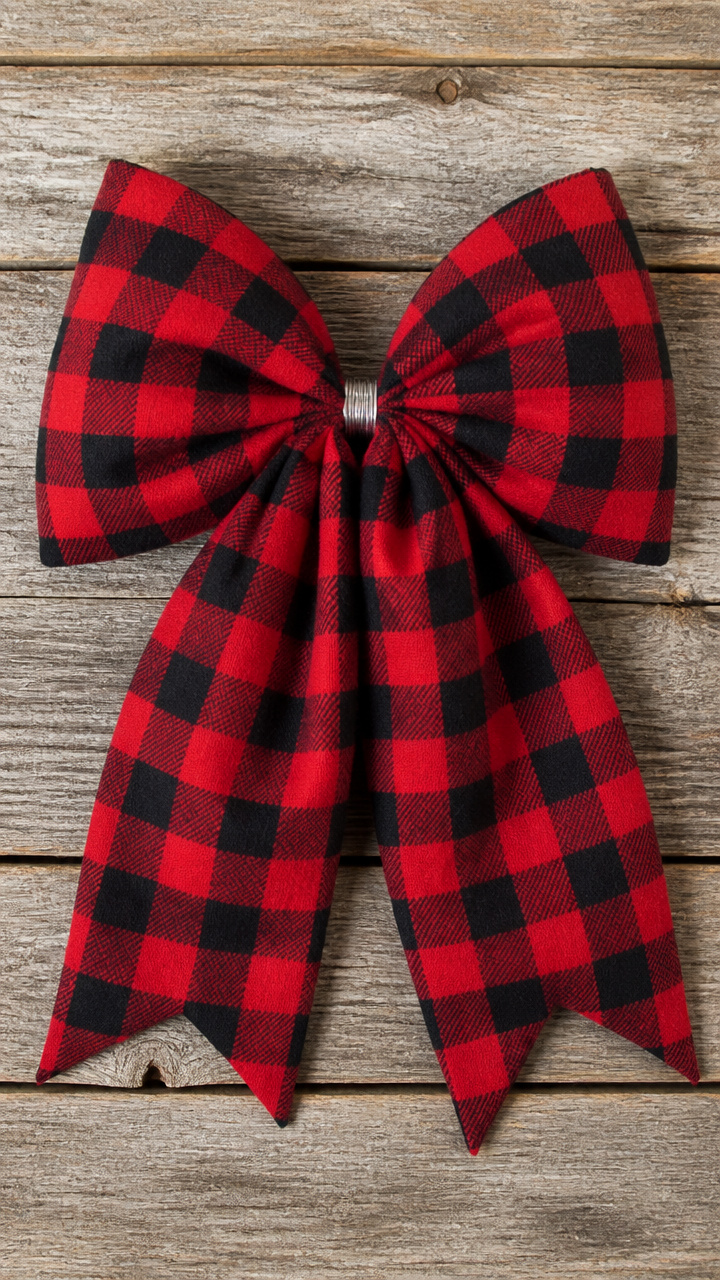
Classic flannel fabric forms a big, soft bow that nods to cabin style. It stays bright even in drizzle.
Materials Needed
- Red and black plaid cotton fabric (12×12 inches)
- Scissors
- 1-inch wide silver wire
- Ruler
- Hot glue gun
How to Make It
- Cut two fabric rectangles: one 4×8 inches, one 2×6 inches. Fold the center of each and pinch.
- Wrap wire around the middle of both pieces and twist tightly to form a bow with tails.
- Glue the knot area to a grapevine wreath. Position so the bow stands upright.


17. Gilded Acorn Caps
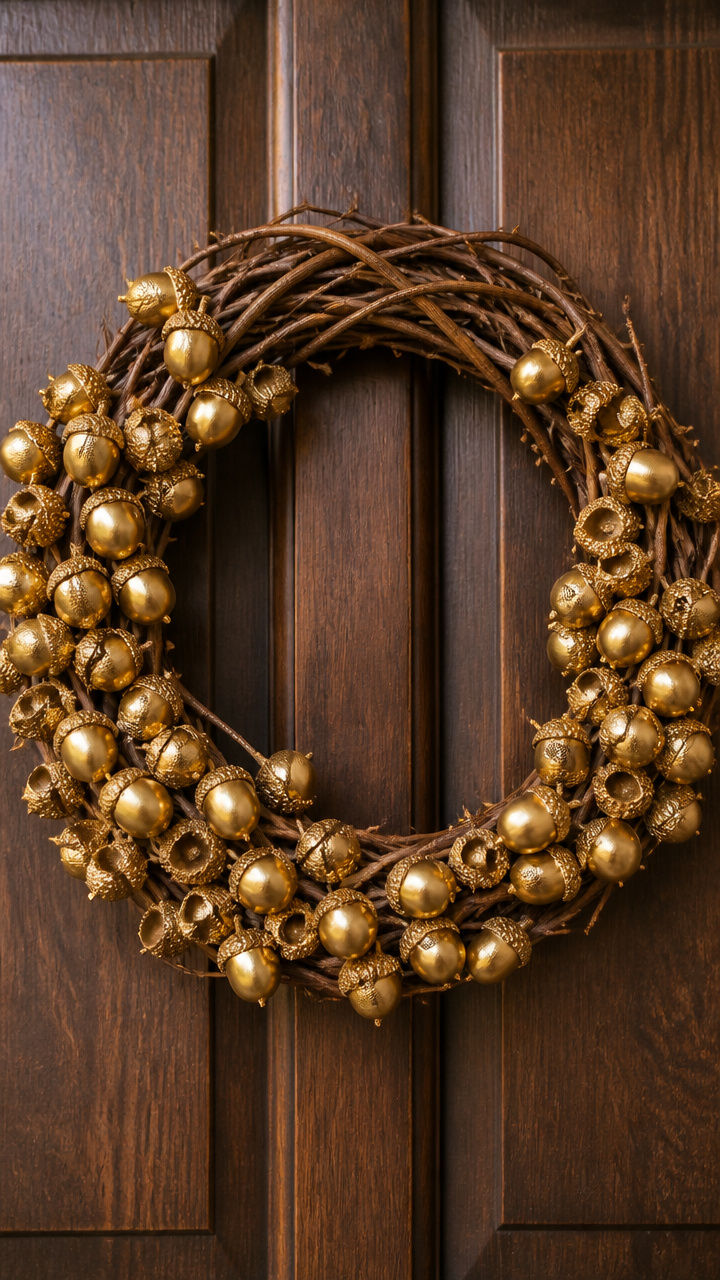
Only the caps of acorns are saved and dipped in gold paint. Their clustered shine mimics candlelight.
Materials Needed
- 50 acorn caps
- Gold metallic paint
- Paint tray
- Small sponge brush
- Hot glue gun
- 8-inch willow wreath
How to Make It
- Spread acorn caps on wax paper. Dab gold paint on the outer rim only using the sponge brush.
- Let dry for 25 minutes, then flip and paint the other side.
- Glue caps in groups of five around the wreath, with gold edges facing outward.


18. Copper Wire Leaf Veins
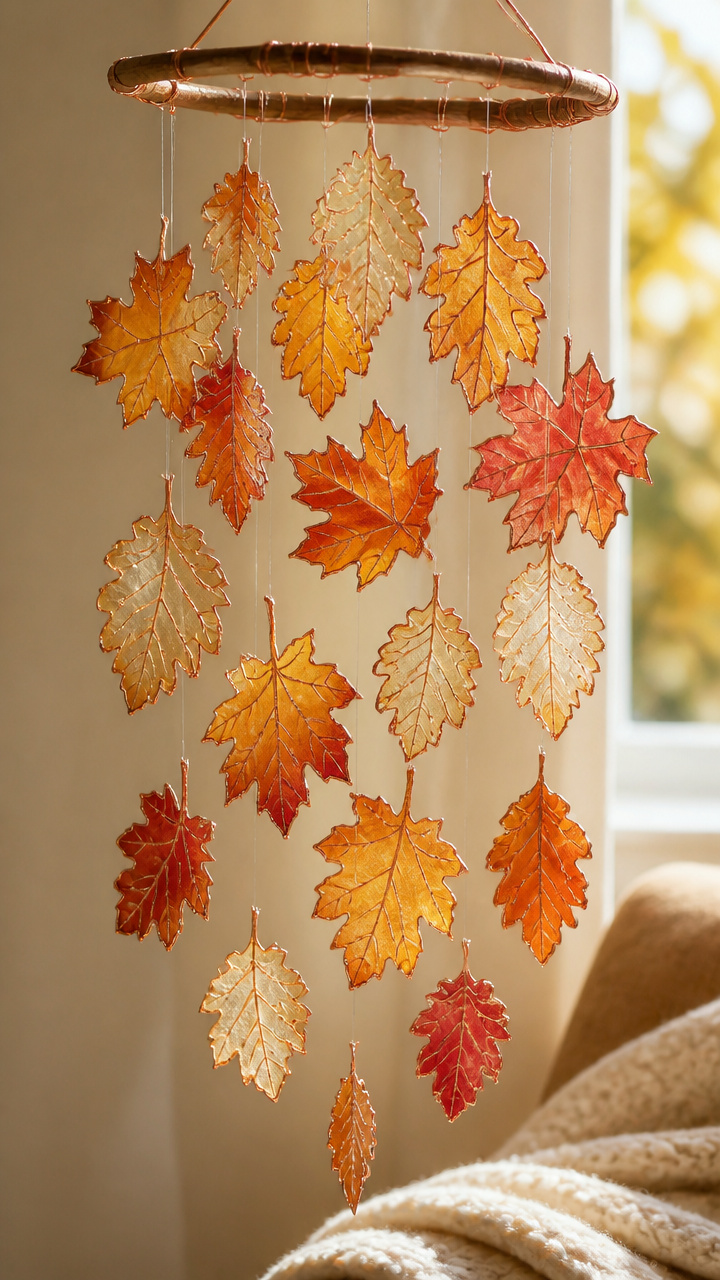
Translucent leaves are reinforced with copper wire to highlight their natural paths. Light shines through like stained glass.
Materials Needed
- 12 translucent leaves (picked dry, 3 inches long)
- 20-gauge copper wire (10 feet)
- Wire cutters
- Needle-nose pliers
- Clear fishing line (3 feet)
How to Make It
- Cut copper wire into 6-inch lengths. Bend one piece to match the central vein of a leaf.
- Wrap the wire around the leaf edge to secure. Add smaller wires for side veins.
- Tie each leaf to a grapevine wreath with fishing line, spacing them like falling leaves.


19. Patchwork Denim Pumpkins
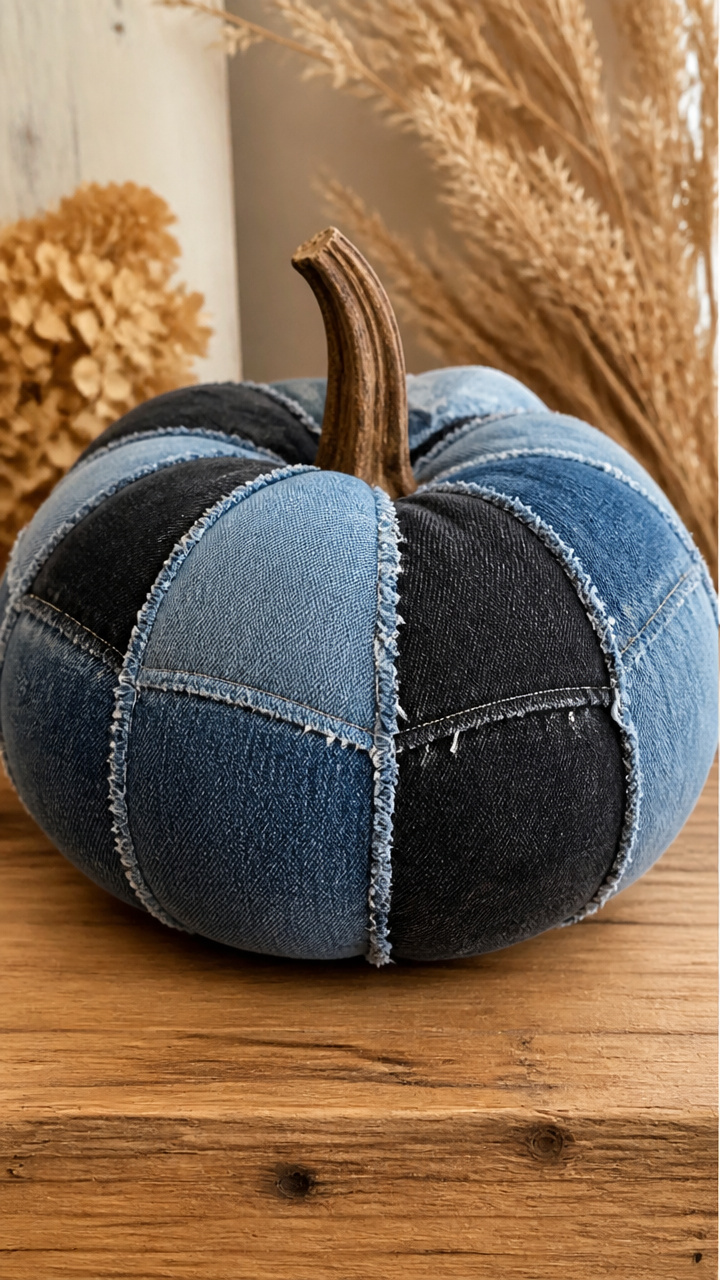
Scraps of blue and black denim are stitched into patchwork pumpkins. Frayed edges add character.
Materials Needed
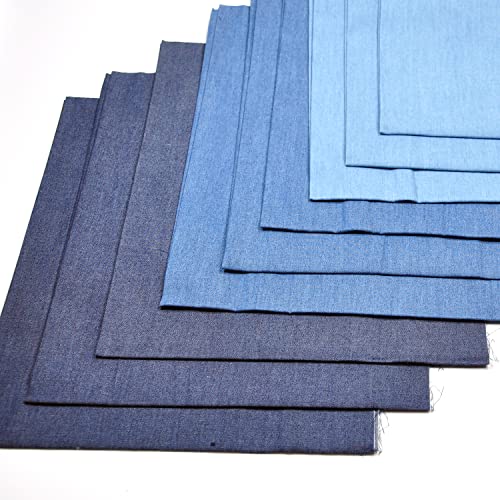
- Blue denim scrap
- Black denim scrap
- Denim needle
- Heavy thread
- Scissors
- Poly-fill stuffing
- 10-inch wreath form
How to Make It
- Cut six circles: three from blue, three from black, each 3 inches in diameter.
- Pair opposite colors and sew around the edge with a backstitch, leaving a 1-inch gap.
- Turn right side out, stuff lightly, and hand-sew the gap closed. Arrange three pumpkins on the wreath with hot glue.


20. Autumn Moss Monogram
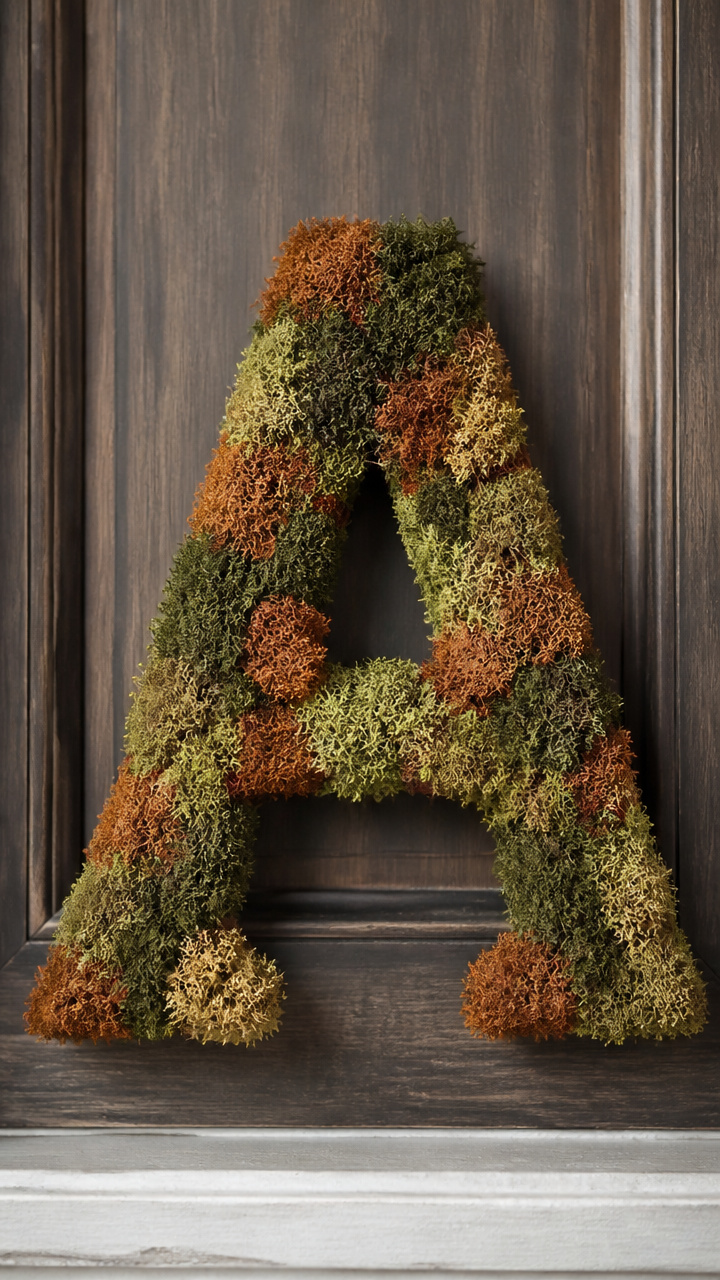
Preserved moss spells your initial in soft forest hues. It thrives in shade and looks alive year-round.
Materials Needed
- Sheet of preserved reindeer moss (green and rust)
- Cardboard letter (8 inches tall)
- Craft knife
- Low-temp hot glue gun
- Glue sticks
How to Make It
- Cut moss into 1-inch squares. Trace the outline of your letter on cardboard and cut it out with the craft knife.
- Working from the bottom up, glue moss squares onto the cardboard, overlapping slightly.
- Let dry for 20 minutes. Attach a sawtooth hanger and display on your door with a nail.


Each of these wreaths carries the spirit of fall in a different way. Pick one that matches your porch and start gathering what you need.