15 Easy Letter Q Crafts for Preschoolers

Little hands love making things that start with the letter Q, and these crafts turn early learning into joyful play. Each one uses simple materials you likely have at home and builds fine motor skills while reinforcing phonics in a fun way.
You’ll find no two projects alike here, from textured collages to wobbly animals. Every craft is built for short attention spans and big imaginations.
1. Quilted Paper Q
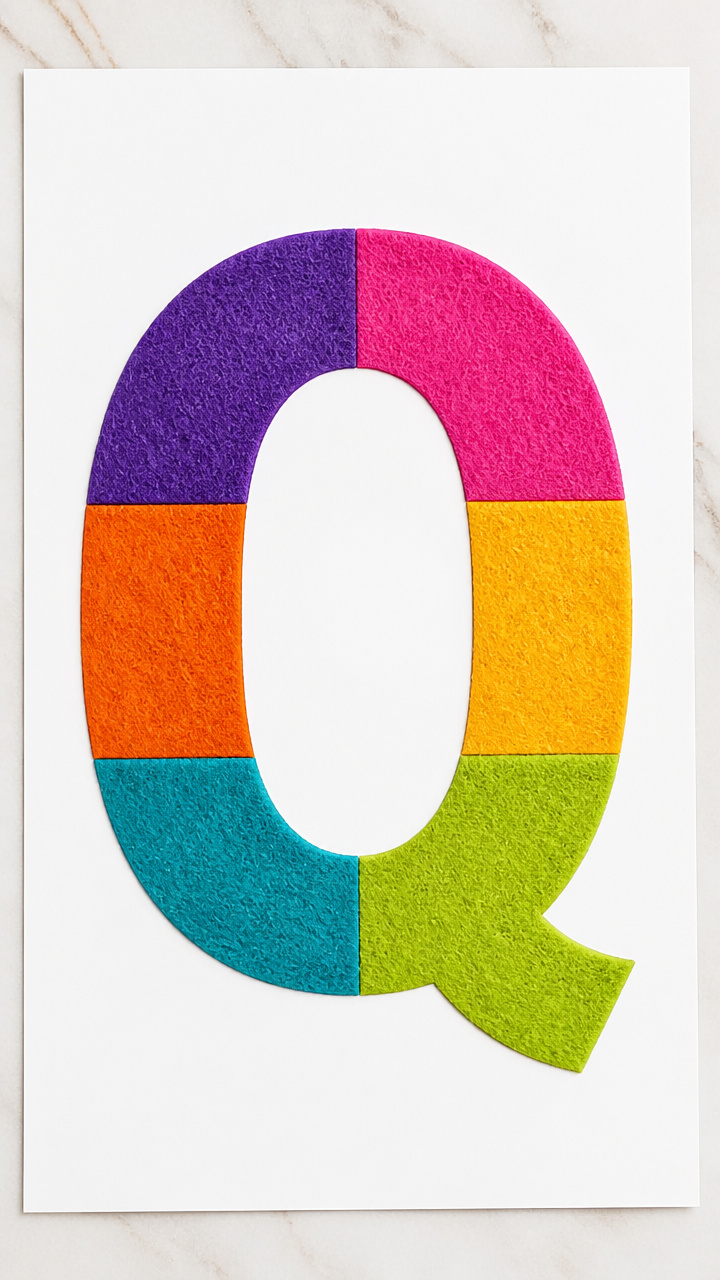
Soft squares of color come together in a patchwork-style letter shaped like a cozy quilt. This tactile project helps preschoolers practice scissor control and pattern recognition.
Materials Needed
- A4 white cardstock
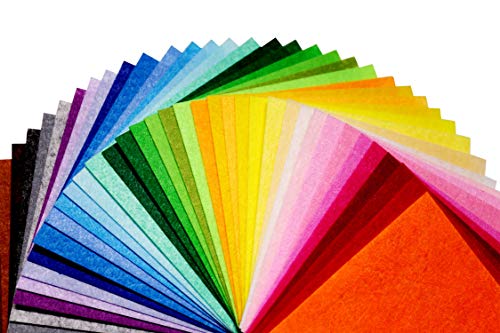
- 6 different colored felt squares, 2 inches by 2 inches each
- Child-safe scissors
- Glue stick
- Pencil
- Ruler
How to Make It
- Draw a large lowercase 'q' on the cardstock using pencil, about 6 inches tall.
- Cut each felt square into four smaller 1 inch pieces using scissors.
- Glue the small felt pieces onto the drawn 'q', placing them side by side to fill the shape like quilt patches.
- Let dry for 10 minutes before displaying.


2. Q Is for Quail
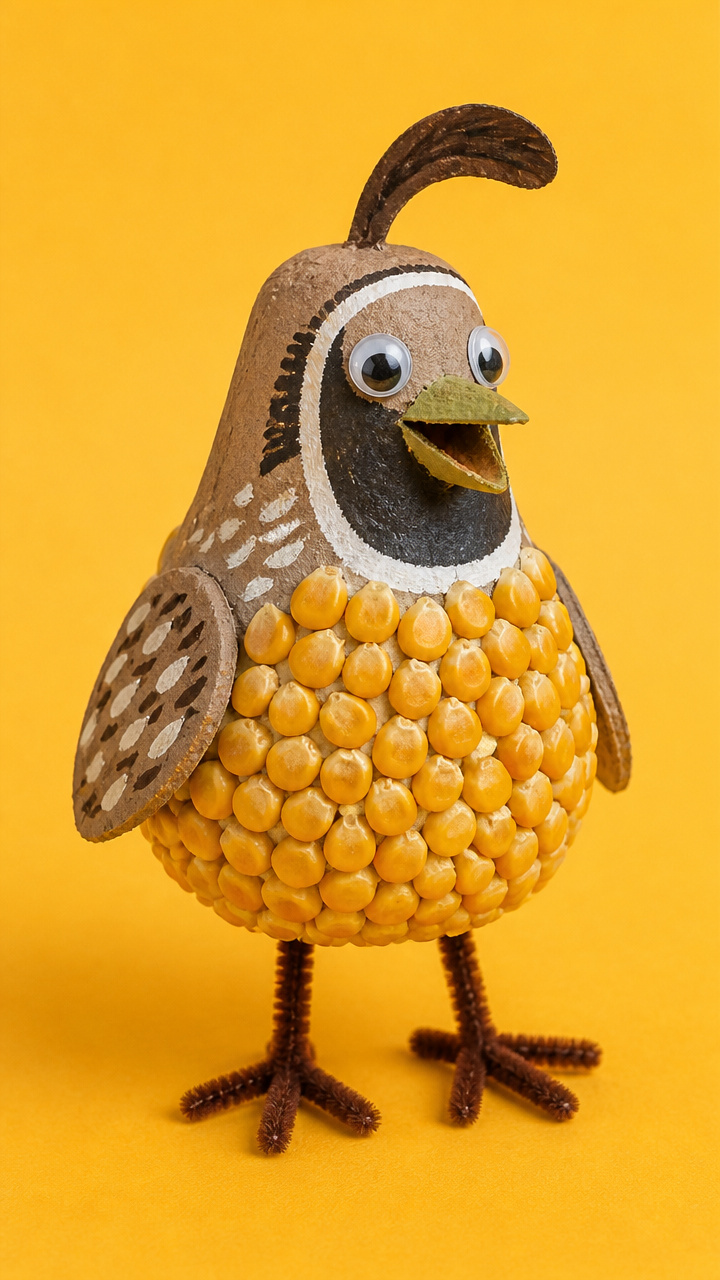
A feathery little bird made from dyed corn kernels gives kids a chance to explore texture and color mixing. The quail sits proudly on a branch cut from cardboard.
Materials Needed
- 1/4 cup yellow corn kernels
- 2 drops green food coloring
- Small resealable bag
- Cardboard egg carton section
- Brown pipe cleaner, 6 inches long
- Googly eyes, 2 pack
- White school glue
- Scissors
How to Make It
- Place corn kernels in the resealable bag and add green food coloring. Shake until evenly tinted.
- Snip one cup from an egg carton to use as the quail body.
- Glue dyed corn kernels in rows over the cup, overlapping slightly to mimic feathers.
- Twist the pipe cleaner into a small loop for feet and attach with glue. Add googly eyes near the top.

3. Quicksand Sensory Bottle
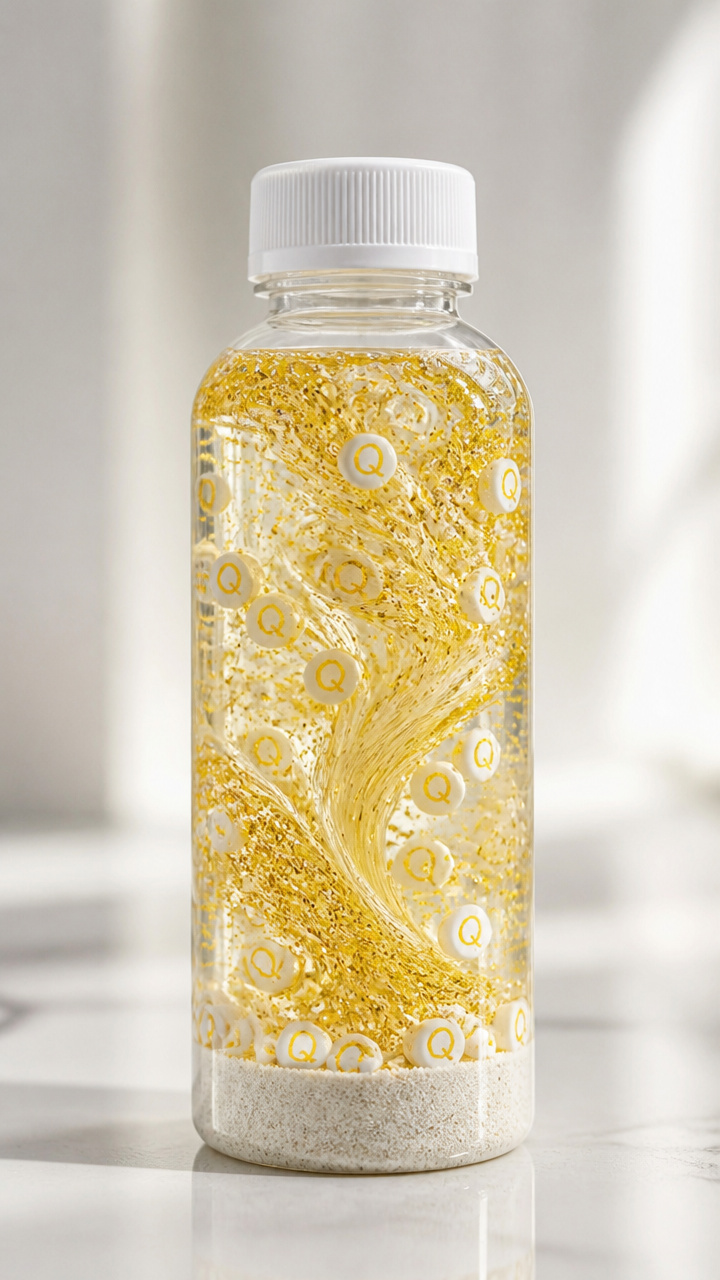
A swirling, slow-moving bottle filled with sand and tiny letters captivates young eyes. It teaches cause and effect while reinforcing the sound of Q.
Materials Needed
- Clear 8 oz plastic bottle with cap
- Fine white sand, 1 cup
- Yellow glitter, 1 teaspoon
- Alphabet beads, including several 'Q' beads
- Vegetable oil, 1/2 cup
- Funnel
How to Make It
- Use the funnel to pour sand into the bottle.
- Add yellow glitter and Q-shaped alphabet beads.
- Pour in vegetable oil, filling the bottle to the top.
- Screw cap on tight and shake gently to watch the mixture swirl like quicksand.
4. Quiet Mouse Puppet
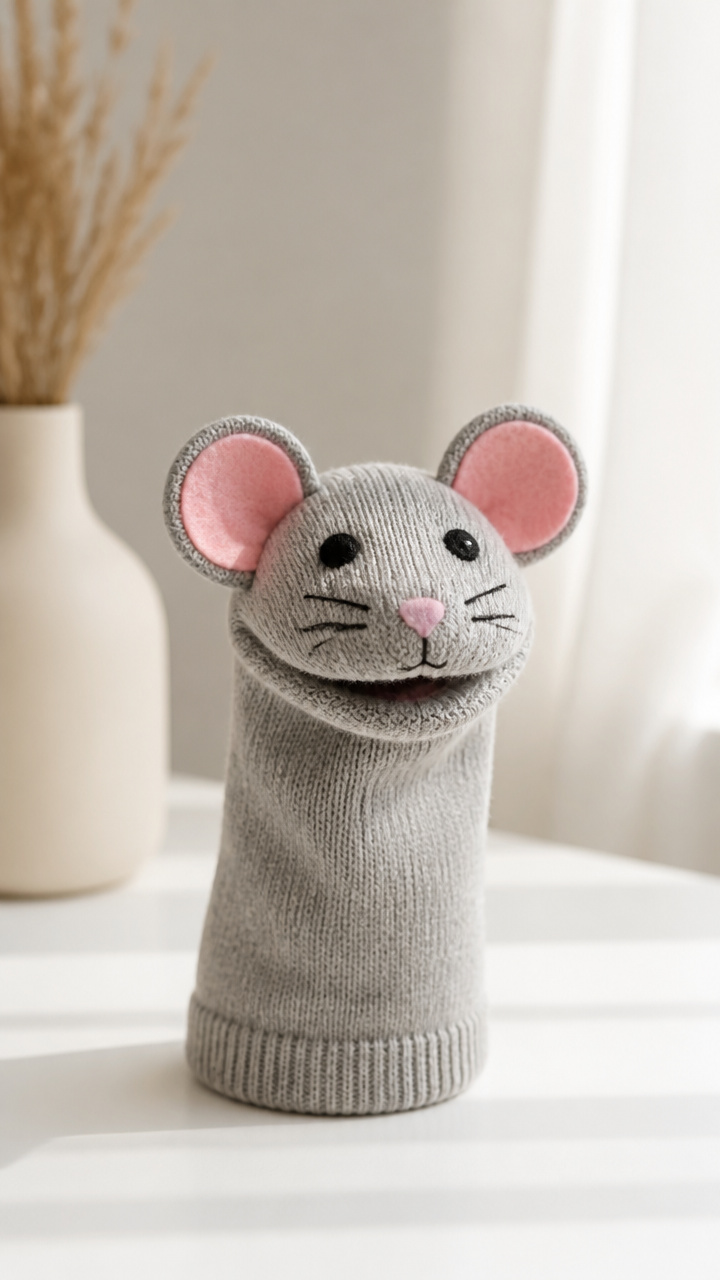
A soft fabric mouse with quiet footsteps doubles as a storytelling tool. Kids whisper its name to practice the 'qu' sound.
Materials Needed
- Gray sock, clean and dry
- Black embroidery thread
- Tapestry needle
- Pink felt sheet
- Scissors
- Glue dots
How to Make It
- Thread the tapestry needle with black thread and stitch a small 'Q' on the sock heel.
- Cut two small ear shapes from pink felt.
- Attach ears just above the heel using glue dots.
- Let dry for 5 minutes, then slide hand inside to play.


5. Quacking Duck Craft
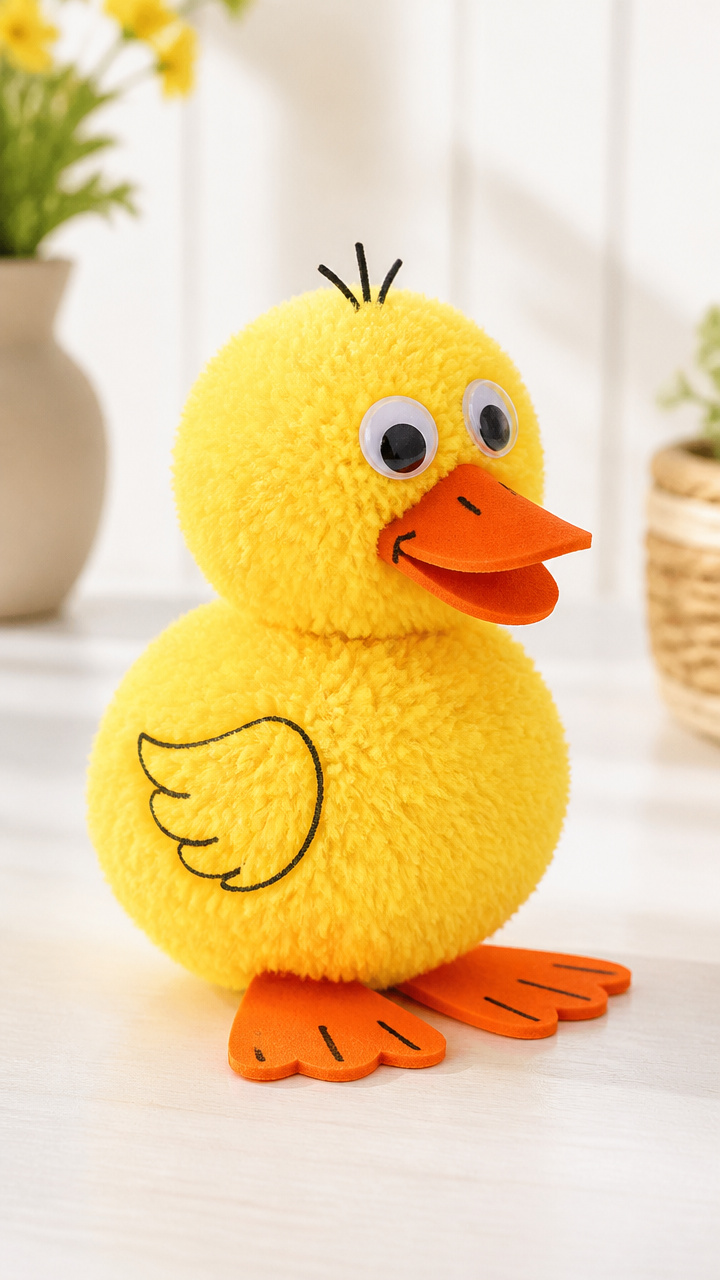
Bright yellow pom-poms become bouncy baby ducks that waddle across the table. This fast craft ends with a playful quack-along game.
Materials Needed
- Large yellow pom-pom, 1.5 inches
- Orange craft foam sheet
- Wiggle eyes, 2 pack
- White school glue
- Scissors
- Black marker
How to Make It
- Cut a small triangle from orange foam for the beak.
- Glue the beak to the front of the pom-pom.
- Add wiggle eyes just above the beak.
- Use the black marker to draw a tiny 'q' on one side of the pom-pom.


6. Q for Quiver Arrows
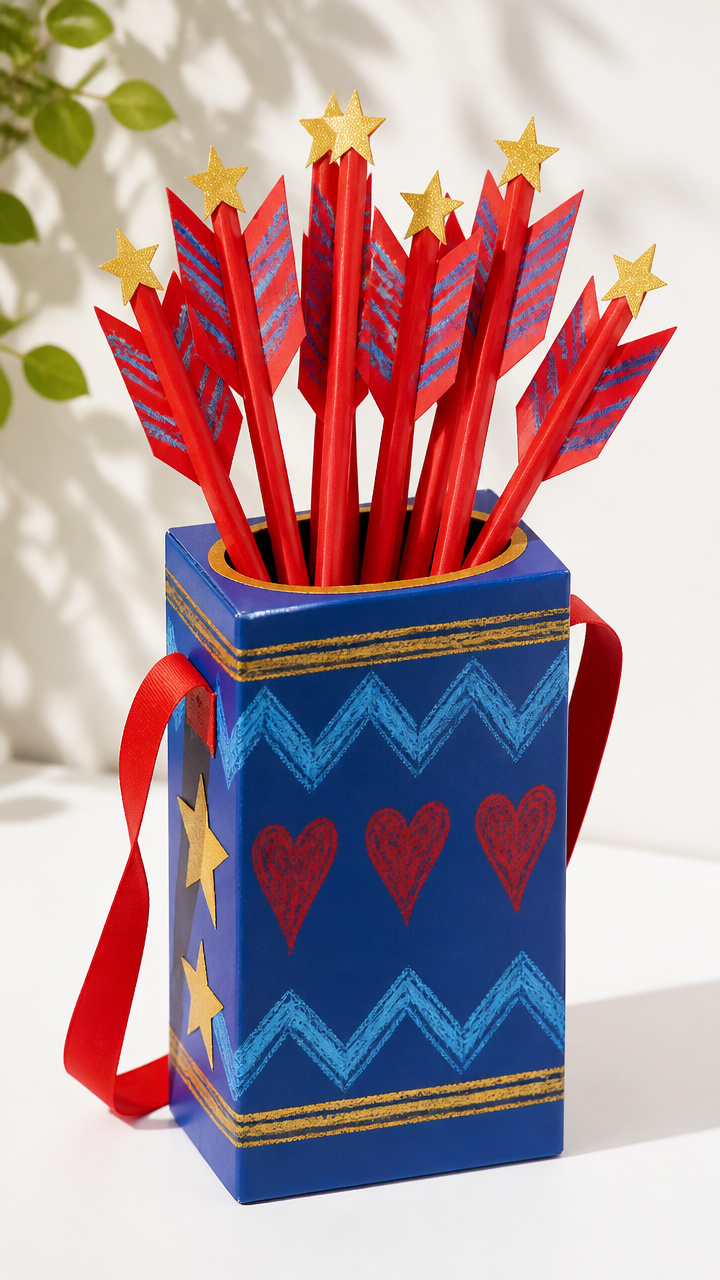
Colorful paper arrows stack into a decorated tissue box quiver. This active craft encourages sorting and imaginative backyard adventures.
Materials Needed
- Empty tissue box
- Red construction paper, 9×12 inches
- Blue crayon
- Scissors
- Glue stick
- Gold star stickers, 3 pack
How to Make It
- Cut the red paper into 6 arrow shapes, each 5 inches long.
- Draw a blue 'Q' on each arrow tip with the crayon.
- Glue gold stars along the shaft of each arrow.
- Slide all arrows point-first into the tissue box opening.


7. Quilt Block Rubbing
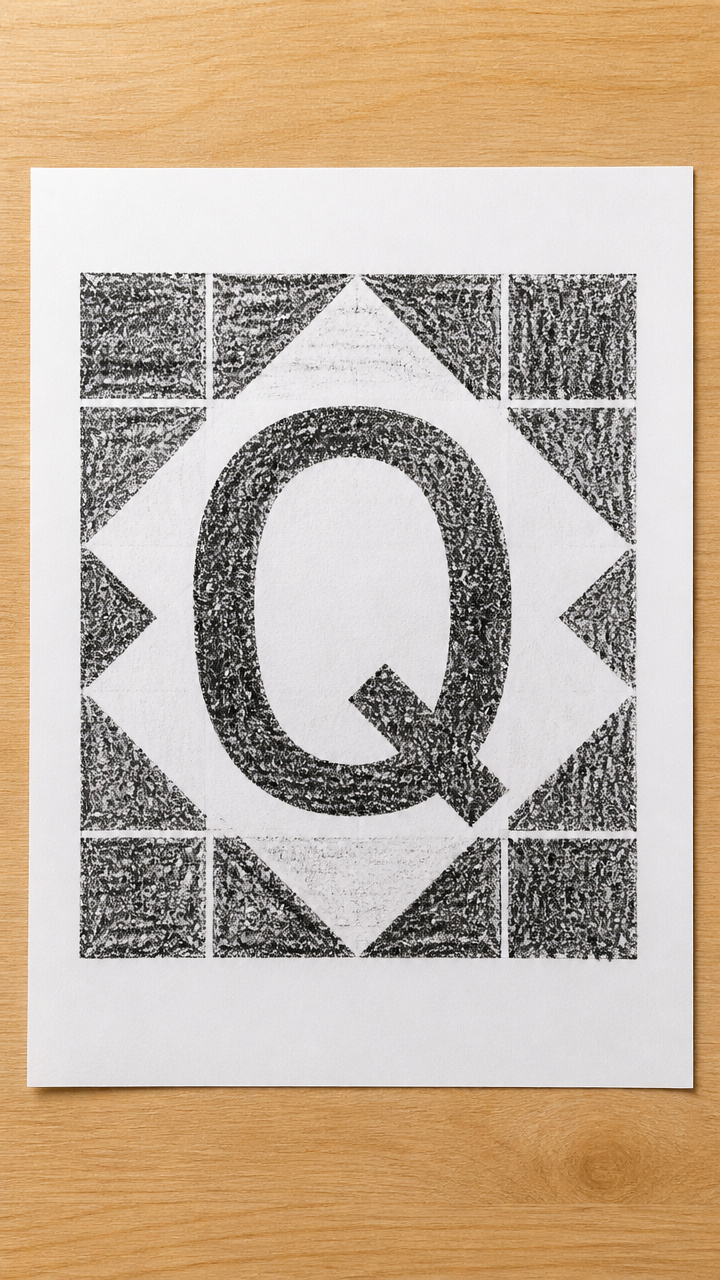
Crayon rubbings reveal hidden textures beneath paper, forming a bold letter Q. This sensory activity strengthens hand-eye coordination.
Materials Needed
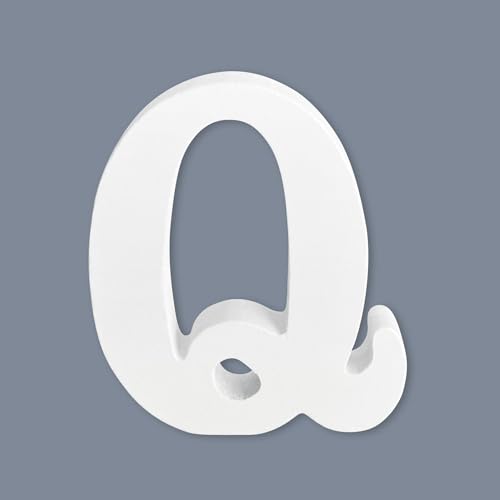
- Letter Q wooden block or stencil
- White drawing paper, 8.5×11 inches
- Black crayon with paper removed
- Tape
How to Make It
- Place the wooden Q block under the drawing paper.
- Secure the edges with tape to prevent sliding.
- Hold the crayon sideways and rub firmly over the block until the letter appears.
- Lift paper to reveal the rubbing and display flat.


8. Queen's Crown Collage
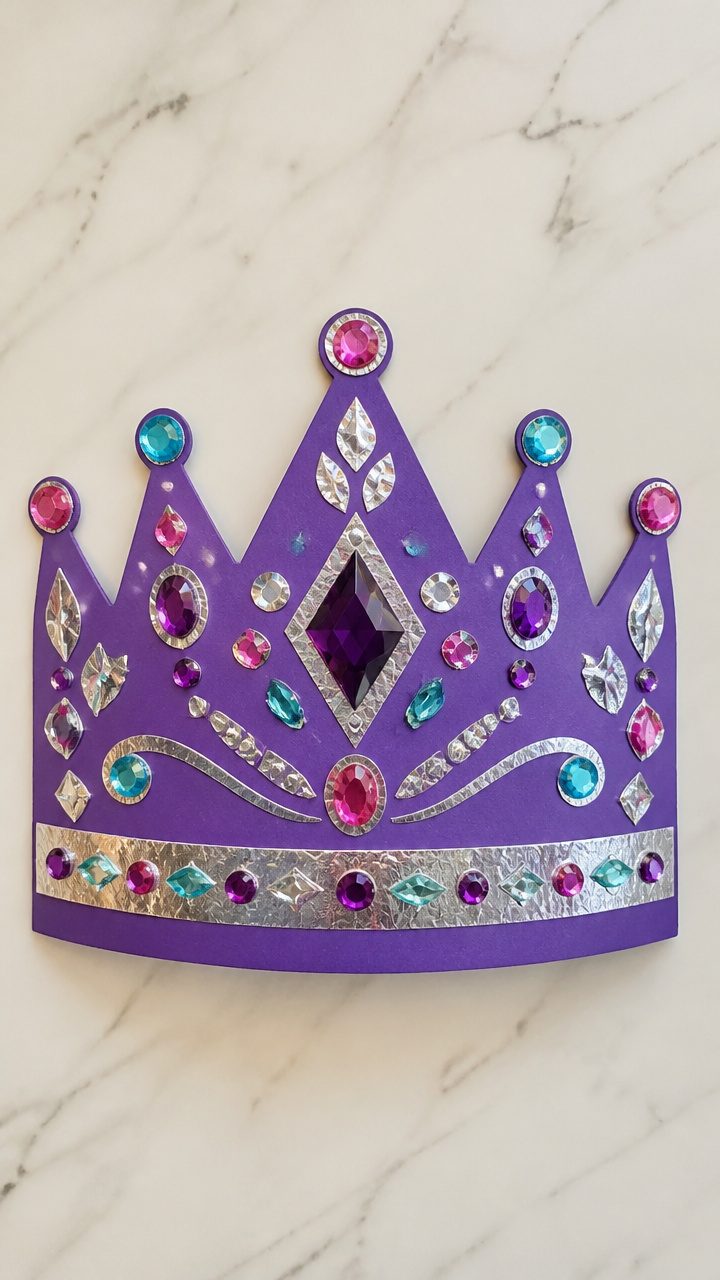
Sparkly gems and foil shapes form a royal crown spelling out 'queen'. This glittery piece builds vocabulary and symmetry awareness.
Materials Needed
- Purple construction paper, 9×12 inches
- Silver foil sheets, 2 pack
- Glue stick
- Plastic jewels, assorted sizes
- Scissors
- Pencil
How to Make It
- Fold the purple paper in half vertically and draw half a crown shape along the fold.
- Cut out the shape and unfold to reveal a symmetrical crown.
- Glue silver foil scraps and plastic jewels around the outer edge.
- Write 'QUEEN' in the center with pencil.
9. Quivering Jellyfish
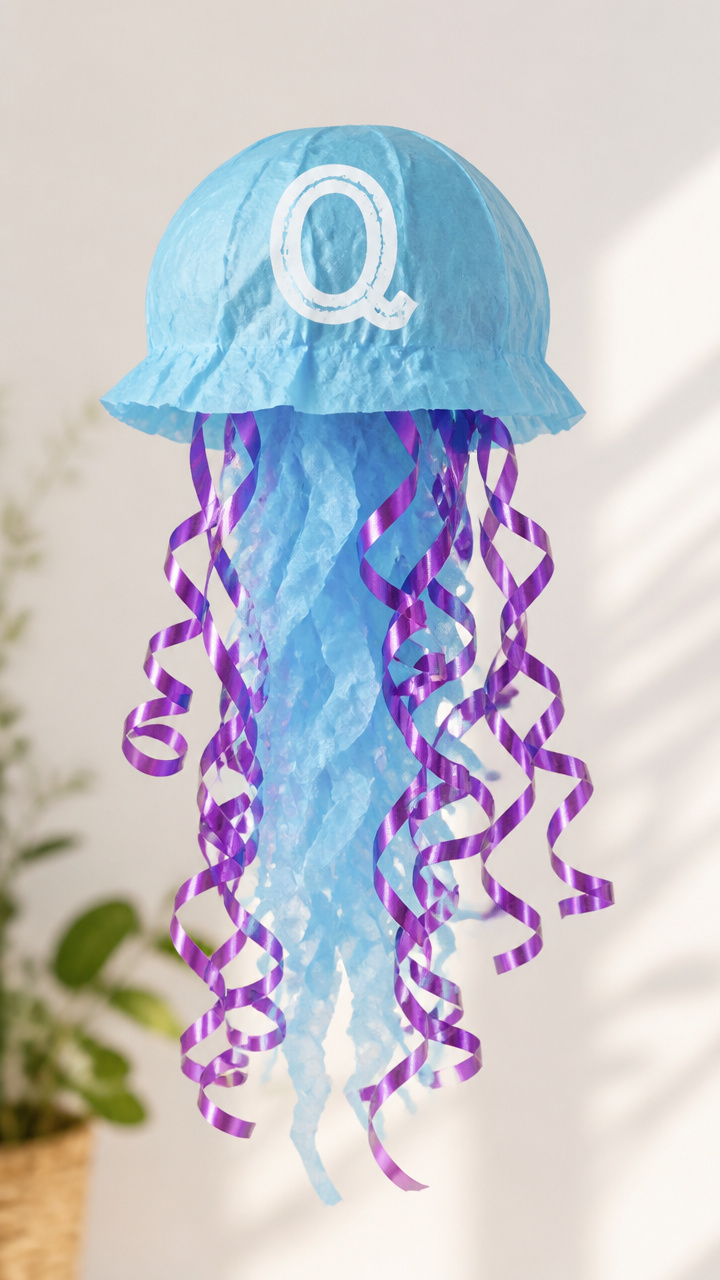
A hanging jellyfish with curling ribbon tentacles sways with every breeze. Its bell-shaped head is stamped with a giant Q.
Materials Needed
- Light blue tissue paper, 1 sheet
- White ink pad
- Foam stamp of letter Q
- Curling ribbon, 12 inches, purple
- Hole punch
- String, 8 inches
How to Make It
- Crumple the tissue paper into a loose ball and smooth slightly.
- Press the Q foam stamp into the ink pad and stamp the center of the tissue ball.
- Unwrap and drape the curling ribbon below as tentacles.
- Punch a hole at the top and thread string through to hang.


10. Quacking Pond Game
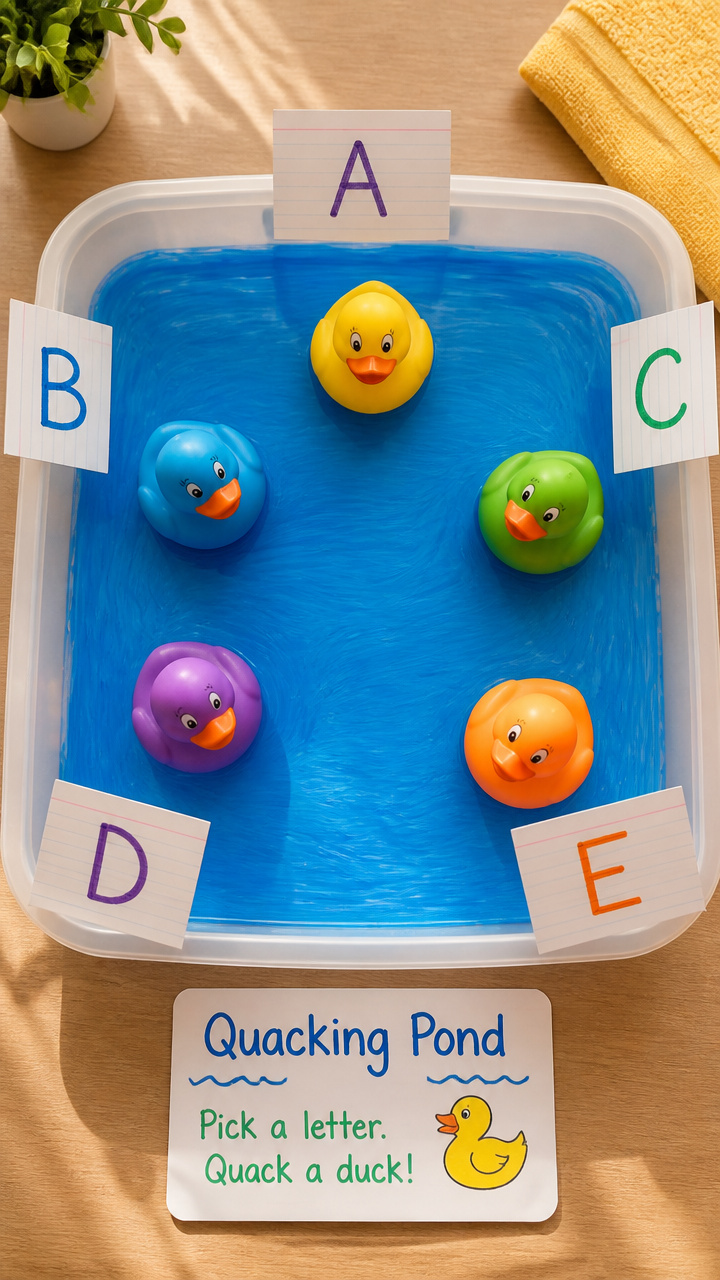
Ducks float in a homemade pond while kids pick matching 'Q' word cards. This interactive setup blends reading readiness with pretend play.
Materials Needed
- Shallow plastic bin
- Plastic toy ducks, 5 count
- Blue tempera paint
- Paintbrush
- Index cards, 5 pack
- Black marker
How to Make It
- Paint the bottom of the bin with blue tempera to resemble water. Let dry for 20 minutes.
- Write one 'Q' word per card: queen, quilt, quiz, quail, quack.
- Draw a small 'q' on each duck’s back with the marker.
- Place ducks in the bin and match cards to each by sound.


11. Quill Pen Drawing
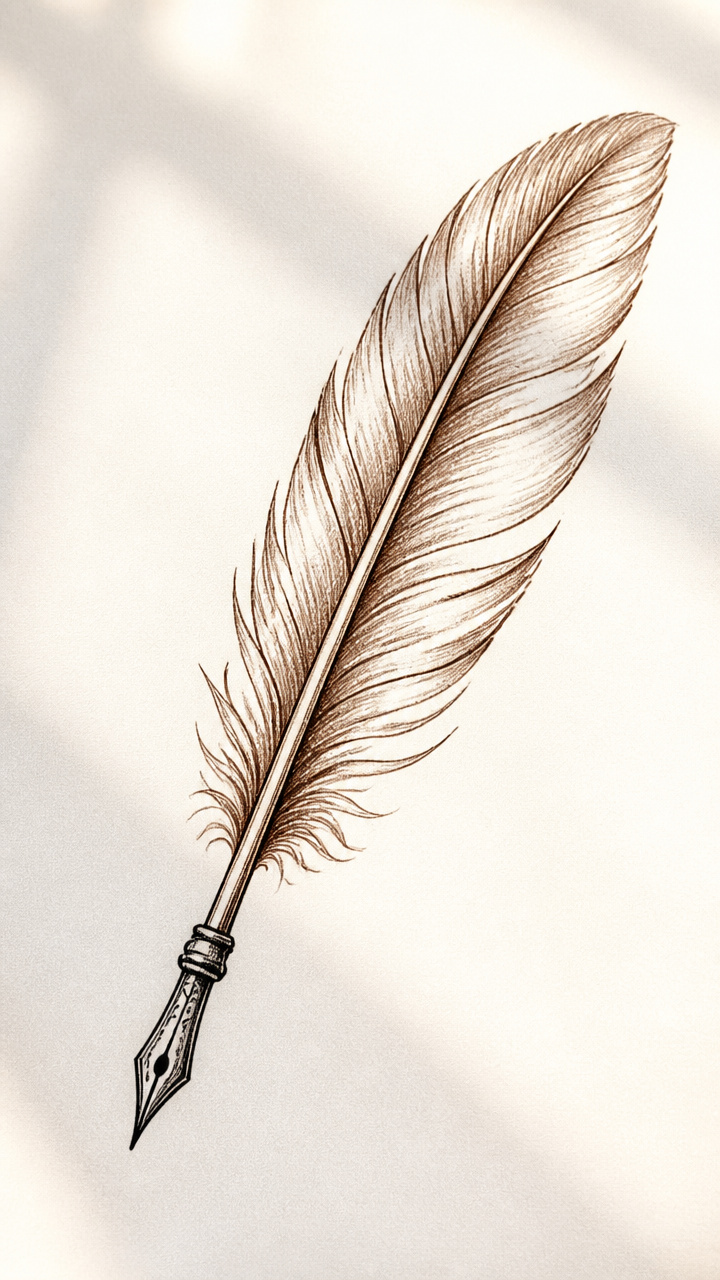
A feather-tipped pen makes wiggly marks that form curly Q shapes. This art piece introduces historical writing tools in a playful way.
Materials Needed
- Goose feather, 4 inches long
- Black washable ink pad
- White drawing paper
- Brown crayon
How to Make It
- Press the feather tip into the ink pad until coated.
- Drag the feather across the paper in a curved line ending in a tail to make a 'q'.
- Repeat to fill the page with looping q’s.
- Draw a brown fence at the bottom using the crayon.


12. Quick-Step Footprints
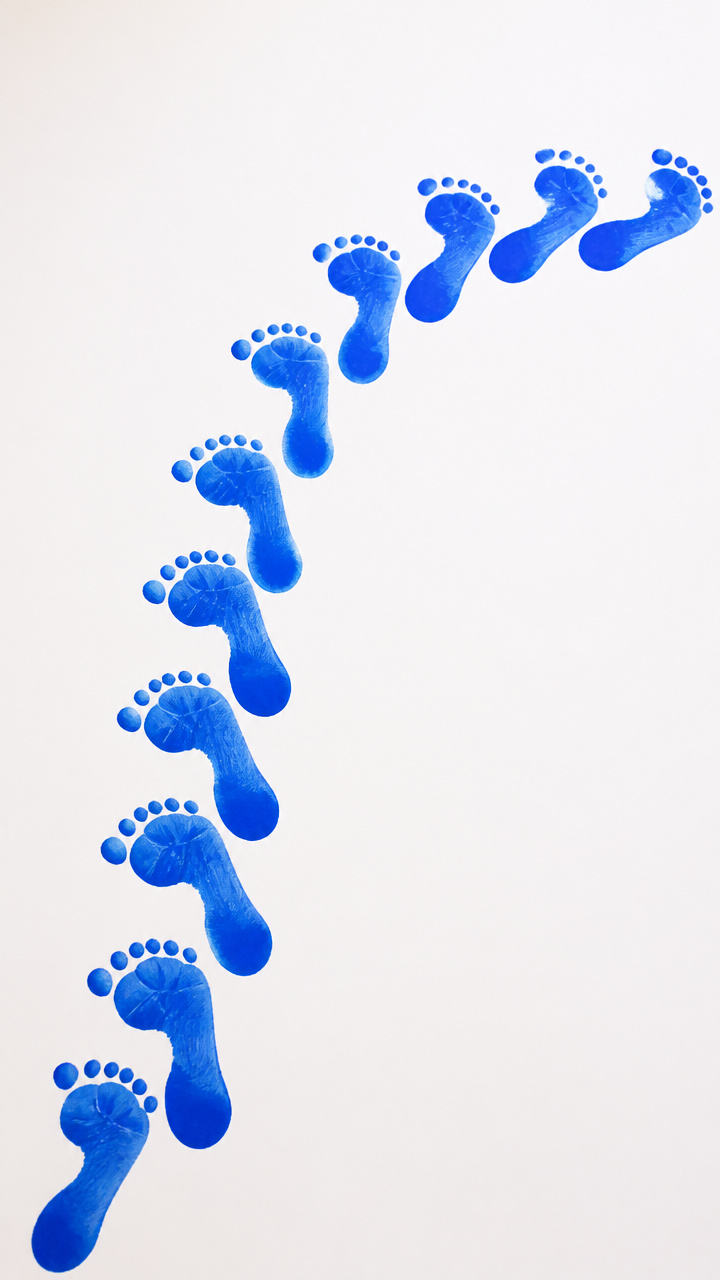
Painted footprints march across paper in the shape of a giant Q. This giggle-filled craft turns movement into art.
Materials Needed
- Washable blue paint, 2 tablespoons
- Shallow tray
- Large white paper, 12×18 inches
- Helping adult
- Baby wipes
How to Make It
- Pour paint into the tray and spread into a thin layer.
- Have the child step one foot into the paint, then onto the paper near the top left.
- Repeat steps downward and curve right to form the tail of the Q.
- Clean feet with wipes immediately after.


13. Quizzical Owl Mask
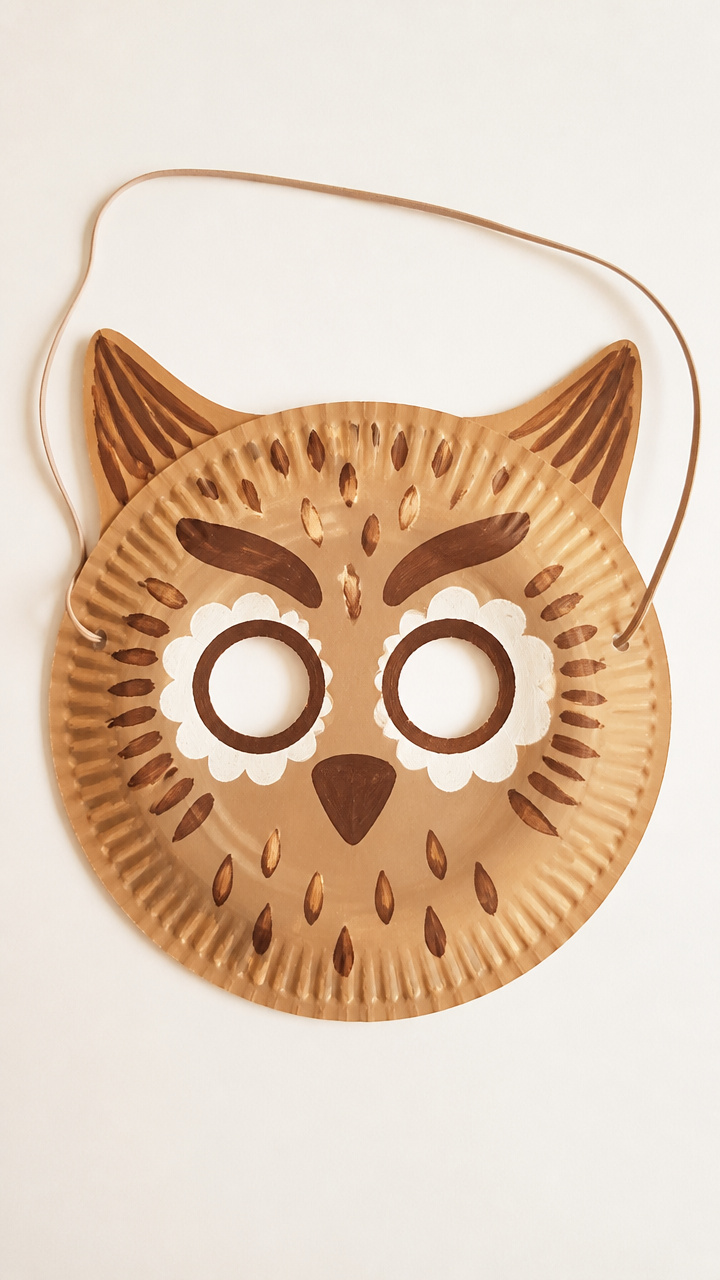
Big-eyed owls with puzzled expressions ask 'Who?' behind a Q-shaped cutout. Wearing this mask sparks curiosity and dramatic play.
Materials Needed
- Tan paper plate
- Brown acrylic paint
- Paintbrush
- Hole punch
- Elastic string, 14 inches
- Scissors
- Black marker
How to Make It
- Paint the plate brown and let dry for 15 minutes.
- Cut a lowercase 'q' shape from the center of the plate.
- Punch two holes on each side near the edge.
- Thread elastic through holes and tie knots to fit over the head.


14. Quilted Yarn Frame
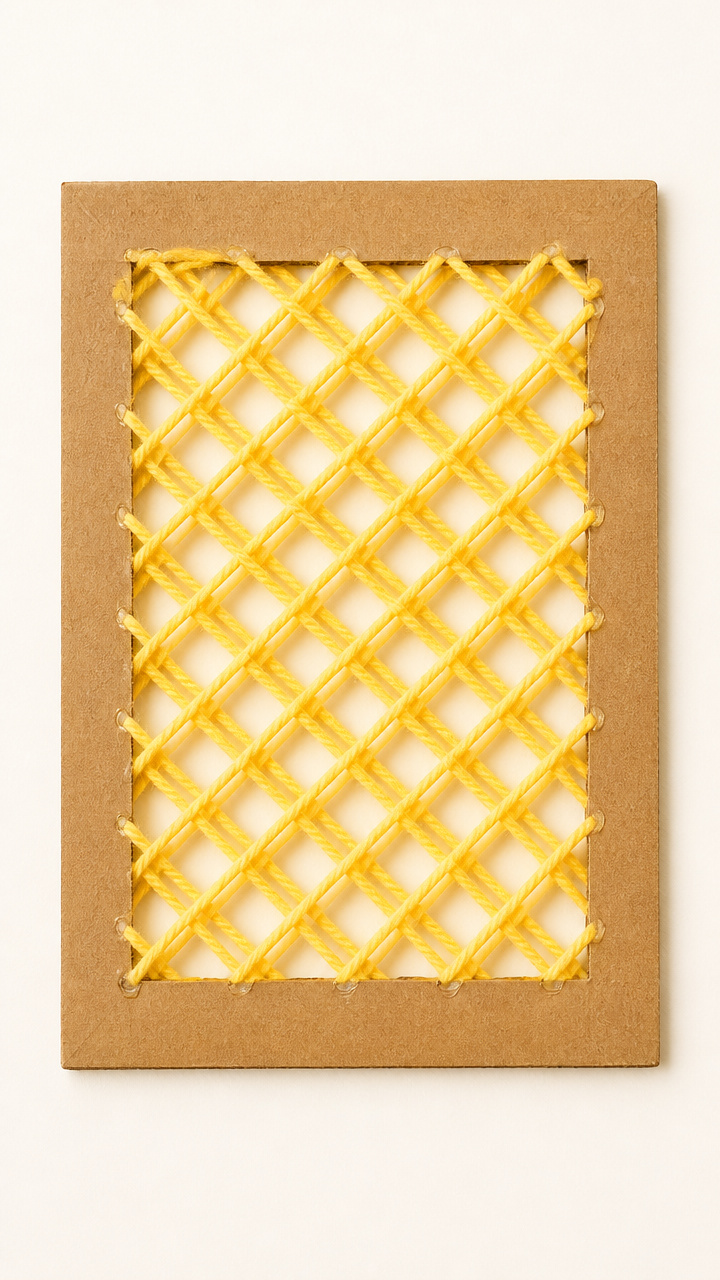
Yarn strands wrap tightly around cardboard to form a textured Q. The steady motion calms and focuses young crafters.
Materials Needed
- Cardboard rectangle, 6×8 inches
- Yellow yarn, 1 yard
- White glue
- Scissors
- Pencil
How to Make It
- Draw a thick lowercase 'q' on the cardboard with pencil.
- Apply a thin line of glue directly on the pencil line.
- Wrap the yarn tightly over the glued line, covering it completely.
- Trim ends and let dry flat for 10 minutes.


15. Quivery Straws Art
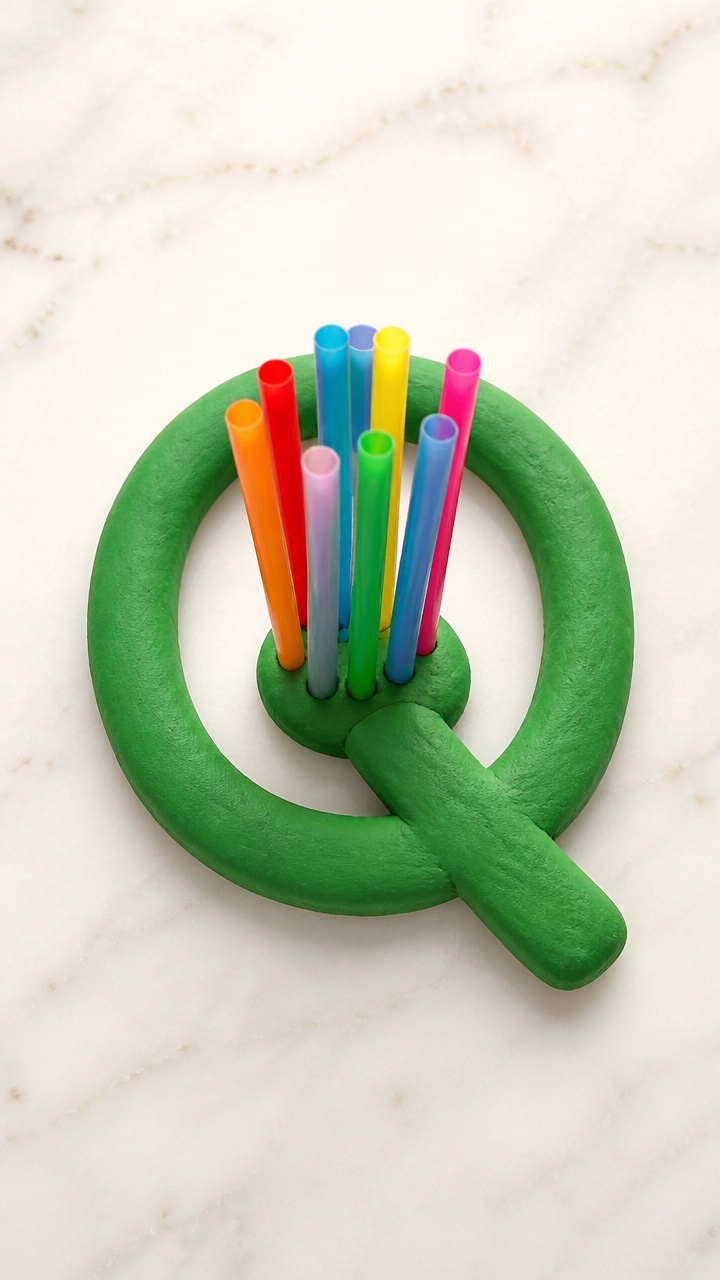
Short straws stand upright in clay to create a spiky letter field. The result looks like a cactus garden starting with Q.
Materials Needed
- Modeling clay, 1/2 cup, green
- Drinking straws, 10 count
- Scissors
- Marker
How to Make It
- Roll the clay into a flat oval base about 1/2 inch thick.
- Cut straws into 2 inch lengths using scissors.
- Push each straw piece straight down into the clay in the shape of a 'q'.
- Draw a small 'q' on the clay base with the marker.


These letter Q crafts bring sound and symbol to life through touch, color, and play. Grab your supplies and let your child’s creativity take the lead.