20 Rustic Pumpkin Craft Ideas for Fall Decor

The air turns crisp and the light softens as autumn settles in. It’s the perfect time to bring warmth into your home with handmade touches that celebrate the season. These rustic pumpkin crafts use natural textures and simple techniques to create decor that feels welcoming and personal.
Each idea is designed to be approachable, using materials you can find easily or already have on hand. From painted gourds to burlap bundles, these projects invite you to slow down and make something real with your hands.
1. Whitewashed Mason Jar Pumpkins
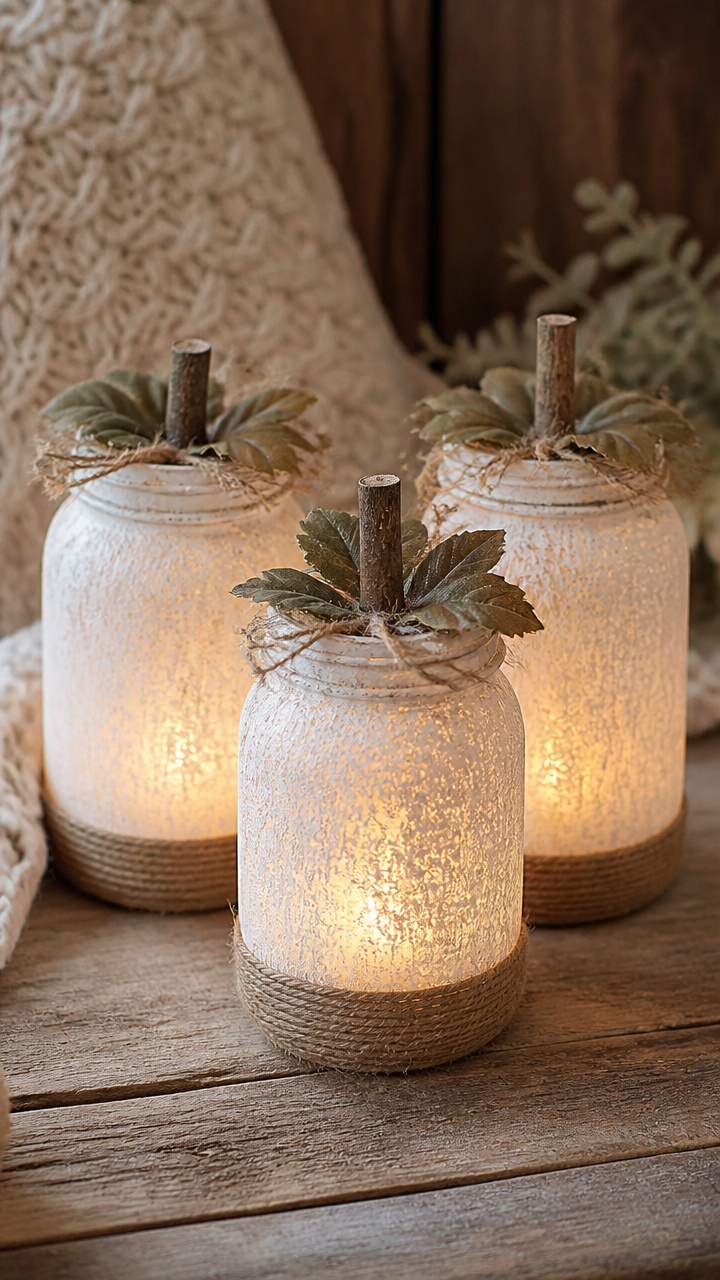
Smooth glass jars become glowing pumpkin shapes when painted and lit from within. These soft-hued lanterns cast a warm light on tables or porches.
Materials Needed
- 3 empty 16-ounce mason jars with lids
- 2 ounces white chalk paint
- 1 small foam brush
- 1 natural jute tea light holder
- 3 battery-operated tea lights
How to Make It
- Pour a small amount of white chalk paint into the mason jar and swirl it to coat the inside walls evenly.
- Set the jar upside down on a paper towel to drain excess paint and let it dry for 90 minutes.
- Once dry, place a tea light inside the jute holder and set it inside the jar.
- Screw the lid on loosely to allow airflow and turn on the light.


2. Twine-Wrapped Mini Pumpkins
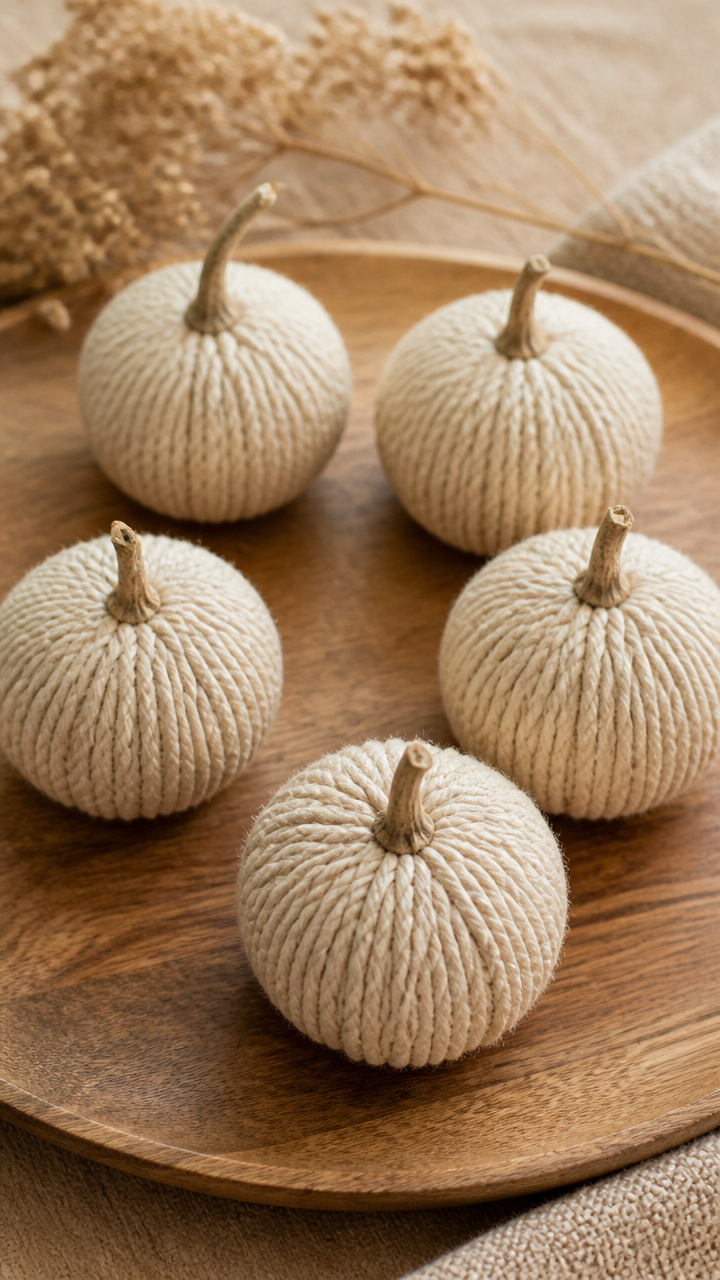
Natural twine wraps around real mini pumpkins to create earthy, textured centerpieces. The fiber adds warmth and holds up well indoors.
Materials Needed
- 5 real mini pumpkins, each about 3 inches wide
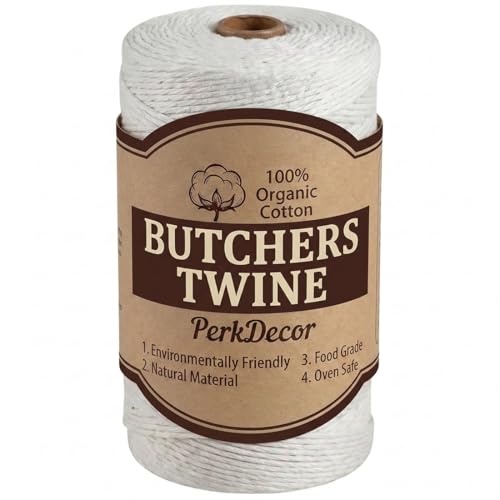
- 1 spool natural cotton twine
- 1 small dab of craft glue
- 1 pair of sharp scissors
How to Make It
- Place a dot of craft glue at the base of the pumpkin stem to anchor the twine.
- Wrap the twine tightly around the pumpkin from top to bottom, overlapping slightly.
- Secure the end with another dab of glue and trim with scissors.


3. Burlap Pumpkin Sachets
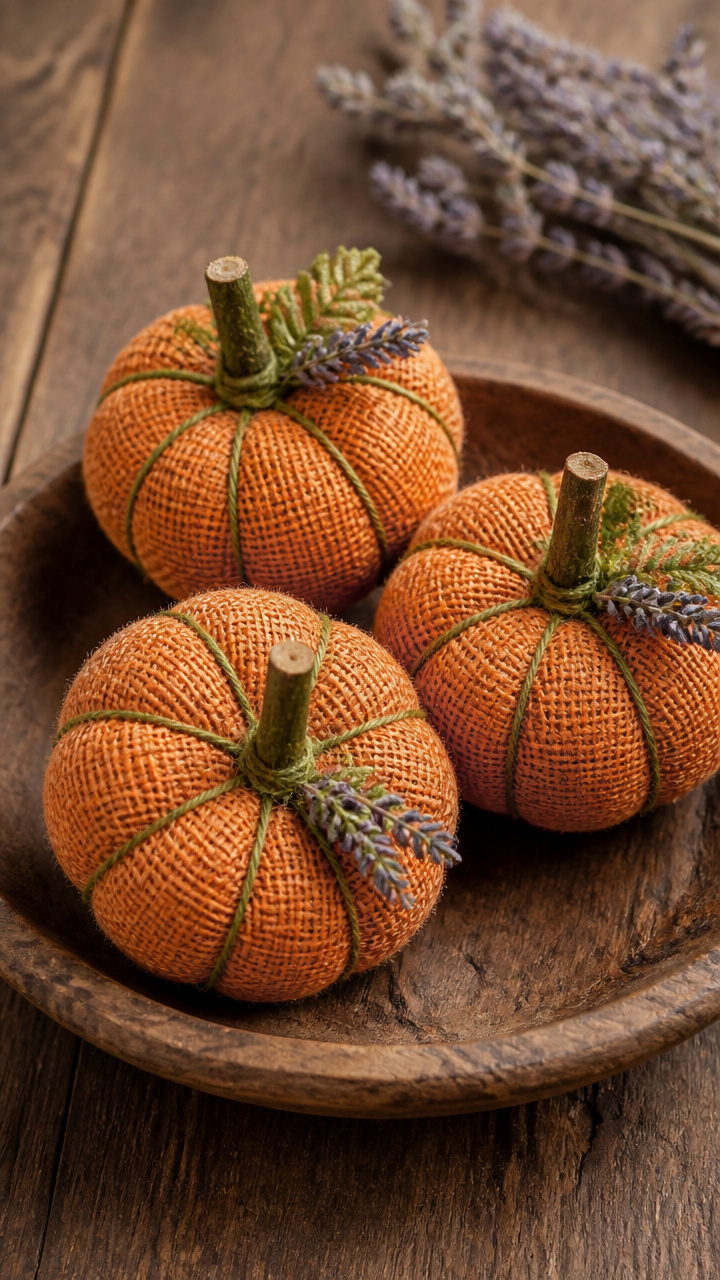
Soft burlap puffs into pumpkin shapes filled with dried lavender. These sachets scent drawers and shelves with a hint of fall.
Materials Needed
- 1 yard natural burlap fabric
- 5 ounces dried lavender buds
- 1 spool green embroidery floss
- 1 sewing needle
- 1 pair of fabric scissors
How to Make It
- Cut six 4-inch circles from the burlap using scissors.
- Stack the circles and sew through the center with a running stitch, leaving a 6-inch thread tail.
- Pull the thread to gather the edges into a pouch, stuff with 1 tablespoon of lavender per sachet.
- Tie the thread to close and knot securely, leaving a small floss stem at the top.


4. Pinecone Base Pumpkins
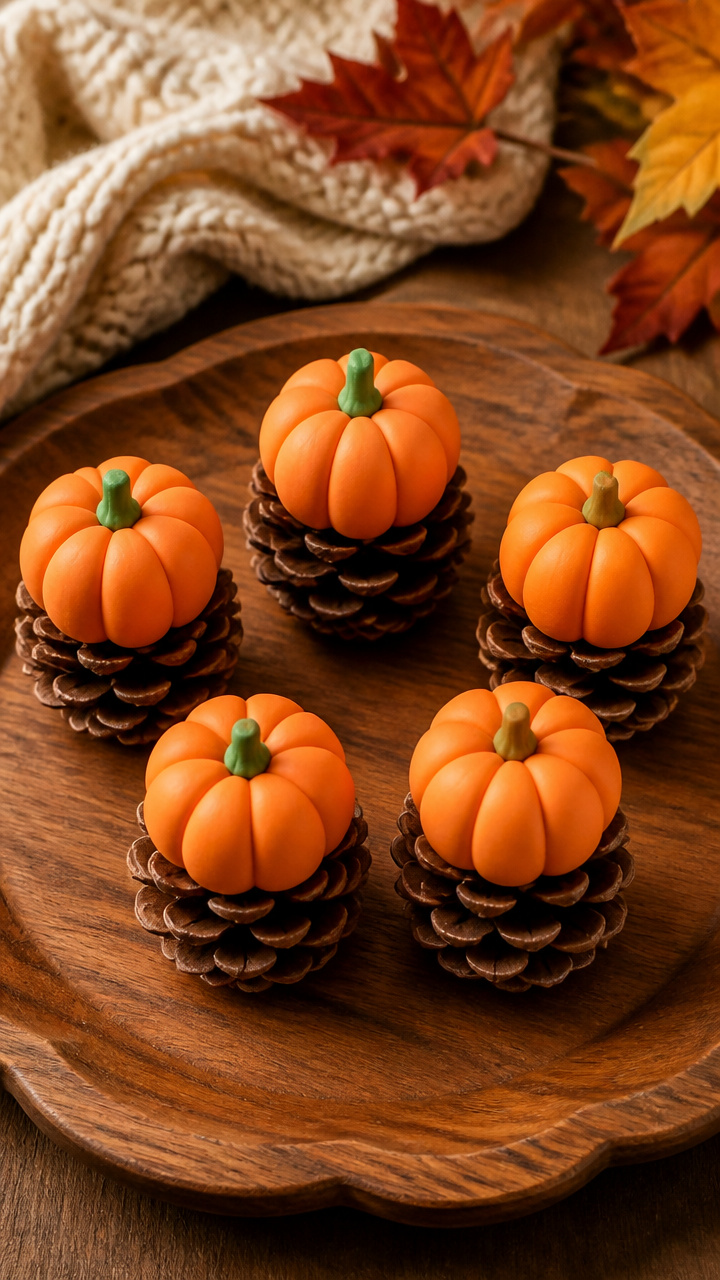
Pinecones form a sturdy, natural base for small pumpkins made from air-dry clay. These stand well on mantels or side tables.
Materials Needed
- 5 medium pinecones, cleaned and dried
- 1 cup white air-dry clay
- 1 orange acrylic paint
- 1 small paintbrush
- 1 drop of green paint for stems
How to Make It
- Roll the clay into a 2-inch ball and press it gently onto the flat end of a pinecone.
- Use your fingers to shape the clay into a rounded pumpkin with shallow grooves.
- Let the clay dry completely for 24 hours, then paint it orange with the brush.
- Paint a small green dot at the top for the stem and let dry for 2 hours.


5. Chalk Painted Gourd Centerpiece
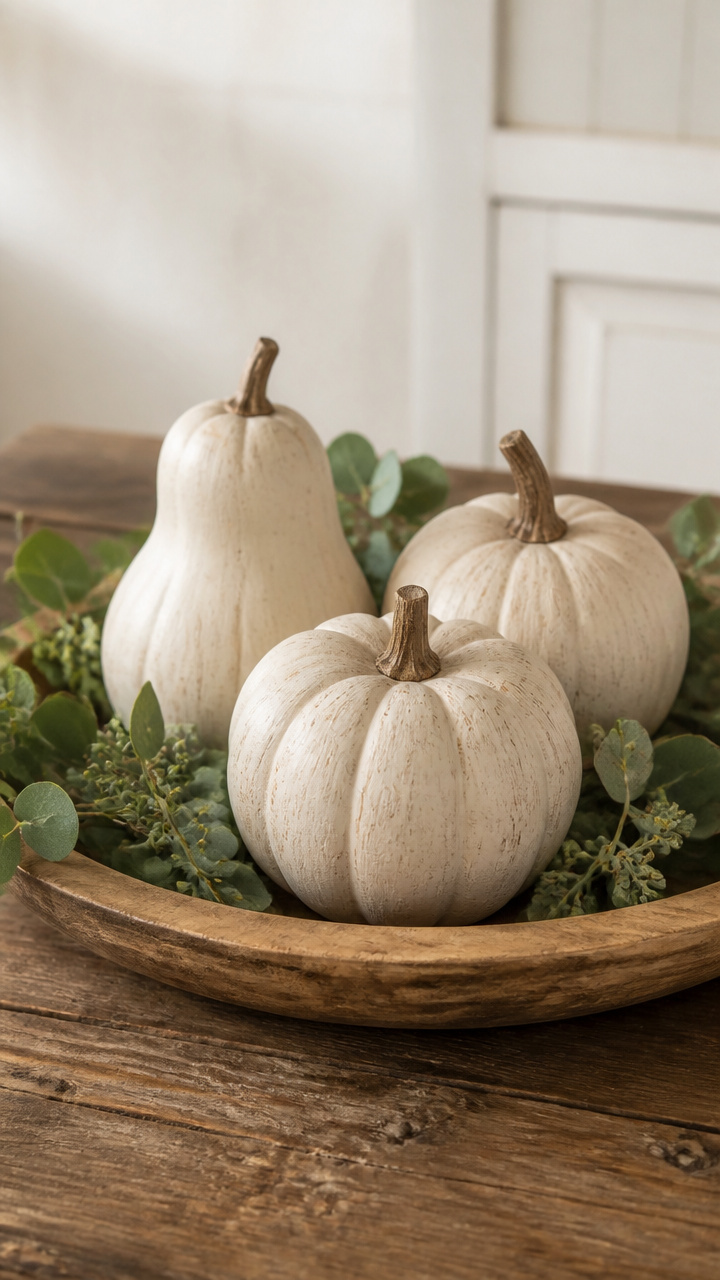
Real gourds take on a farmhouse look with matte chalk paint. Grouped together, they form a low centerpiece for a dining table.
Materials Needed
- 3 assorted natural gourds, each 4–5 inches long
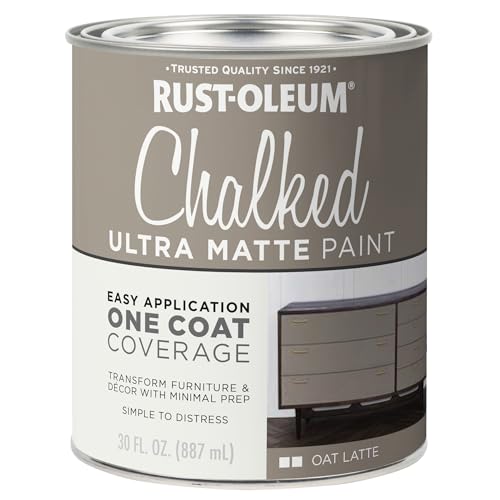
- 3 ounces matte beige chalk paint
- 1 foam applicator pad
- 1 piece of fine steel wool
How to Make It
- Wipe each gourd clean with a dry cloth to remove dust.
- Apply the chalk paint with the foam pad in smooth strokes, covering the entire surface.
- Let dry for 1 hour, then lightly buff with steel wool for a worn finish.
- Arrange the gourds on a wooden tray or linen cloth.


6. Felt Leaf Pumpkin Ornaments
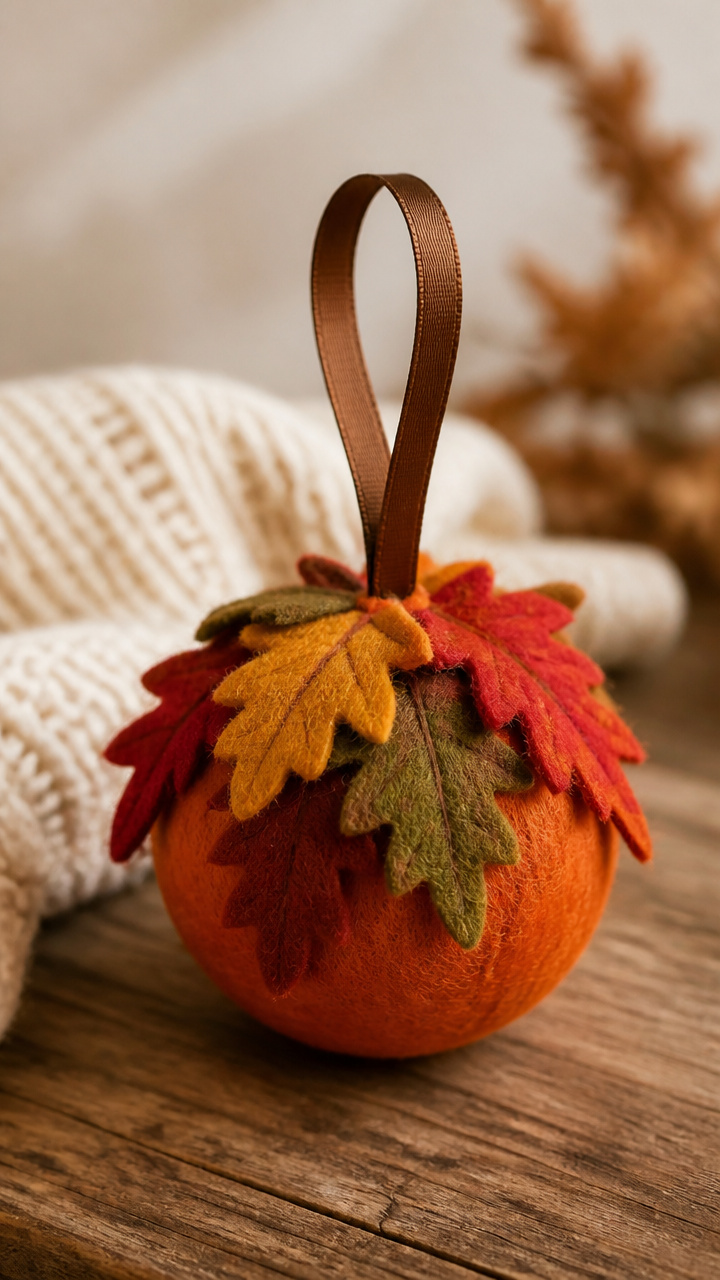
Wool felt leaves in autumn colors cluster around a small ball to make hanging ornaments. These add soft color to a bare wall or tree.
Materials Needed
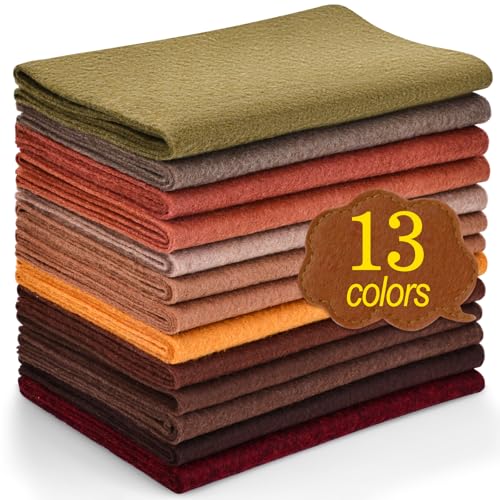
- 1 pack assorted wool felt sheets in red, orange, yellow
- 1 small orange Styrofoam ball, 2 inches wide
- 1 bottle fabric glue
- 1 pair of precision scissors
- 1 length of thin brown ribbon, 8 inches
How to Make It
- Cut 12 leaf shapes from the felt, 1.5 inches long, using the scissors.
- Apply a small dot of fabric glue to the base of each leaf and press it around the Styrofoam ball.
- Let the glue dry for 2 hours, arranging leaves to overlap naturally.
- Tie the ribbon around the top of the ball to form a hanger.


7. Cinnamon Stick Pumpkins
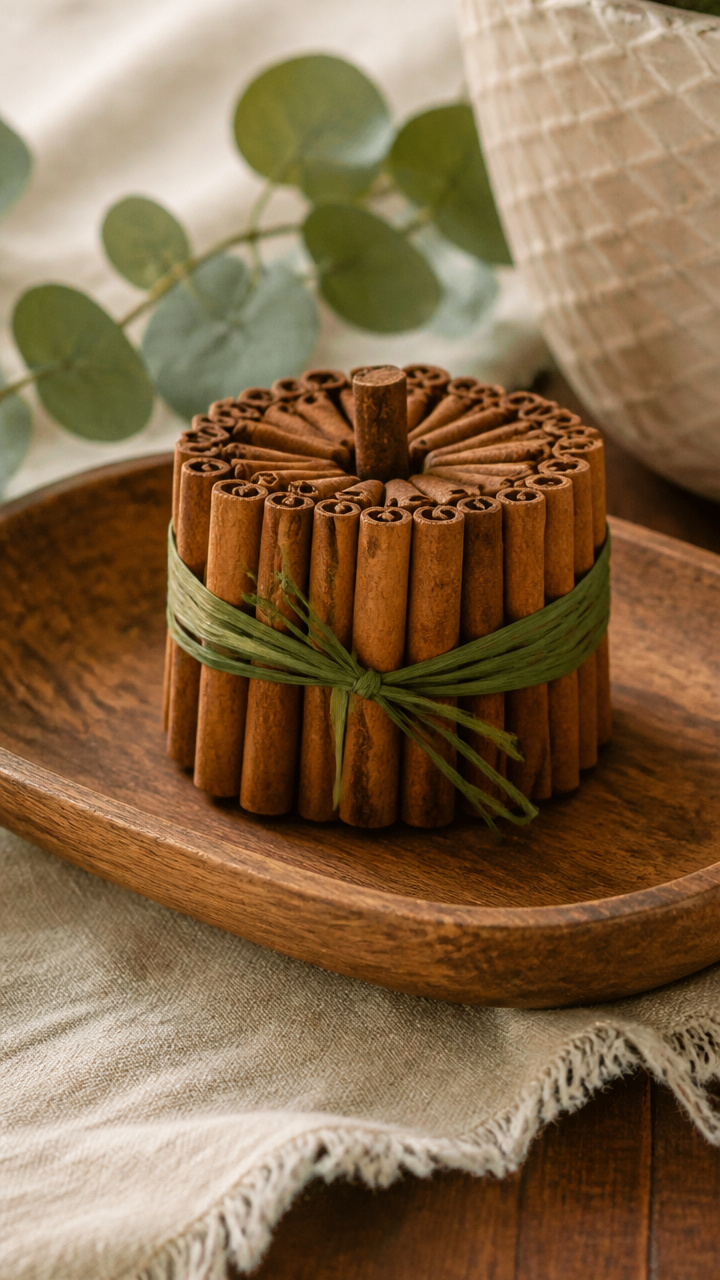
Cinnamon sticks bundled into round shapes release a spicy scent. These tiny pumpkins sit well in bowls or as part of a larger display.
Materials Needed
- 25 cinnamon sticks, each about 3 inches long
- 1 roll narrow green floral tape
- 1 hot glue gun with 1 glue stick
- 1 small pair of wire cutters
How to Make It
- Lay five cinnamon sticks side by side and glue the ends together to form a base.
- Stand eight sticks upright around the base, gluing each to the neighbors at the ends.
- Add a second layer of eight sticks just above the first, offsetting the seams.
- Wrap green floral tape around the center to form a stem and secure the shape.


8. Pressed Apple Slice Decor
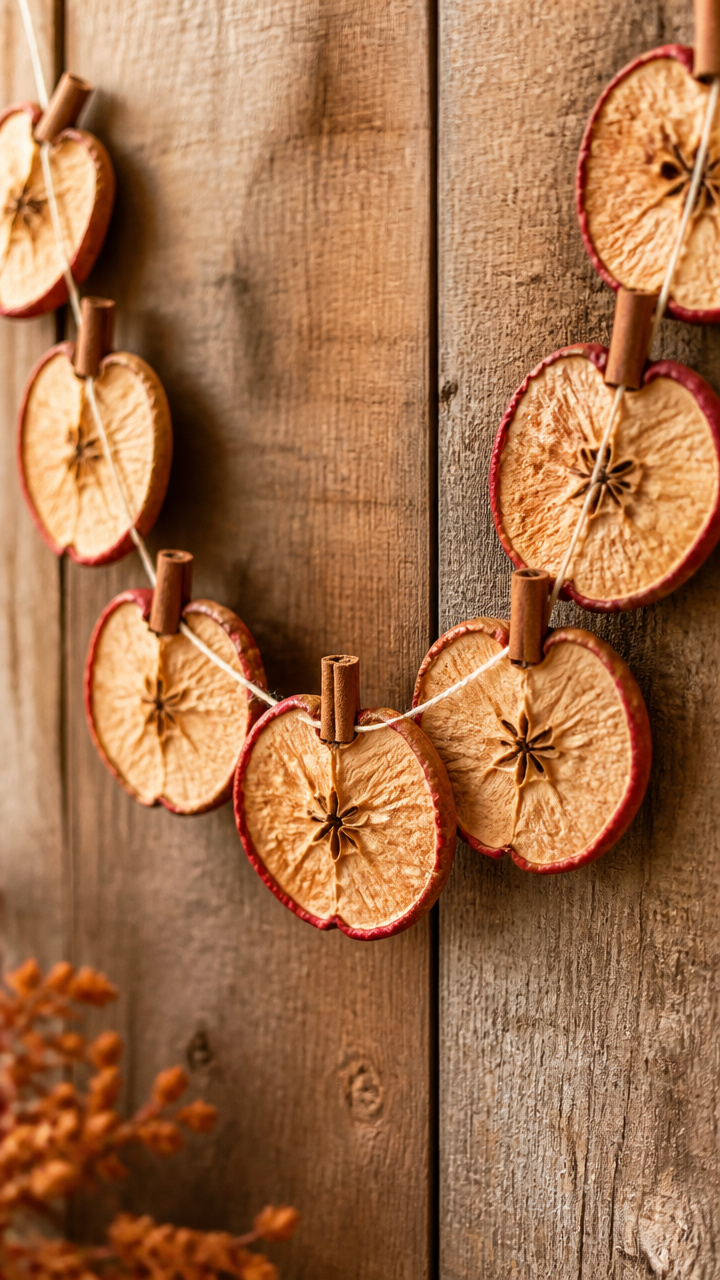
Thin apple slices dried flat become natural pumpkin-like shapes. These are threaded into a simple garland for a windowsill.
Materials Needed
- 4 red apples
- 1 sharp vegetable peeler
- 1 baking sheet
- 1 oven
- 1 length of cotton twine, 3 feet
How to Make It
- Peel each apple and slice it into 1/8-inch rounds using the peeler.
- Place slices on a baking sheet and bake at 200°F for 2 hours, flipping once.
- Let cool completely, then thread 10 slices onto the twine with a needle.
- Tie knots between slices to space them evenly and hang in a sunny spot.


9. Straw Bale Mini Pumpkin Bed
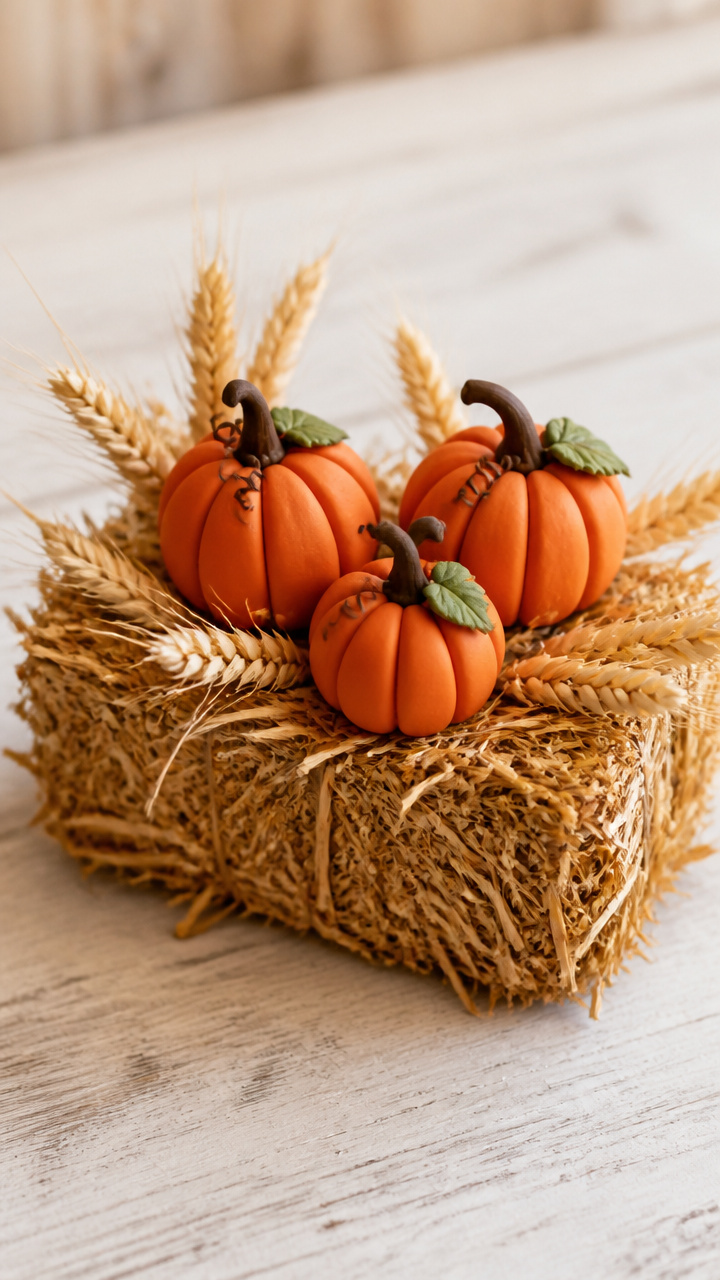
A small straw bale holds a cluster of handmade pumpkins like a garden display. This sits well on a front step or porch.
Materials Needed
- 1 small straw bale, 8 inches wide
- 3 polymer clay pumpkins, baked and cooled
- 1 handful of dried wheat stalks
- 1 small trowel
How to Make It
- Use the trowel to create three shallow holes in the top of the straw bale.
- Place each baked polymer clay pumpkin into a hole, pressing gently to secure.
- Tuck a wheat stalk beside each pumpkin to mimic growing vines.


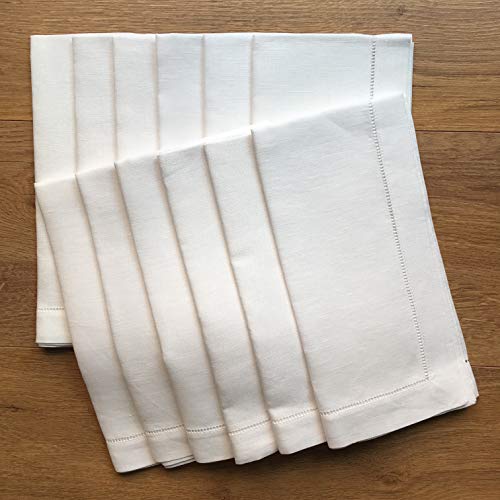
10. Linen Napkin Pumpkin Pouches
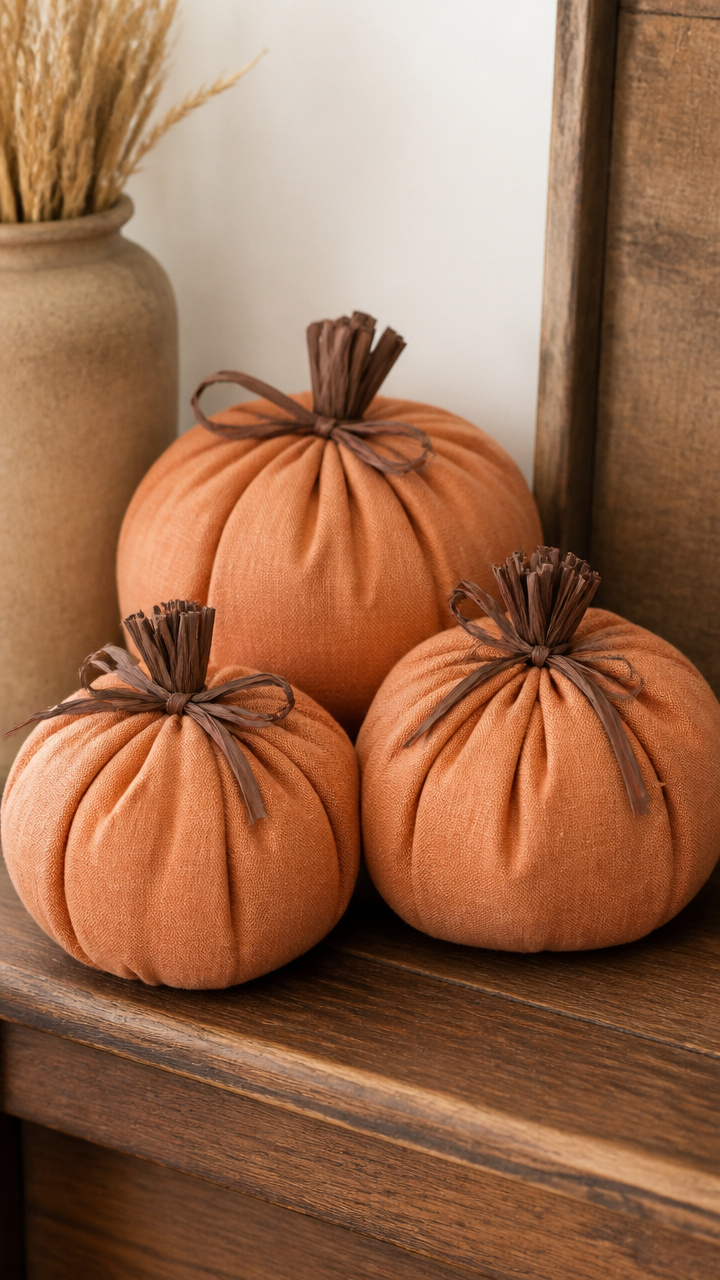
Square linen napkins fold and tie into soft pumpkin shapes filled with dried beans. These make cozy accent pieces for a shelf.
Materials Needed
- 3 white linen napkins, 12×12 inches
- 1 pound dried white beans
- 3 pieces of brown raffia, each 10 inches long
- 1 funnel
How to Make It
- Place a napkin flat and pour 1 cup of beans into the center using the funnel.
- Pull the corners up and gather them above the beans to form a pouch.
- Tie the gathered fabric tightly with raffia to create the pumpkin shape.
- Pinch the top slightly to form ridges and leave the raffia ends as stems.


11. Copper Wire Vine Accents
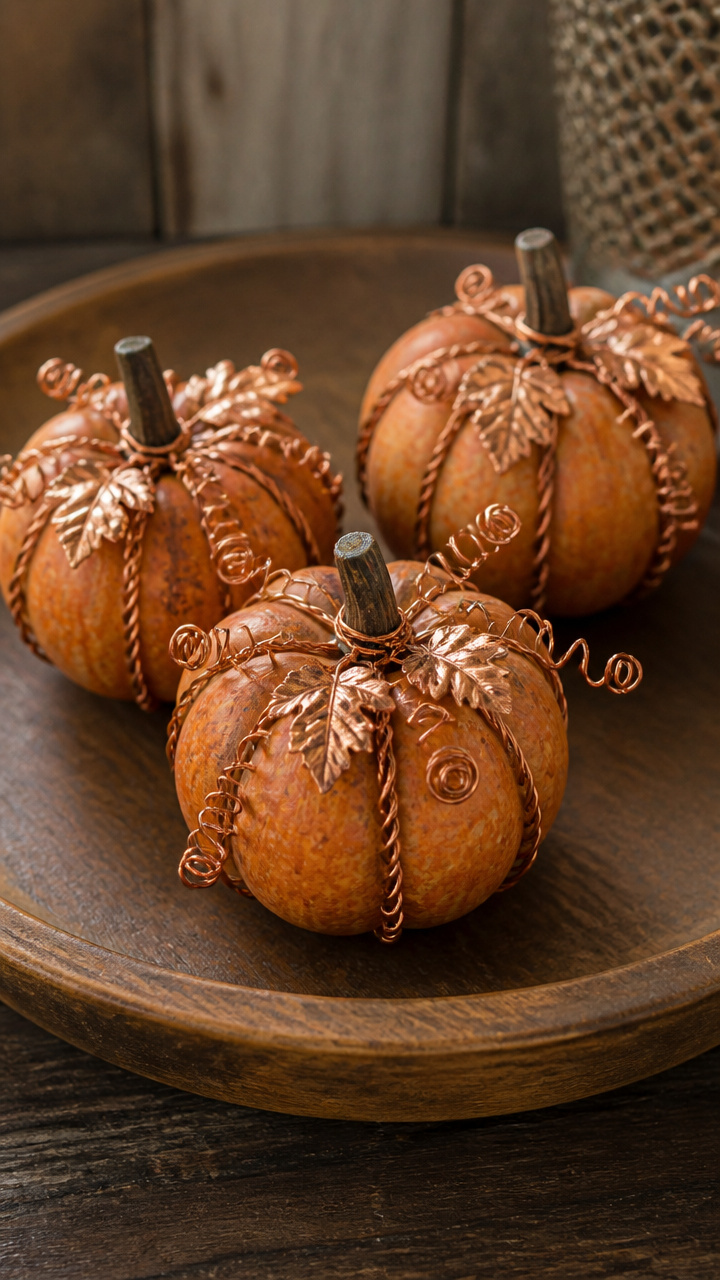
Thin copper wire twists around real pumpkins to mimic curling vines. These add a subtle metallic detail to plain gourds.
Materials Needed
- 2 real small pumpkins, 3 inches wide
- 1 spool 20-gauge copper wire
- 1 pair of needle-nose pliers
- 1 small file
How to Make It
- Cut a 24-inch length of copper wire and file the end smooth.
- Start at the base of the pumpkin and wrap the wire upward in a loose spiral.
- Use the pliers to bend the end into a small curl at the top near the stem.
- Repeat with a second wire on the opposite side for balance.


12. Haystack Pumpkin Nest
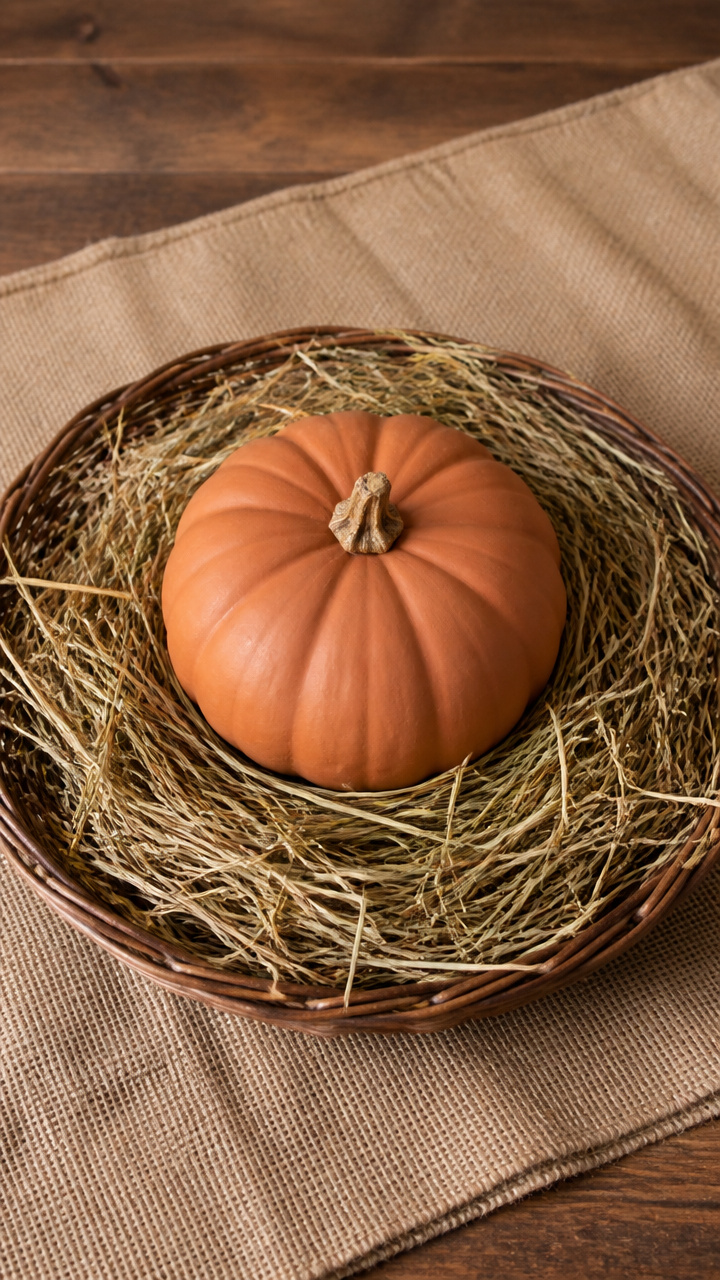
Loose hay forms a base for a single painted pumpkin. This rustic nest looks at home on a farmhouse table.
Materials Needed
- 1 small woven willow tray, 10 inches wide
- 2 cups dried hay
- 1 real pumpkin, 4 inches tall
- 1 ounce matte terracotta paint
- 1 foam brush
How to Make It
- Spread the hay evenly in the tray to form a 2-inch base.
- Paint the pumpkin with terracotta paint using the foam brush and let dry 1 hour.
- Set the pumpkin gently into the center of the hay, pressing slightly to secure.


13. Waxed Paper Leaf Luminary
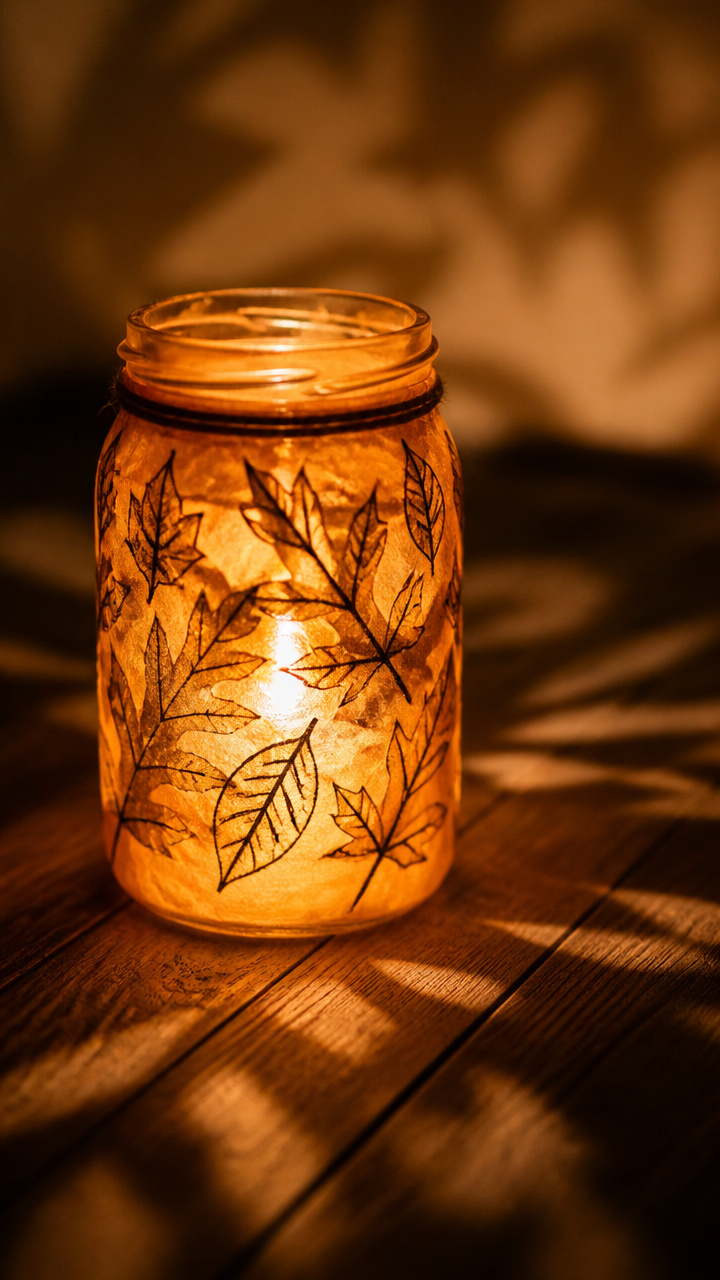
Drawn leaf shapes on waxed paper glow warmly when wrapped around a jar. This pumpkin-inspired lantern casts autumn shadows.
Materials Needed
- 1 clean pint-sized glass jar
- 1 sheet amber waxed paper
- 1 black permanent marker
- 1 roll clear tape
- 1 battery tea light
How to Make It
- Cut the waxed paper to fit the height of the jar with a 1-inch overlap.
- Draw 5 pumpkin leaf shapes with the marker, filling the paper evenly.
- Wrap the paper around the jar and tape the overlap securely.
- Place the tea light inside and turn it on at dusk.


14. Corduroy Fabric Pumpkins
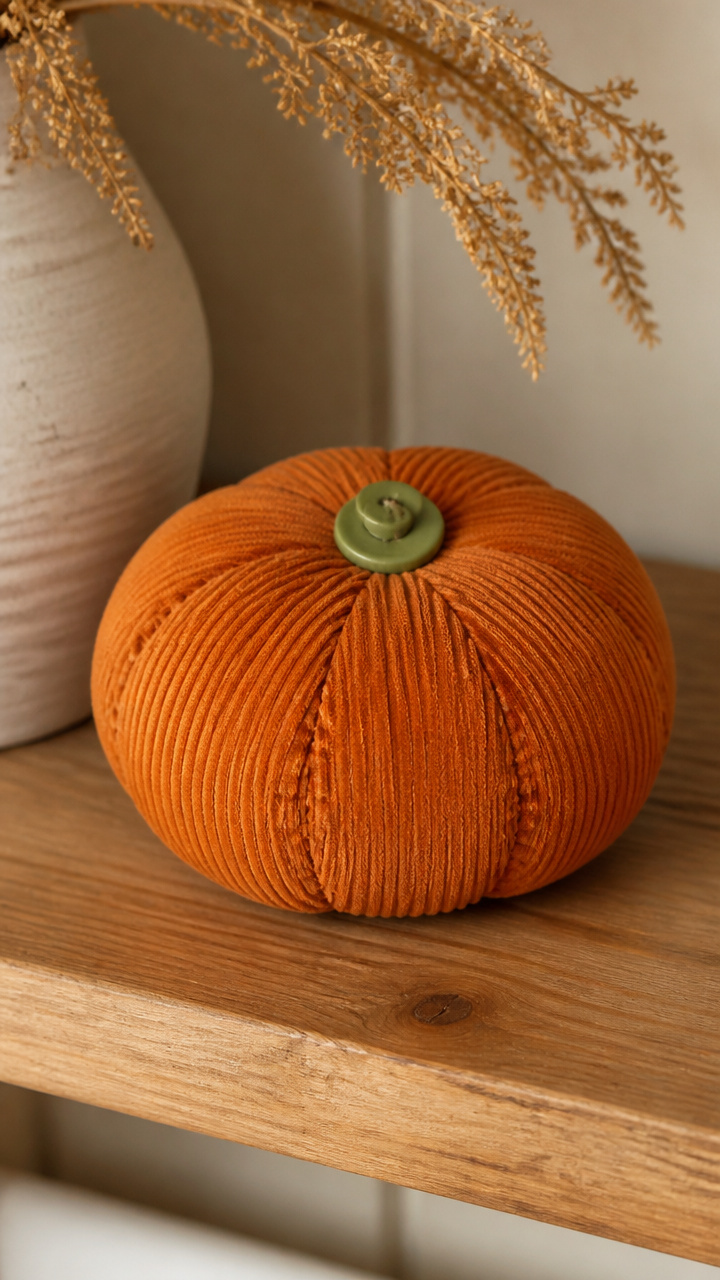
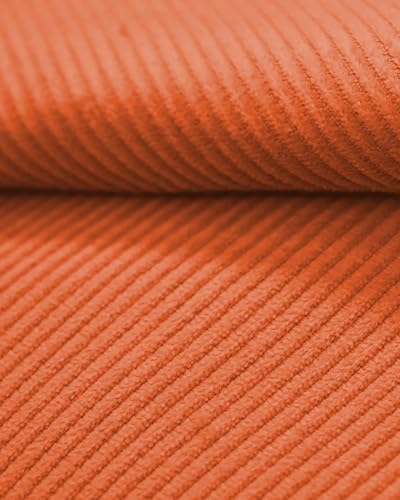
Scrap pieces of corduroy sew into soft pumpkin shapes with stitched grooves. These fabric gourds sit well on a reading nook shelf.
Materials Needed
- 1/4 yard orange corduroy fabric
- 1 spool orange thread
- 1 sewing needle
- 1 handful of polyester fiberfill
- 1 small green button
How to Make It
- Cut two identical pumpkin shapes, 4 inches tall, from the corduroy.
- Sew around the edge with a backstitch, leaving a 2-inch gap.
- Turn right side out and stuff firmly with fiberfill.
- Sew the gap closed and stitch vertical lines to form grooves, ending with the button at the top as a stem.


15. Dried Corn Husk Bundles
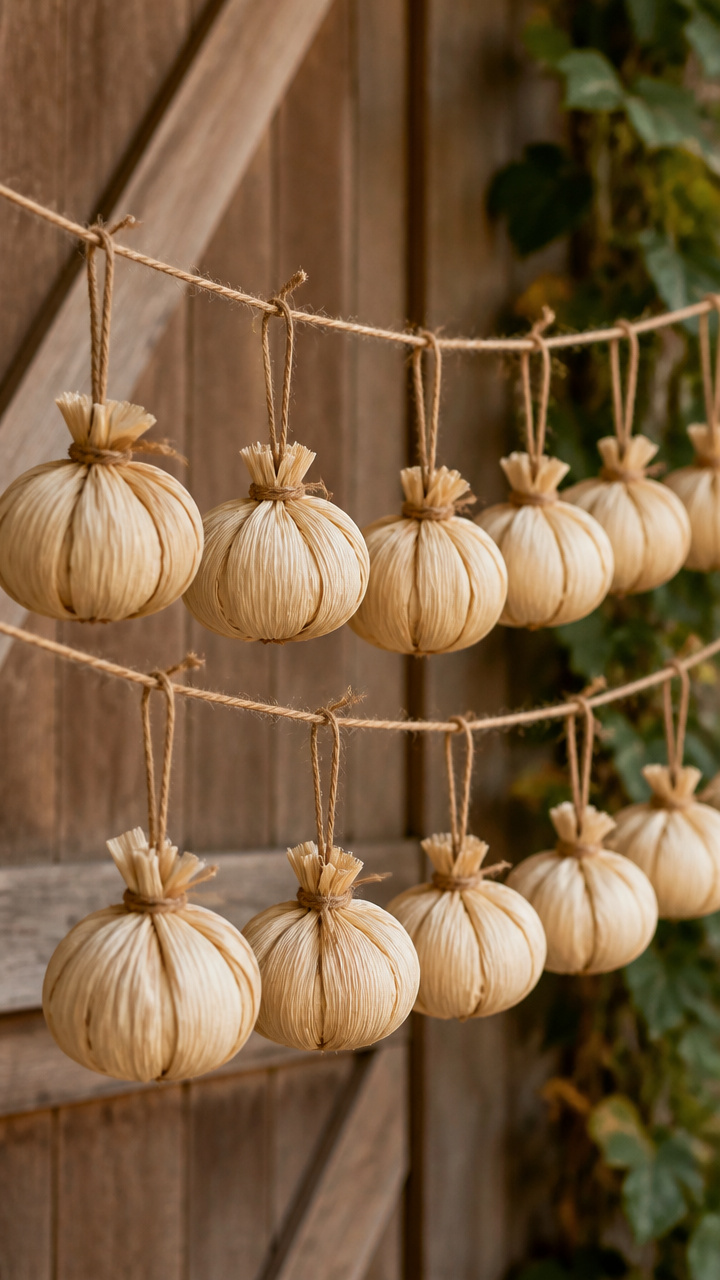
Pale corn husks tied into small bundles resemble miniature pumpkins. These dry quickly and last through the season.
Materials Needed
- 10 dried corn husks, 6 inches long
- 1 spool thin hemp string
- 1 large bowl of water
- 1 clothesline and pegs
How to Make It
- Soak the husks in water for 10 minutes to make them pliable.
- Gather three husks and tie them tightly in the center with hemp string.
- Bend each end toward the center to form a rounded shape and secure with a second knot.
- Hang on the clothesline to dry for 12 hours before displaying.


16. Mug Handle Pumpkin Stand
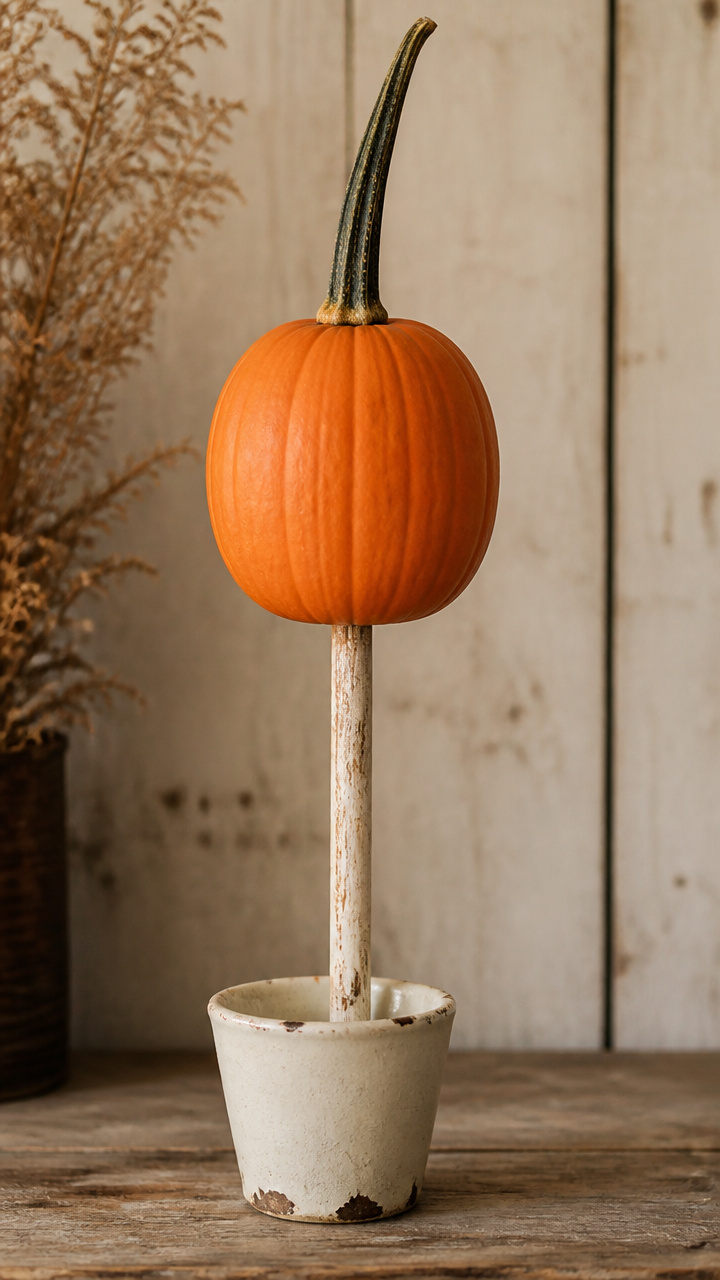
A chipped ceramic mug with a missing handle becomes a holder for a tiny pumpkin. This quirky piece adds charm to a windowsill.
Materials Needed
- 1 small chipped mug without a handle
- 1 real mini pumpkin, 2.5 inches tall
- 1 tablespoon quick-set epoxy
- 1 paint stir stick
How to Make It
- Mix the epoxy on the stir stick and apply a dime-sized amount to the mug's rim.
- Press the flat base of the pumpkin into the epoxy and hold for 30 seconds.
- Let the epoxy cure for 4 hours before moving the mug.


17. Salt Dough Pumpkin Orbs
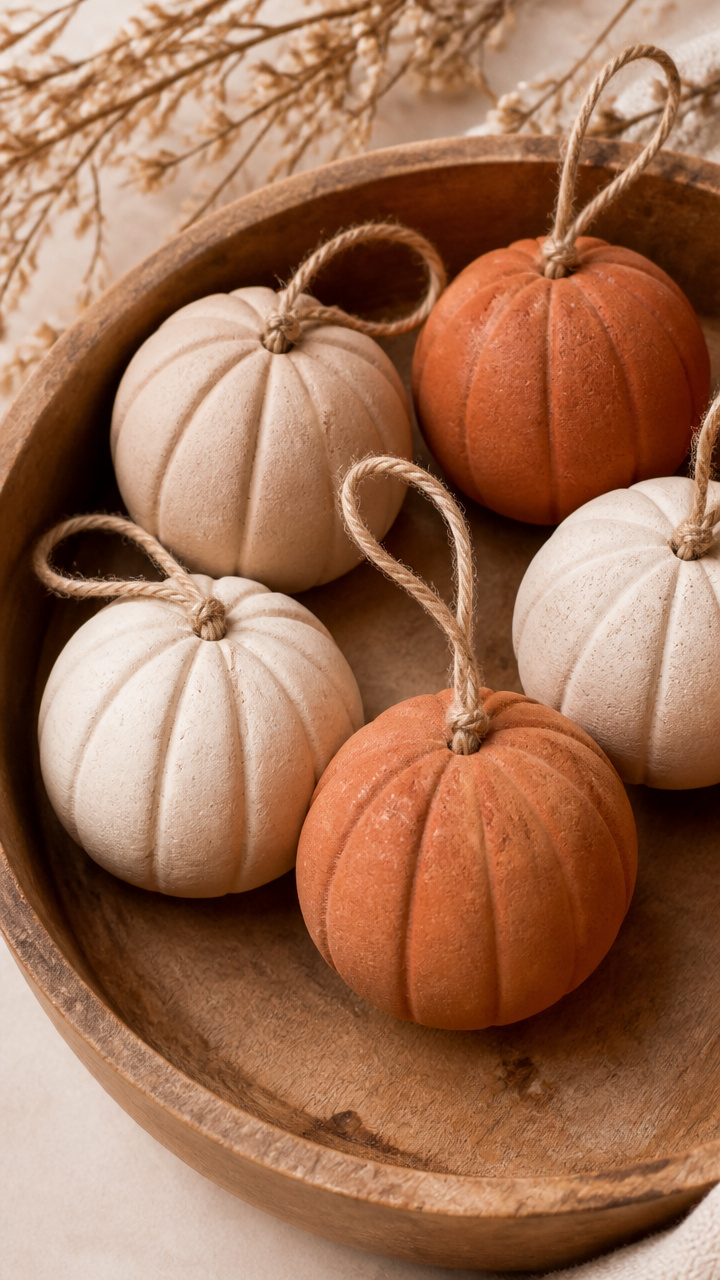
Homemade salt dough bakes into smooth pumpkin shapes with hand-pressed grooves. These orbs hang from a tree branch or wreath.
Materials Needed
- 2 cups flour
- 1 cup salt
- 3/4 cup water
- 1 tablespoon pumpkin spice
- 1 length of twine, 12 inches per orb
How to Make It
- Mix flour, salt, water, and pumpkin spice in a bowl until a firm dough forms.
- Roll into 3 balls, 2 inches wide, and press grooves with your fingers.
- Bake at 250°F for 2 hours, turning once halfway through.
- Thread twine through a hole poked before baking and knot to hang.


18. Galvanized Tin Bucket Display
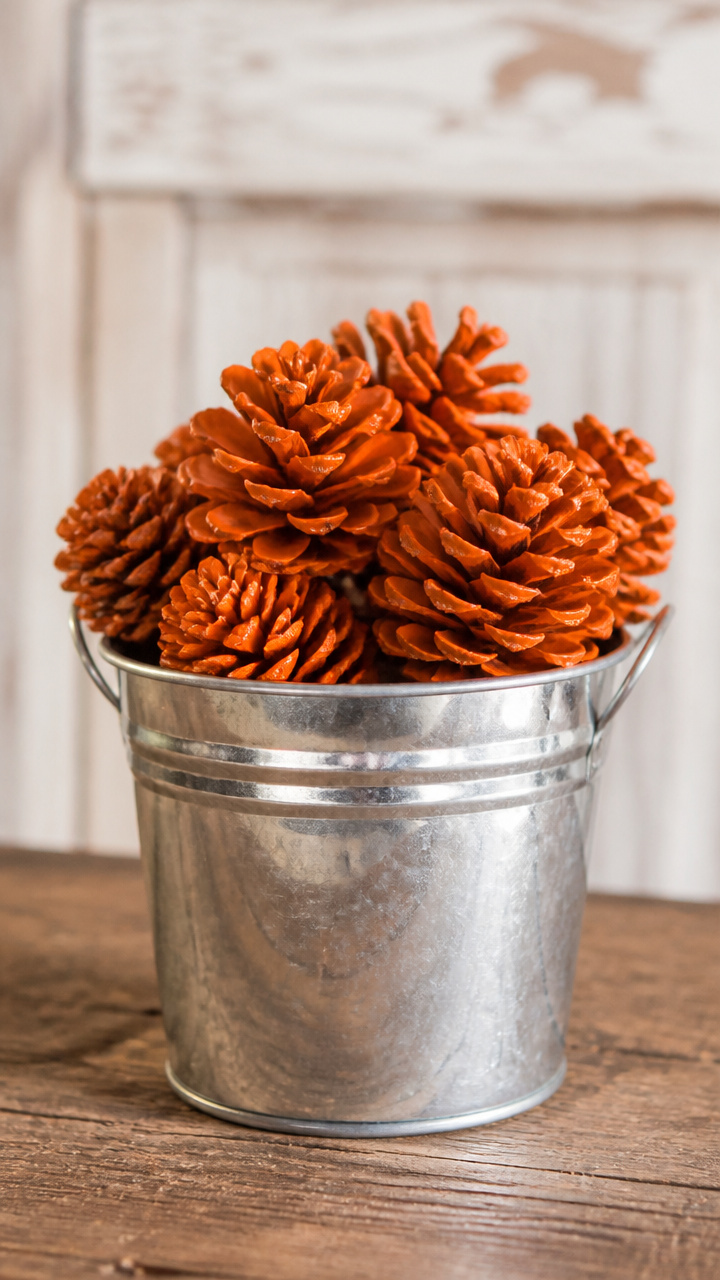
A small metal bucket holds a cluster of painted pinecones as faux pumpkins. This shiny container contrasts with the rough texture inside.
Materials Needed
- 1 galvanized metal bucket, 6 inches tall
- 5 medium pinecones
- 2 ounces flat orange spray paint
- 1 cardboard box for spraying
How to Make It
- Place pinecones in the box and spray with orange paint from 10 inches away.
- Let dry for 1 hour, then flip and spray the other side.
- Set the pinecones in the bucket with the points facing up.


19. Crayon-Drip Pumpkin Jars
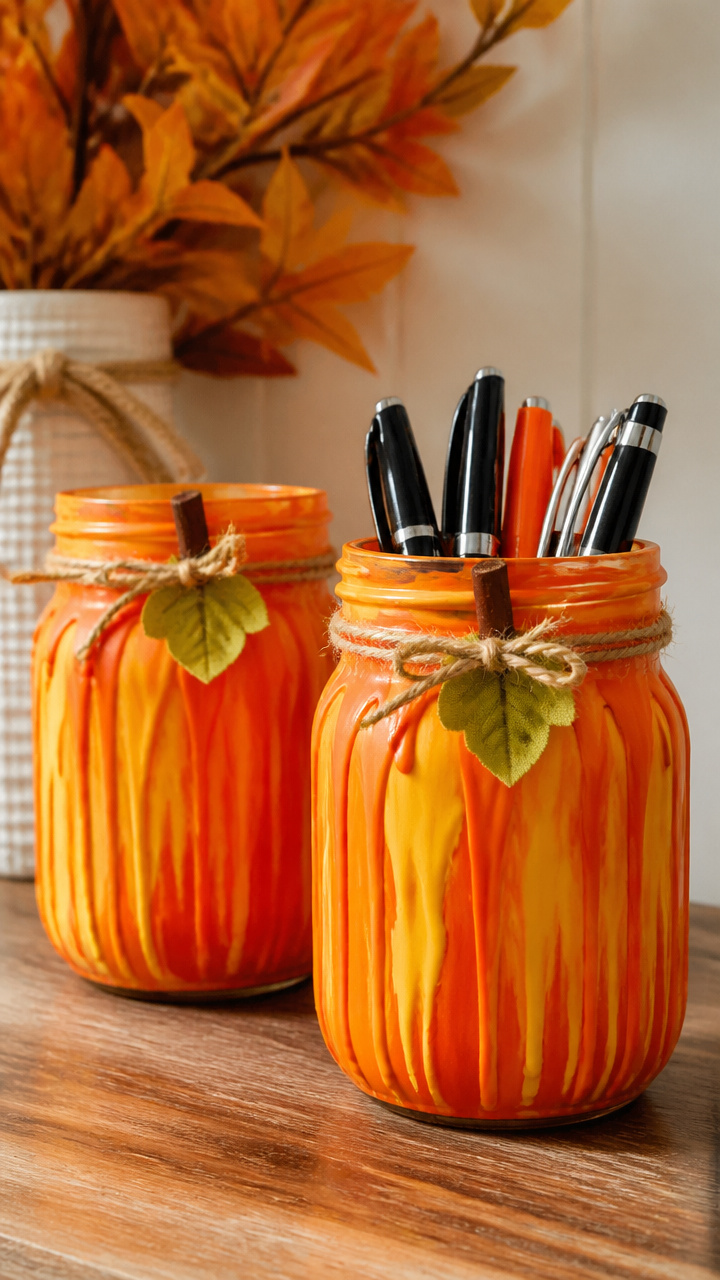
Old crayons melt over mason jars to mimic pumpkin color and texture. These colorful jars hold pens or stand as decor.
Materials Needed
- 2 clean 12-ounce mason jars
- 10 orange and yellow crayons, peeled
- 1 baking sheet
- 1 oven
How to Make It
- Place jars upside down on a baking sheet and arrange crayons around the rims.
- Bake at 275°F for 8 minutes, watching closely as the wax melts.
- Remove from oven and let cool for 30 minutes before uprighting.


20. Woven Willow Pumpkin Frame
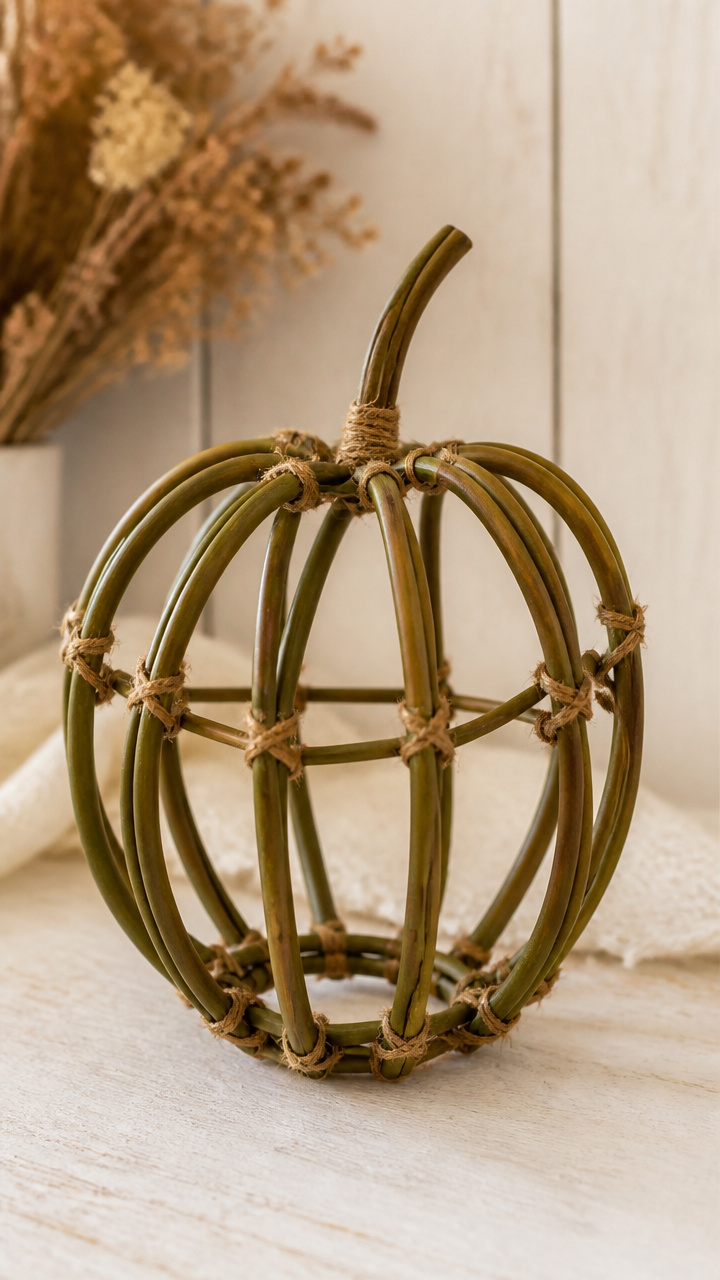
Flexible willow branches bend into a small pumpkin-shaped frame. This open structure holds dried flowers or stands alone.
Materials Needed
- 8 green willow branches, each 18 inches long
- 1 pair of garden clippers
- 1 roll natural twine
How to Make It
- Clip four branches to 12 inches and four to 10 inches.
- Lay two long branches parallel, 4 inches apart, and weave three short ones across them.
- Secure each intersection with a twine knot.
- Bend the frame into a rounded shape and tie the ends together at the top and bottom.


You don’t need a full craft room or fancy tools to make something beautiful for fall. With a few natural materials and a little time, your hands can shape the season into something real and lasting. Pick one idea, gather what you have, and let the making begin.