15 Cute Letter S Crafts for Preschoolers

Little hands love to explore letters through play and creativity. These sweet and simple crafts make learning the letter S a joyful experience with textures, colors, and shapes that hold attention and build skills.
Each project uses everyday materials in fresh ways, so you can rotate activities without repeating ideas. You’ll find cutting, sticking, painting, and stamping—all tailored for small fingers and big imaginations.
1. Salt Dough Letter S Sculptures
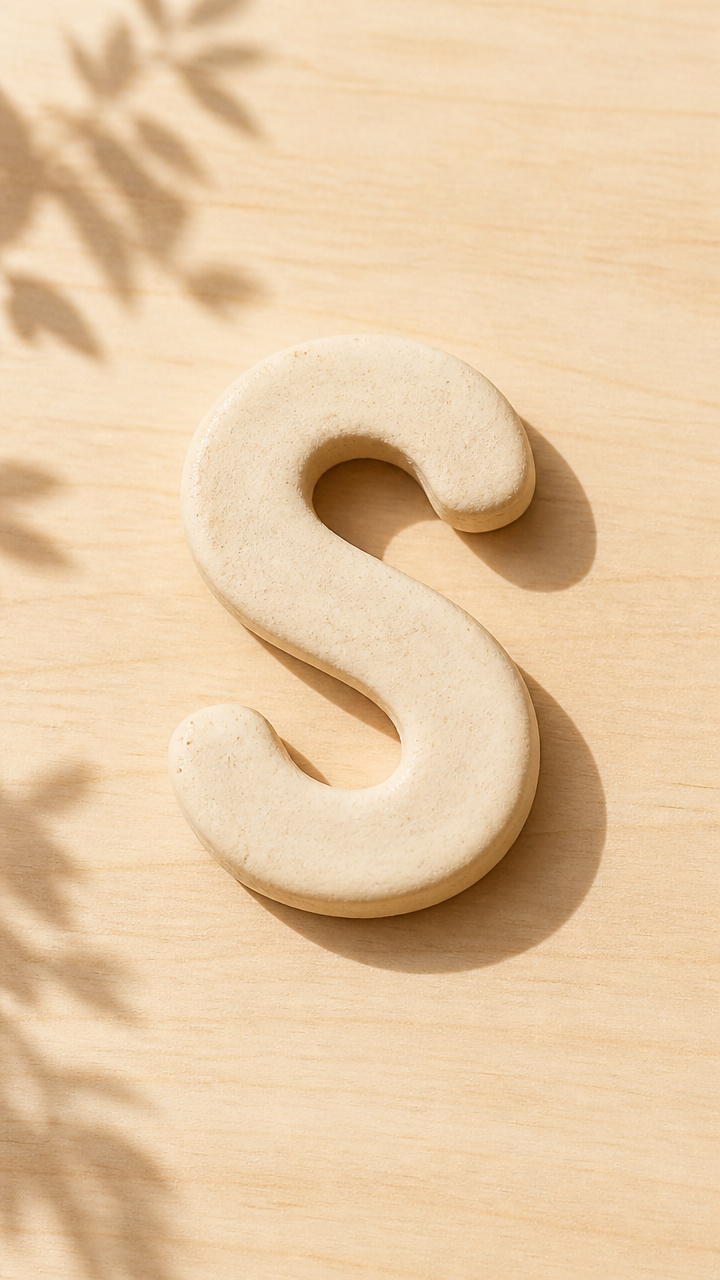
Scented, sturdy letter S shapes your child can mold and keep. Baking them makes the sculptures last for months on a shelf or as gift tags.
Materials Needed
- 1 cup all-purpose flour
- 1/2 cup fine table salt
- 1/2 cup warm water
- Mixing bowl
- Wooden rolling pin
- Letter S cookie cutter, 3 inches tall
- Baking sheet
- Parchment paper
- Acrylic paint (optional)
- Clear craft varnish (optional)
How to Make It
- Mix flour, salt, and warm water in a bowl until a soft dough forms. Knead it for 2 minutes until smooth.
- Roll the dough to 1/4 inch thick on a floured surface. Press the S-shaped cutter into the dough and lift away excess.
- Place each S shape on a parchment-lined baking sheet. Bake at 200°F for 3 hours, then let cool completely.
- Paint the cooled sculptures with acrylics if desired. Seal with a coat of craft varnish for durability.


2. Shaving Cream Swirl S Prints
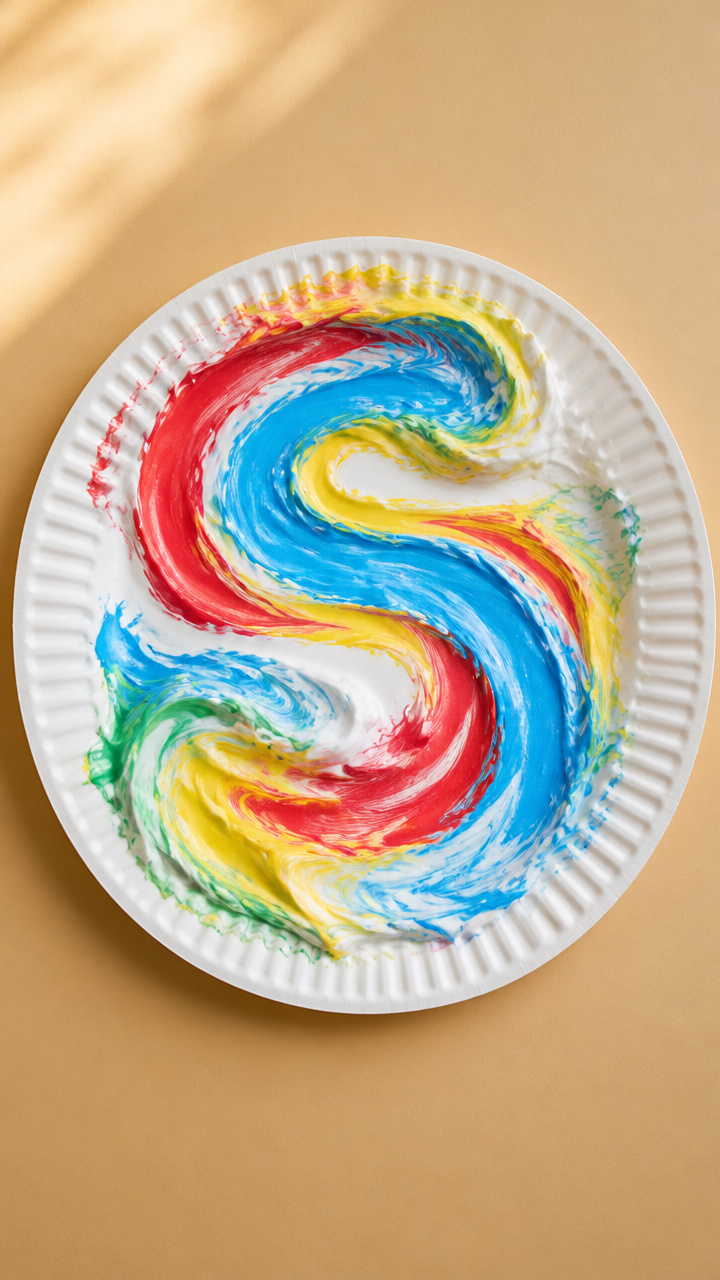
Swirled rainbow S shapes made with shaving cream and food coloring. The squishy texture keeps kids engaged while building fine motor control.
Materials Needed
- Canned shaving cream
- White paper plate
- Food coloring (red, blue, yellow, green)
- Toothpicks
- A4 white construction paper, 4 sheets
- Craft stick
- Cookie sheet
- Paper towels
How to Make It
- Spread shaving cream in a thick layer on the paper plate. Add drops of food coloring across the top.
- Use toothpicks to swirl the colors into marble patterns. Drag each pick slowly to blend without overmixing.
- Press one end of the construction paper onto the colored cream, hold flat, then lift straight up. Let dry for 20 minutes on a cookie sheet.
- Once dry, gently brush off leftover cream with paper towels. Trace a large S with a black marker on each print.


3. Snake Puppet from Paper Bag
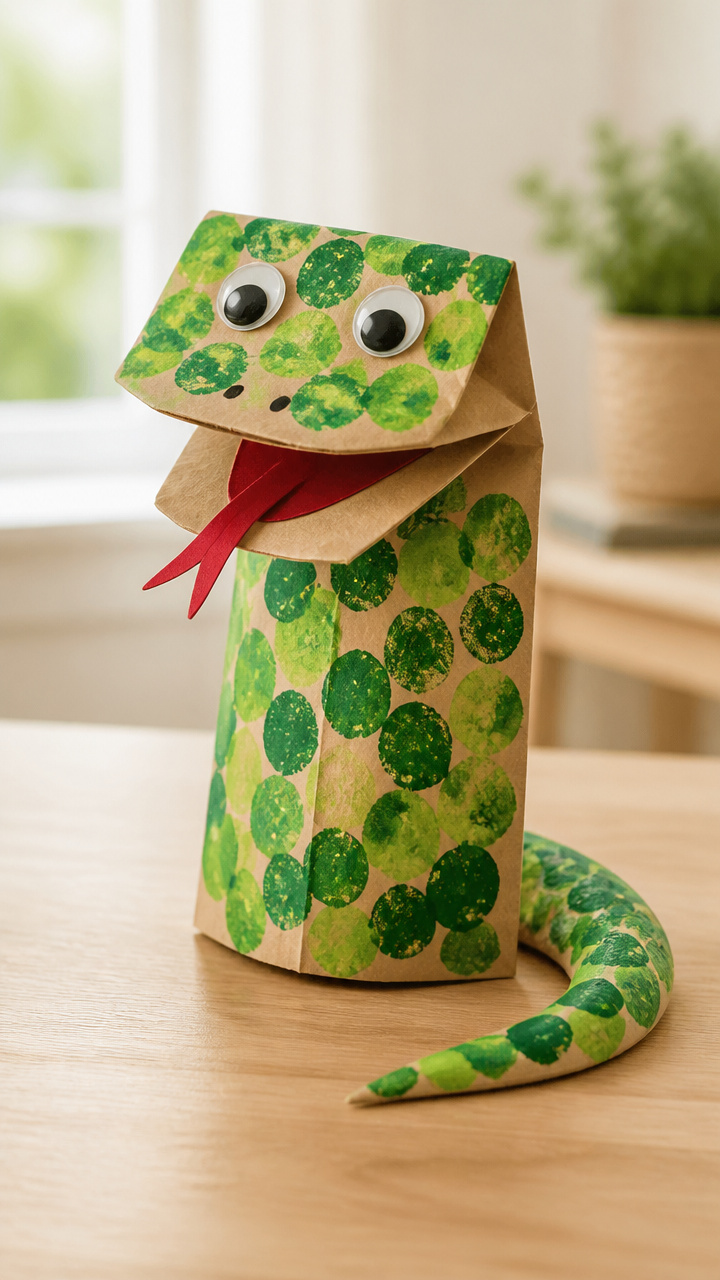
A wiggly S-shaped snake puppet that slips over the hand. Kids love acting out stories once it’s finished.
Materials Needed
- Brown lunch paper bag
- Green finger paints (light and dark)
- Paintbrush
- Googly eyes, 1/2 inch, 2 per puppet
- Glue stick
- Scissors
- Black fine-tip marker
- Red yarn, 6 inches
How to Make It
- Open the paper bag and lay it flat with the flap at the bottom. Use green finger paints to dab scales along both sides of the bag.
- Let the paint dry for 15 minutes. Fold the bottom flap upward to form the puppet mouth.
- Glue googly eyes near the top edge. Draw pupils and an eyebrow line with the black marker.
- Cut two slits at the top corners of the flap and thread the red yarn through for a tongue. Let your child slide their hand inside and wiggle it.


4. Sponge Stamped S Art
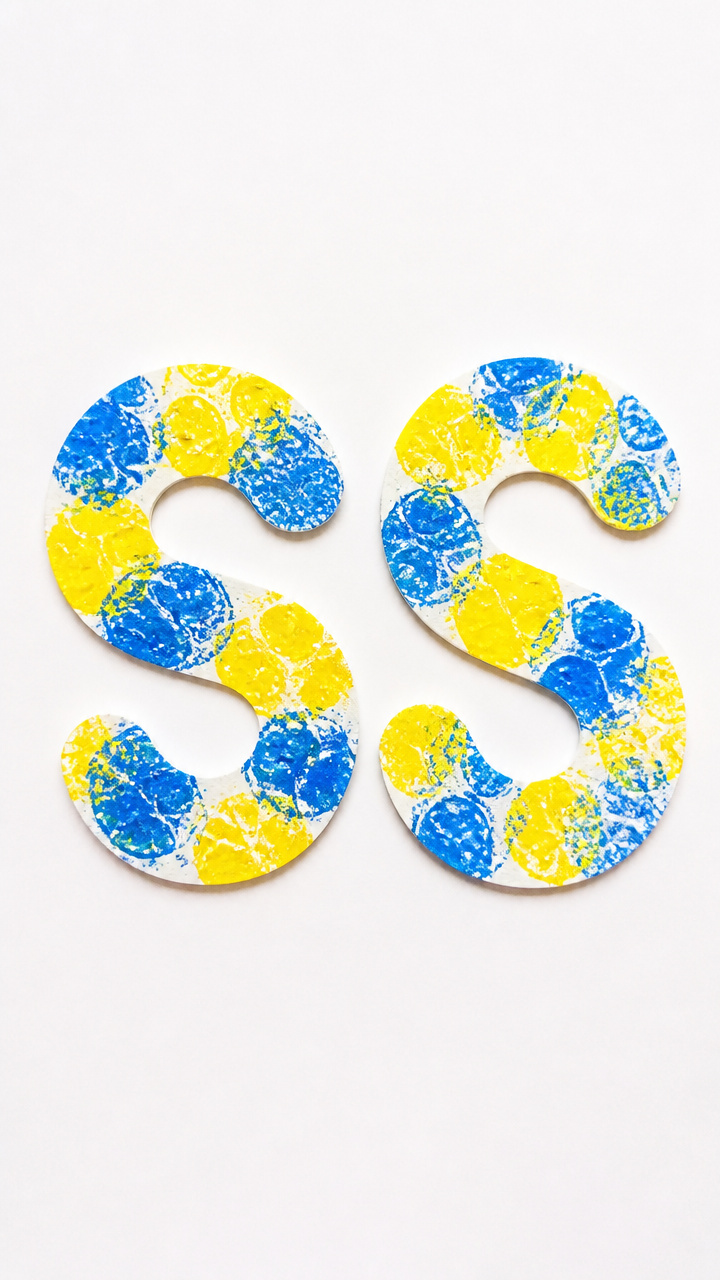
Bold S outlines stamped with sponge letters. This method gives strong visual contrast and builds recognition fast.
Materials Needed
- Pre-cut foam letter S, 2 inches tall, 2 pieces
- Sponges, natural cellulose, 1 pack
- Scissors
- Tempera paint (blue and yellow)
- Shallow trays, 2
- A4 white drawing paper
- Smock or old shirt
How to Make It
- Cut one sponge into a 2-inch S shape using scissors. Attach it to one foam S with a drop of glue if needed.
- Pour blue paint into one tray and yellow into the other. Dip the sponge side into blue paint, pressing evenly.
- Stamp the S firmly onto the left side of the paper. Clean the sponge, re-dip in yellow, and stamp a second S on the right.
- Let the paint dry for 10 minutes. Let your child draw squiggly lines around each S with crayons to add motion.


5. Straw Weave S Frame
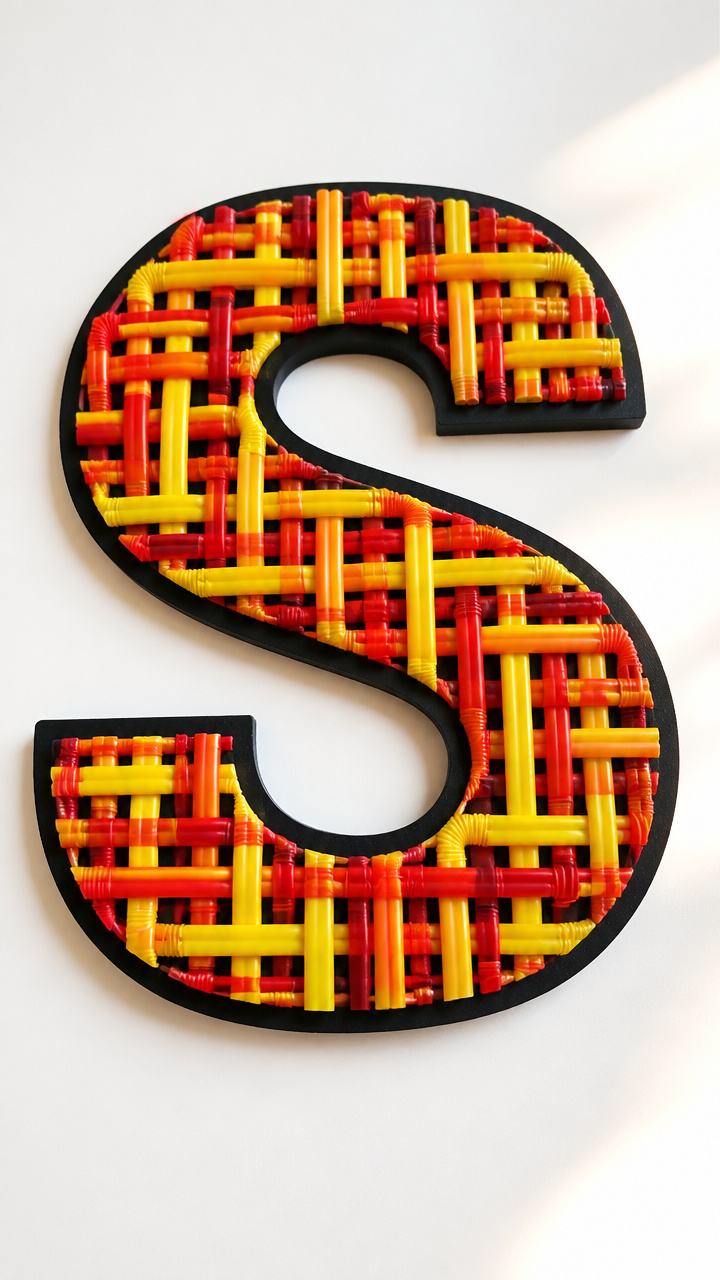
A woven straw border frames a bold letter S. The crisscross pattern teaches order and symmetry.
Materials Needed
- Plastic drinking straws, 10 regular and 10 flexible
- Scissors
- A4 black cardstock
- White glue
- Ruler
- Pencil
- Large S stencil, 5 inches tall
How to Make It
- Cut 10 regular straws into 1-inch pieces. Cut 10 flexible straws into 1-inch pieces, keeping the bendable part centered.
- Lay the black cardstock horizontally. Use the stencil to trace a large S in the center with pencil.
- Apply a thin line of glue along the left edge of the S. Press short straw pieces vertically, side by side, to fill the shape.
- Glue horizontal pieces over and under the vertical ones in a checker pattern, weaving where they cross. Let dry for 30 minutes.


6. Sticker S Mosaic
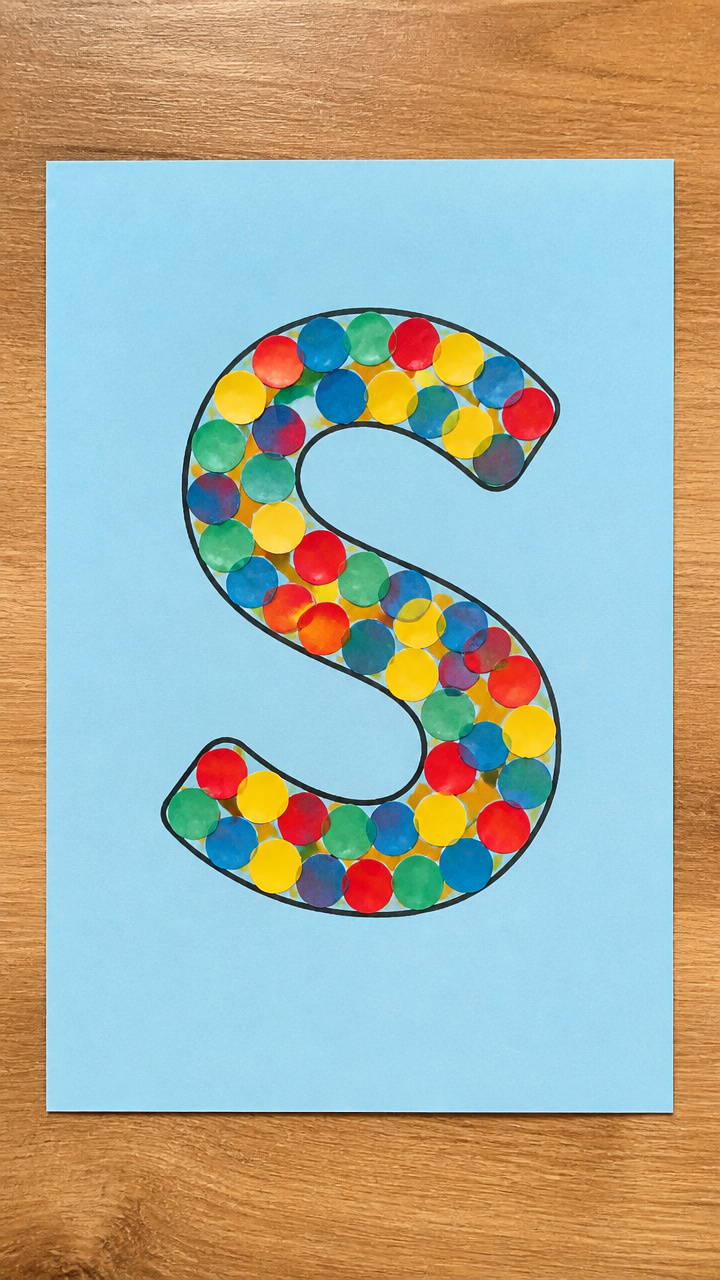
Colorful sticker dots arranged into the shape of an S. Peeling and placing strengthens finger muscles and focus.
Materials Needed
- Round sticker dots, 1/2 inch, 4 colors (red, yellow, blue, green)
- A4 light blue construction paper
- Black washable marker
- Pencil
- Ruler
How to Make It
- Draw a large S on the paper with the black marker using a pencil guide for smooth curves.
- Divide the S into three sections mentally: top curve, middle loop, bottom curve. Choose one color for each section.
- Peel and place sticker dots side by side along the black line, filling the width of the S. Press each dot flat with a fingertip.
- Leave no gaps between stickers. Let your child count how many dots they used when finished.


7. Spaghetti S Necklace
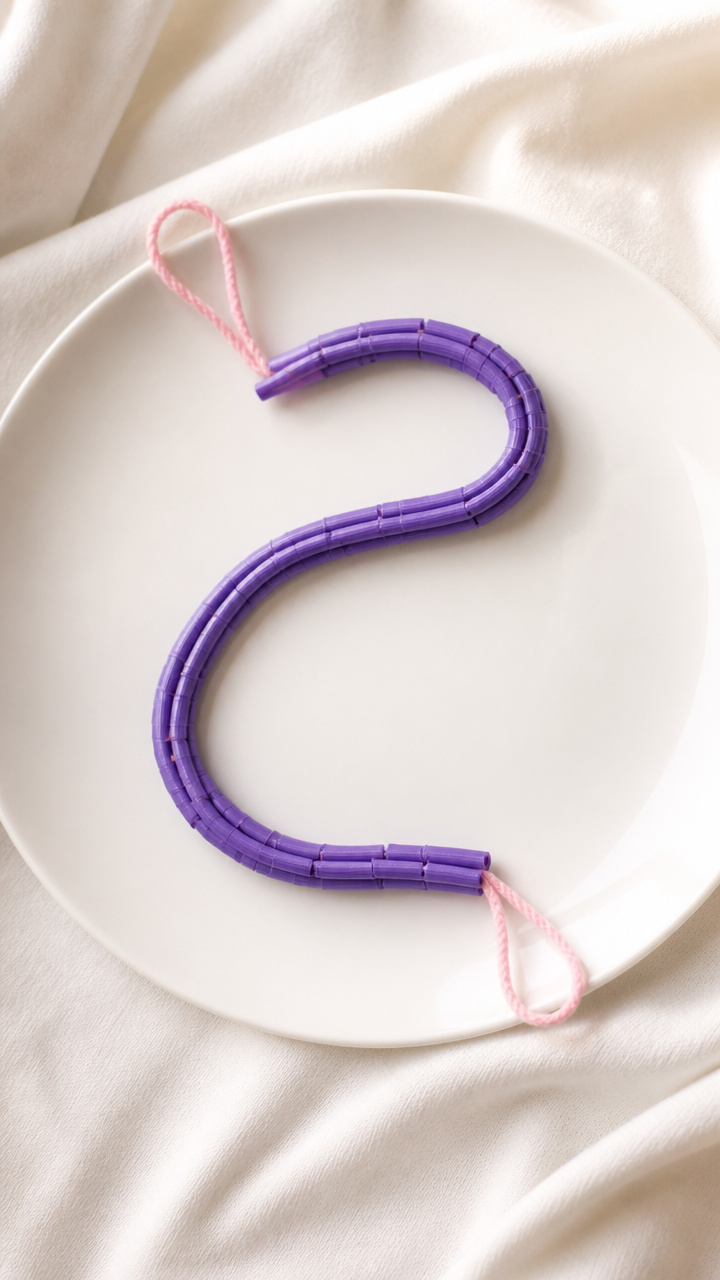
Pasta strands strung into a wearable S necklace. The tactile prep makes it memorable and fun to wear.
Materials Needed
- Uncooked spaghetti, 15 pieces
- Acrylic paint (purple)
- Paintbrush
- Paper plate
- White glue
- Yarn, 2 feet long, pink
- Tape
How to Make It
- Lay spaghetti on a paper plate. Paint each piece purple and let dry for 20 minutes.
- Bend one piece slightly to start the top curve of the S. Glue the next piece at a slight angle to continue the shape.
- Continue gluing painted spaghetti into a connected S shape. Let the chain dry flat for 30 minutes.
- Tie the ends of the yarn into a knot. Tape one end to the back of the first spaghetti piece and the other to the last to hang it.


8. Sandpaper S Rubbing
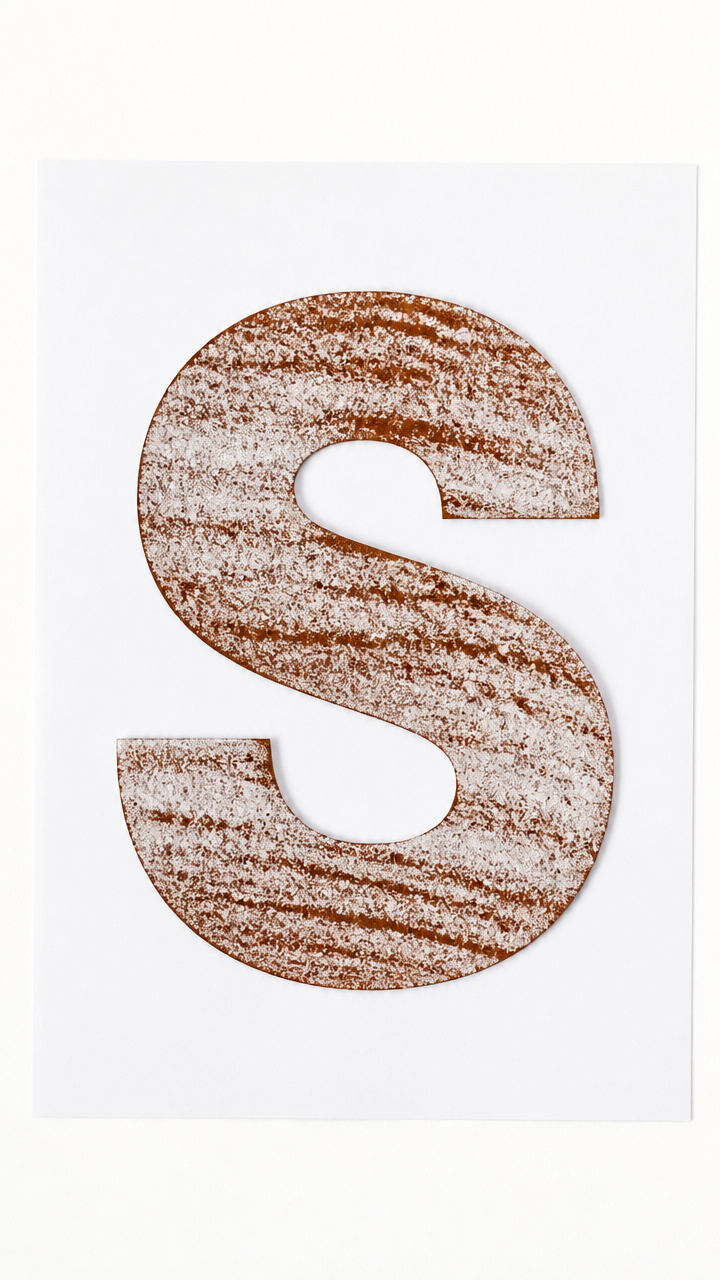
Grainy texture revealed through crayon rubbings. This sensory activity sharpens attention and touch awareness.
Materials Needed
- Sandpaper sheet, 4×6 inches, medium grit
- White crayon
- Brown crayon
- A4 white printer paper
- Scissors
- Glue stick
How to Make It
- Cut the sandpaper into an S shape using scissors. Place it under the printer paper and smooth flat.
- Rub the white crayon firmly over the area where the S is hidden. Keep pressure steady to reveal the grain.
- Flip the top paper and repeat on the other side with the brown crayon to double the texture effect.
- Glue the rubbed paper onto a fresh sheet for contrast. Trace the S outline with a black pen to highlight it.


9. Sunflower S Garden
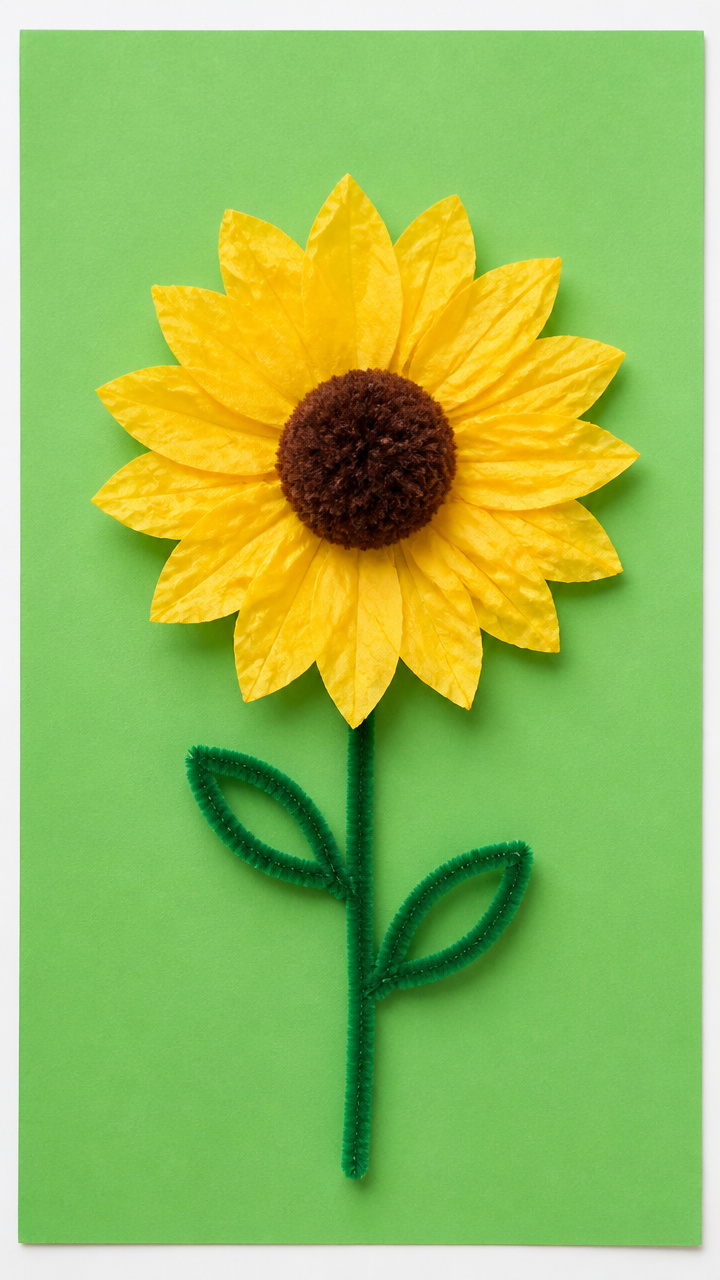
A sunny garden scene with petals forming an S. Layering paper parts teaches spatial thinking.
Materials Needed
- Yellow tissue paper, 6 sheets
- Green pipe cleaner, 1
- Brown pom-pom, 3/4 inch
- School glue
- A4 green construction paper
- Glue stick
- Orange cardstock
- Scissors
- Circle punch, 1 inch
How to Make It
- Use the circle punch to cut 8 orange circles from cardstock. Arrange and glue them in a loose spiral to form the sunflower center.
- Tear tissue paper into 1-inch squares. Crumple each into a petal shape and glue around the orange center.
- Cut the pipe cleaner in half. Twist one half around the base of the flower to form a stem. Glue the flower to the page.
- Arrange flowers in an S path across the paper. Add a leaf by folding the other pipe cleaner half into a V shape and gluing it beside the stem.


10. Slime S Imprint
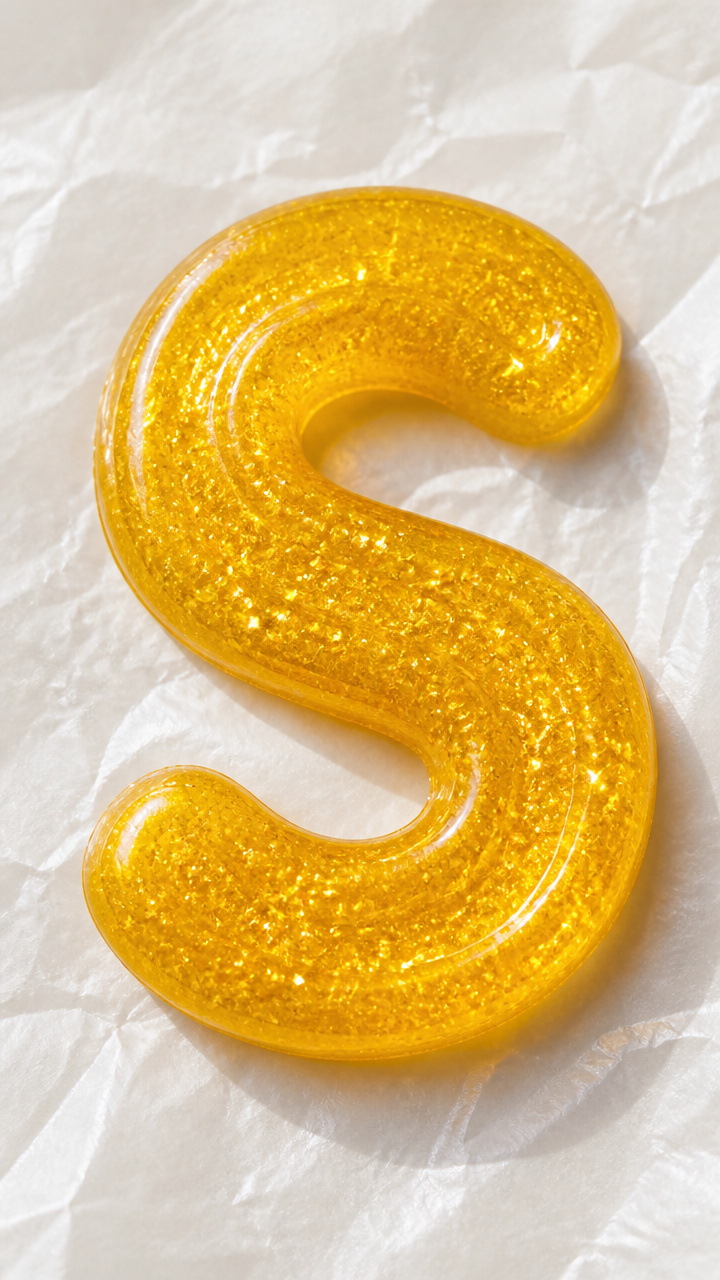
Gooey slime pressed into a letter mold. The stretchy material holds shape briefly, making it magical to watch.
Materials Needed
- Homemade slime (1/2 cup PVA glue, 1/2 tsp borax solution)
- Alphabet molding tray with S cavity
- Plastic spoon
- Wax paper
- Glitter, gold, 1 tsp
How to Make It
- Make slime by mixing PVA glue and 1/2 tsp borax solution in a bowl. Stir until it pulls away from the sides.
- Add gold glitter and mix in with the spoon. Knead for 1 minute until evenly distributed.
- Press the slime firmly into the S-shaped mold. Fill every corner and press flat on top.
- Lift slowly and place on wax paper. Let sit for 2 minutes to hold shape before touching.


11. Seashell S Collage
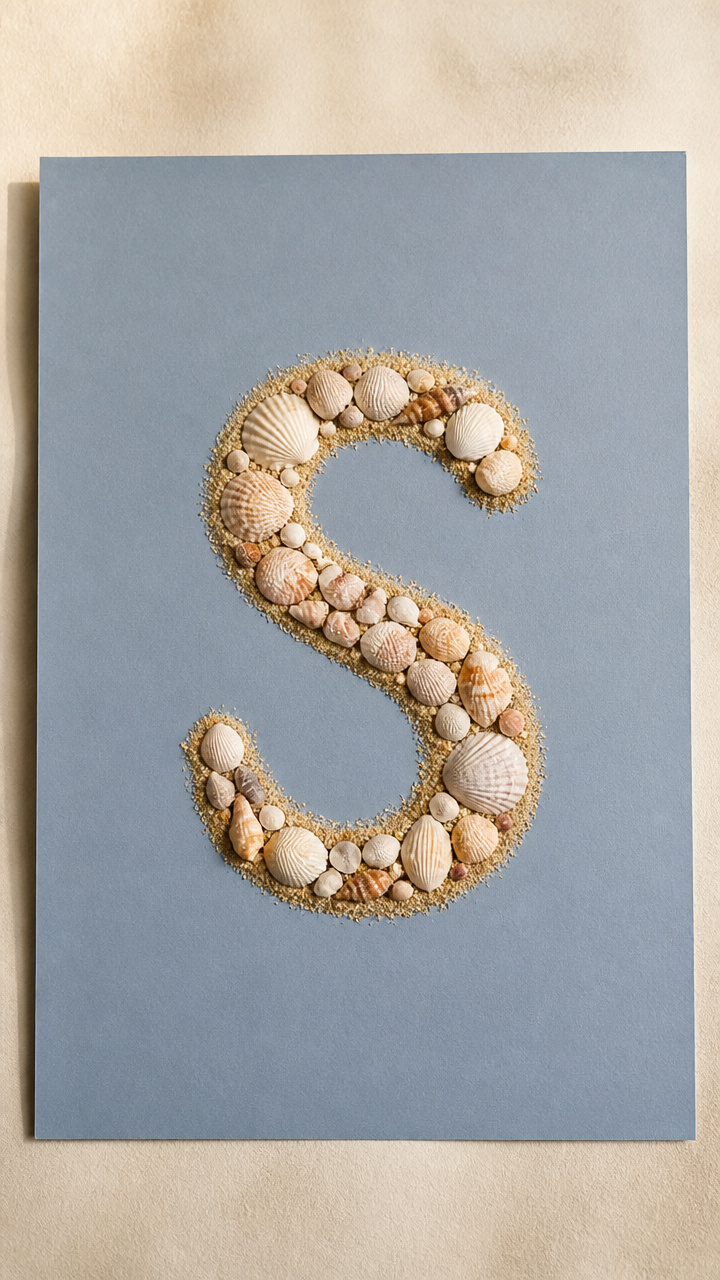
Real seashells glued into a curving S. Natural textures spark curiosity and storytelling.
Materials Needed
- Small seashells, 12 pieces
- White school glue
- A4 blue-gray cardstock
- Paintbrush
- Sand, fine, 2 tbsp
- Glue stick
How to Make It
- Sketch a wide S lightly in pencil on the cardstock. Brush a thin layer of glue along the line with the paintbrush.
- Press seashells into the glue, close but not overlapping. Start from the top and follow the curve down.
- Sprinkle sand over wet glue around the base of the S to look like shore. Shake off extra.
- Let dry for 1 hour. Outline the S with a darker pencil to make the shells stand out.


12. Sticker Back S Hunt
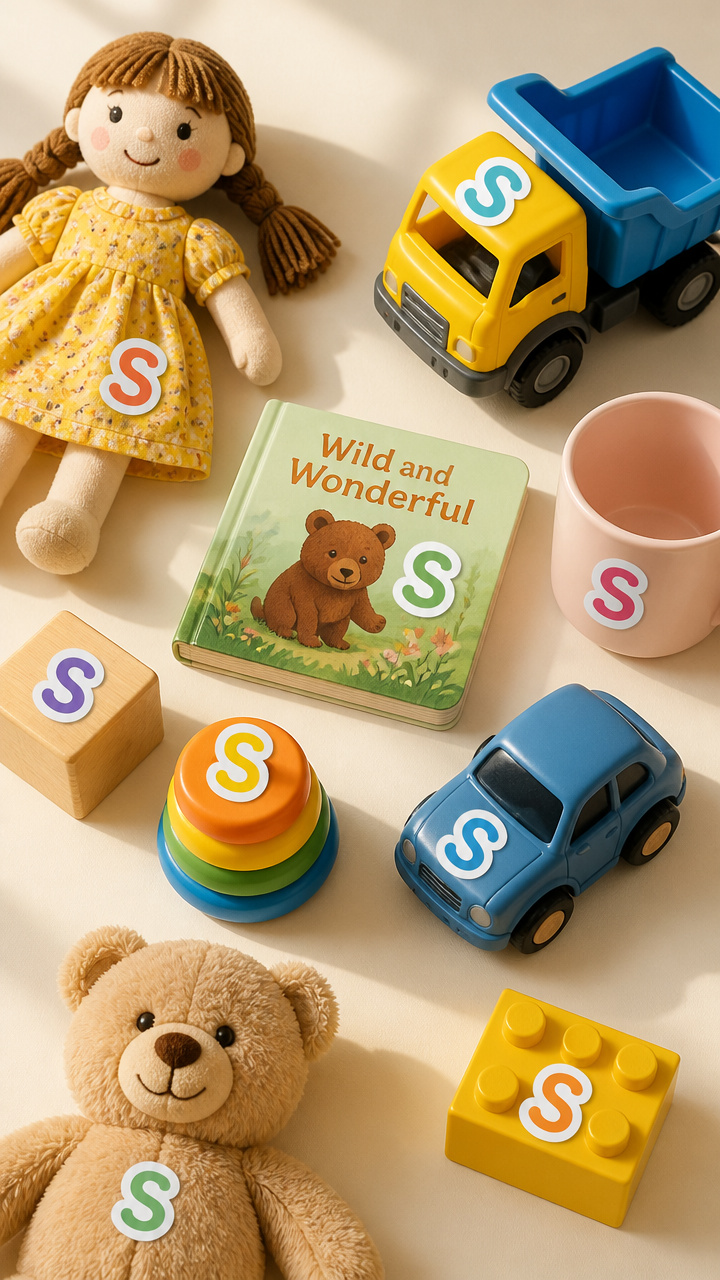
Hidden S stickers placed on backs for a surprise game. Movement and laughter come with every find.
Materials Needed
- Small S-shaped stickers, 10
- Everyday toys (doll, truck, book, cup, block)
- Timer
- Laughter
How to Make It
- Stick one S sticker on the back of each toy when your child isn't looking. Hide the items around the room.
- Tell your child there's a secret S on something they use every day. Let them search freely.
- When they find an item, help them turn it over to see the sticker. Celebrate with a cheer.
- Keep going until all ten are found. Count them together and stick them on a chart.


13. Squishy S Pillow
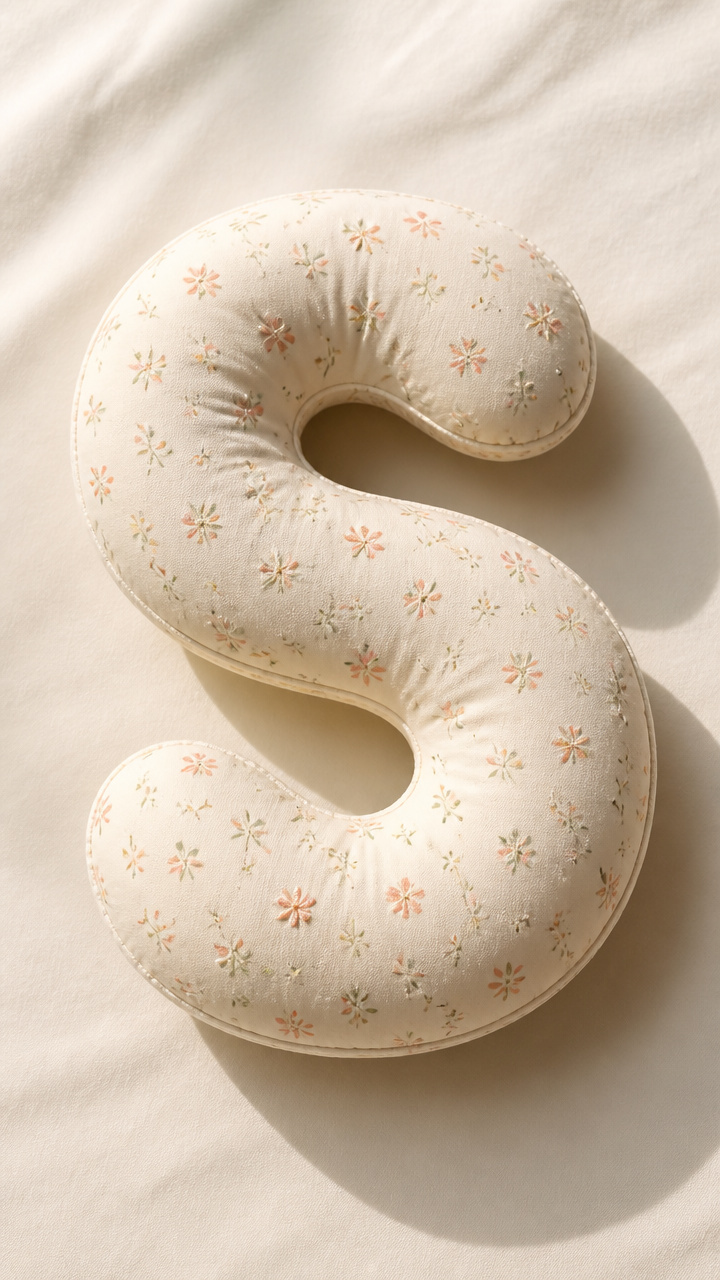
A soft fabric S filled with rice. Gentle squeezing provides calming sensory input.
Materials Needed
- Two 6×8 inch cotton fabric squares
- Pencil
- Scissors
- Needle and thread
- Rice, 1/2 cup
- Funnel
- Ruler
How to Make It
- Fold each fabric square in half. Draw half of an S along the fold using pencil and ruler for clean lines.
- Cut through both layers. You now have two matching S shapes.
- Place right sides together. Sew around the edge with a 1/4 inch seam, leaving a 2-inch gap.
- Turn right side out. Use the funnel to fill with rice. Hand-stitch the opening closed with small stitches.


14. Sticker Trail S Maze
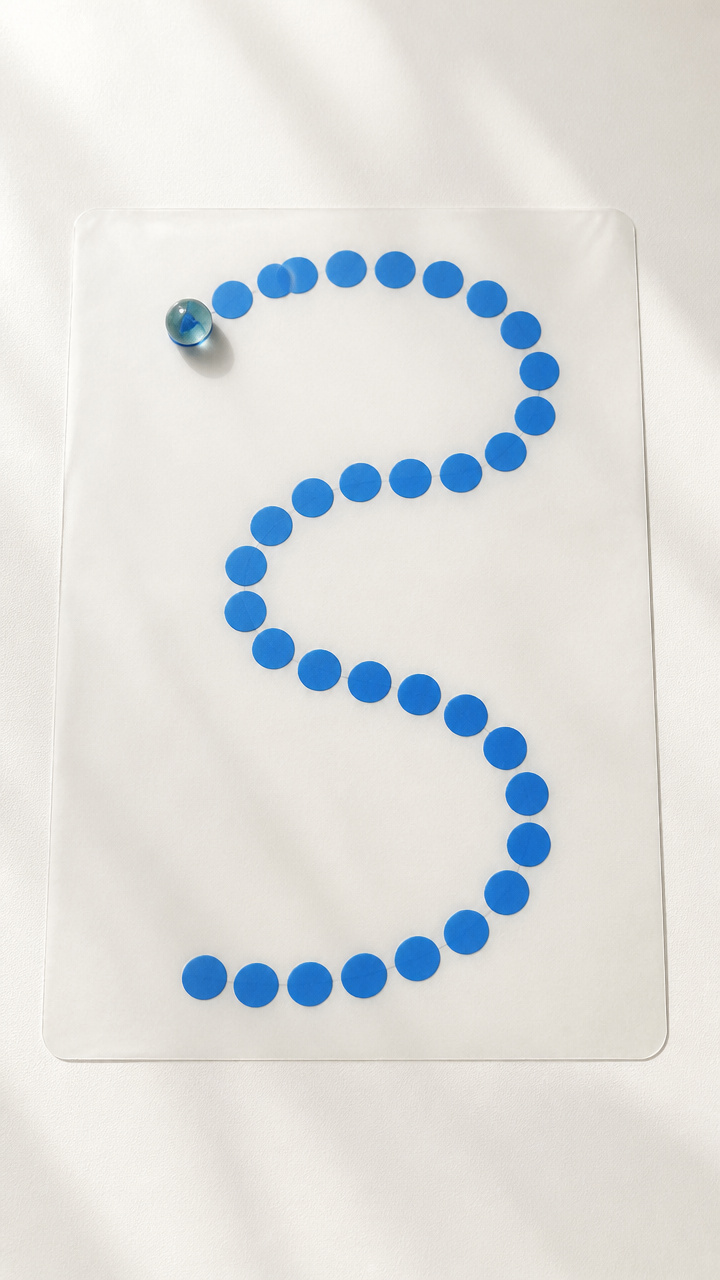
A path of stickers guides a marble down an S route. Rolling the marble builds coordination and patience.
Materials Needed
- Clear contact paper, 9×12 inches
- Round sticker dots, blue, 12 pieces
- Marble
- Scissors
- Roll of tape
- Cardboard, 10×12 inches
How to Make It
- Peel the backing off the contact paper and lay sticky side up on cardboard. Tape edges down.
- Place blue sticker dots in an S pattern from top to bottom, 1 inch apart. Curve the line smoothly.
- Roll the marble from the top dot to the bottom, following the trail without lifting. Try again if it falls off.
- When done, cover with another sheet of contact paper to seal the maze for reuse.


15. Snowflake S Window Cling
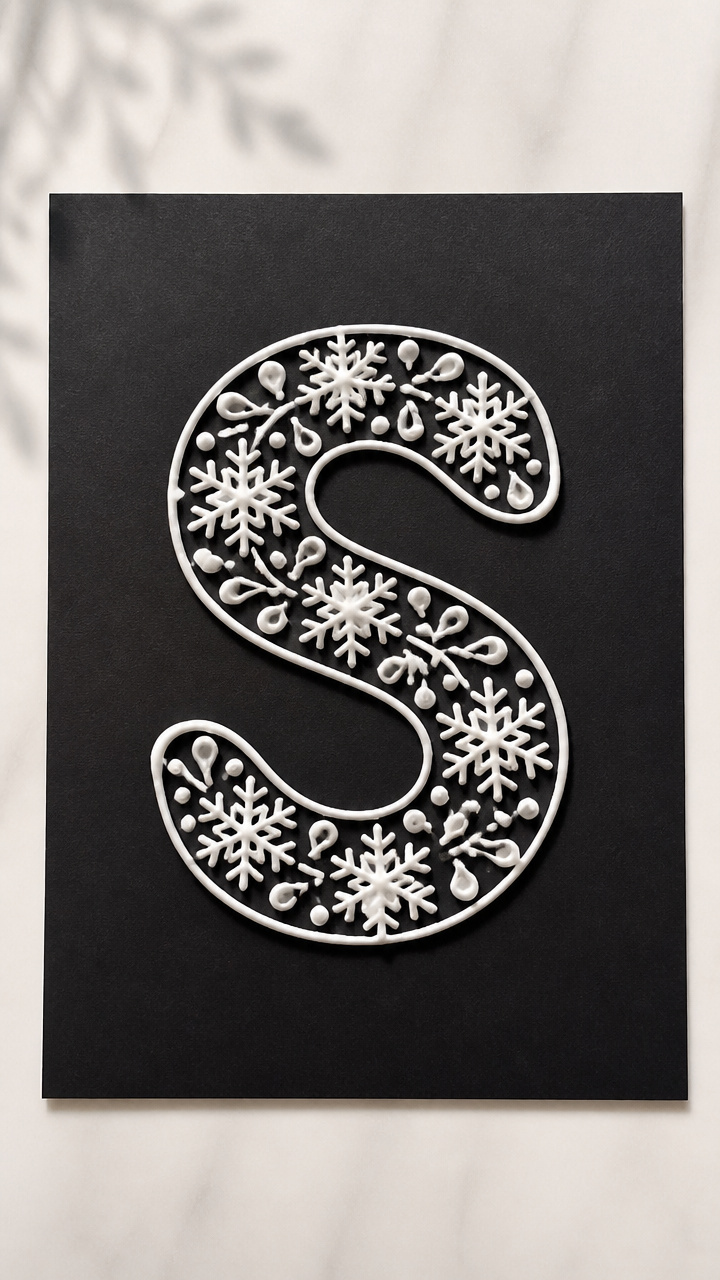
Icy snowflakes cluster into an S shape on glass. The frosty look lasts for weeks with no mess.
Materials Needed
- White puff paint
- Plastic squeeze bottle with fine tip
- Black construction paper
- Freezer
- S stencil, 6 inches tall
- Glue stick
How to Make It
- Trace the S stencil on black paper with pencil. Apply a glue stick lightly along the line.
- Squeeze puff paint over the glue to form a thick, bumpy S. Add tiny dots beside it to look like falling snow.
- Let dry for 4 hours. Place in the freezer for 10 minutes to set the texture.
- Press the dry S onto a clean window. It will cling and catch the light like real frost.


You’ve got everything you need to bring the letter S to life in joyful, hands-on ways. Grab a few supplies and let your child’s creativity start curling like an S from the very first step.